When you click on links to various merchants on this site and make a purchase, this can result in this site earning a commission. Affiliate programs and affiliations include, but are not limited to, the eBay Partner Network.
I just finished rebuilding my Xfer case, and put in my spare... Not hard at all, and with all the surfaces clean, I have no drips now... I had ordered, new mount rubbers, but put stainless steel cotter keys, instead of safety wiring the nuts on the studs... I don/t think that makes any difference, but wonder why the factory safety wired them together? Maybe I am missing something? At any rate, I would suggest replacing the leaking gasket, and torque all the bolts to the same value...
I just finished rebuilding my Xfer case, and put in my spare... Not hard at all, and with all the surfaces clean, I have no drips now... I had ordered, new mount rubbers, but put stainless steel cotter keys, instead of safety wiring the nuts on the studs... I don/t think that makes any difference, but wonder why the factory safety wired them together? Maybe I am missing something? At any rate, I would suggest replacing the leaking gasket, and torque all the bolts to the same value...
Baja
Where did you buy the gaskets and seals? Also, did you use a slide hammer to take out the seal? Orich chimed in on the slide hammer. I'm going to powerwash the rest off so I will have clean access. Any other tips on pulling the seal and doing the install? One thread talked about using RTV on the seal and another thread talked about putting grease on the seal.
in today world the seal shoulders our Teflon coated to go in much easier.
Put a little lube can't hurt, Grease or RTV can fill those little corners nooks around the seal set like we did 50 yrs ago may weep over time.
Once you had a seal leak we all put a little dab of RTV or Grease..
Orich
I used the old seal puller trick, of a screw threaded into small holes, and the slide hammer, like Orich... I ordered the seal and gasket kit from Montana 4x4, and another off Evilbay... just to have a spare and to compare gaskets and seals. I noticed that the older Chicago Rawhide (CR) seals, were much better made, than the newer seals, and had metal casing inside and outside, whereas the new ones, only have metal on the rim and outside, with just air on the inside.. I used a 2" PVC union as a seal installer, and a plastic hammer to tap them in square. I did put a little RTV on the outer edges, and polished the seal surfaces, with the polishing attachment on my Dremmel tool... I polished out the minor scratches and groves in the yoke surface where the seals ride... One was a bit worn and pitted, so I polished it with fine sand paper disc first, then polished it.
I also used the old Mexican trick, of removing the spring from the inside of the seal, found the joint in the spring, unscrewed it, cut 1/8th off the spring length, and re-attached the two ends, to make a smaller circle out of the spring... which tightens the seal to the sealing surface just a bit and keeps a tight seal on slightly worn yokes..
Oh, after cleaning, and reassembly, I painted it Ford blue, just for grins. Make sure, that you are completely assembled before painting, as the gaskets today are thin, and a coat or two of paint, can interfere with a proper seal with the thin gaskets.. Good luck amigo...
I'm sure you know this by reading but if you forgot.
Always lube Any shaft & sealing areas no matter what your reassembling .
If you don't you'll burn the seal surface that will cause it leak.
Orich
Just a heads up,
I'm sure you know this by reading but if you forgot.
Always lube Any shaft & sealing areas no matter what your reassembling .
If you don't you'll burn the seal surface that will cause it leak.
Orich
On the pics I just posted... is there a way to replace those rubber rings without taking the transfer case apart? Not sure it is worth a tear down to replace those but if it's not to bad a job I will go for it. They are called Shift Rail Oil Seals. What do you guys think? Thanks
I pulled down my 205 that cleaned it inside replaced all bearings an seals. Got the kit on ebay like $125 a few yr ago.
The one inner gear was kind of tricky, but don't know if it's the same as yours. There was a good web page on how to rebuild a 205.
at Fordification that was helpfully.
Lots of web info you just have to search for it even old Motor truck manuals have info listed for transfers cases.
Go slow an take pictures lay it out in the order to pulled it apart keep parts in zip lock bags helps
Good lock
Orich
Take your time go slow
I pulled down my 205 that cleaned it inside replaced all bearings an seals. Got the kit on ebay like $125 a few yr ago.
The one inner gear was kind of tricky, but don't know if it's the same as yours. There was a good web page on how to rebuild a 205.
at Fordification that was helpfully.
Lots of web info you just have to search for it even old Motor truck manuals have info listed for transfers cases.
Go slow an take pictures lay it out in the order to pulled it apart keep parts in zip lock bags helps
Good lock
Orich
Take your time go lslow
I removed one of my shift rail oil seals, by drilling a small hole to the side of the shaft, inserting a screw, and using a slide hammer, I pulled out the seal enough to pry it the rest of the way... Had to use a thin screwdriver on the other one as the screw pulled out several times... Oh well, the new ones went in easily with a piece of 1" PVC plastic piping...cut the the right length.
Good luck amigo...just keep it clean and like Rich says... lube the yoke seal surfaces well before sliding them into the seals. Remember to safety the mount bolts, and use SS wire if you can find it...
3 questions: 1) Rubber or prothane? 2) what is the torque spec on those rubber bushings? 3) Other than measure the holes on the frame and make that match the brackets on the transfer case... is that a better way to make sure it lines up right when I install? I can not find the torque spec in my book or online so that would be appreciated a great deal. Thanks guys and Happy Easter!
I used the polypropylene mounts this time, as they were easily available, and I expect that they will crack before mashing down much. I am thinking that the alignment will not differ, as long as you make sure to use all of one kind, or the other, and not mixing them. I know of no torque value for the bolts, but 100 lbs should be sufficient, and more importantly, safety wire the nuts to the bolt and each other. Snug is way better than loose...
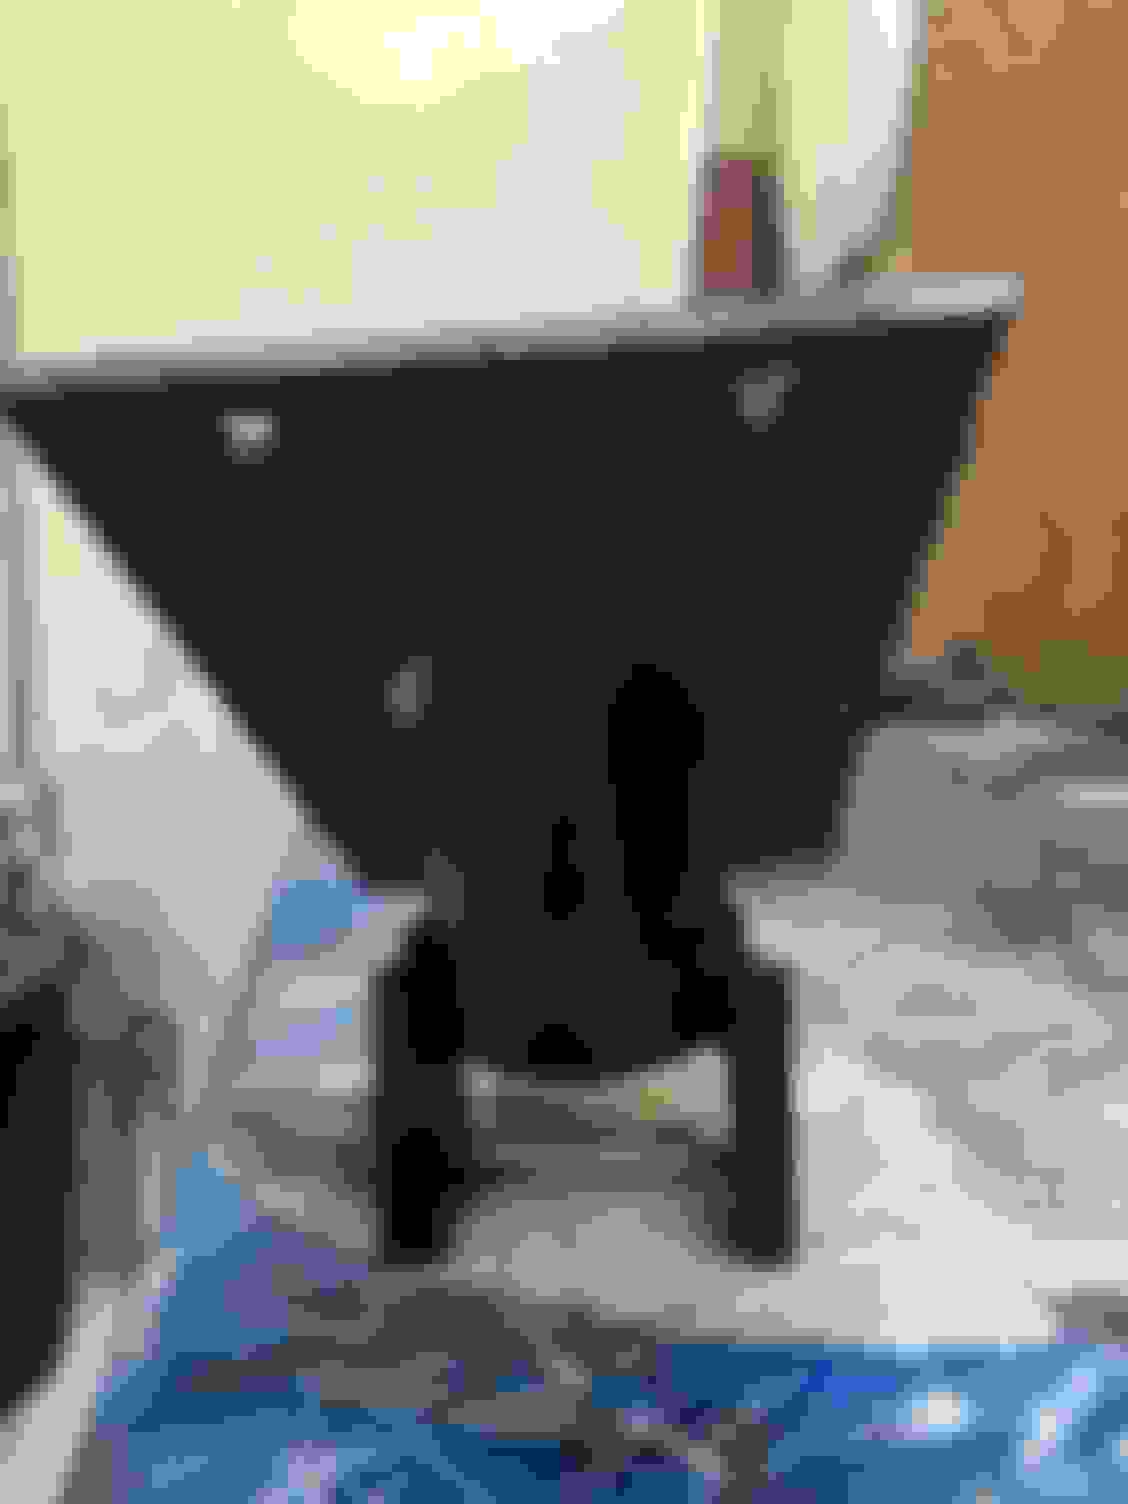
I made an Xfer case mount for my jack, to be able to raise the Xfer case up to its mount position, without gravity overcoming the heavy thing, and mashing a finger or worse.. I will try a photo now...
Xfer case jack mount.. side view
front view
the flat plate will bolt to the case where the power take off opening is..