When you click on links to various merchants on this site and make a purchase, this can result in this site earning a commission. Affiliate programs and affiliations include, but are not limited to, the eBay Partner Network.
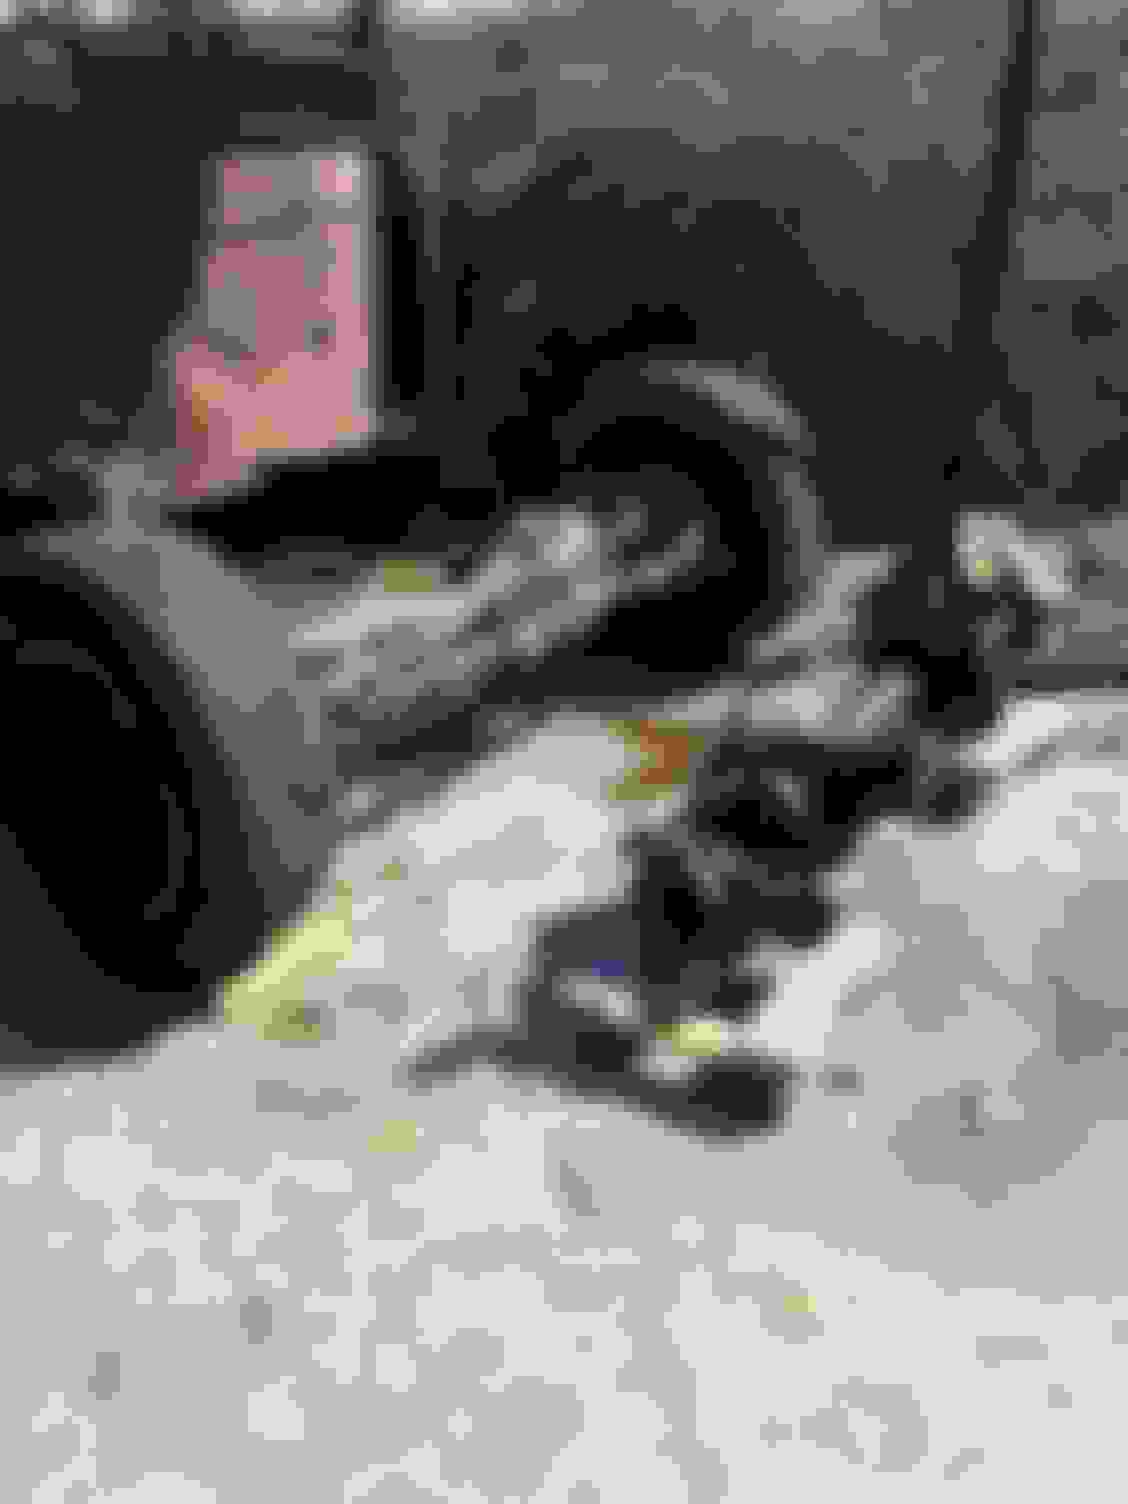
I got the brake lines, ABS sensor and the vacuum lines off the old front axle, and I got the tires back on it so I can roll it away to wherever it is going. I then put the new axle on the dollies so I can roll it under the truck once the newer steering gear box is in, track bar bracket is on and the coil buckets are installed.
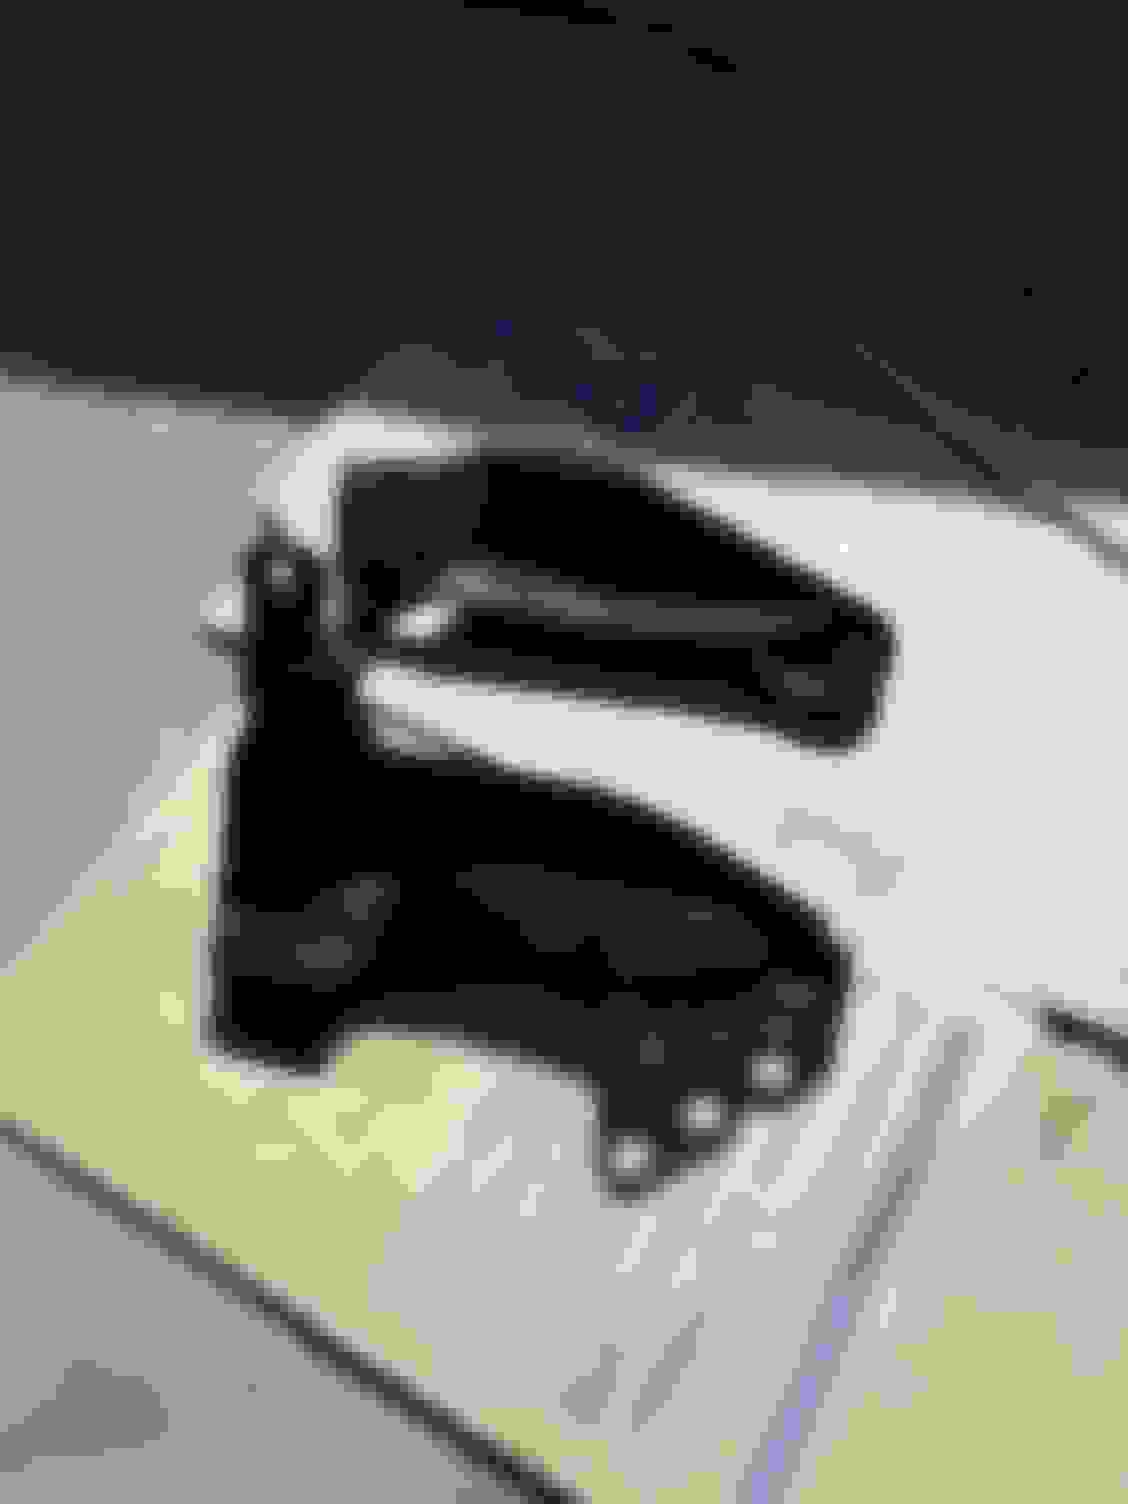
Also, I took another pic of the track bar mounts from a different angle and in the daylight for further comparison.
Not familiar with the vacuum line setup, mine has standard lockout hubs.
Do you still have to have the vacuum setup if you install manual lockouts.
Doesn't the 07 axle have lockout hubs?
The '07 still uses the vacuum system...heck the '18s are still using the same vacuum system. You don't need the vacuum once you go to manual hubs, but you do have to cap it off if you want to isolate it from the hubs. You really don't have to do that if you keep up with the lines and ensure they are in good shape with no leaks. All the stock Ford hubs from '99 on have the ability to be manually engaged or remotely engaged. If you install aftermarket, you lose the remote engagement ability.
For those wondering, I plan to assemble the axle on the truck. The reason for this is the extreme balancing issues I have as a one man install team with all the parts installed on a Dana 60. A fully assembled front axle (D50 or D60) is incredibly heavy (~750 lbs), unbalanced and hard to handle. If it falls off a jack stand (and it WANTS to), you will have hell getting it off the floor and back up there. Especially by yourself. The 10.5 rear axle is so much easier to deal with, maneuver and handle on jack stands or jacks, and it weighs quite a bit less in my experience.
Shoot, because of the steering knuckles, the D50/60 doesn't even like to roll on tires very well. It keeps wanting to fall to one side or the other.
The '07 still uses the vacuum system...heck the '18s are still using the same vacuum system. You don't need the vacuum once you go to manual hubs, but you do have to cap it off if you want to isolate it from the hubs. You really don't have to do that if you keep up with the lines and ensure they are in good shape with no leaks. All the stock Ford hubs from '99 on have the ability to be manually engaged or remotely engaged. If you install aftermarket, you lose the remote engagement ability.
I guess it's a F-250-350 thing, my 04 F-450 didn't have any vacuum lines going down to the axle, the 07 F-550 axle we installed didn't ether.
I had a 90 Ranger with auto hubs but they got replaced with a set of Warn manuals.
Both double flare. Going to have to check threads to see if they are SAE or metric. Hoping my lines match up...
From earlier in the thread...
Yes, the wheel well fittings are the same size. Big break there! You can just bend your existing lines to the front of the coil bucket and connect them to the 05+ lines.
The '07 still uses the vacuum system...heck the '18s are still using the same vacuum system. You don't need the vacuum once you go to manual hubs, but you do have to cap it off if you want to isolate it from the hubs. You really don't have to do that if you keep up with the lines and ensure they are in good shape with no leaks. All the stock Ford hubs from '99 on have the ability to be manually engaged or remotely engaged. If you install aftermarket, you lose the remote engagement ability.
unrelated to this thread, but you are so freaking knowledible....
my Ex came with Warn premiums, currently have the vacuum lines capped at the frame in the wheel wheels but am not happy with that for long term. no idea if my solenoid on the fender works and probably don't care since I won't be putting on vacuum hubs (i don't think, manuals have been plenty fine for this winter so far). where can I cap the line under the hood, that whole area by the solenoid is a vacuum mess
Flyboy, if you follow the vacuum line from the canister to the solenoid, you can cap that line and remove everything after the solenoid. You will likely set a code in the computer when the solenoid does not pass self test, but you can ignore it.
Found some photos of my conversion, I went a little farther than most.
Frame section back in, I believe the reason we had to move the brake line behind the crossmember was because of the notch we had to make on the right side to gain clearance for the AC manifold.
This is the other part of the conversion
Your much better at paint detailing than I am, we also only have about 30 days to complete the job and have the truck back to work.
30 days after this photo, not to do the whole job, that took about 5 months working nights and weekends to build a fresh engine, swap the frame and suspension, then do the engine conversion.
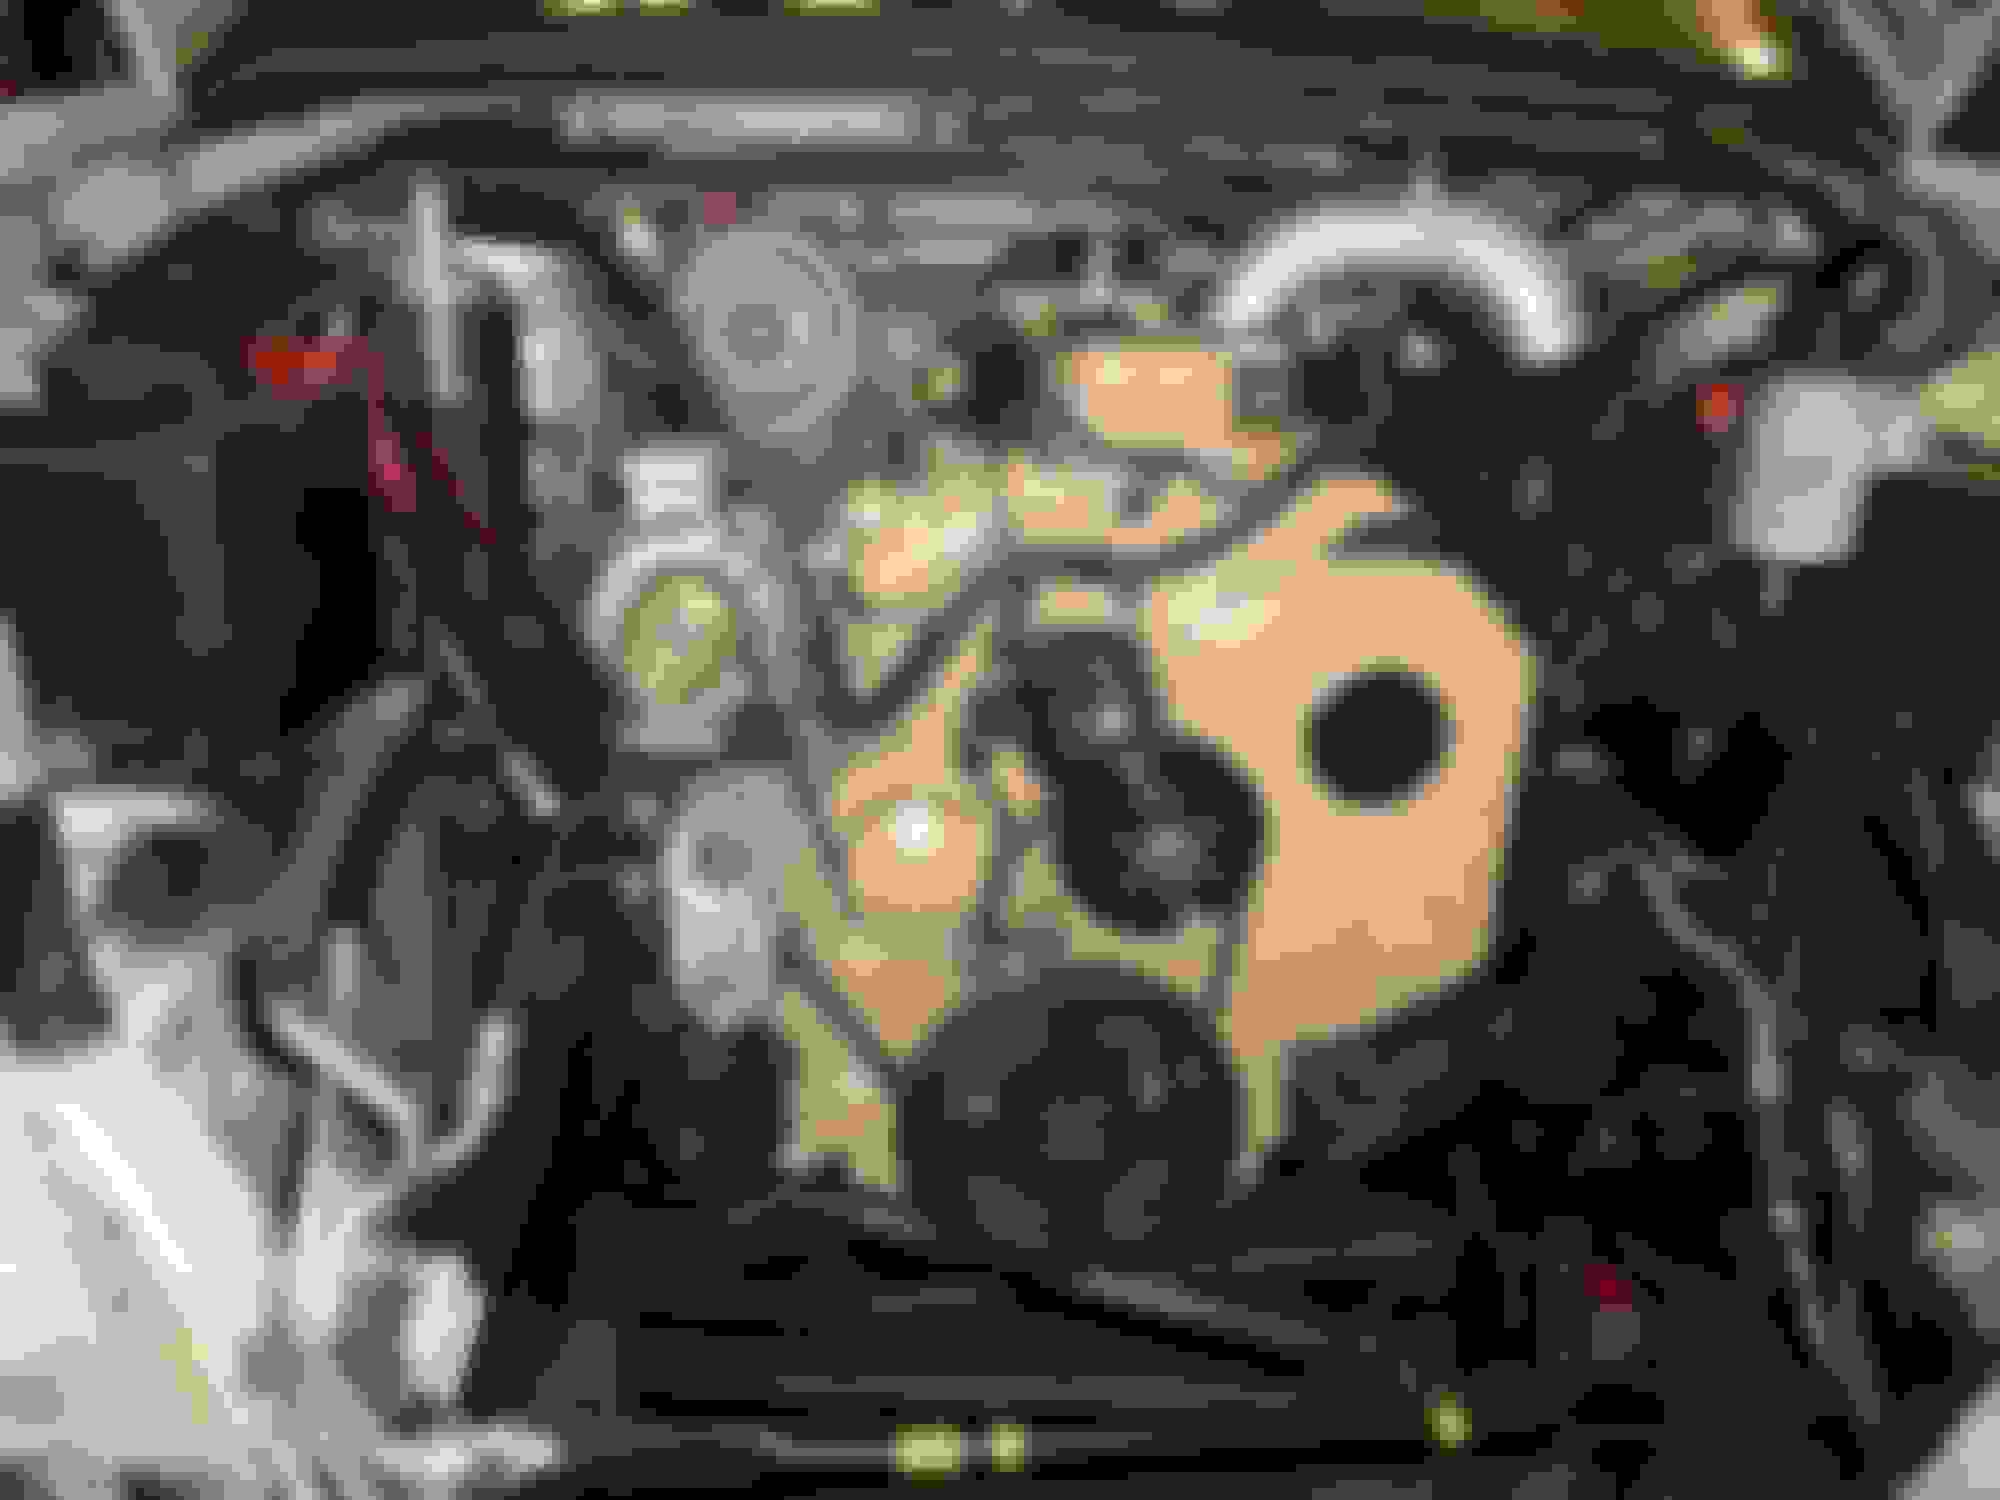
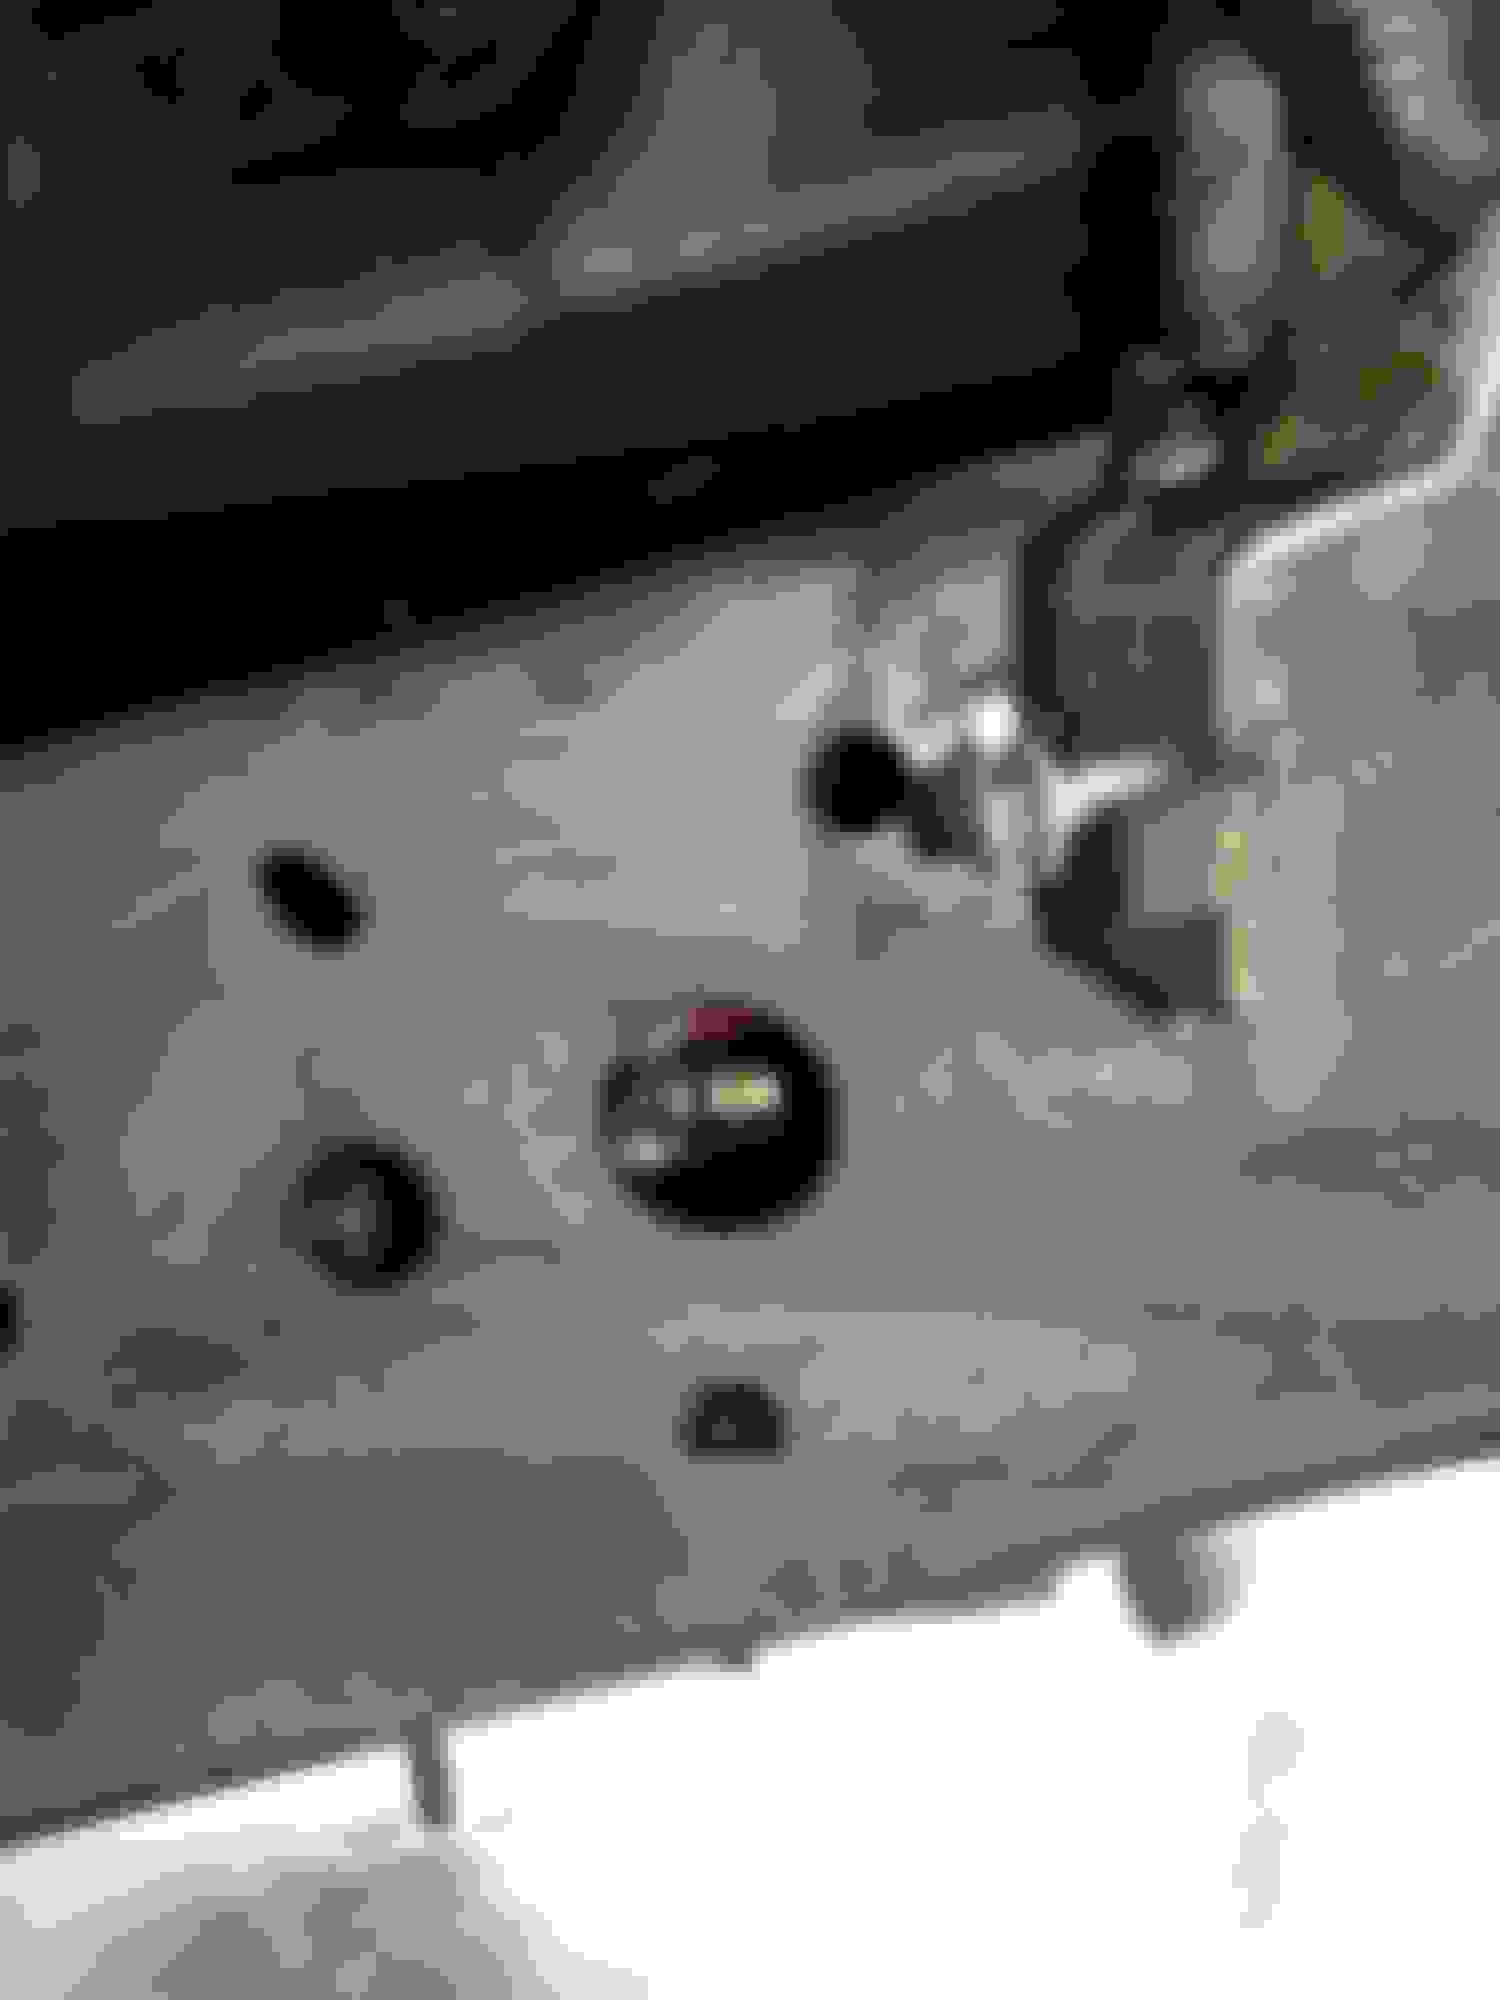
Today I got the steering gear box in, and I installed the steering damper bracket and the track bar bracket. I also cleaned up the frame rails so I could spray on some bed liner for rust protection. On to the photos...
Remove the old brake line brackets from each side...
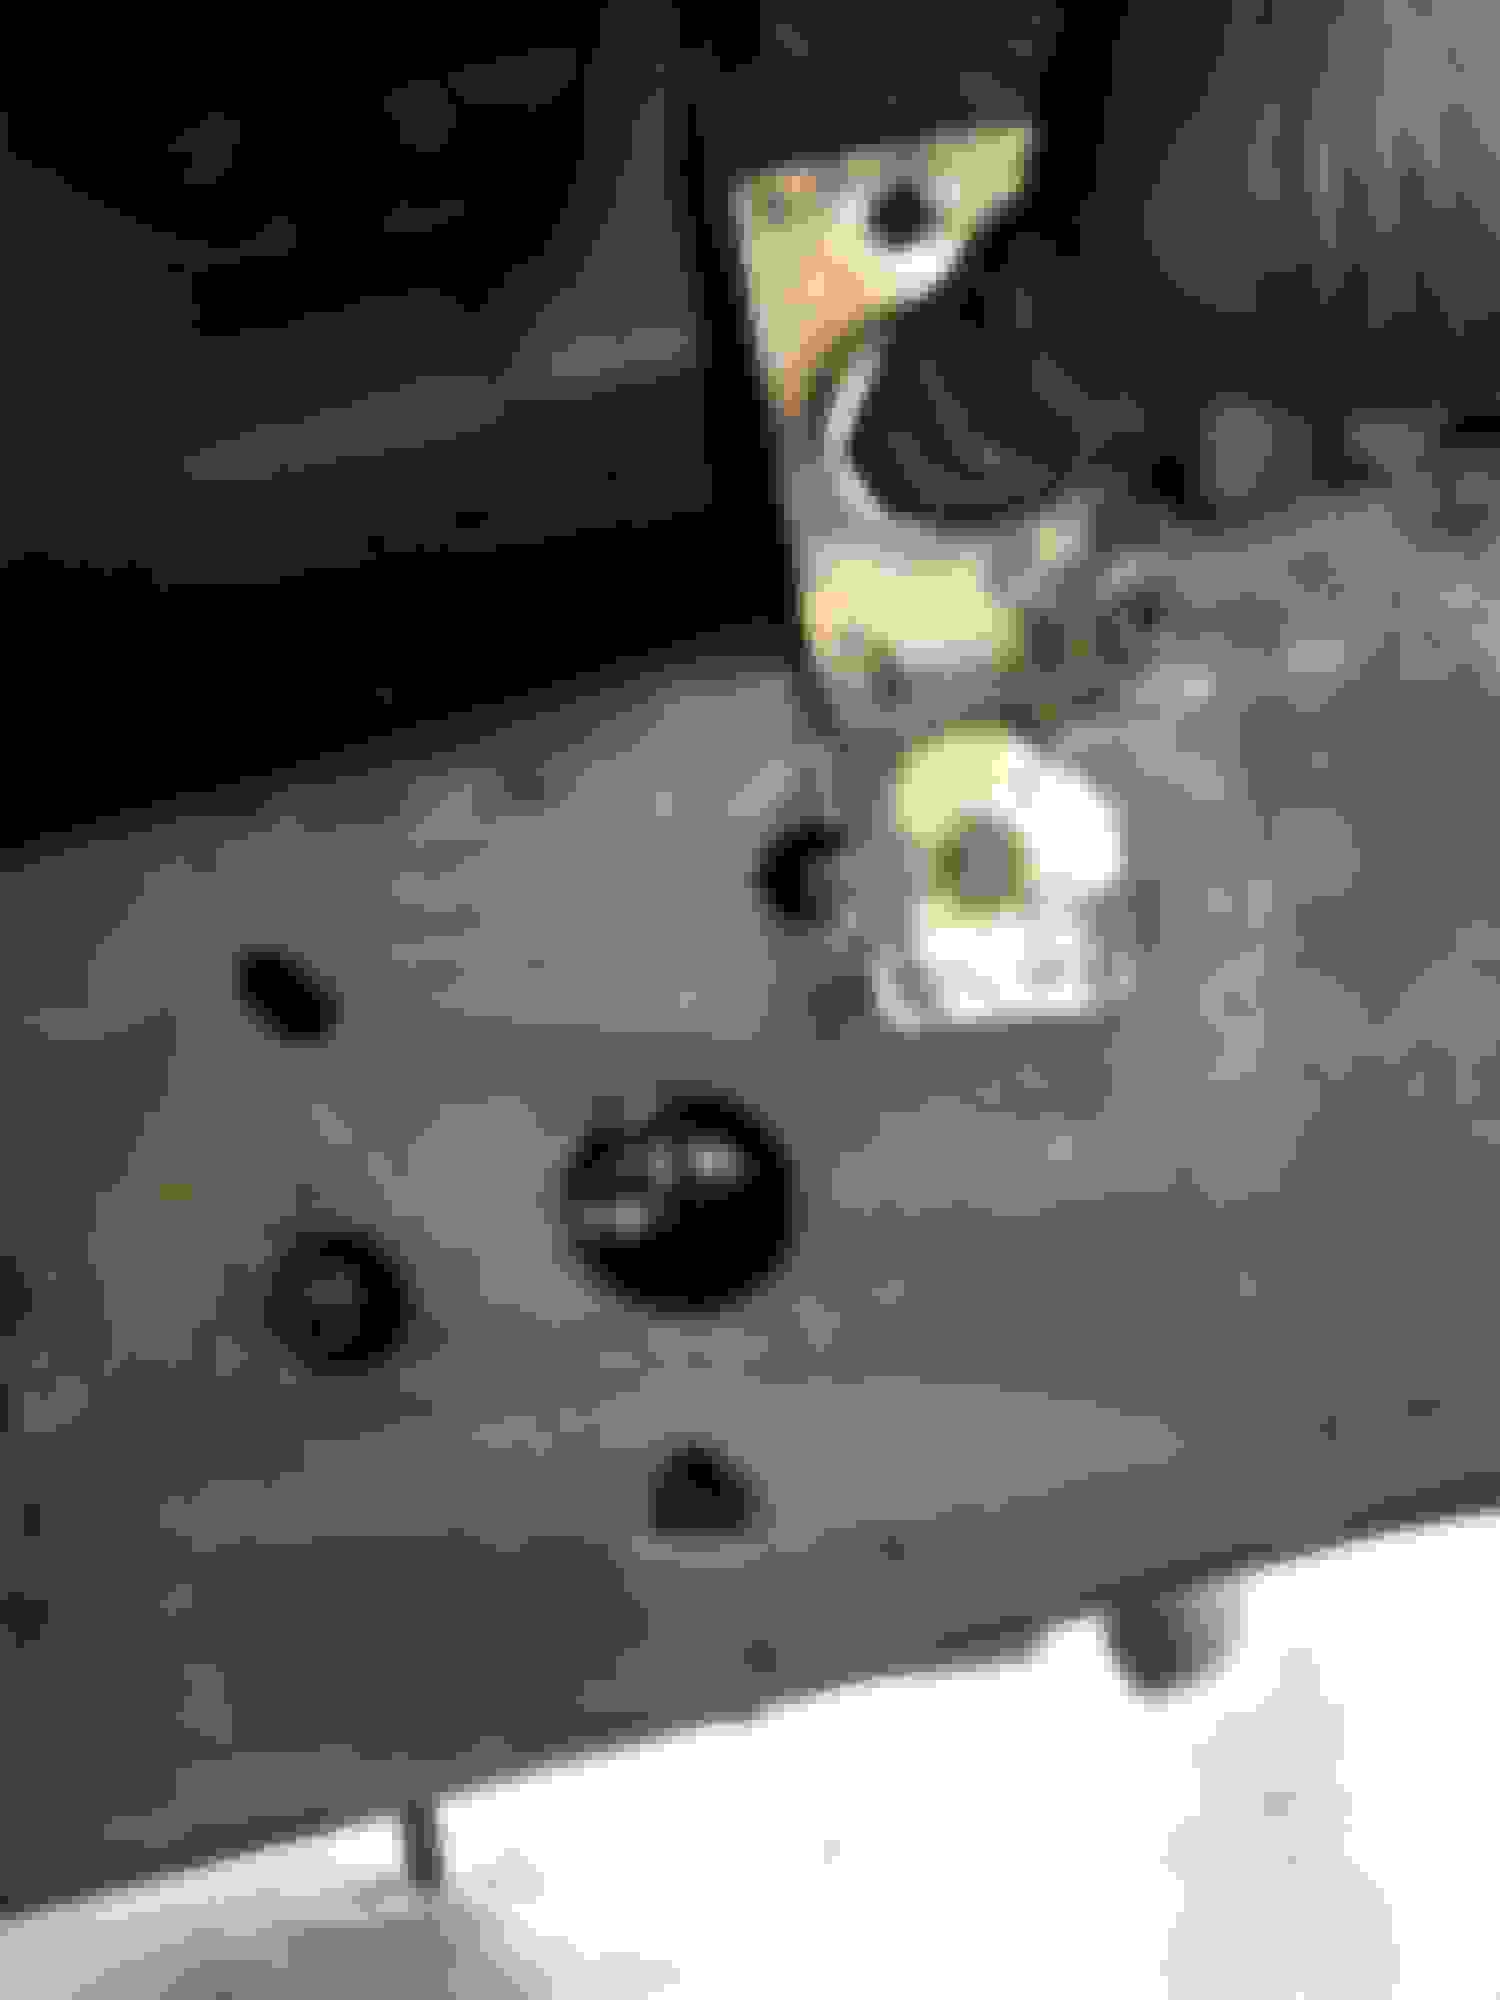
...there is an 8mm bolt on the back side of each one.
Next up is the removal of the old gearbox. Position the bolt so it is facing out toward the gaping hole that is the wheel well.
The steering shaft from the firewall to the pump is two pieces, with the lower piece being capable of slipping up and into the upper piece.
Remove the bolt completely, and then slide/tap the shaft back up toward the firewall.
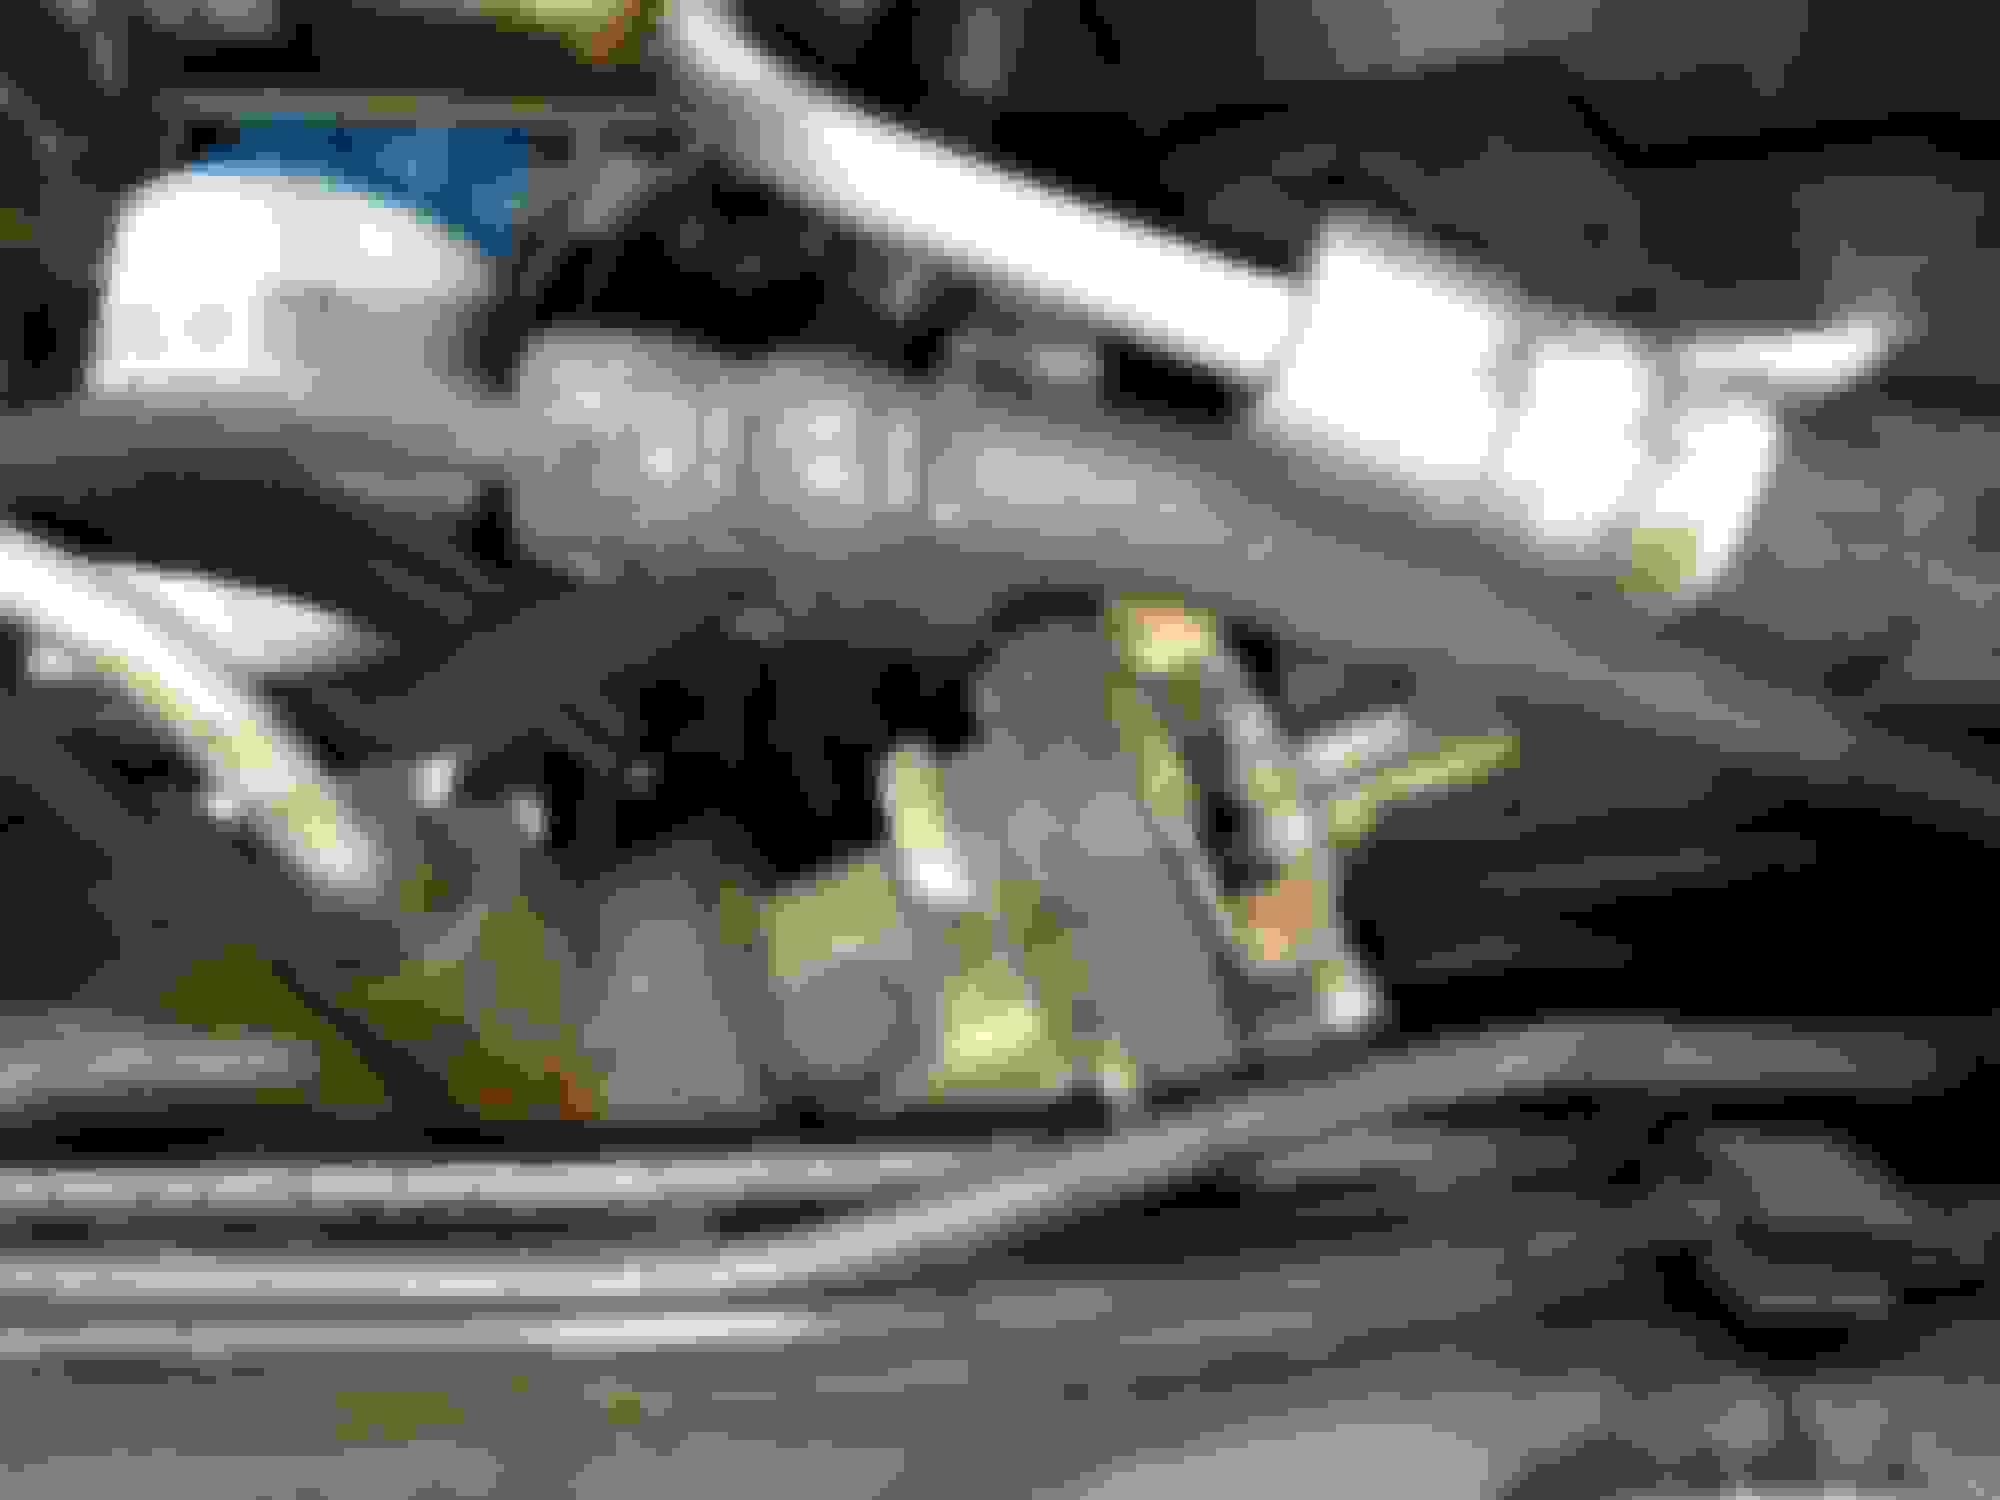
Now take the hose down from the hydro-boost you disconnected earlier, and let it drain into a waste container. This will take a couple of minutes.
Disconnect your lines. Remove the one closest to you first. That is the return from the cooler. Then take off the hose to the hydro-boost and toss it. We have the hose from the donor that is going in with the newer gear.
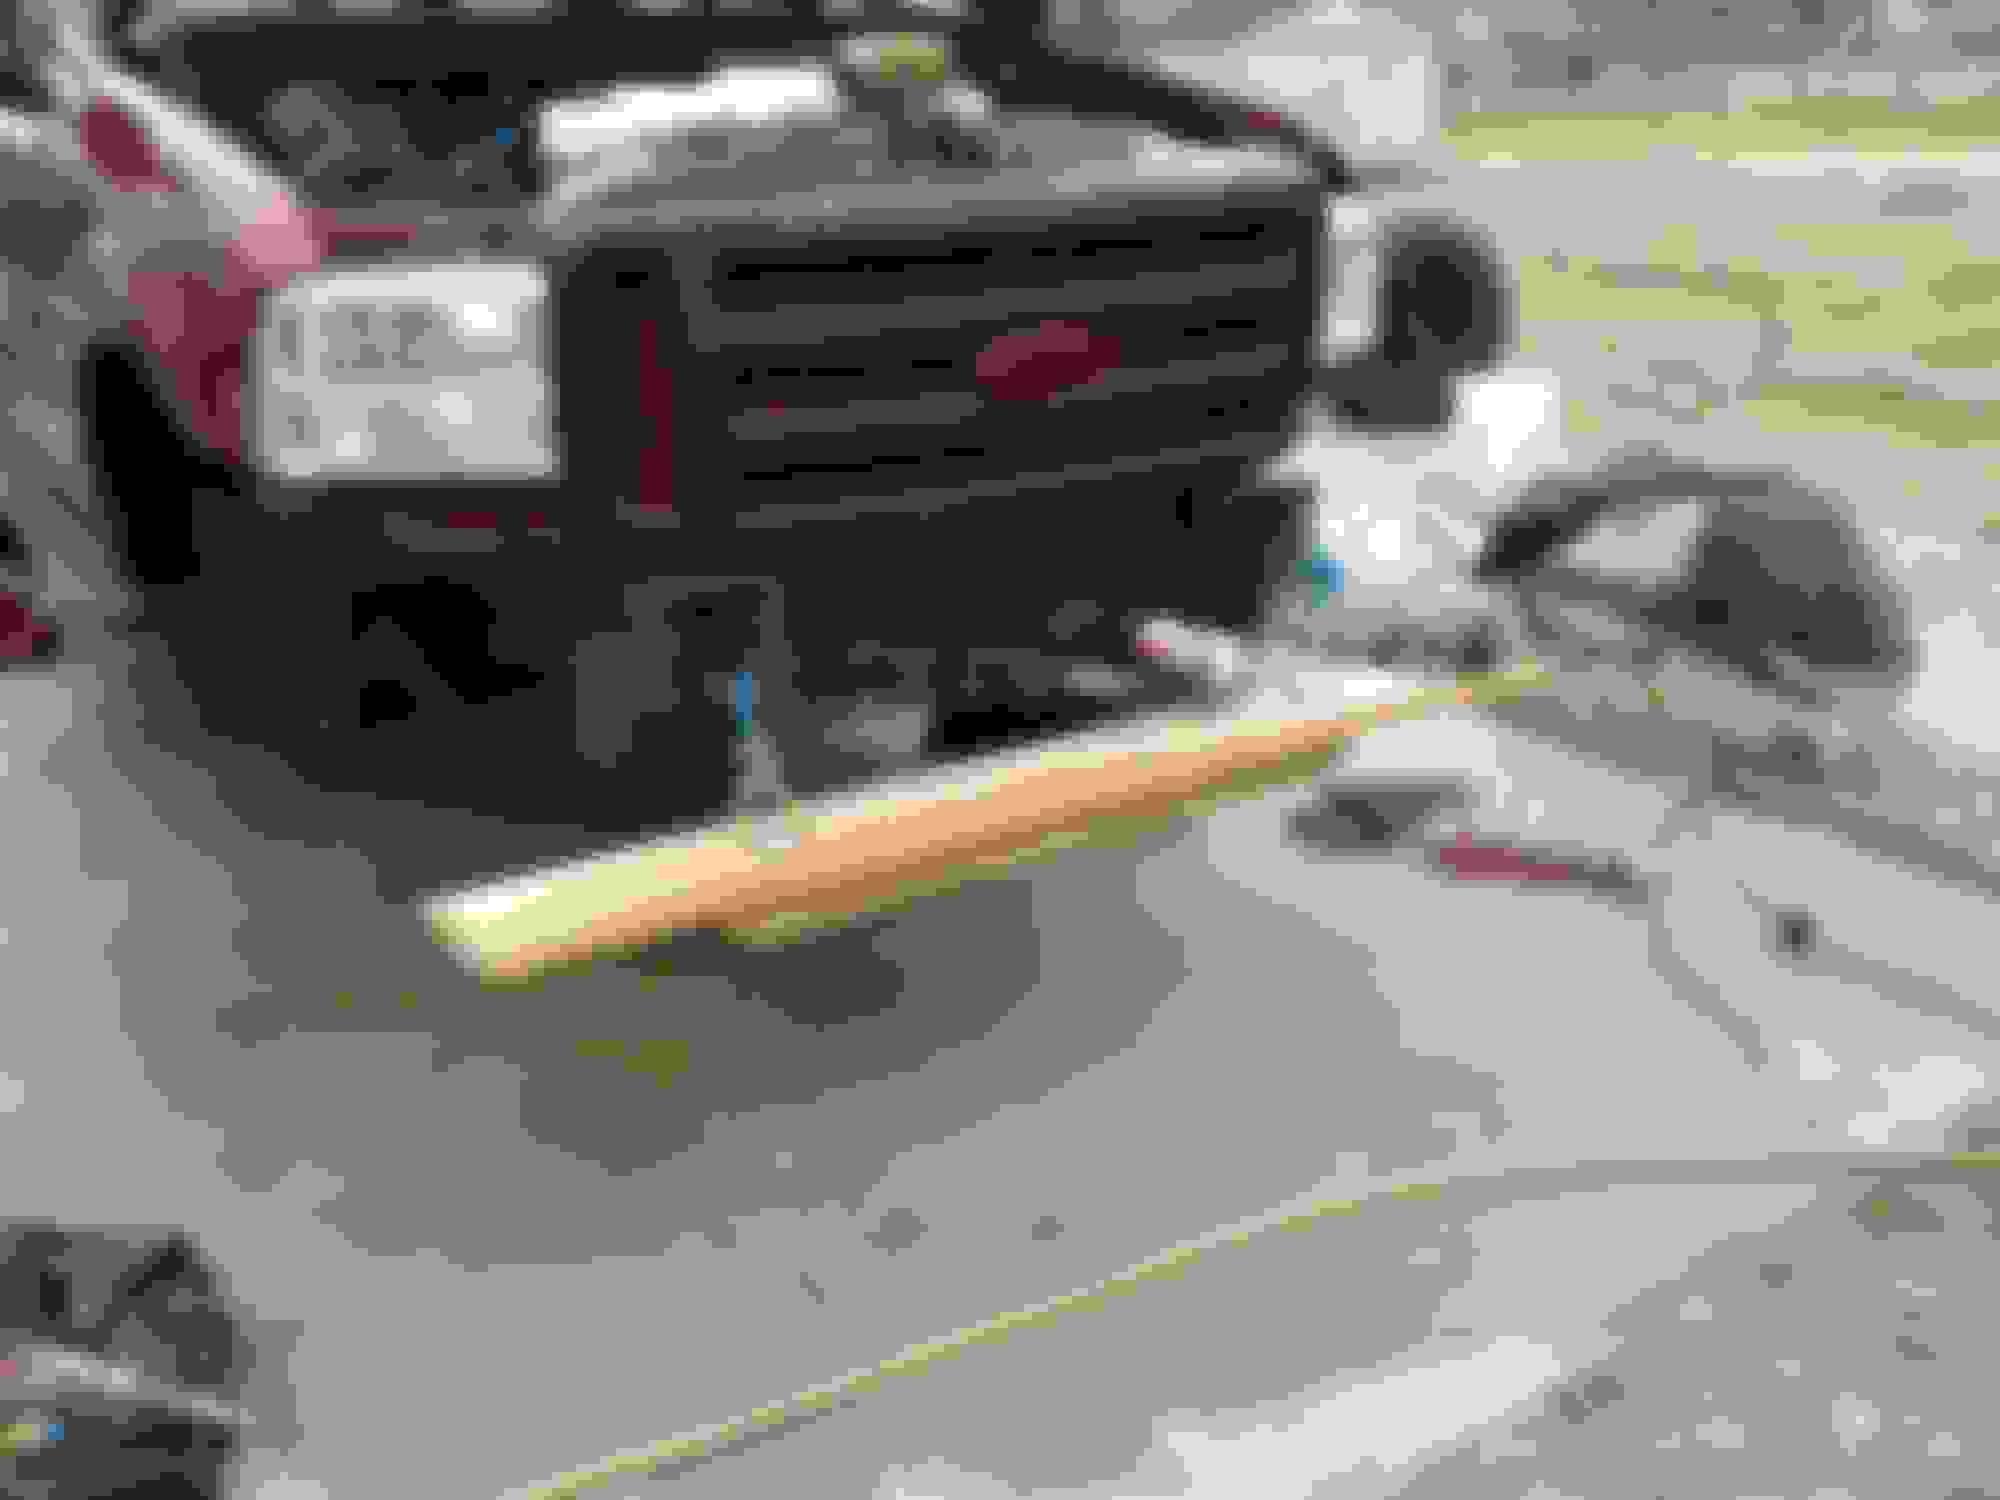
Gotta climb back on top every once in a while, and that is hard to do without a bumper. So, back on with the new work platform.
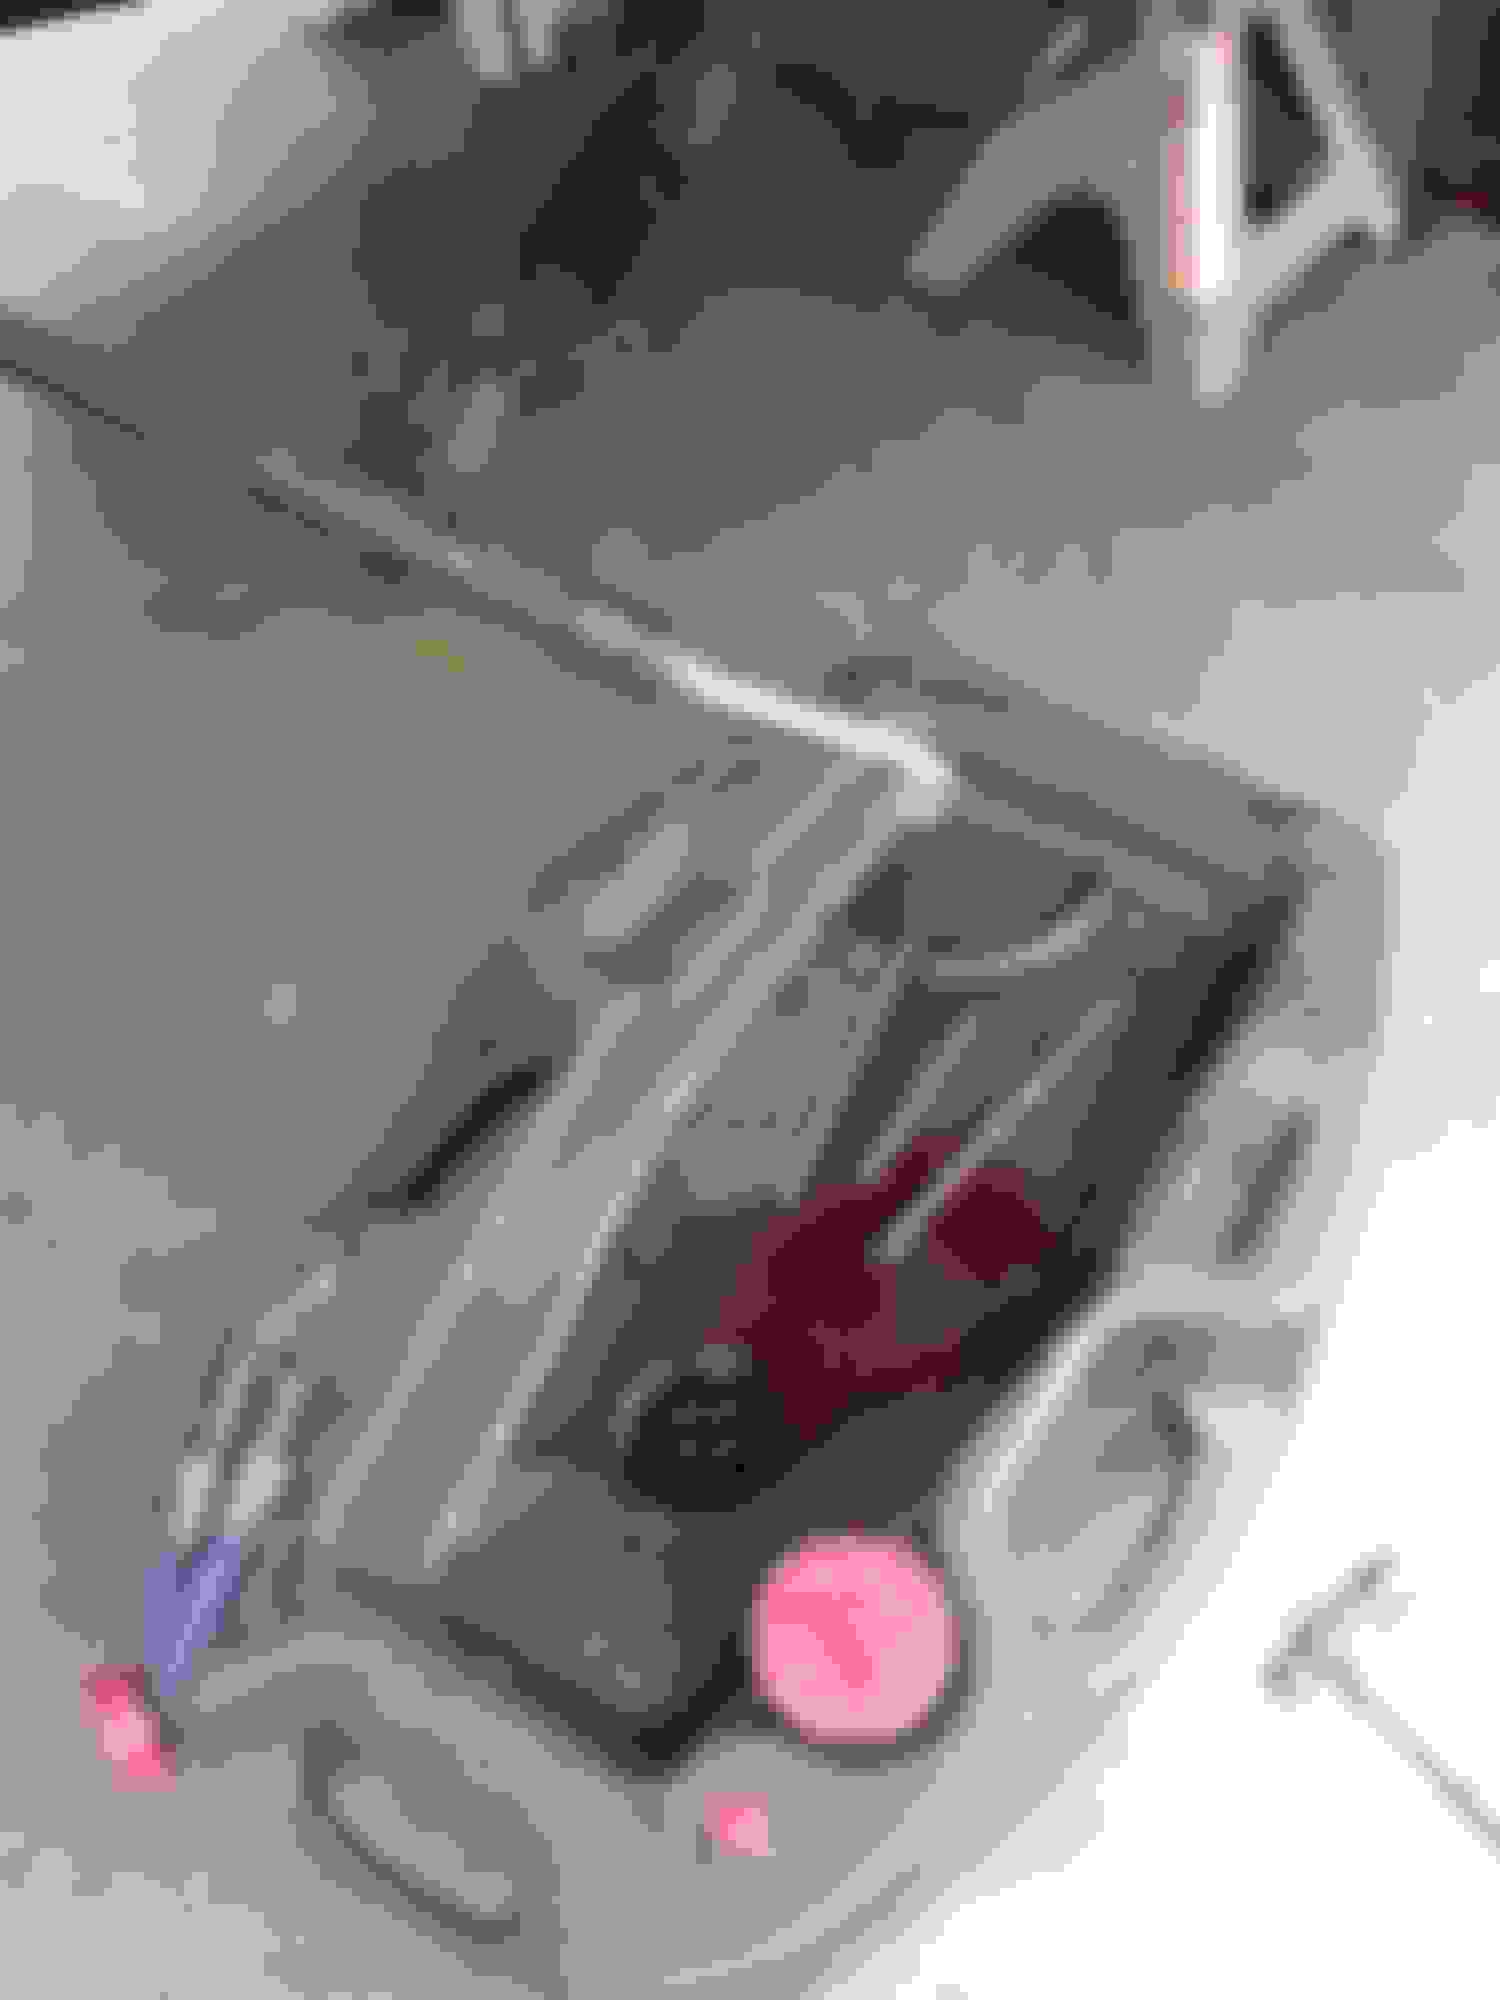
Remove the bolts, and take the gear out. In the above photo, you can see why you need that newer line off the donor. The fitting for the line going up to the hydro-boost on the newer gear is bigger than the one on the old gear.
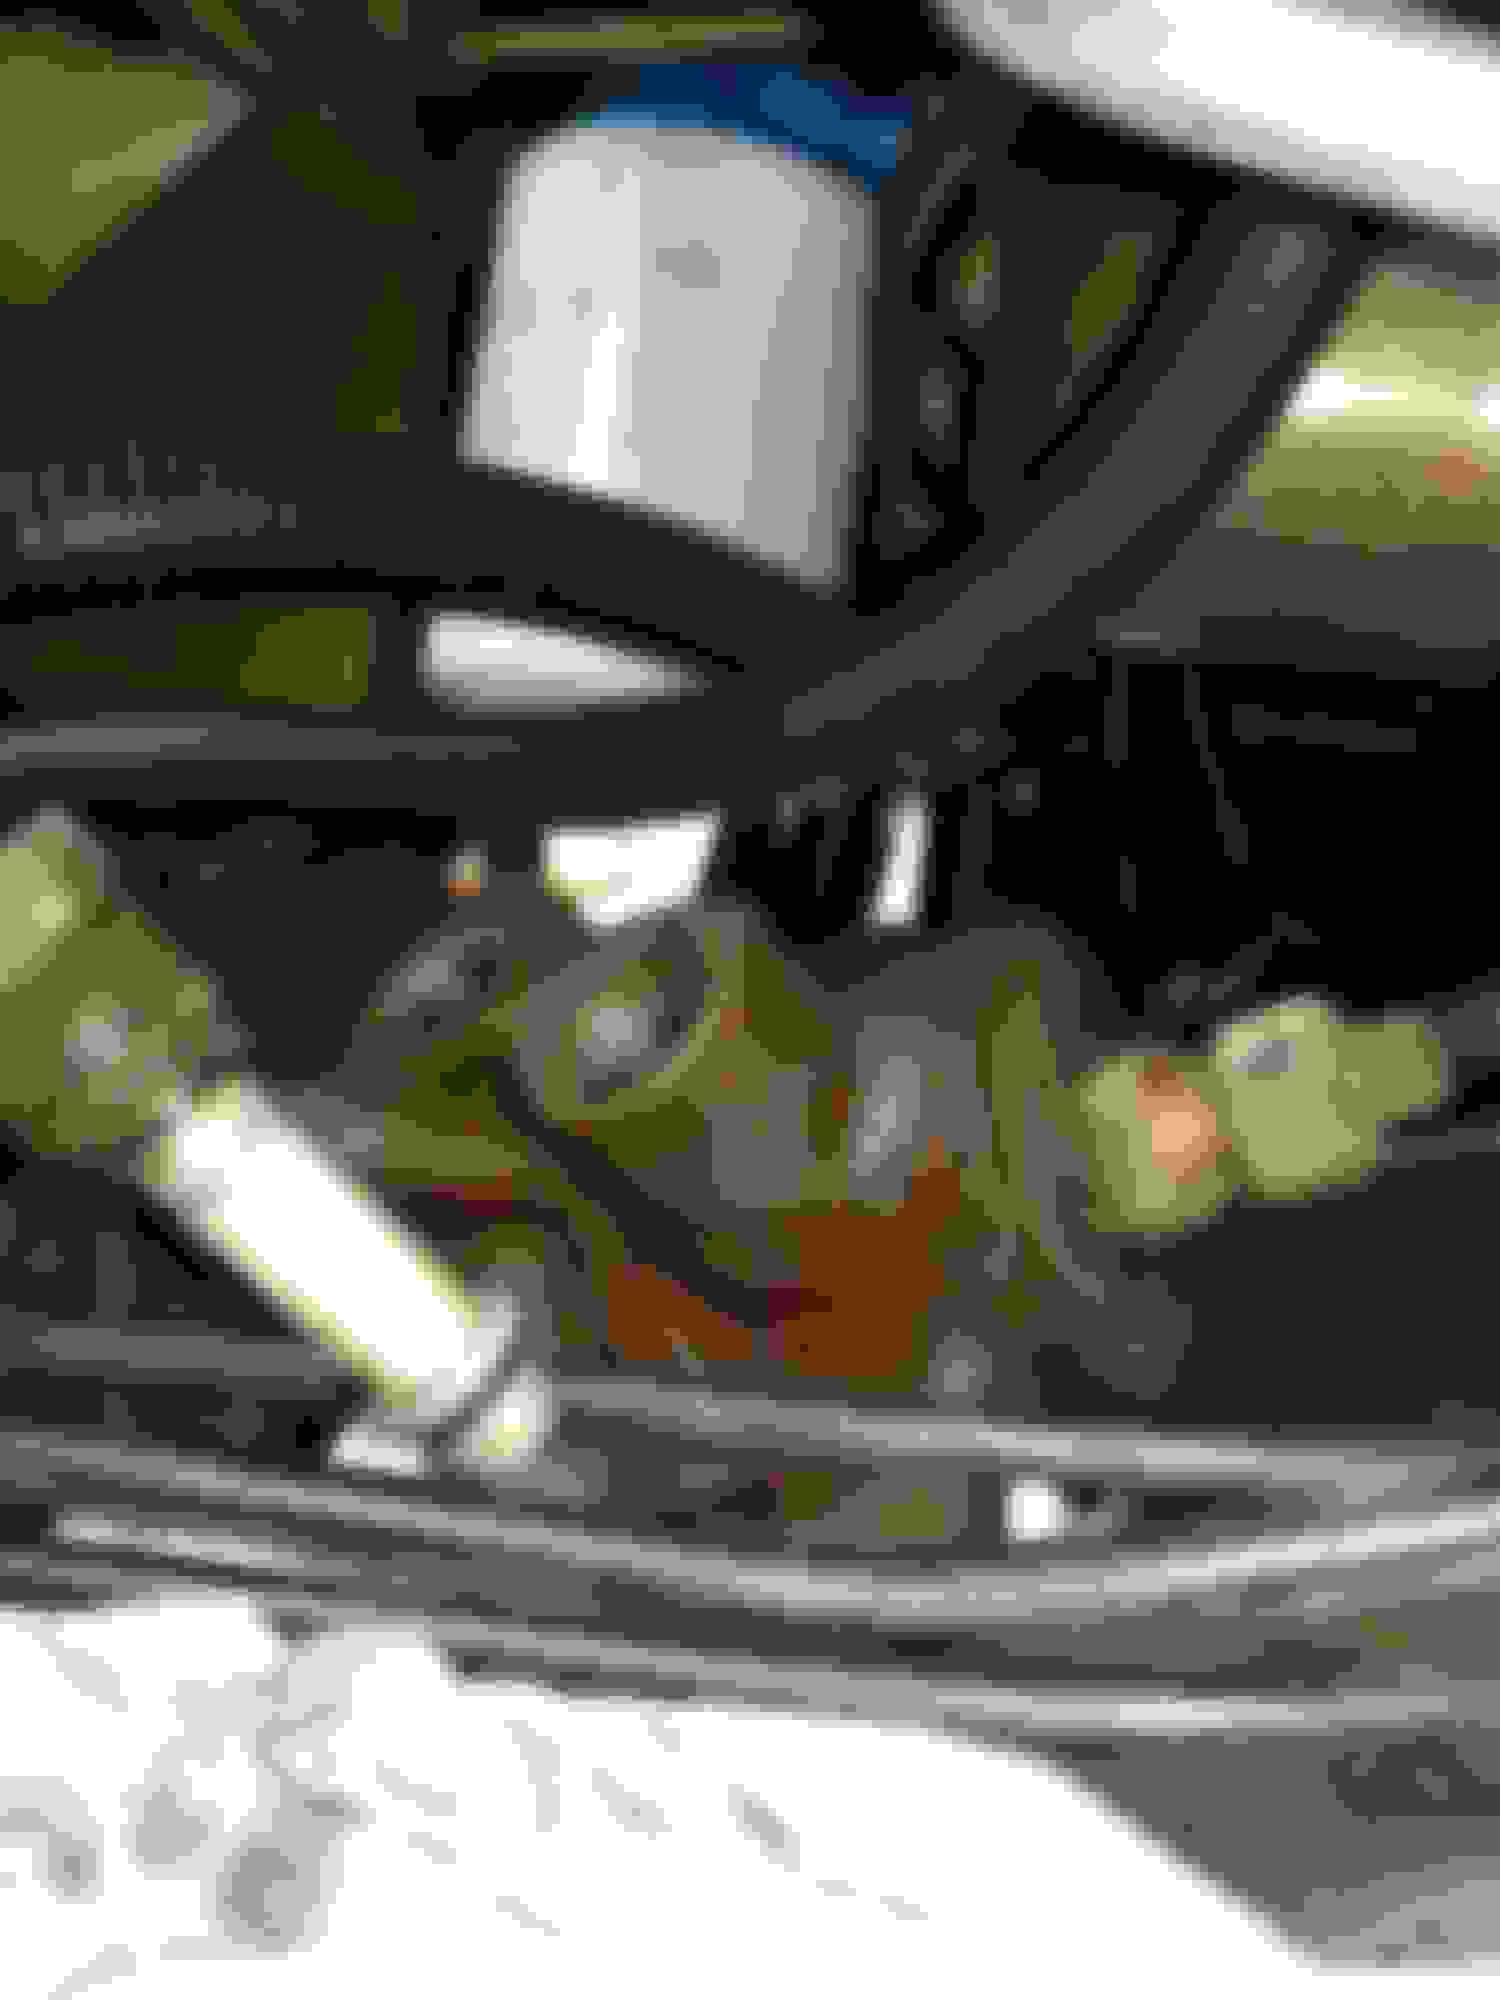
When removing the gear box, you all know it is quite heavy by now. Remove 2 of the 3 bolts all the way, leaving one bolt. Then loosen the last bolt a little so you can turn it by hand. This requires some precision with the impact, or you can use the ratchet. Once you have that last bolt loose, you will need to get down on the ground again, and you will have to support the gear box with one hand while spinning the last bolt out with the other hand. Remove the gear box down and out.
This Hennessey Takes the Expedition Tremor's Off-Roading Capability to the Next Level
Slideshow: The VelociRaptor Expedition gains a lift, upgraded suspension, Brembo brakes, and trail-ready equipment while retaining the stock 440-horsepower EcoBoost V6.
Rezvani's Latest Post-Apocalyptic Monster Is a Ford F-150 Raptor Underneath
Slideshow: Called the Fortress, the 850-horsepower pickup combines Raptor underpinnings with military-inspired features, survival equipment, and a starting price of $285,000.