When you click on links to various merchants on this site and make a purchase, this can result in this site earning a commission. Affiliate programs and affiliations include, but are not limited to, the eBay Partner Network.
Pecking away with the 2 fingertips that are exposed. I am a descent typer so having the other fingers trapped makes for a difficult time. My other fingers know where all the keys are but my index fingers have to search for them. Had surgery Friday morning after the swelling had gone down. Doc said everything went very well. I suddenly have a lot of free time but can't do a damn thing... well except read so keep those posts coming!
Pecking away with the 2 fingertips that are exposed. I am a descent typer so having the other fingers trapped makes for a difficult time. My other fingers know where all the keys are but my index fingers have to search for them. Had surgery Friday morning after the swelling had gone down. Doc said everything went very well. I suddenly have a lot of free time but can't do a damn thing... well except read so keep those posts coming!
Damn Mike, you need to hurry up and finish this thing. Then I'm just going to park my X in your driveway one day and leave it there for a few months while your OCD works its magic!
Damn Mike, you need to hurry up and finish this thing. Then I'm just going to park my X in your driveway one day and leave it there for a few months while your OCD works its magic!
I am actually contemplating doing this conversion for others. You have to leave me a credit card with $1000 on it, though! That is how much I spent in parts, paint, oil, grease and towels SO FAR. Time....now that is another matter all together.
I am actually contemplating doing this conversion for others. You have to leave me a credit card with $1000 on it, though! That is how much I spent in parts, paint, oil, grease and towels. Time....now that is another matter all together.
Pff, that would be a no-brainer.
See the evil genius in my plan though is I don't even say anything, I just leave it there parked, it will call to you.
Damn Mike, you need to hurry up and finish this thing. Then I'm just going to park my X in your driveway one day and leave it there for a few months while your OCD works its magic!
Originally Posted by Nicmike
I am actually contemplating doing this conversion for others. You have to leave me a credit card with $1000 on it, though! That is how much I spent in parts, paint, oil, grease and towels. Time....now that is another matter all together.
Originally Posted by seijirou
Pff, that would be a no-brainer.
See the evil genius in my plan though is I don't even say anything, I just leave it there parked, it will call to you.
I can't get that trick to work for me. Keeps sending me back to the previous page...
You are welcome anytime if you want to see it in pieces now.
Yea you know what, I use the keypad to the right of the keyboard. Just have Num Lock on.
I'd really like to be able to meet you at the Gold Mine sometime.
Pirate was going to work on the 2013 brakes compatibility, but I have not seen him posting on the boards since New Years. Said he was going to Mexico, and he hasn't posted since...
What are you typing with, David? Healing up ok?
Just got home from a pretty epic voyage with minimal internet time.
I'd like to say I'd have some time to work on it now as I am headed to the middle of the Mohave desert for the next month putting on a desert race known as King of the hammers.
i should be able to figure it out at the race as the parts and people will be present.
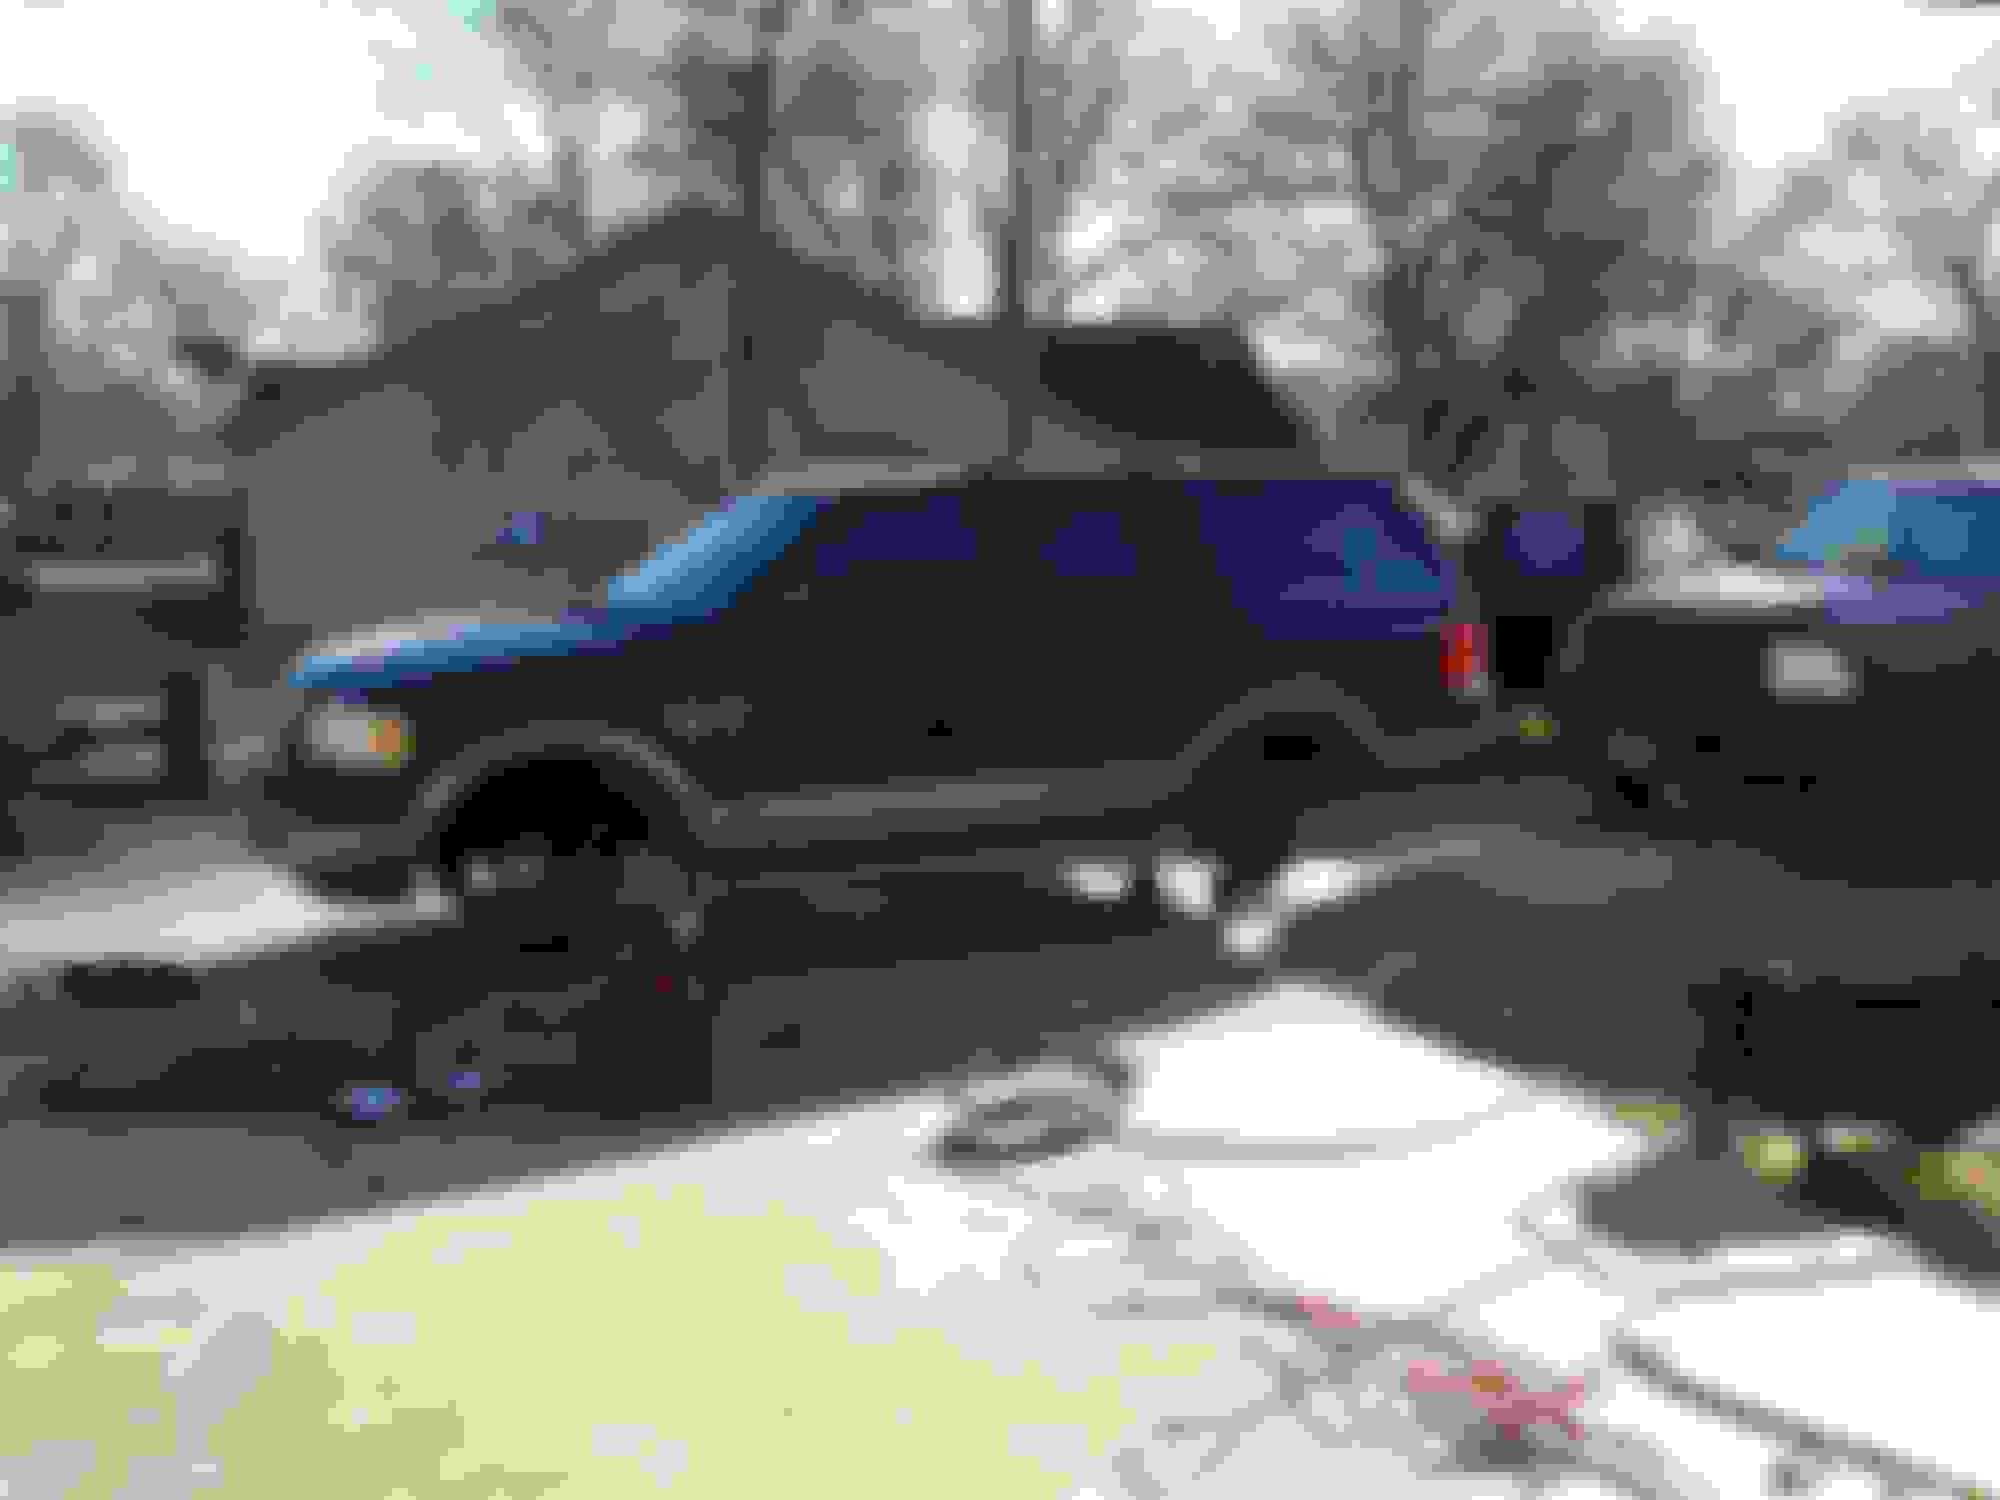
Well, I was going to get started this weekend, but that all changed when my sister gave my wife this to drive while the X is down:
I drove it to test it out, and determined it was not safe. '04 Expy 5.4L 2wd.
The Expy needs everything. Brakes, struts, ball joints and wheel bearings on all four corners. 240k on it. Gotta fix it first, and my sister is buying the parts. I just have to do the work. So, once it's done, I can take my time on the X now. I was going to try and squeeze the X axle install into a weekend, but now I won't HAVE to finish it in one weekend if I run into issues.
Latest pics of progress:
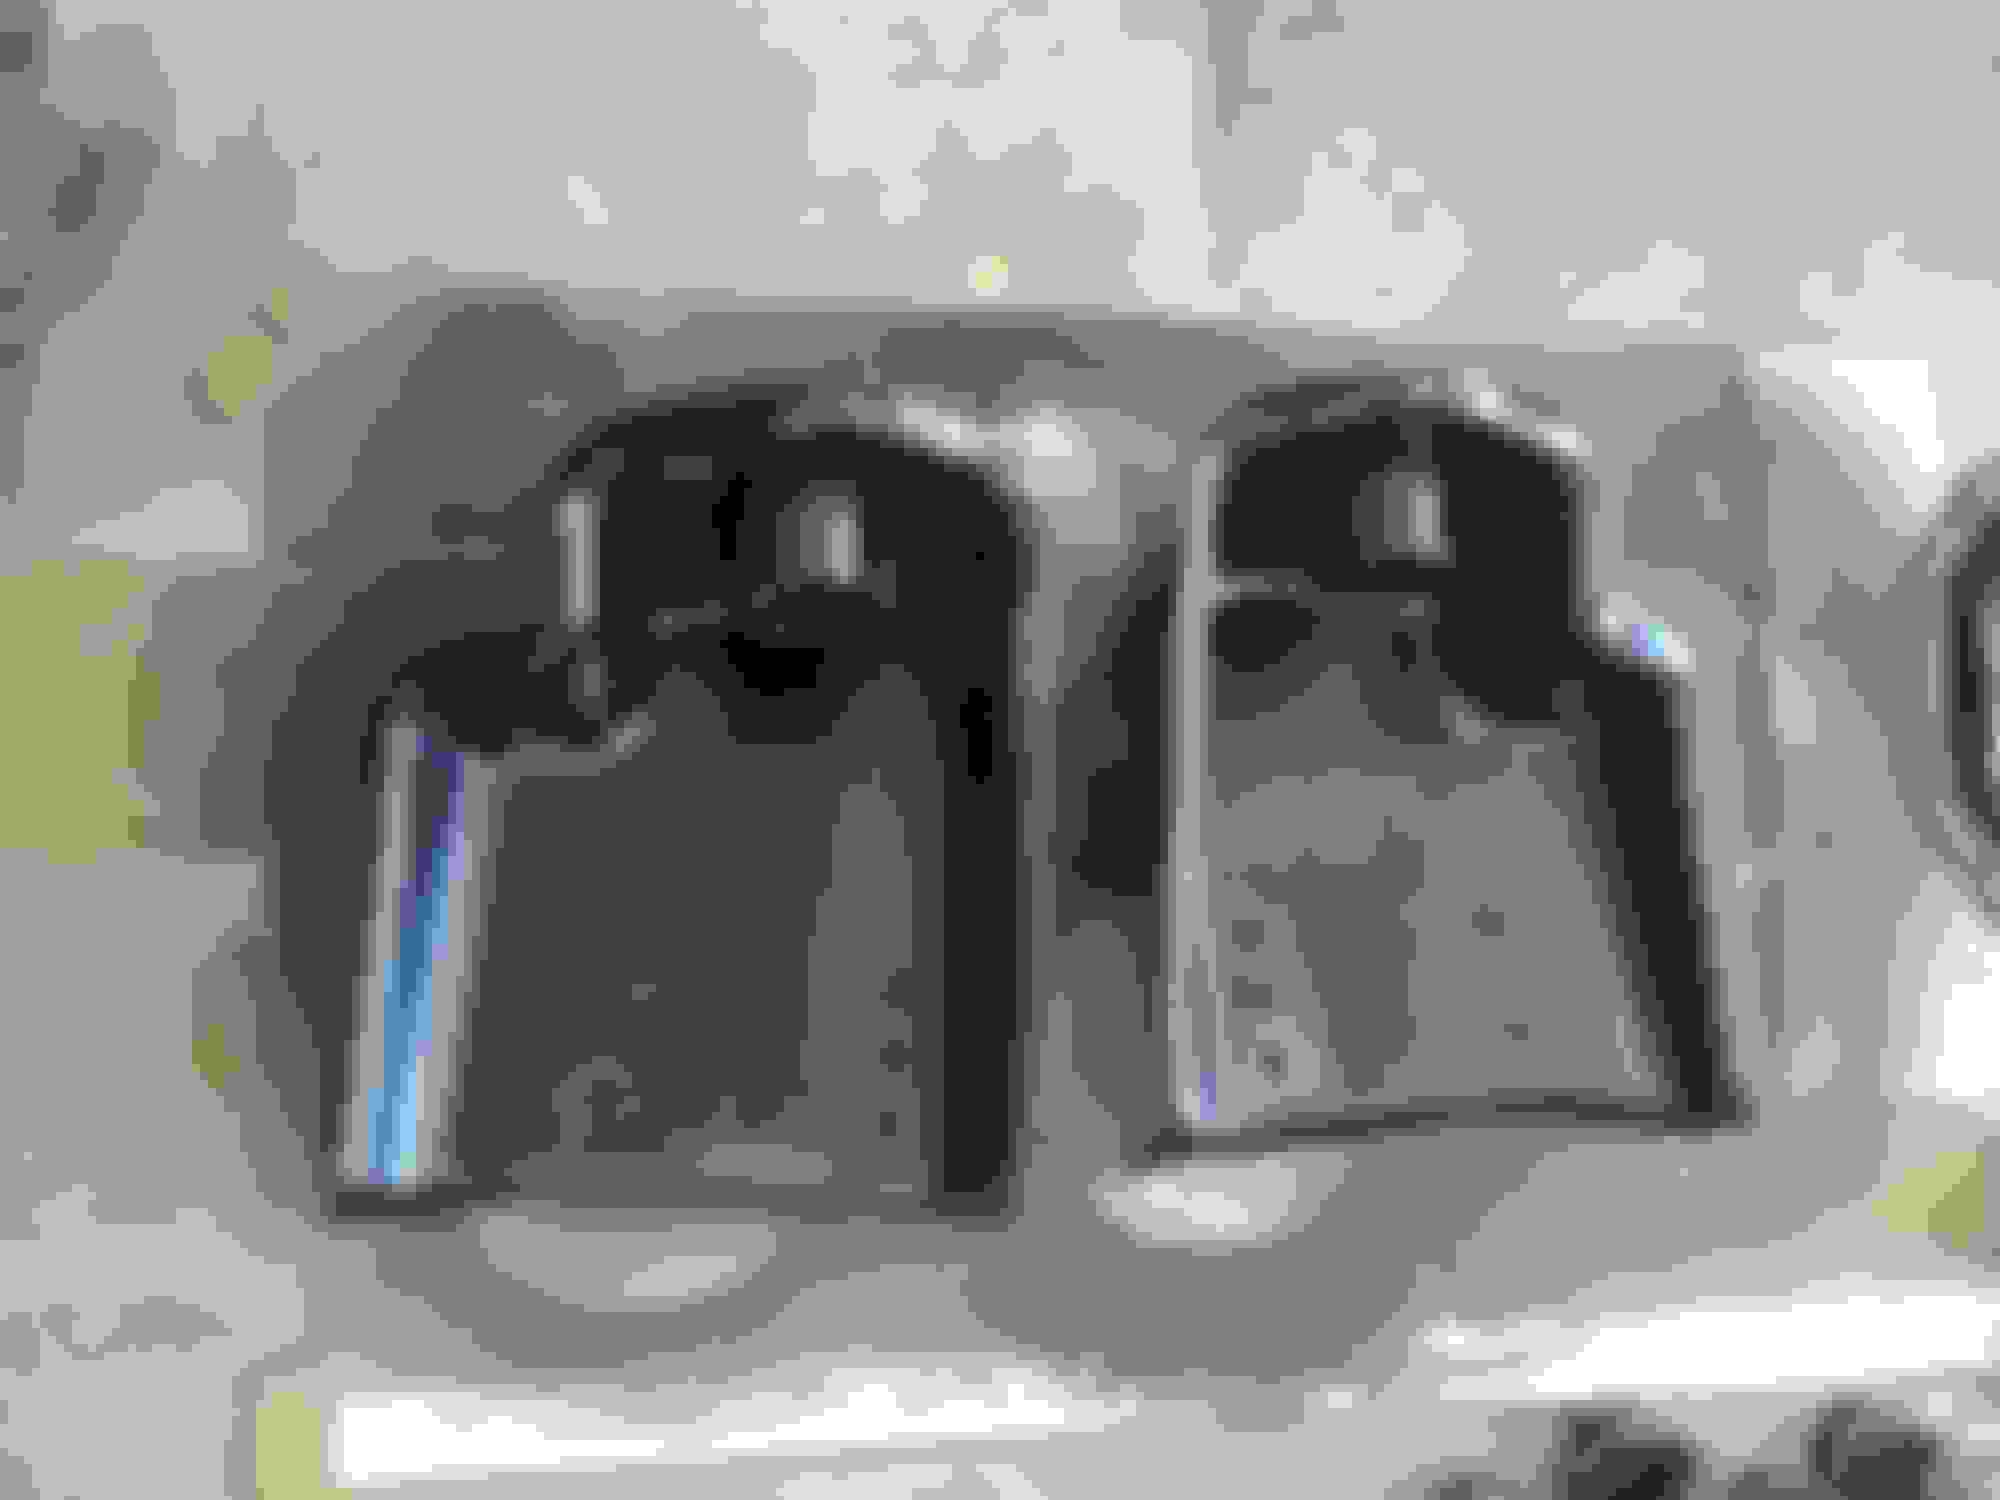
Coil buckets are ready...
Knuckles are painted and ready. One with bedliner, and the other with rubberized rust barrier frame coating. Gonna see which one wears better.
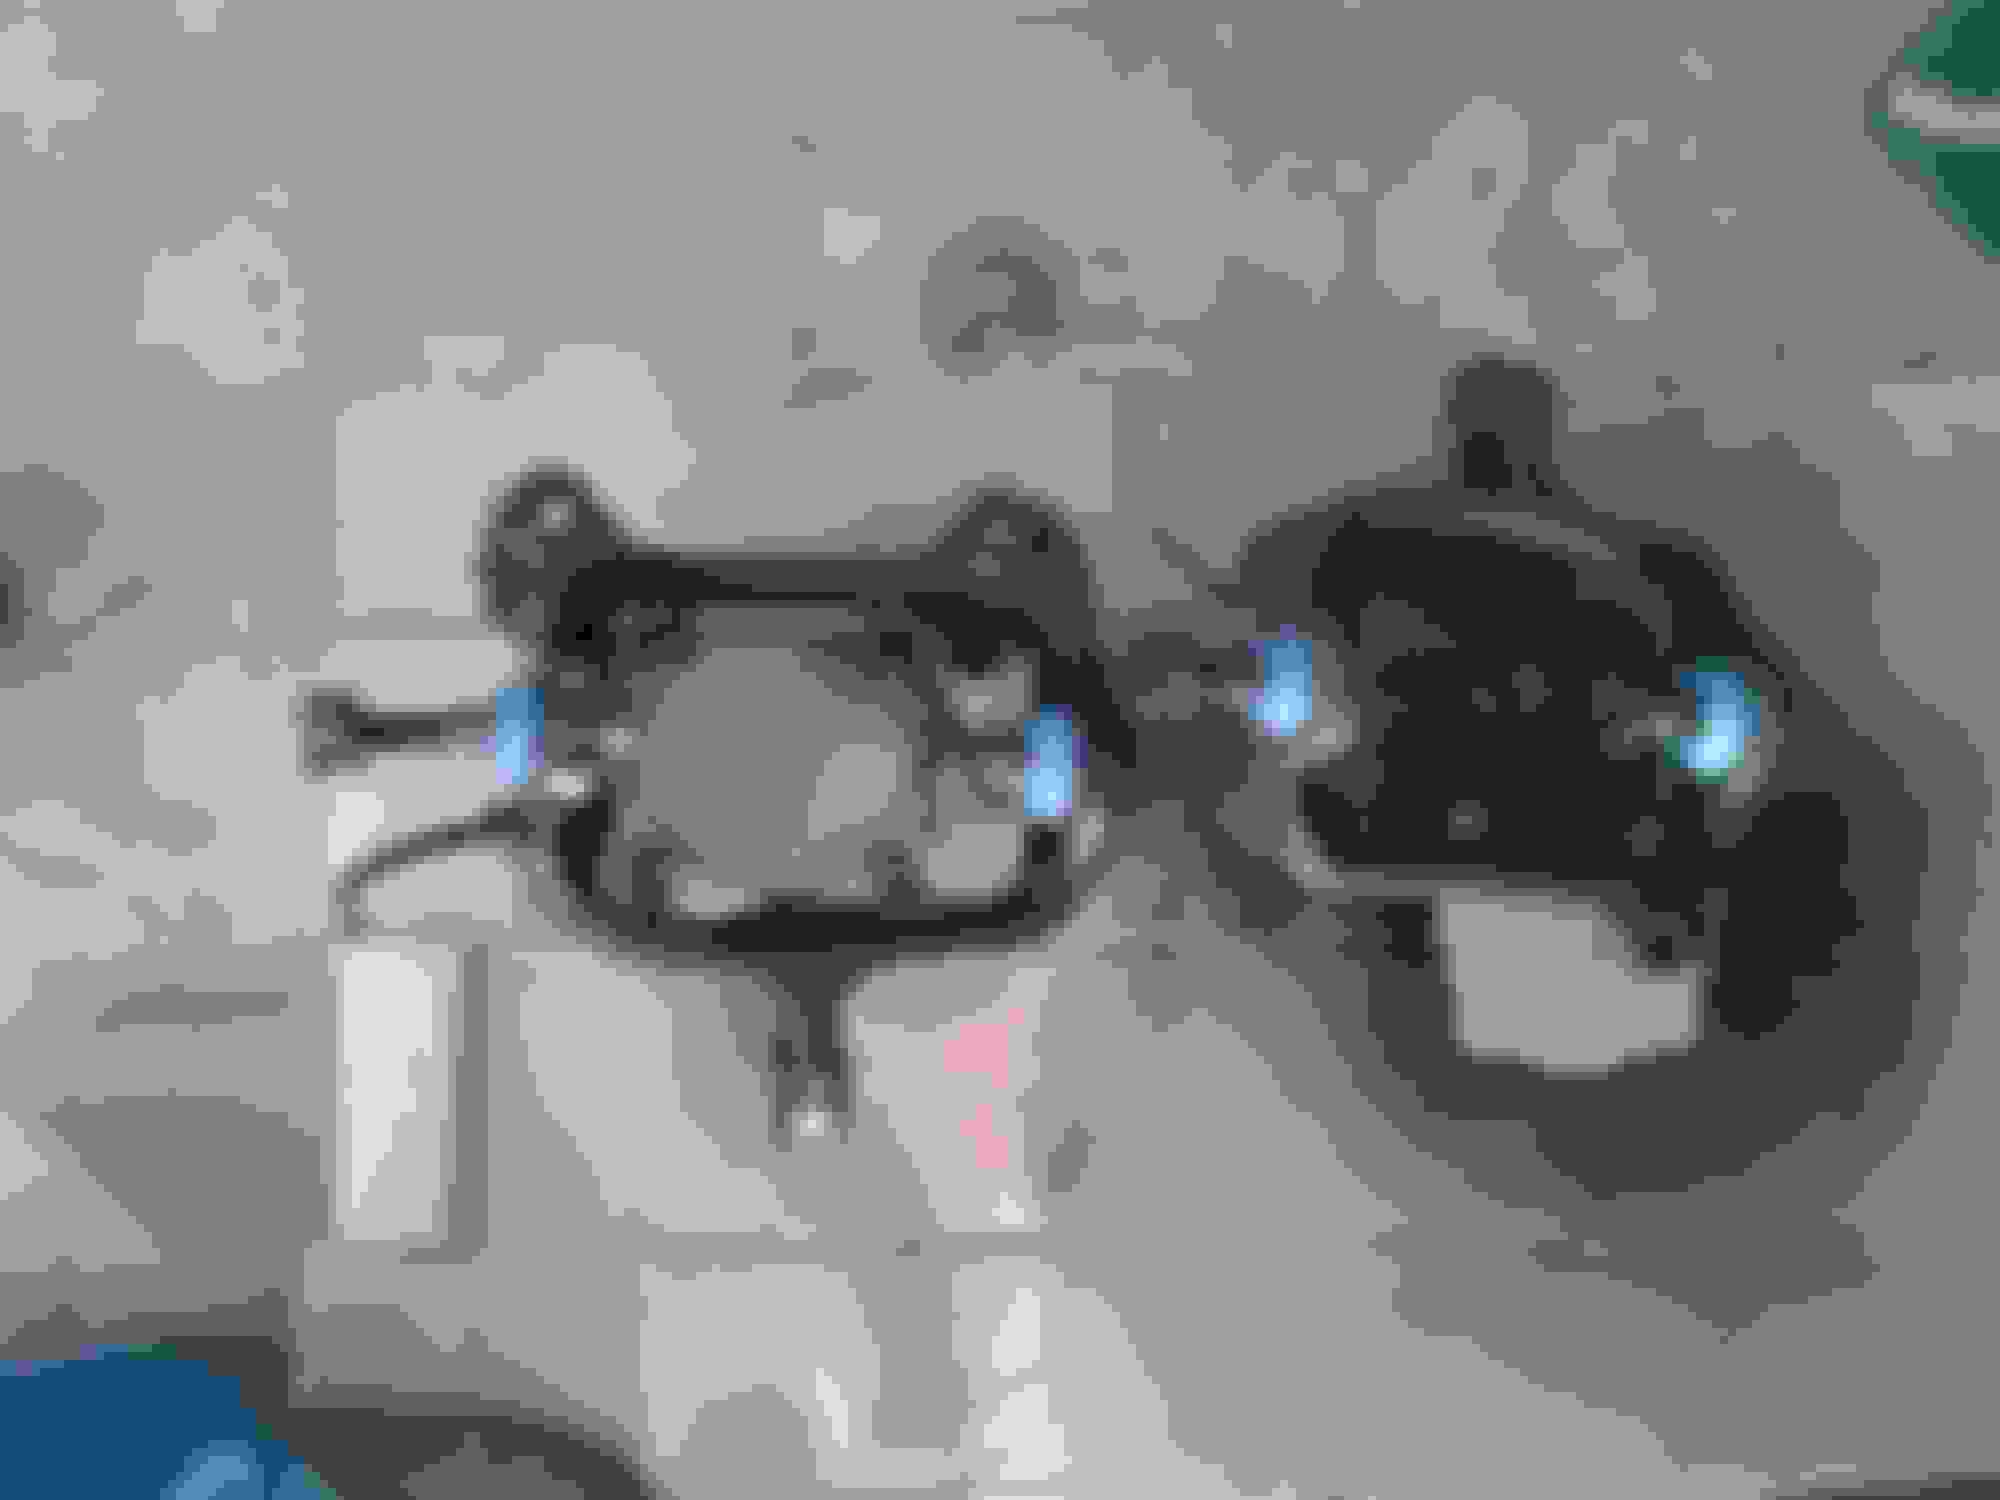
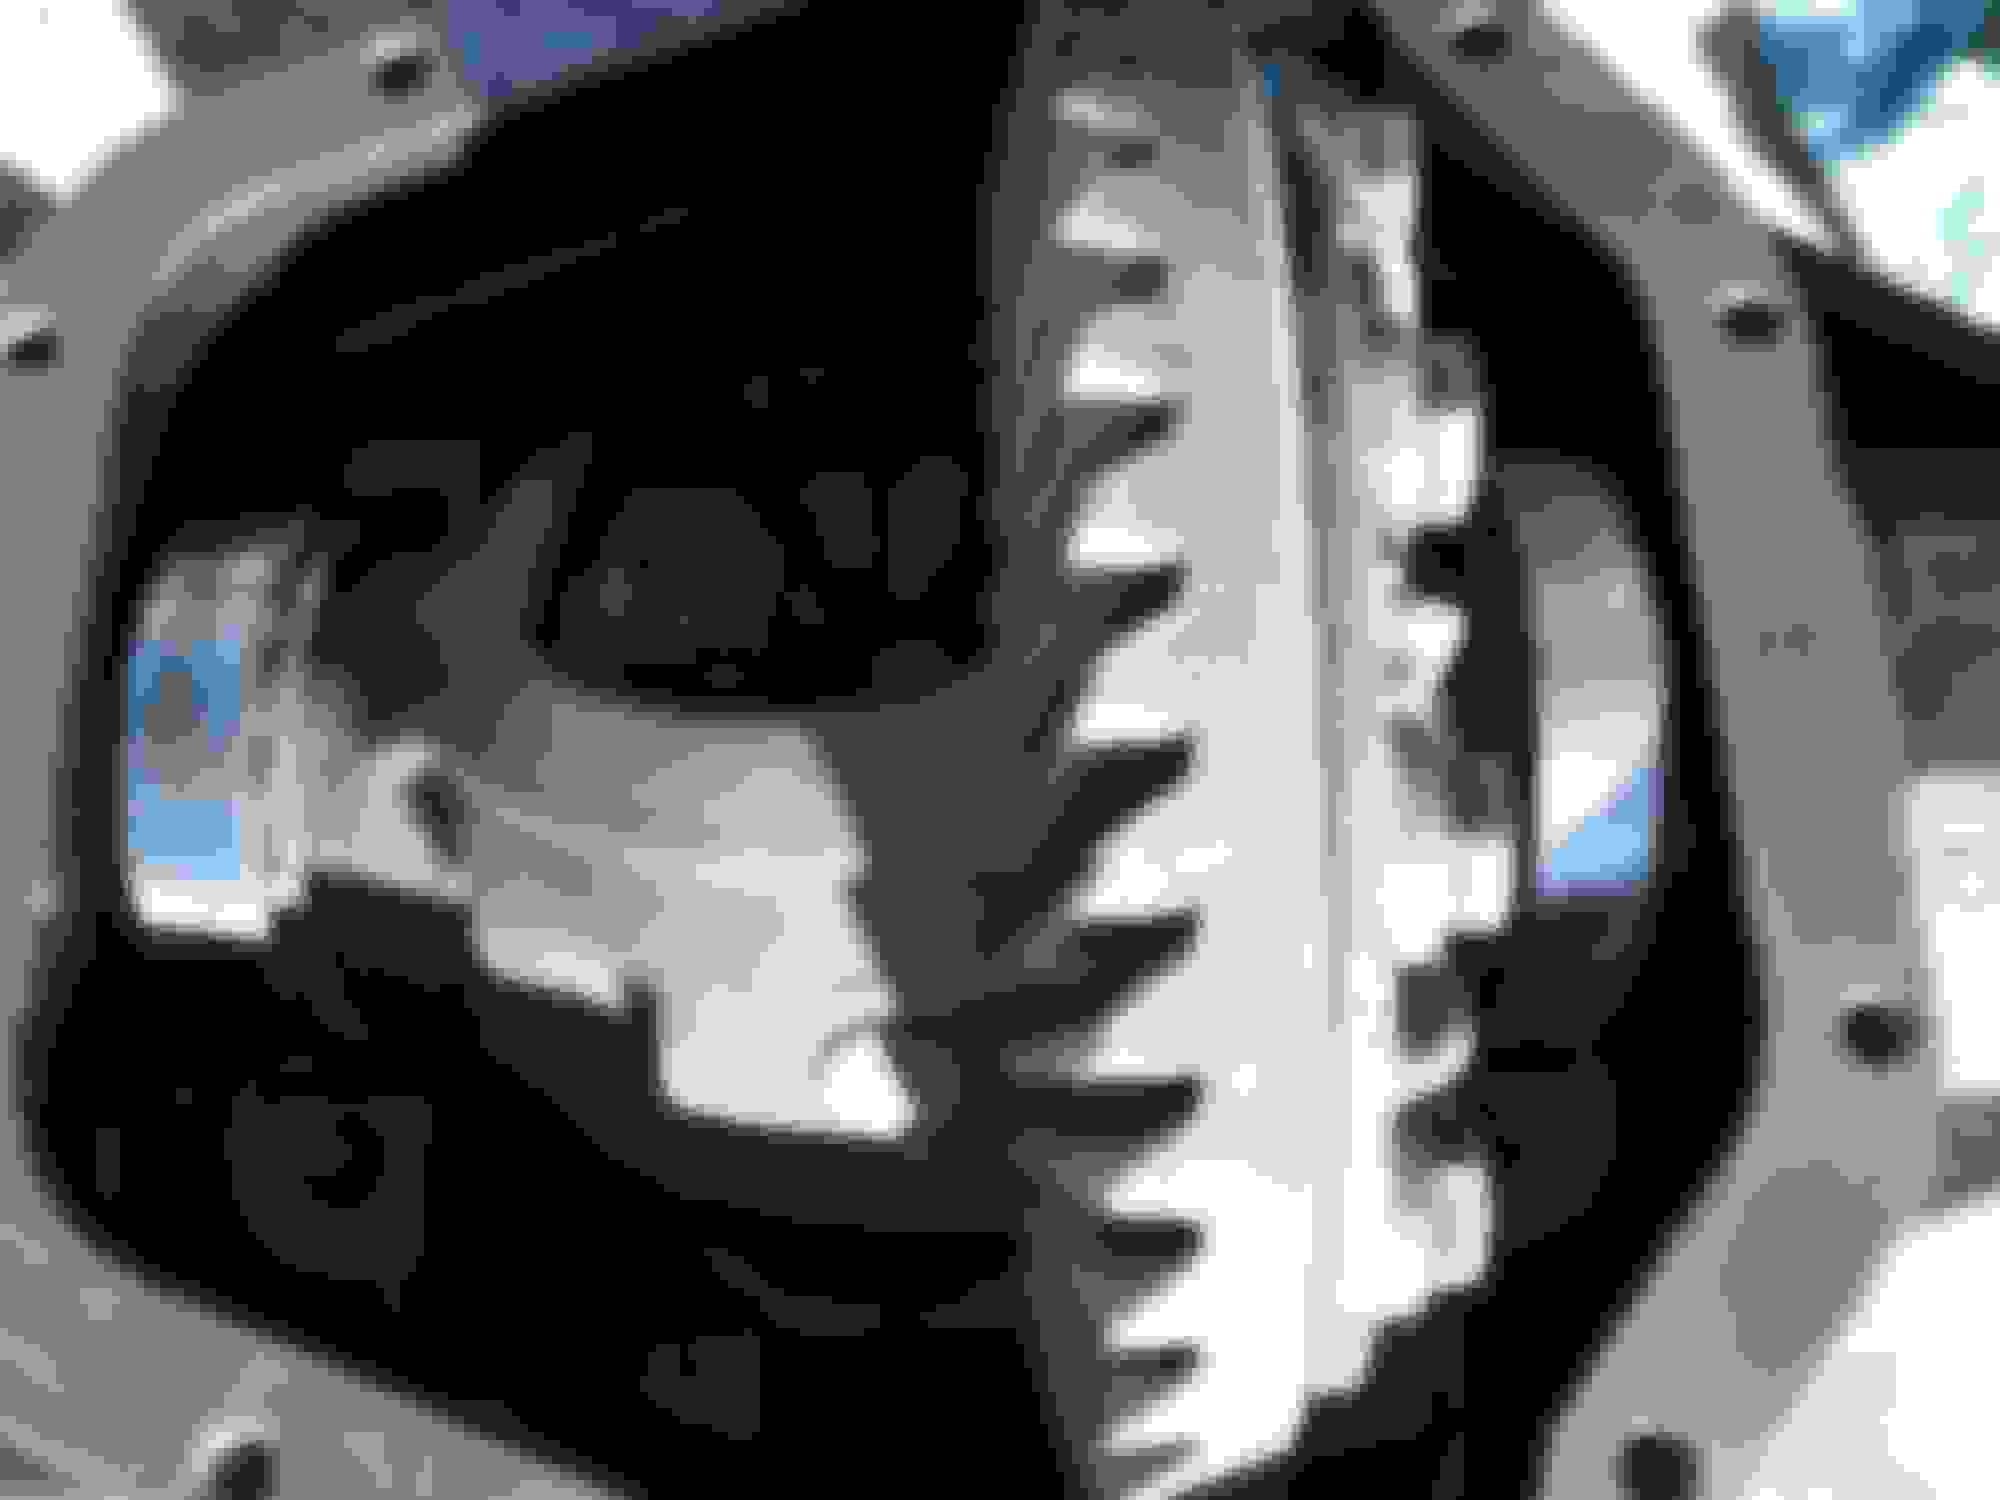
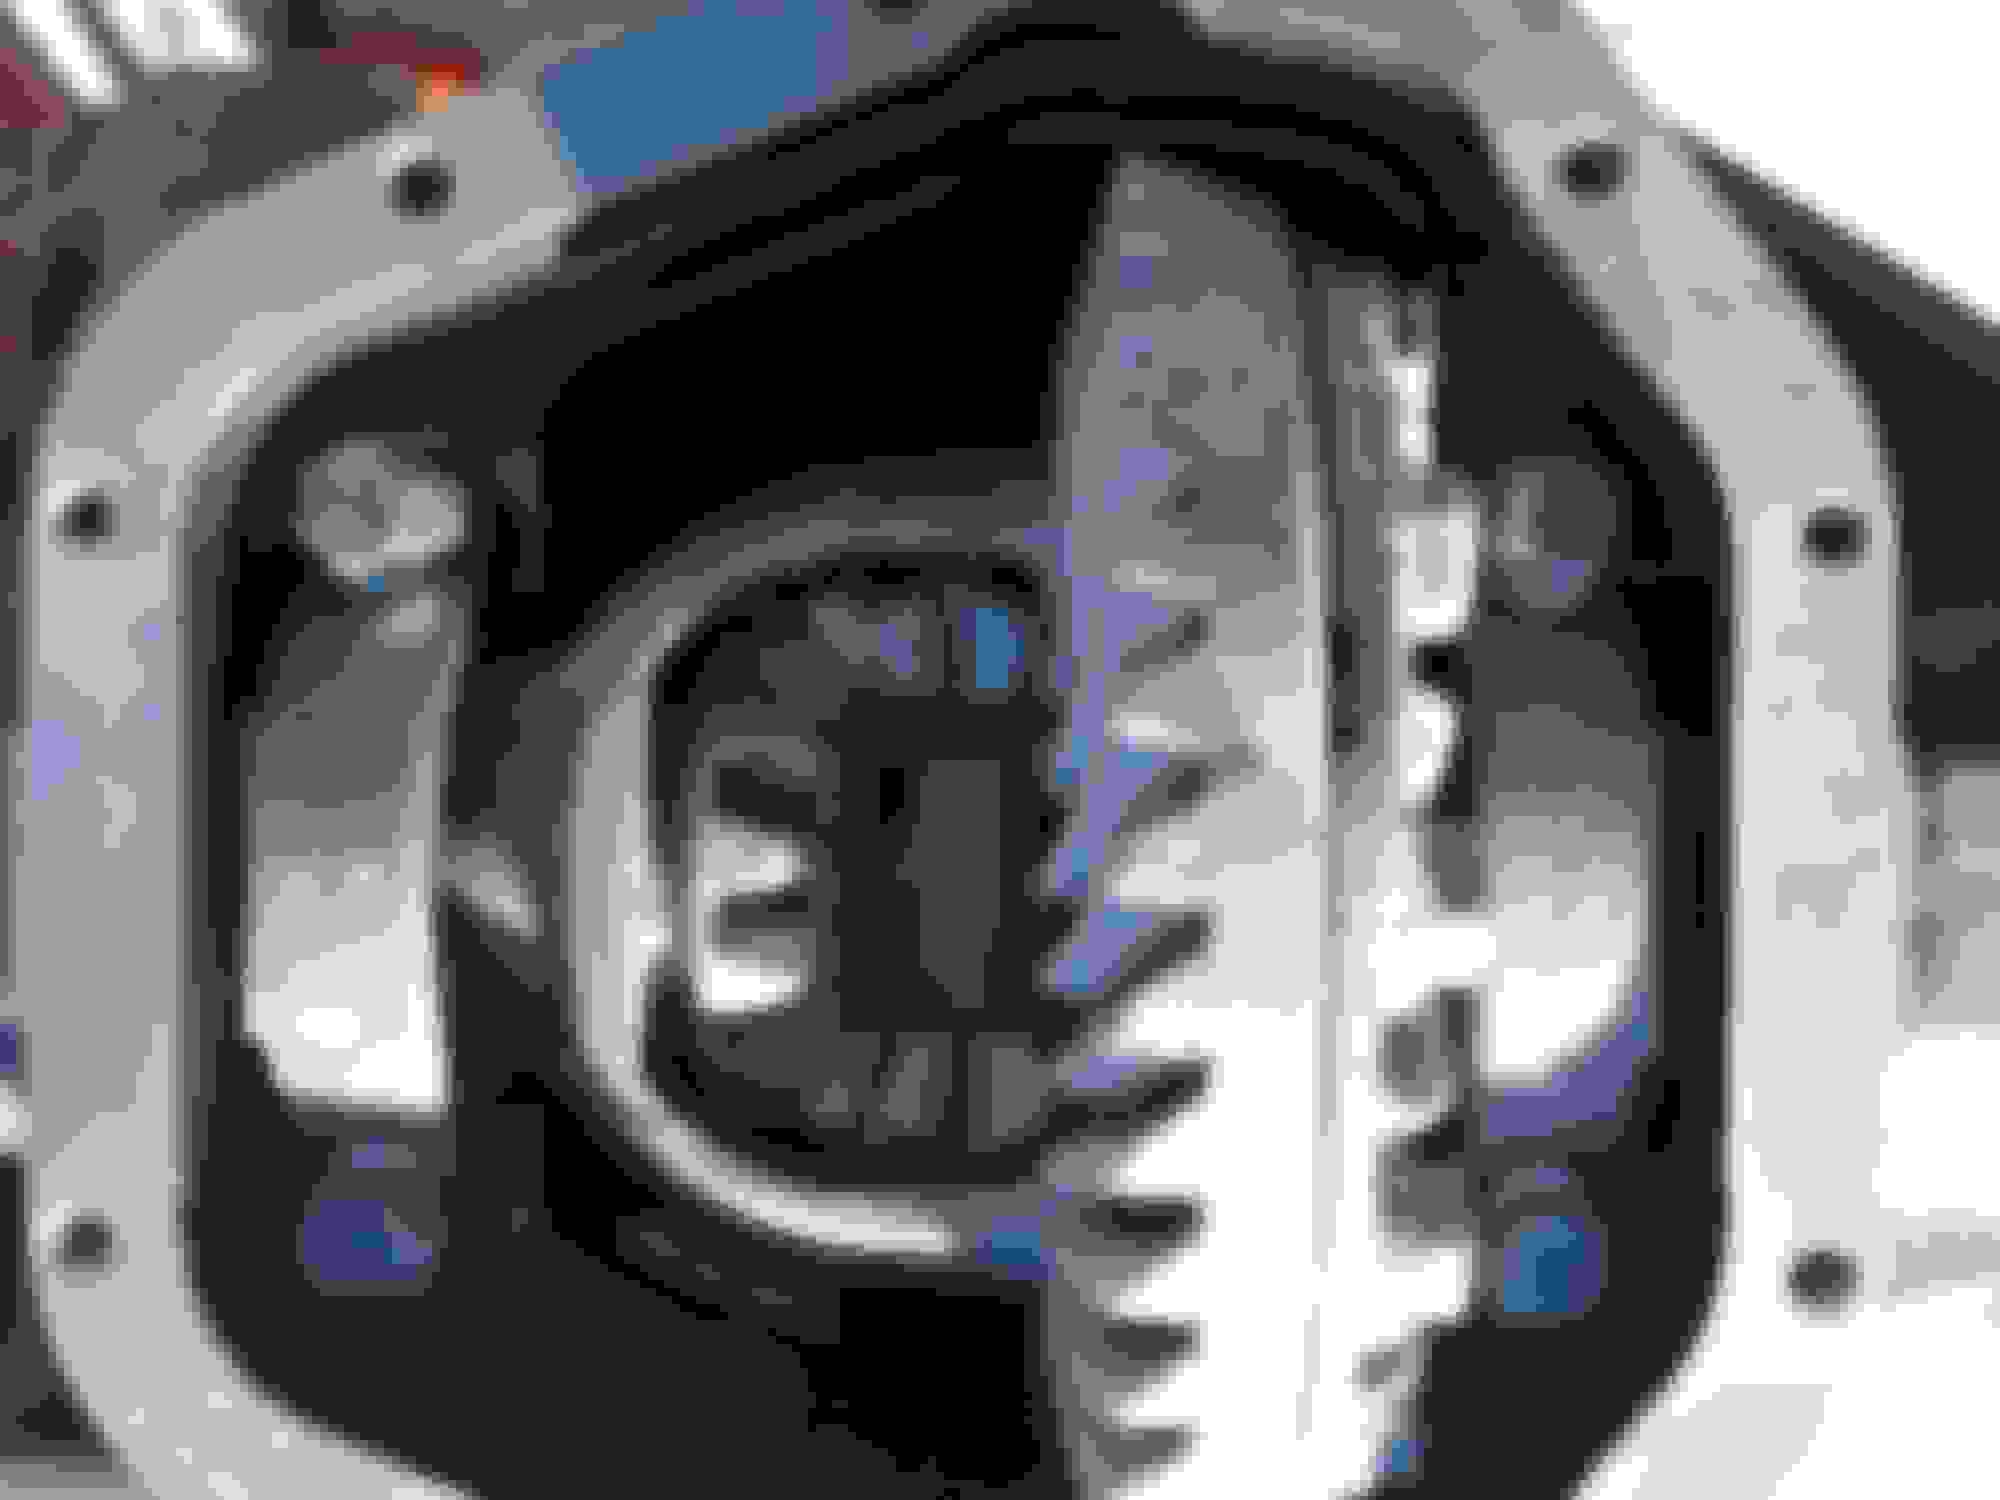
I should have time tomorrow to put the carrier back in the axle. Will take pics and post them. It is pretty easy with the axle on stands.
looks like a great idea, ive quietly been watching for a coil front end myself. was thinking about just doing a old d60 and longarms, but mostly just street driven so i stock f350 front would be fine and a upgrade over the d50 front of the excursion if the price was right
Well, it literally just took me 20 mins to put the carrier in and torque the bearing caps down. Goes in nice and easy frozen, but boy will that thing freeze your fingers quick!
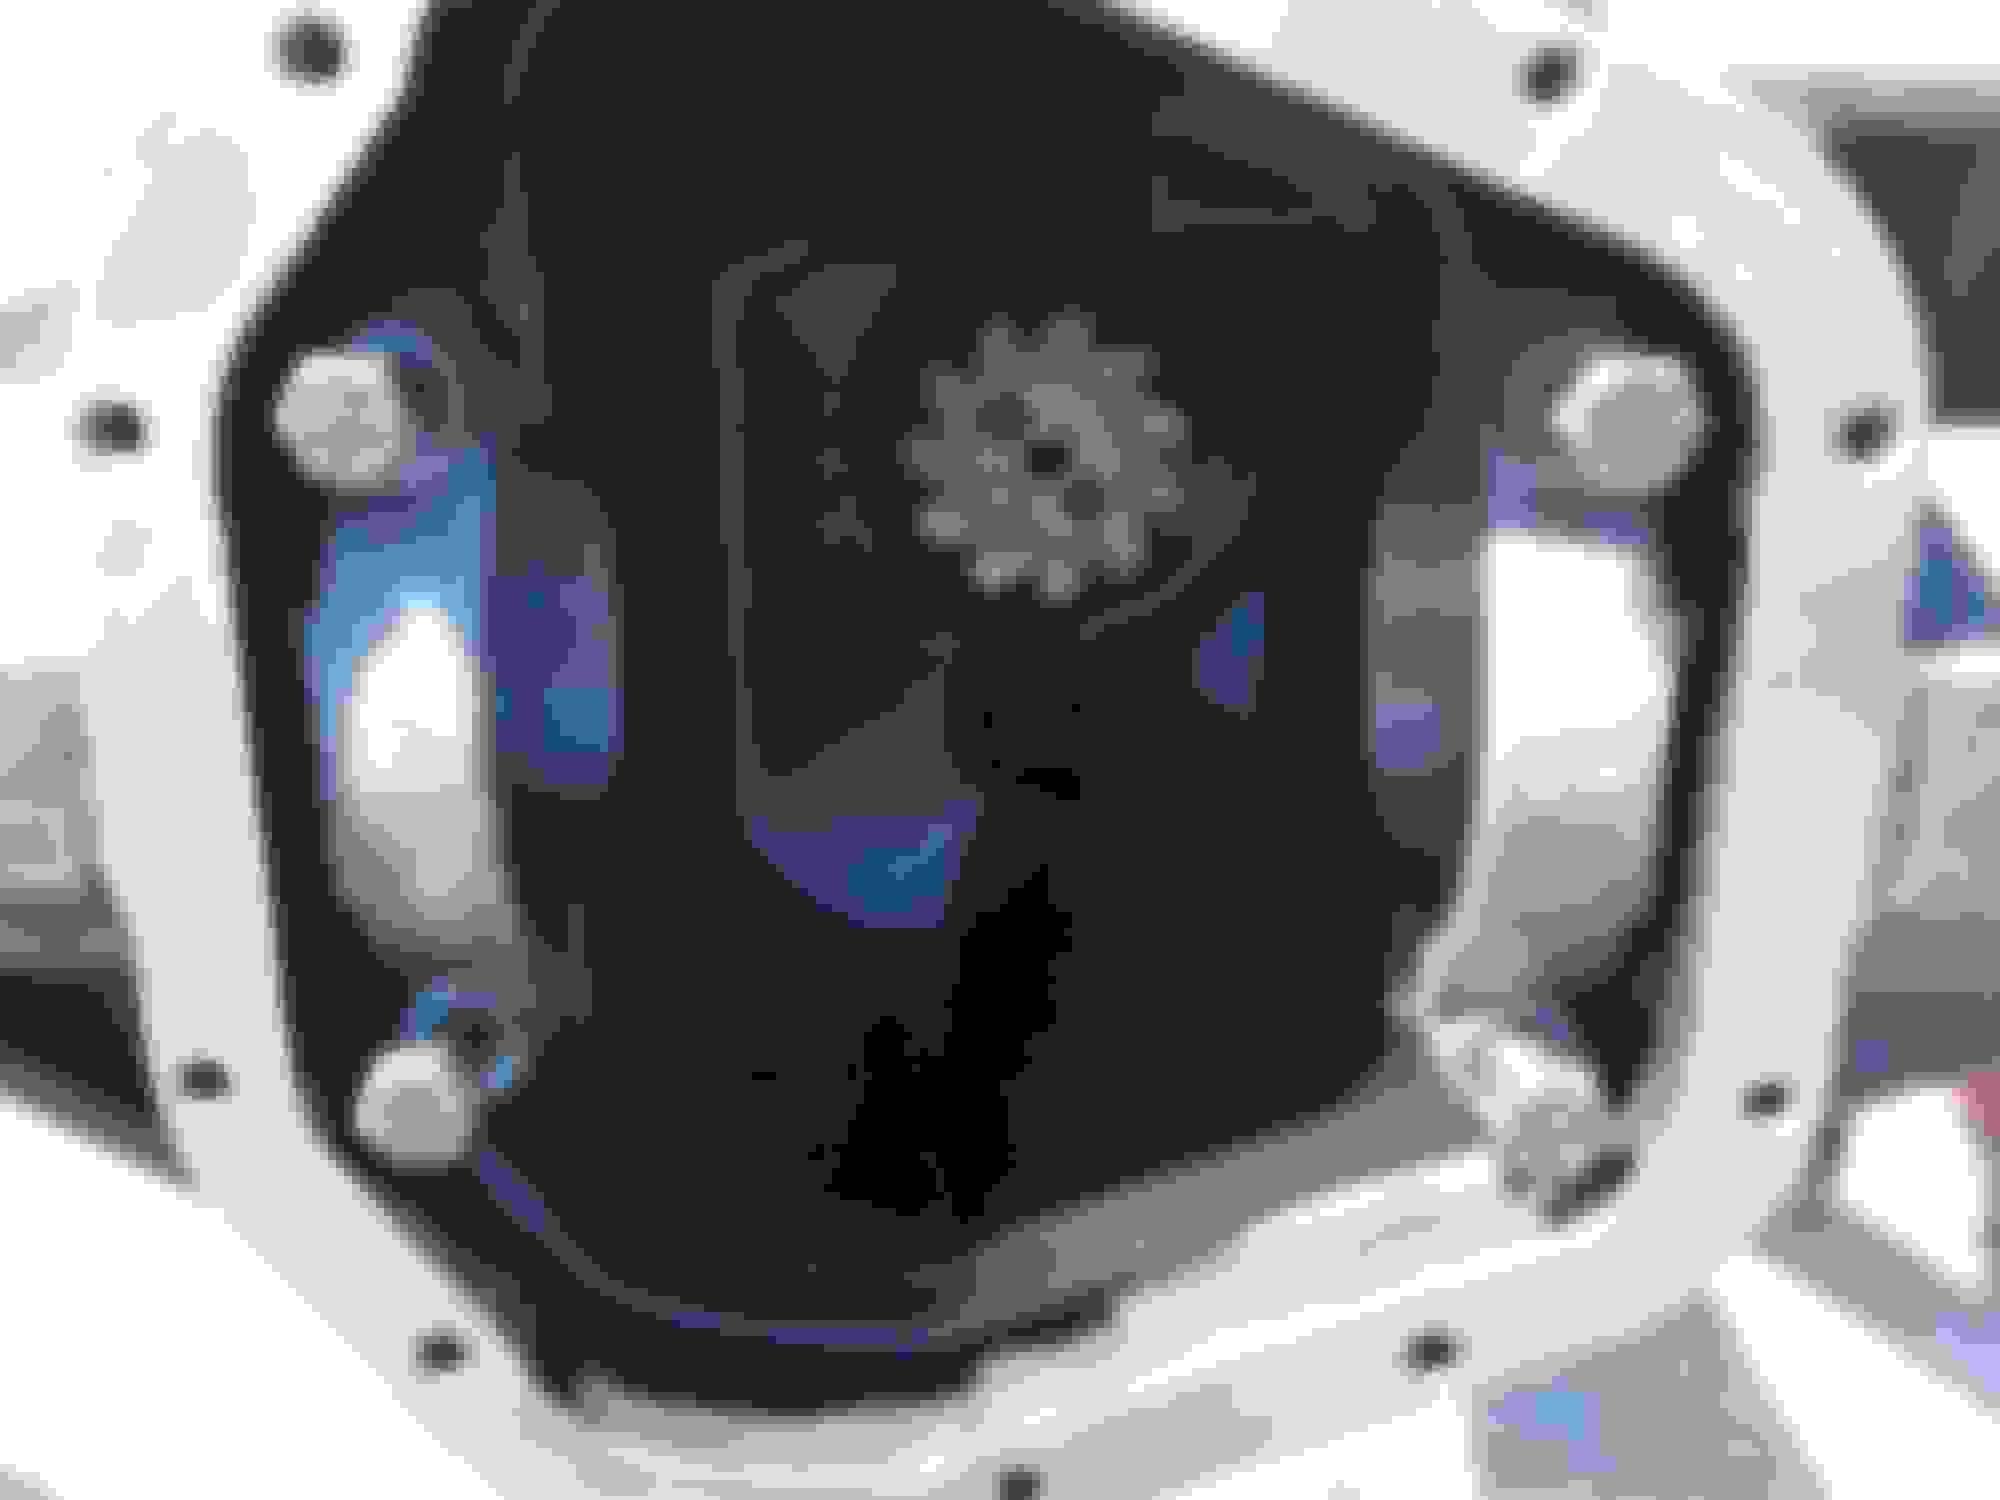
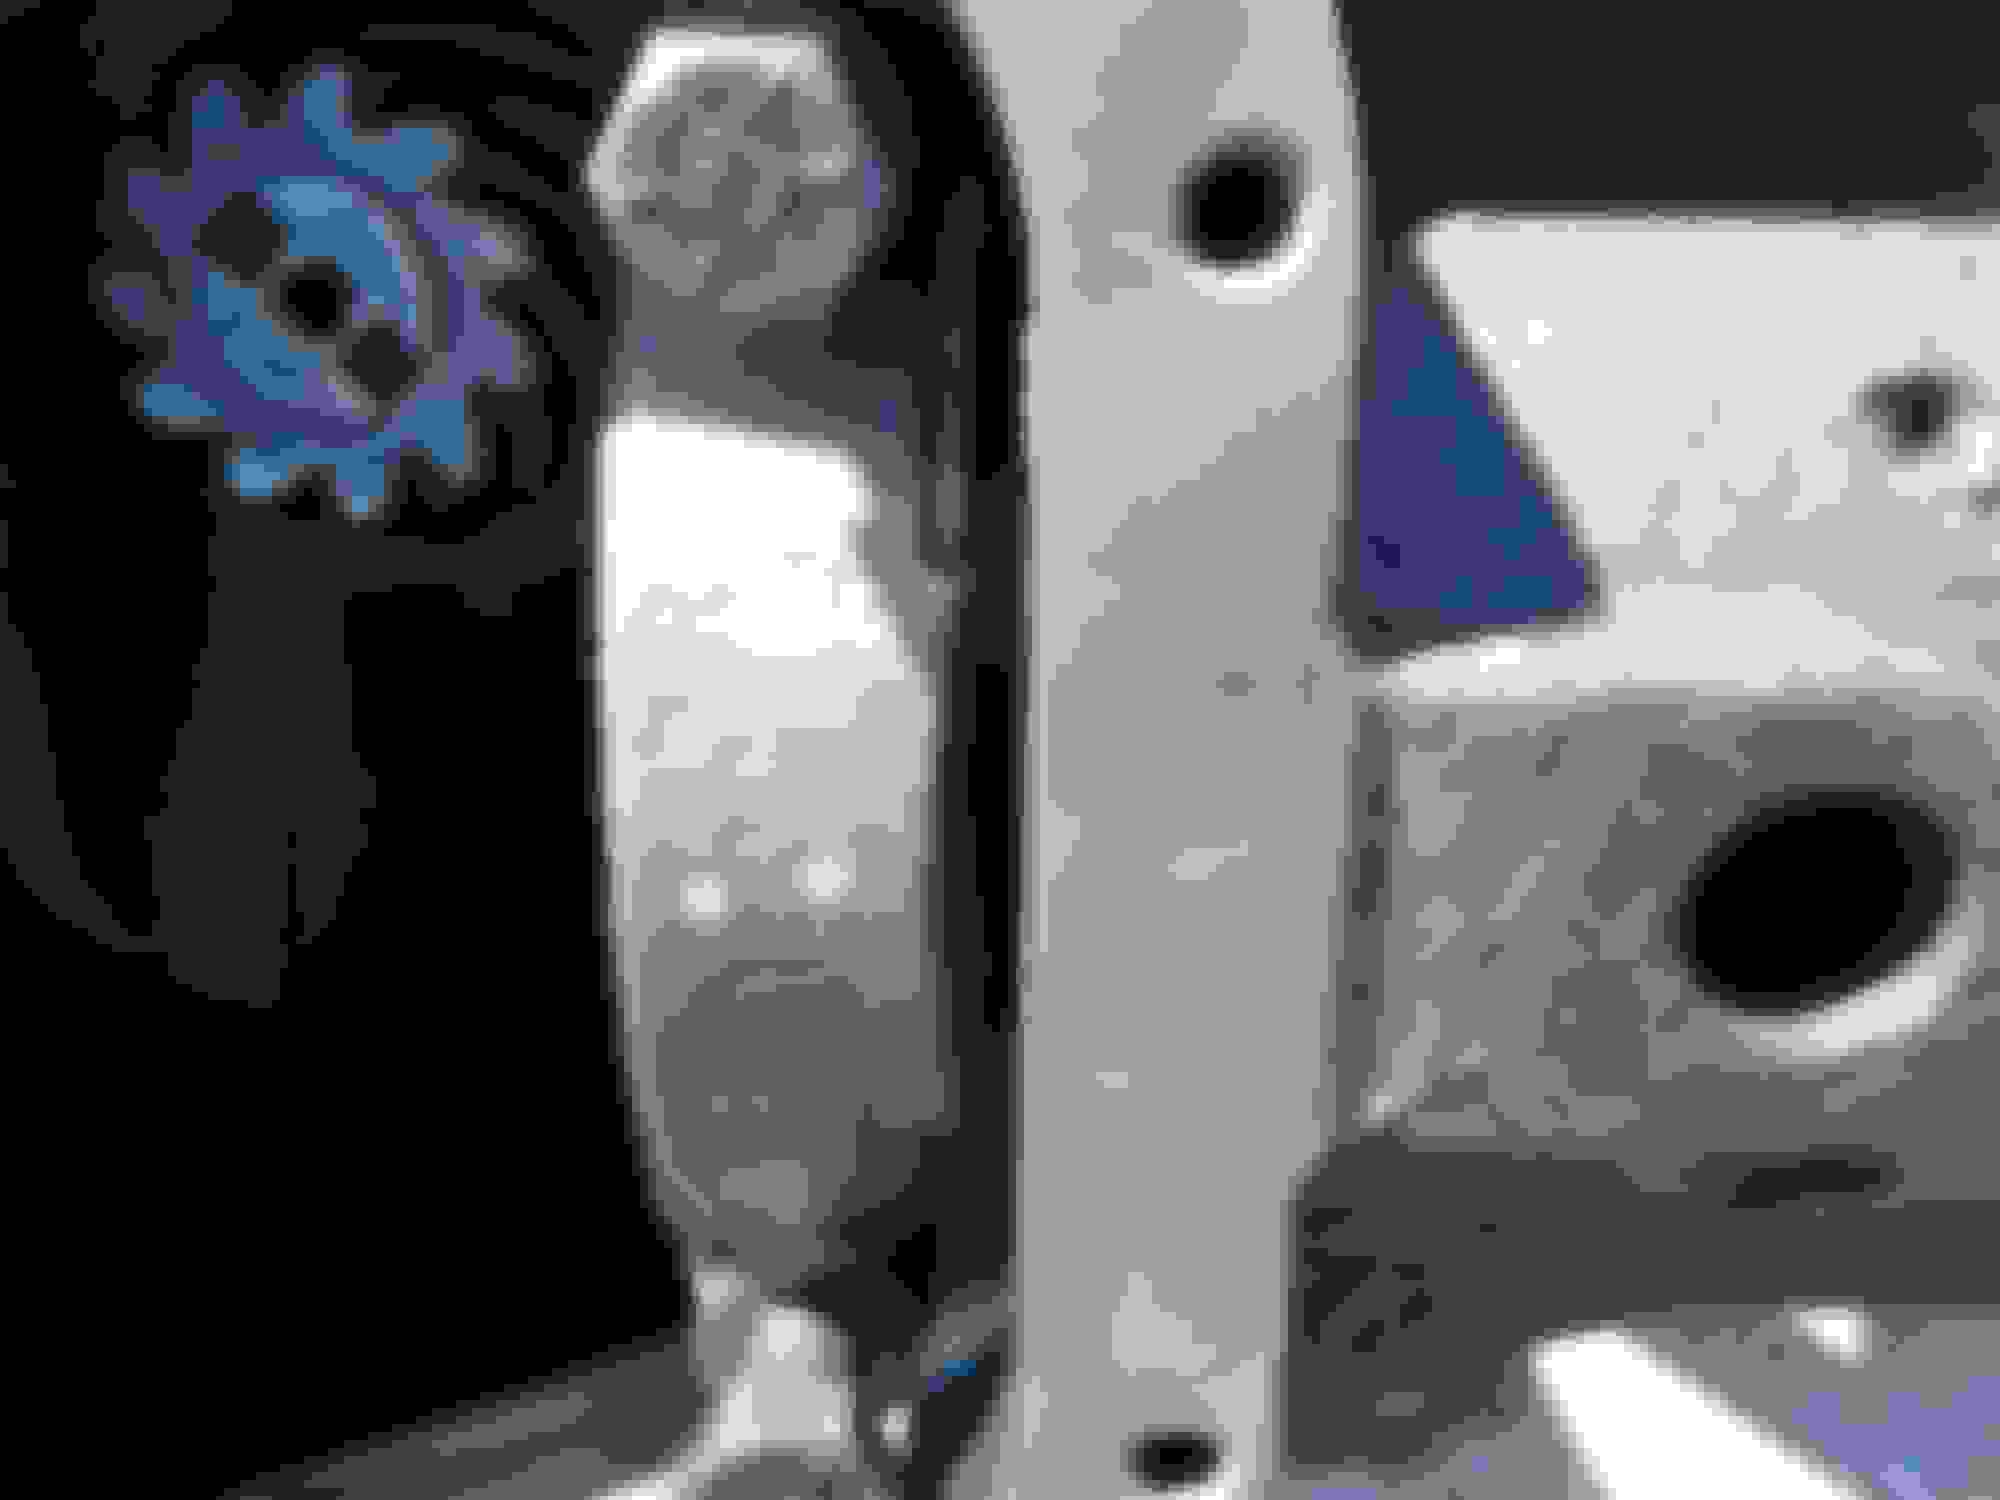
Start by cleaning your caps really well. Get them oriented by the markings. Factory marked them for you. White dots go up.
Arrange the carrier so the housing opening is facing up...especially if you are working alone like me. Caps on standby...
Go grab your carrier out of the freezer. Keep the races with the correct bearing. Can't stress that enough.
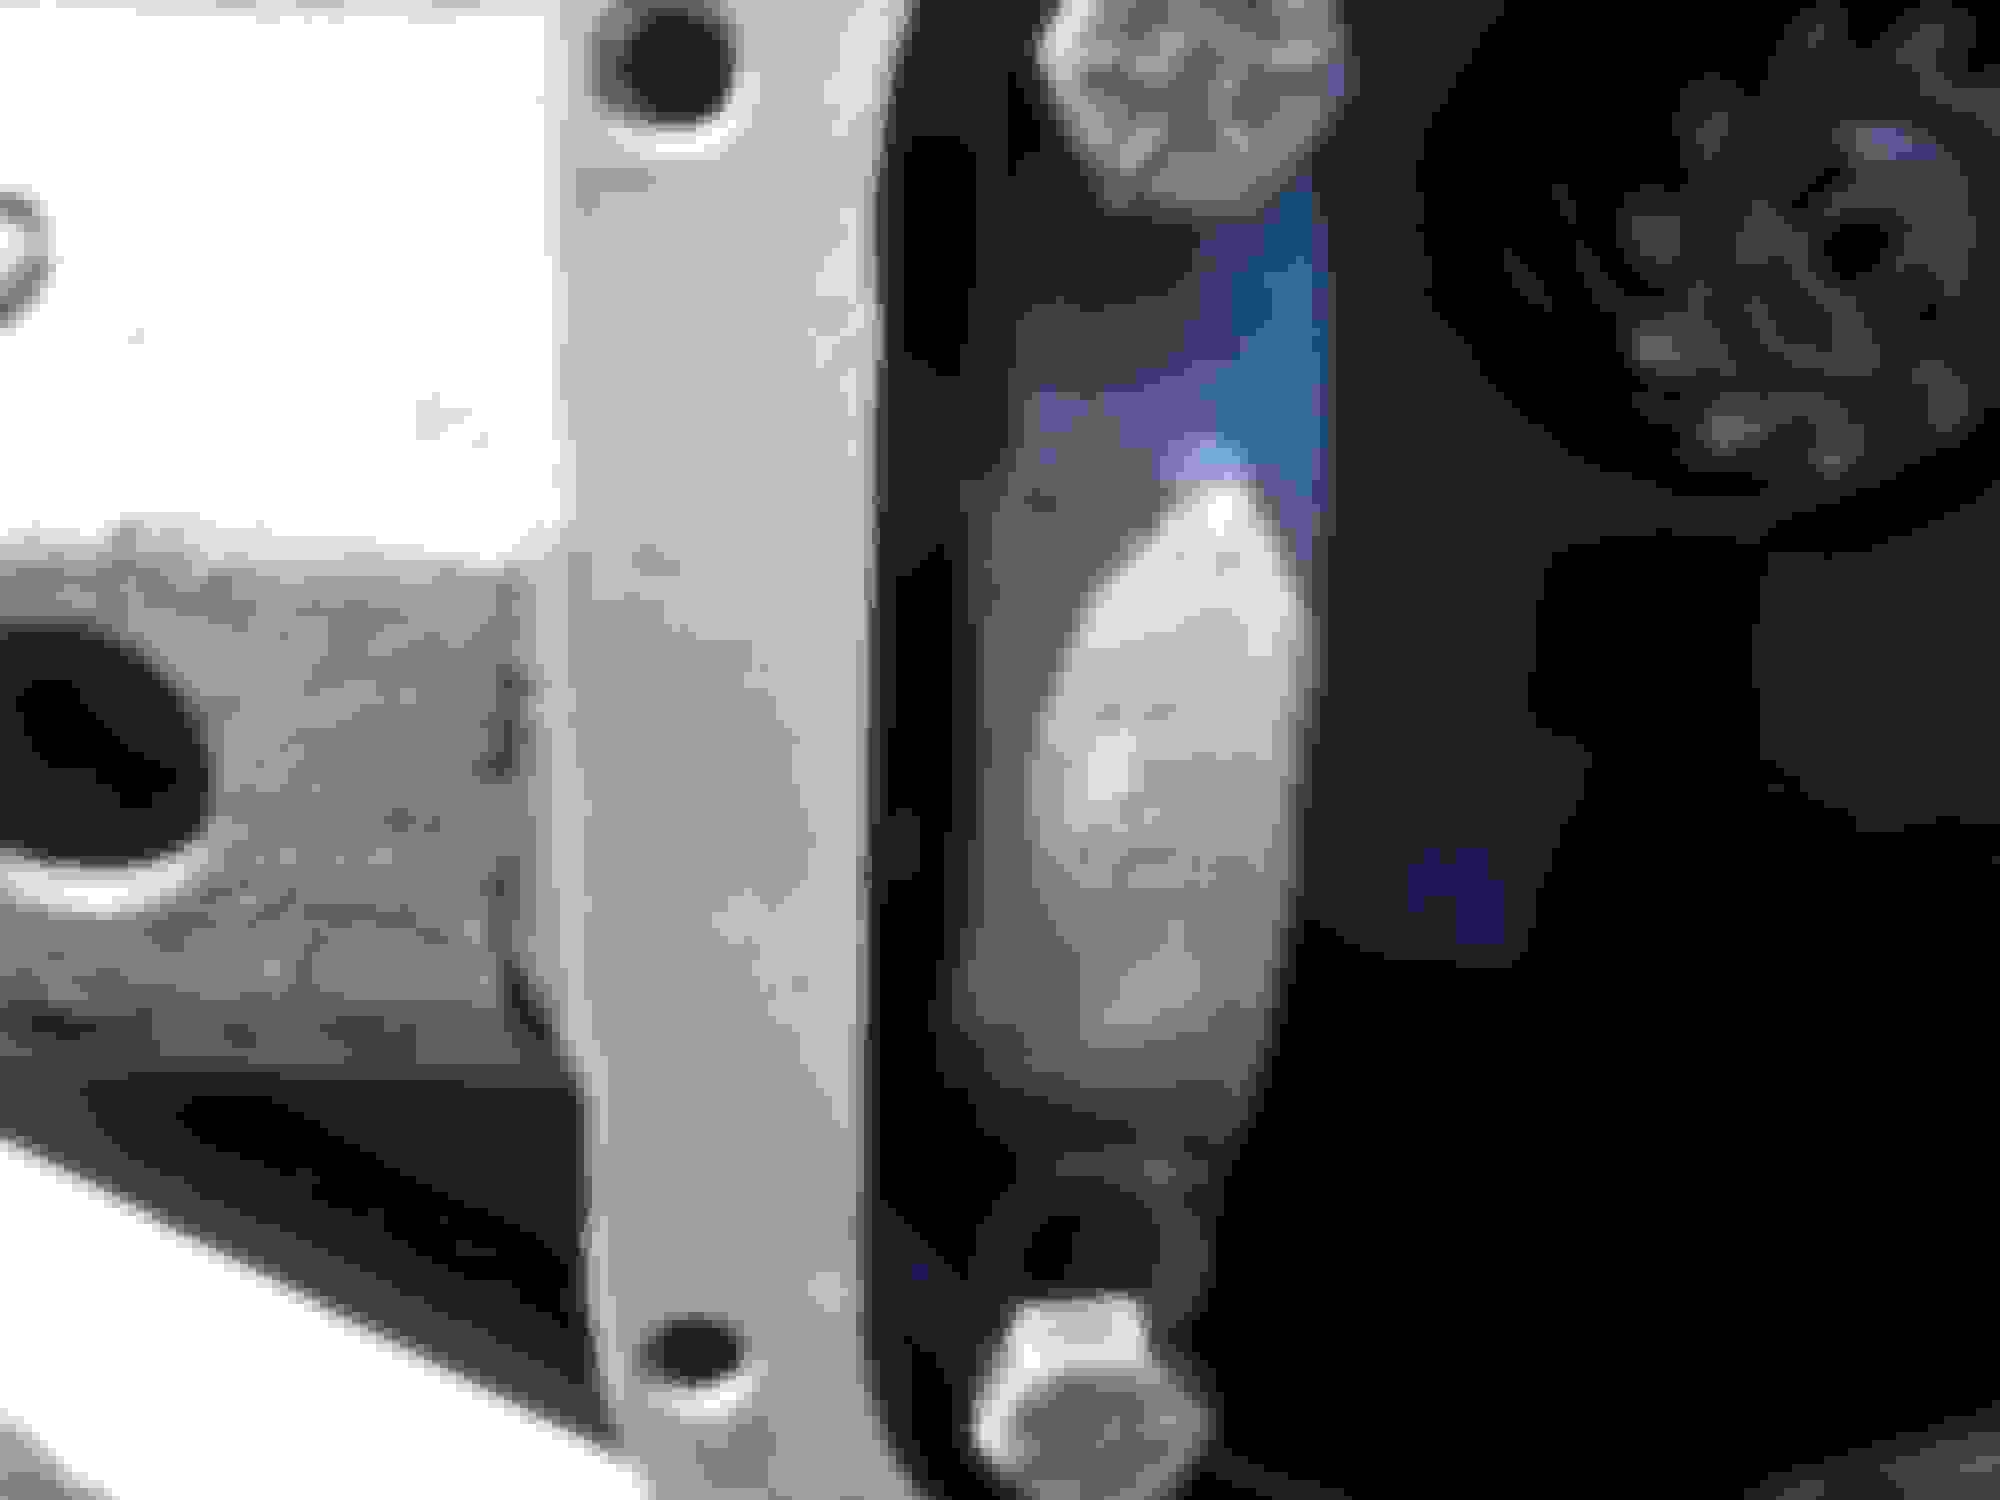
Set the frozen hunk of engineering into the housing gently. Try to keep the races on the bearings...not easy. You don't want your fingers anywhere near the bearings and races. Hold the housing in the middle and by the gear teeth. Two people makes this easy.
Push it down and center the races as best you can.
Get out your rubber, plastic or wooden hammer. This one in the pic is a deadblow hammer, which helps a LOT. Whack those bearing races, and it will settle right in after a few hits on each side. You will hear a difference when it bottoms out.
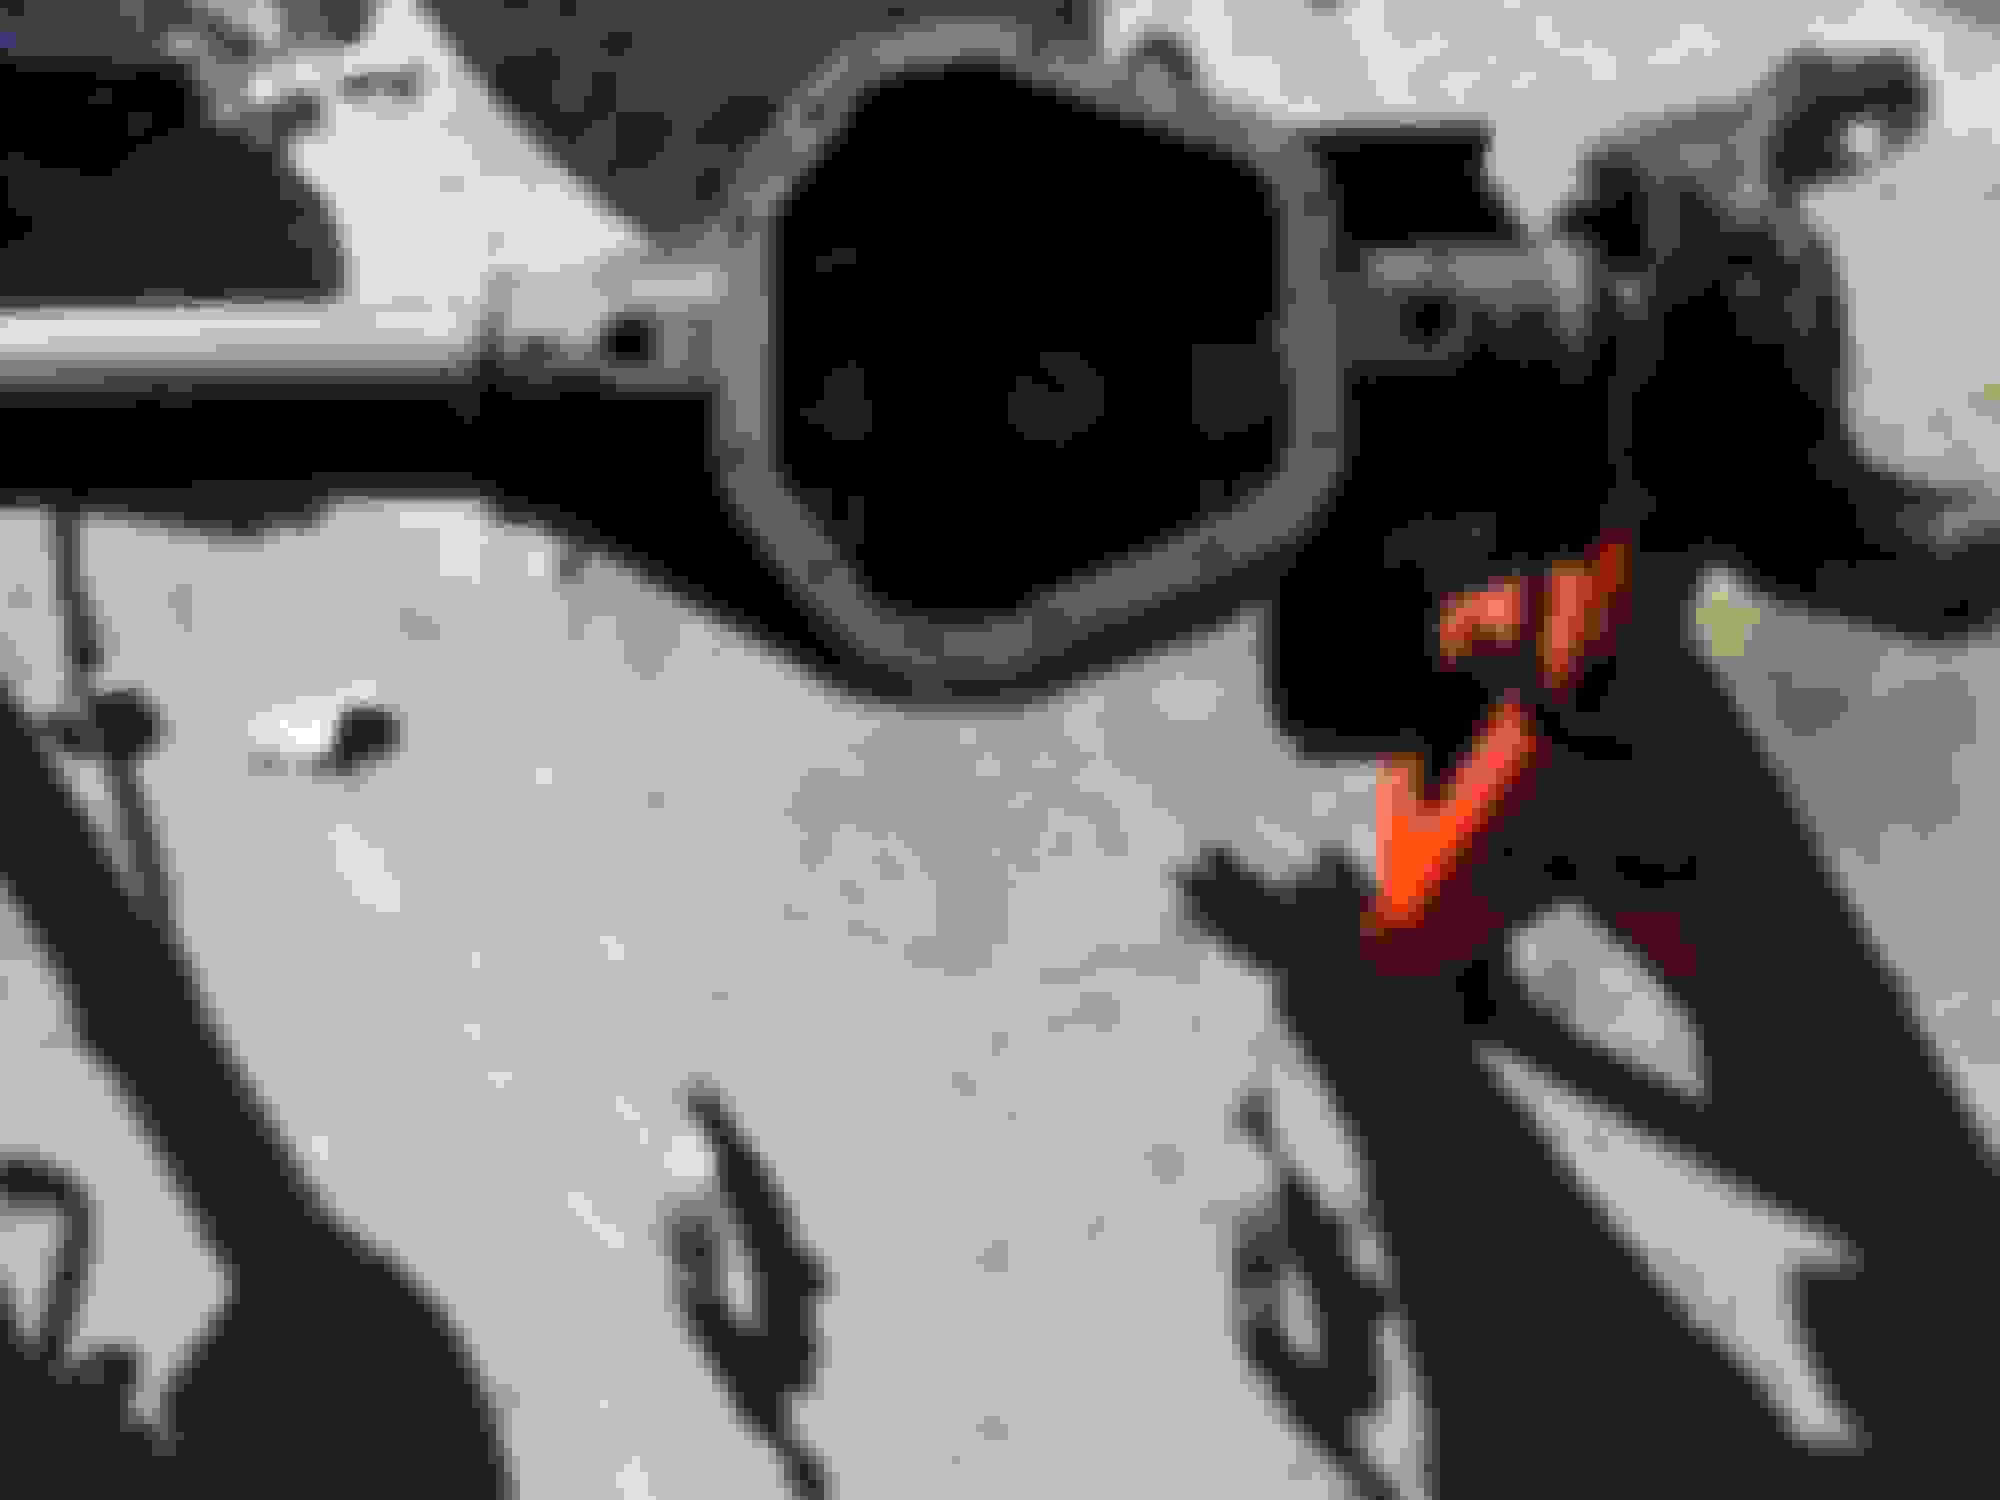
Double check with a bright flashlight that they are fully seated.
...and they are.
Put your caps on. They should go right on and be flush if the races are fully seated.
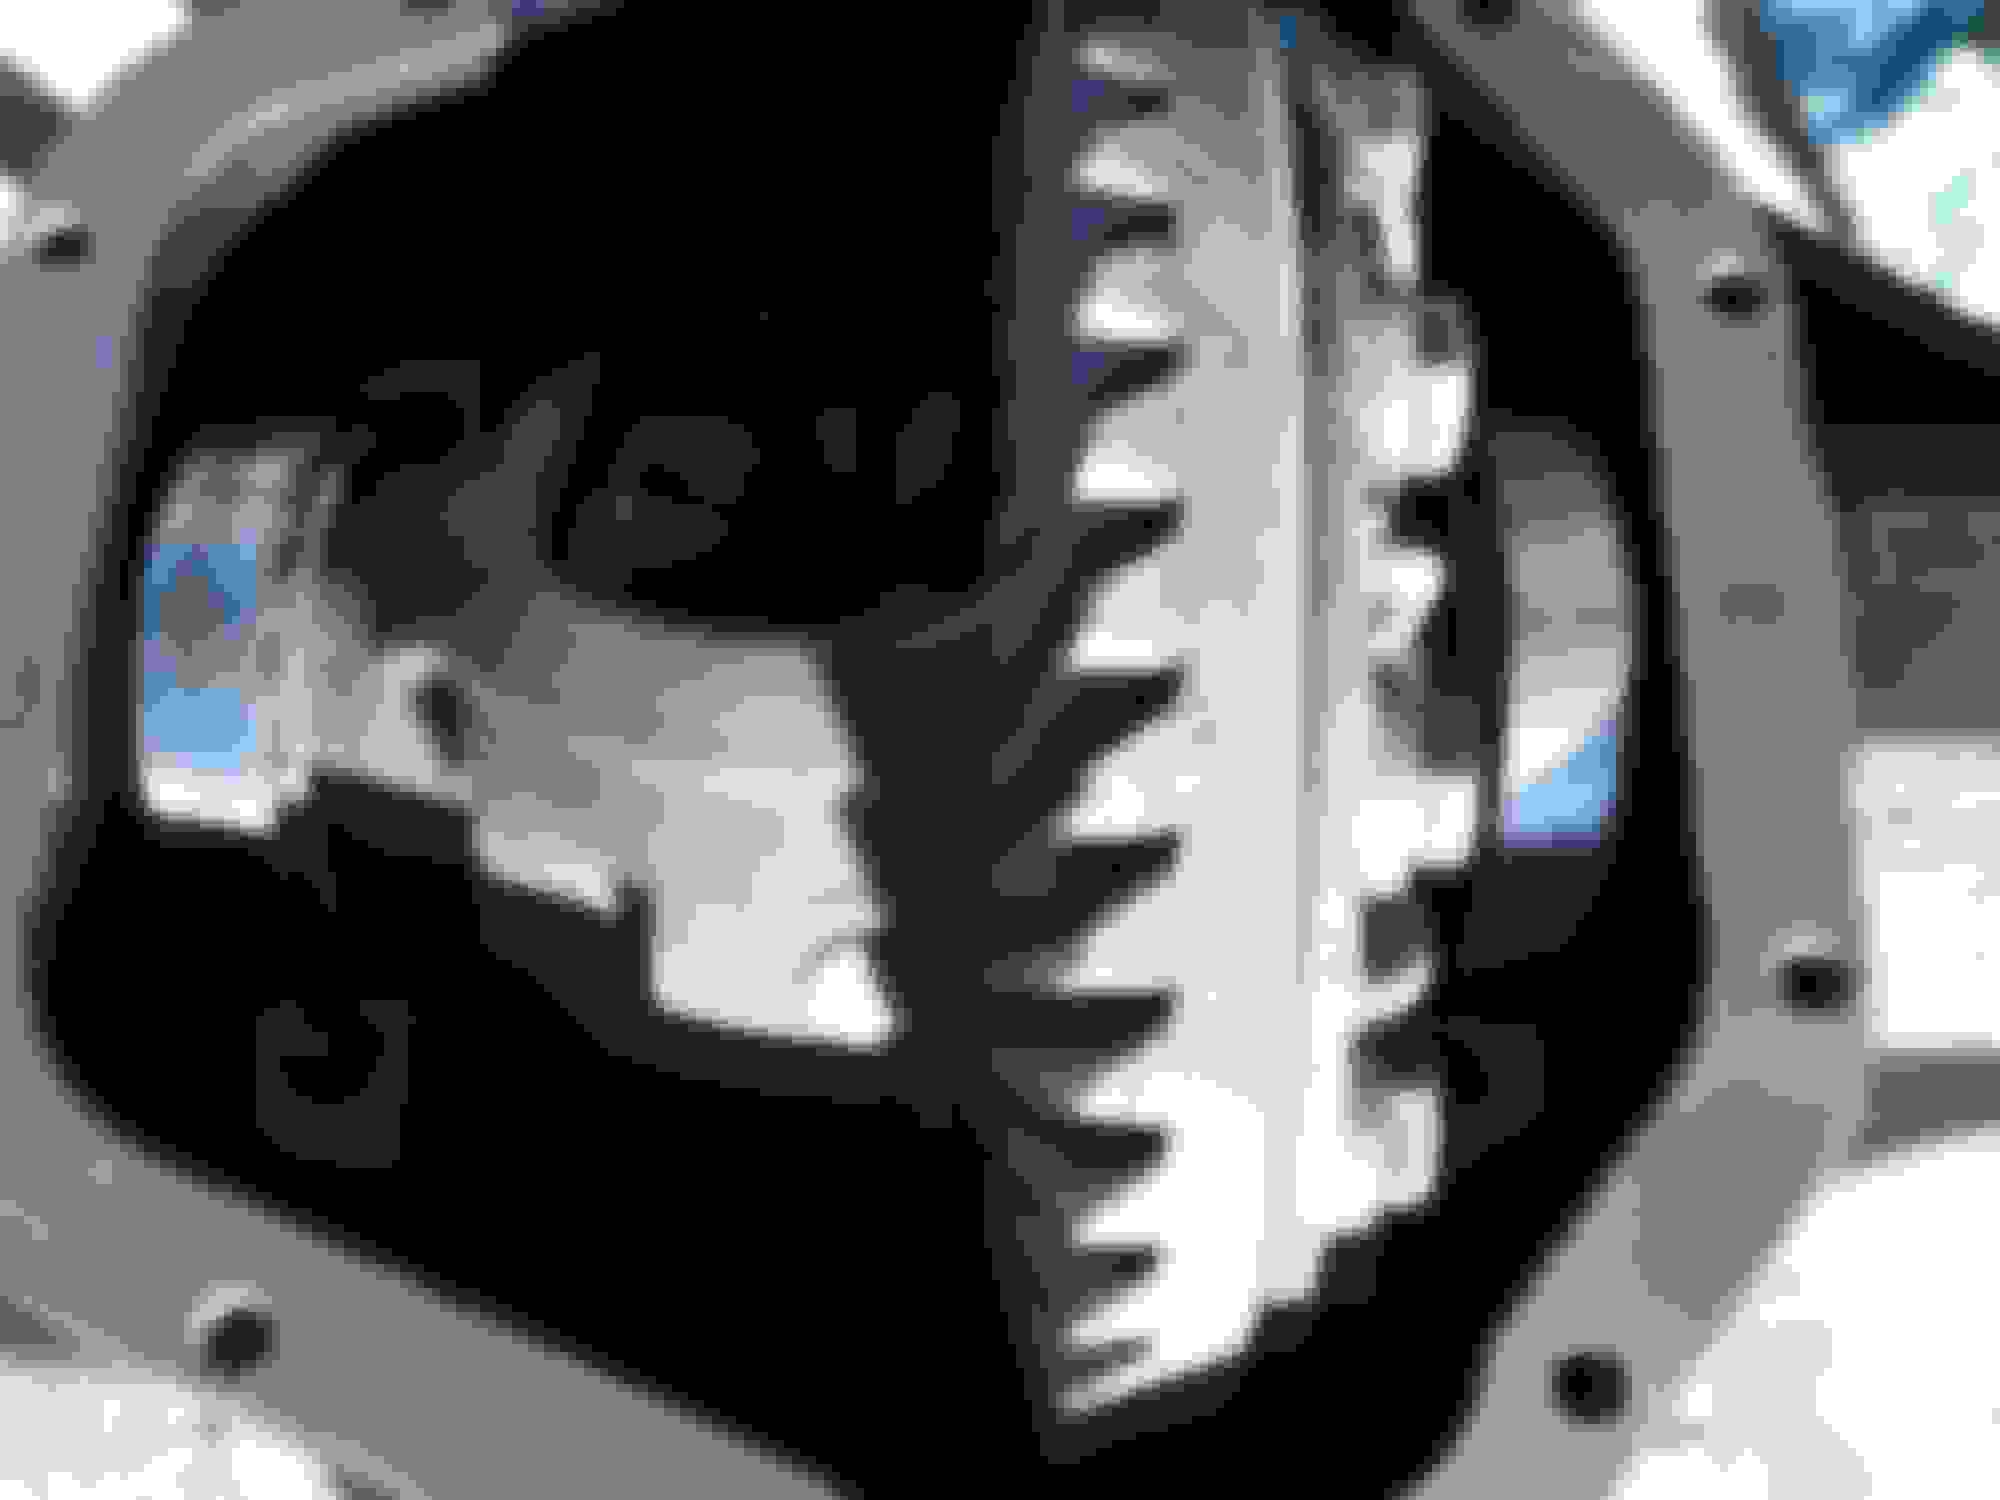
Torque the cap bolts to 80 ft/lbs.
Spin the pinion a few times to make sure it turns freely/easy.
Don't put the cover on until the carrier thaws out and all moisture has evaporated.
Rezvani's Latest Post-Apocalyptic Monster Is a Ford F-150 Raptor Underneath
Slideshow: Called the Fortress, the 850-horsepower pickup combines Raptor underpinnings with military-inspired features, survival equipment, and a starting price of $285,000.


 That is how much I spent in parts, paint, oil, grease and towels SO FAR. Time....now that is another matter all together.