When you click on links to various merchants on this site and make a purchase, this can result in this site earning a commission. Affiliate programs and affiliations include, but are not limited to, the eBay Partner Network.
I rolled the axle under the truck around noon. I started at noon, and due to cold hands I stopped at 8p.
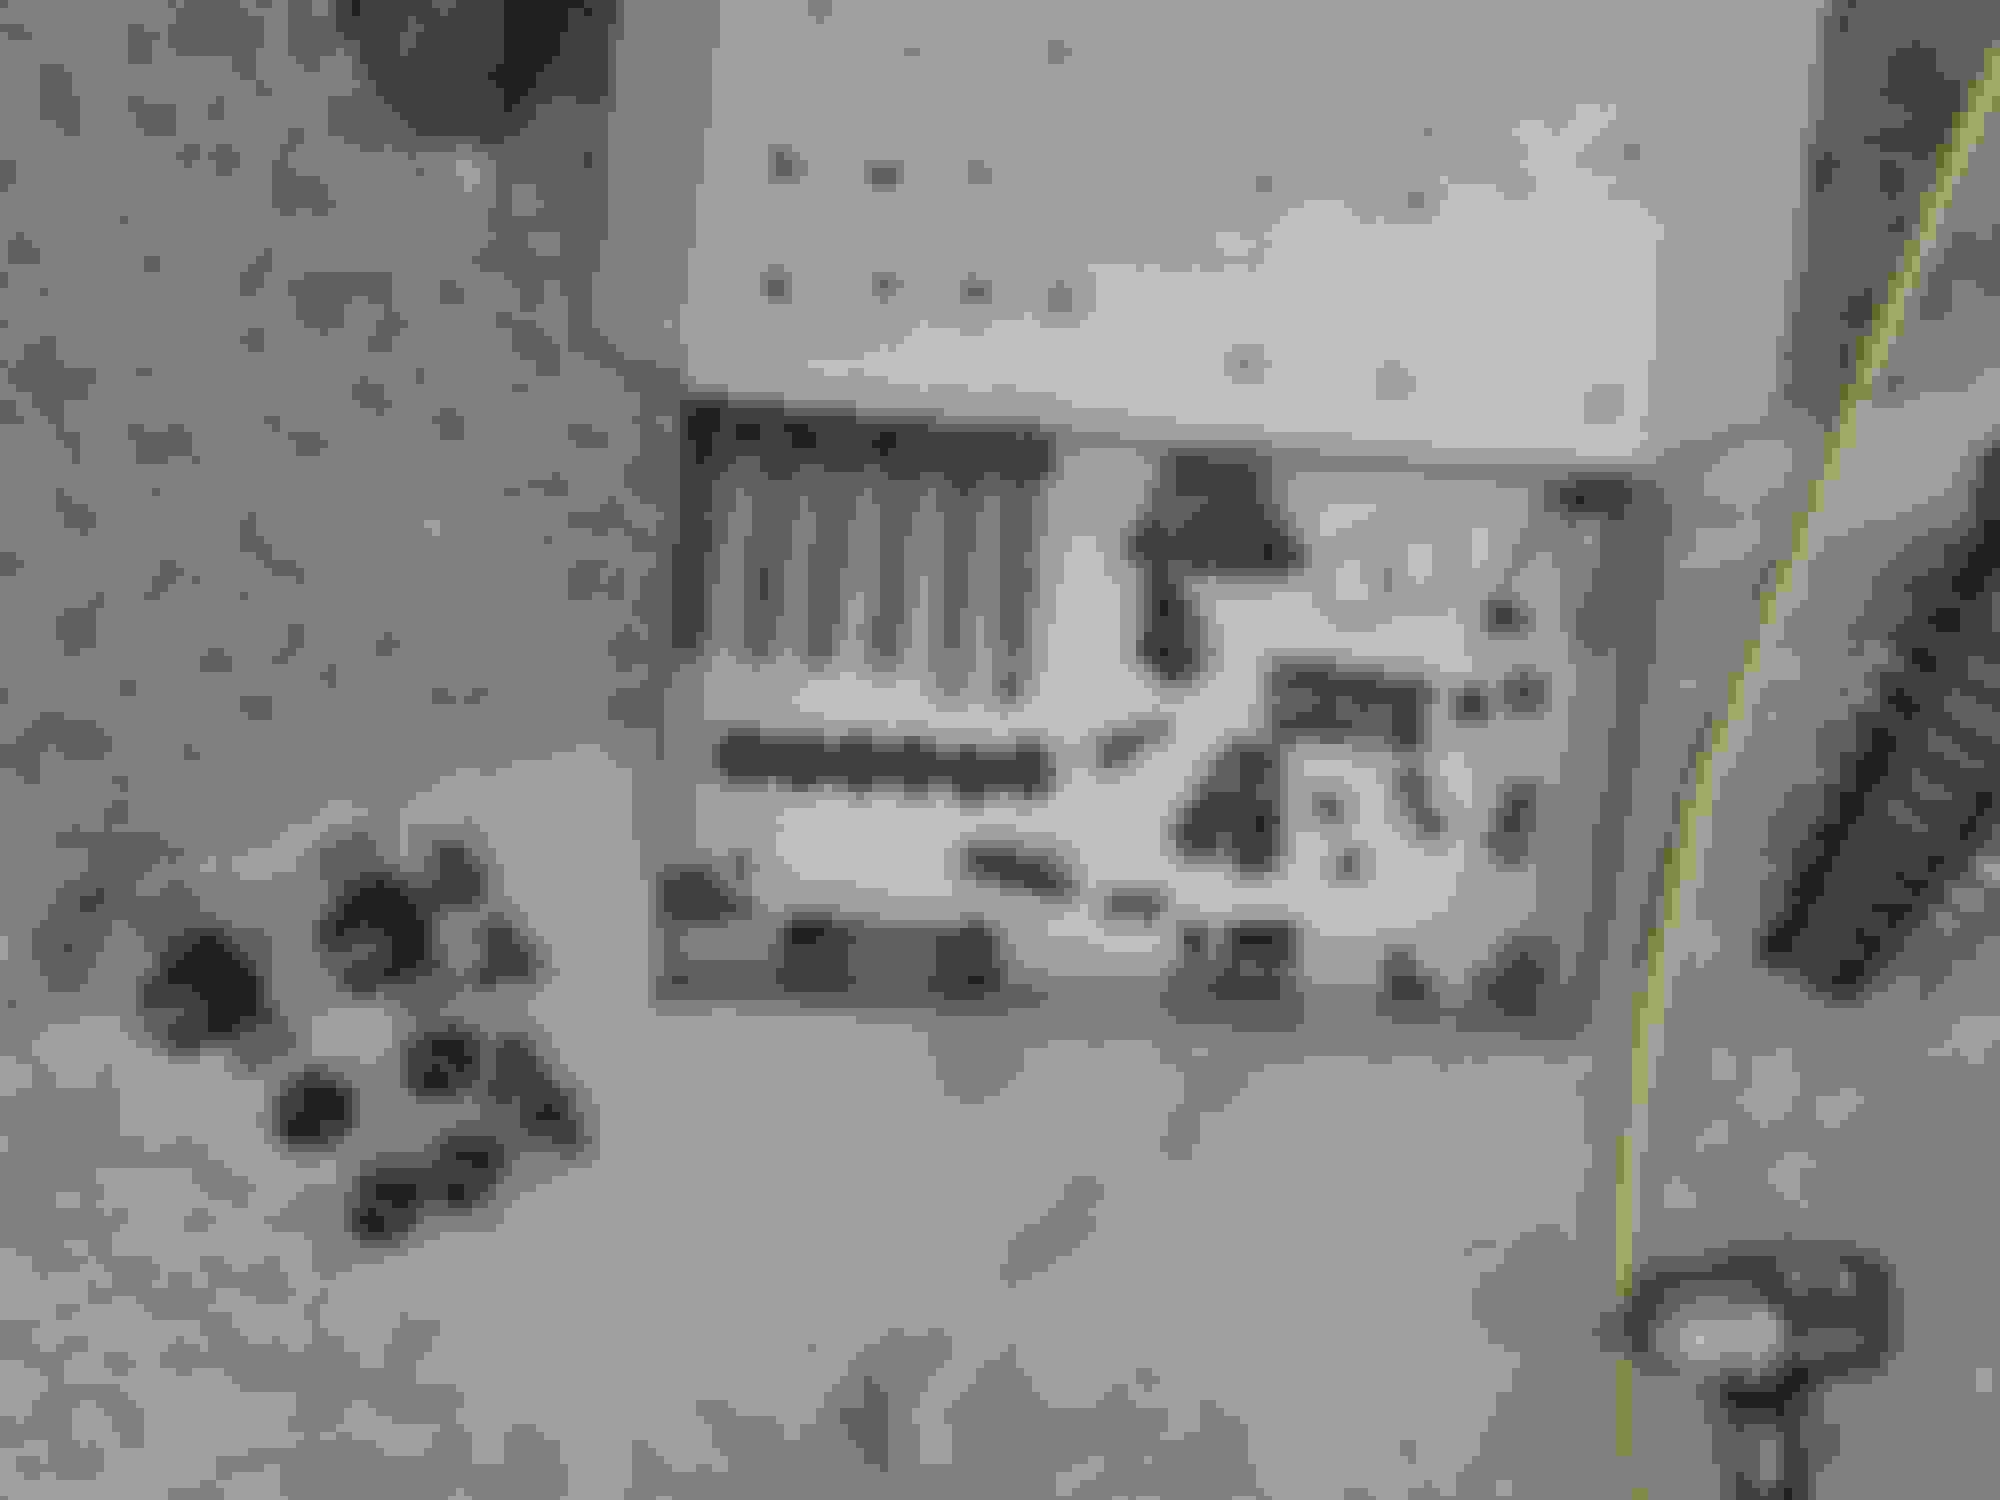
Then I got all my parts staged out in front of the truck so I wouldn't be running back and forth to the garage all day.
I then organized all my bolts, nuts and clips according to size and length.
Spring perches went on first.
Then the radius arms went on. Put the rear hinge bolt in first.
Pin them at the bottom on both sides...
Then you will jack the axle up until the top bolt lines up. Install them on both sides. Remember, the top nut on the drivers side next to the carrier housing is welded to the radius arm.
All bolts should be snugged down at this time, but do not torque yet. You want to torque these with the weight of the truck on the axle.
Put your jack stands under the axle now, and retire the furniture dollies.
This is how mine looked at this point.
Getting ready for the knuckles to go on. Drop in your camber/caster sleeves.
Get both nuts started on the knuckle. Tighten them down by hand, and get your torque wrench out. Tighten the bottom nut to 35 ft/lbs. Then tighten the top to 69 ft/lbs after lubing the adjusting sleeve with never seize inside and out. Then go back down to the bottom and torque to 150 ft/lbs.
Torqued down on both sides and greased at the zerks.
If you have a problem with the ball joint spinning with the nut, use a pry bar to put pressure against the ear the ball is spinning in. Then tighten it down till it stops spinning.
Drag link is next.
Then the tie rod. All nuts to 67 ft/lbs
Installed, torqued and greased at the zerks.
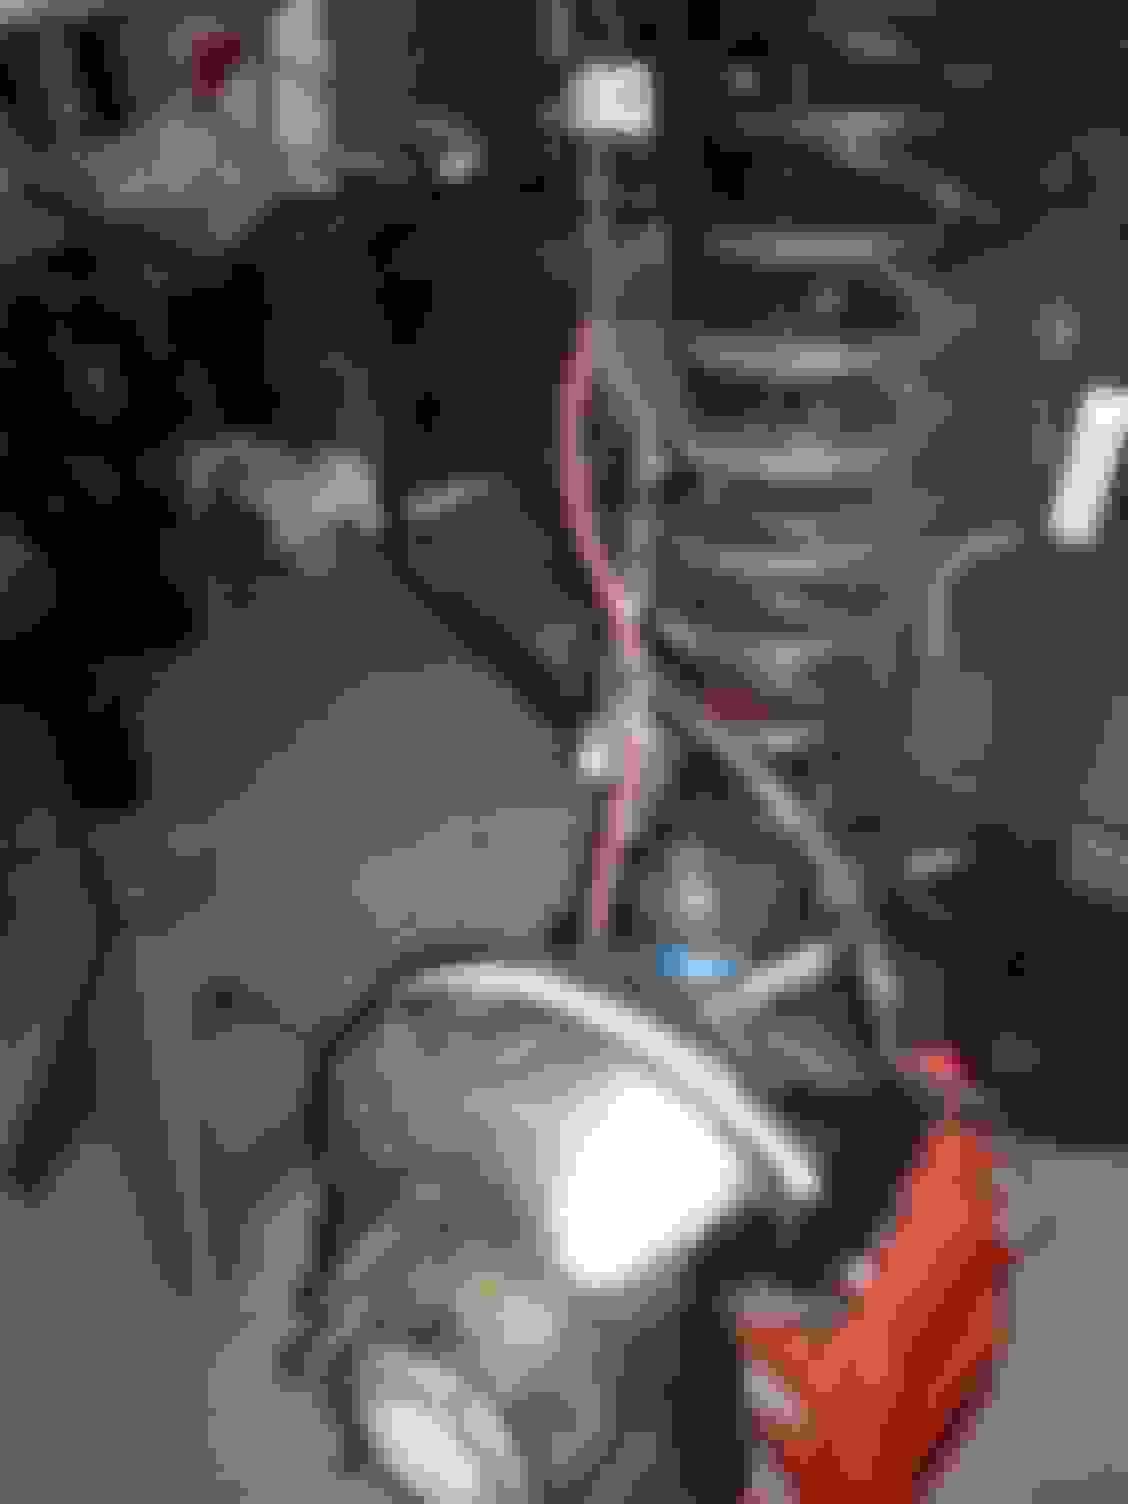
I put the sway bar on next.
Put your speed clips in.
Loosely attach the bushings and nut and the bolts into the speed clips. Don't tighten anything till you have all bolts/nuts in place and threaded on loosely.
Like this...
...and this.
Track bar went on next. Pin it at the top loosely, then go to the other end and install the castle nut to 185 ft/lbs. Come back to the top and torque it to 400 ft/lbs.
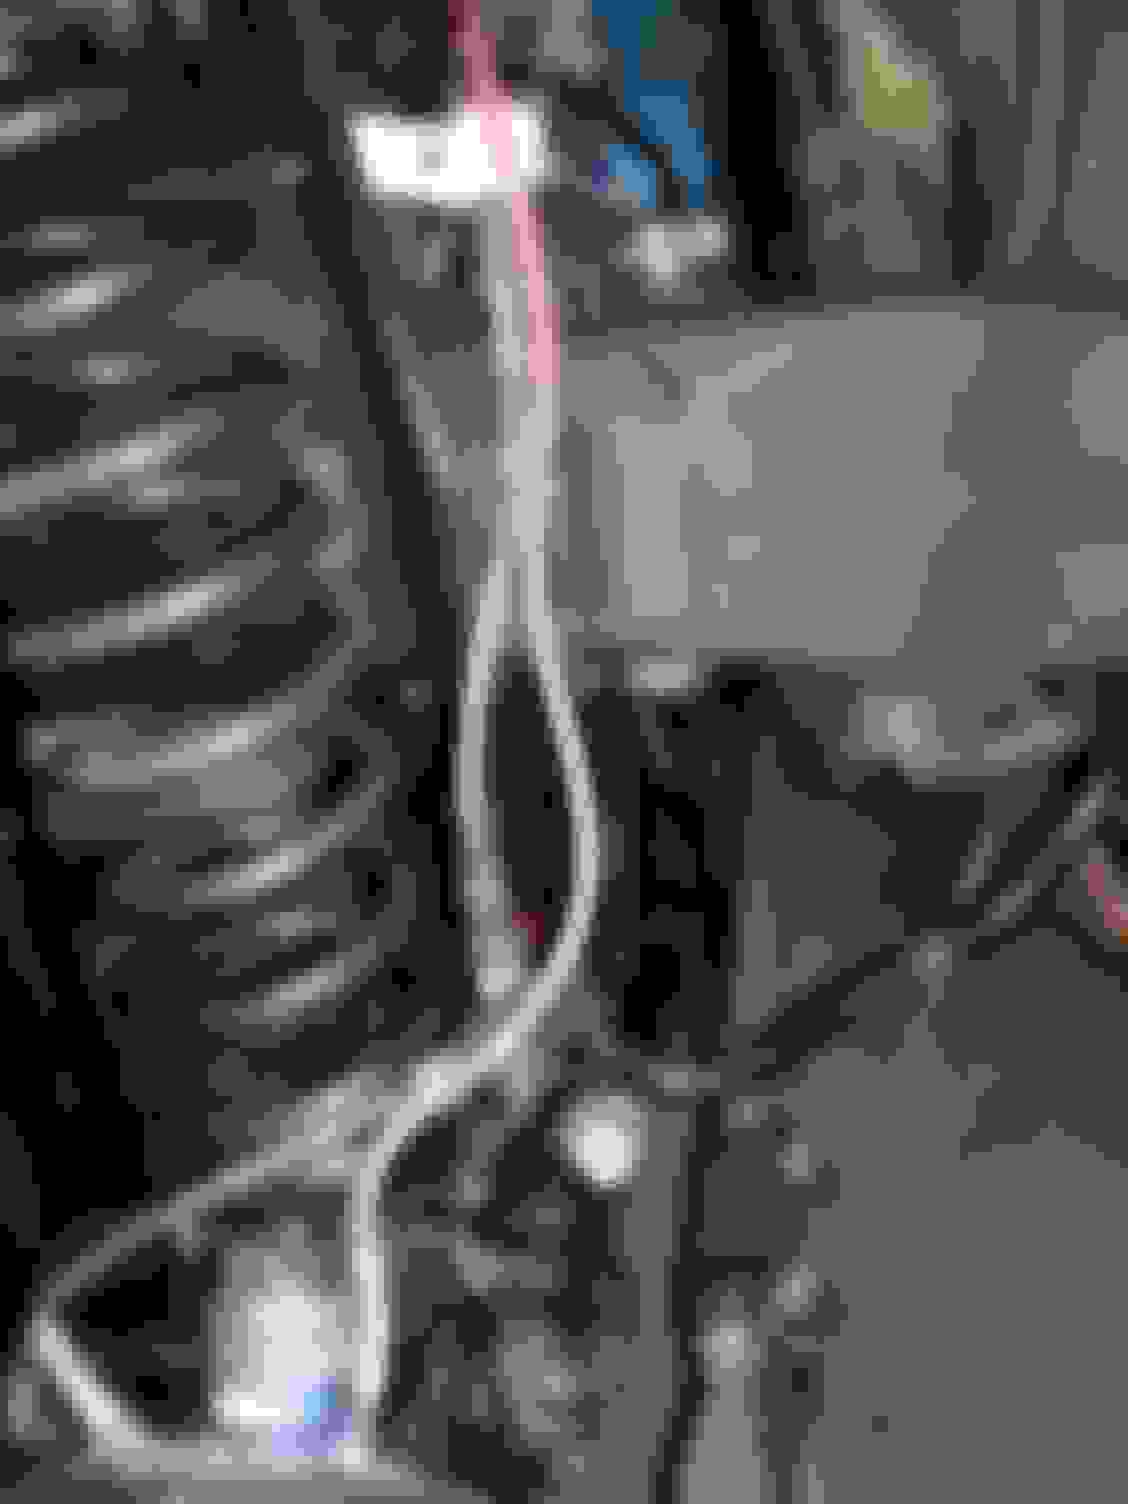
Steering stabilizer went in next...pretty simple.
Continued...
Last edited by Nicmike; Feb 19, 2018 at 10:07 AM.
Reason: correct torque sequence for ball joints
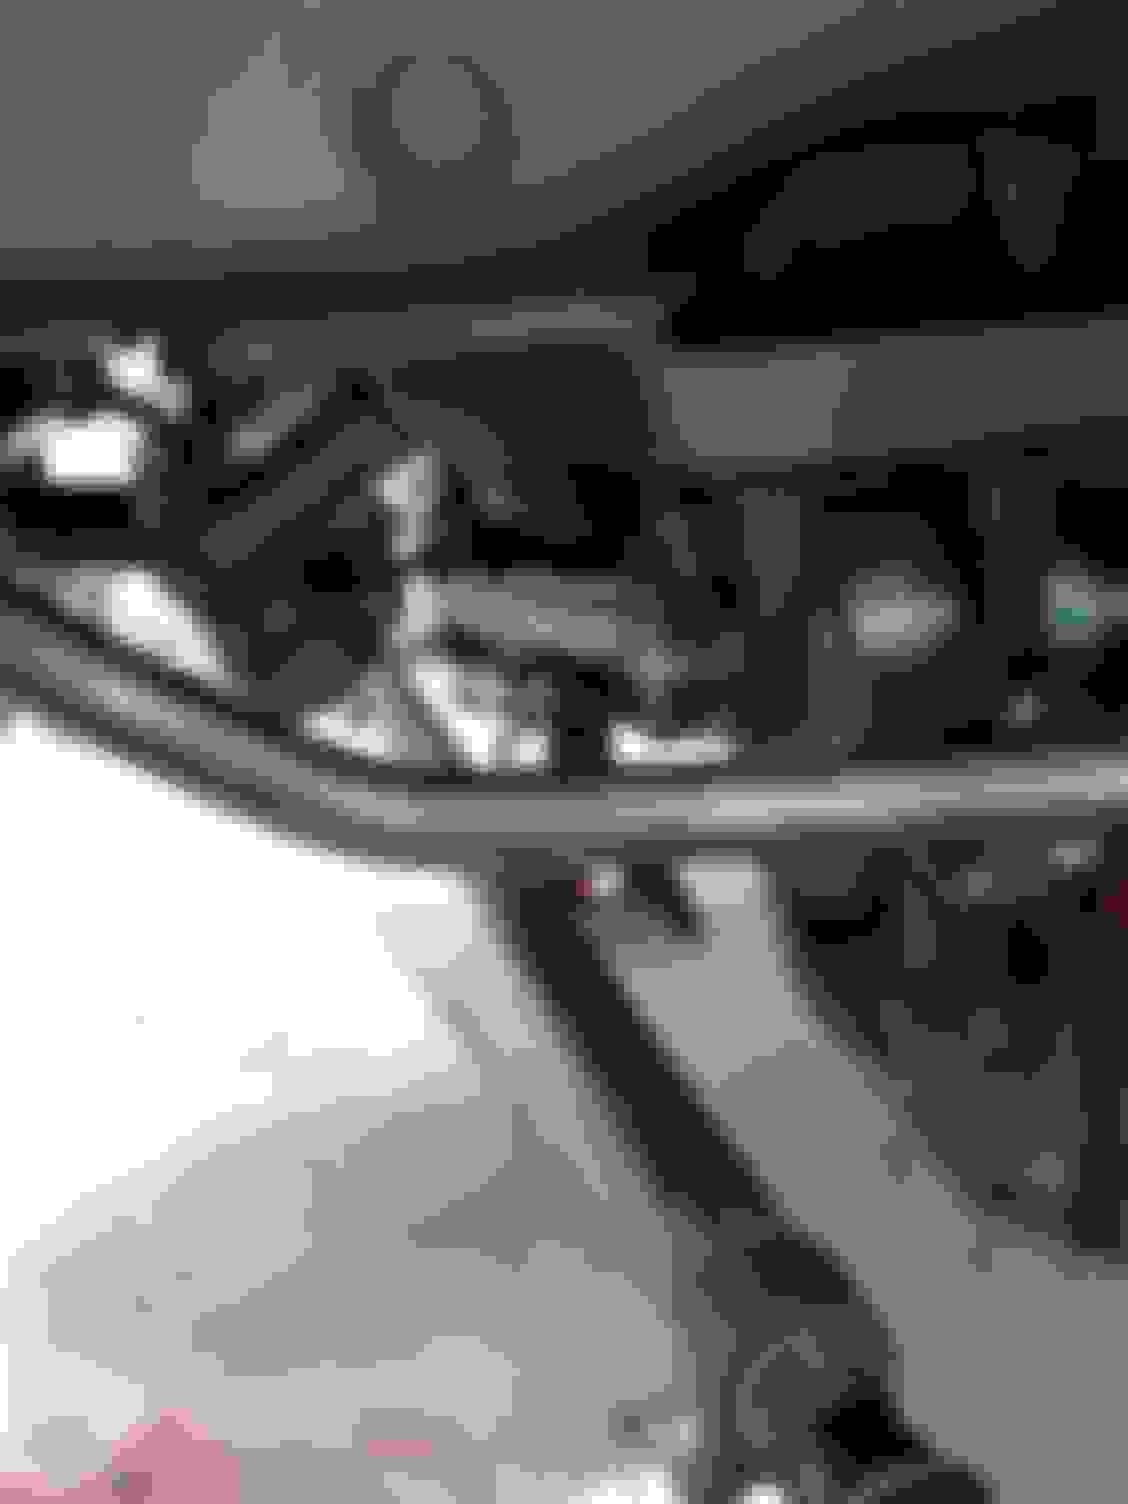
From here, I started building out the knuckles and hubs.
My pile-o-parts is getting a lot smaller by 3pm...
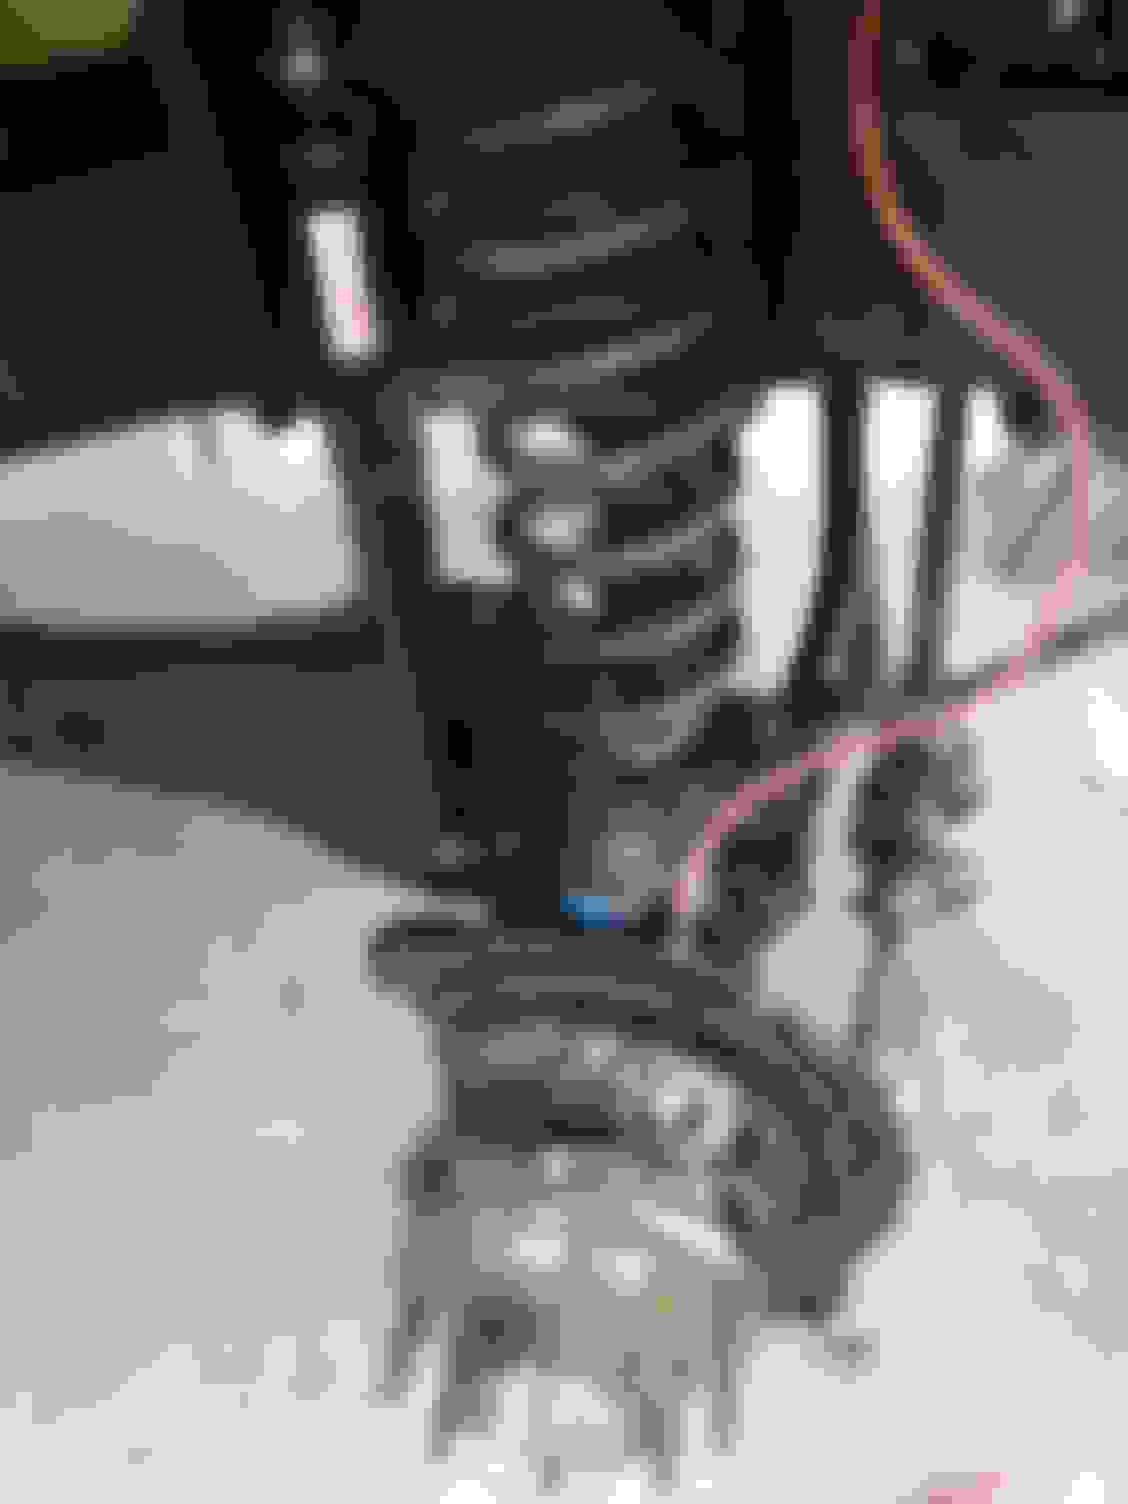
I opted to move my 12 ton jack stands to the front at this point, so I could get the springs on. You have to have the truck REALLY high and the axle REALLY low to get them back in.
This should make Sean feel warm and fuzzy all over.
Before the truck goes up, disconnect the sway bar at the top of the link. You could also jack the axle up, disconnect the sway bar and then let the axle back down.
With the truck way up, and the axle way down, put in the springs and isolators. Then slowly jack the axle back up while guiding the springs isolators onto the cups.
Like this...
Make darn sure the spring is in the correct position at the perch. Passenger side...
...driver side.
Raise the axle until the sway bar can be connected back up.
Put your yellow o-rings on your unit bearings, and install your brake shields.
The unit bearings are "pulled on" by the nuts on the back side of the knuckles. Once you have them all snugged up evenly, torque them to 133 ft/lbs. I use grease on the inside of the knuckle to ease install.
Find your snap rings...
Can't see the snap ring groove! When I installed the unit bearing, the friction pushed the axle and vacuum seal back about 4mm.
I had to use a socket/extension combo and a big hammer to knock the axle back out the 4mm I needed to expose the snap ring groove. DO NOT hit the vacuum seal! I was pounding on the flat area of the axle to the outside of the u-joint.
Once the snap rings are in, get your lockers and some loctite. Install the torx bolts and snug them up. Don't over tighten.
One of my lockers just didn't want to go in. I twisted, pushed, adjusted and slapped it around for 15 minutes before the gears all lined up so it could go in. I ended up turning the u-joint while pushing in, and that got it started and in. DON'T HIT IT WITH ANYTHING HARDER THAN THE PALM OF YOUR HAND.
INSTALLED!
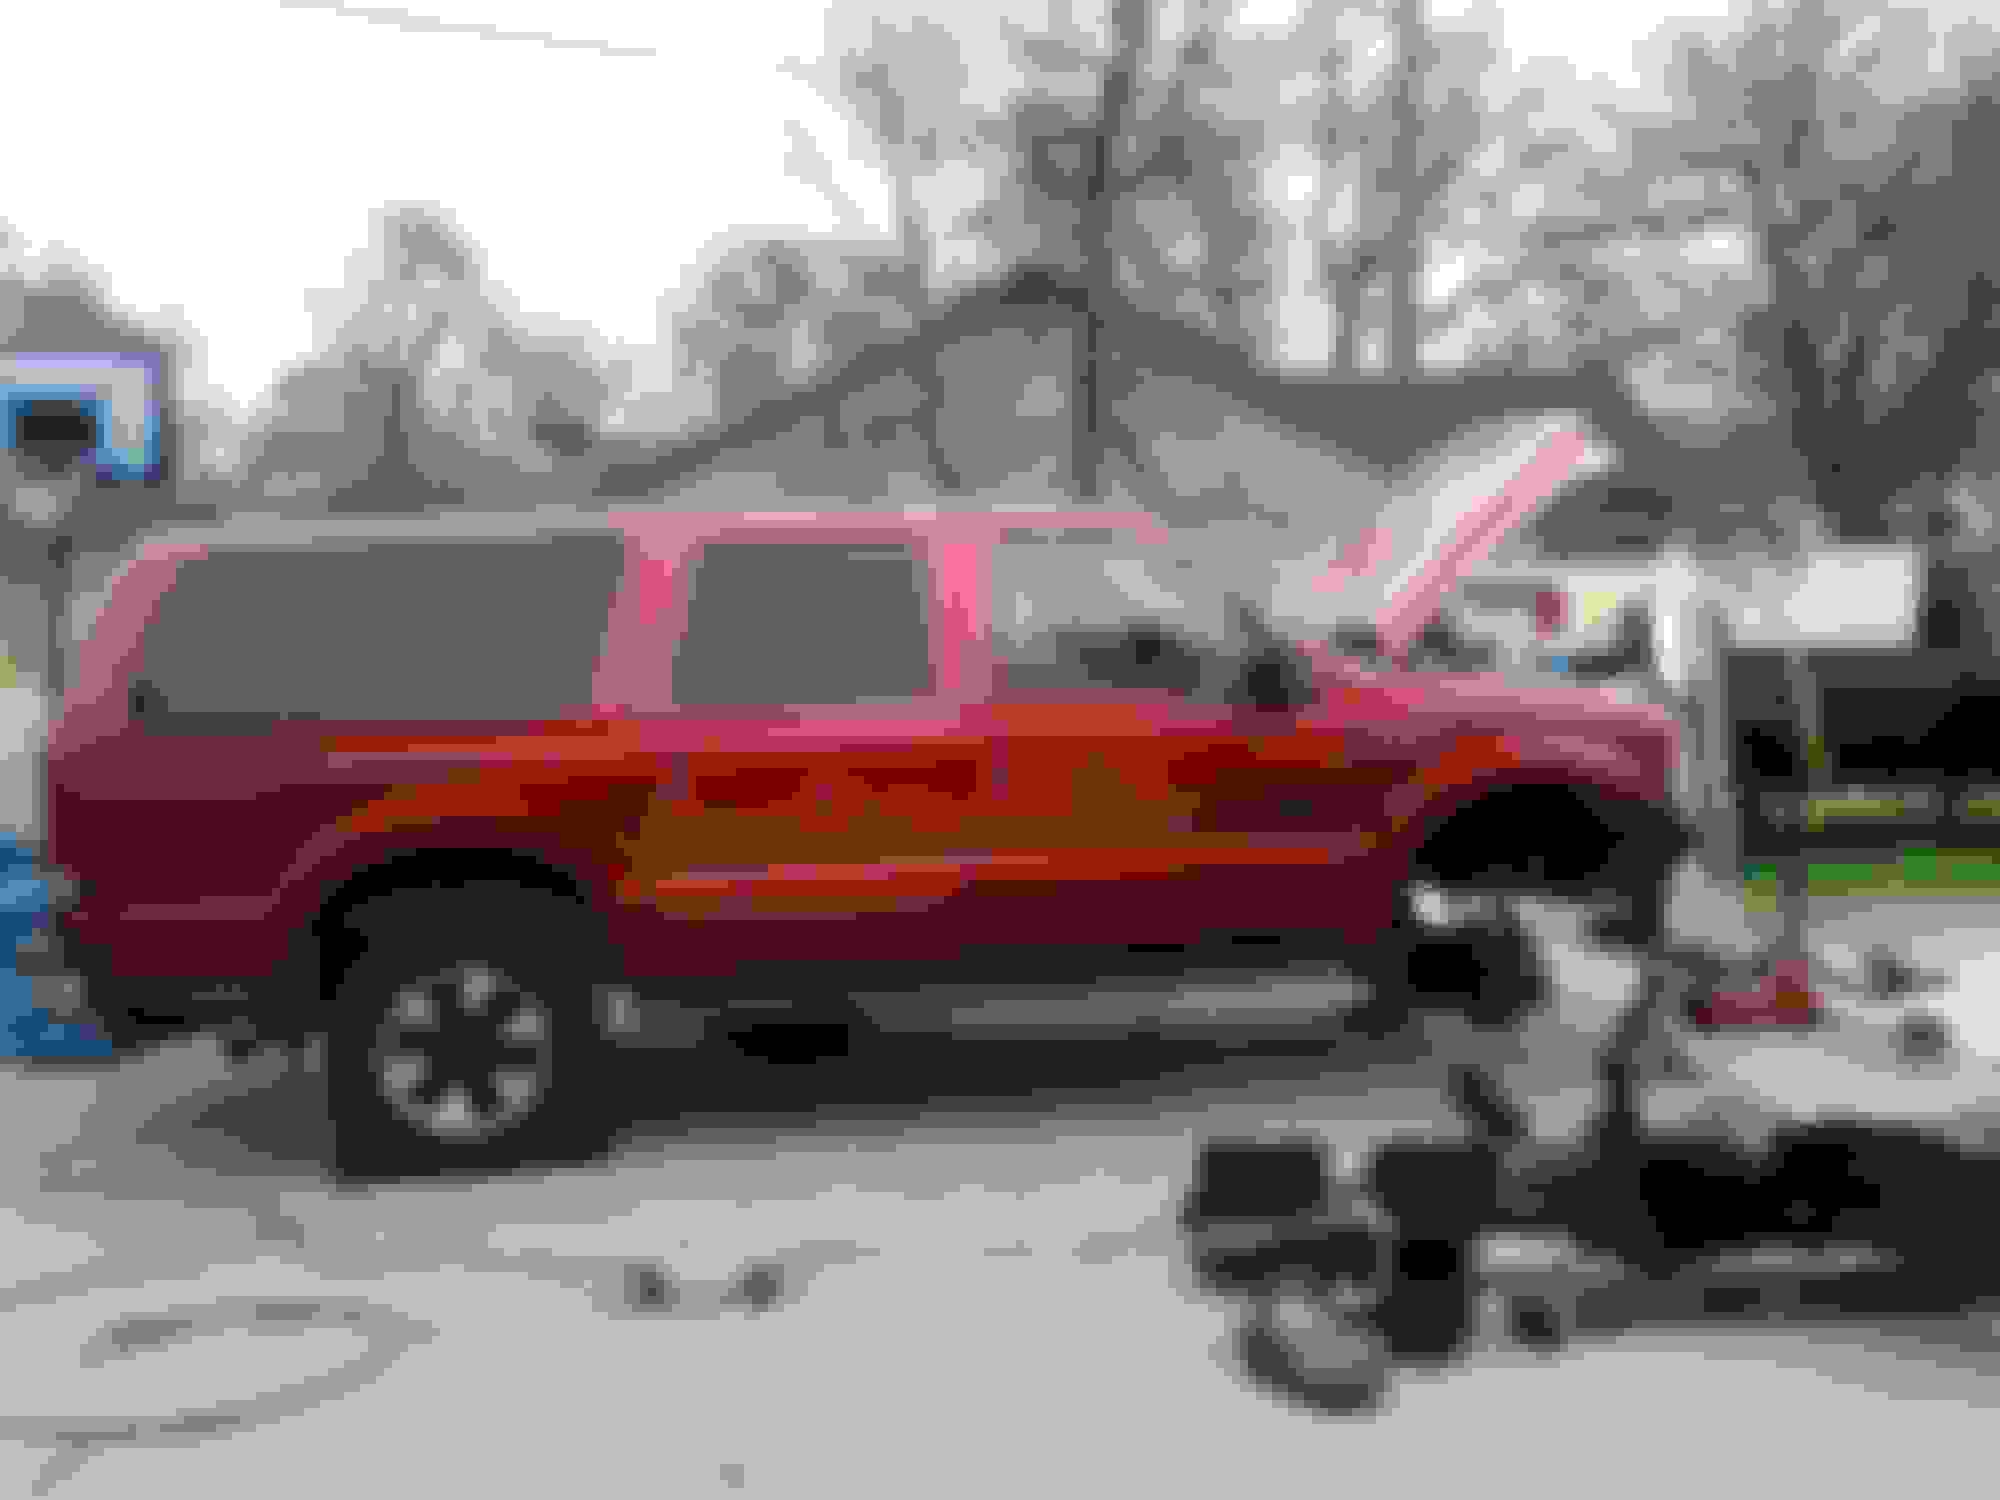
It got pretty cold after the sun went down. My hands got cold, and I called it a day. Tomorrow she is going to be done (I think!).
I decided to burn some midnight oil and finish the install. I will bleed the brakes and power steering tomorrow. Brakes are on:
Reusing my ABS sensor...have to. It is slightly taller than the '07 sensor, so you have to really push that tab down after you install. Otherwise, it will rub on the rotor.
Get all the little plastic connectors off the donor ABS sensor before you toss it. You will need them.
Like this one...
And this one...
Brakes installed. I used the '07 lines, but I could have used my Russell lines. They just would have went to the rear of the coil bucket like they originally did, and I would have drilled a new hole for that little bracket I took off when I removed the stock upper shock mount.
Routing the vacuum line up the brake line. I reused some plastic clips from the donor. I didn't get enough of them though. Needed two more for the other side...
...so I used zip ties over there instead.
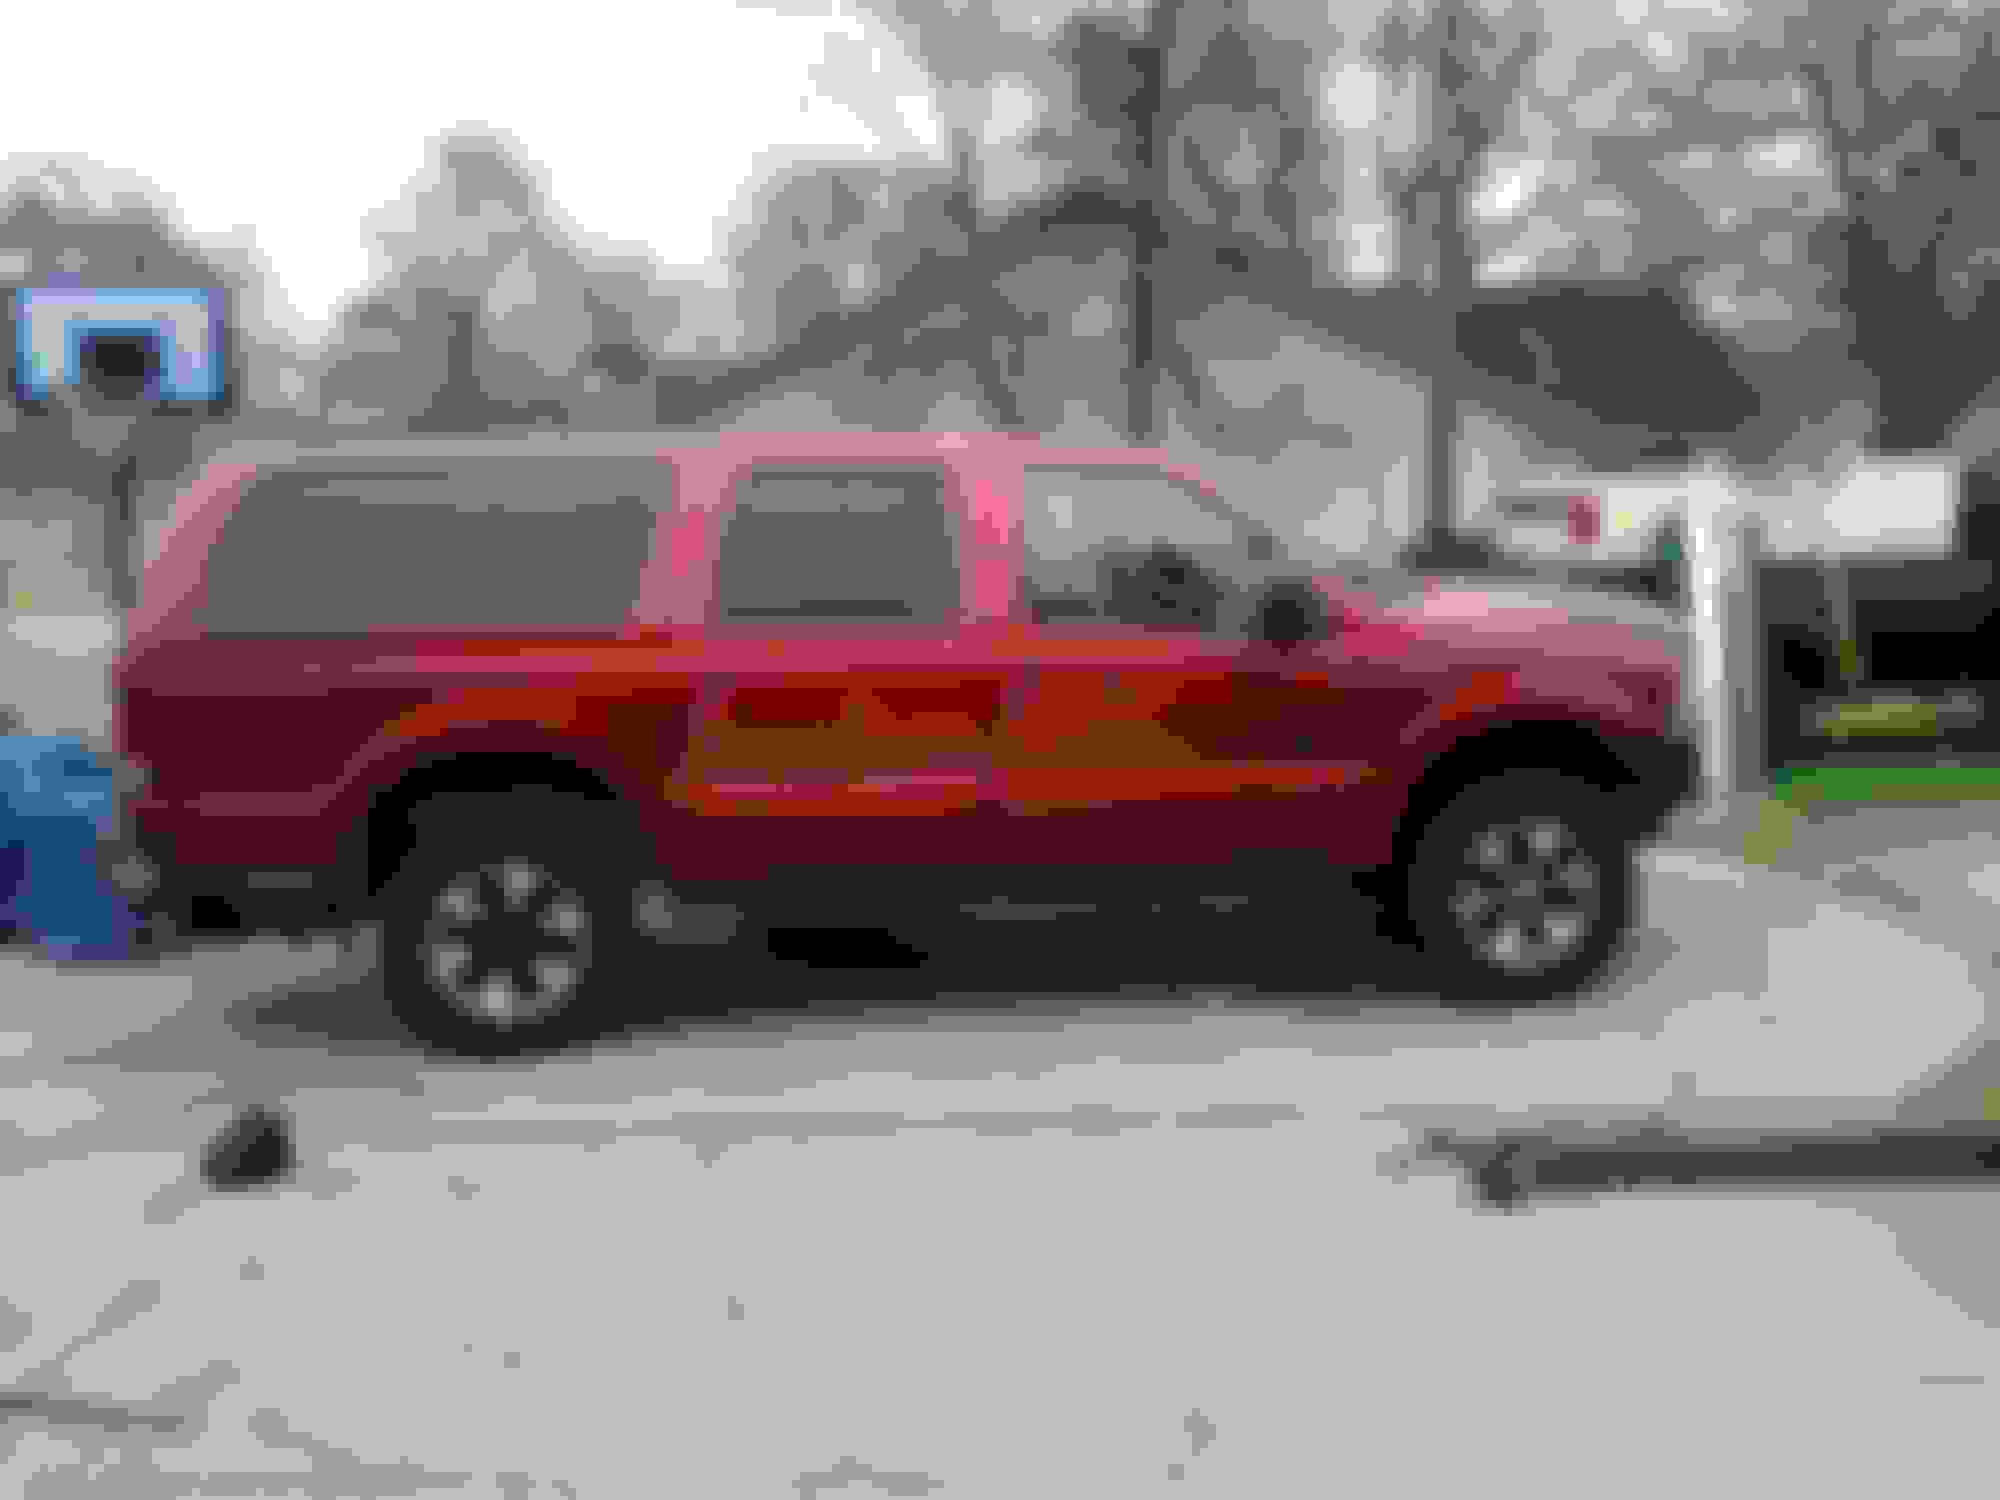
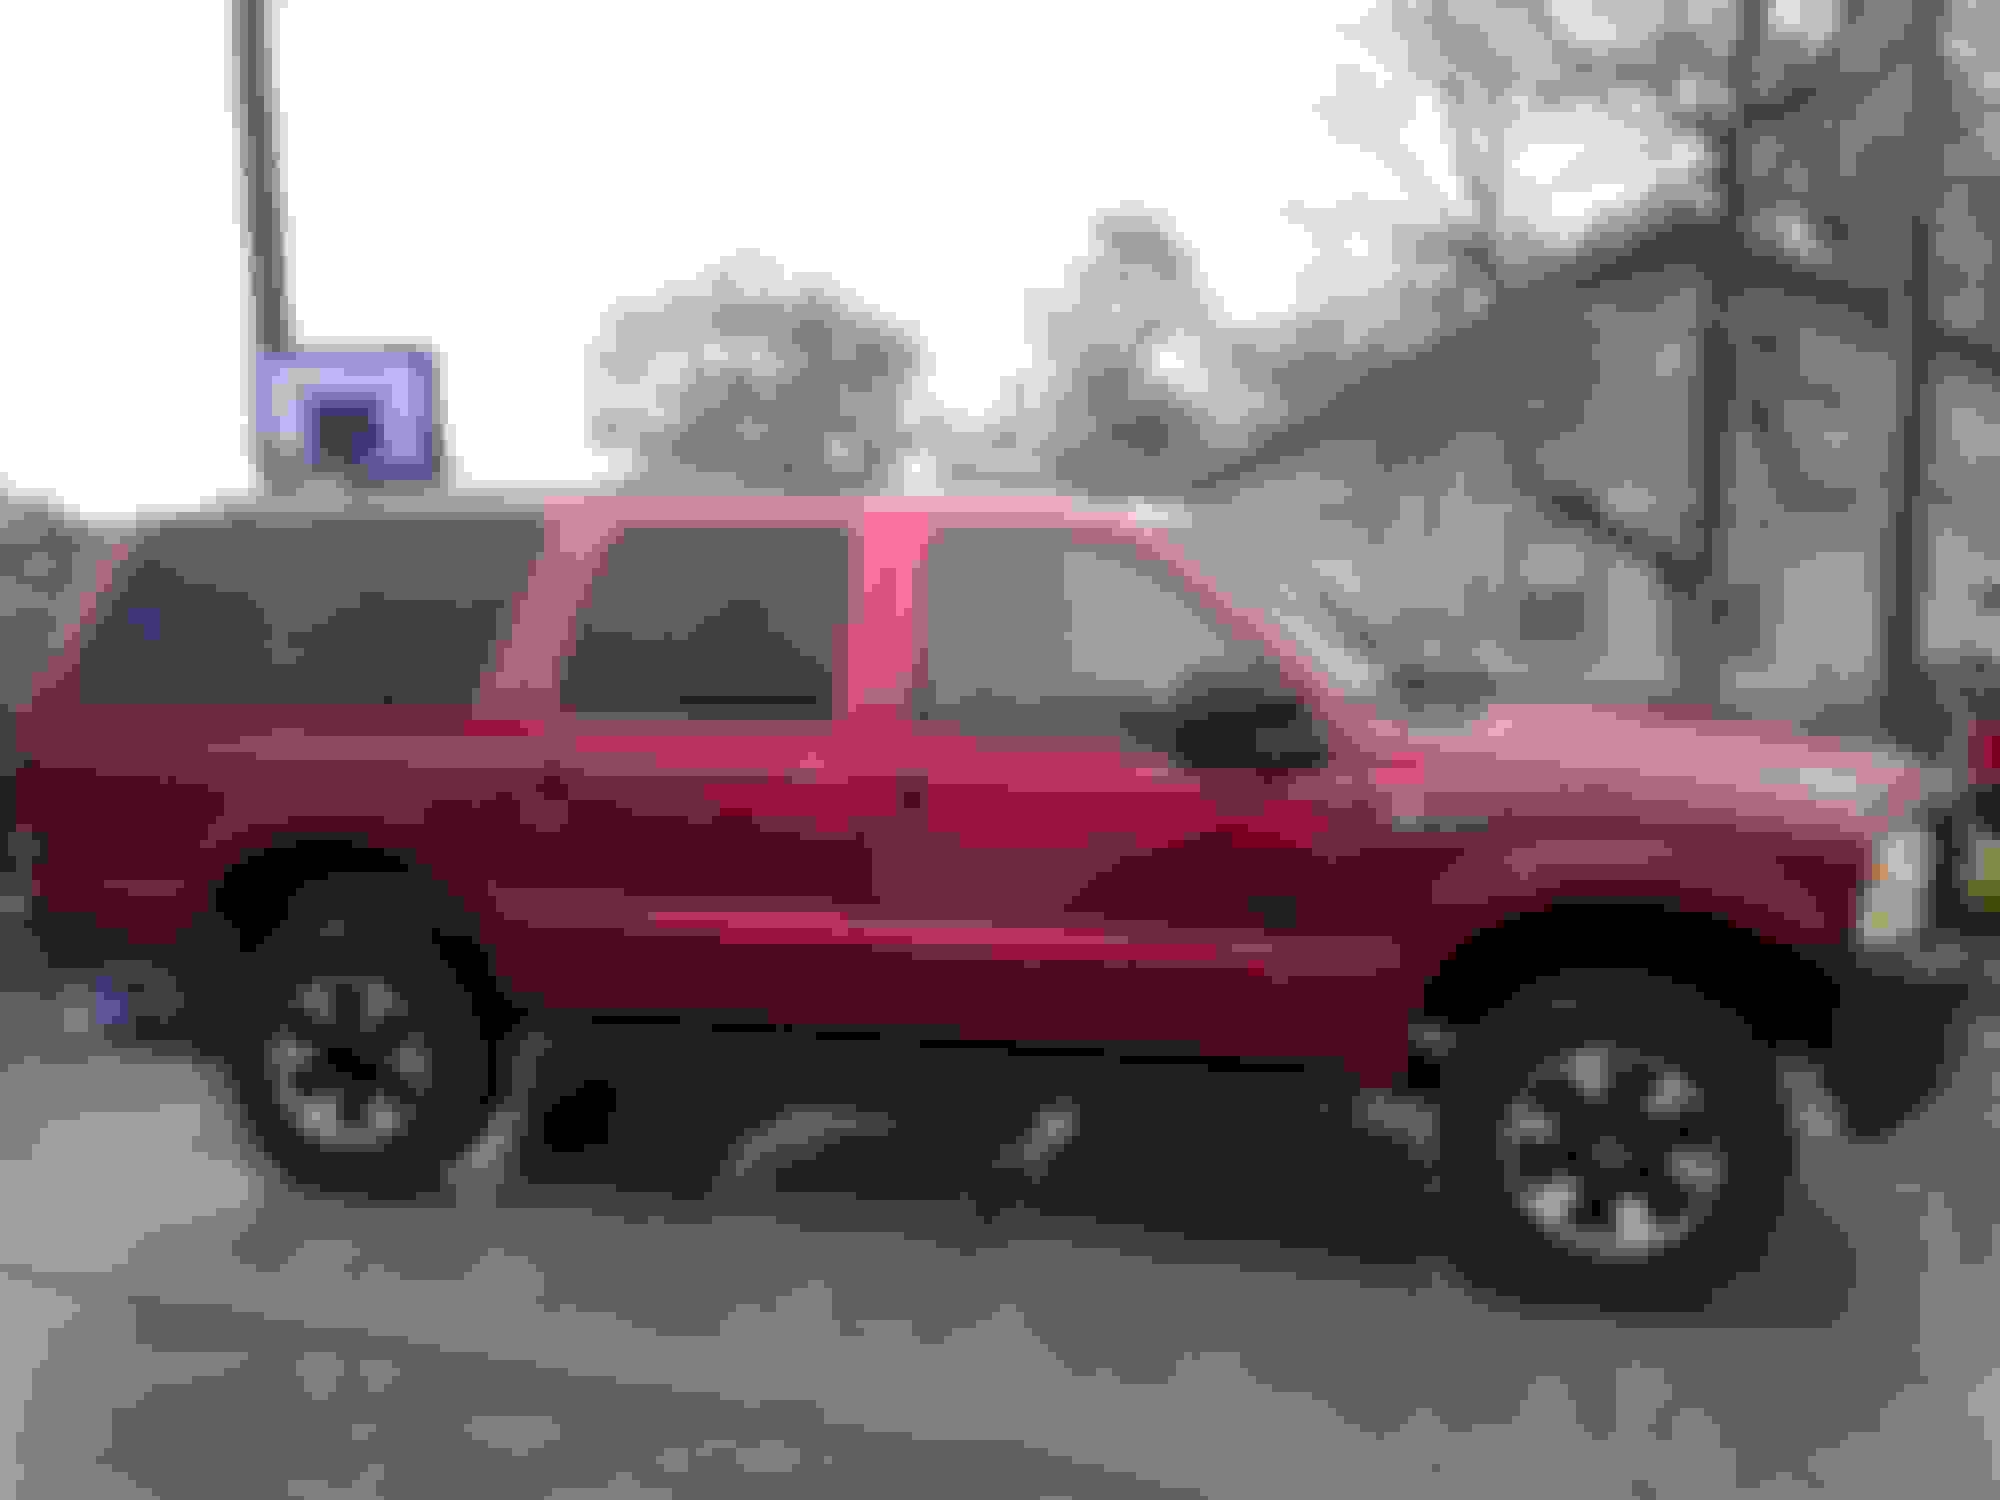
She is on all four tires and on the ground. I torqued the radius arm bolts after putting her back down. Too dark for photos, and the bumper isn't back on yet. I still need to drill out the broken bit on the track bar bracket, too.
Really, really like how this stuff went on. I also sprayed it on my work platform to see if it will stick to the wood.
I have been spraying the underbody with the exact same stuff. A little at a time, whenever the weather is warm I liked how it dries out evenly and creates a textured matte finish.
I used the bolts from the donor. I covered that a couple posts back.
Yessir - it appeared as though you did use the bolts from the donor, I was just seeking clarification. I had thought I read that the stock 05-07 bolts were not long enough for the older frame. I think I read that in someone else's conversion thread, but was just wanting to make sure.
I am supposed to go look at a donor truck Thursday afternoon near Columbus, Tx. Owner has pulled the cab and I think we have agreed on a price for the whole rolling chassis.
I've been perusing the forum and stumbled upon one of the death wobble threads for the 05+ trucks. I haven't gotten to the end, but do you know if the absolute cause has/had been determined and is it an easy fix? That is the only thing that has me a little nervous about giving up the leaf springs.
Also, PSC is running their XD boxes for the 05-07 on sale right now. I think they are normally 625 and they are running them on sale for $375. I went ahead and ordered one and matching pitman arm off Rockauto as that is a good price. I've got a 98 dodge 2500 and upgraded the steering box to a Borgeson - from talking to PSC, their XD box should be comparable to the Borgeson.
Thanks again for all the clear photos and detailed descriptions.
Looking good!
Can't add anything other than if you where up here, your hands would be colder and all those pretty parts not on the concrete would be muddy.
...I was just seeking clarification. I had thought I read that the stock 05-07 bolts were not long enough for the older frame.
I've been perusing the forum and stumbled upon one of the death wobble threads for the 05+ trucks. I haven't gotten to the end, but do you know if the absolute cause has/had been determined and is it an easy fix? That is the only thing that has me a little nervous about giving up the leaf springs.
Thanks again for all the clear photos and detailed descriptions.
Waylan
The stock bolts are long enough, just MAKE SURE YOU USE LOCTITE ON THEM.
Pirate4x4 says the death wobble is caused primarily by the track bar and its design. PMF makes a really good one according to the guys on here. It isn't in my budget right now, or I would have installed one. That said, I know a lot of people that own 05-10 trucks, and they have never experienced it. I am setting my caster to 5 degrees or more, and that will help mitigate it as well.
You are welcome for the photos. This conversion has literally worn me out...physically and monetarily, BUT it was a ton of fun and I learned a lot with all you guys reading and following along.
Wonderful weather we are having while I try to work...
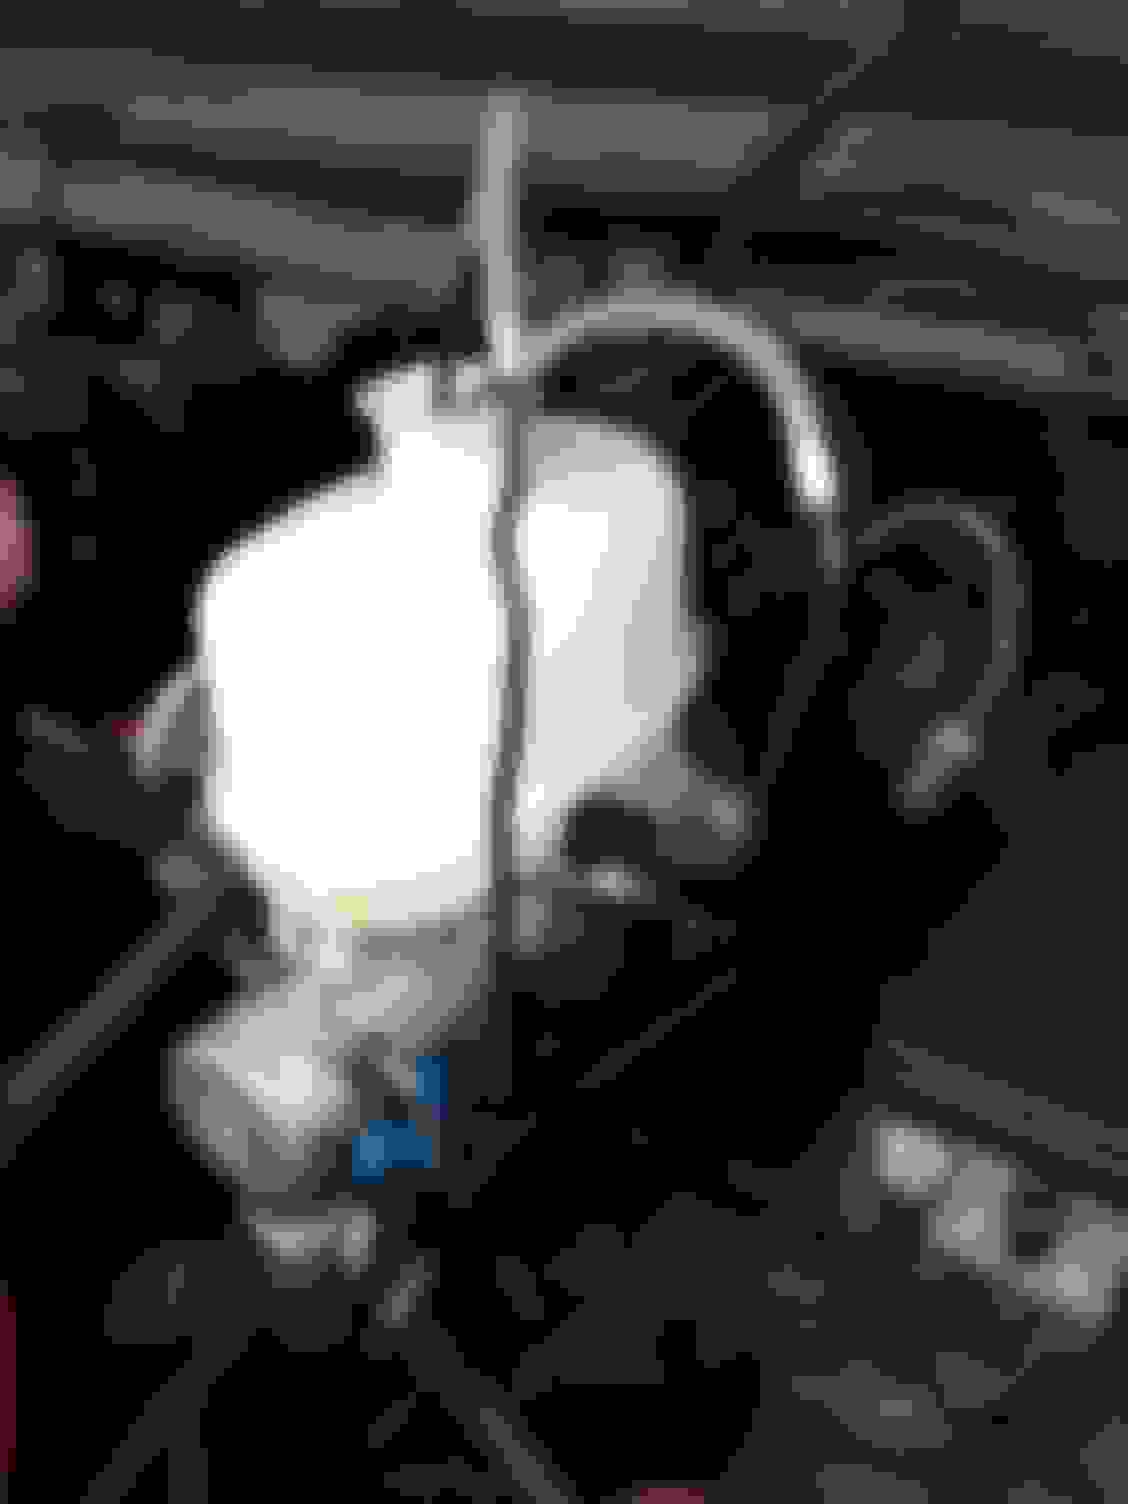
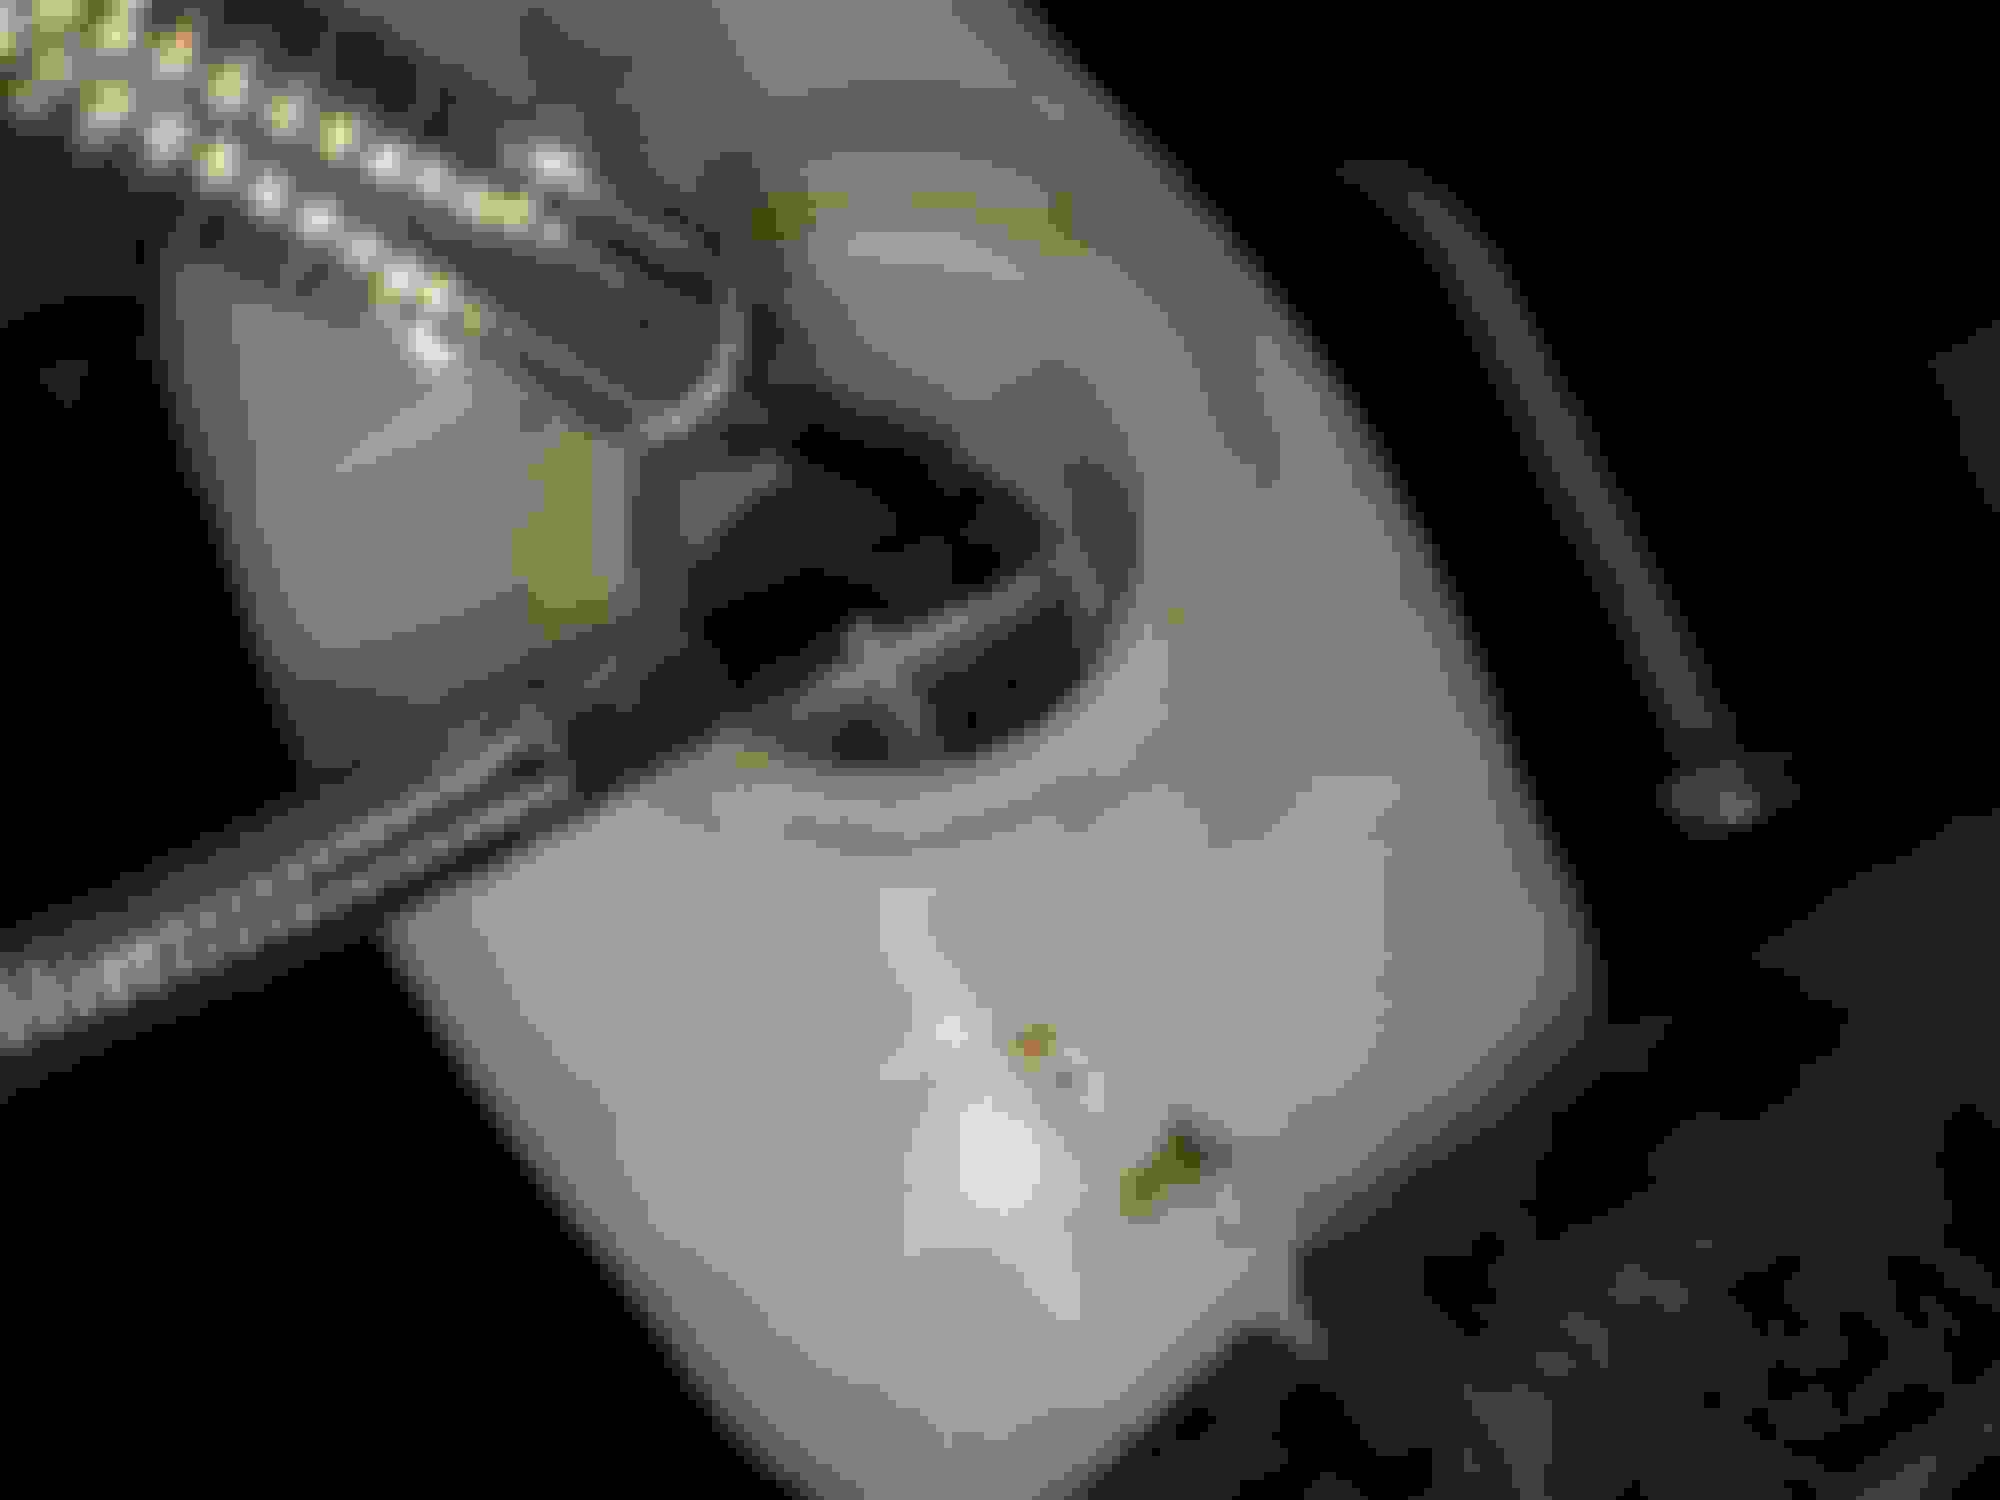
I bled the MC this morning, tightened down the shocks at the coil buckets (top), drilled out the hole in the track bar bracket where the bit broke off on me, and bled the air out of the power steering system. Put fluid in the power steering reservoir before starting the truck, and then continue to add fluid while turning the wheel back and forth until it is full and stops groaning. You will have to jack up the front end until the tires are just off the ground while you do this.
Bleed the MC before starting the truck as well. Here is how I bled the MC. It is very easy to do if you have the spare lines like I did.
I made these out of some spare 05-07 lines I grabbed at the salvage yard.
Connect them to the ports, and then route the open ends into the top and down to the BOTTOM of the reservoir. Fill the reservoir up at least half way. Then pump the brakes for a few minutes to get all the air out of the MC.
Once you have it bled, remove the front line and quickly swap in the hard line to the ABS pump. It will leak quite a bit if you are not quick, so lay a bunch of towels under the port to catch the spillage. The rear port will not leak as much, but follow the same procedure for it.
Once the lines are hooked back up, you need to get all that fluid to the four calipers. Open the back right bleeder valve and pump away until clear fluid comes out with no bubbles in it. I have a bleeder hose with a check ball valve in it that keeps any air from going back in, but lets the fluid and air out. Makes it a one man operation. You could also use a vacuum pump at the bleeders if you have one. Do this to all four wheels until they bleed clear with no bubbles. Refill the MC often! You don't want it to get below halfway. I went through two big bottles of brake fluid, and most of that stayed in the system. I bled out about 1/2 a bottle through the bleeder valves.
There is most definitely more pedal travel in the system now. I used to hit firm pedal very quickly, but now it is about an inch farther to hit firm pedal. I did not test drive today, as I don't have the new driveshaft bolts yet (the heads on 3 of mine stripped). They should be here tomorrow morning.
Just a note, I don't want to put the fender liners back in until I drive it and check for leaks. Hoping for a dry day tomorrow so I can hold off. If it is still raining, they will have to go back on before I drive it. Too many plugs, wires and electronics can get wet with them off.
I also have to adjust the steering wheel back to center, as it is off by quite a bit right now. I am going to remove the steering wheel, turn it and then reattach it. There is really no other way to do it, and there is nothing challenging about removing and reattaching a steering wheel.
Already sold my Dana 50 front axle and the old rims.
I'm off to the races when the drive shaft bolts show up tomorrow!
Lengthening or shortening the drag steering rod should center the steering wheel.
With your steering wheel being to the right loosen the locking clamps and lengthen the rod to move the steering wheel to the left.
The lower adjustment is for setting the toe in, I use a tape measure but it takes two people to do the job right. I've got my set at 1/8" closer in the front, drives pretty good, no shake.
I should rephrase that: There is not an easier way to do it!
Yes, you are right in that I could adjust it with the drag link. I don't think that is easier or quicker than just taking off the wheel and putting it back on. I can have the steering wheel off and back on again in under 10 minutes. You got me thinking, though. I am going to take a look in the morning as to where the pitman arm is in relation to the driver frame rail at full left lock. If it is close, I might adjust the drag link as you suggest.
I should rephrase that: There is not an easier way to do it!
Actually I believe that is the main reason that the drag link is threaded - to adjust the center of the steering wheel. 2 pinch bolts and a few turns on the adjusting collar is pretty quick, and you can set the wheel perfectly centered. Due to the steering wheel being splined, it is unlikely you will be able to get it perfectly centered - just close.
This Hennessey Takes the Expedition Tremor's Off-Roading Capability to the Next Level
Slideshow: The VelociRaptor Expedition gains a lift, upgraded suspension, Brembo brakes, and trail-ready equipment while retaining the stock 440-horsepower EcoBoost V6.
Rezvani's Latest Post-Apocalyptic Monster Is a Ford F-150 Raptor Underneath
Slideshow: Called the Fortress, the 850-horsepower pickup combines Raptor underpinnings with military-inspired features, survival equipment, and a starting price of $285,000.


 I liked how it dries out evenly and creates a textured matte finish.