When you click on links to various merchants on this site and make a purchase, this can result in this site earning a commission. Affiliate programs and affiliations include, but are not limited to, the eBay Partner Network.
Look what Brown brought me today! Still waiting on F650 dash. It’s another project I’m not really looking forward to. Electricity and I don’t really get along.
Began the gauge install today. Not as much progress as I’d like, but moving along.
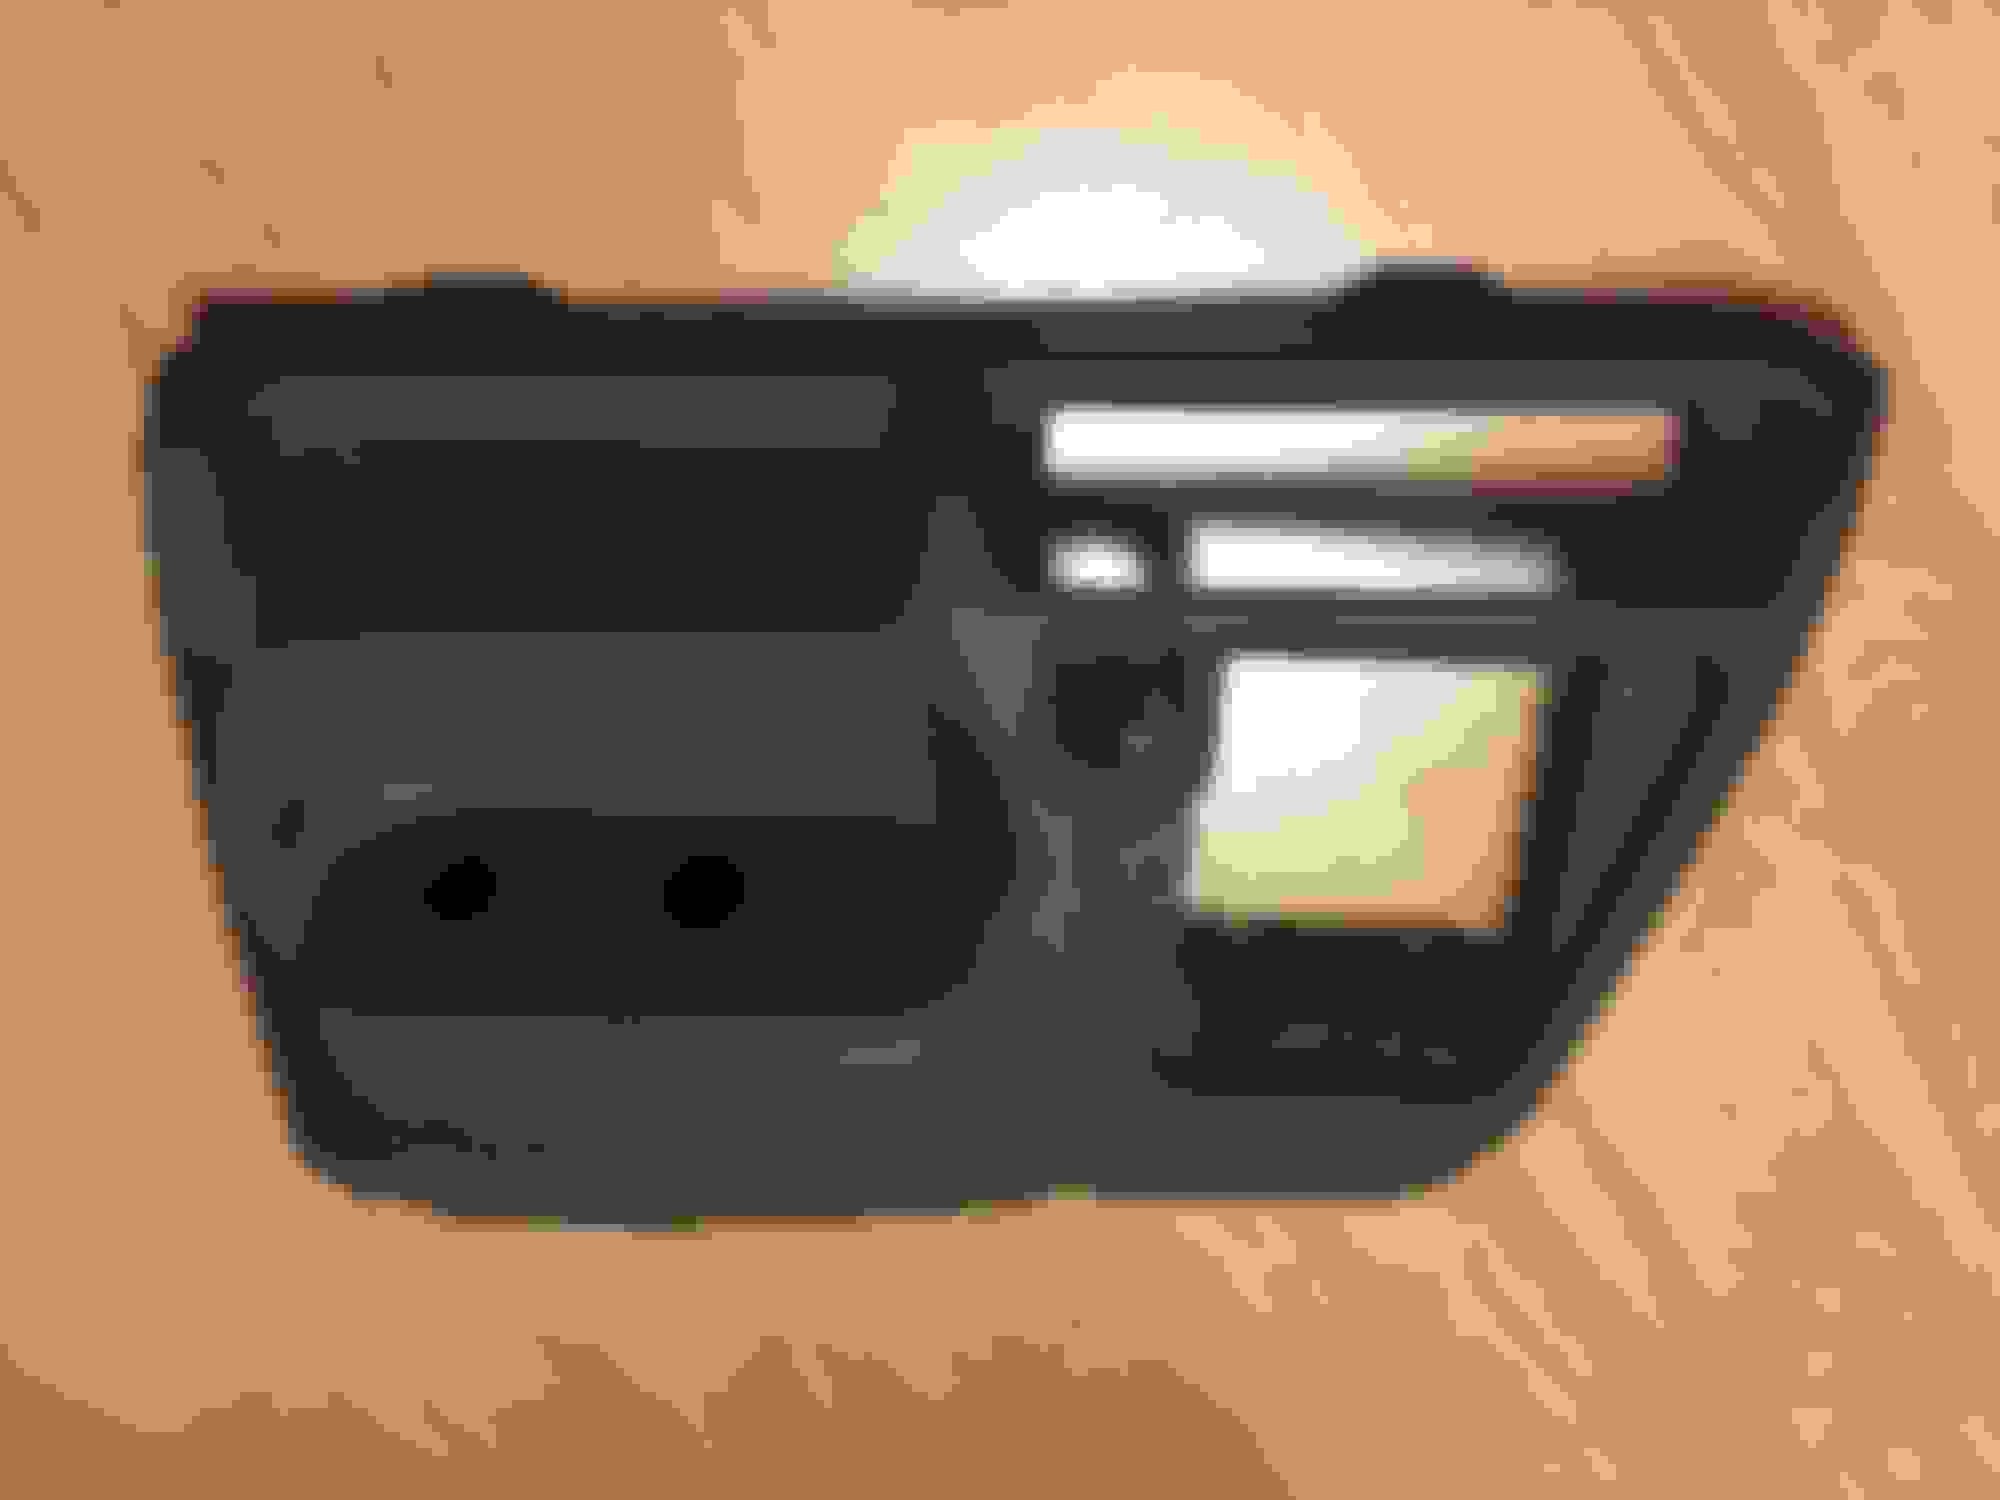
New F650 dash unsullied by hack mechanic...yet.
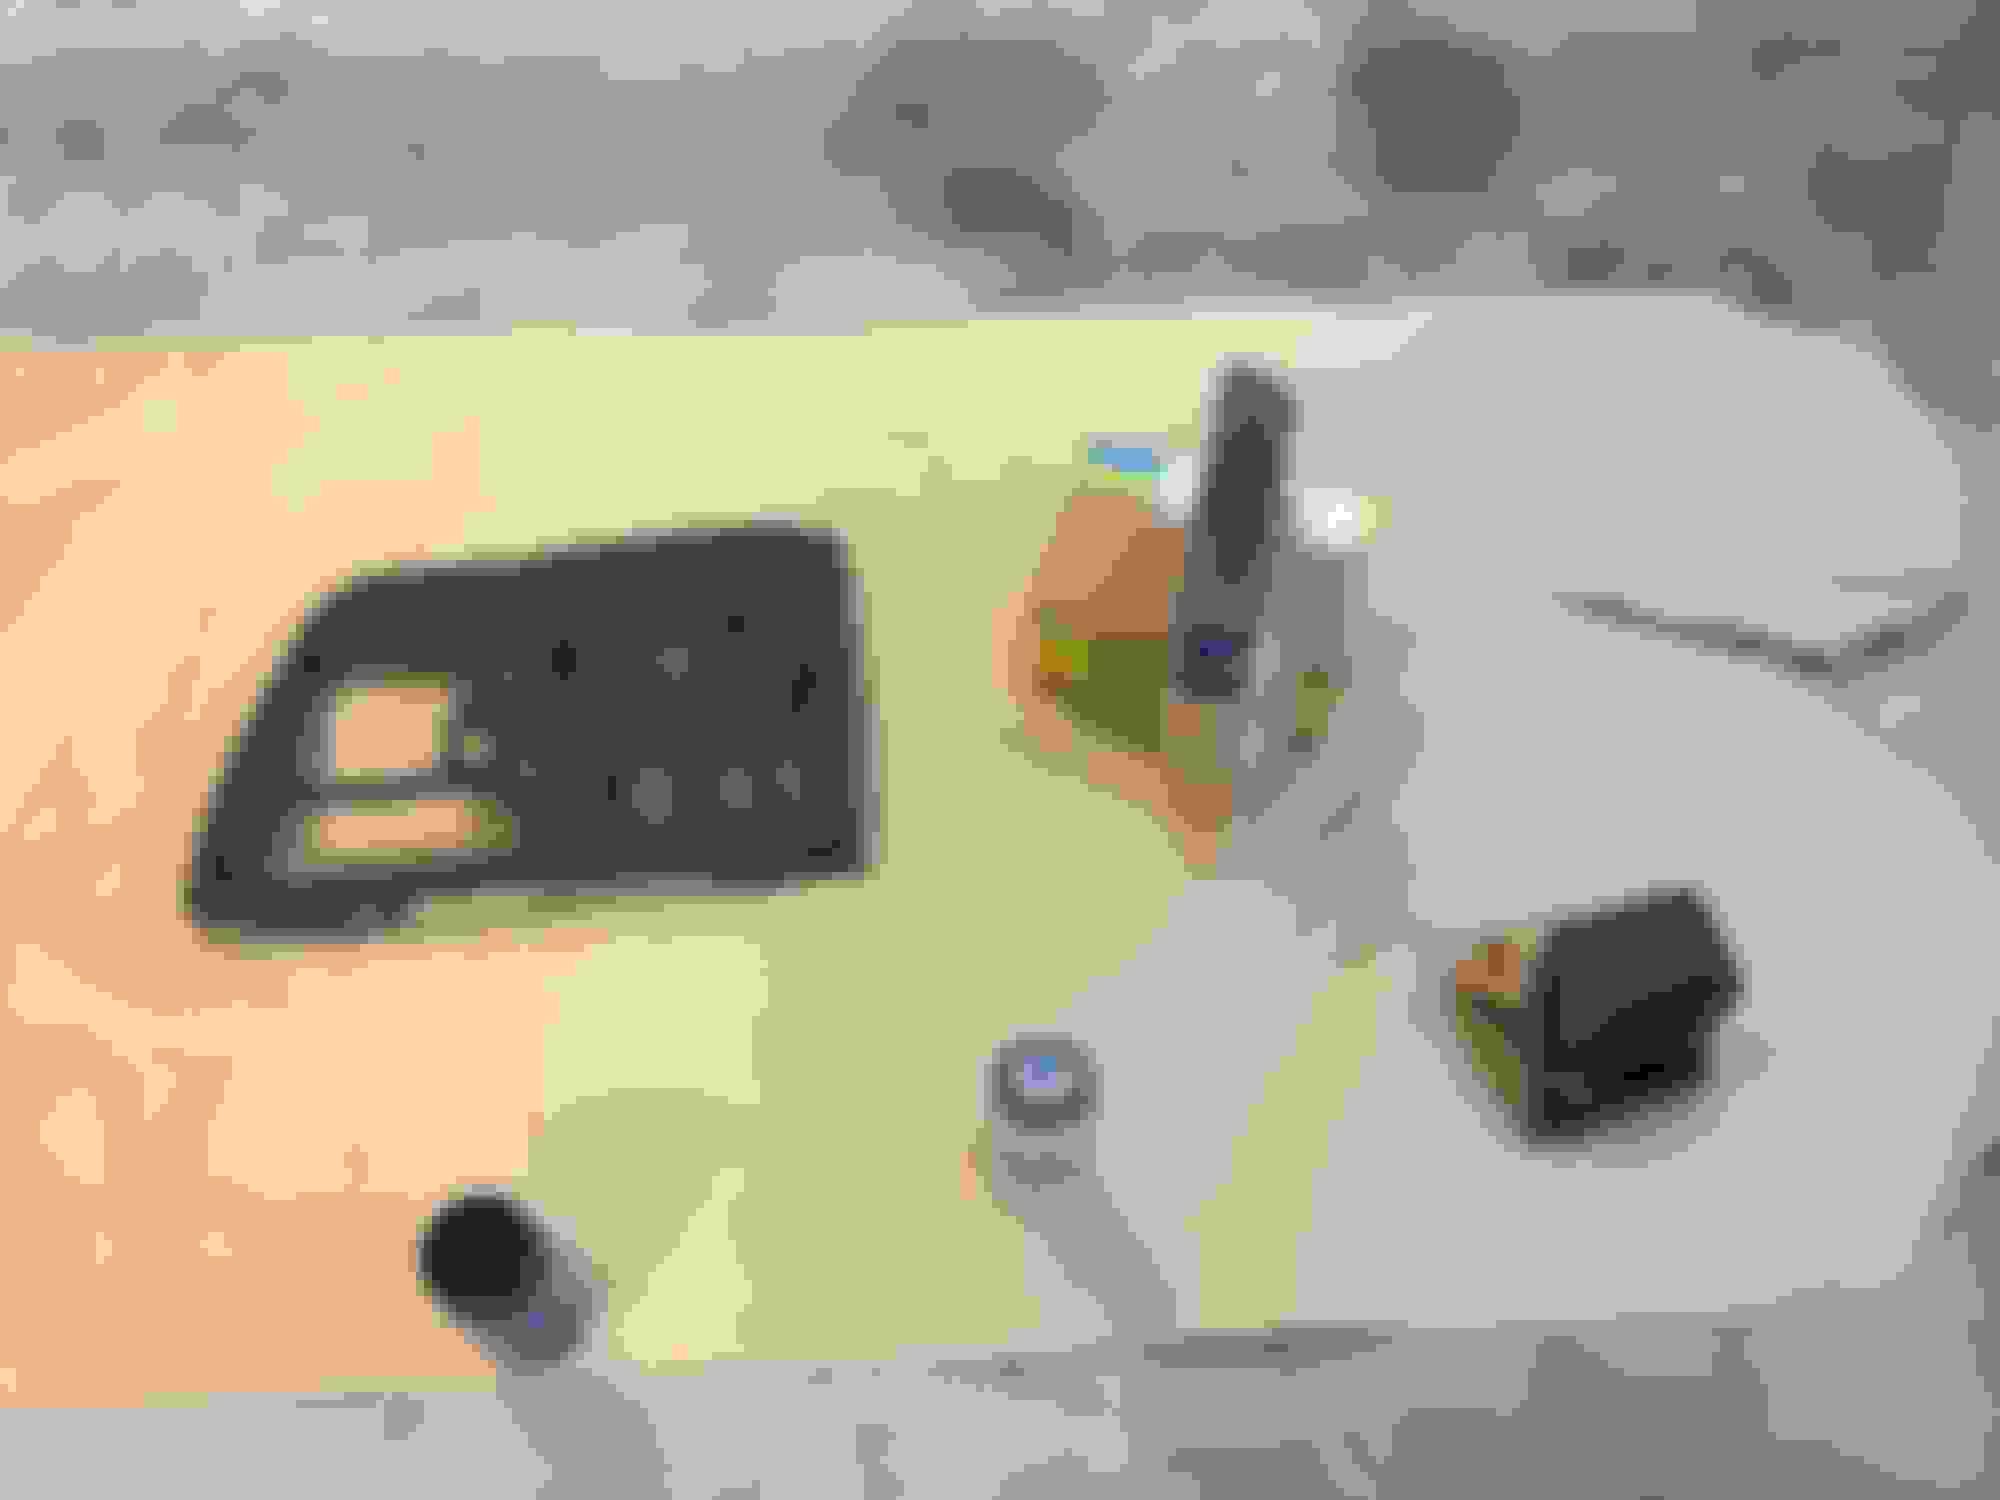
New, unused cigarette lighter socket to a good home for postage if anyone wants it.
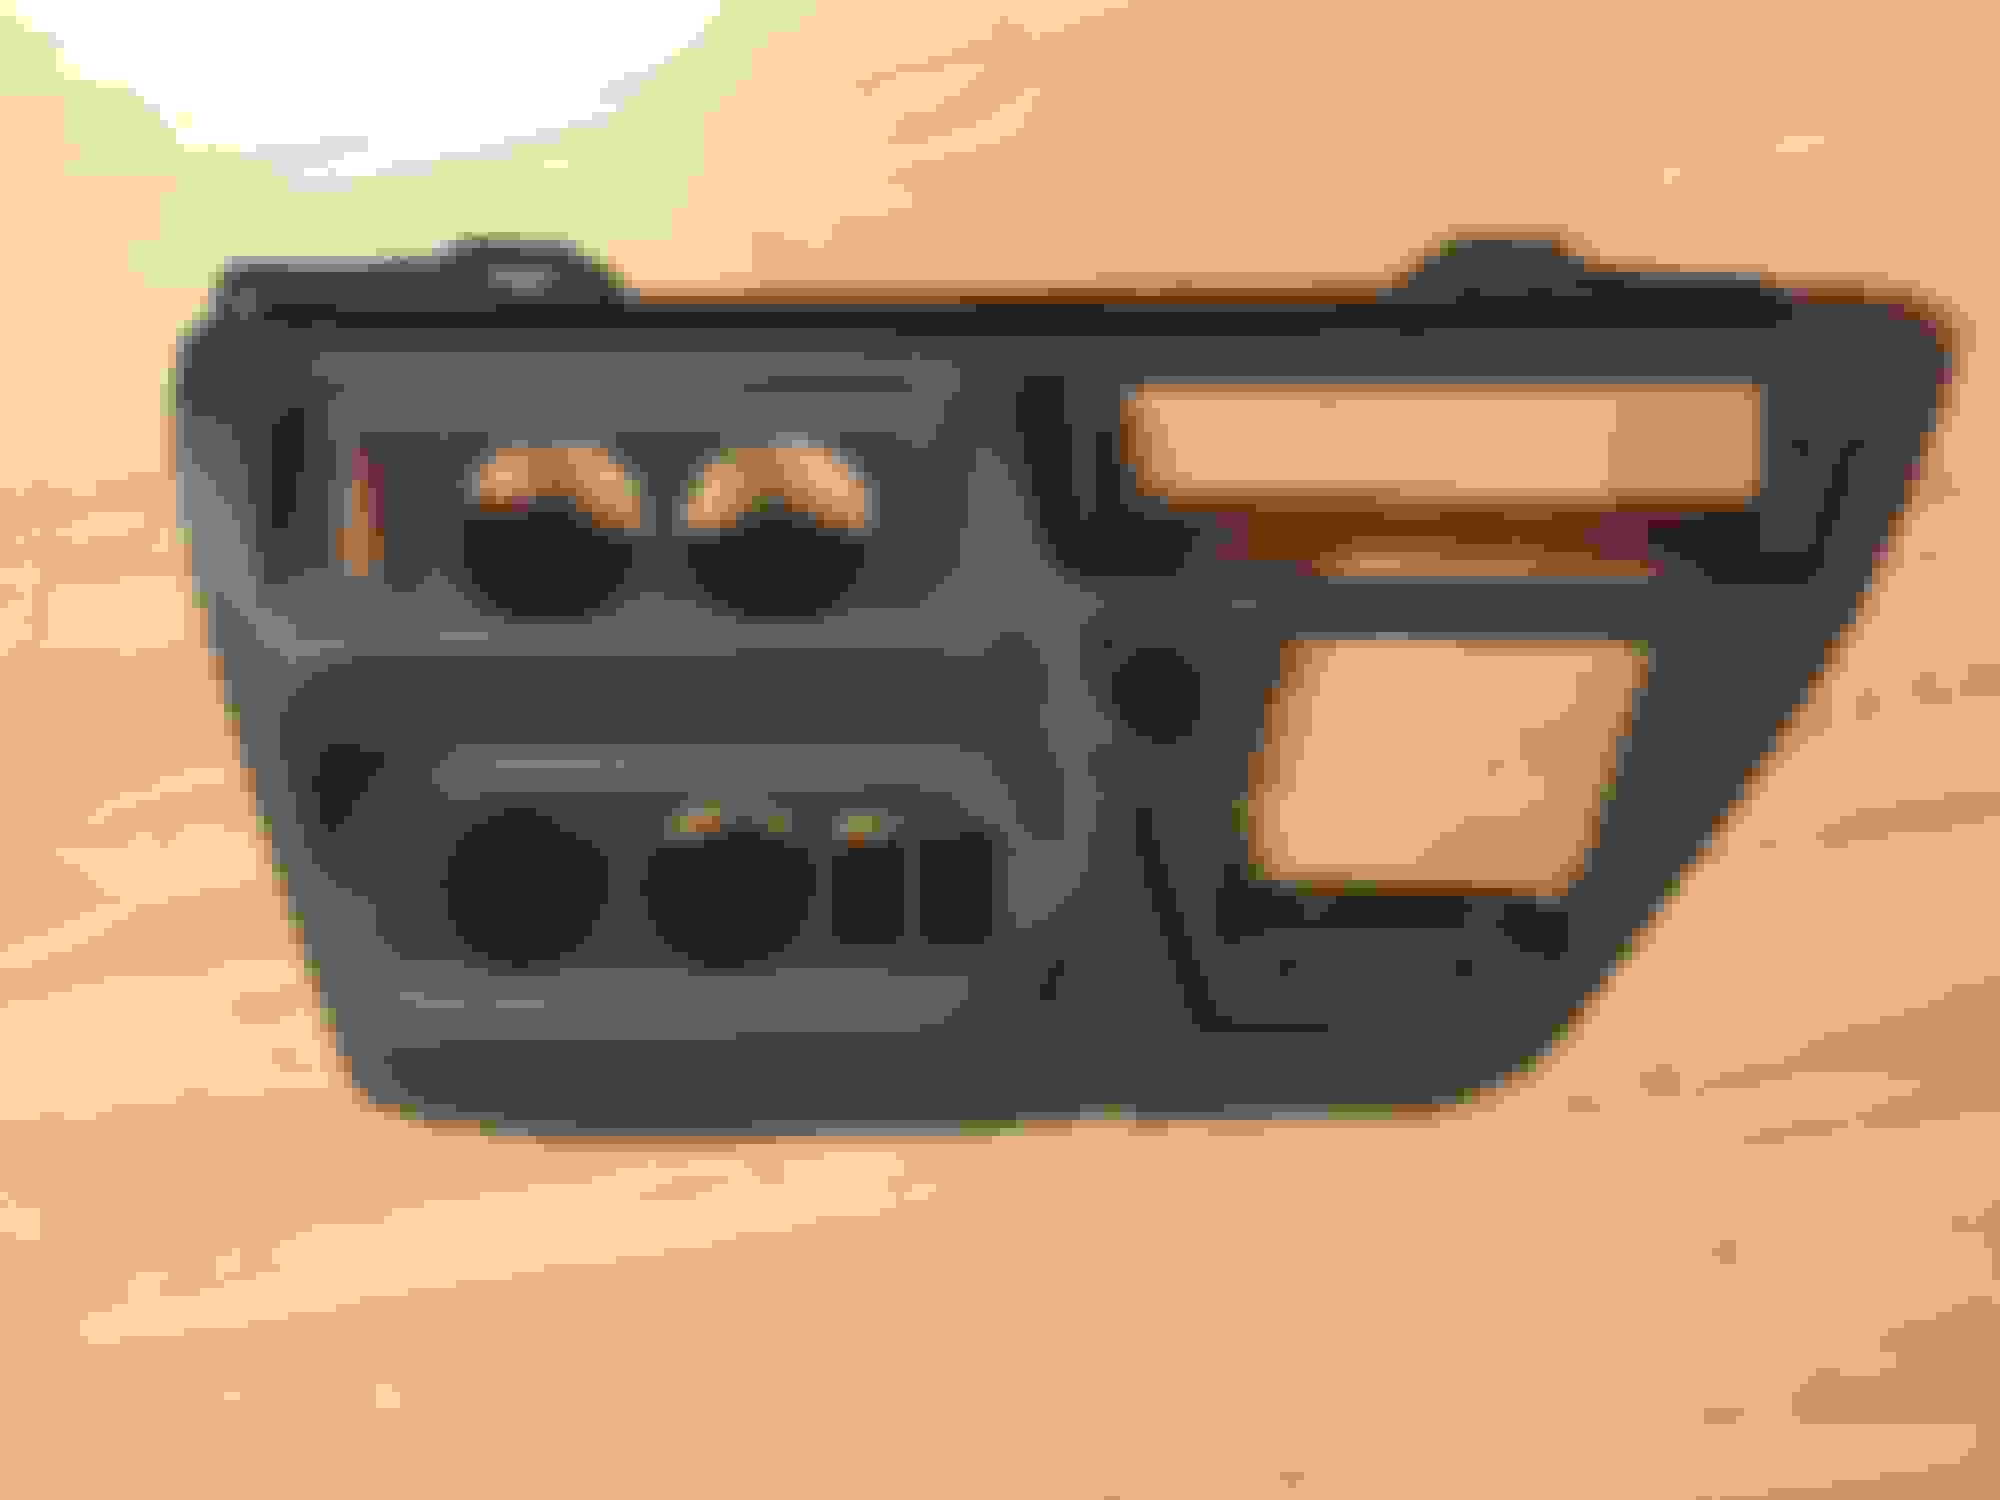
Well, here’s the sullied one. Existing cutouts dictate where I chose to put gauges and switches. My original plan was to slap this thing in my CNC mill and do the cutouts the “easy” way. After actually getting the dash it became obvious that workholding would be a bugger. Did it with a dremel and files.
Let the painting begin. This was from before I painted anything, but the Dark Tan Parchment paint I got from Riffraff looked pretty damn close. We’ll see how it matches the existing dash when I reinstall.
Boost connection was easy enough. Just replaced my non-boost AIH delete plug with a boost version.
Blue non-boost AIH delete plug for the cost of postage to the first person who claims it.
Fuel pressure sensor was a pain. No good access to the post filter test port. I put it in assembled with the 7.3 adapter. If I were to do it again, I’d put the adapter on first then the sensor.
Bad news in that there was a lot of oil in the valley. Must have screwed something up doing the darn FRx and HPx last fall. I’ll try to figure out the source another time.
The pyro probe was actually not that bad. A few chips in the face but not horrible.
Transmission temp sensor was a snap. Just removed the test plug and screwed in the probe. Notice the freeloader nest
I would change the trans temp sensor wire connections to something more robust. I had one corrode and fail. Did a quick repair but will change to a weatherpack this spring. Everything looks good so far!
Bad news in that there was a lot of oil in the valley. Must have screwed something up doing the darn FRx and HPx last fall. I’ll try to figure out the source another time.
I battled my HPx for a couple of years for leaks at the head fittings. I had "snugged" them down to the point I thought I was going to strip some threads. I ended up swapping out my HPOP fittings for non-check valve ones, ditching the HPx, and freeing up a little room around the turbo.
1- bottom right rocker switches hit the sub panel. Need to cut some relief in there so I can fasten the bottom of the F650 dash.
2- boost gauge isn’t reading anything.
3- I made all my connections too short. My inexperience is showing.
4- forgot to put anti seize on the pyro probe fitting. After simply moving the Ex around the driveway last weekend I already can’t get the fitting out to do it right.
5- Riffraff’s dark tan parchment paint isn’t even close. It’s actually closer to the medium tan parchment.
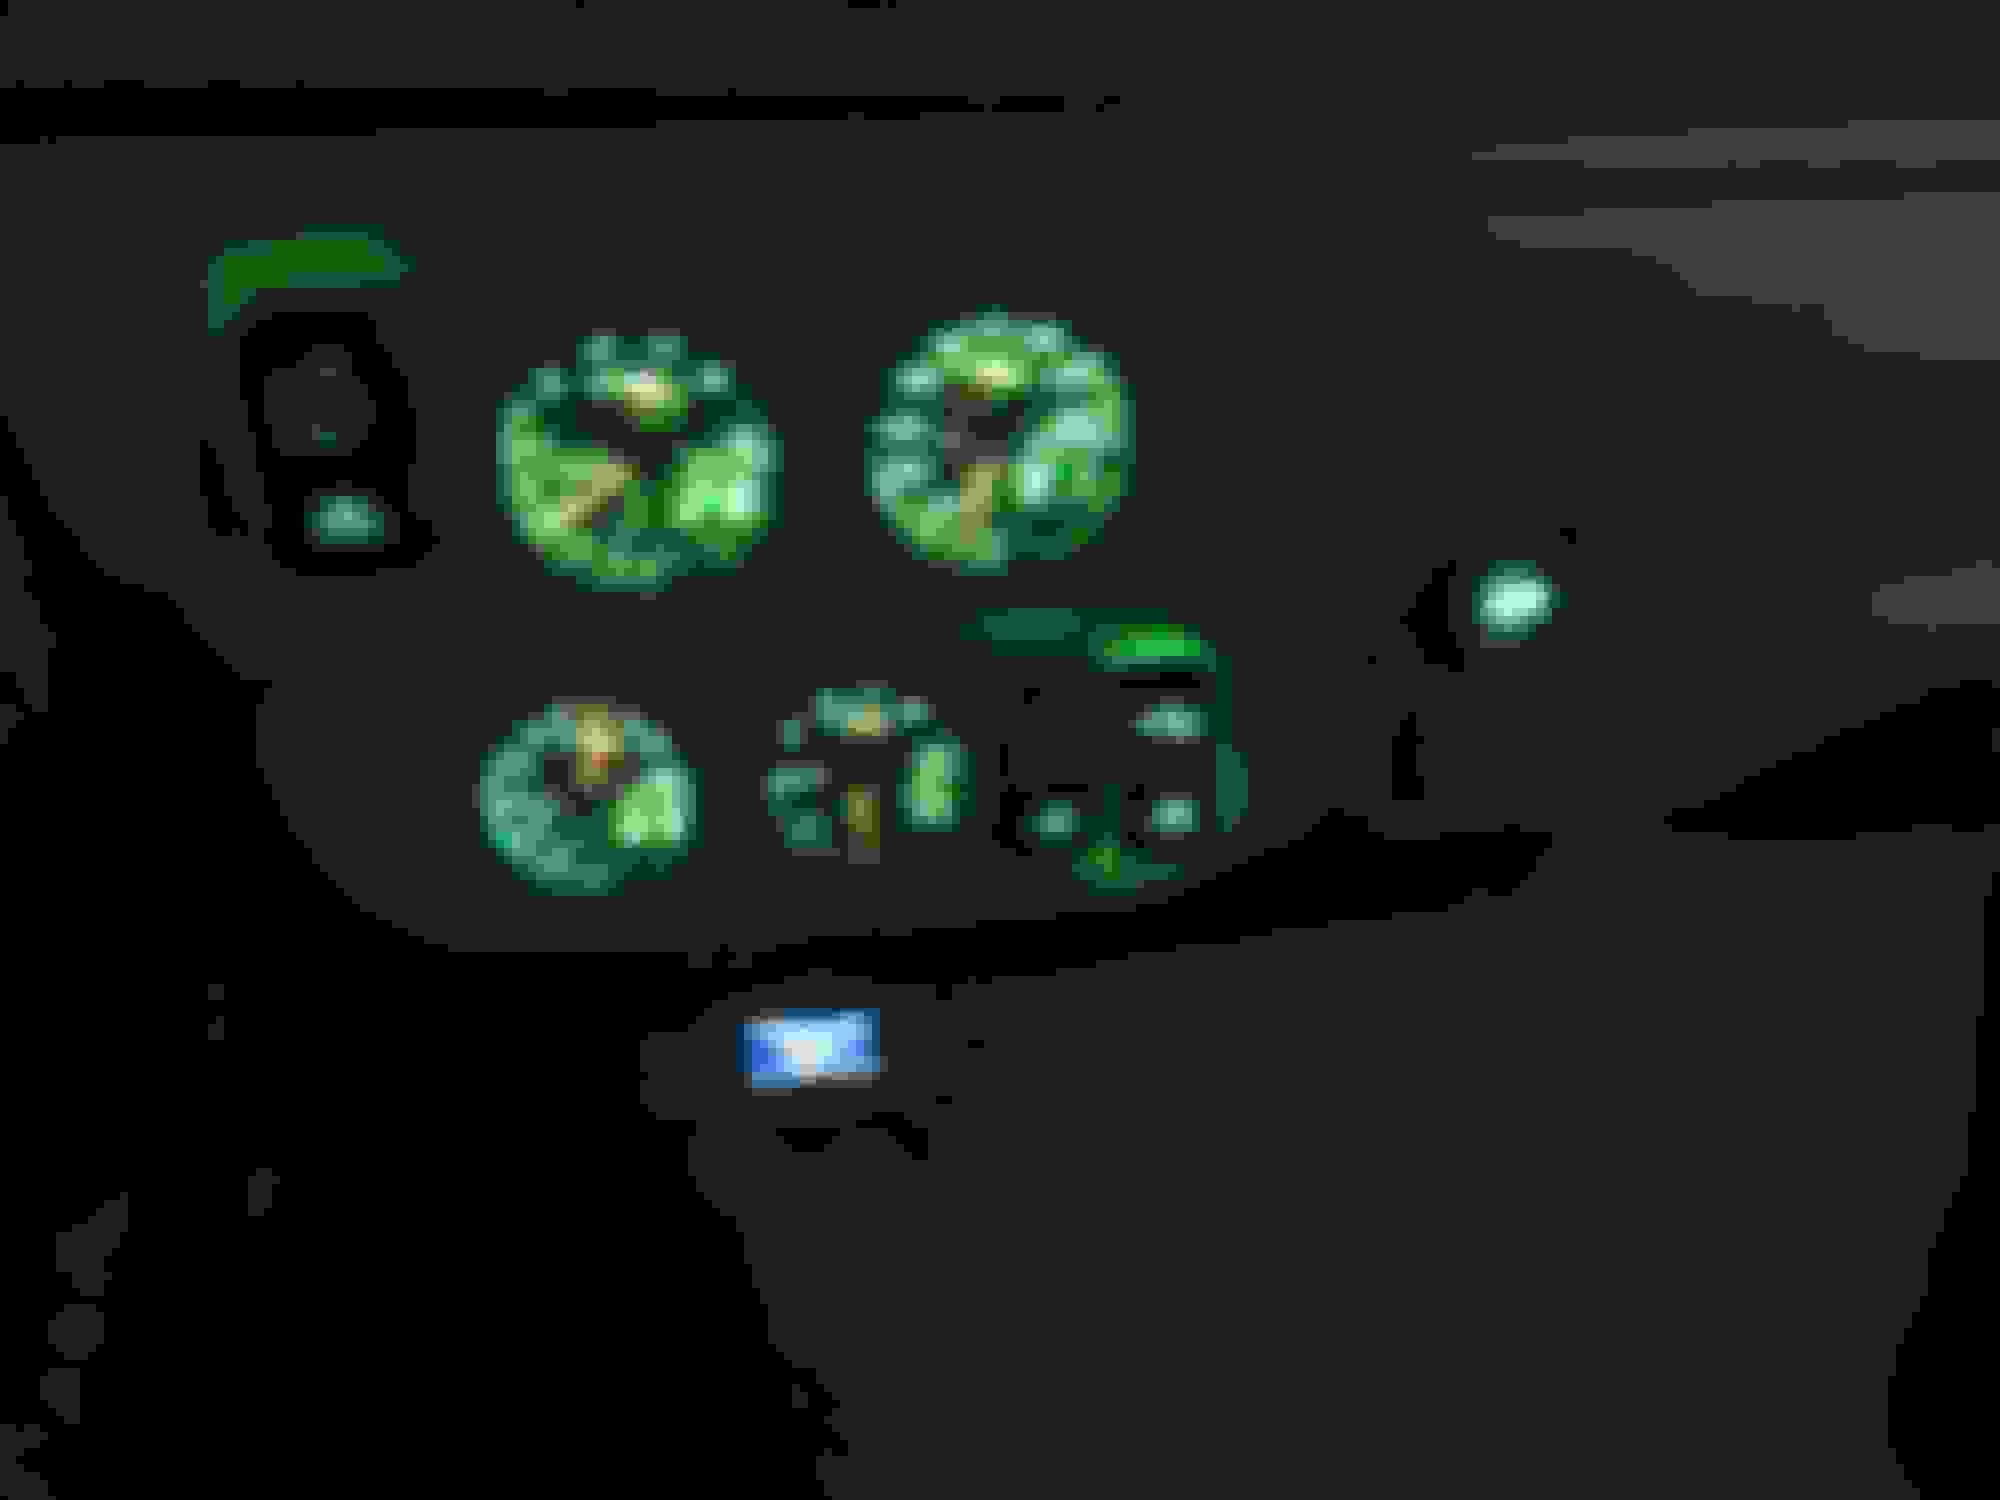
How bright are those gauges at night? Do they dim?
I’m installing the MaxTow Fuel Pressure gauge and you can splice into the dimmer switch and control brightness that way along with the rest of the dash.
I tied mine into the light circuit so it dims when the lights are on. Pretty slick. There is also a way to adjust the brightness on these MaxTow gauges for both bright and dim settings. I haven’t messed with that yet though.
I tied mine into the light circuit so it dims when the lights are on. Pretty slick. There is also a way to adjust the brightness on these MaxTow gauges for both bright and dim settings. I haven’t messed with that yet though.
Now that I saw your F650 dash I’m intrigued enough to pursue this later. Thanks for making me spend more money!
Those MaxTow gauges are pretty nice.
My fog light rocker switch went where the original oval cutout was in the F650 dash. The oval was slightly taller than a switch cutout. The switch didn’t really click into the hole securely (was a bit loose) so I made a 1/16” thick aluminum backer that the switch solidly locked into. No movement now.
Installed fog light switch.
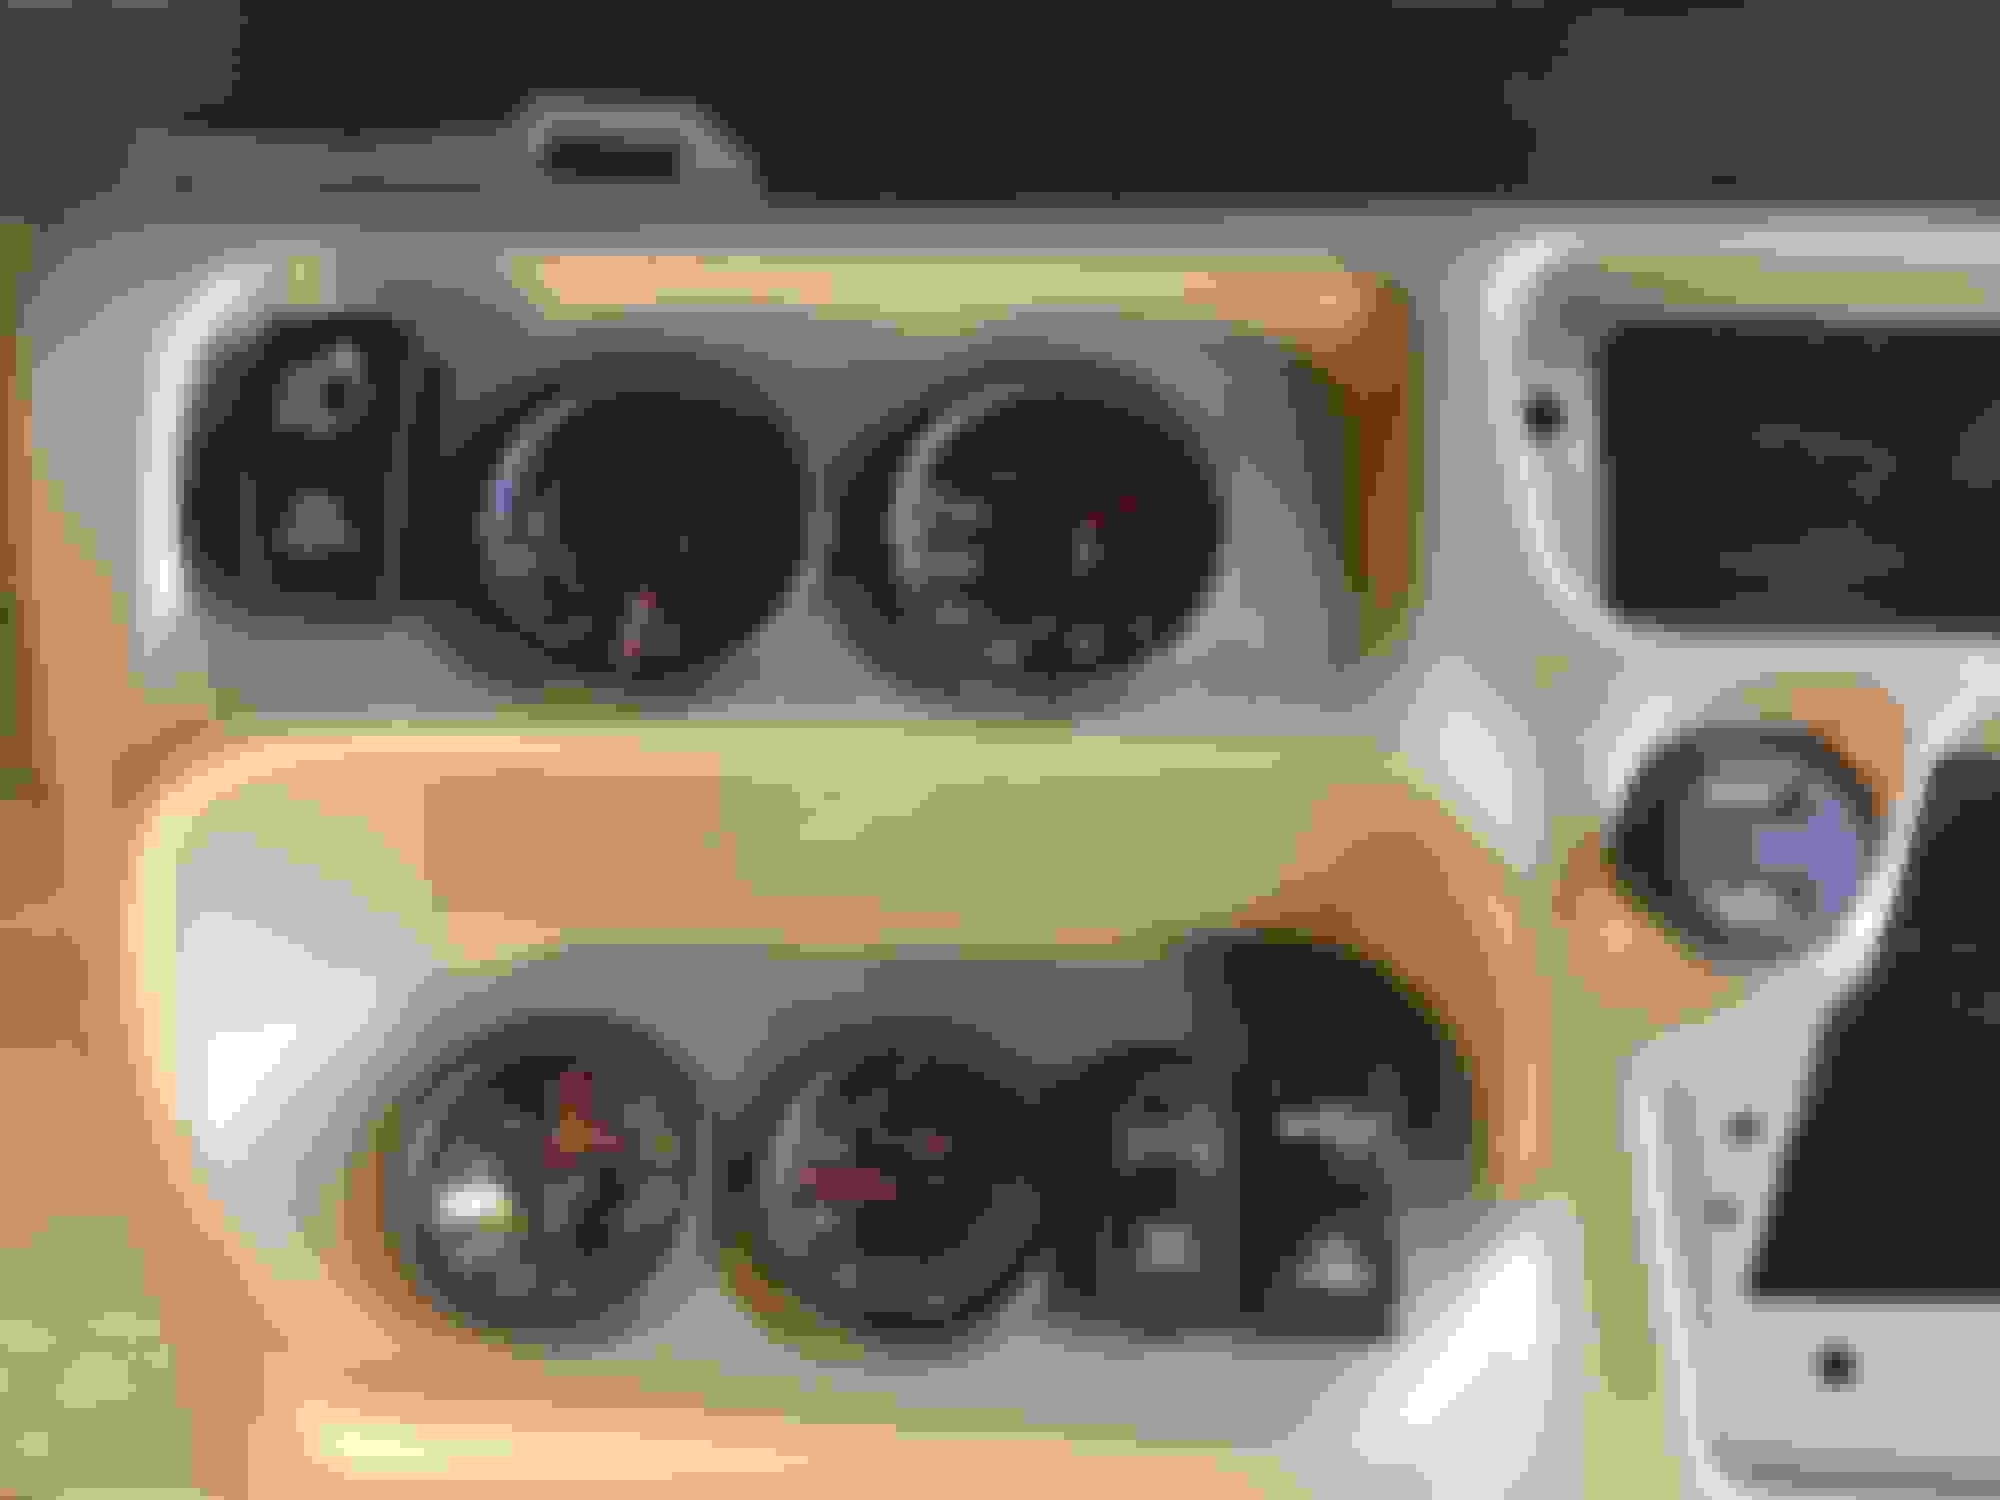
Gauges and switches in dash.
Wiring gauges and switches on the bench before attaching to vehicle wiring. Buying the MaxTow gauge power wire harness was sweet. Connected all gauge power wires in series. Only need to connect one wire each for constant on power, key on power, headlight switch wire, and ground.
I also wired all my switches together so they used a common ground and power wire. Easier install that way. I used the cigarette lighter circuit as it was 20 amps. I replaced the lighter receptacle with a two-USB charging outlet and volt meter. Two 2.1 amp USB outlets, the lighting led's for the switches and volt meter, and power for my two light switches going to relays was all less than 20 amps. Seemed like a good swap, and the wires were right there.
I needed to cut the sub dash to clear the the far right switch.
I actually needed to cut more than my layout...added about where the red lines are. Forgot to take a picture.
Finished up my gauge install.
Here are my "add-a-circuit's". Fuse #3 was for the lighter socket and what I used to power the switches and the "always on" gauge wire. Fuse #19 was key on and I used it only for the gauges. For those not electrical geniuses, either disconnect the batteries like the instructions say or remove Fuse #3 before cutting the cigarette socket wires. I blew that 20a fuse. Twice. The add-a-circuit's stuck up too far to be able to use the fuse box cover. Don't know any way around it.
Not shown are the power taps from the headlight switch to both gauges and switches. Red wire with yellow tracer behind the headlight switch. I had one tap each for the gauges and switches. Turn the headlights on and the gauges dim and the bottom LED's in the switches turn on. Turning on a switch illuminates the top LED whether the lights are on or not.
Got them all working! Boost worked fine. I just needed a little load on the motor to build boost past zero. I didn't remove the protective plastic on the gauges before taking these pictures so they actually look better than this.
Since the lighter socket power is always on, some here on FTE worried about a long term drain on the batteries if something was left plugged in, and/or from the voltage display LED's. I found a "USB" power switch. Now my USB charging and volt meter are switched.
View from right behind the wheel. Not too bad! All gauges are reasonably seen. The fog light switch is hidden by the steering wheel. I also like how the brake controller is mounted better on this than the regular Ex dash. It just seems like a cleaner install.
Previously I commented that the Riffraff Dark Tan Parchment didn't match the dark paint on my dash. It actually is pretty close to the medium tan parchment and works well for me. When I remember I'll try to get a daylight picture.
Of all the projects on the Ex I've done so far, this is the coolest! A pain in the butt as electricity isn't my friend, but useful and very nice.
This Hennessey Takes the Expedition Tremor's Off-Roading Capability to the Next Level
Slideshow: The VelociRaptor Expedition gains a lift, upgraded suspension, Brembo brakes, and trail-ready equipment while retaining the stock 440-horsepower EcoBoost V6.
Rezvani's Latest Post-Apocalyptic Monster Is a Ford F-150 Raptor Underneath
Slideshow: Called the Fortress, the 850-horsepower pickup combines Raptor underpinnings with military-inspired features, survival equipment, and a starting price of $285,000.













 . Loved the look of the MaxTow analog/digital gauges and the green lighting.