When you click on links to various merchants on this site and make a purchase, this can result in this site earning a commission. Affiliate programs and affiliations include, but are not limited to, the eBay Partner Network.
The transmission filter and flush begins. This dumaflachee makes it very hard to get the back four pan bolts out. Only a 10mm combo wrench would do two of them. Not as much fuzz on my magnet as some I've seen on here. Somebody took care of their truck before I got it. Clean pan ready to install. That gleam is off the bumper, not the Mobil 1. Pumped out and replaced 19 quarts. Installed Magnefine inline filter after the flush was over.
Started prepping my replacement rear differential cover. Just finished sand blasting. Blew it off real well and then wiped with mineral spirits. Primed. Painted. Will put it in my powder coat oven for an hour tomorrow at 200F to cure the finish.
Baked the diff cover on Tuesday at 200F for an hour to cure the finish. This is what it is replacing... All drained and cleaned, ready to button back up. Finished!
Filled with just over 3 quarts of Mobil 1 75W-140. One of the tags on the Diff said 3L73 which I'm assuming is the limited slip 3.73. Test drive it with no chirping around corners. That is with no Ford friction modifier. Guess the Mobil 1 has the right amount?
Did the fluid change in both the transfer case and the front differential today.
The transfer case was a snap. Considering it was supposed to be ATF fluid in there, it was either shot or not ATF. Dark gray to black. Not a hint of red.
The front differential was a bit of a pain as the PO or their shop used a couple tubes of RTV to put the cover on. It took some serious work with a hammer and chisel to break the cover loose. I'm fully convinced I could have driven around for months with no bolts holding the cover on. It took an hour of scraping and then some sand blasting to get the old RTV off the cover. There was about a 3/8" "bead" of RTV that was pushed into the inside of the differential when they closed it up last time. I went Lube Locker to avoid this issue next time. The differential housing was easier to clean. The picture above is the stone I used on the mating surfaces to get them back to flat after all that hammering. Don't know if I would have ever made it with Emory cloth alone.
Getting close to finishing up the "regular" maintenance. Just getting the ESOF hubs working and lubing the needle bearings left. All sorts of upgrades still in the plans as well as the preventative things found in this thread: https://www.ford-trucks.com/forums/1...on-thread.html
Note: Many months after changing my transfer case fluid to Mobil 1 ATF, I came across this thread and ones like it: https://www.ford-trucks.com/forums/1...ners-read.html. The Cliff Notes version is that Ford XL-12 Transfer Case Fluid is the proper fluid for the transfer case, not Mercon V ATF. Don't know if the Mobil 1 has damaged or even could damage anything. Out of a preponderance of caution I changed over to XL-12 on 1 Sep 18.
Last edited by Stewart_H; Sep 2, 2018 at 11:33 AM.
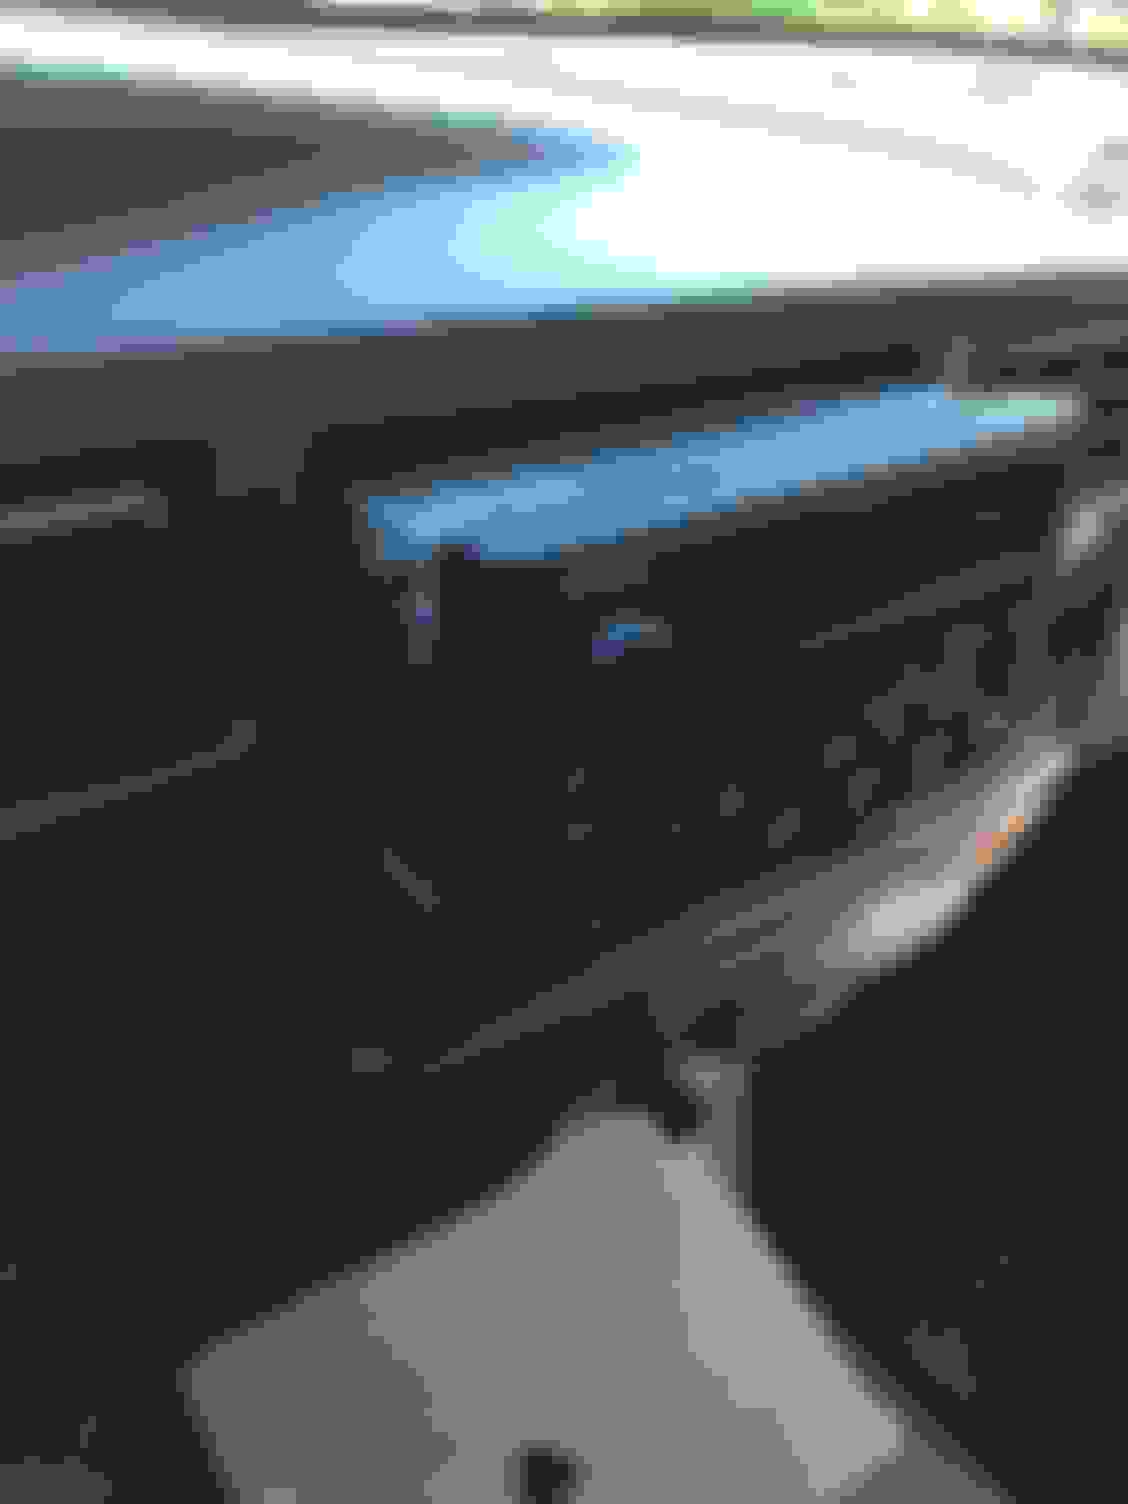
Ok, time to tackle my broken dash piece between the radio and climate controls. It would drive me crazy with the buzzing when my Ex was idling.
Hardest part was getting the radio out. Need stiffer/stronger wire than normal coat hanger.
Here's the break causing all the ruckus. Also found it to be cracked most of the way through on the passenger side. At the recommendation of an FTE member went with JB Weld Plastic Bonder, in the tan color.
Used fiberglass to reinforce the repair. Saturated a piece with the JB Weld and poked/pulled a piece into the back of the broken part with a piece of the hanger bent into a "J" shape. Did this on both ends.
Slathered more JB Weld between the broken pieces and pulled the ends together. I couldn't do that on the cracked side so tried to get some into the crack and will just hope the fiberglass keeps it from breaking all the way. Cleaned up the excess as well as possible.
Finished repair. Will paint later if I think it is necessary. The repair isn't as obvious in person as it is in this picture.
Pressing steel sleeve into rubber bushing. I lubed those too.
All four bushings and sleeves assembled.
Assembled end links. They need to be nearly completely threaded together to get the sway bar horizontal.
I used a floor jack to hold the shock mounts in place while replacing the U-bolts. Worked like a charm on the passenger side. Had to maneuver the mount down a bit to get the U-bolt out around the brake lines on the drivers side. Was a pain getting things raised back up and realigned. Never had to drop the passenger side one.
3-hole plate attached. I temporarily threw on the upper U-bolt nut and washer to keep things aligned.
Passenger side 3-hole plate attached with the jack still underneath.
U-plate attached to the upper U-bolt and upper 3-hole plate. U-Bolts double nutted. Top U-plate bolt has a lock nut.
The empty hole is where the link is supposed to bolt into. E-brake cable hanger nut is in the way.
Removed E-brake cable hanger nut and installed the sway bar link. The hardest part of mounting the sway bar was getting the links mounted to the frame. Just an access/don't have that size socket in 1/2" drive sort of problem.
With link installed the E-brake cable sheath is touching the link.
I cut off the anti-rotation end of the cable hanger and used one of the left over rear differential cover bolts, some washers, and a nut to secure it to the frame. With a few additional bends the cable sheath no longer touches the link.
Mounted the cable hanger in the anti-rotation hole instead of its original location.
View of the re-bent cable hanger and new mounting bolt from the other side.
Adjusted one link to get the sway bar arms horizontal, then made the other link the same length.
Installation complete.
As per the Hellwig instructions, I'm starting with the sway bar links in the outermost (softest) mounting position. The Ex corners much better now with less lean. Didn't really help much with the wandering, except it doesn't seem to get as upset when going over ripples or ruts. Wife thinks Bob (Big Old Boat) handles much better. I think it is a little better. Yep, we finally named him.
Speaking of the Hellwig instructions, they aren't as bad as some made them out to be. Maybe they've been updated since the early days...
Total time to get this done by myself was about 1.5 hours. Not too bad in comparison to most of the jobs I've done on this vehicle.
Just saw your thread nice work and some really good maintance items being done.
It's been a very interesting and satisfying journey getting my Ex into the shape I want it in. After a 350 mile 2-day trip this past weekend, I'm really starting to see what having an Ex is all about.
Well, wife's going to kill me but I just talked to Junior at ATS. I was thinking of just upgrading the front springs, but now I've got both V's & C's on the way.
When out in south central GA last weekend with my other Ex owning buddy, I noticed his ride height was a touch higher than mine. He said his already had SD springs installed when he got it (didn't know which ones). The ride was pretty darn nice. Soaked up the dirt county roads like it was nothing. Never once hit a bump stop. Mine was bouncing over everything. Ignorance was bliss...
Yesterday and today I started trying to touch up some of the chipped paint on my Ex. I used a Dupli-Color pen in Deep Wedgewood Blue.
This was the worst spot on the whole painted part of my Ex, a 1cm spot of rust on the window frame in the driver's side rear door. First step was scraping off loose paint and loose rust with the scraper end of the Dupli-Color pen.
I then used some of the Loctite Extend and painted on two coats over the rusted parts. I let that cure for 24 hours.
Last step was painting on the color coat and clear coat. Not perfect, but will hopefully slow the rust on this beast.
The edges of the doors were pretty chipped up, but not much rust. Where the tops of the doors met the seals were pretty much universally worn through the paint. I didn't use the Extend on non-rusted parts. Doing the whole Ex took most of the touch up pen.
Look what the came in on Friday! ATS C's and V's plus some 2* caster wedges are getting installed now. After reading through a bunch of spring swap posts I had about convinced myself that I could do it. But, I've got a long trip this coming weekend and I wanted it done before I go.
I was going to just throw in the 2* caster wedges to try and fix up the last of my steering issues. But, after riding in my buddy's Ex with upgraded springs, I knew I needed to do the springs on mine. Those plus the wedges should be a bit of overkill...just the way I like it!
This Hennessey Takes the Expedition Tremor's Off-Roading Capability to the Next Level
Slideshow: The VelociRaptor Expedition gains a lift, upgraded suspension, Brembo brakes, and trail-ready equipment while retaining the stock 440-horsepower EcoBoost V6.
Rezvani's Latest Post-Apocalyptic Monster Is a Ford F-150 Raptor Underneath
Slideshow: Called the Fortress, the 850-horsepower pickup combines Raptor underpinnings with military-inspired features, survival equipment, and a starting price of $285,000.