


My CCSB build
Thread Starter
|
Fleet Owner


Joined: May 2009
Posts: 21,437
Likes: 76
From: Gilbert, PA
Thanks DIYiT. If its not what I want, what is the point, right?
Picked the truck up from the body shop today. They had it on the frame rack it it came up perfect. Put the bed on it and it was perfect again.
I guess I am going to have to play with some body shims after I plate the frame
Picked the truck up from the body shop today. They had it on the frame rack it it came up perfect. Put the bed on it and it was perfect again.
I guess I am going to have to play with some body shims after I plate the frame
Post Fiend
Joined: Mar 2011
Posts: 10,080
Likes: 5
From: Backwoods of Snowflake AZ
Brad my dad has always told me that if you don't customize it your own way and make it your own it isn't your own. Whom cares if the truck takes a lot of money if it is dependable and it is your own and you plan on keeping it that's all that matters. The truck is looking great by the way.
Thread Starter
|
Fleet Owner
Joined: May 2009
Posts: 21,437
Likes: 76
From: Gilbert, PA
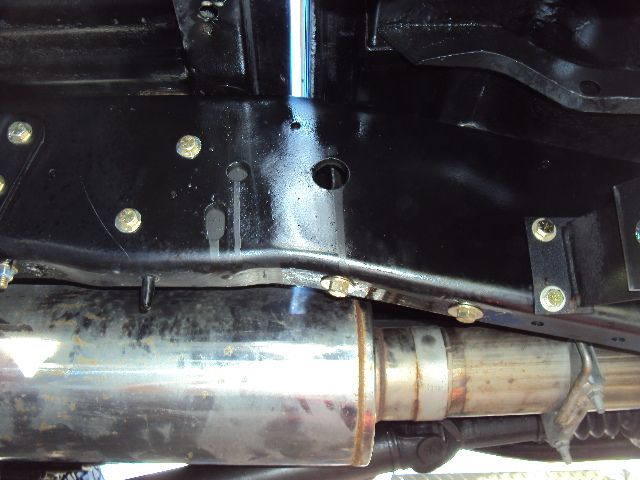
Dropped the fuel tank, removed the crossmember that the front fuel tank hangs from(I should of done that when I did the frame last year, it was thin), removed the rear cab crossmember supports, exhaust, exhaust hangers, e-brake cable bracket, fuel selector switch, steps and rear spring front hangers.
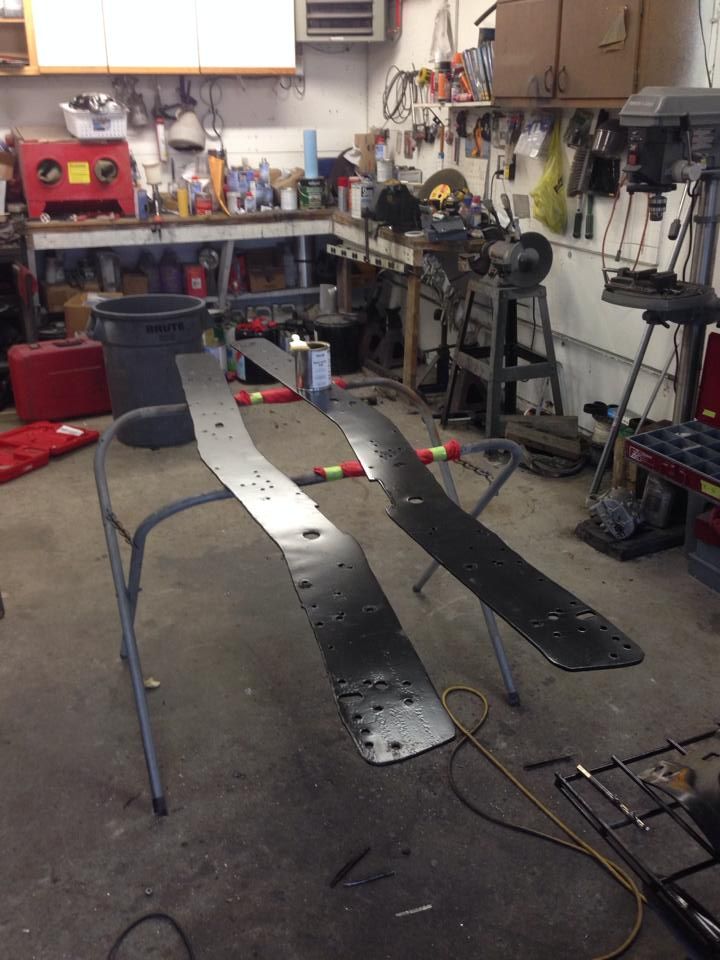
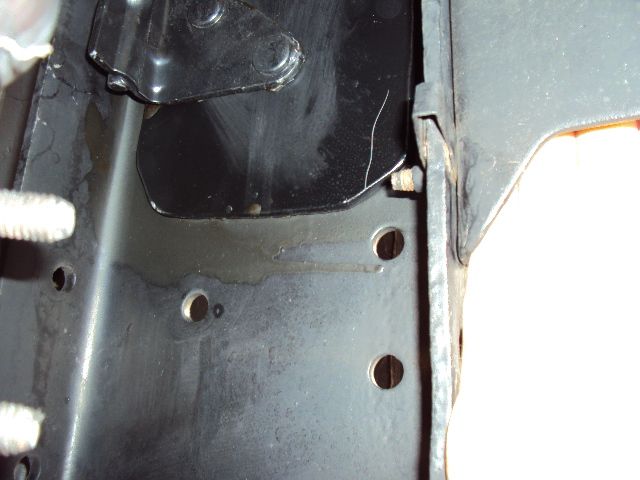
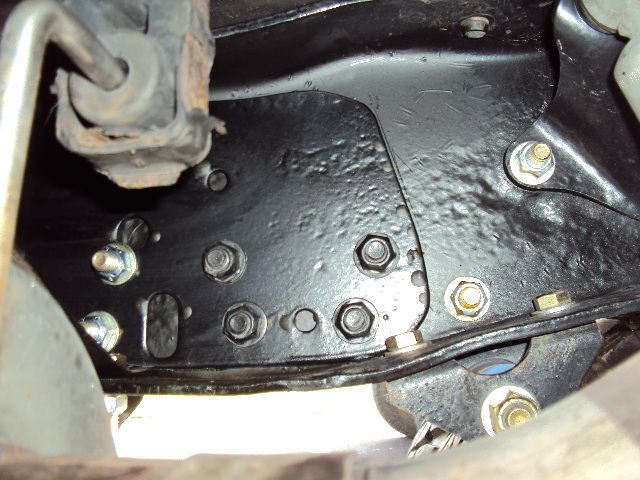
I had the "plates" cut down to be just the vertical of the frame and spring hanger holes drilled. I dry fitted them. I had to notch them a lil bit for the rear cab mount crossmember. I needed to drill more holes for my step bolts and I also opened up a couple existing holes to accept 3/8 hardware. Wish The plates were about 8" longer to bolt in the front to the auto trans crossmember bolt holes, but O well.
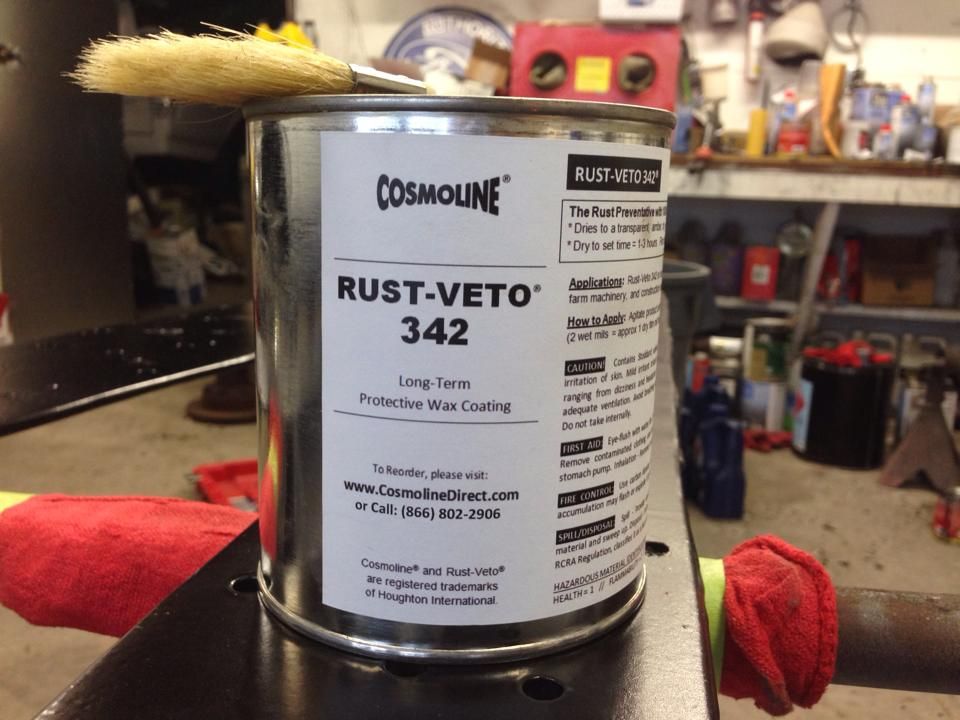
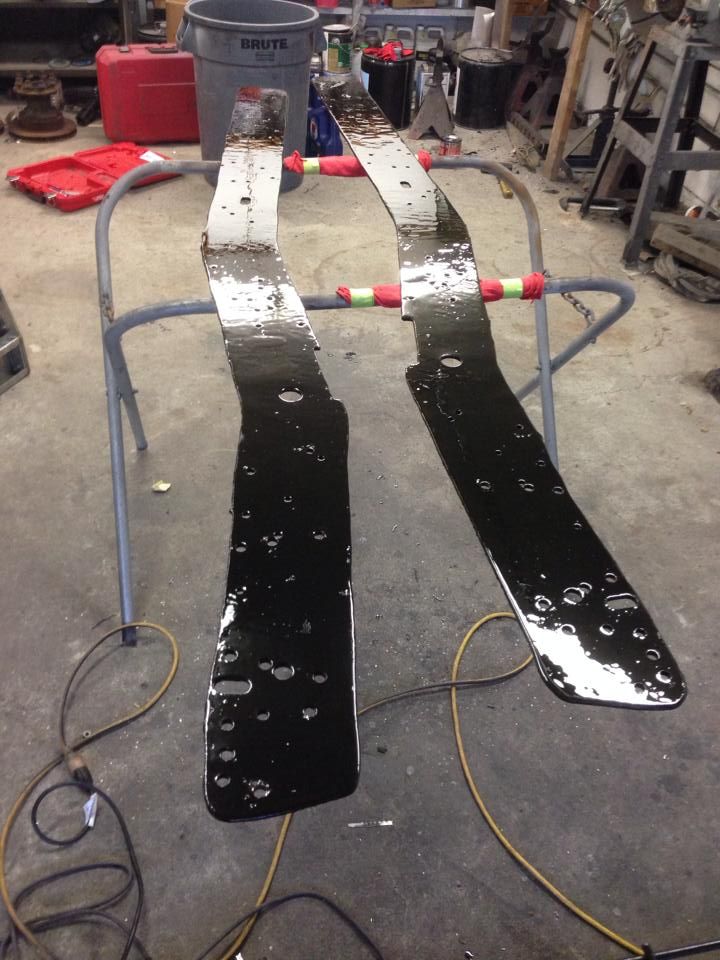
Touched up my notches and holes drilled with more POR15, let that set up then did a coat of Cosmoline on the inside of the plates and the inside of the frame where they touch. Hope that will seal out any moisture for a LONG time.
Waiting on that to set up, then I can bolt them in place along with all my hangers and such
I had the "plates" cut down to be just the vertical of the frame and spring hanger holes drilled. I dry fitted them. I had to notch them a lil bit for the rear cab mount crossmember. I needed to drill more holes for my step bolts and I also opened up a couple existing holes to accept 3/8 hardware. Wish The plates were about 8" longer to bolt in the front to the auto trans crossmember bolt holes, but O well.
Touched up my notches and holes drilled with more POR15, let that set up then did a coat of Cosmoline on the inside of the plates and the inside of the frame where they touch. Hope that will seal out any moisture for a LONG time.
Waiting on that to set up, then I can bolt them in place along with all my hangers and such


Thread Starter
|
Fleet Owner
Joined: May 2009
Posts: 21,437
Likes: 76
From: Gilbert, PA
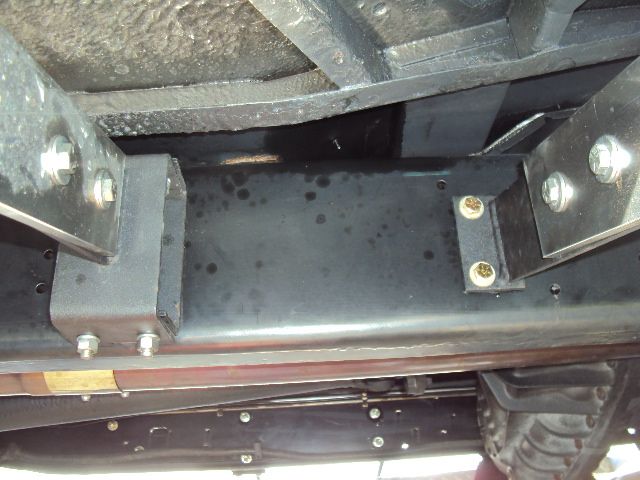
Little update. Finally got the truck all back together. Now I just need to hook to the trailer and see what she does, but I Highly doubt it is going to flex any more. I also shimmed the bed to get it to line up better
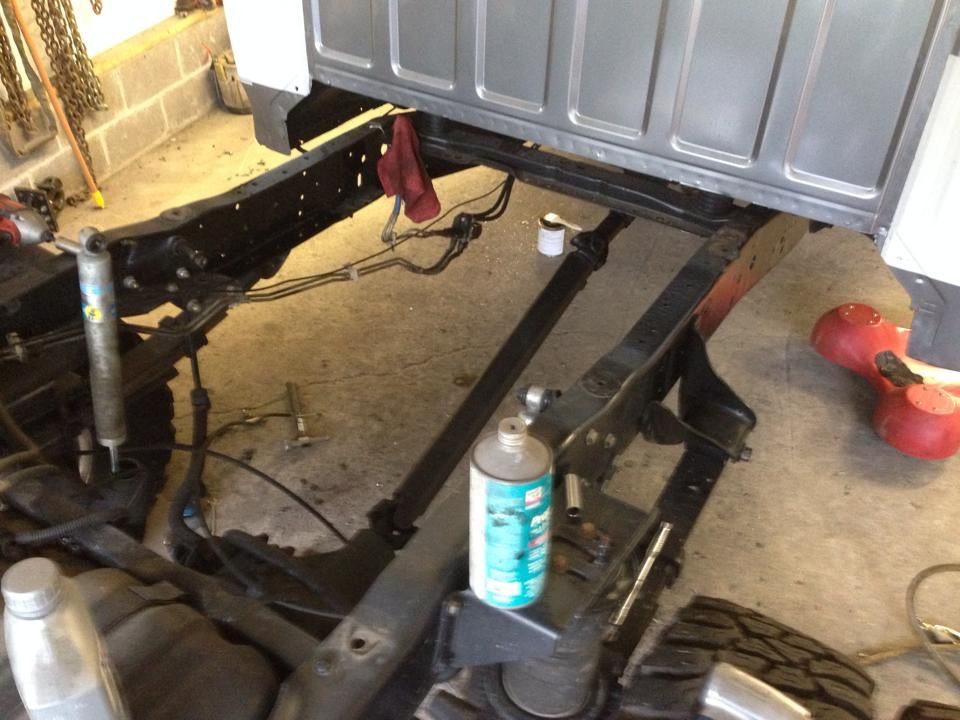
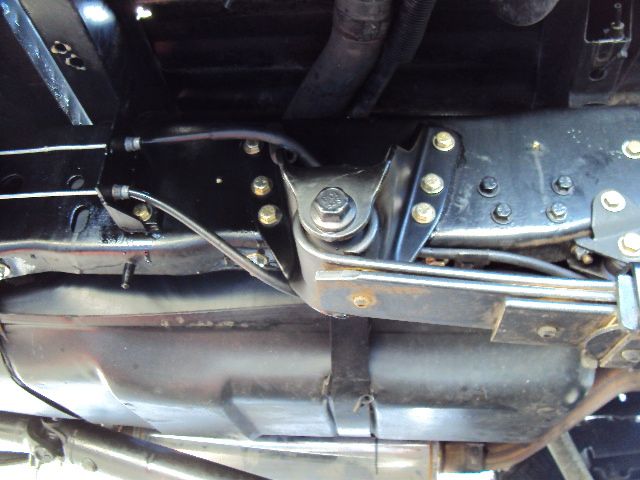
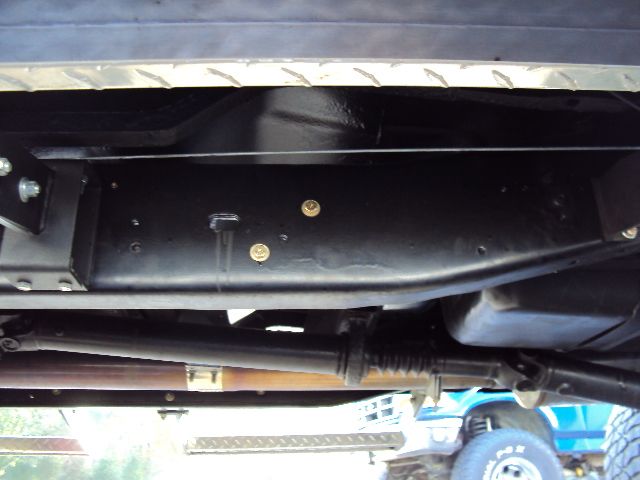
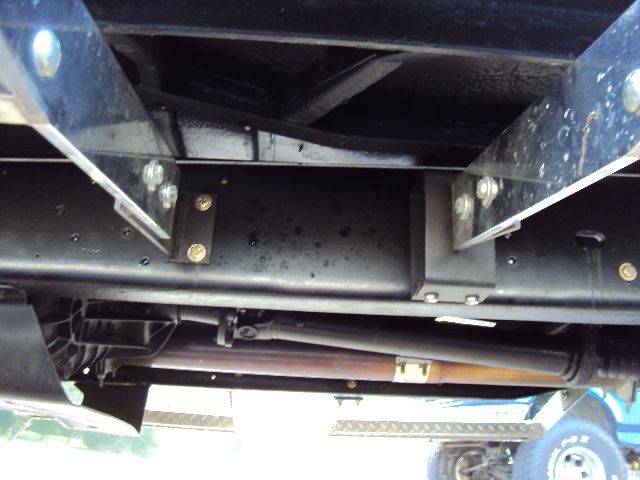
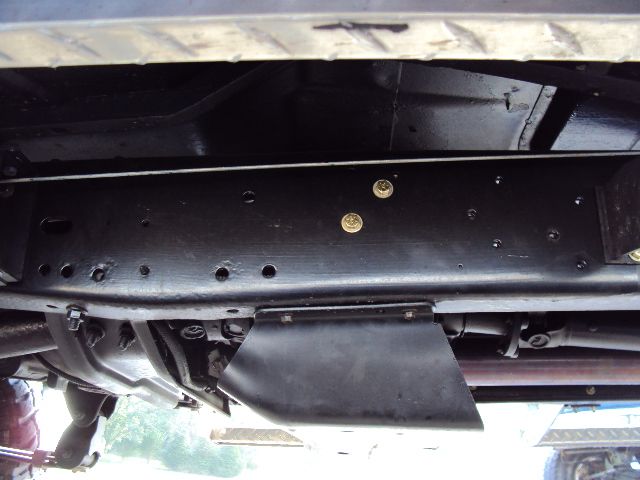
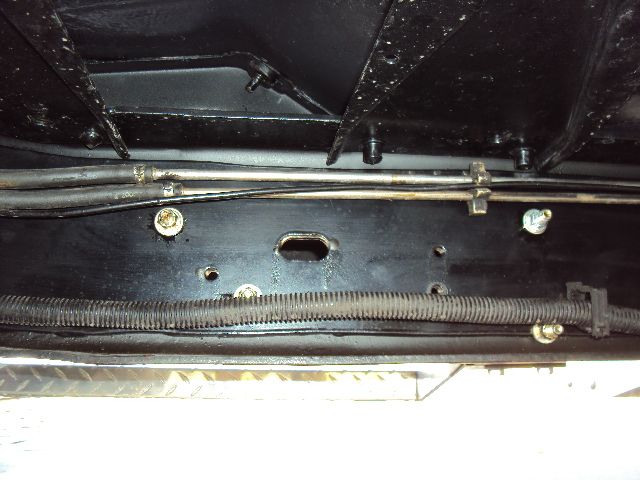
Here are what the plates look like in place. They go from just in front of the rear sway bar bracket, to just behind the trans crossmember. Use 25 bolts per side to hold them in.
Drivers side
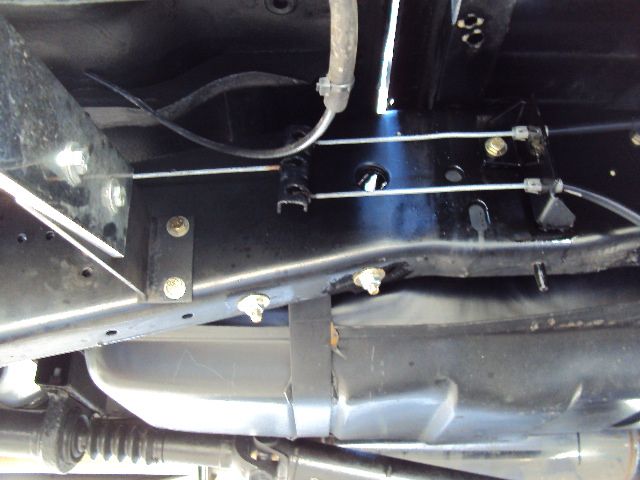
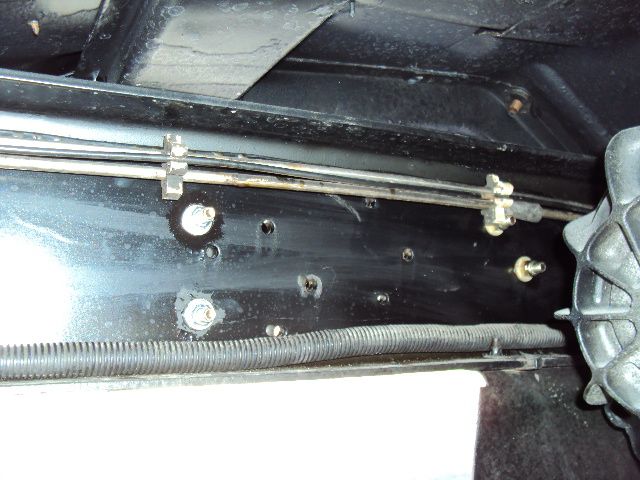
Passenger side
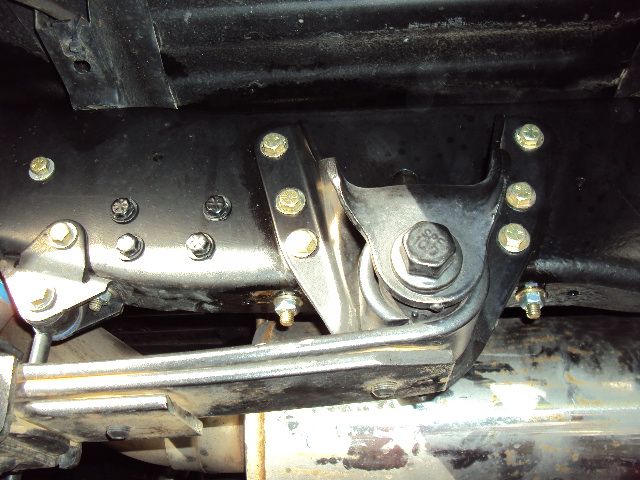

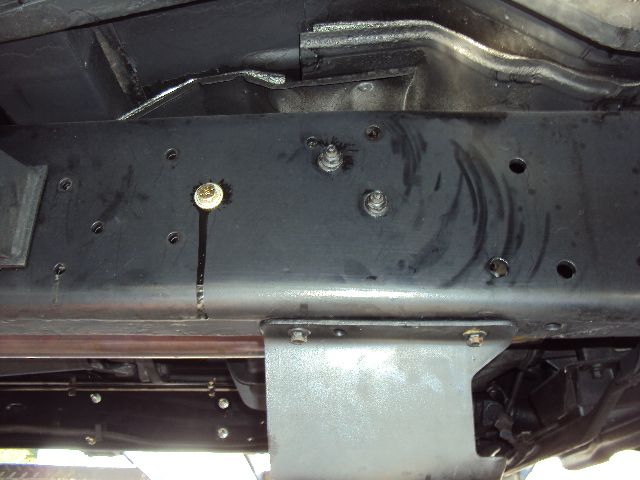
Here are what the plates look like in place. They go from just in front of the rear sway bar bracket, to just behind the trans crossmember. Use 25 bolts per side to hold them in.
Drivers side


Passenger side


Posting Guru
Joined: Jan 2004
Posts: 2,403
Likes: 4
From: Charlestown, RI
FTE Stories
Ford Trucks for Ford Truck Enthusiasts

10 Things Every Truck Owner NEEDS (2026 Edition)
Michael S. Palmer
Rezvani's Latest Post-Apocalyptic Monster Is a Ford F-150 Raptor Underneath
Verdad Gallardo
Top 10 Most Expensive Ford Trucks Ever Sold on Bring a Trailer
Joe Kucinski
2027 Ford Super Duty Buyer's Guide (Every Model, Engine, & Package)
Brett Foote
Top 10 Ford Truck Tragedies
Joe Kucinski
AEV FXL Super Duty - the Super Duty Raptor Ford Doesn't Make
Brett Foote
Lobo Vs Lobo: Proof the F-150 Lobo Should Be Even Lower!
Michael S. Palmer
Ford's 2001 Explorer Sportsman Concept Looks For a New Home
Verdad Gallardo
10 Best Ford Truck Engines We Miss the Most!
Joe KucinskiPosting Guru
Joined: Jan 2004
Posts: 2,403
Likes: 4
From: Charlestown, RI
On a related note, I took a good look at the frame stretch on my truck today. Those reinforcement plates I sent you photos of look like they're going to be an absolute pain in the *** to remove. The stitch welds are no big deal, but they're fully welded inside the frame. I'm almost tempted to cut the stitch welds, scale out the rust, separate just the bottom part from the frame, and spray liberally with fluid film or cosmoline, and then use bolts to put it all back together.
Thread Starter
|
Fleet Owner
Joined: May 2009
Posts: 21,437
Likes: 76
From: Gilbert, PA
On a related note, I took a good look at the frame stretch on my truck today. Those reinforcement plates I sent you photos of look like they're going to be an absolute pain in the *** to remove. The stitch welds are no big deal, but they're fully welded inside the frame. I'm almost tempted to cut the stitch welds, scale out the rust, separate just the bottom part from the frame, and spray liberally with fluid film or cosmoline, and then use bolts to put it all back together.
Posting Guru
Joined: Jan 2004
Posts: 2,403
Likes: 4
From: Charlestown, RI
Oh, I agree that's the best way to do it. What it really comes down to, is the limited time I have to do it that way. Truck needs to be mobile every day, or I need to buy a beater truck.
Thread Starter
|
Fleet Owner
Joined: May 2009
Posts: 21,437
Likes: 76
From: Gilbert, PA
Little more updates
Been chasing a lack of power and fuel economy issue.
Found boost leak at intakes and I/C pipes.(THANKS BIILY)
Resealed the intakes with the IH gray death
While turbo was off, why not UPGRADE
So Wicked Wheel 2 and rebuild kit
Also had my machinist buddy port and polish the intake snail and I/C spider.
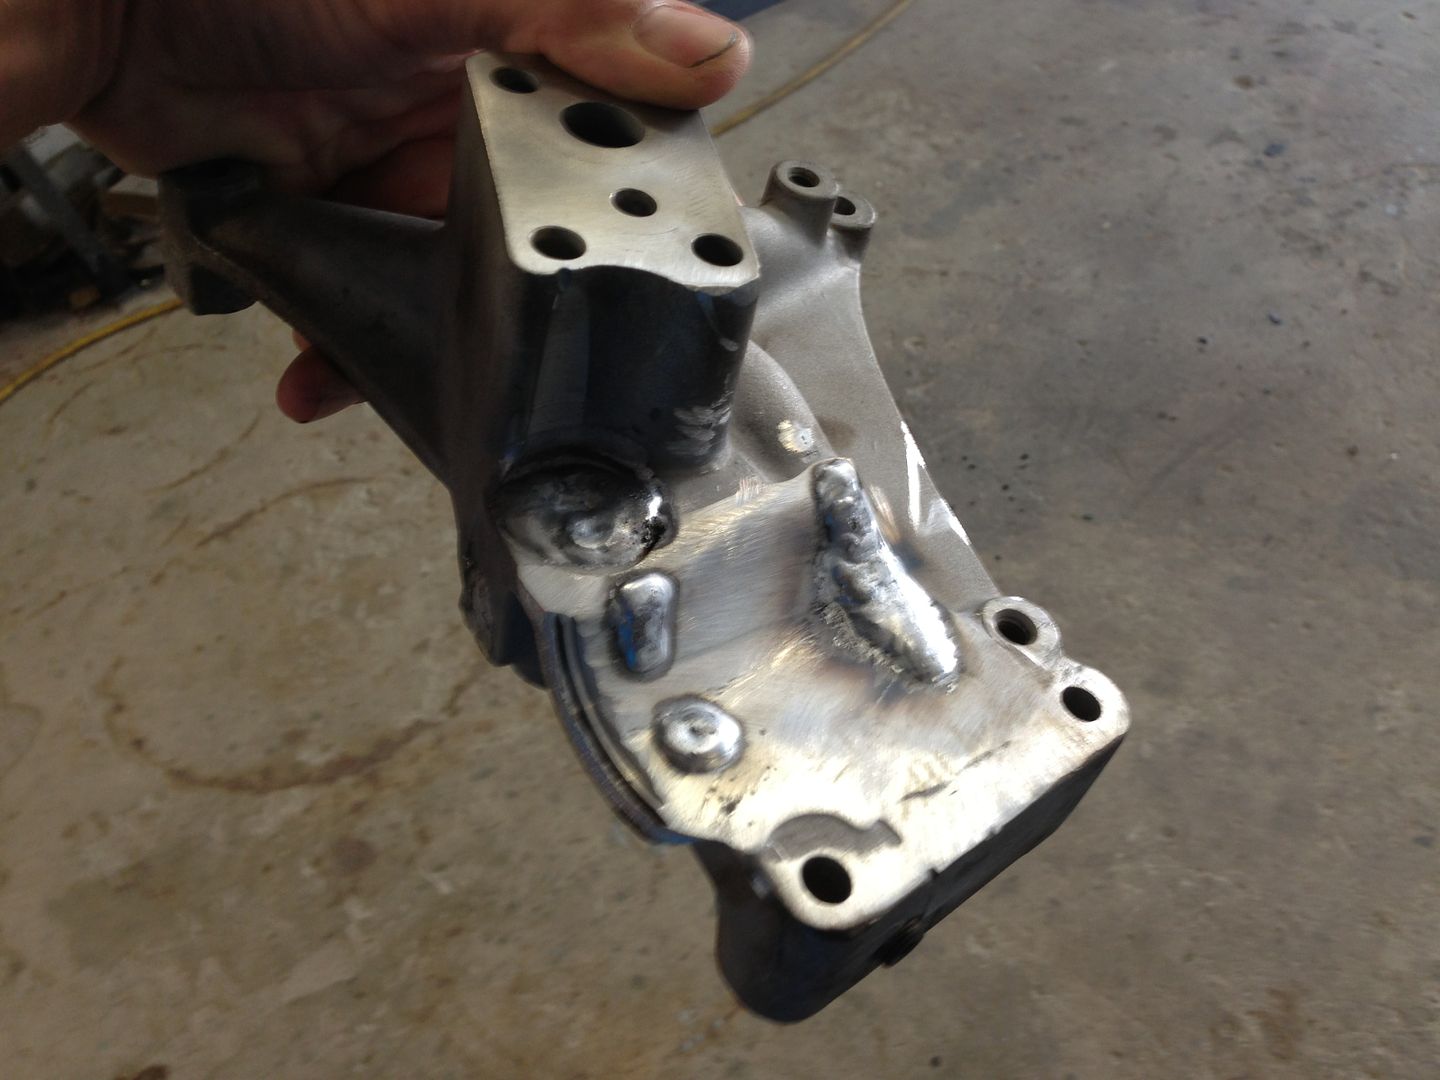
Also welded up the I/C tubes and the Pedestal to do away with the EBPV
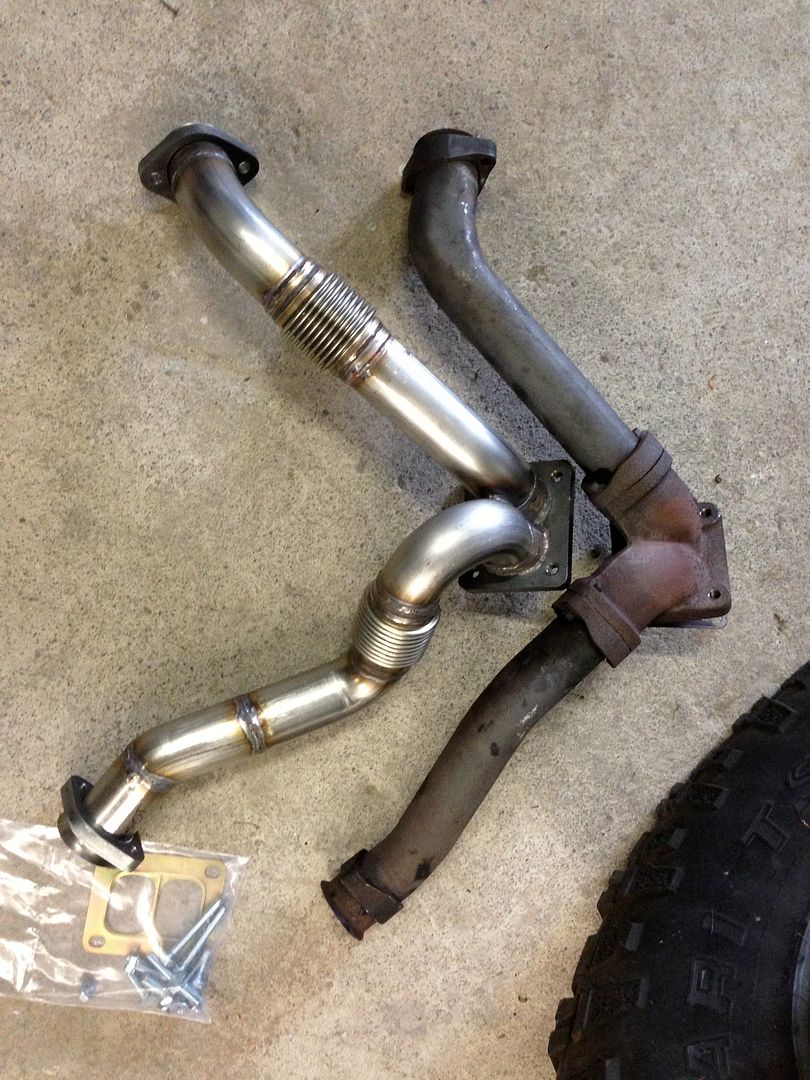
Again, while I was in there, I notice I had soot from the passenger up pipe. So I got a set of Whites Diesel Stainless bellowed pipes for $450
Also noticed oil leaking from my HPOP lines to the heads, got a new pair of those as well.
In order to get the up pipes out, I had to loosen the cab mounts and jack the cab up 1.5 - 2" That gave me enough room to get the old ones out in 3 pieces. In order to get the new ones in(one piece) I had to take ratchet straps to the cab and the rear spring hanger and and pull the cab back. Then the new up pipes fell right in. Very nice pieces. They came with new hardware, but I am glad I went to Ford and got the pipe to manifold bolts.
Next up is the intake snail ported and polished along with the I/C spider


Pedestal cut down and welded
Rewelded I/C tubing


Disassembly of turbo for rebuild and WW2

WW2 vs stock wheel

All back together and couple dabs of Gray IH RTV to hold the O-ring inlace and drill index to hold it while drying.
I used a square cut O-ring from a Purolator classic L14459 oil filter. Perfect fit and fat enough to seal to the E99 Spider.

Now I need to lower the cab and get it bolted back on, HPOP lines, Turbo, I/C tubes, etc
Been chasing a lack of power and fuel economy issue.
Found boost leak at intakes and I/C pipes.(THANKS BIILY)
Resealed the intakes with the IH gray death
While turbo was off, why not UPGRADE
So Wicked Wheel 2 and rebuild kit
Also had my machinist buddy port and polish the intake snail and I/C spider.
Also welded up the I/C tubes and the Pedestal to do away with the EBPV
Again, while I was in there, I notice I had soot from the passenger up pipe. So I got a set of Whites Diesel Stainless bellowed pipes for $450
Also noticed oil leaking from my HPOP lines to the heads, got a new pair of those as well.
In order to get the up pipes out, I had to loosen the cab mounts and jack the cab up 1.5 - 2" That gave me enough room to get the old ones out in 3 pieces. In order to get the new ones in(one piece) I had to take ratchet straps to the cab and the rear spring hanger and and pull the cab back. Then the new up pipes fell right in. Very nice pieces. They came with new hardware, but I am glad I went to Ford and got the pipe to manifold bolts.

Next up is the intake snail ported and polished along with the I/C spider


Pedestal cut down and welded

Rewelded I/C tubing


Disassembly of turbo for rebuild and WW2

WW2 vs stock wheel

All back together and couple dabs of Gray IH RTV to hold the O-ring inlace and drill index to hold it while drying.
I used a square cut O-ring from a Purolator classic L14459 oil filter. Perfect fit and fat enough to seal to the E99 Spider.

Now I need to lower the cab and get it bolted back on, HPOP lines, Turbo, I/C tubes, etc
Thread Starter
|
Fleet Owner
Joined: May 2009
Posts: 21,437
Likes: 76
From: Gilbert, PA
Updates from a month or so ago:
I put the 1.0 housing on this weekend. Fairly simple since I just had the turbo off a month or so ago.
The main reason I was even under the hood was to fix a fuel leak. The pulse dampener was cracked an pissing fuel out all over the place.
Ended up doing away with it by putting on a 49 state rear fuel Y. Also replaced the fuel pump while was in there.
There was always a damp spot at the front drivers side of the engine, and I found out why. One of the steel fuel lines that runs down the front of the engine was rusted and it was seeping fuel. I tried to make some new ones out of some stainless fuel line I had from a parts truck, but I couldn't get the bends right. Ended up blighting the bullet and bought new ones from Ford. The 2 flex lines from the frame and the hard ones on the engine.
There was also a mishap when removing the A/C compressor to access the fuel lines. I ended up braking off the high pressure sensor in the line, so I and to replace the whole line.
Then tonight coming back from a test drive��.. I backed in to the mailbox Nothing to bad but it did scuff some paint and put a pretty good sized chip in the rear fender. Was going to happen sooner or later, just wish it was later, way later