When you click on links to various merchants on this site and make a purchase, this can result in this site earning a commission. Affiliate programs and affiliations include, but are not limited to, the eBay Partner Network.
The stuff I have is Rustoleum brand and it's pretty good stuff. Expensive though, think I got two gallons from amazon or ebay for about what one gallon costs at the parts houses and that's counting shipping.
Cab mounts. Bear in mind that the photo of the front mount shows a layer of cracked up Ziebart. I'm inclined to keep what I have.
My thoughts are that these mounts got me this far. I do not want any of those stiffer ones. Any rubber, aftermarket ones could crap out sooner than what I have.
Rear mounts look good, front mounts look ok-ish, but that may just be my memory acting up, they may be just plain old ok. They just look like they are compressed quite a bit to me. I ordered a set of prothane bushings on ebay(way cheaper) for about $60. My rad support bushings were about completely gone. But, I didn't check the others, front and rear cab bushings were like new. Should have just got a couple of hockey pucks. But I swapped them all anyway. The prothane bushings are really nice, I'm super happy with them. They seem to be a higher durometer than the originals. Size was the same, just a bit stiffer. And they came with a really nice diagram showing what order the bushings/hardware are supposed to be in and where they all go. They label them individually. Which really helped as it had been apart for over a year. I had to use parts from the donor for the rad support bushing hardware and I had to get new bolts altogether as they were mostly rusted through. The ones from LMC had the correct thread size. So that was lucky. I did have to take a file to the mating edges of the sleeves in the bushings because they mushroomed some and were about impossible to put together.
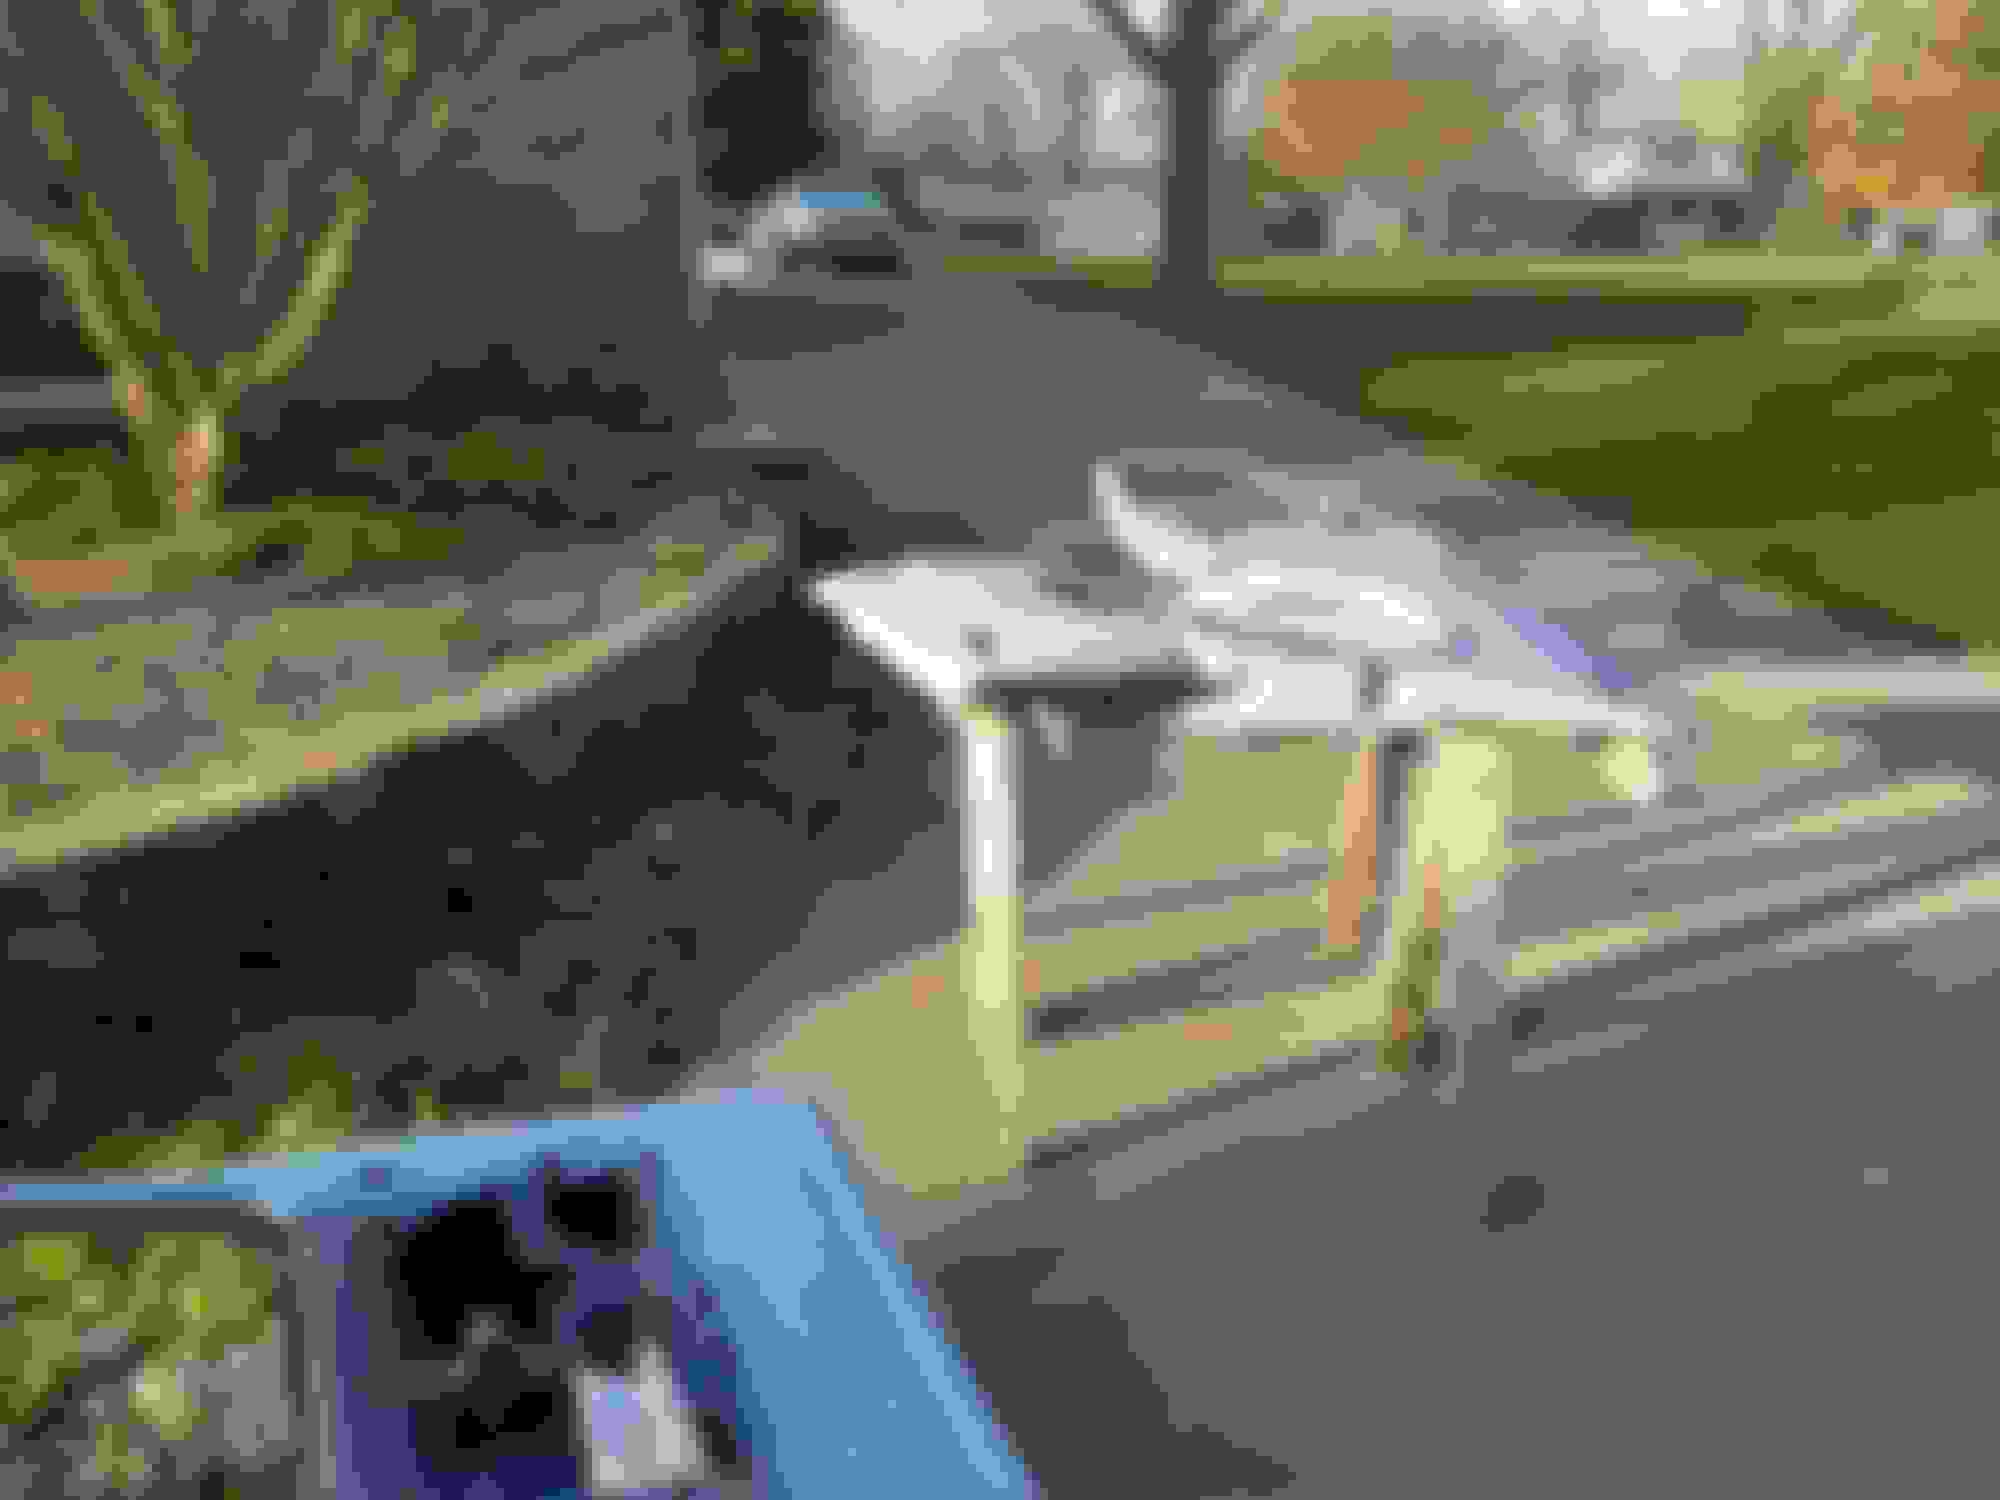
I think I'm done with filler on the wheel arches. I hope so. I'll see when I get an opportunity to get some primer on them. I would like to see a couple days of weather suitable for painting outside.
I got the cab, hood and front fenders ready to block. Primer is done on the door insides. I put a coat of epoxy primer over the wheel arch work. I would have liked to have gotten the primer/surfacer on the this work too but a few things conspired against me. I was low on mixed primer/surfacer, the truck would not start (dead battery because I left the key on) so I couldn't pull it back into the garage making room to push the bed back out into the spray area.
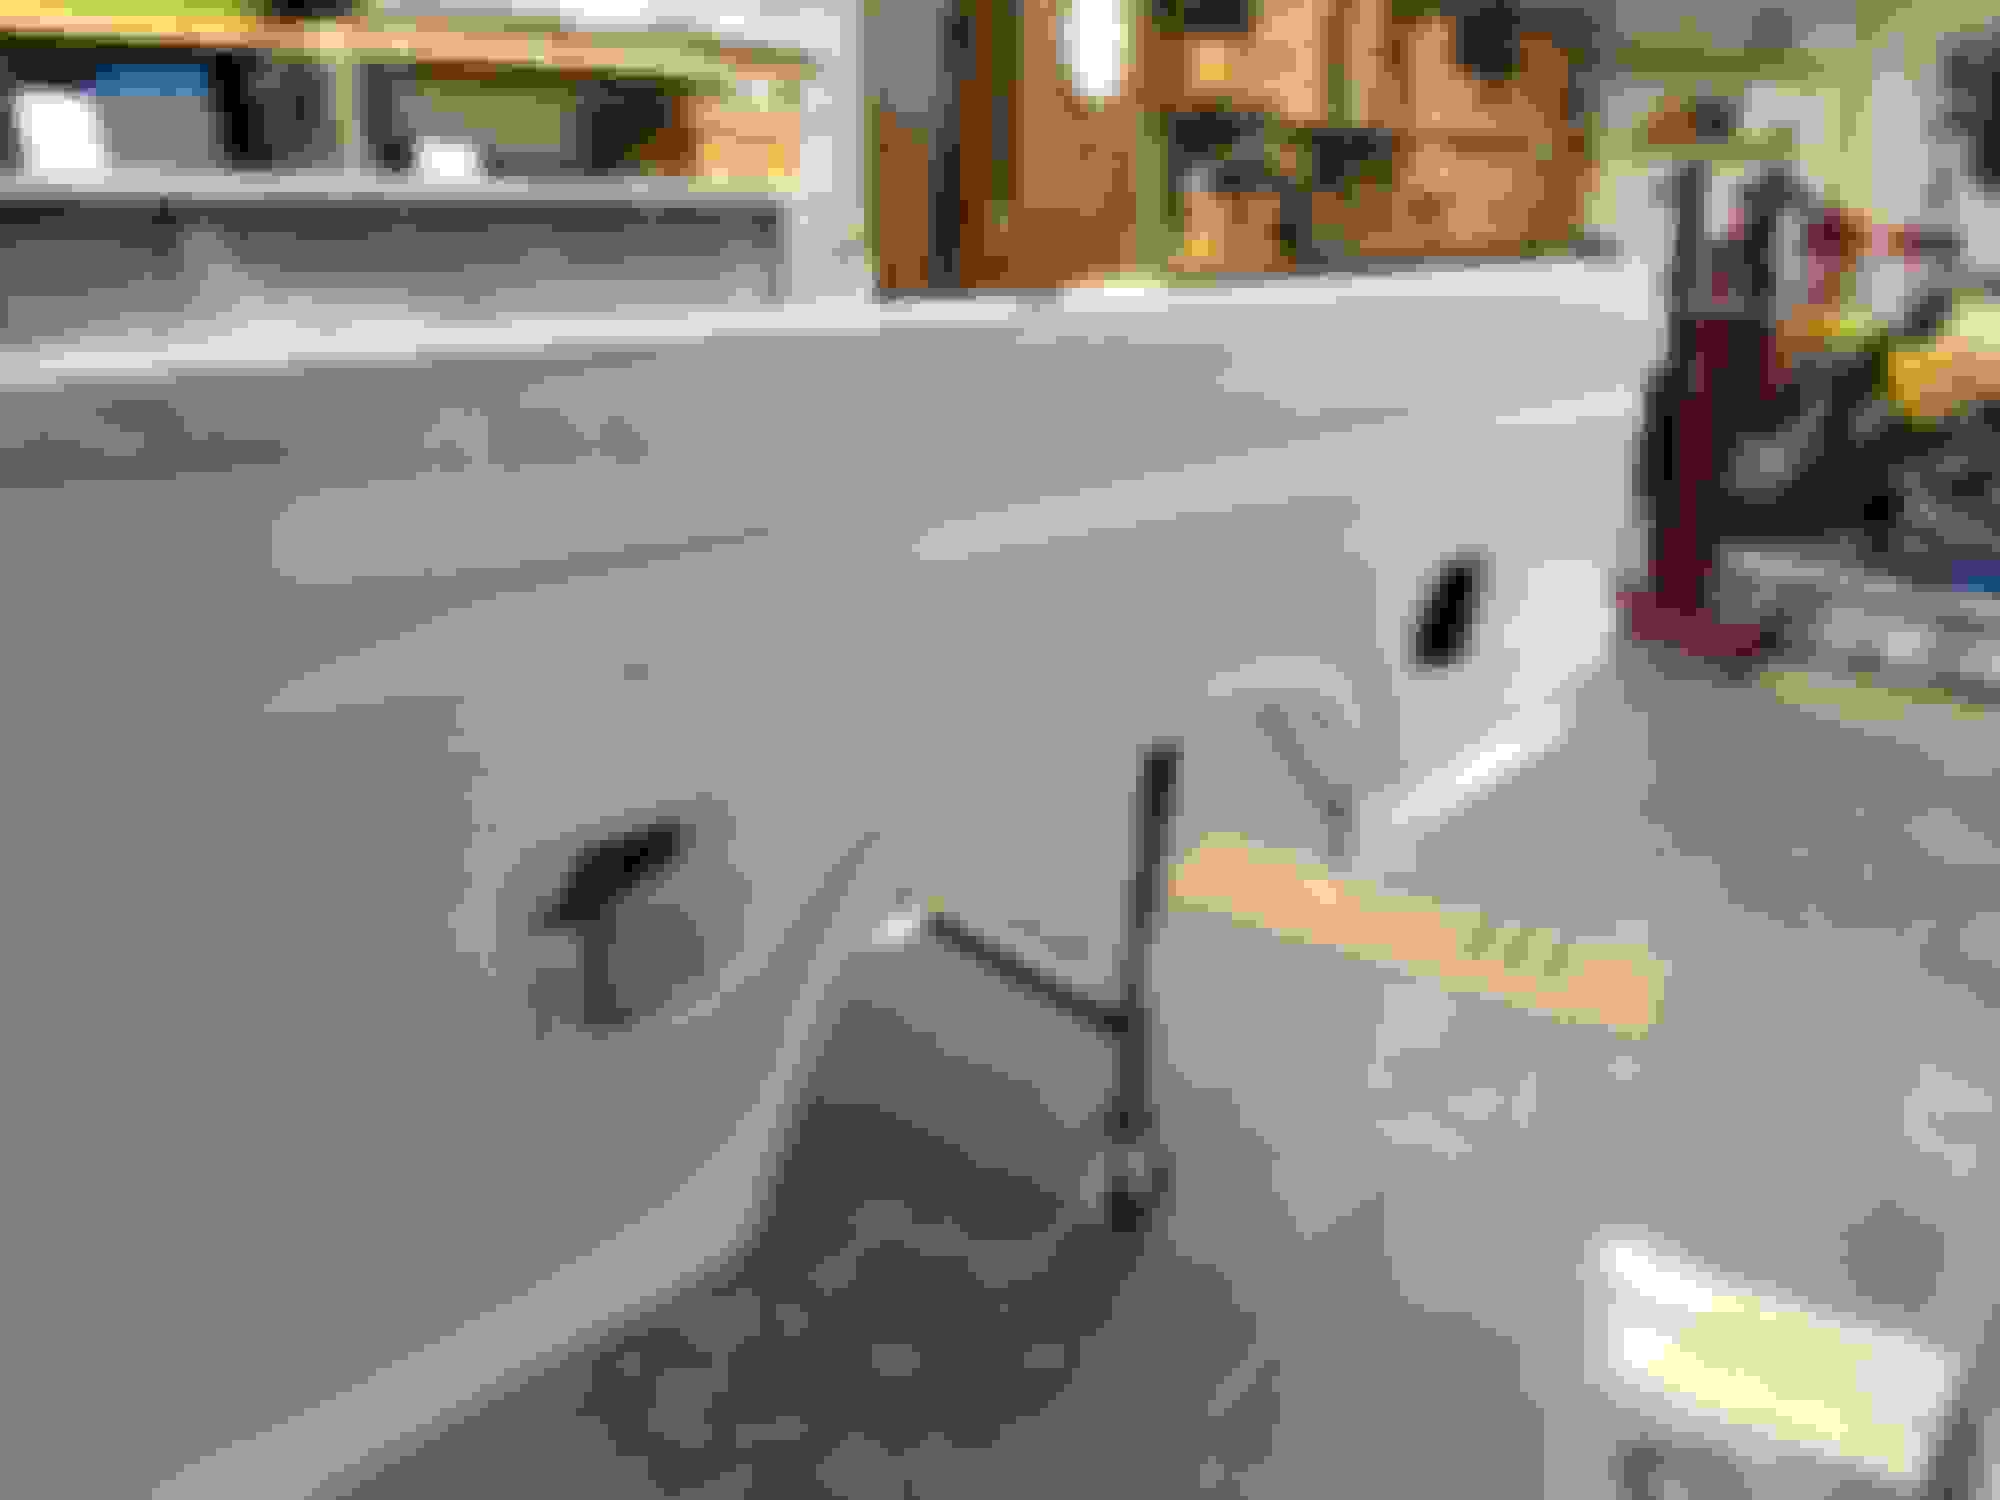
Evidently I saved the best for last. Stripping the clear coat from the tail gate. I did a bunch of small, cosmetic body work on the piece right off the bat. At that point I wasn't thinking total, thorough paint job. But now... Well, the tail gate is getting the full treatment.
Also got a coat of epoxy primer on the last components, except for the tail gate, today before the weather turned too cold. 70� this morning, 55� by the time I finished applying primer.
I mentioned earlier in the thread that my pace was unsustainable. So far, I've been able to keep at it though. With my self imposed movement restrictions, I have more time to do things around the house. On the other hand, my inability to source some of the consumables I need may slow progress. I am down to my last roll of paper towels and only shop for more when I make necessary trips to the grocery. Towels have been out of stock. I was out of disposable gloves the other day with none on the shelves anywhere. Except at the paint store where I scored a box of fifty very durable, chemical resistant gloves. Ten days ago I thought I would not find a suitable respirator for painting. All had already been bought up. Bill, my new friend at the paint store did have one and thus kept my project moving. I was worried that I would be stuck with a truck, sanded to bare metal all over, sitting in my garage rusting. Looking ahead, I have what I need to finish the priming and a "first pass" blocking. By that I mean to get it blocked, but not completely. I want to be sure to not expose any metal. The gray epoxy primer is darker than the gray surfacer/primer so that will help there.
I have several mechanical issues I will address before any reassembly takes place. I'll probably discuss them within this thread as well as start new, subject specific threads as I will be seeking advice on some issues.
So, with those other issues and the proposed engine rebuild I don't think I'll have the time to help with anyone else's projects. I am available to comment on your threads seeking advice if I have something worthwhile to offer. I do appreciate you guys who have shared all your ups and downs associated with your own rebuilds. That information has helped me a lot.
A comment about the Javelin. I was a motor head in grade school. I built a hundred model cars. I drew cars, dragsters with Hemi supercharged engines. We got to go the races a lot. When I was an sixth grader, the 3rd grade teacher showed up one day in a brand new 1969 Javelin. Red with black stripes and factory mags. I think we hung out by that car during recess for the rest of the school year. So I have always been a fan. Of course, I really wanted the AMX.
Continuing with the tail gate, if I want to have any chance of having the FORD letters look good without decals or contrasting paint, they will need very good definition. That means gouging out all the paint and primer around their edges. I believe the R is the most difficult. Now, this might actually be a very good candidate for stripper.
My plane on the gate at first because I did not have one for my flare side was the use the rear cab wall from the parts truck but my brother in CA found one and sent it to me.
It had not been painted other than factory but did have something on it and the normal dents & dings I had to fix.
I was also looking to paint the letters on like they did in the factory with a roller as I liked that look but chickened out and went for decals.
I have not installed them yet as it needs to be 70* or more to install.
I also did not go that crazy on stripping it but it did have rust under the paint & primer and why I took it down as far as I did.
I treated the rust to the green cool aid wash and primer. Sanded with 600 wet and painted.
If you do use stripper make sure you wash the gate good to remove it or it will left anything put over it.
Dave ----
Also today I worked on the tail gate again. It's close to getting primer. Outside got a thorough sanding, the inside panel the same but also gave it a green Kool aid treatment.
Looking at this area under the valence, I believe it would be nice just blacked out. Is there a spray bomb option that will stand the test of time? Thinking laquer. The area is covered primarily with urethane primer now.
When I painted my truck I had the cowl panel off so I could shoot paint color down in there as think it worked pretty good.
Besides once the cowl panel is in place you really cant see in there unless you look real hard.
Dave ----
Has anyone checked if a brake kleen straw fits a rattle can? I'm thinking heat the tip and pinch it shut and make a thin cut on opposite sides on the end.... Spray wand? I'm gonna have to try this now.
 03-14-2020, 06:51 PM