When you click on links to various merchants on this site and make a purchase, this can result in this site earning a commission. Affiliate programs and affiliations include, but are not limited to, the eBay Partner Network.
once the truck is together and doors closed who is really going to see how good or bad a job was done in the jambs?
It is the outside that every one sees 99% of the time.
Dave ----
The problem is that I know. But that's on me. I have to decide if I can overlook the deficiency from now on.
The problem is that I know. But that's on me. I have to decide if I can overlook the deficiency from now on.
LOL oh don't I know that LOL
I think if you did the paint like you did the primer it may not be all that bad.
Heck you did the primer that way for a reason right?
Dave ----
you did the primer that way for a reason right?
Dave ----
As mentioned, I really do not know what I am doing. My reasoning was that I didn't want to remove the hinges to clean them. I was planning to jamb the doors on saw horses. Removing that Ziebart is no easy task, but it could be done. The hinges could be soaked in my trash thinner which is sort of like stripper in this case. Laquer thinner will soften the Ziebart as well as soften the underlying blue factory paint. Evidently the factory blue paint is enamel. Remember the urethane primer lifting the blue on the tail gate? If I did clean the hinges, I would also have to go a step further and remove the Ziebart from the jamb where the hinges mount. It is very heavy in that area and, of course, cannot be soaked. But it could be removed. At first I wasn't going to remove the Ziebart from the doors, but I did.
EDIT: I failed to mention that the thinner does not seem to have any effect on the factory primer. I feel like if I soaked the hinges, the Ziebart and factory blue paint could be removed from them with a scraper and brush leaving the factory primer behind. So no bare metal after the cleaning.
That's a hard call on how to go about cleaning and painting that area.
Would getting new hinges be an option so you would not need to clean them right now?
You would just need to clean the post they mount to before painting and with the hinges removed would not be too hard I would think.
Just thinking you said you did not want to remove the hinges to help line the doors back up.
What if you drilled 2 1/8" holes in the hinges thru into the post.
Then you just use 2 1/8" rods or drill bits to line the hinges up on the post like they were before you removed them.
You know what they say ....... better you than me LOL
Dave ----
I made the call. Looks like I have the next few days planned.
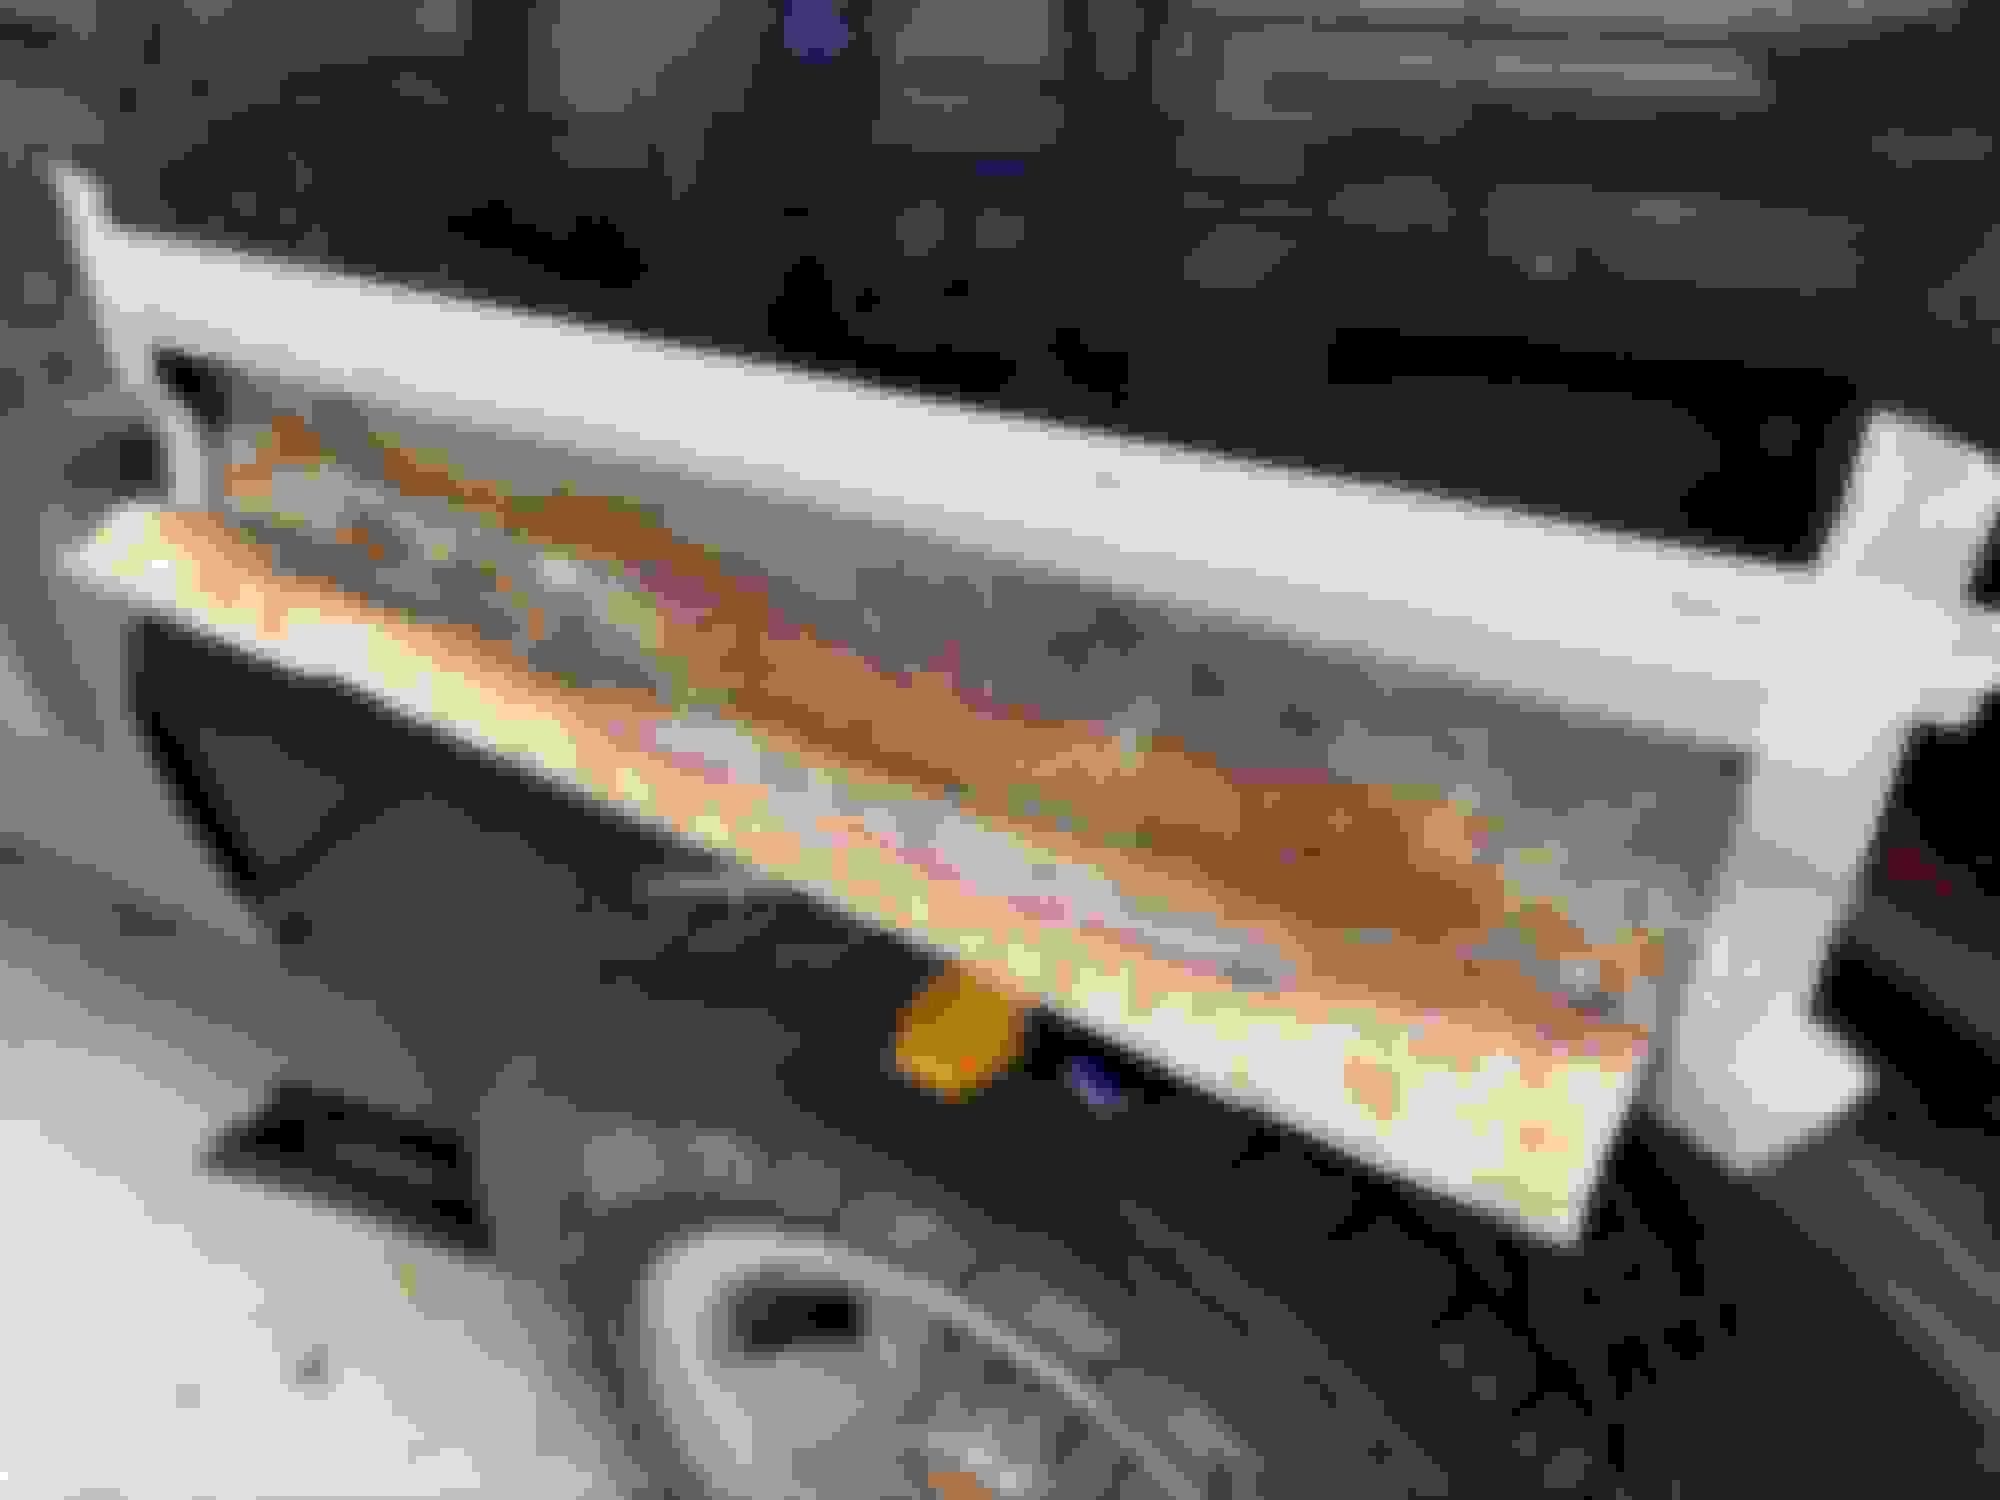
It took an hour to get it to this point. I'll still need to go over the hinge with clean thinner, wash and scuff. Hinges today, door posts tomorrow.
I did think of doweling them exactly as you described right down to the hole size. Then I thought that I already know where exactly to bolt them to the doors. I devised my own door hanger so it should still be easy to get them hung.
All the prep work is just that, hours and hours of hard work. The scrubbing, cleaning, sanding, etc etc... MEK does a good job of cleaning as well. Especially for final prep work. Your paint supplier should have it if you need something stronger. Works well in those dirty greasy areas.
Job went faster than I thought it would. Door posts ready for primer.
Hinges stripped, sanded, washed with soap and Scotch Brite. Bolts stripped and washed.
And, if I am any good at using this phone, the pictures should be in a new, easier to load format.
You are doing what I did about five or so years ago. Now, I'm having to go back and cut out the wheel arches as undetected rust at the time of restoration has surfaced....arghhhh! Interesting repair you did on those wheel arches. I'm going to go back and study that, may have a couple questions if you don't mind? Nice build!!!
You are doing what I did about five or so years ago. Now, I'm having to go back and cut out the wheel arches as undetected rust at the time of restoration has surfaced....arghhhh! Interesting repair you did on those wheel arches. I'm going to go back and study that, may have a couple questions if you don't mind? Nice build!!!
I hope my arch repairs don't pop apart in five years. I have to believe that they won't.
I put a light coat of epoxy primer on the hinges. One good, wet coat on the door posts.
Touched up a couple sanded through spots on a fender and the bed. Also, got a coat of epoxy primer over the floor board repair. It was covered with etch primer. What I know now, I would never have bought that $20 can. You cannot cover anything but bare metal with it. You cannot cover it with paint or seam seal. Basically, I had to shoot another primer over every bit of etch primer.
Maybe I put too much thinner in the primer.😂
All the while I was tweaking on this door, I kept thinking, "how do they do this on the assembly line". Really, it's got to take about fifteen seconds there.
I believe that I'll need to paint the door side of the jamb off the truck. I can't see any way to get paint behind the hinges.

 04-04-2020, 09:05 AM