When you click on links to various merchants on this site and make a purchase, this can result in this site earning a commission. Affiliate programs and affiliations include, but are not limited to, the eBay Partner Network.
Dave, I had notifications sent when you or anyone else posted on your rebuild thread. I followed you in real time. Everything you did was more difficult than what I will face. Including your main nemesis, climate. I have heat and AC.
Thanks for setting the bar so low on time.
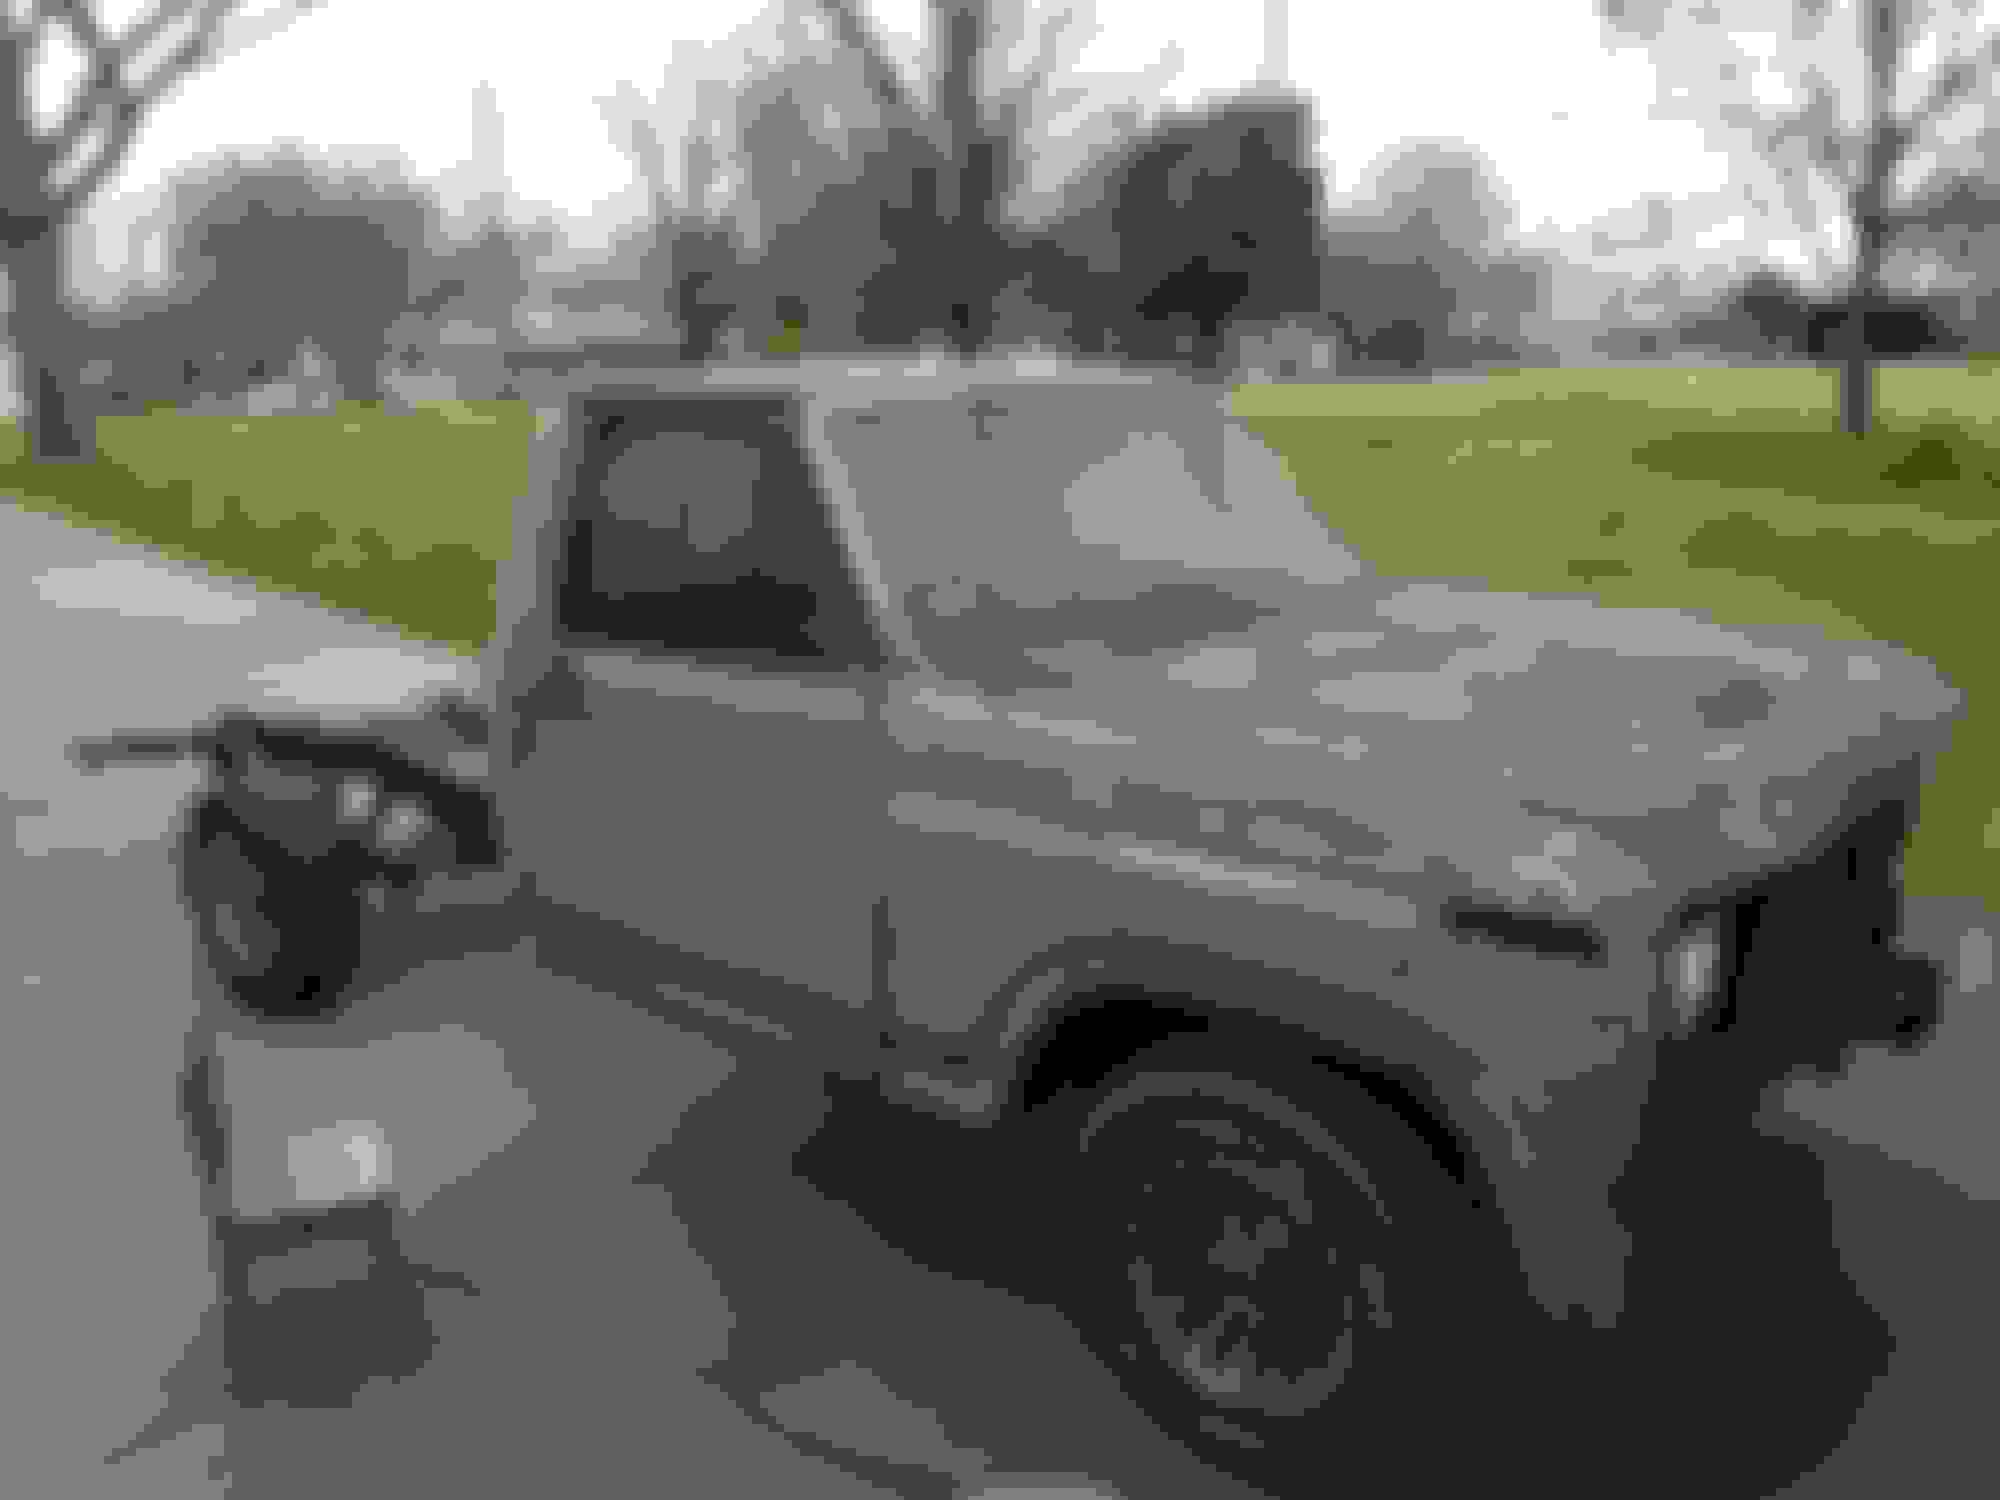
Here are some of the things I'm starting with.
I am glad I set the bar low on how hard your rebuild will be and the time
Oh and thanks for rubbing it in I have no AC, I picked up a 75 - 125 BTU propane heater last winter that works great.
You have done a lot of work so far.
As for sanding that hard stuff you took off with the blade what grit paper were you using? I would have started with 80 grit and if that did not work go to 40 or even 36 grit.
I also have used the gray pads that Eastwood has for removing paint & rust. The red pads I found are a little to fine for removing paint & rust.
I like the green "cool aid" for killing rust and used it on my build. I started with a gallon and I pour it in to a spray bottle to apply to panels.
If you can remove the doors and spray inside where the outer panel & frame fold over. When I replaced the lower half of the left door I found a lot of rust on this fold over, the acid should kill that but you have to tilt the doors for it to run into the folds.
On the drip rails I removed any lose sealer, I did not remove it all, and then used 3M Drip Check sealer to seal it back up.
Also were the roof & rear corners meet I did the same, dig up the loose stuff and re-sealed with 3M sealer.
Now for the cowl sealer I used SEM in a tube for calk gun as a first pass to force the sealer into the cracks.
I then used Evercoat brush on sealer on top to 1) make sure with 2 coats it was sealed 2) looked like the factory did it.
On welding I have not used TIG (want to get a machine one day) but if you are going to use MIG use gas not flux core wire. You will have a nicer, cleaner weld.
Like with TIG the area has to be clean to use MIG also. If you have done TIG I would give that a try first and see how it goes.
I started sanding with 80 grit then to 40 because that is what I had in stock. Neither would do much with the clear. I fretted about what it was going to take to get a clean slate. Then I remembered the razor trick. To my surprise, it worked very well. Now, I'm about done with the biggest part of the paint removal, taking advantage of the mild weather to sand outside.
I'll finish around the hardware after those parts are removed. I'm replacing all the door glass trim with new as what I have now is shot.
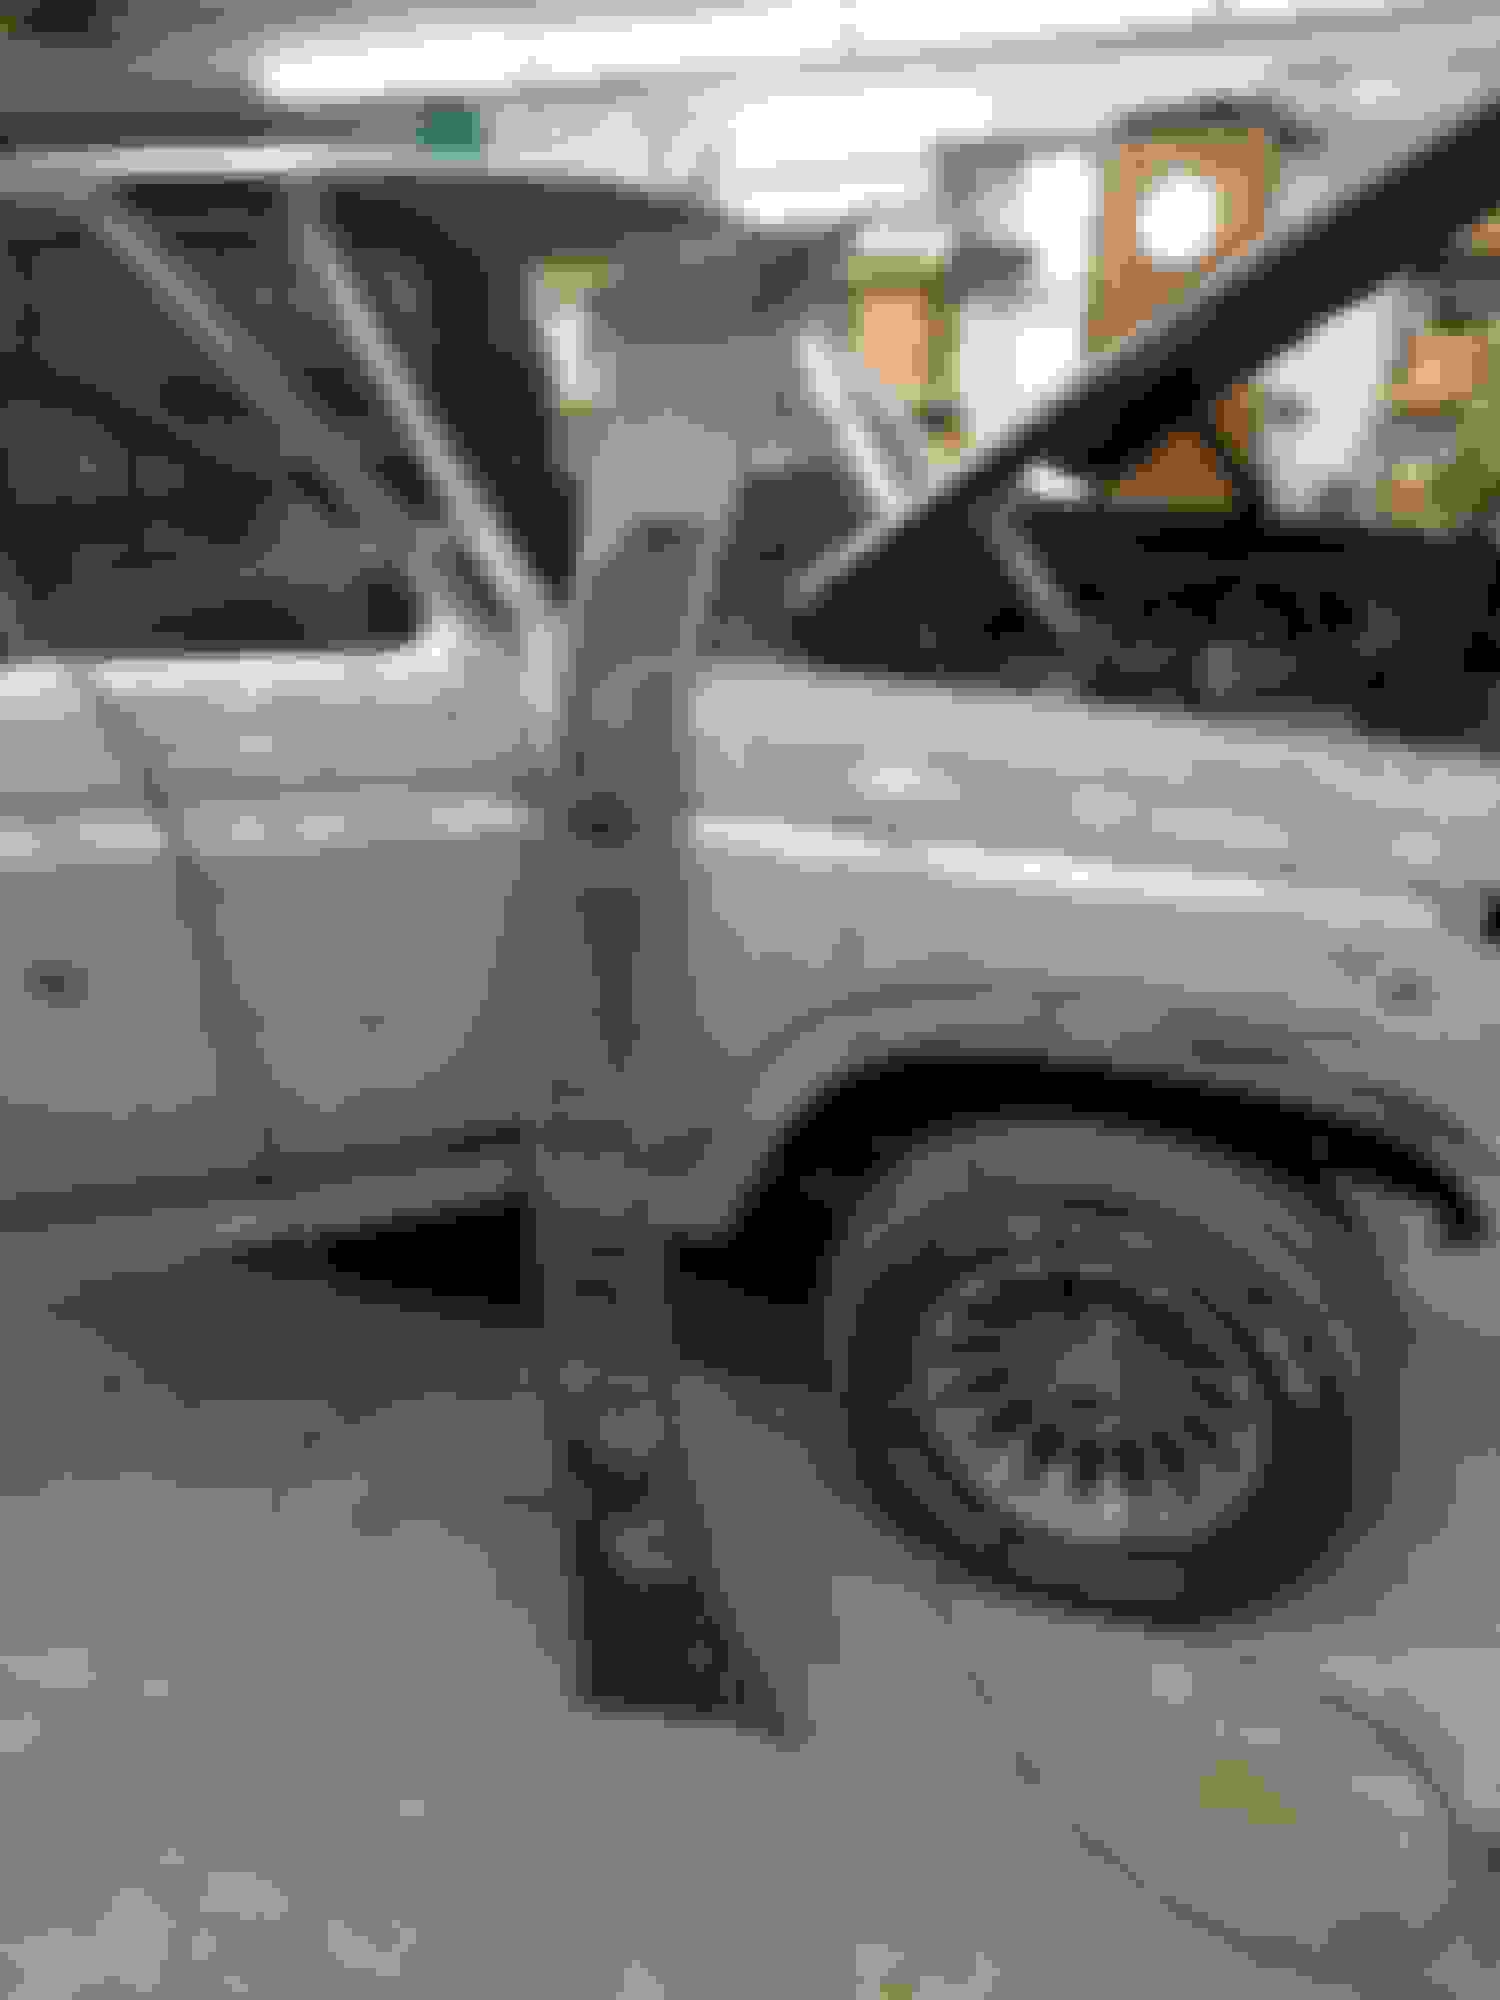
My rusty door skin fold over.
There's a pinhole to the outside so I imagine it looks pretty bad inside. The door drain became clogged for a period some time ago. The Ziebart probably saved most of the door. I bet I find that they missed that corner.
Was one of them under the seat? I found the spare set in the donor truck under the seat with a ton of other junk. My truck only had the one set, but had about six sets of house keys under it's seat.
I've seen this debate here before. Can you remove the valence without removing the hood. I will now always answer yes.
Loosen hood bolts, slide hood forward, loosen rear bolt some more.
Hood is coming off anyway but this way I can work on the valence without waiting for help. I'm on a roll with this sanding.
For others on that weather strip that is the outside one and the new strip should have them on it.
It is the inside one that is "stapled" to the top of the plastic door panel.
On the cowl I guess you could (can) do it that way but when everything is painted and hood lined up do you want to take the chance you may mark the hood or fenders?
I can tell you it is vary vary hard to install the cowl with everything painted the hood lined up. I got 1 mark on the cowl trying to install it.
I had it off when I painted the truck as the wiper assy. was not installed, I did not want body color on it when I painted the truck and wanted paint down inside the cowl area.
I think tomorrow may be an organization day. I'm working in a 30'x36' garage. Other stuff lives in here too. Then I'll get dad over to do the heavy lifting.
We bash them pretty regular. My usual spiel is they are really pricey and the quality isn't great. Ok, but not great. Now I do have a big complaint about the door seals I got, the one that goes all the way around the door, is that the one you're referring too? The seal part is really large with no air holes. Couldn't get my doors to shut. Ended up bending the pinch weld in all the way around a lot and cut holes all the way around the gasket to let the air out, and it's still a fight to get the door to close. Also, there's an inch gap at the bottom where the ends are supposed to butt together. I'd see if dennis-carpenter has them, or npd, or jcwhitney, or any of the parts houses, or aftermarket ebay retailers, or anyone else really. LMC is my last resort for parts.
I don't remember who I got my kit from off Ebay but it is the same one Cory aka Rembrant got and he said it fit great and he was right.
The door opening seals were made longer and you had to cut them or they over lapped.
The kit also come with the vent window seals, rear glass seal, door glass fuzzies (inside & outside), the rubber wind seal that fits in the door opening in the upper front opening (I still need to install them) think that was all.
Dave ----
I'll look into your source for door glass parts. As far as a comprehensive kit goes, I believe that I really only need the parts I listed plus the door frame gaskets. The wing seals look and feel great. My '86 has rubber, not fuzzy inside. Rear glass gasket is soft and supple but I will reassess after I pull the glass. That's another two man job.
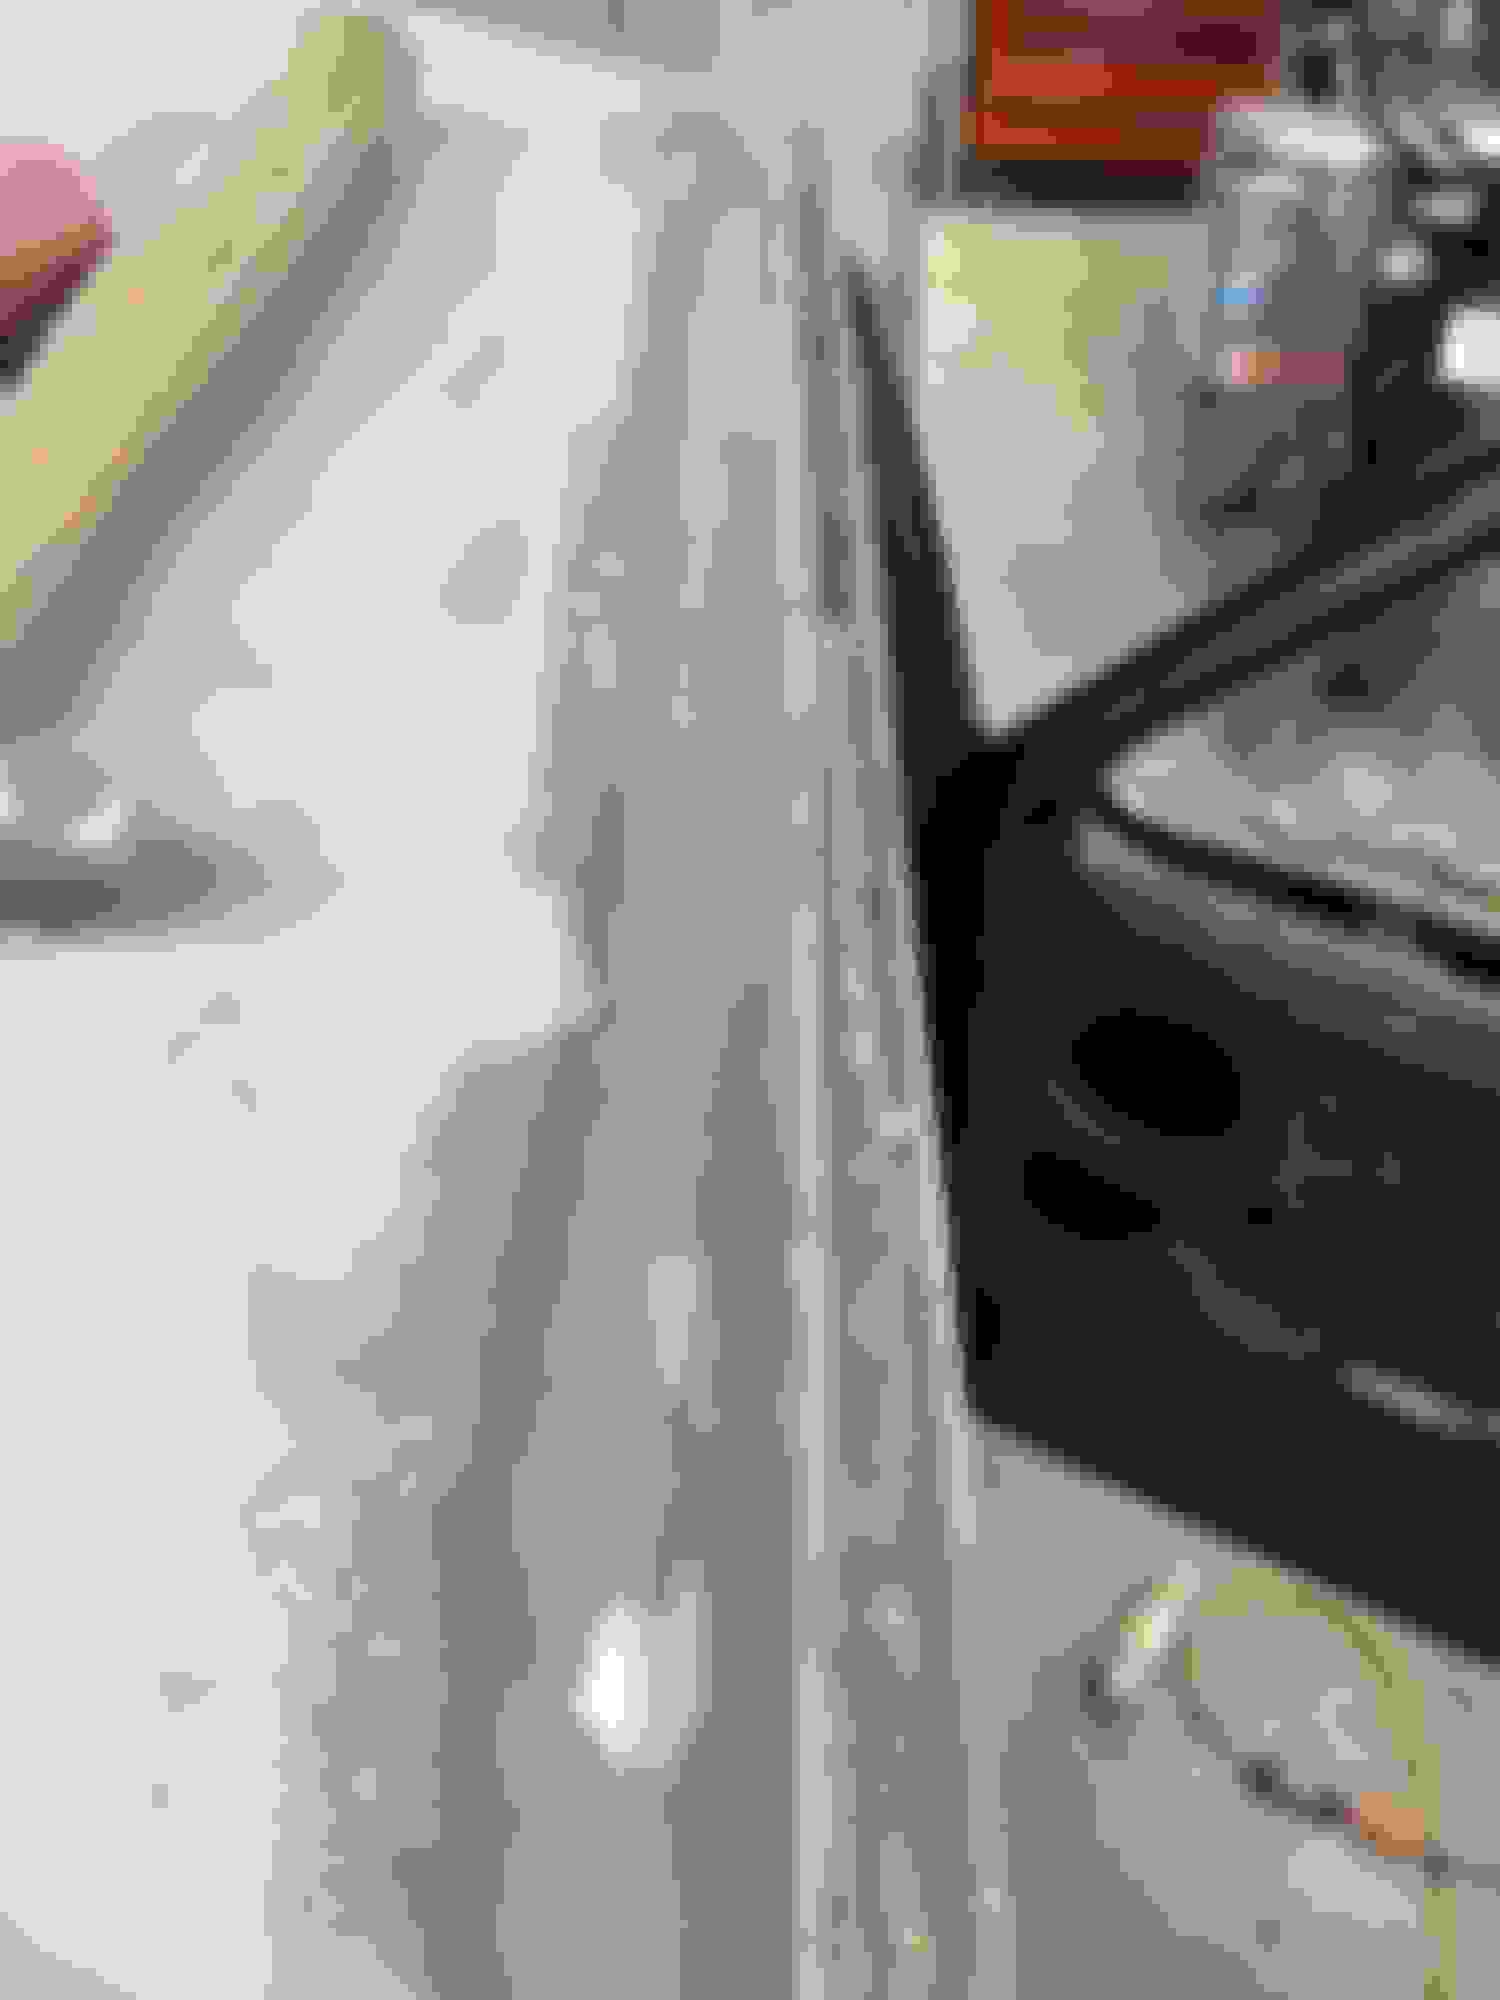
This morning I'm cleaning the gutters. The sealer is already separated from the roof panel so I'm using a small screwdriver and hammer to chip out that side. What's left, up against the gutter, I just tap the screwdriver straight down behind and pry in very small bites. I tried a few other methods starting out but settled on this one.
There are a few rusty spots but a couple of them are bad enough that I'm glad I took the time to dig them out.
 02-17-2020, 02:23 PM