When you click on links to various merchants on this site and make a purchase, this can result in this site earning a commission. Affiliate programs and affiliations include, but are not limited to, the eBay Partner Network.
The bolts are frozen to the inner sleeves of the bushings. If you turned the bolts much, the inner sleeves would separate from the rubber they are embedded in.
Before going back at it today, I checked the price of any damage I could do. $245 max. for all new perches, shackles and bushings. No damage has been done yet...
Should not need perches or even shackles ........ yet.
Use a saw zall to cut the bolts off next to the springs, the bolt will now be in the bushings you are going to replace anyway so all you would need are the bolts you cut & bushings.
I was lucky on the 2 trucks all of mine came apart. I did need to buy a wrench, 21 mm I think, to fit the nuts next to the frame as I could not get a socket on them.
Dave ----
I had painted over the heads of mine and snapped a 3/8" extension trying to break a stubborn one loose. Took a knife and cut through the paint around the head and it broke free with just a wrench lol
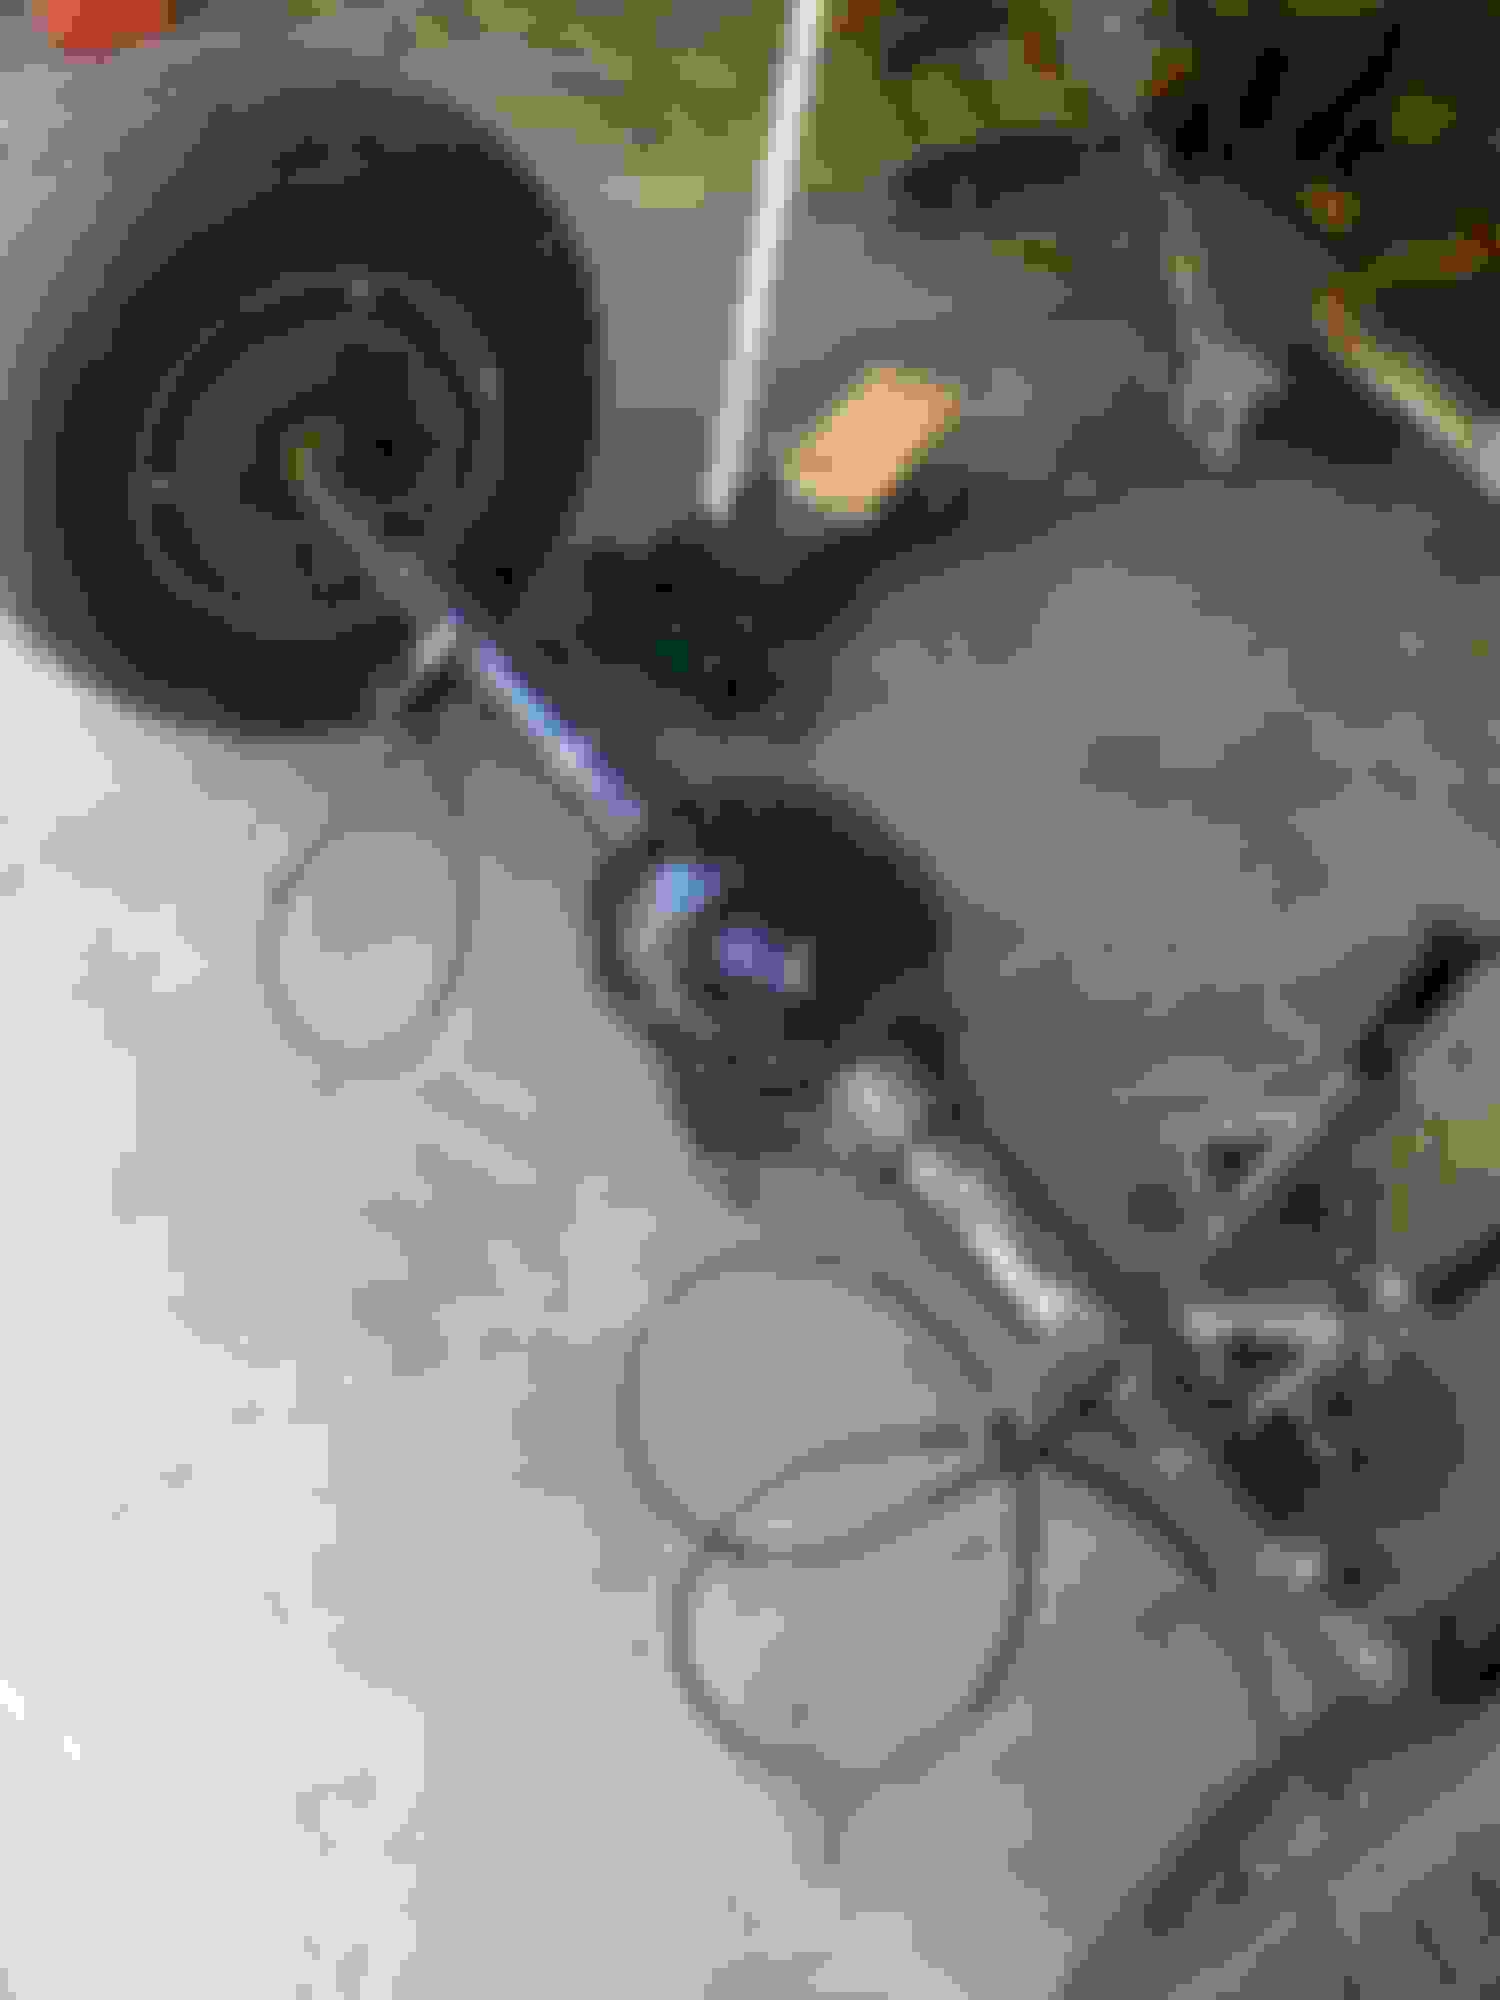
So, I determined first thing this morning that the three stubborn bolts are not going to hammer out.
I just moved on to getting the rear axle out. Spent a few hours trying to get the Ziebart off. The rough finish of the differential housing is not going to give it up. Ziebart is mineral spirits based so I'm just going to paint the rear end with mineral spirits thinned RustOleum. It's drained and the cover is buttoned back up.
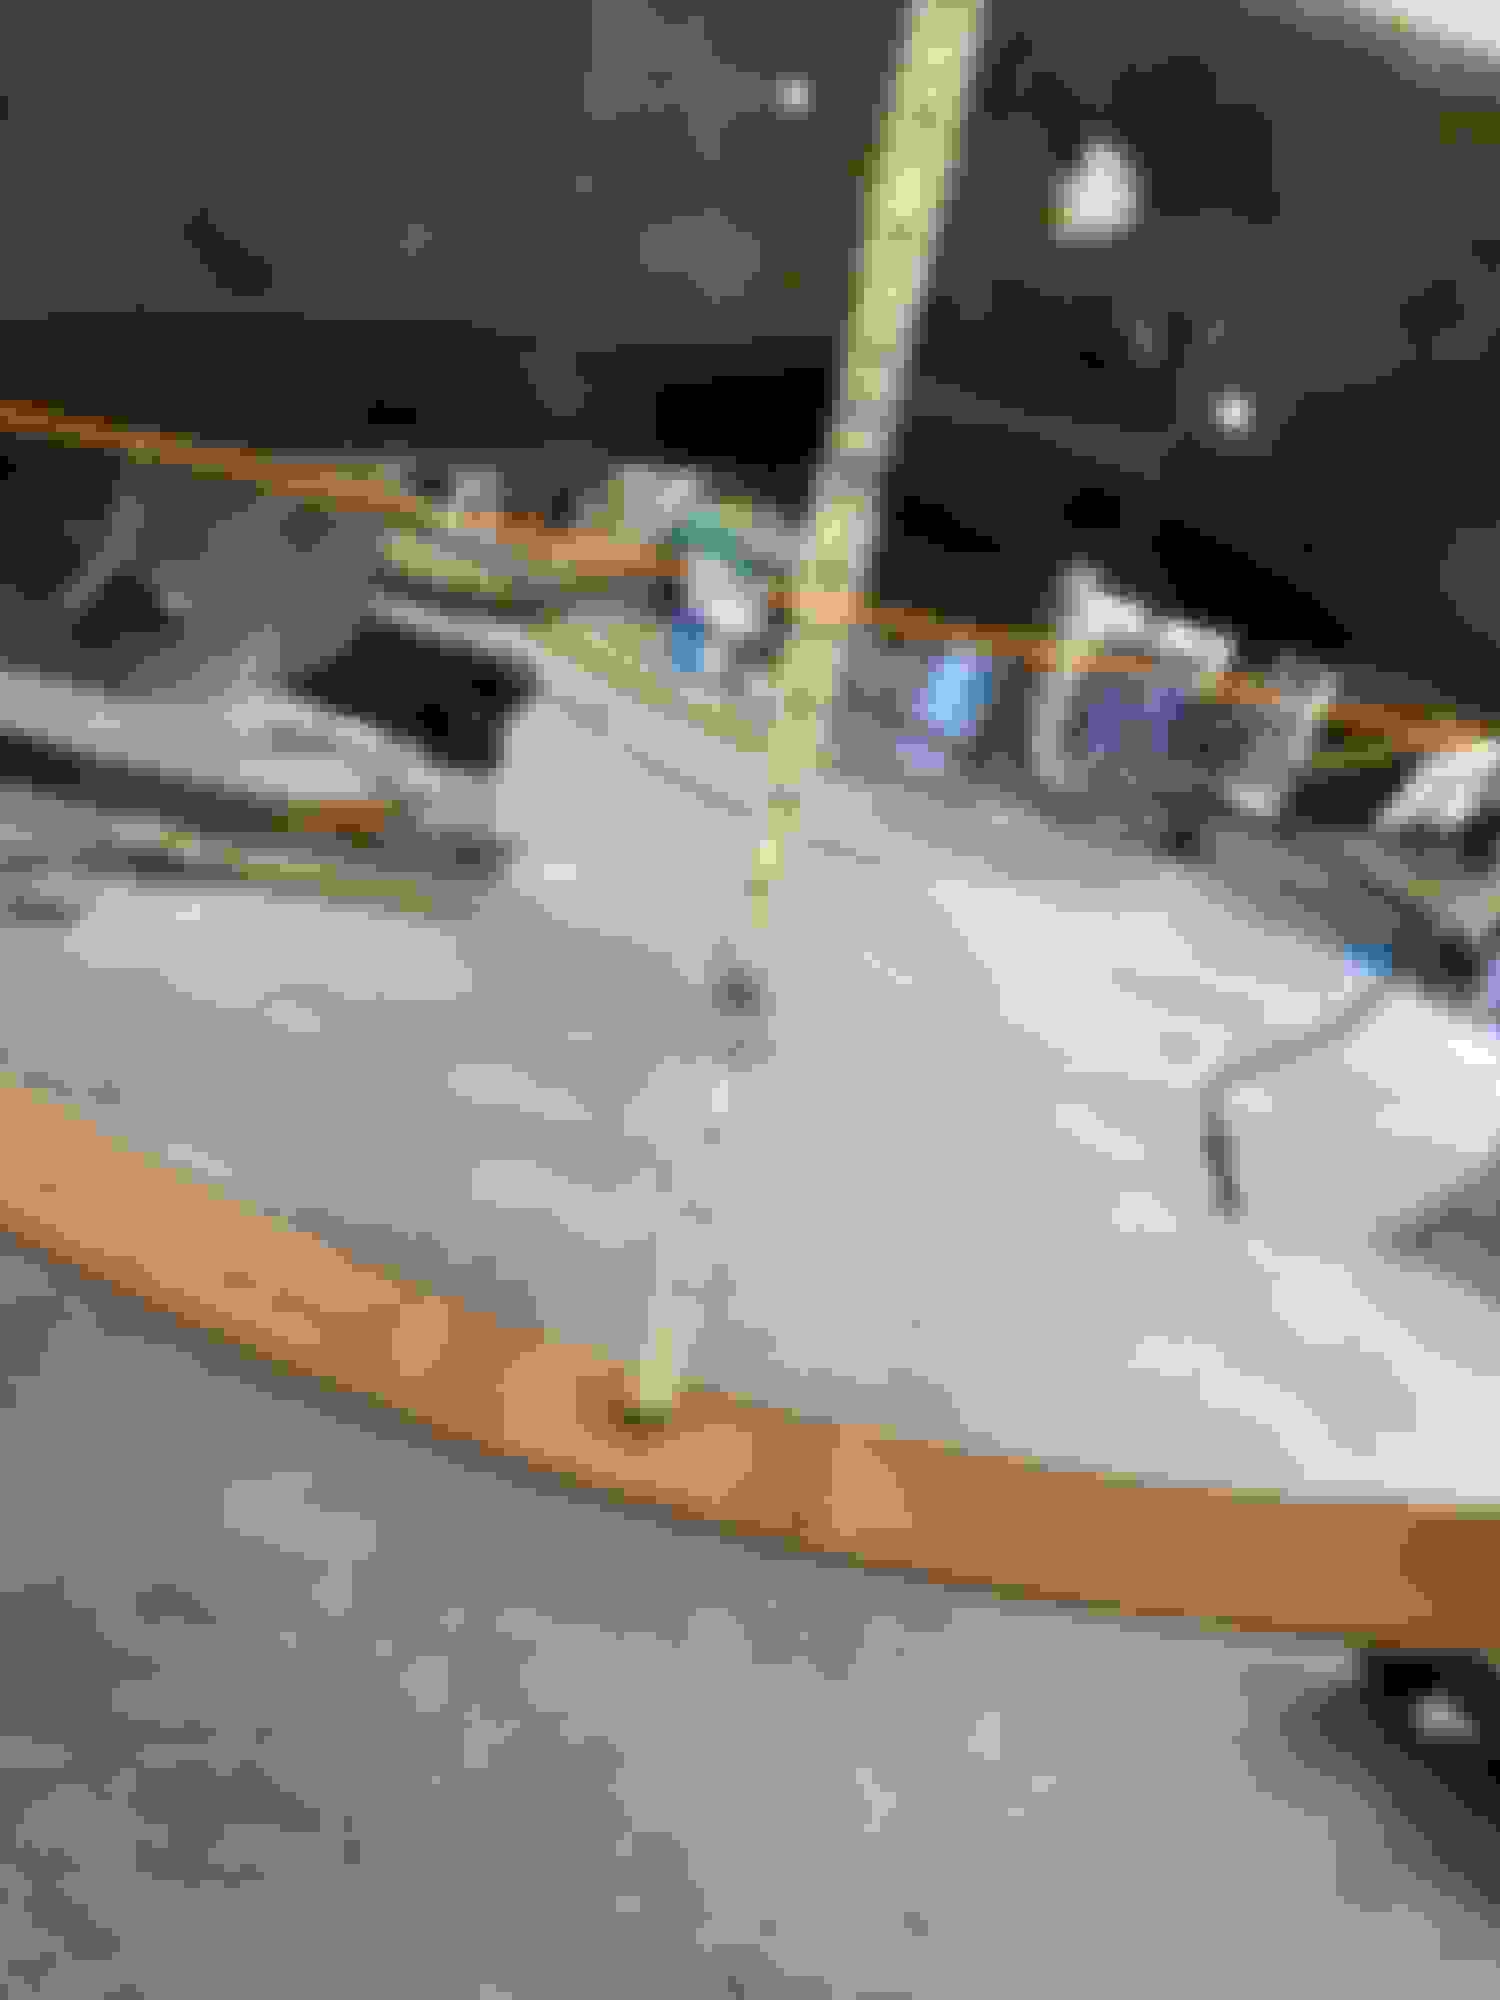
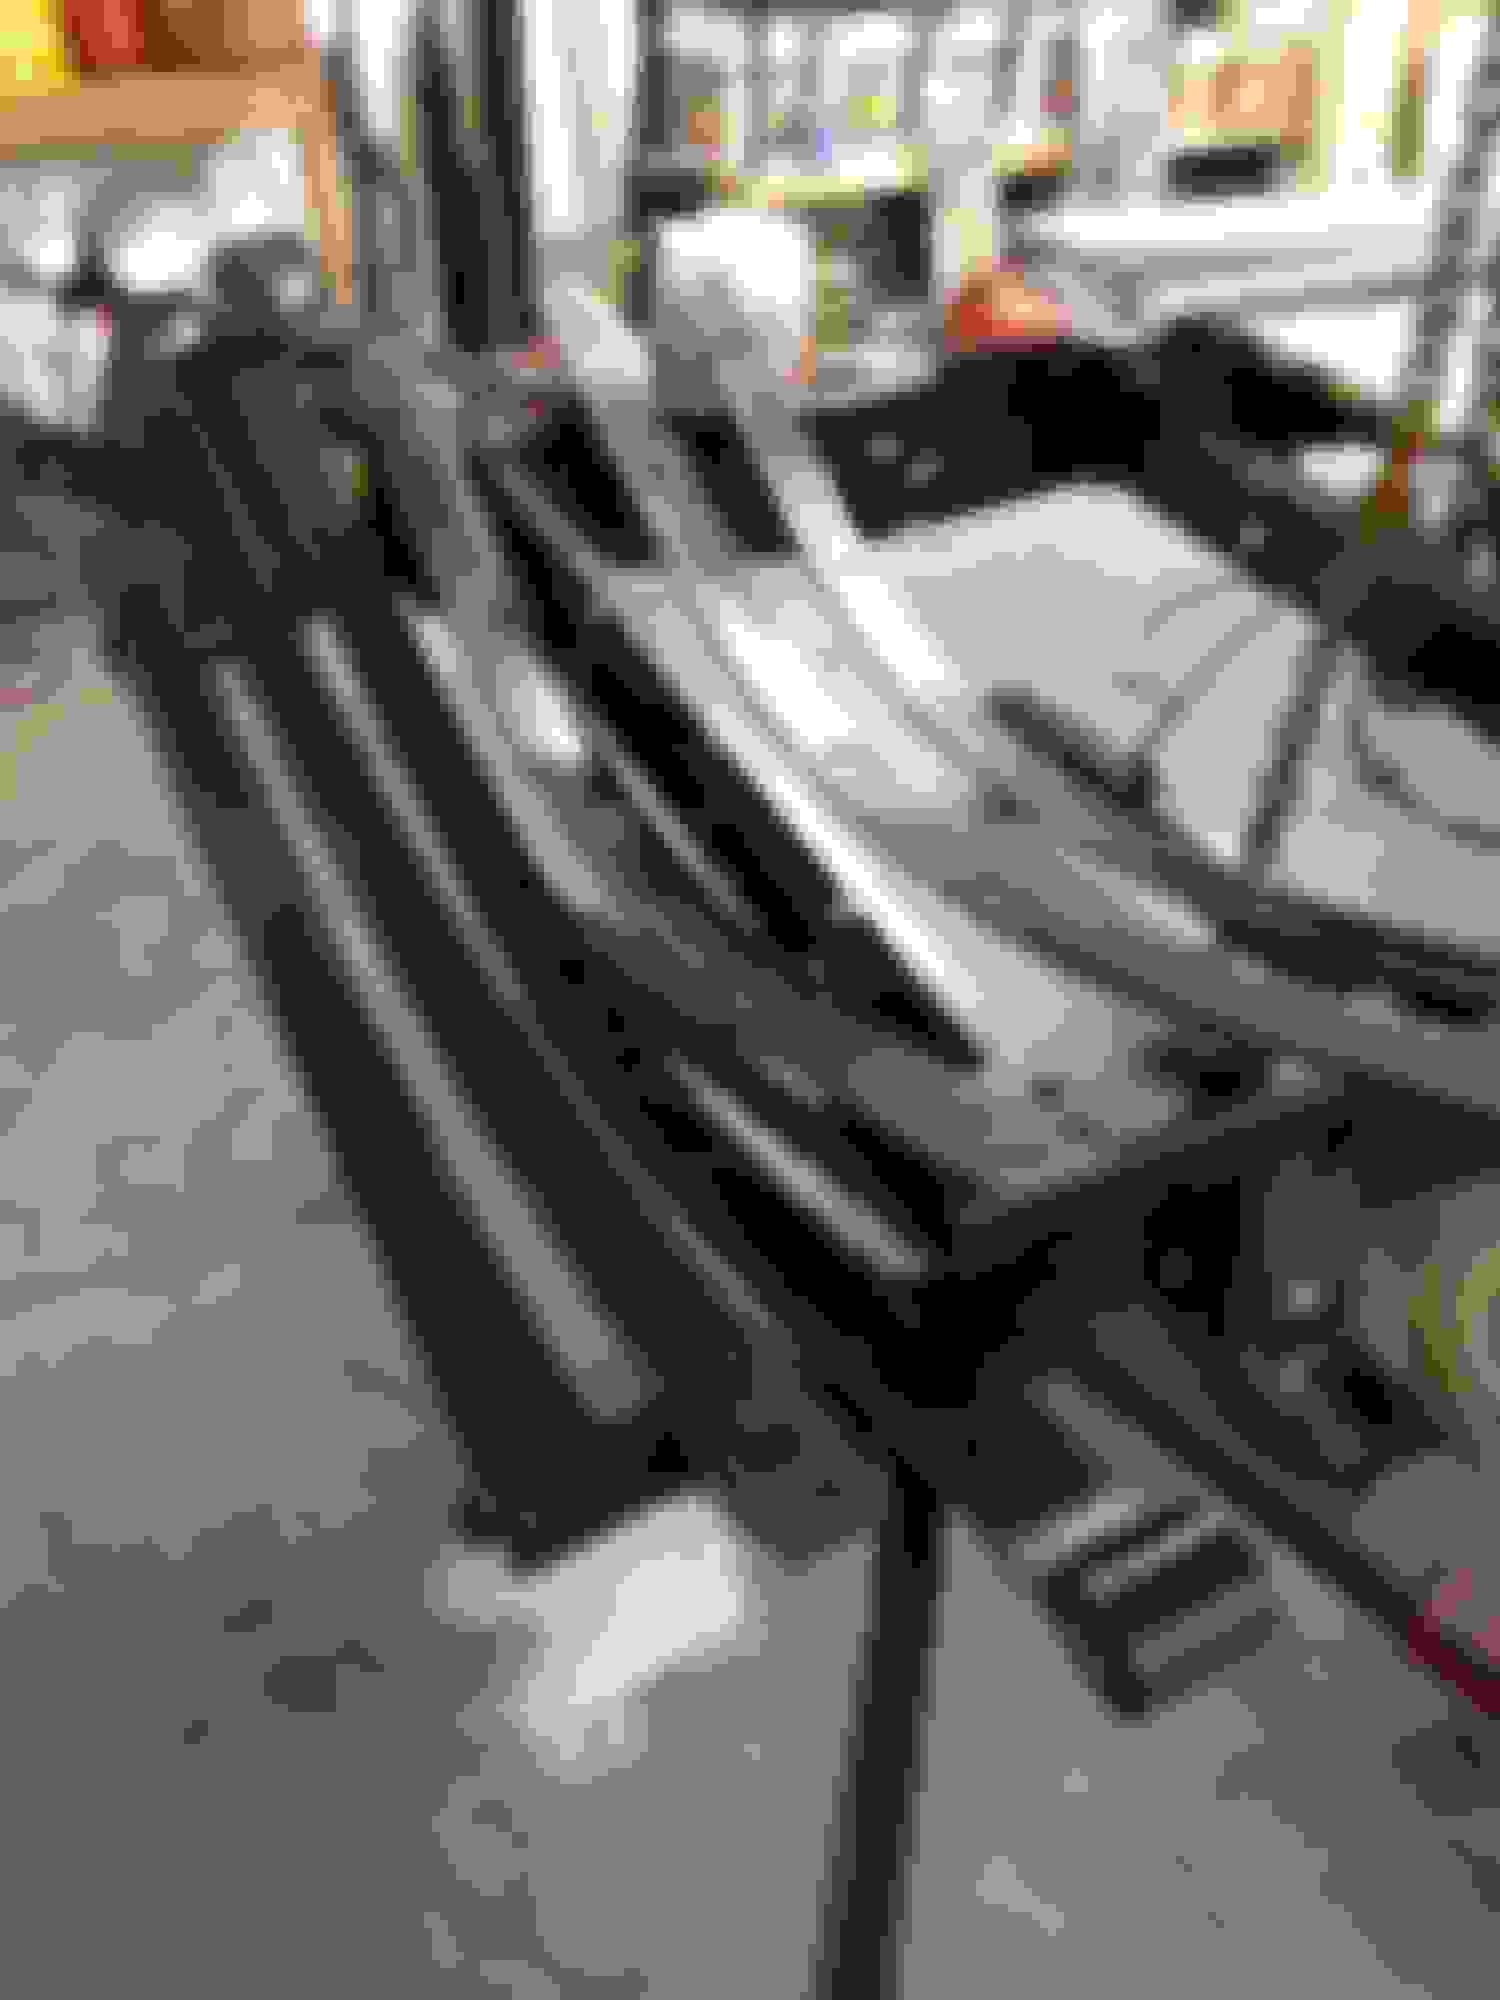
While spending hours cleaning the axle I had plenty of time to decide the next move on the springs. I decided to just paint it all up and leave as is. Then I focused some attention to the springs. Something didn't look right. With the springs now disassembled, I noticed that they were different lengths. The passenger side spring has an arch depth of 8 3/4". The driver's side, 10". This difference was noticable to me before I ever began this project. Today I was reminded.
Now I want new springs. $$$.
EDIT: The spring with the shallower arc depth measurement was being held in a "stretched out" position by the frozen shackle on that side. As you will see in later posts, it's all good now.
Regarding the bolt removal suggestions. Yes, I believe sparks will fly. I think new springs will come with bushings. Shackles are cheap and also come with bushings and bolts. Two shackles will have four bolts. I'll still have three good bolts. That's plenty of bolts.
So, after spending all afternoon deciding to leave well enough alone, I got bit.
So, I got a bad measurements on the springs while they were still hanging on the truck. Now, side by side laying on the floor, they are within 1/8" of each other.
This doesn't explain why I noticed the sag on one side of the truck before I started. There was a measurable difference in fender well highth off the ground.
Also, I find that I may have expensive springs. 1986 spring code V doesn't match anything on the web. May have to go with a heavier spring and sacrifice ride comfort.
Not sure how they figure this stuff but the only springs that match what I have are 1350 lb capacity. It doesn't add up. And all this time I thought I had the "heavy half" model. One site I visited called for a 1850 lb spring with an extra leaf than what I have. I'm going to consult Nathan on Monday.
And the Metabo made quick work on the bolts. I need to get with my brother and get a line on the cutting wheel in the tool. It's the best I have ever run across by far.
Yesterday was an odds and ends day. I drilled those drain holes in the rear shock mounts. While I was at it, I drilled some drain holes in the rear spring hangers as they too get full of crud and rust.
I put a second coat of RustOleum satin black on the rear end. Nathan, examining the springs, said to run the springs and bushings I have so I painted them. I shuffled the leaves and switched sides of the truck with the primary springs. New shackles and bolts.
High heat flat black on the drums. The brakes are like new so I'm not fooling with them at this time.
My Owners Manual says that the 8.8"rear end takes 5.5 pints of Ford Hypoid Gear Lubricant. I put the prescribed amount of 80W-90 gear oil in it and called it good.
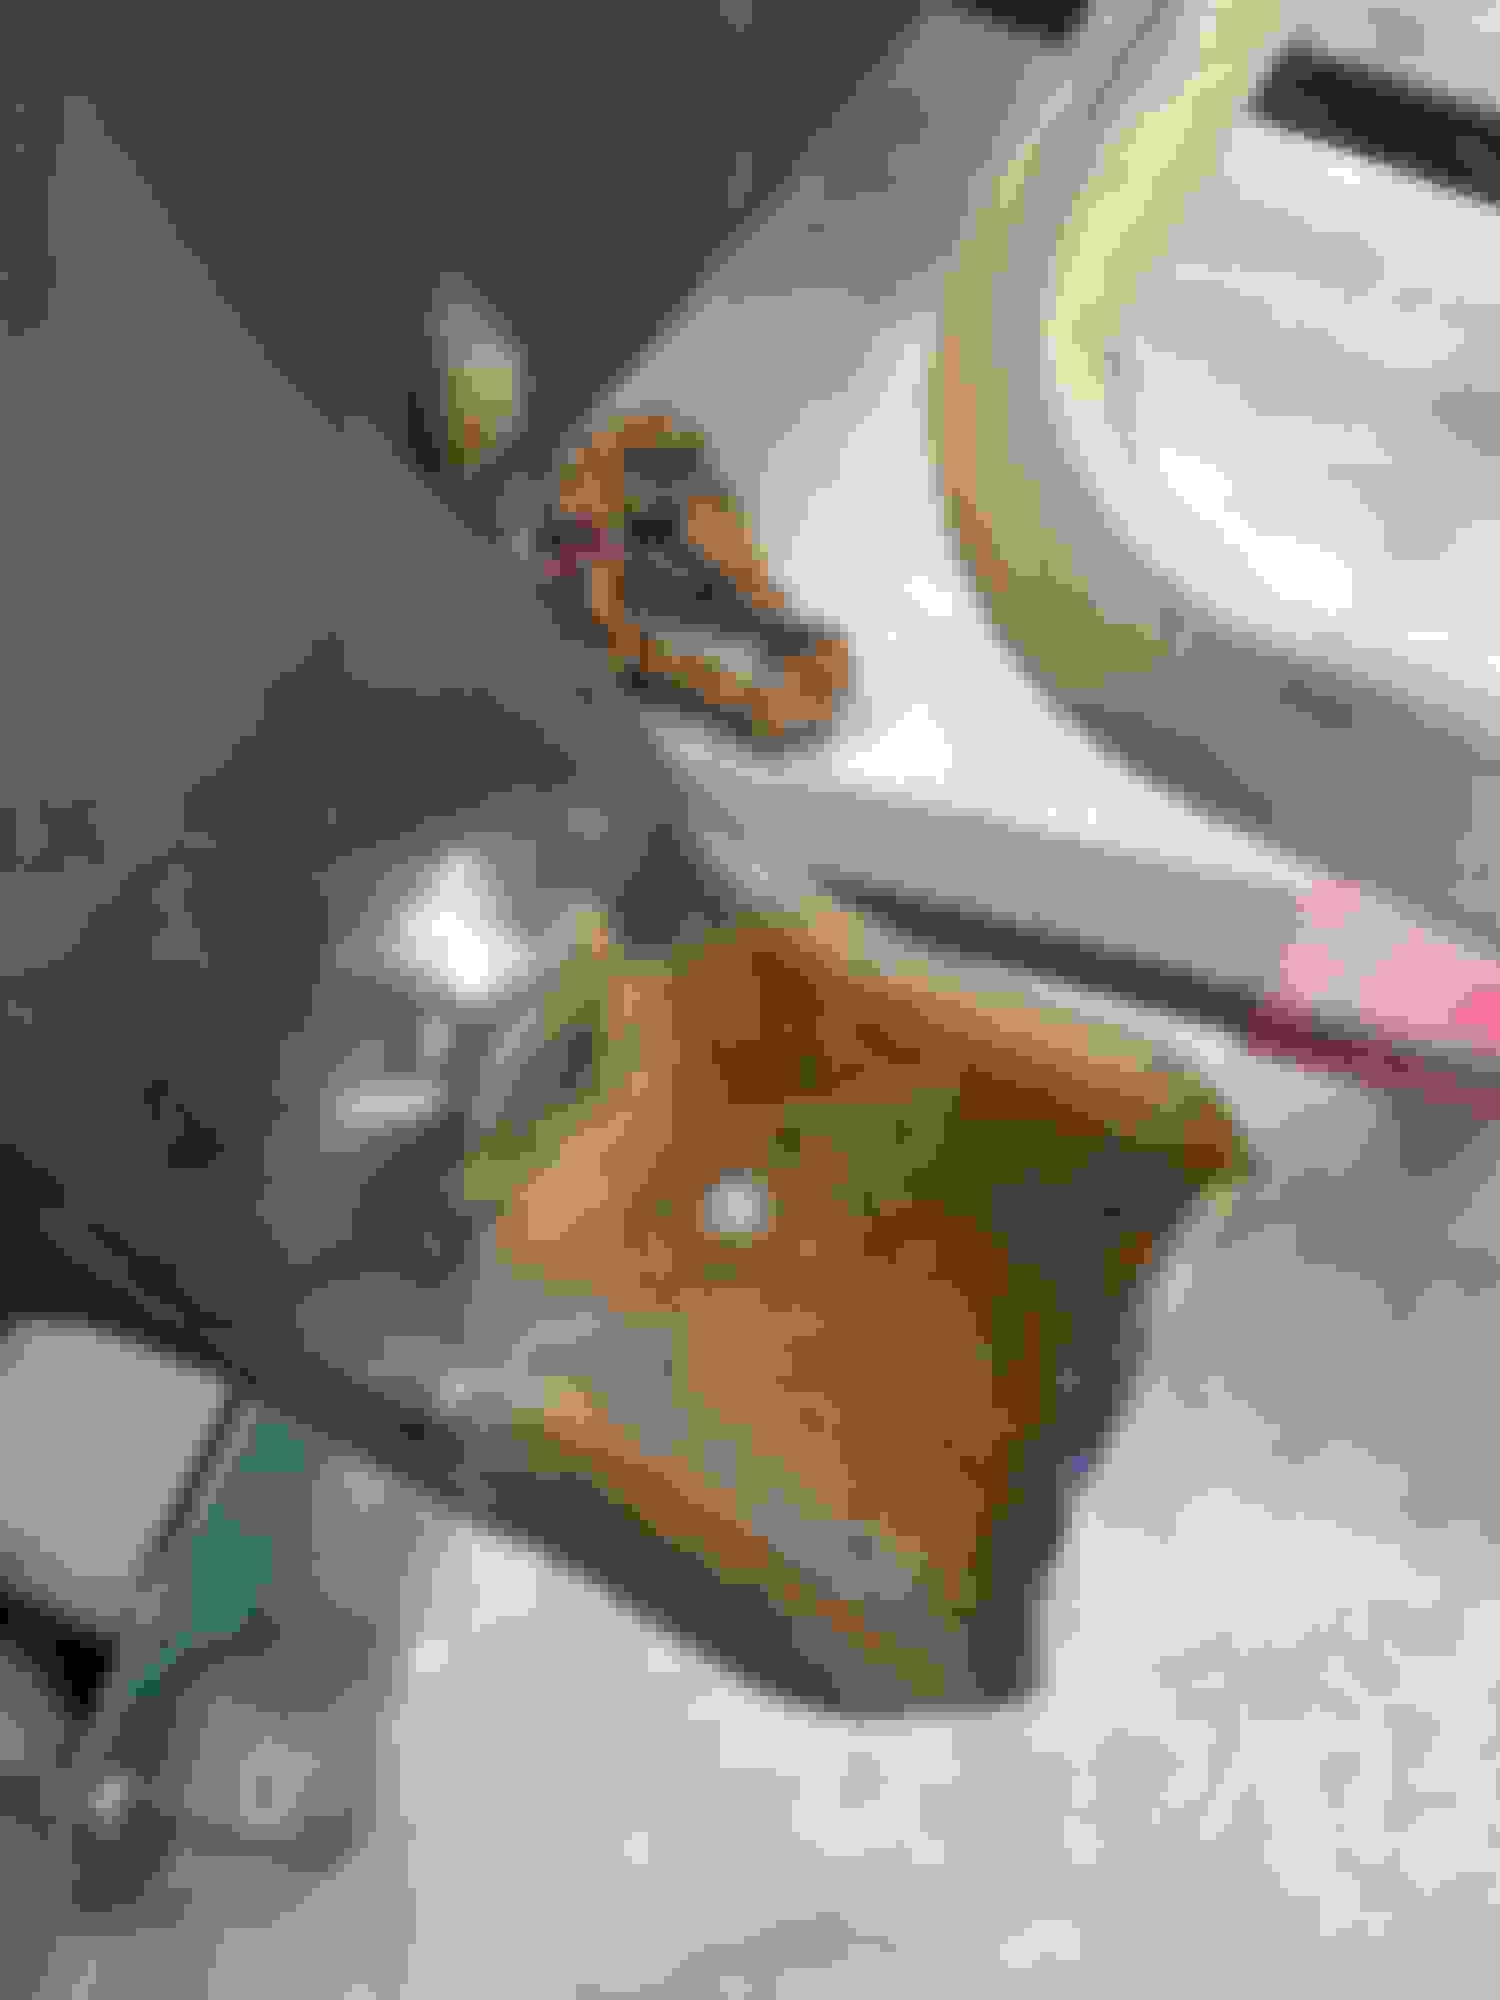
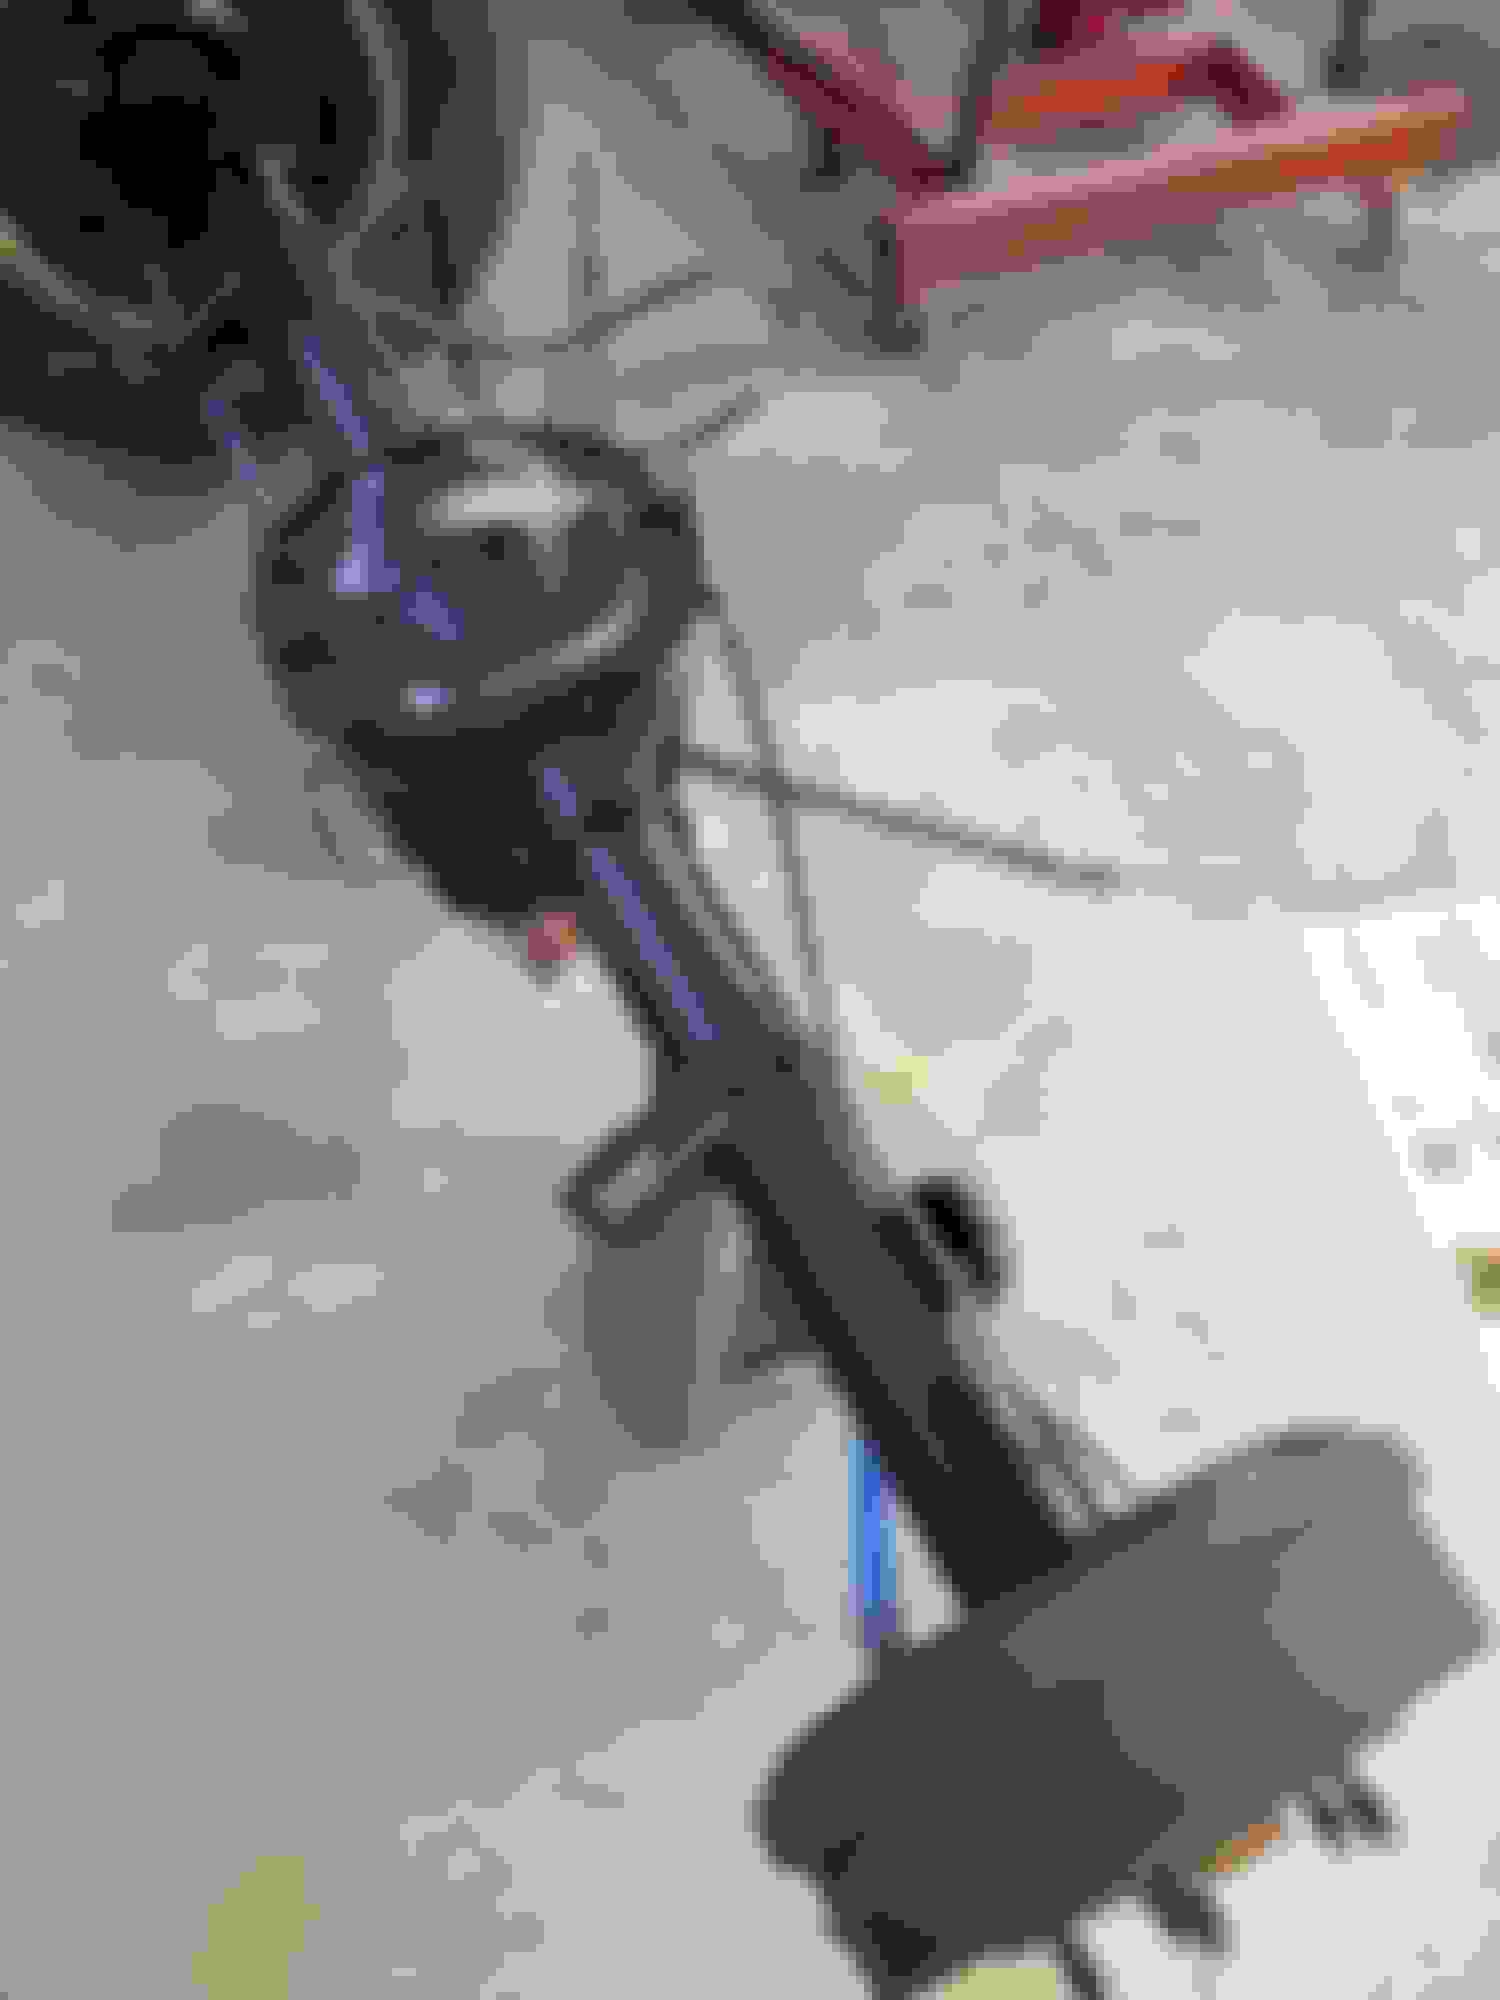
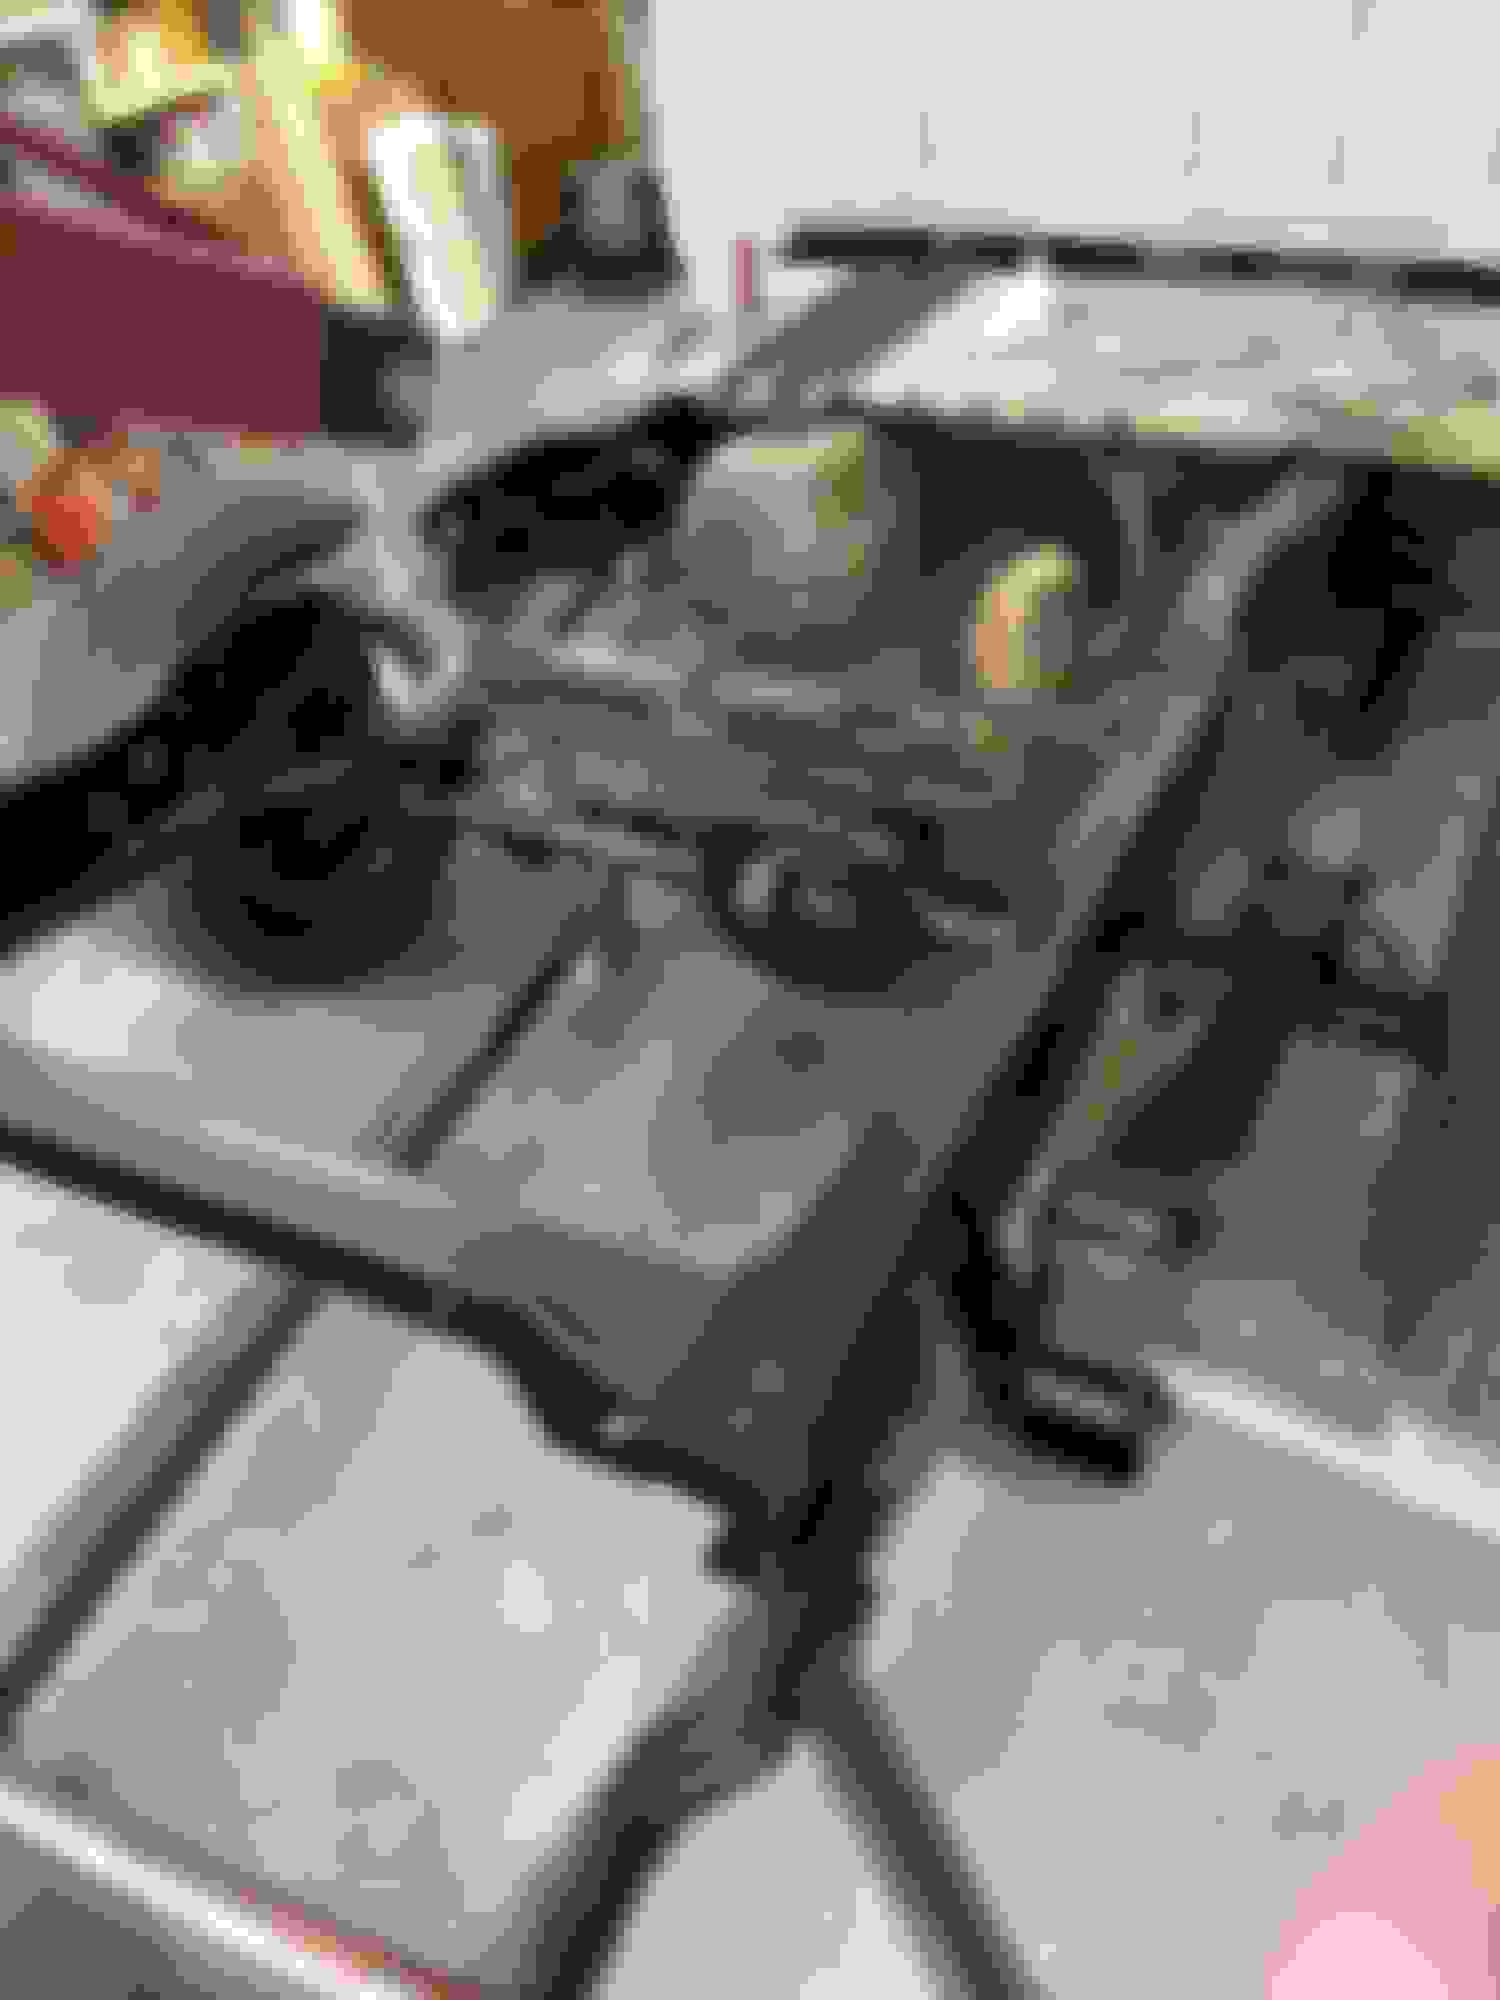
Was going to take this section of drive shaft out for a quick paint job. I have replaced the carrier bearing before so I should have had to take it off before. Damn if can remember how. At first glance, I thought it would just slide off. Doesn't seem to want to. Any guidance?
Why not drop the whole drive shaft, front & rear for clean up and paint?
I want to say the collar with the grease fitting should un-screw so you can remove the rear part of the drive shaft.
I am not 100% on that and why I would go with the first thing I said ....... drop the whole drive shaft F&R.
Dave ----
Why not drop the whole drive shaft, front & rear for clean up and paint?
Dave ----
Thought about that. But... at this point, I was only interested in painting what may be visible. Didn't want it detracting from the paint job. (got to do something with those plastic front wheel wells covered in Ziebart too, ugh!) I wanted to get the truck mobile under its own power for ease of painting. The u-joints have been replaced before but it's been quite some time. I'll probably pull it later when the engine and transmission come out and replace the u-joints again after a thorough cleaning.
The elves that ran off with my sandpaper (still hasn't turned up) ran off with the bracket and adjusting rod that connects the forward emergency brake cable with the two rearward cables. I removed it only a few days ago but can't locate it anywhere. Wife says it's probably right under my nose. I'm stuck in a vicious circle looking in the same places over and over. It's not a tiny piece. My garage is not that messy. I spent quite a bit of time today trying to find it.
 04-16-2020, 09:30 AM