When you click on links to various merchants on this site and make a purchase, this can result in this site earning a commission. Affiliate programs and affiliations include, but are not limited to, the eBay Partner Network.
Does the other side have a puddle under the tail pipe?
That is a LOT of water on the ground for condensation.
With my 300 six if it is just a little cool I get condensation smoke, no water on the ground like you have, and don't remember this with anything else I have driven over the last 45 years or so.
I also get milkshake on the under side of the oil fill cap and on the oil dip stick & tube but oil is fine but could be caused by a poorly working PCV that I need to check.
Dave ----
Yes the full dash frame.
But I had the steering column out and I pulled all the wiring with the dash frame as a unit as I was swapping it from 1 truck to another.
The wiring goes out both sides of the firewall.
Left side does the left side front lights, ICM, wiper motor, motor temp & oil, and the plug for the rear harness.
Right side does the right side front lights, heater and ALT.
Think the AC wiring was a different harness on this side and might be able to unplug but not sure as I pulled it as part of the swap.
Should have 2 bolts on each side to the cab, a center brace / rod to the firewall, park brake assy. and steering column bolts that should be out when you removed the column.
I was able to lay the dash frame assy. with wiring on the seat and then slide it out to work on as needed.
Before I could put back in I had to fix this. They cut the dash to get the radio & HVAC controls out but I needed to use this dash because of the AC vents
Using part of the dash from my truck non-AC
Before painting
Painted and ready to install. You can see the wires hanging in the different pictures.
I think someone tried to pull the plastic off the main frame and could not get to a screw or 2.
I think he ended up pulling the dash frame and plastic as 1 but left the wiring IIRC.
I wanted use the wiring from the parts truck and found out later it was a good thing as the harnesses are different between single & dual tank trucks.
Hope that helps
Dave ----
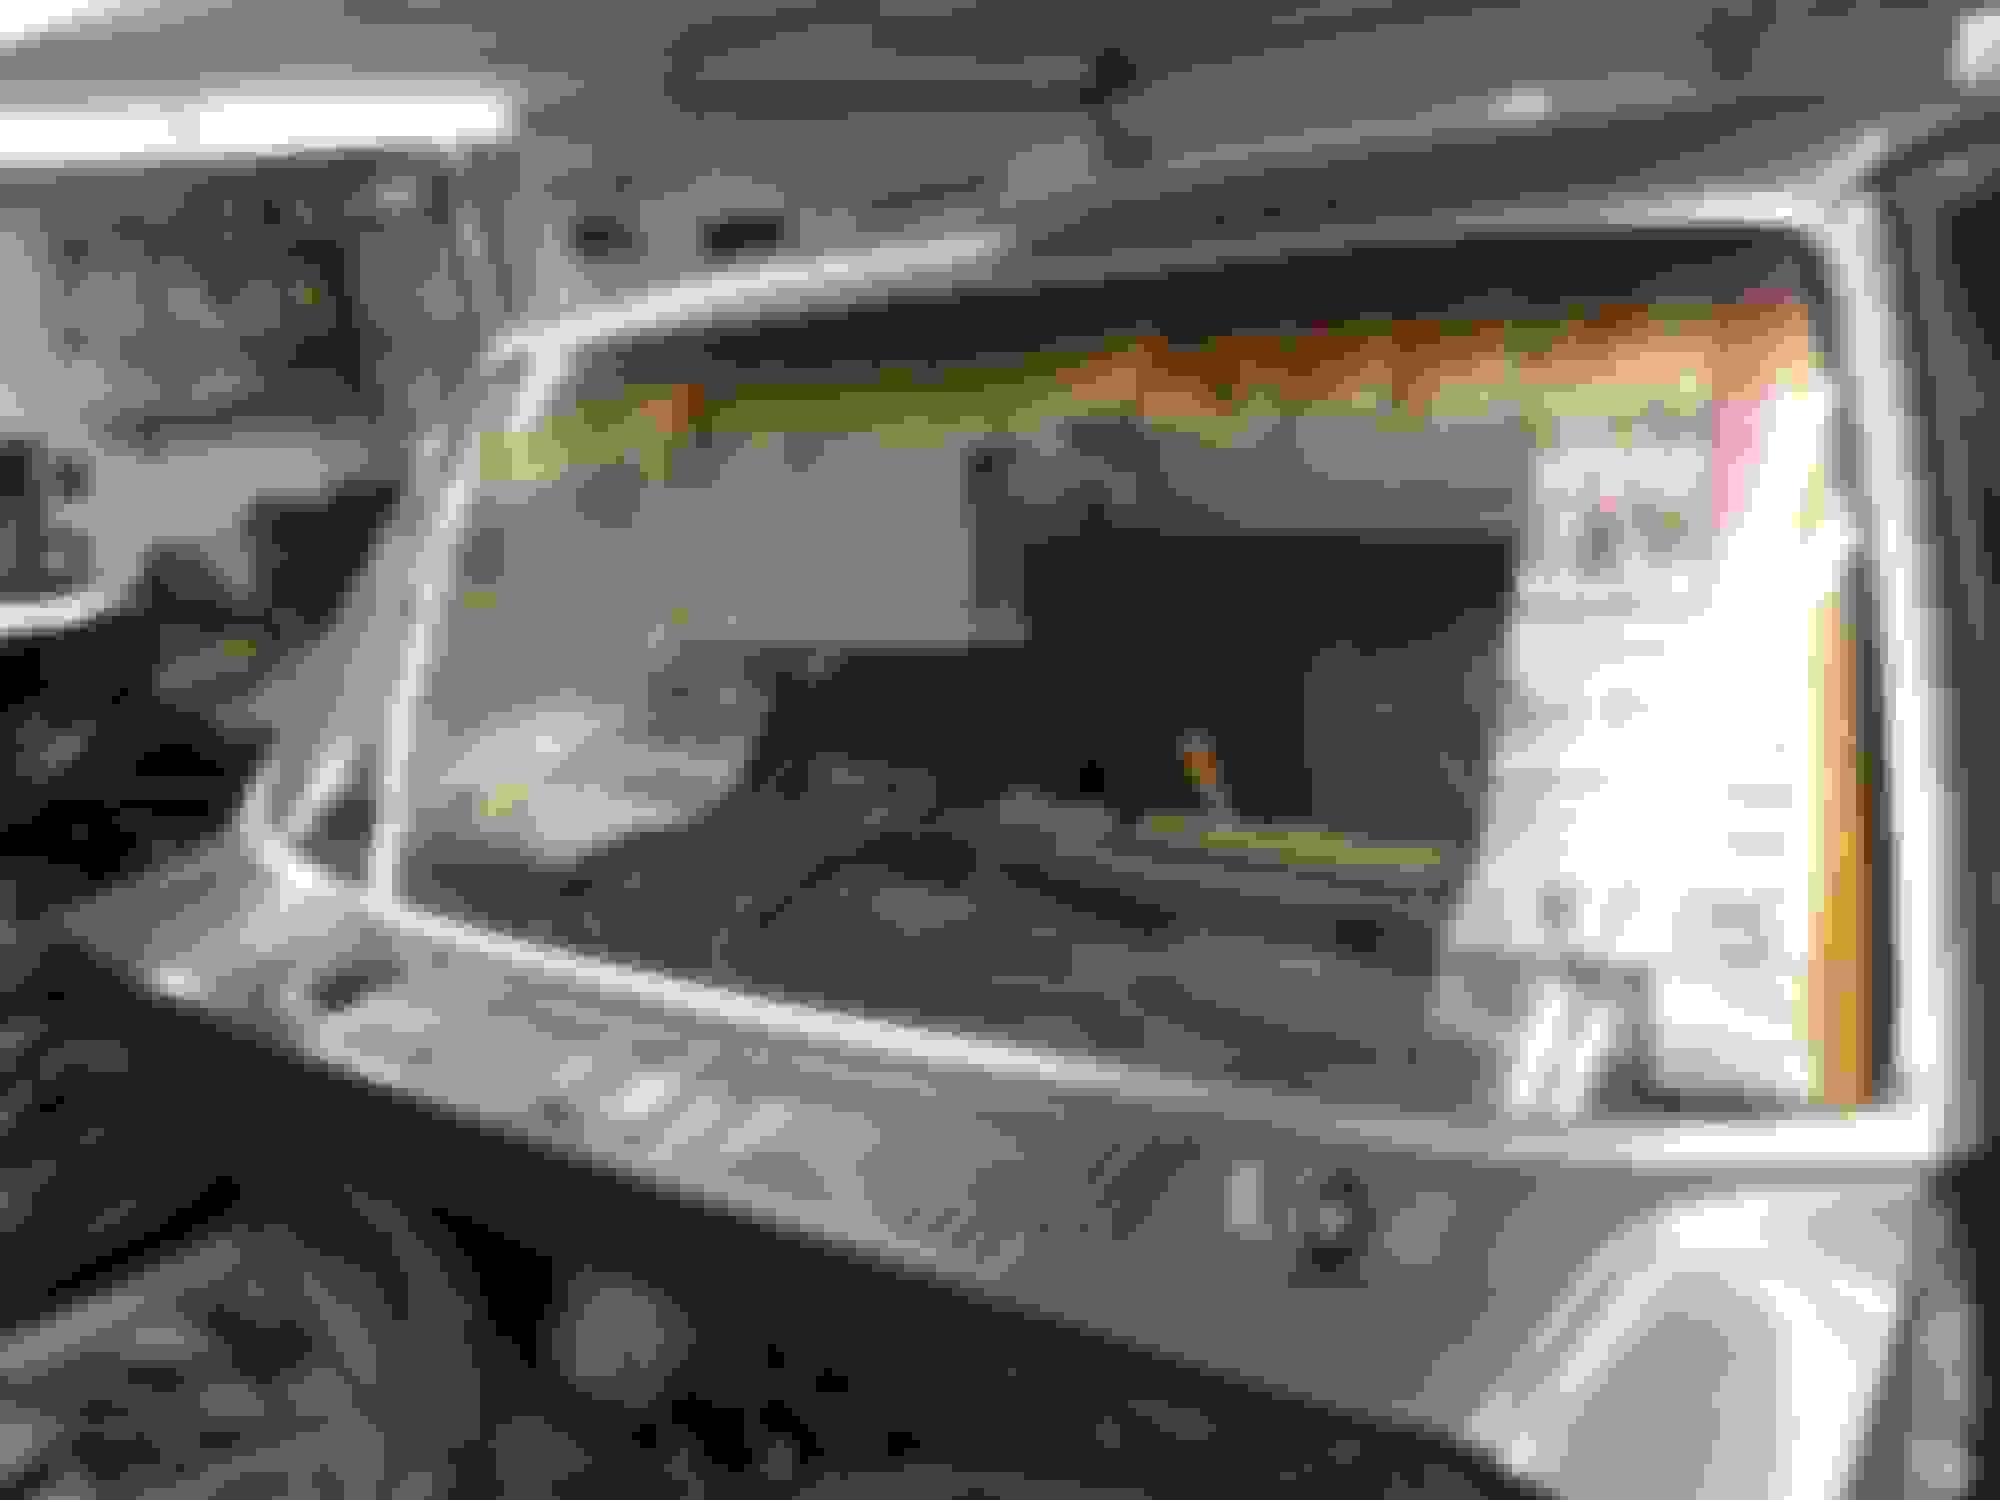
Had to get the rear glass off the shelf so I could hang the hood there. I peeled off the old, faded tint film. Thought I might need some heat but the film gave up without much of a fight.
There was a film of adhesive left behind but it quickly surrendered to the trash laquer thinner.
All clean, I wrestled the new gasket from the Fairchild kit on. Hard at first but I quickly figured out the trick. Ready to re-install. I'll get my dad over to assist me. We'll use the common rope trick.
Polished up the windshield trim a bit and installed. Added the valence and garage door/hood seal. I put the 1" foam tape everywhere it was originally. When I was done, I realized that the passenger side of the valence lacks a foam seal to block engine compartment heat from entering the fresh HVAC intake. Never had a seal there. I guess the line may have been moving too fast the day my truck was built. Or a less than great taper. I'm reminded of the same foam tape improperly installed inside the heater core/ evaporator box. Until I replaced the heater core ten years ago, heat was bleeding heavily into the AC evaporator side due to poorly placed seal.
I'm going to take the valence back off and install a seal where I believe there should be one.
Looking good.
On my rear glass it also had tint but did not know this till I was prepping for install and hit the gasket, reused to old one as it was in good shape and want to use the new one from the kit on a sider I want to get.
I left the tint on as I don't have AC yet and it helps with the sun coming it that big back window.
Oh I installed the rear glass by my self. The hardest part was getting into the bed and not stepping on the tail gate LOL
Dave ----
I pulled my valence back off and installed the hole covers that were missing. Picked up the large one at U pull, the smaller hole plug was actually sitting on my work bench. Reinstalled.
Dad dropped by so I had him help me install the rear glass.
Put the new tank pump fuel strainers on. Empty front tank was easy. Full rear tank o-ring had to be aired out overnight to get it back to size to reinstall pump/sending unit.
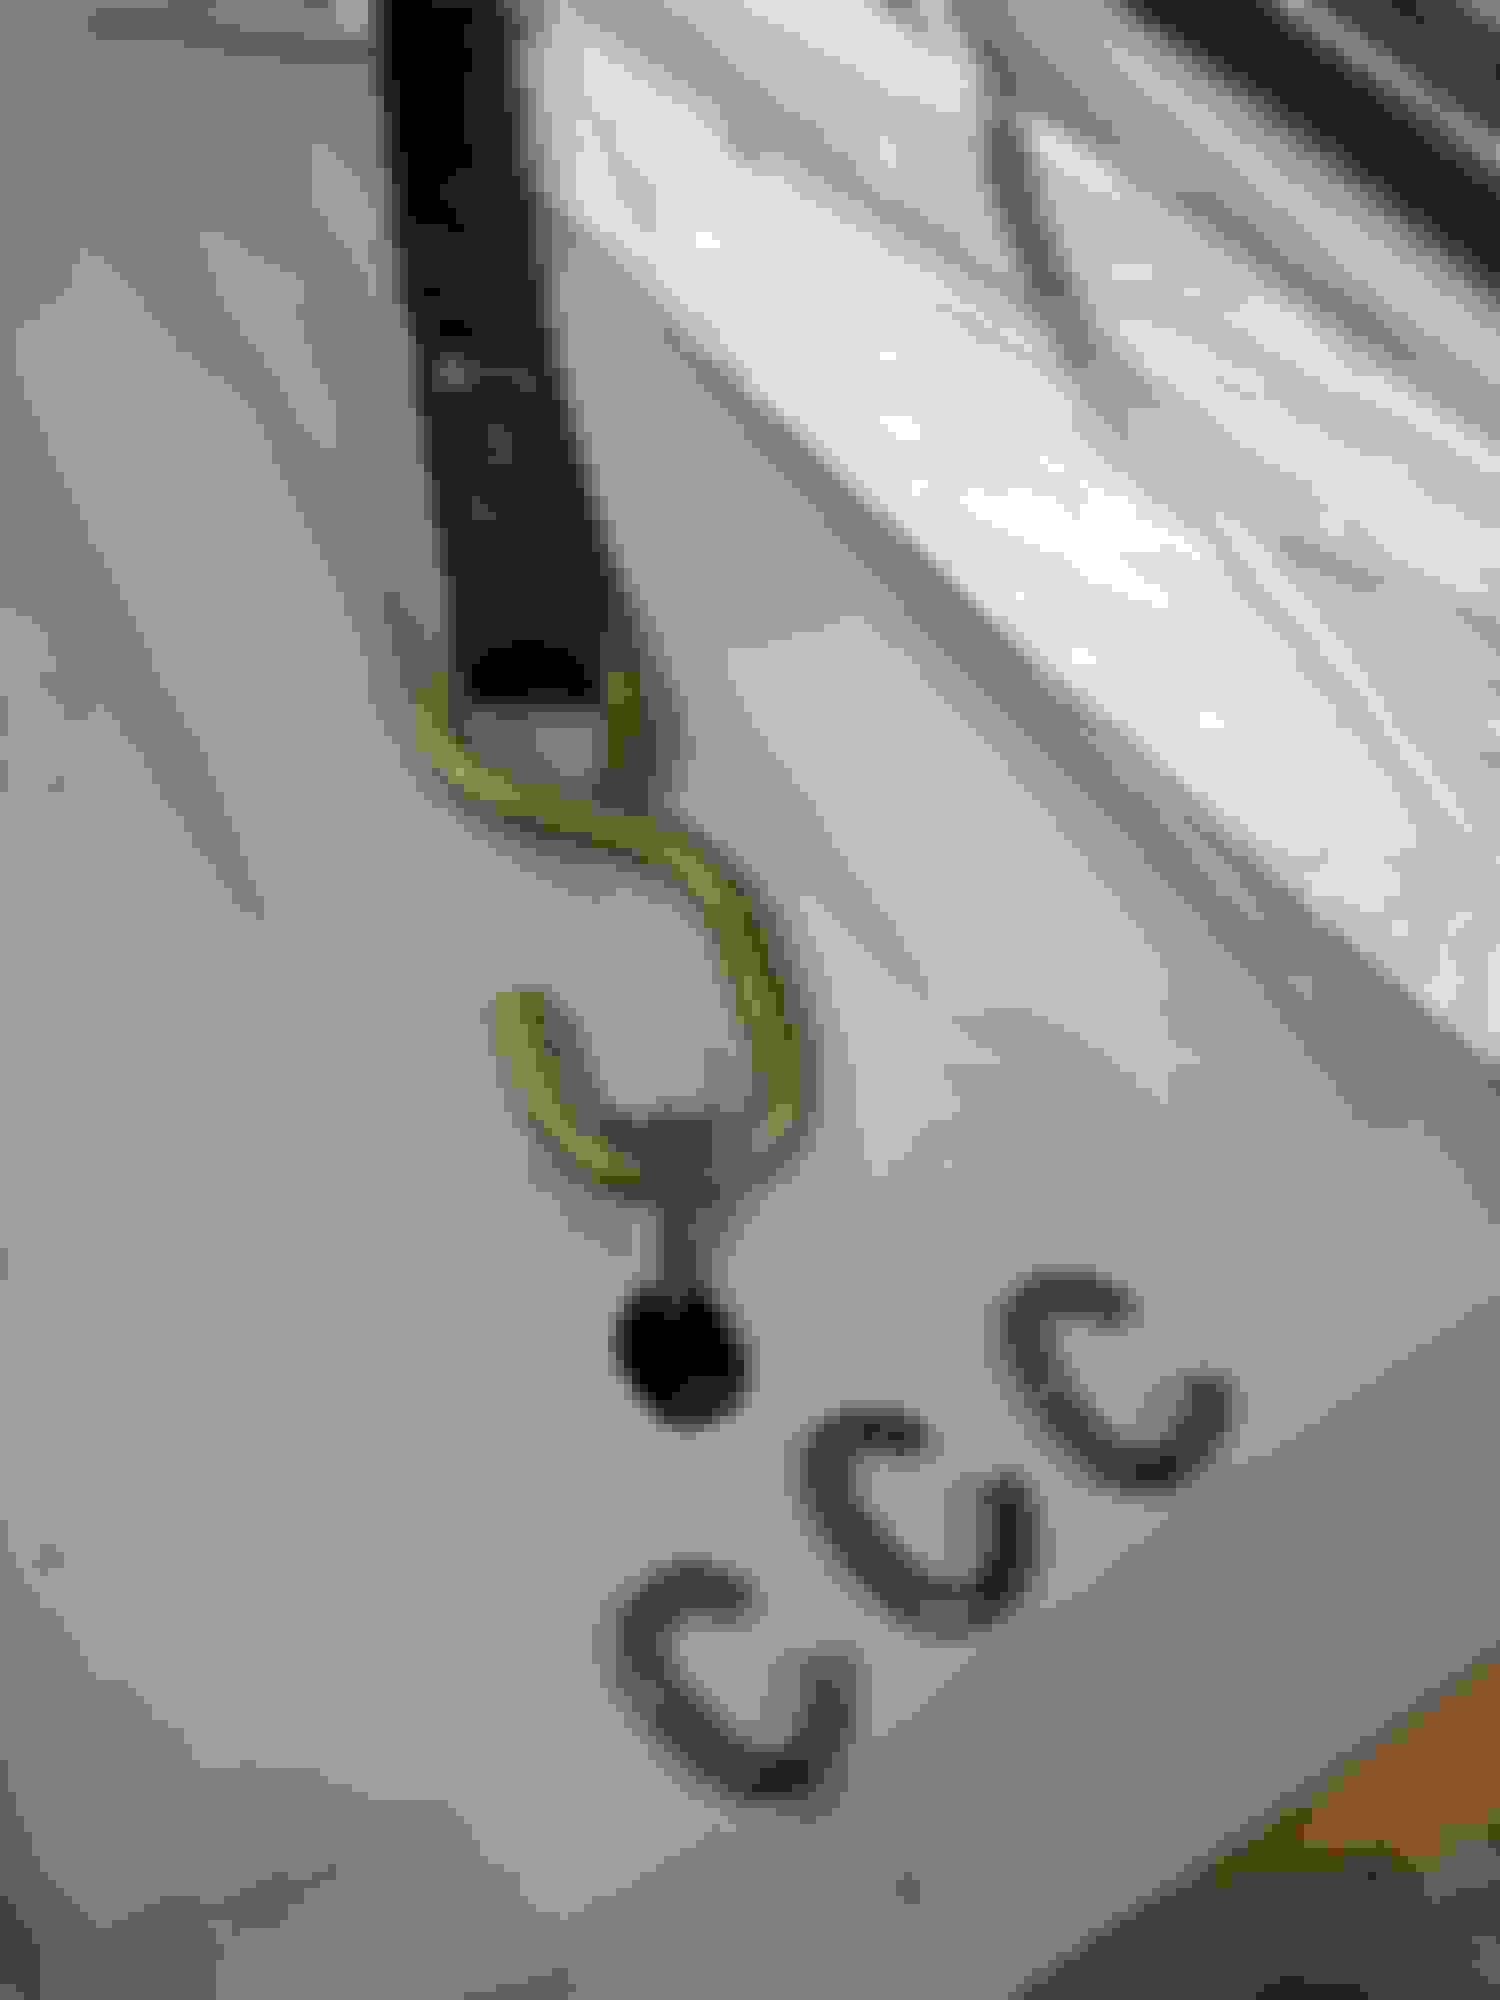
Started off okay. I needed rigging for the bed reinstallation. I fashioned these hooks from some chain links.
You can just make out the small hole I drilled into the main bolt sleeve in the photo above. The small holes accept one side of the hooks.
Four motorcycle tie down straps and an engine puller set up for rigging.
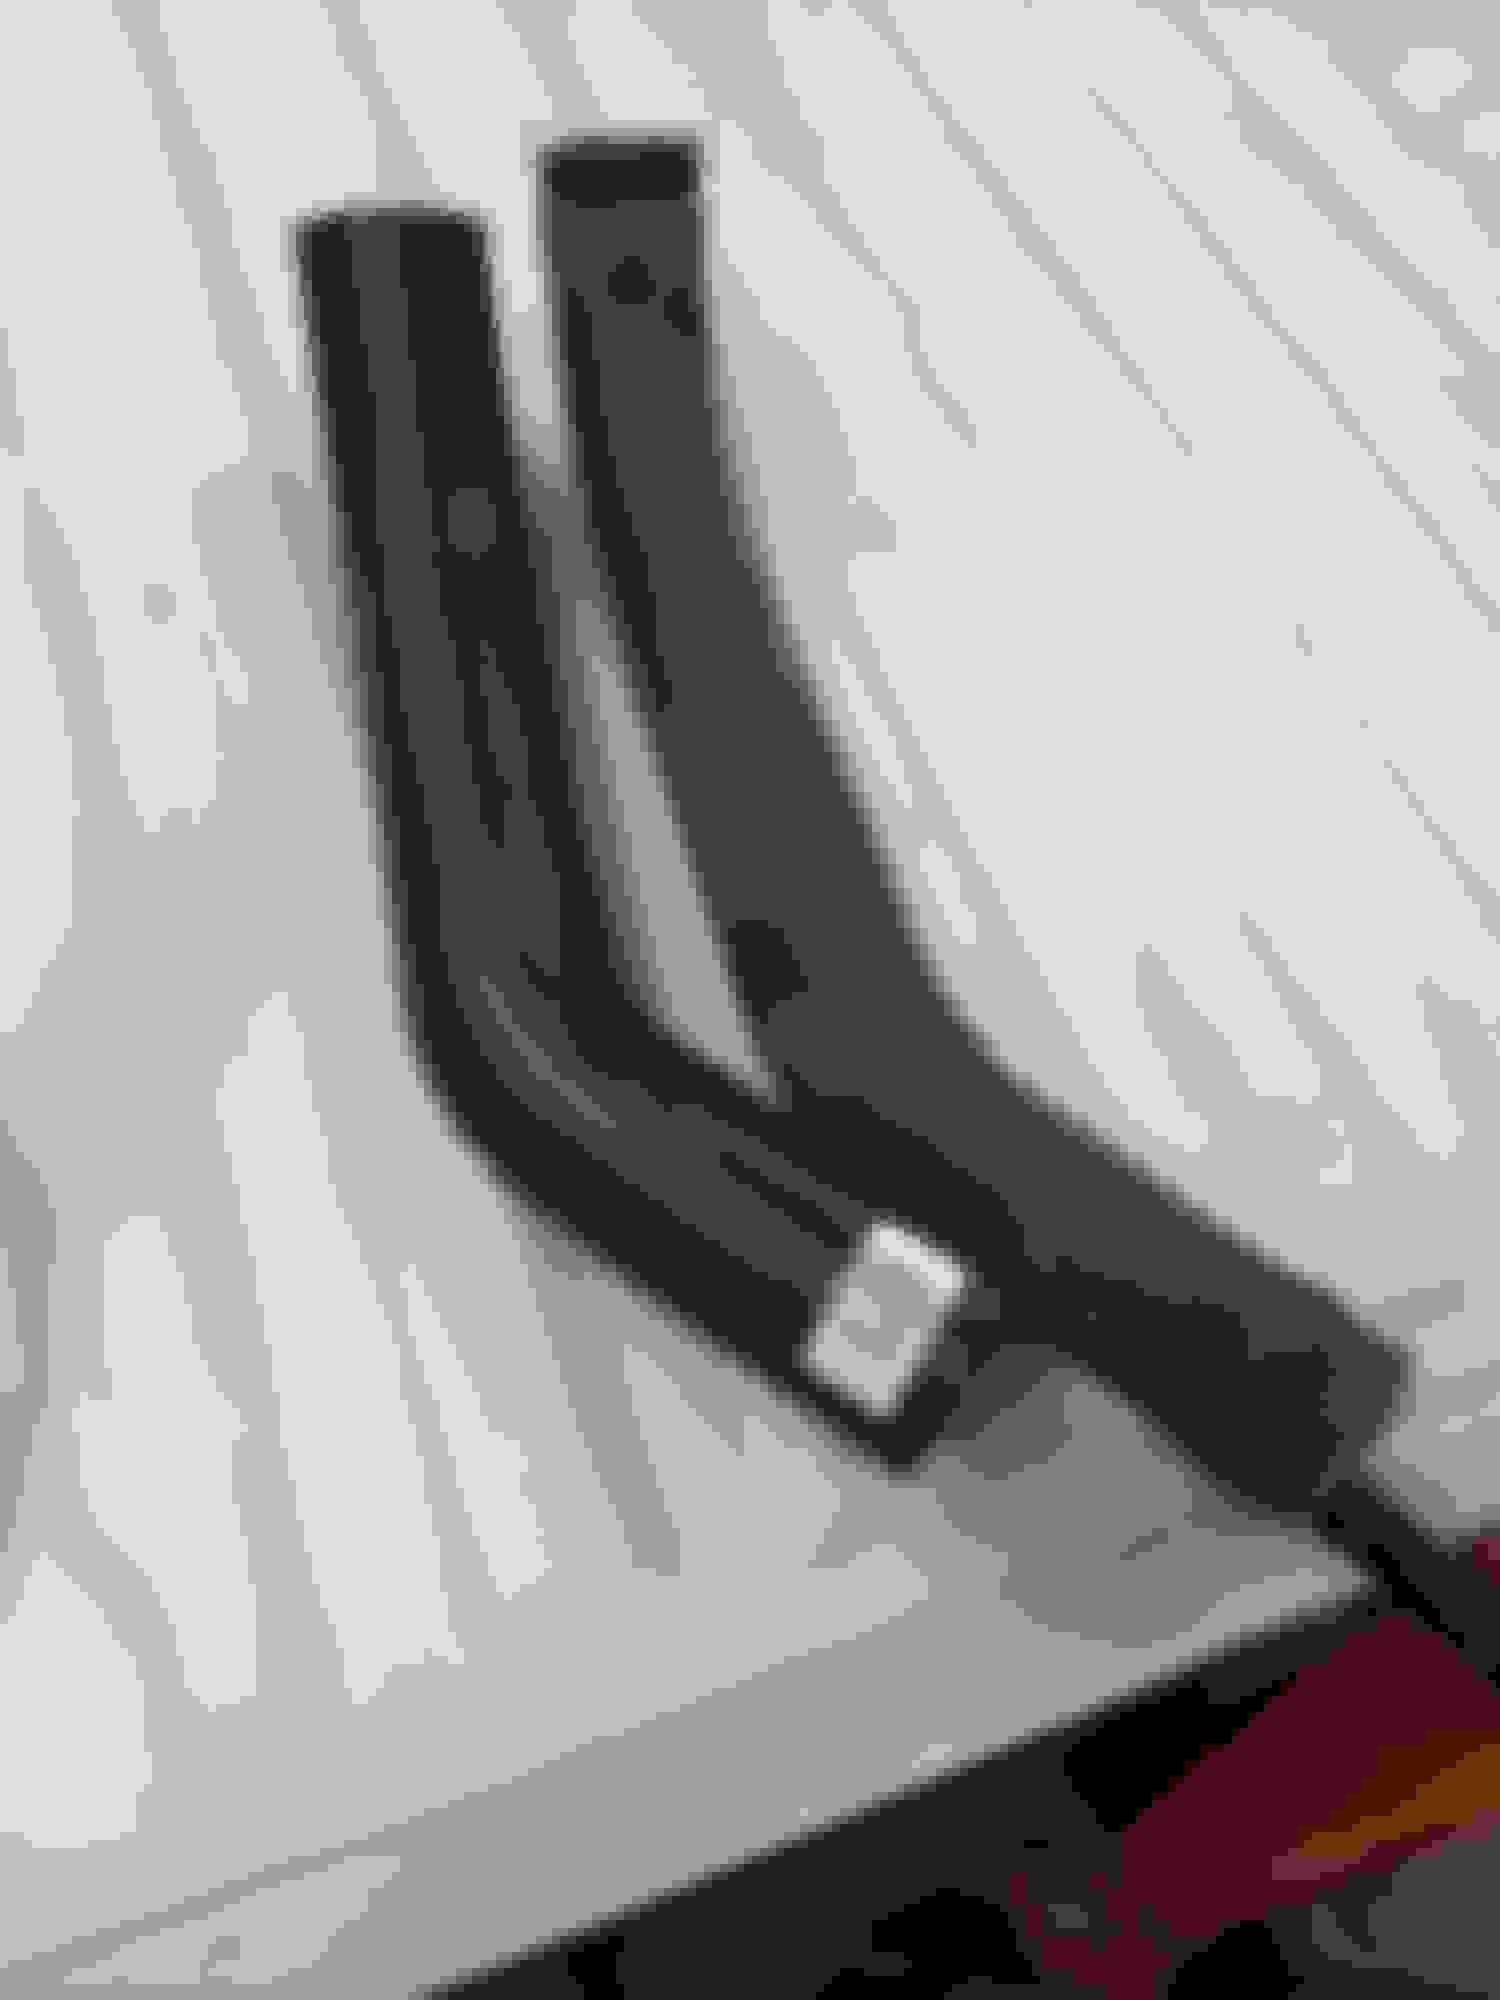
Then the snag. This new filler neck hose from Rock Auto is not long enough. An internet search and calls to local stores turn up only hoses which are too short. I hate to use the old hose because it's hard and cracking up.
Then the snag. This new filler neck hose from Rock Auto is not long enough. An internet search and calls to local stores turn up only hoses which are too short. I hate to use the old hose because it's hard and cracking up.
Here is the link to where I bought my new ones for the front and rear tanks. They was a perfect fit. When I tried getting on the web site it said it was down for maintenance though.
Here is the link to where I bought my new ones for the front and rear tanks. They was a perfect fit. When I tried getting on the web site it said it was down for maintenance though.
Thanks for that. I determined that the hose can be replaced without lifting the bed. So down she went. I'll get a new hose and install at my convenience.
And I really like the chain link into the mount holes idea.
Added bonus that I didn't think of initially, you can stab the longer front end of the bed bolts into the most rearward holes with the links still in place. The long bolts stabbed through the bed and frame holes prevents any accidental forward shifting of the bed that might otherwise cause it to contact the cab, and maybe leave a mark. I did have some 1/2" foam insulation board taped to the cab as a precaution.
Added bonus that I didn't think of initially, you can stab the longer front end of the bed bolts into the most rearward holes with the links still in place. The long bolts stabbed through the bed and frame holes prevents any accidental forward shifting of the bed that might otherwise cause it to contact the cab, and maybe leave a mark. I did have some 1/2" foam insulation board taped to the cab as a precaution.
Looking more like a truck again even if it needs the nose still.
Why did you go thru the bolt holes and not under the bed side rails like the bed rack they sell, could of made it from 3- 2x4's.
When I was fitting the my flare side bed on & off I used a shipping blanket over the roof and down the rear wall but when I put the bed on for the last time after the fresh paint I did not want the blanket on the paint so was really really careful when I placed the floor on the frame.
I could not pick on the floor like you did even being a style side floor like yours because with out the sides I was afraid it would fold in half.
My floor was on 2x4's on horses so I backed the truck under it and pulled the 2x4's to lower it, I then bolted each side onto the floor.
Dave ----
 05-20-2020, 08:56 AM