When you click on links to various merchants on this site and make a purchase, this can result in this site earning a commission. Affiliate programs and affiliations include, but are not limited to, the eBay Partner Network.
Airbag adds the ability to in increase spring rate, so if your proposing is bouncing then the would be a problem with shocks not spring rate.
expansion joints with a10k deckover towing a truggy. pulls great, smooth etc but squats more than i want and has more bounce using the rear axle as a fulcrum. maybe seesaw is a better term. To the shock idea i have no idea how old these are or brand as they were on the truck when purchased. But empty i dont detect and issues with shocks.
expansion joints with a10k deckover towing a truggy. pulls great, smooth etc but squats more than i want and has more bounce using the rear axle as a fulcrum. maybe seesaw is a better term. To the shock idea i have no idea how old these are or brand as they were on the truck when purchased. But empty i dont detect and issues with shocks.
Let's assume your 10k trailer has 15% tongue weight, that additional 1500 lbs is carried by the suspension and the speed at which the suspension can move is controlled by your shocks. sounds to me like your shocks are not up to the task.
Are you using a WD hitch when towing that deck over and truggy?
no and this trailer never will. Our current camper does and future capers will. The ex sees a variety of trailers so I want a bit more tuneability of spring rate. we have a similar wheelbase truck(reg cab LB) at our business that has had bags and it has make all the difference in sway and bounce and the seesaw with a tag along trailer.
Back to the original question, will the air lift/firestone setup work with b codes since the suspension is higher.
So i have an ex with v/mod B codes. springs. I added 2 of the excursion springs to the B code pack. I am wanting to add airlift air bags to the rear to help with some squat and porpoising. Will the excursion kit still bolt up with the B codes?
If by "excursion kit" you mean the airlift kit, yes...I did the V/Modded B swap and bought the air bags with the internal bump stop and they bolted up just fine.
I run 15lbs when not towing (3rd seat removed but a ~200-300lbs of storage drawers and gear always in the back), and 60lbs when towing (7-10k cargo trailers). I don't get much if any porpoising and when I ramp up to 60lbs, the ball raises about 2" - which gets pulled back down 2" as the trailer tongue sets - so I run level when hooked up.
...and someone else asked about needing longer shocks...with the V/Modded B and using the same factory blocks, I did not replace the shocks from stock...no problems.
****Adding this here for others to see how I did it.****
Finally installed the B code springs I have had in the garage for...well, I can't remember exactly how long. But I've had them for a long while.
I've been around long enough to know that everyone likes pictures around here, so here are some of my days activities.
4 hours to do the job...not counting watching the paint dry. I was able to knock it out quick, because I spend a lot of my spare time at a local salvage yard pulling axles and other Super Duty parts as a hobby. It is my therapy for my job (so my wife says).
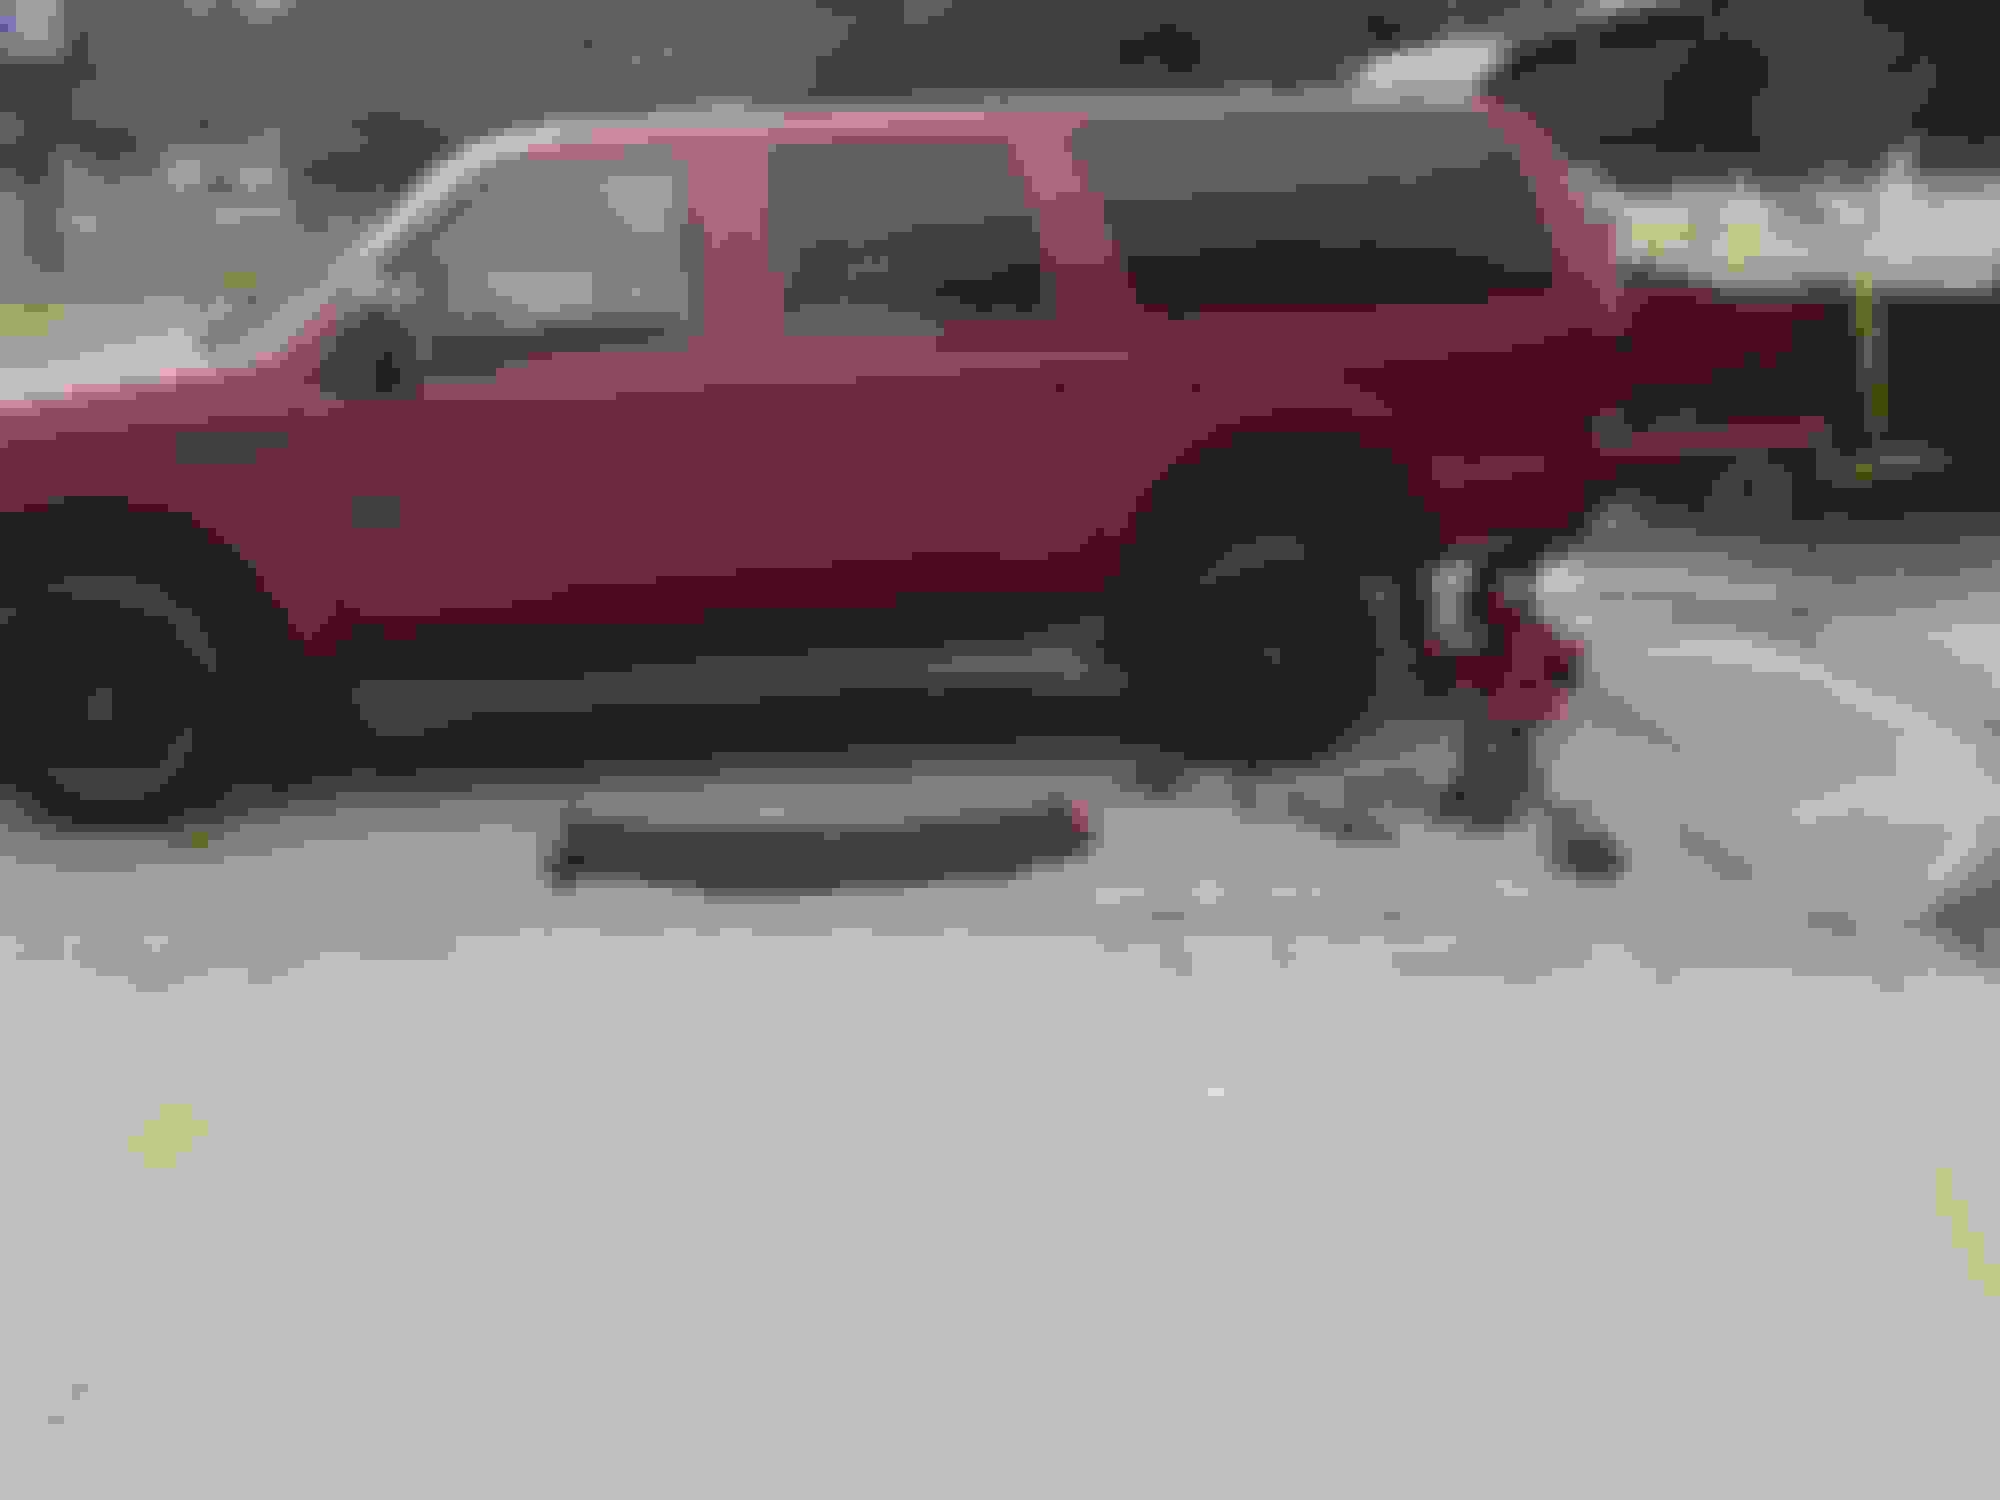
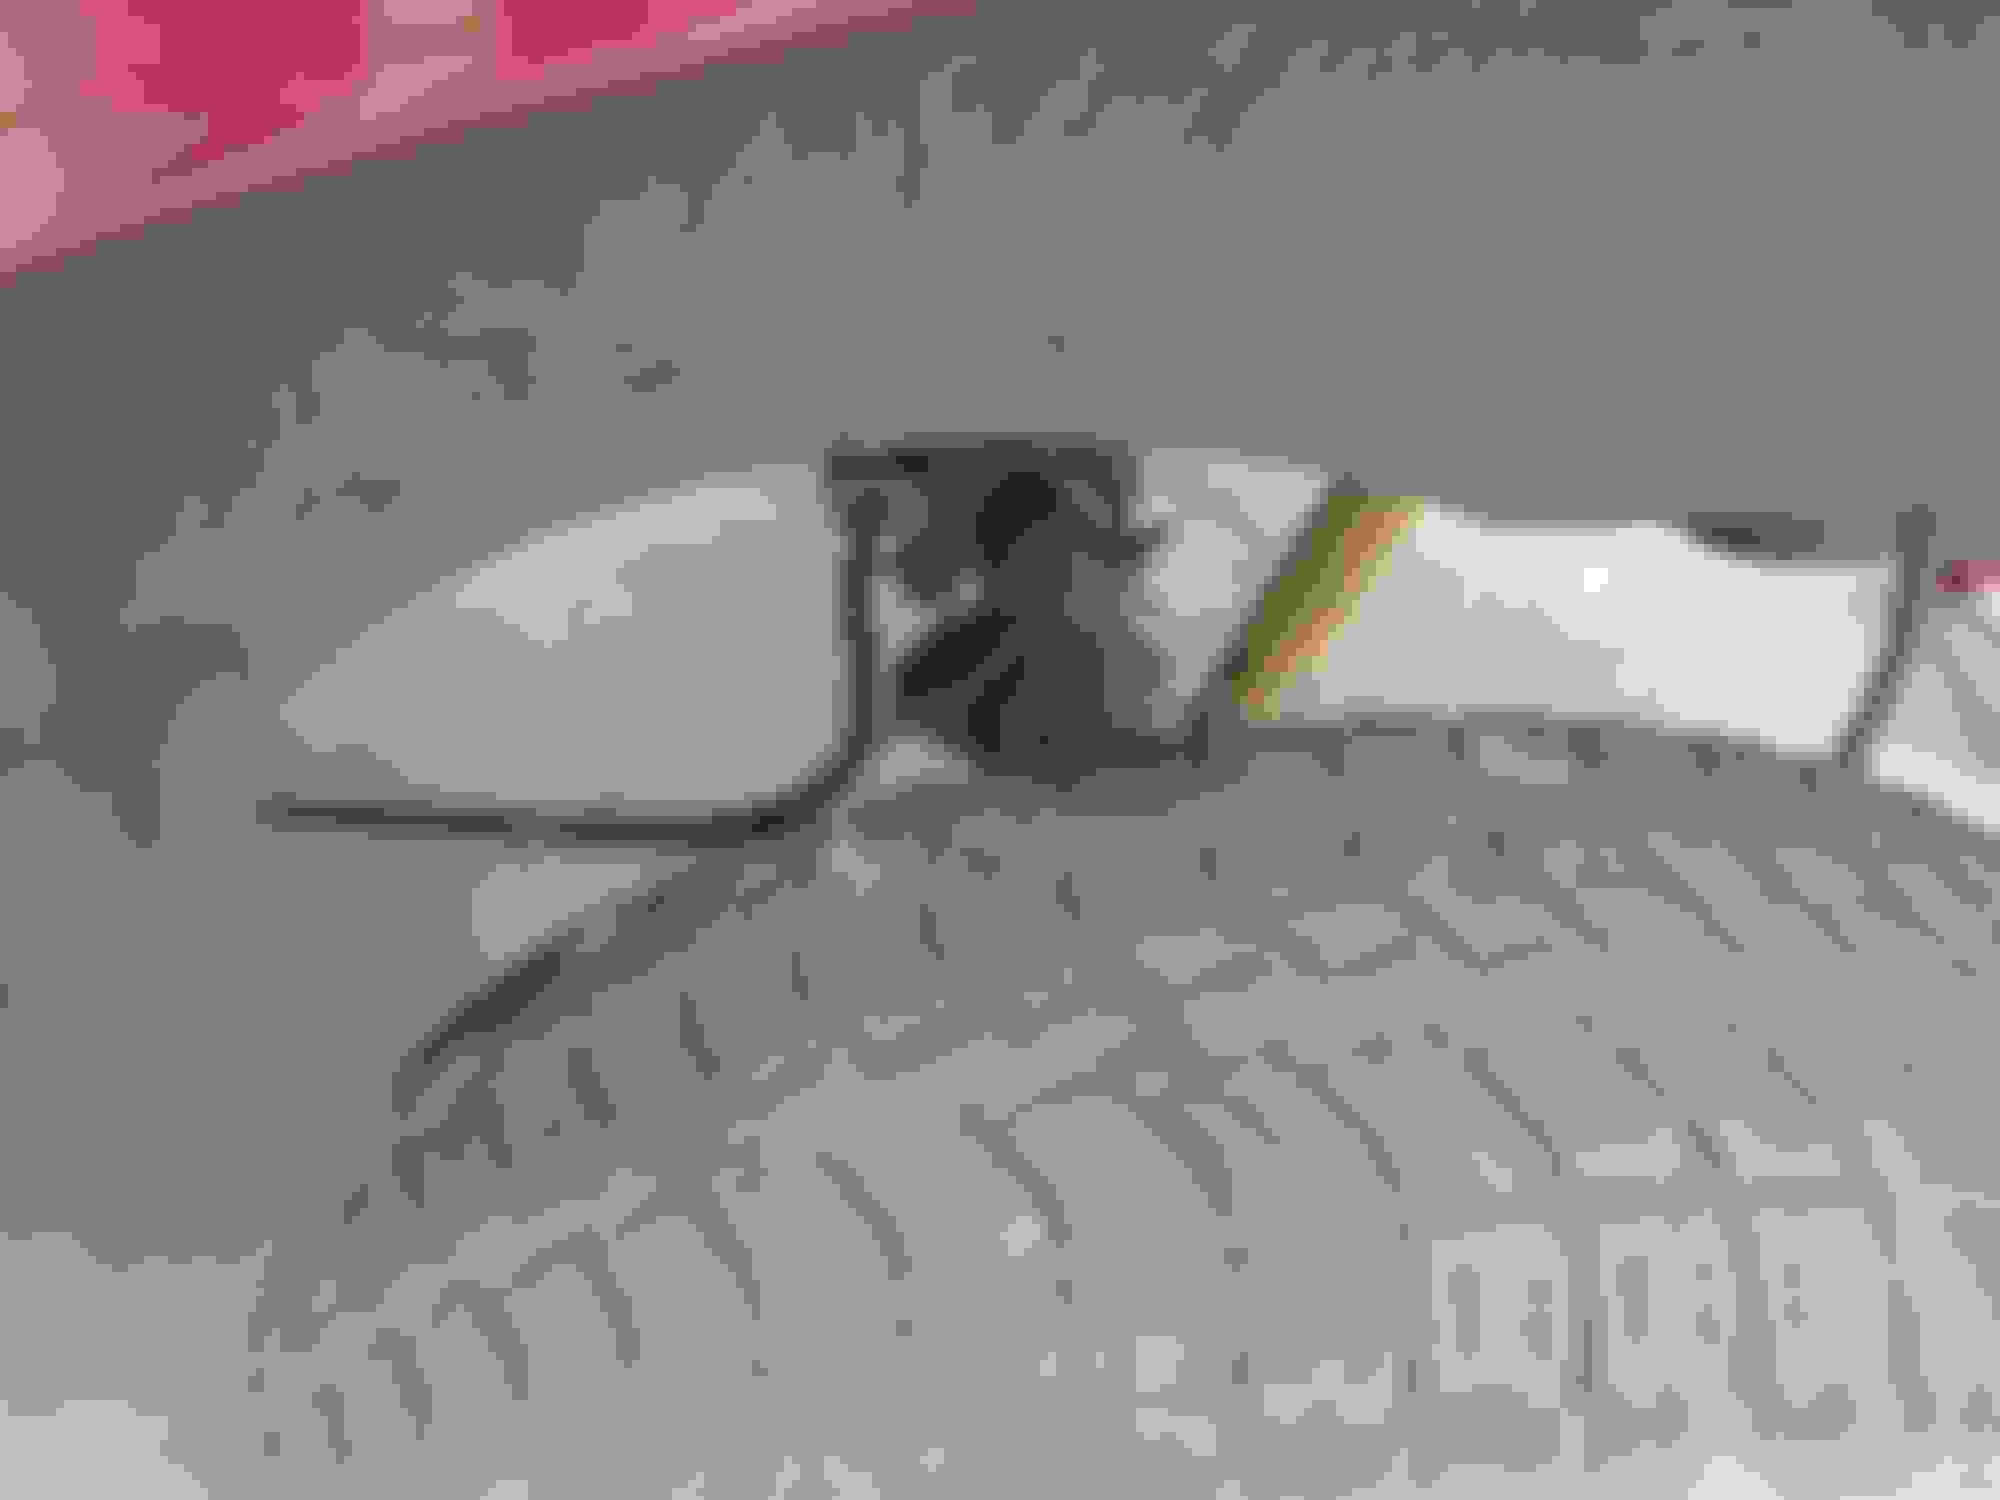
Driver's side out. I didn't remove the wheels. No need to. I also didn't use the second jack and jack stands. Just used the one jack and two big jack stands under the hitch frame.
Old spring on top, new-to-me spring on bottom with new bushings.
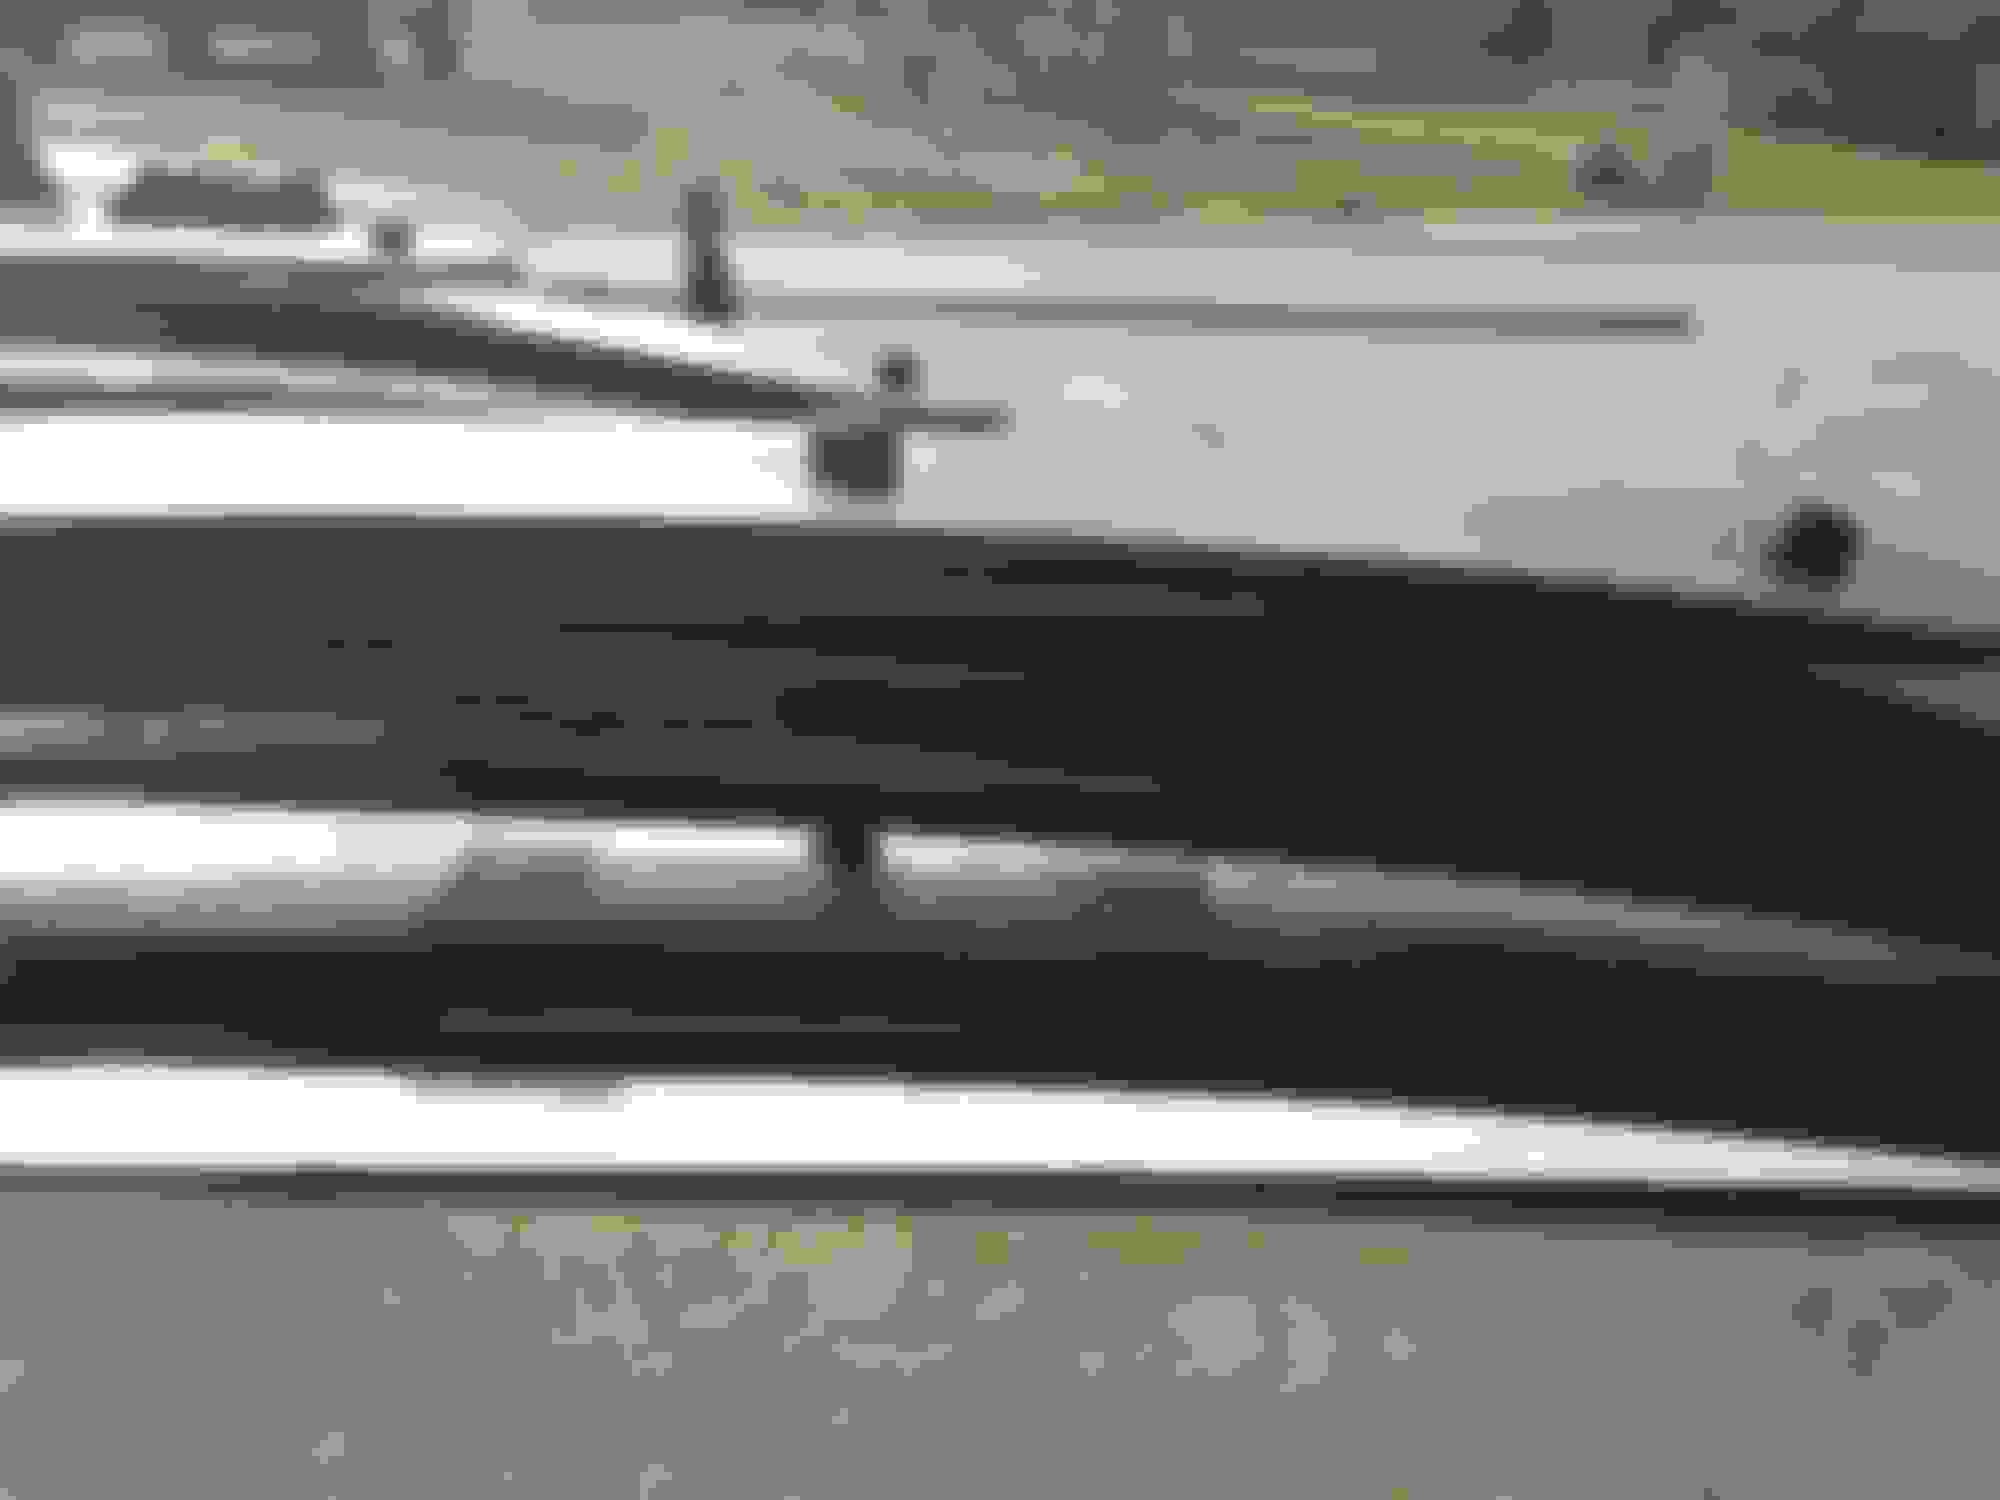
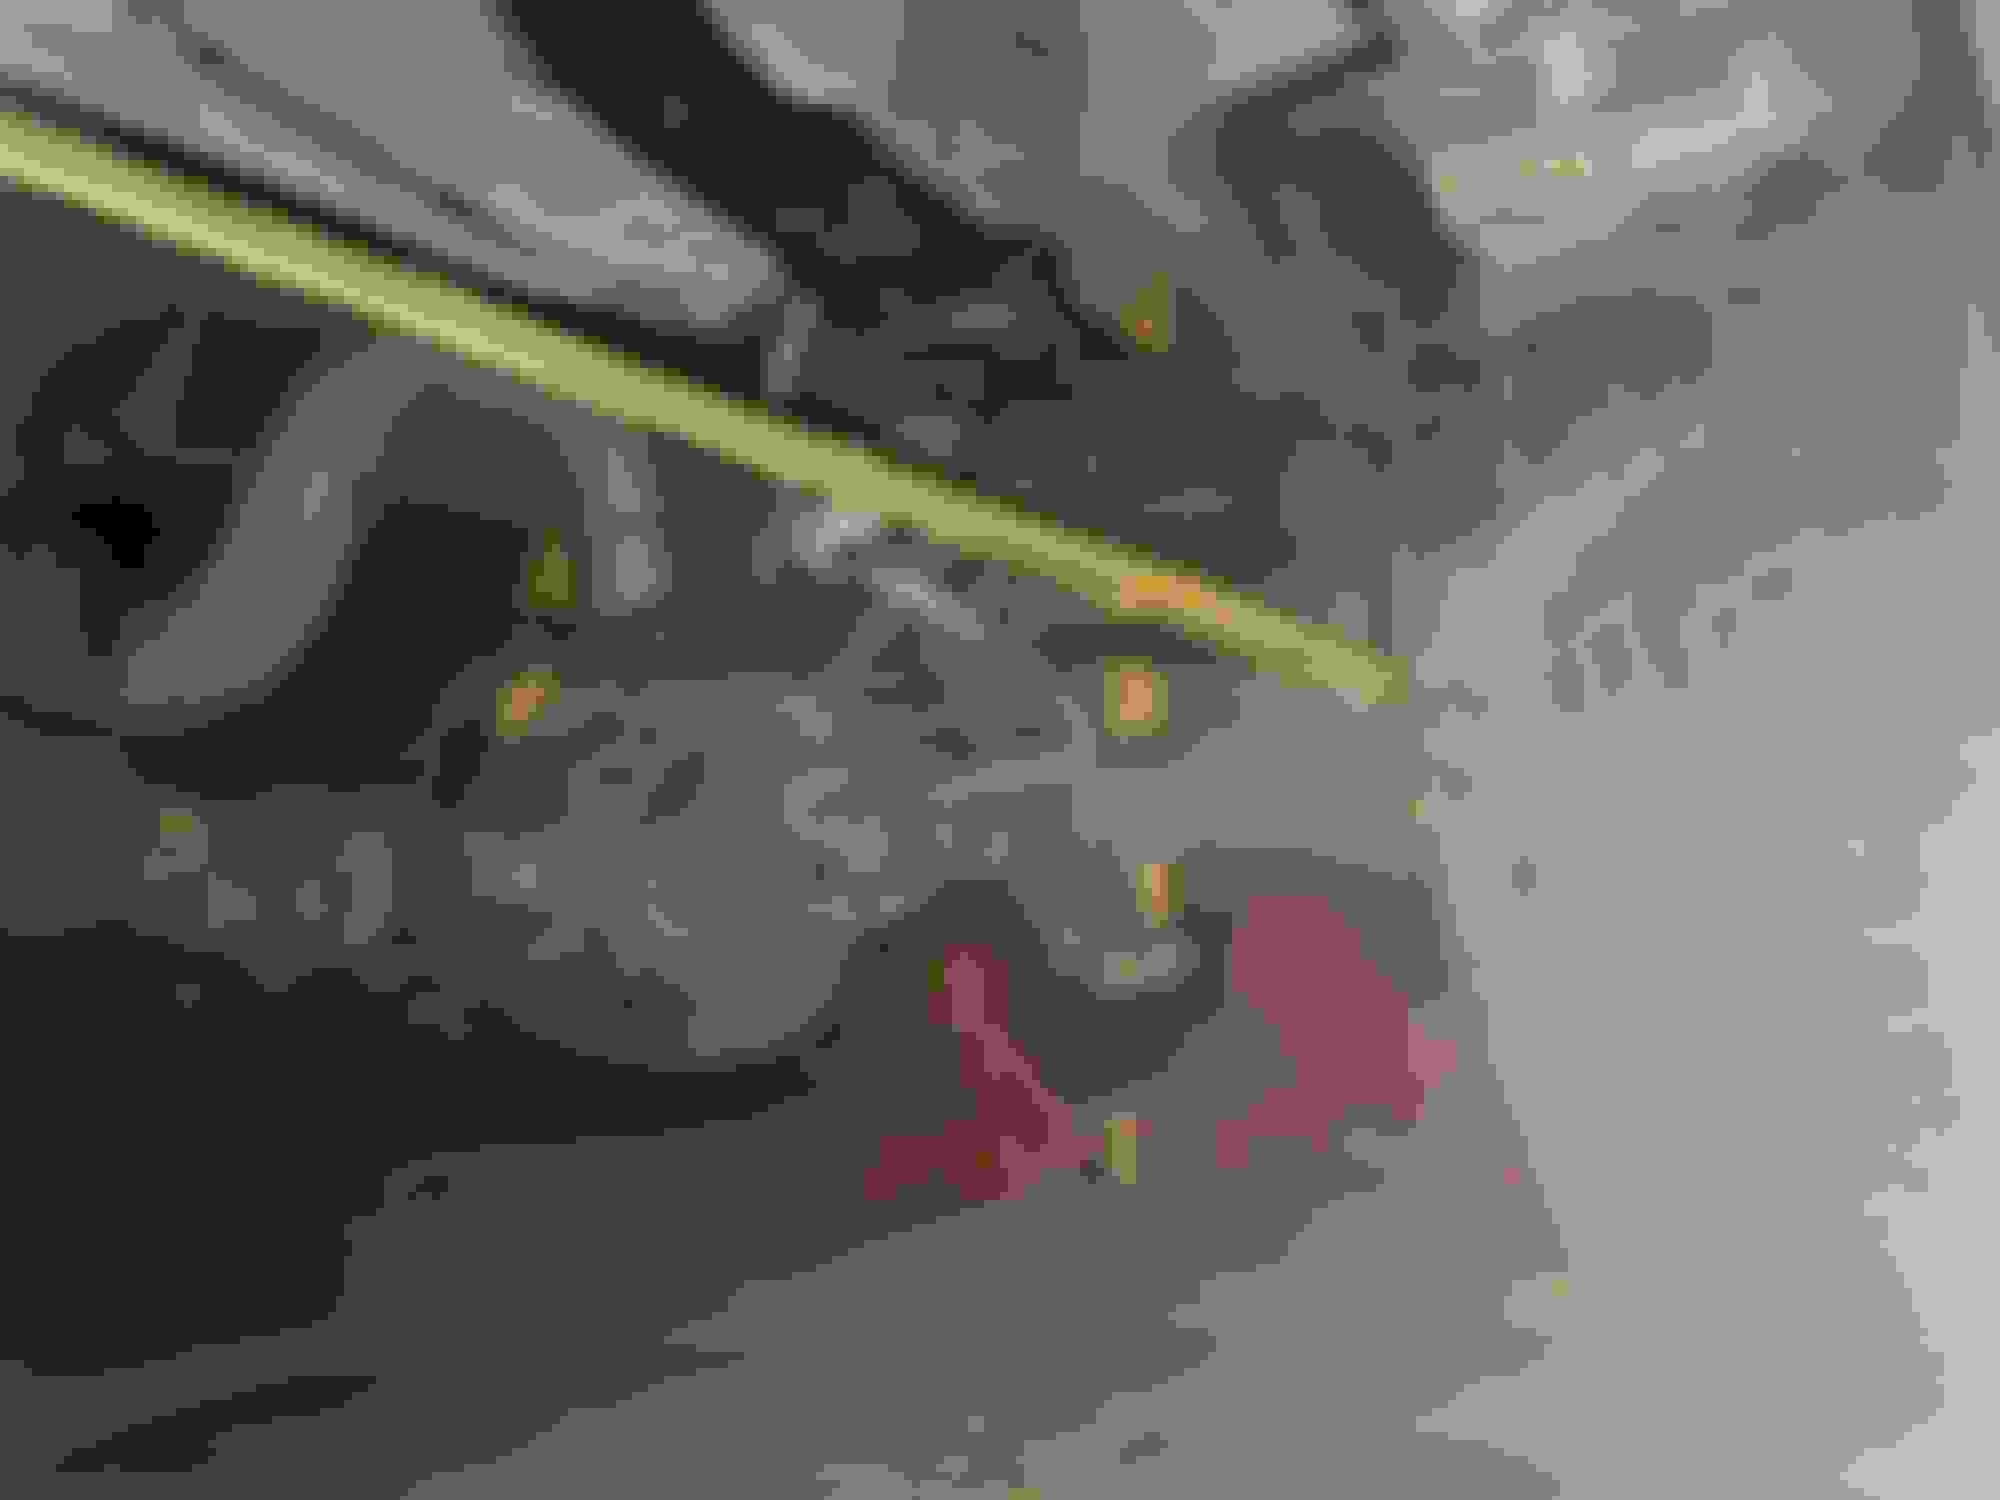
Axle is held in place by shocks and driveshaft. Make sure to chock the front and rear tires ON BOTH SIDES OF EACH OF THE WHEELS. This will keep everything very close to where it needs to be when you go to re-install. You will have to jack the truck up a bit higher to get the mod B springs under there.
Deconstruction of the old and new to make a frankenstein (mod B) spring.
Painting all the relevant parts that will go into the mod B springs. Check the dry time on your paint before you buy it...I got stuck with some long dry times because I didn't.
Knocking off the rust on the B codes before painting.
Assembling my frankenstein springs. Freshly painted.
side view of alignment process.
I only used the C clamp to compress for final assembly. I did not use any on disassembly. I just spun the nut off the center pin and let it all come apart since I was painting everything.
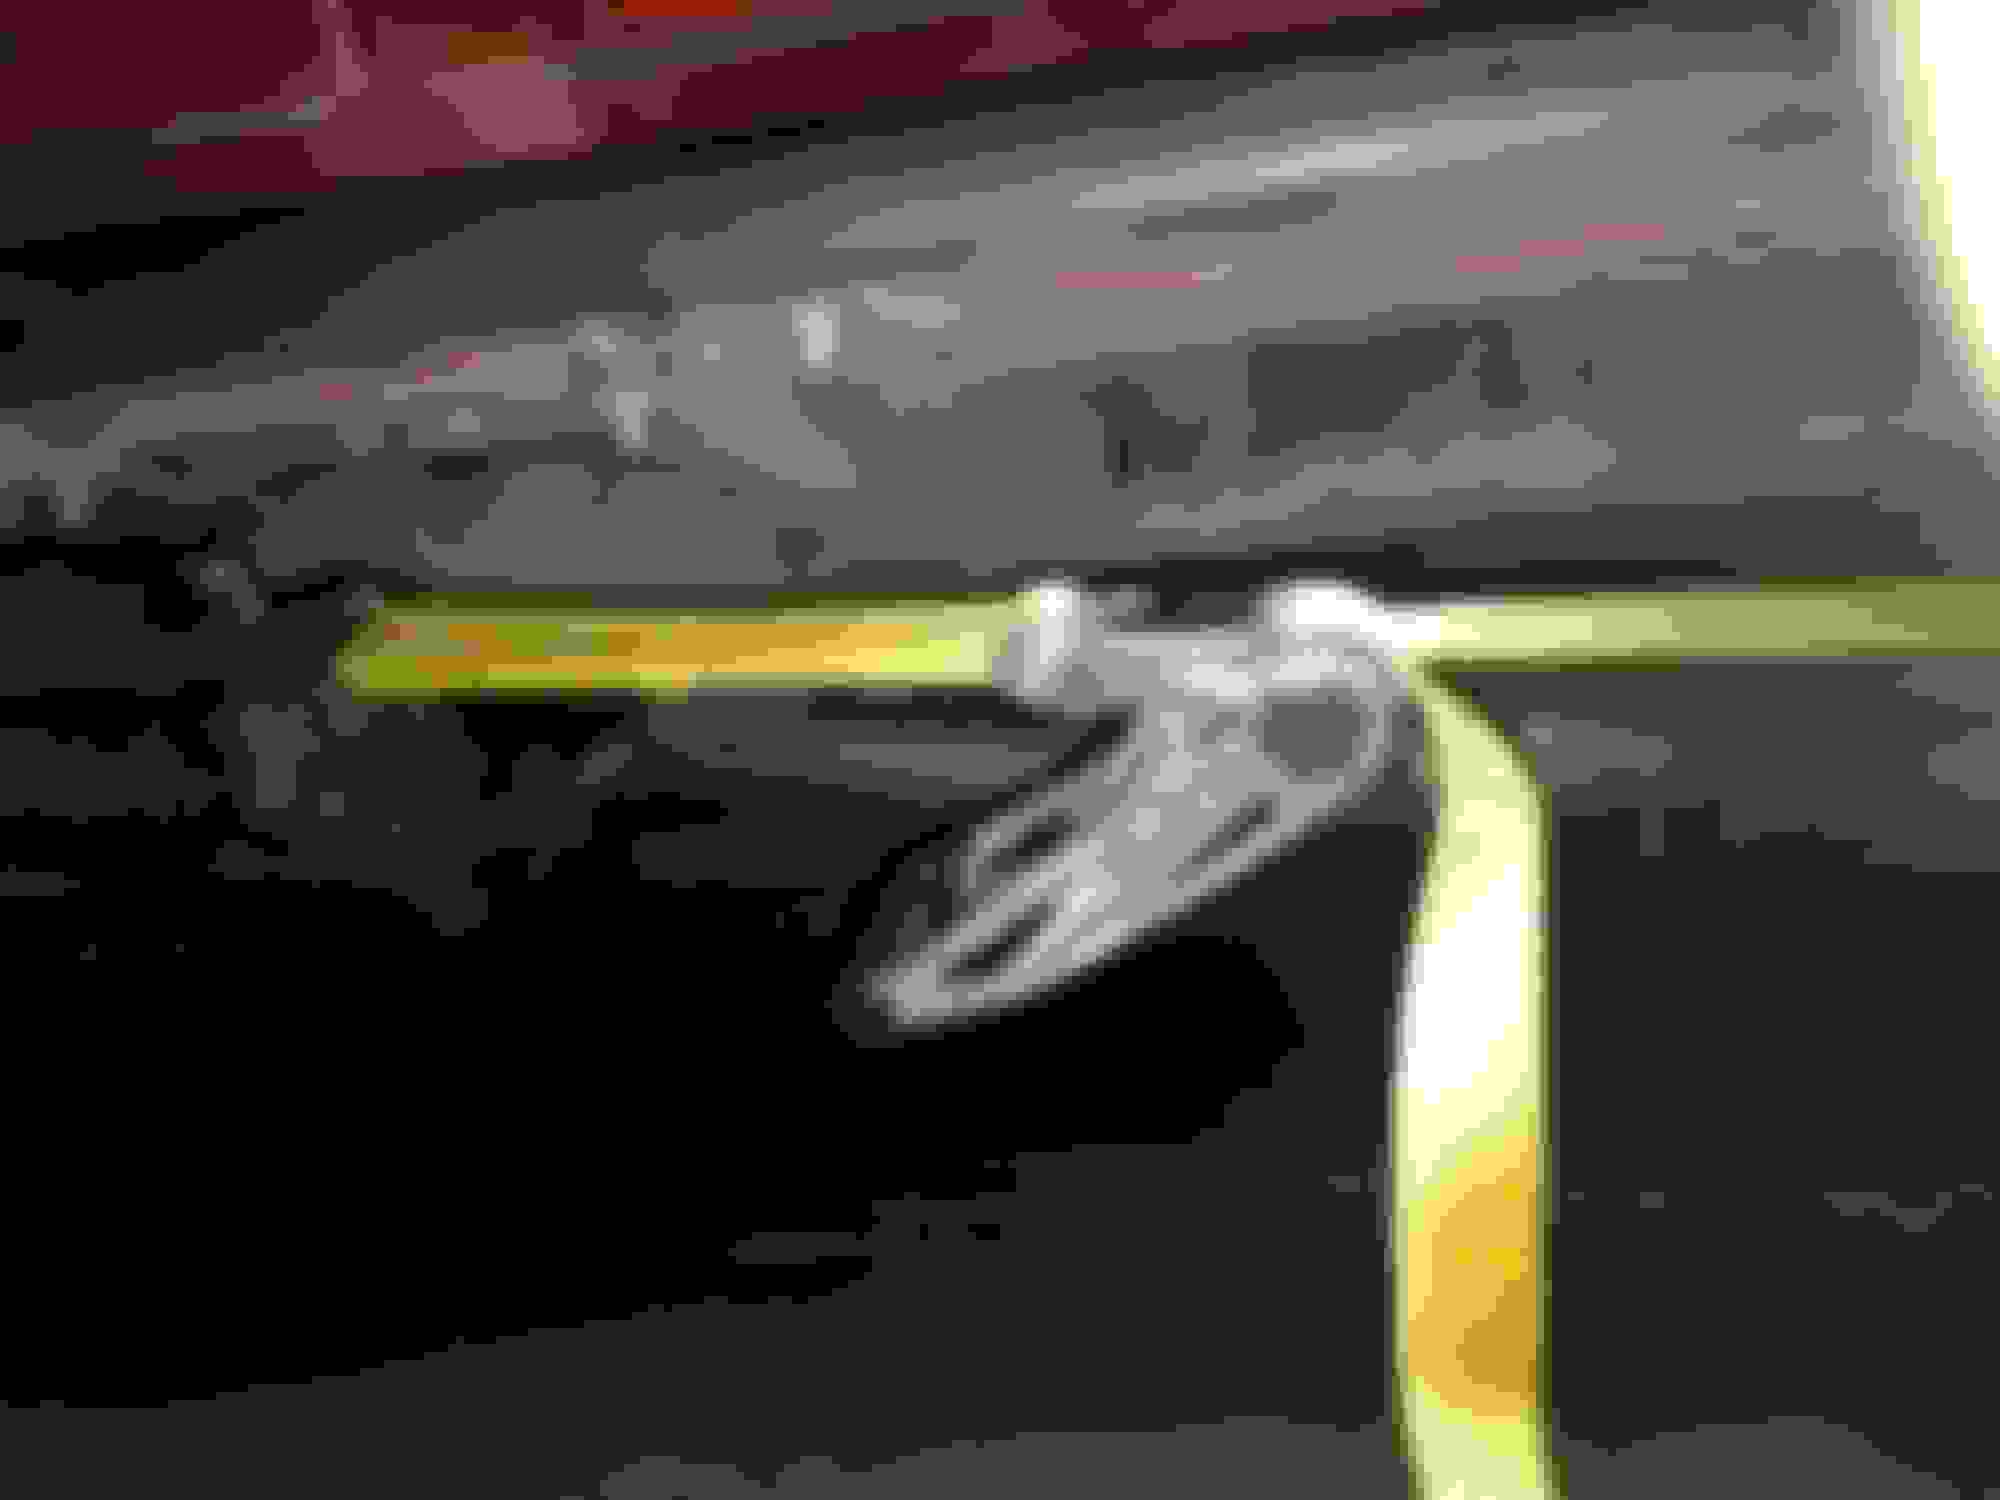
I used one jack, two big jack stands under the hitch frame, and one ratchet strap to pull the axle where I needed it to line it up. That's it. You don't need a bunch of jacks and jack stands all over. Super simple this way with the tires on.
I also re-used my u-bolts, nuts and centering pin for the spring pack. I am lucky to live in a rust free area, and there was nothing wrong with my old parts. They fit just fine on the new mod B spring pack. I know I am not supposed to re-use the old ones, but I am going to be putting 05+ axles under this thing in the very near future, and I ain't buying new hardware until then.
From center of tire to the top of the wheel well is now 26" on our X. Gained 2 inches like everyone else. Now it is even easier to crawl up under this thing to work on it!
****Adding this here for others to see how I did it.****
Finally installed the B code springs I have had in the garage for...well, I can't remember exactly how long. But I've had them for a long while.
I've been around long enough to know that everyone likes pictures around here, so here are some of my days activities.
4 hours to do the job...not counting watching the paint dry. I was able to knock it out quick, because I spend a lot of my spare time at a local salvage yard pulling axles and other Super Duty parts as a hobby. It is my therapy for my job (so my wife says).
Driver's side out. I didn't remove the wheels. No need to. I also didn't use the second jack and jack stands. Just used the one jack and two big jack stands under the hitch frame.
Old spring on top, new-to-me spring on bottom with new bushings.
Axle is held in place by shocks and driveshaft. Make sure to chock the front and rear tires ON BOTH SIDES OF EACH OF THE WHEELS. This will keep everything very close to where it needs to be when you go to re-install. You will have to jack the truck up a bit higher to get the mod B springs under there.
Deconstruction of the old and new to make a frankenstein (mod B) spring.
Painting all the relevant parts that will go into the mod B springs. Check the dry time on your paint before you buy it...I got stuck with some long dry times because I didn't.
Knocking off the rust on the B codes before painting.
Assembling my frankenstein springs. Freshly painted.
side view of alignment process.
I only used the C clamp to compress for final assembly. I did not use any on disassembly. I just spun the nut off the center pin and let it all come apart since I was painting everything.
I used one jack, two big jack stands under the hitch frame, and one ratchet strap to pull the axle where I needed it to line it up. That's it. You don't need a bunch of jacks and jack stands all over. Super simple this way with the tires on.
I also re-used my u-bolts, nuts and centering pin for the spring pack. I am lucky to live in a rust free area, and there was nothing wrong with my old parts. They fit just fine on the new mod B spring pack. I know I am not supposed to re-use the old ones, but I am going to be putting 05+ axles under this thing in the very near future, and I ain't buying new hardware until then.
From center of tire to the top of the wheel well is now 26" on our X. Gained 2 inches like everyone else. Now it is even easier to crawl up under this thing to work on it!
Gonna add some reaction/impression to my recent upgrade:
I did the V codes and rear sway bar about 5 years ago. Also replaced the bushings on the front sway bar and completely rebuilt the front end at the same time. Shortly after that, the hub bearings went out, and I replaced those, too. So, I had no wander to speak of before this past weekend after all the work/mods I have done to it. I have had other Excursion owner/friends of mine drive my truck, and they couldn't believe how different it was from the "water bed" handling in their Excursions. One friend has a 2000 X his wife won't drive because of the "water bed" handling characteristics. She is terrified of it.
Fast forward to this past weekend. I really thought I would not see much difference in handling after doing the rear springs (considering all the other work done). I have been very happy with the results of the other "pieces of the puzzle" I did 5 years ago. The truck drove straight and true with no wander. I have now driven it 2 days since swapping out the rear springs for the mod B's, and I gotta say it is very different with the mod B's back there! Bumps, turns and the steering wheel all have a different/better feel to them! I have read other folks happy impressions after the mod B's in the past, but I am taken aback how this by itself makes a huge difference in handling and ride!
What a fool I was to keep those springs in my garage for so long without installing them...
Just out OD curiosity, what torque numbers do your sheets say?
Robert_I_Ross, came across your original post here from years ago and realized you�re in the Sacramento area. I am as well and will be sourcing my springs soon from the Rancho truck dismantler per your recommendation, wondering what local spring shop you used for your u bolts and center pins? I�ve been unable to find one around who will sell me correct sizes. Thanks!
Robert_I_Ross, came across your original post here from years ago and realized you’re in the Sacramento area. I am as well and will be sourcing my springs soon from the Rancho truck dismantler per your recommendation, wondering what local spring shop you used for your u bolts and center pins? I’ve been unable to find one around who will sell me correct sizes. Thanks!
If you have a hard time finding them locally, I got mine from Cary at CT Performance. He's the one that came up with the idea for the modified B Codes.
This Hennessey Takes the Expedition Tremor's Off-Roading Capability to the Next Level
Slideshow: The VelociRaptor Expedition gains a lift, upgraded suspension, Brembo brakes, and trail-ready equipment while retaining the stock 440-horsepower EcoBoost V6.
Rezvani's Latest Post-Apocalyptic Monster Is a Ford F-150 Raptor Underneath
Slideshow: Called the Fortress, the 850-horsepower pickup combines Raptor underpinnings with military-inspired features, survival equipment, and a starting price of $285,000.


")