When you click on links to various merchants on this site and make a purchase, this can result in this site earning a commission. Affiliate programs and affiliations include, but are not limited to, the eBay Partner Network.
I have added several photos to the previous posts. Read through them again if you want to see the additional info (if you already read through the thread prior to this post).
Also, I spent several hours today at the Gold Mine researching the nuances of the 08-10 gear box enigma. Pics and commentary to come. Many of you are going to like what I discovered.
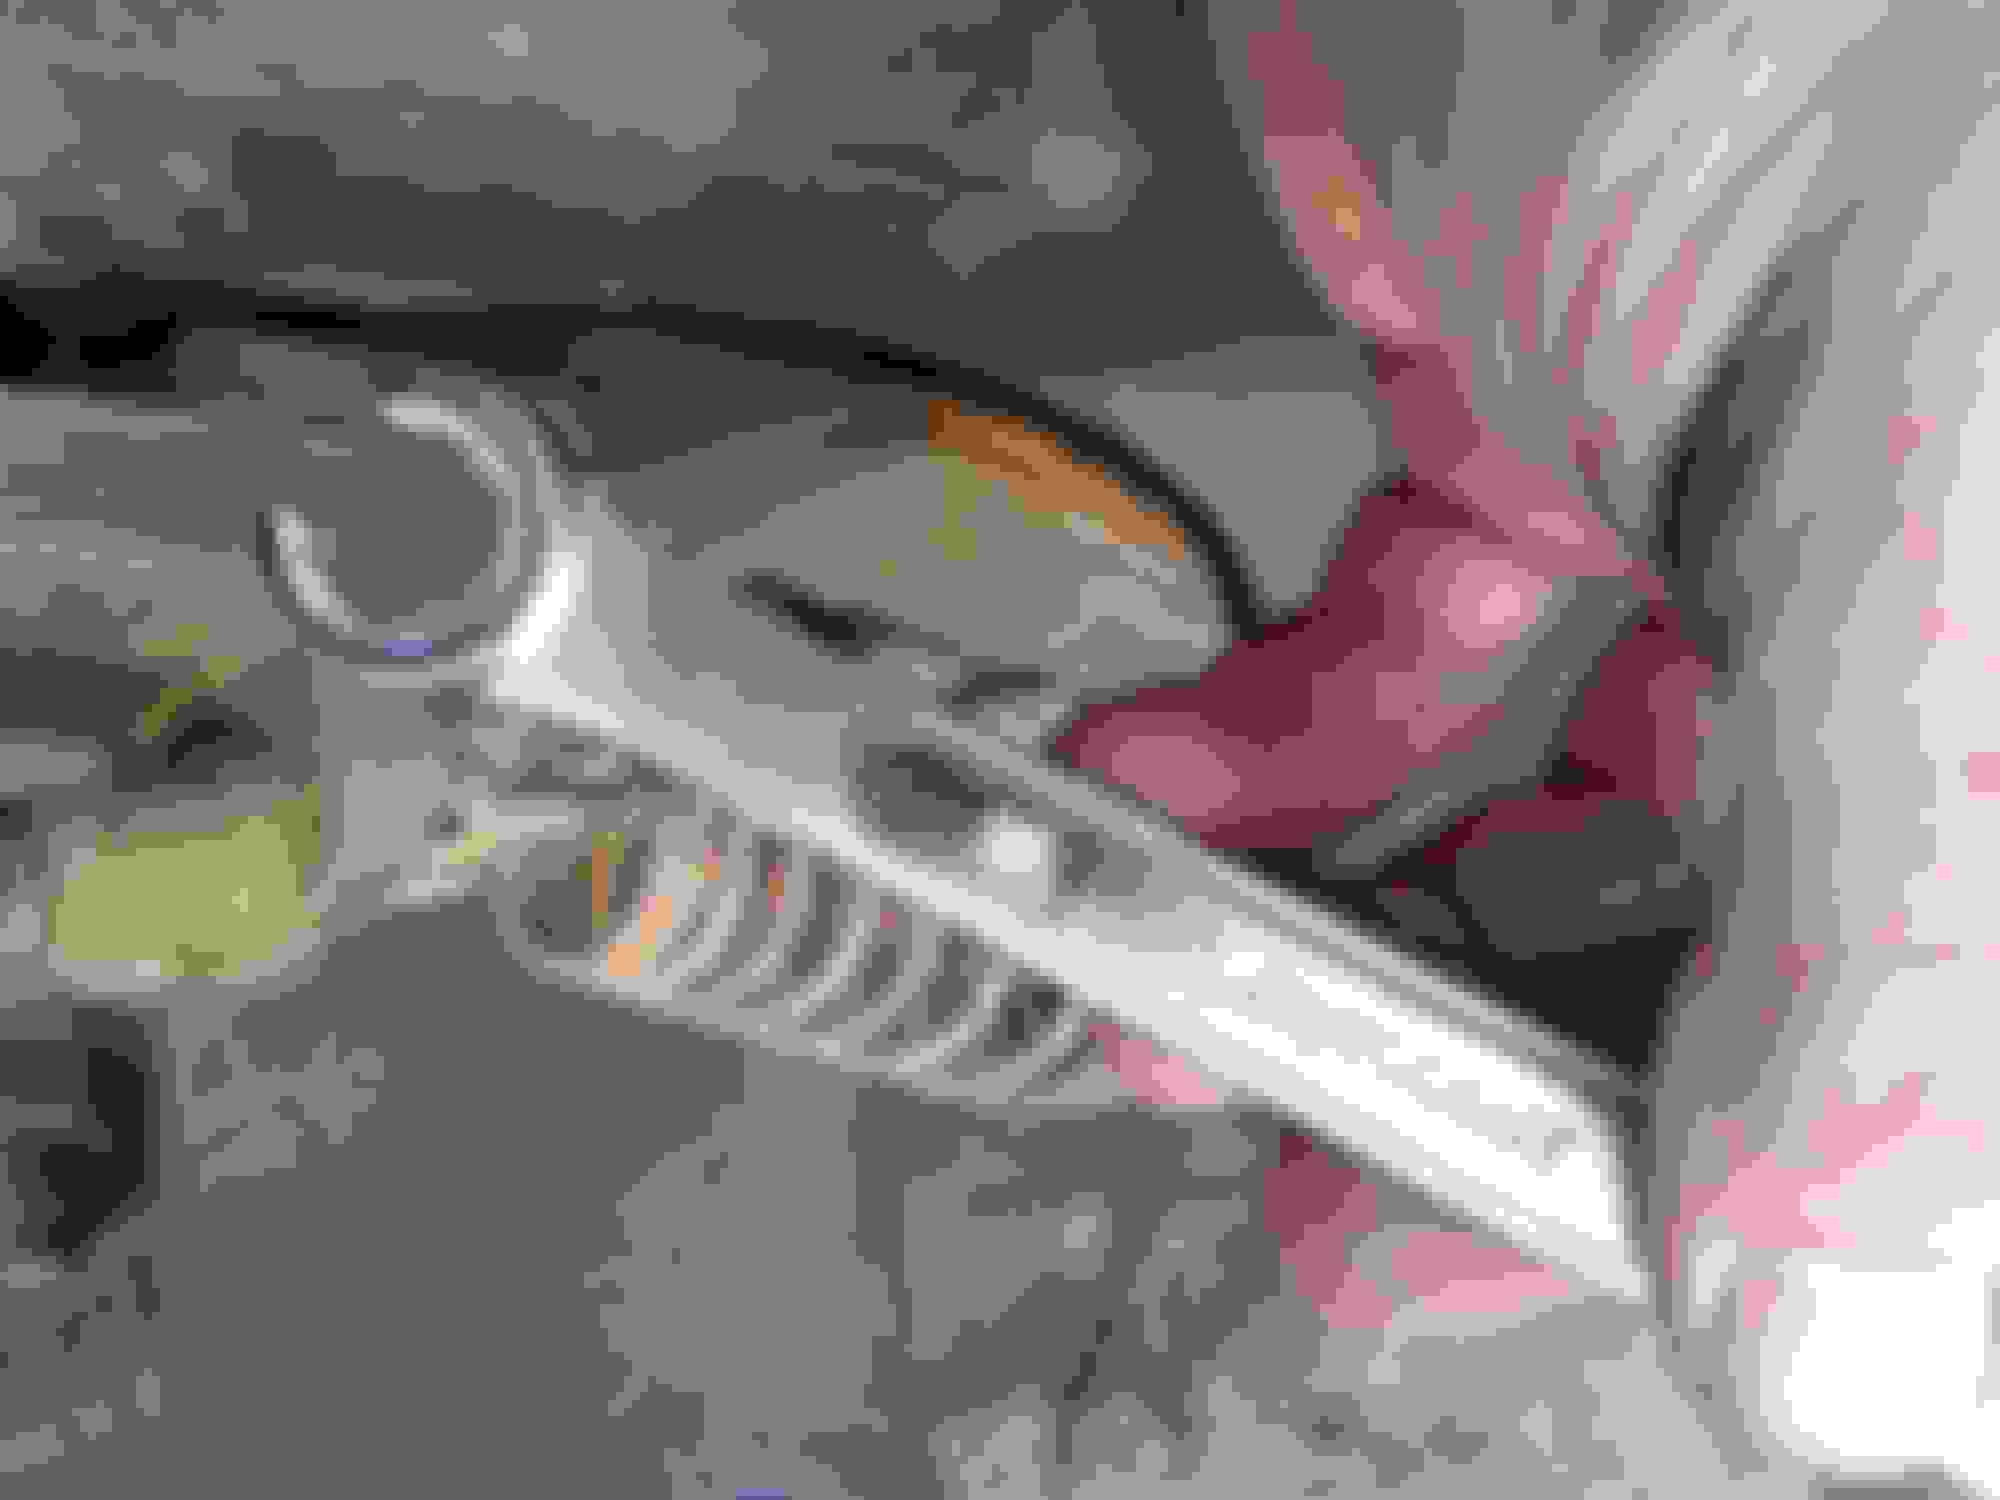
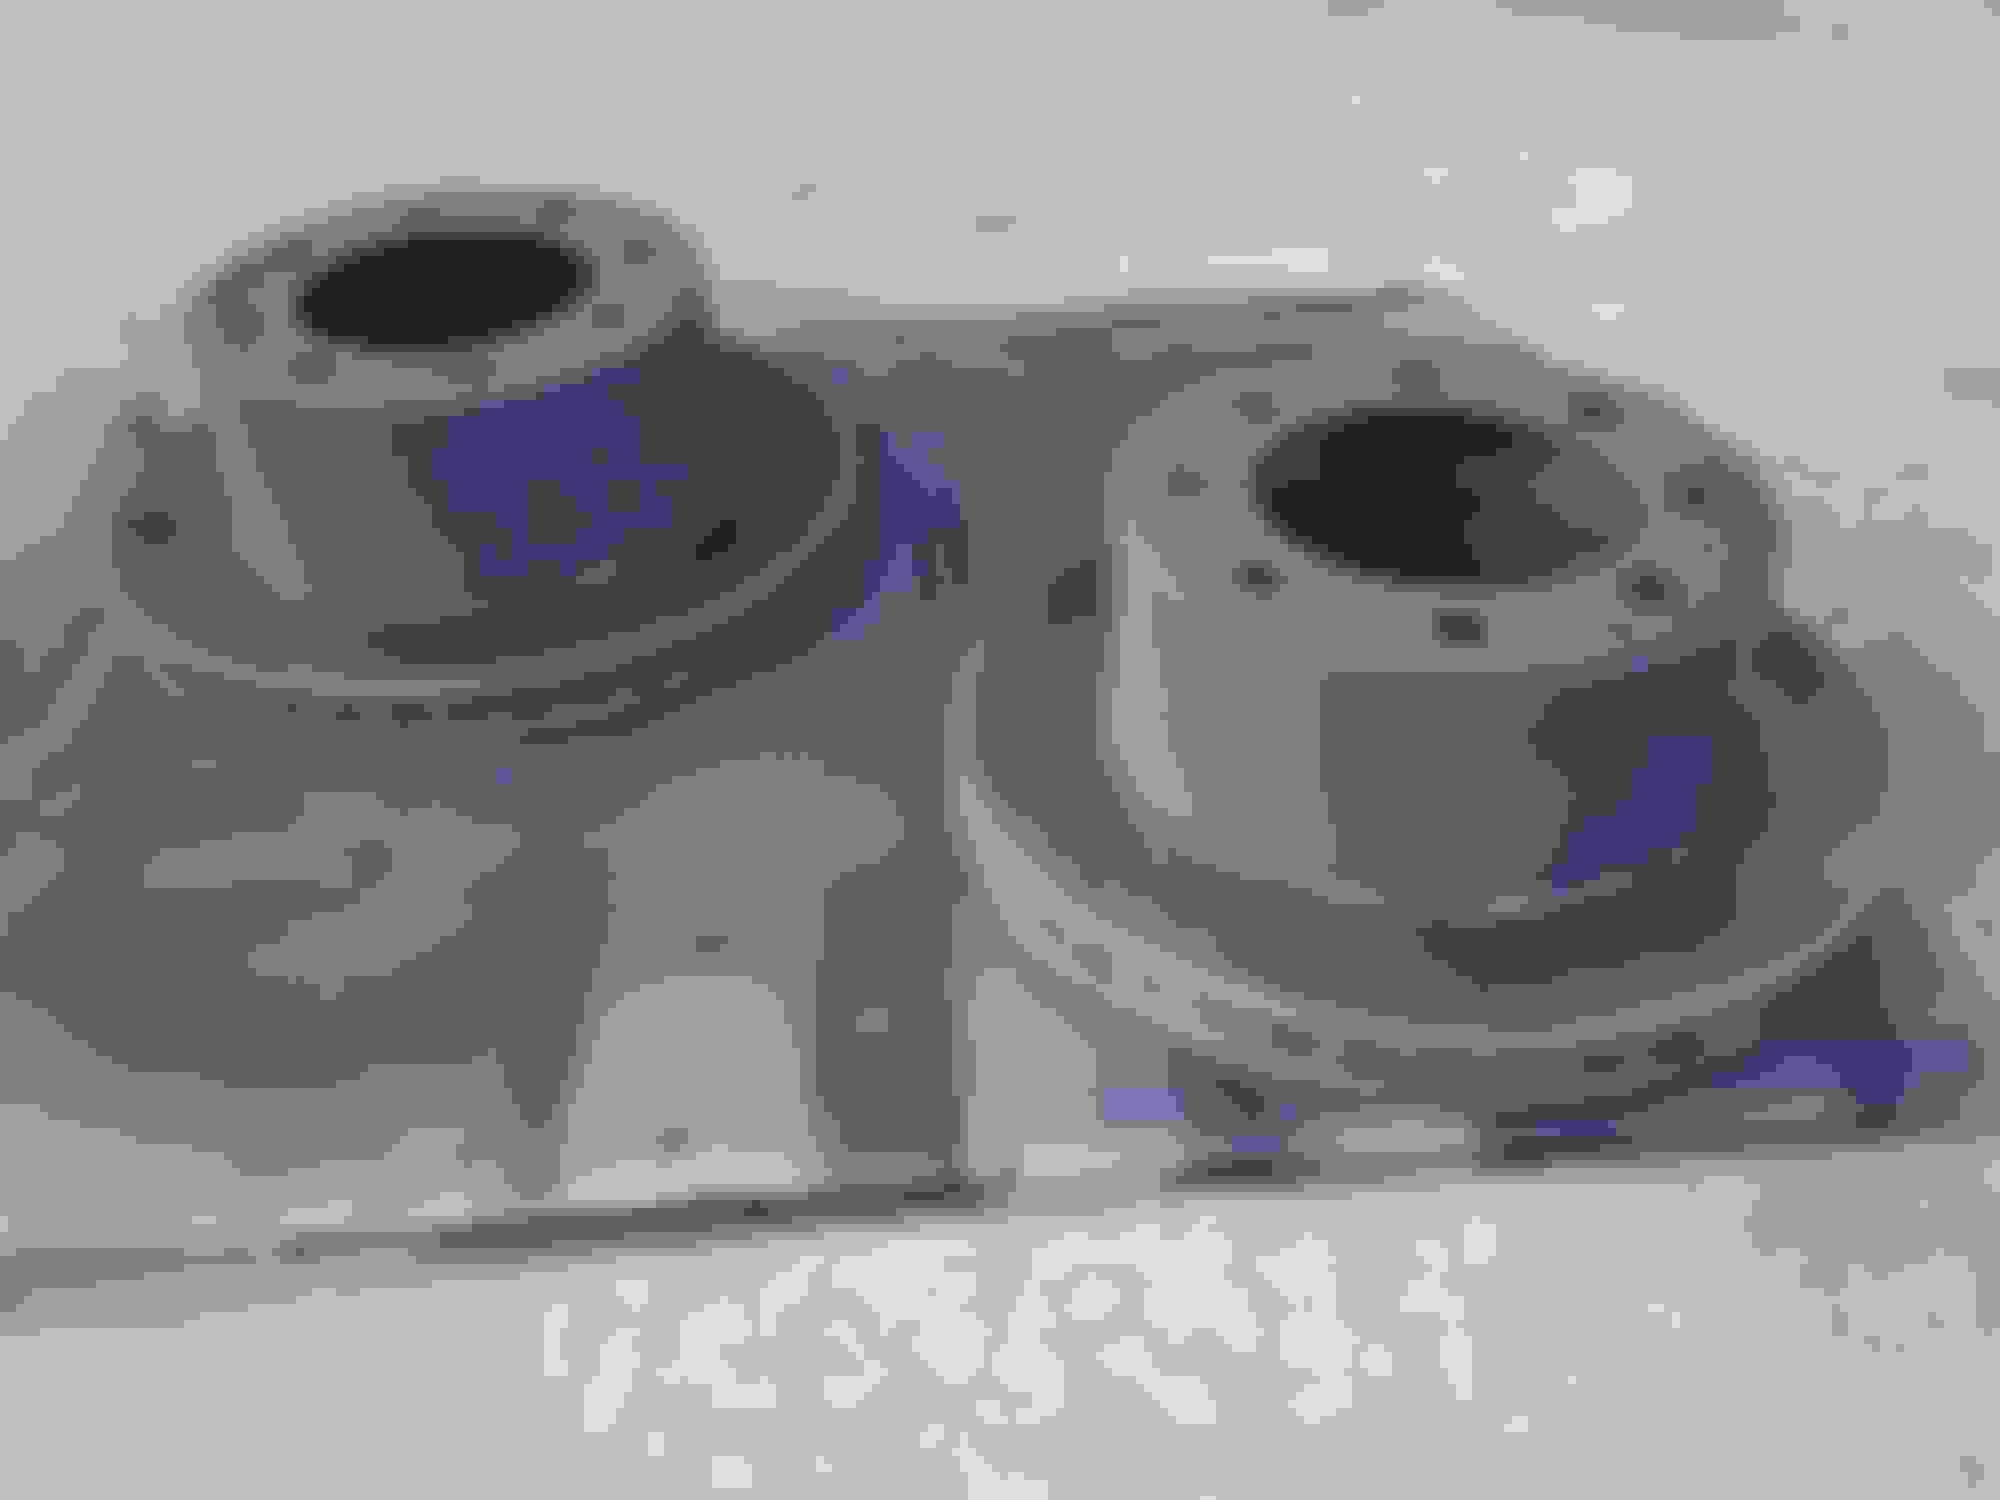
Input shaft on a very early '08 (01/07). Notice the teeth are identical to the '05-'07 boxes. Actually, the whole thing is identical.
Here is an 08 gearbox as well (06/07 build date). Notice the input shaft design. No teeth. Two flats and the key bolt.
Here is the steering wheel shaft that attaches to the later '08 gearboxes. Shaped like a pear with flats on opposite sides.
Now, what I found is:
- the '08-'10 steering gear bolts to the frame on your Excursion just fine. Same bolt pattern. Pitman arm is the same as '05-'07.
- the very early '08 steering gears will work as a drop in on an 05+ axle swap.
- the later gearboxes will work as well, BUT you have to grab the the steering wheel shaft with it. You will have to go under the dash, pull the key bolt on the other end that attaches to the steering column, and then pull it out through the rubber boot into the engine compartment.
So, in conclusion to the above, most '08-'10 front axles will bolt right in if you get the steering shaft from the column to the newer gear box. The front sway bar is still up in the air, though. I ran out of time to look into that part, and it really is the only other issue to investigate.
Switching to an '08-'10 rear axle guarantees you will have to have an inch or two taken off the rear driveshaft of your Excursion. This is an extra expense and makes your truck a one-off if you ever need a replacement driveshaft.
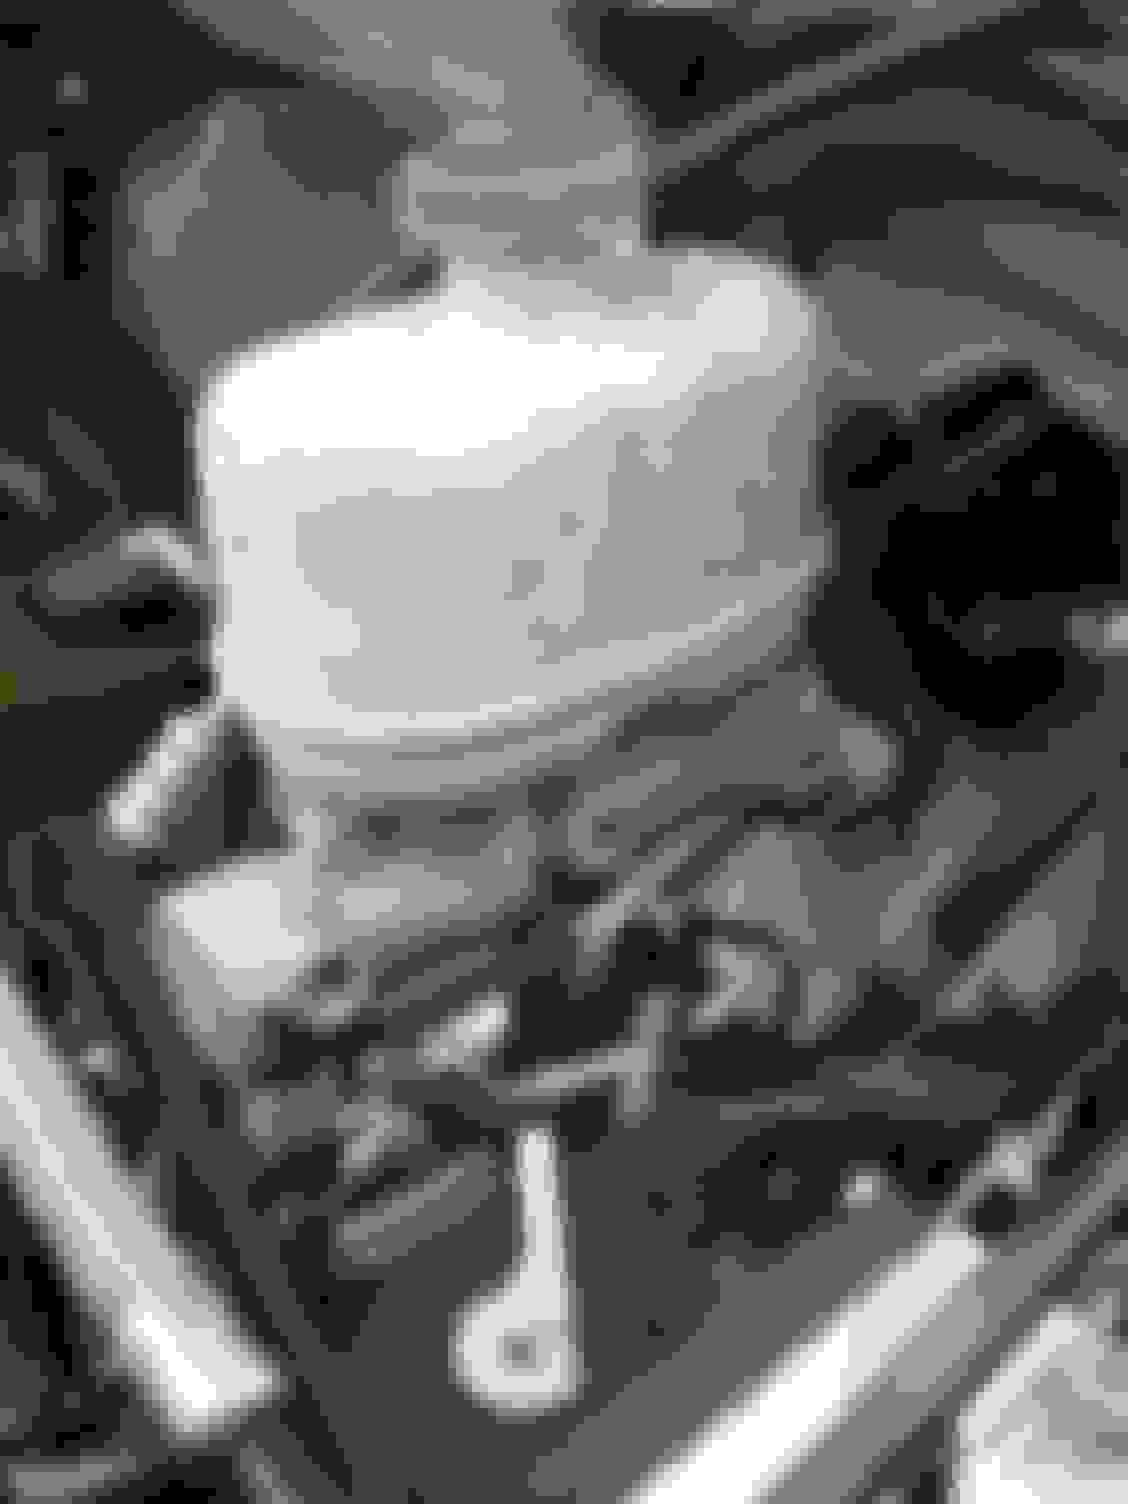
I picked up the '07 Brake master cylinder off the donor truck.
Brake lines mount on the opposite side as a 99-04. That will be fun...
Two switches/sensors on bottom instead of one. The extra is probably the one Misky brought up for the trailer brake booster.
Side view
Reservoir sensor plug is also on opposite side as 99-04, but I think it can be flipped around. The reservoir is also twice the size as the 99-04 units.
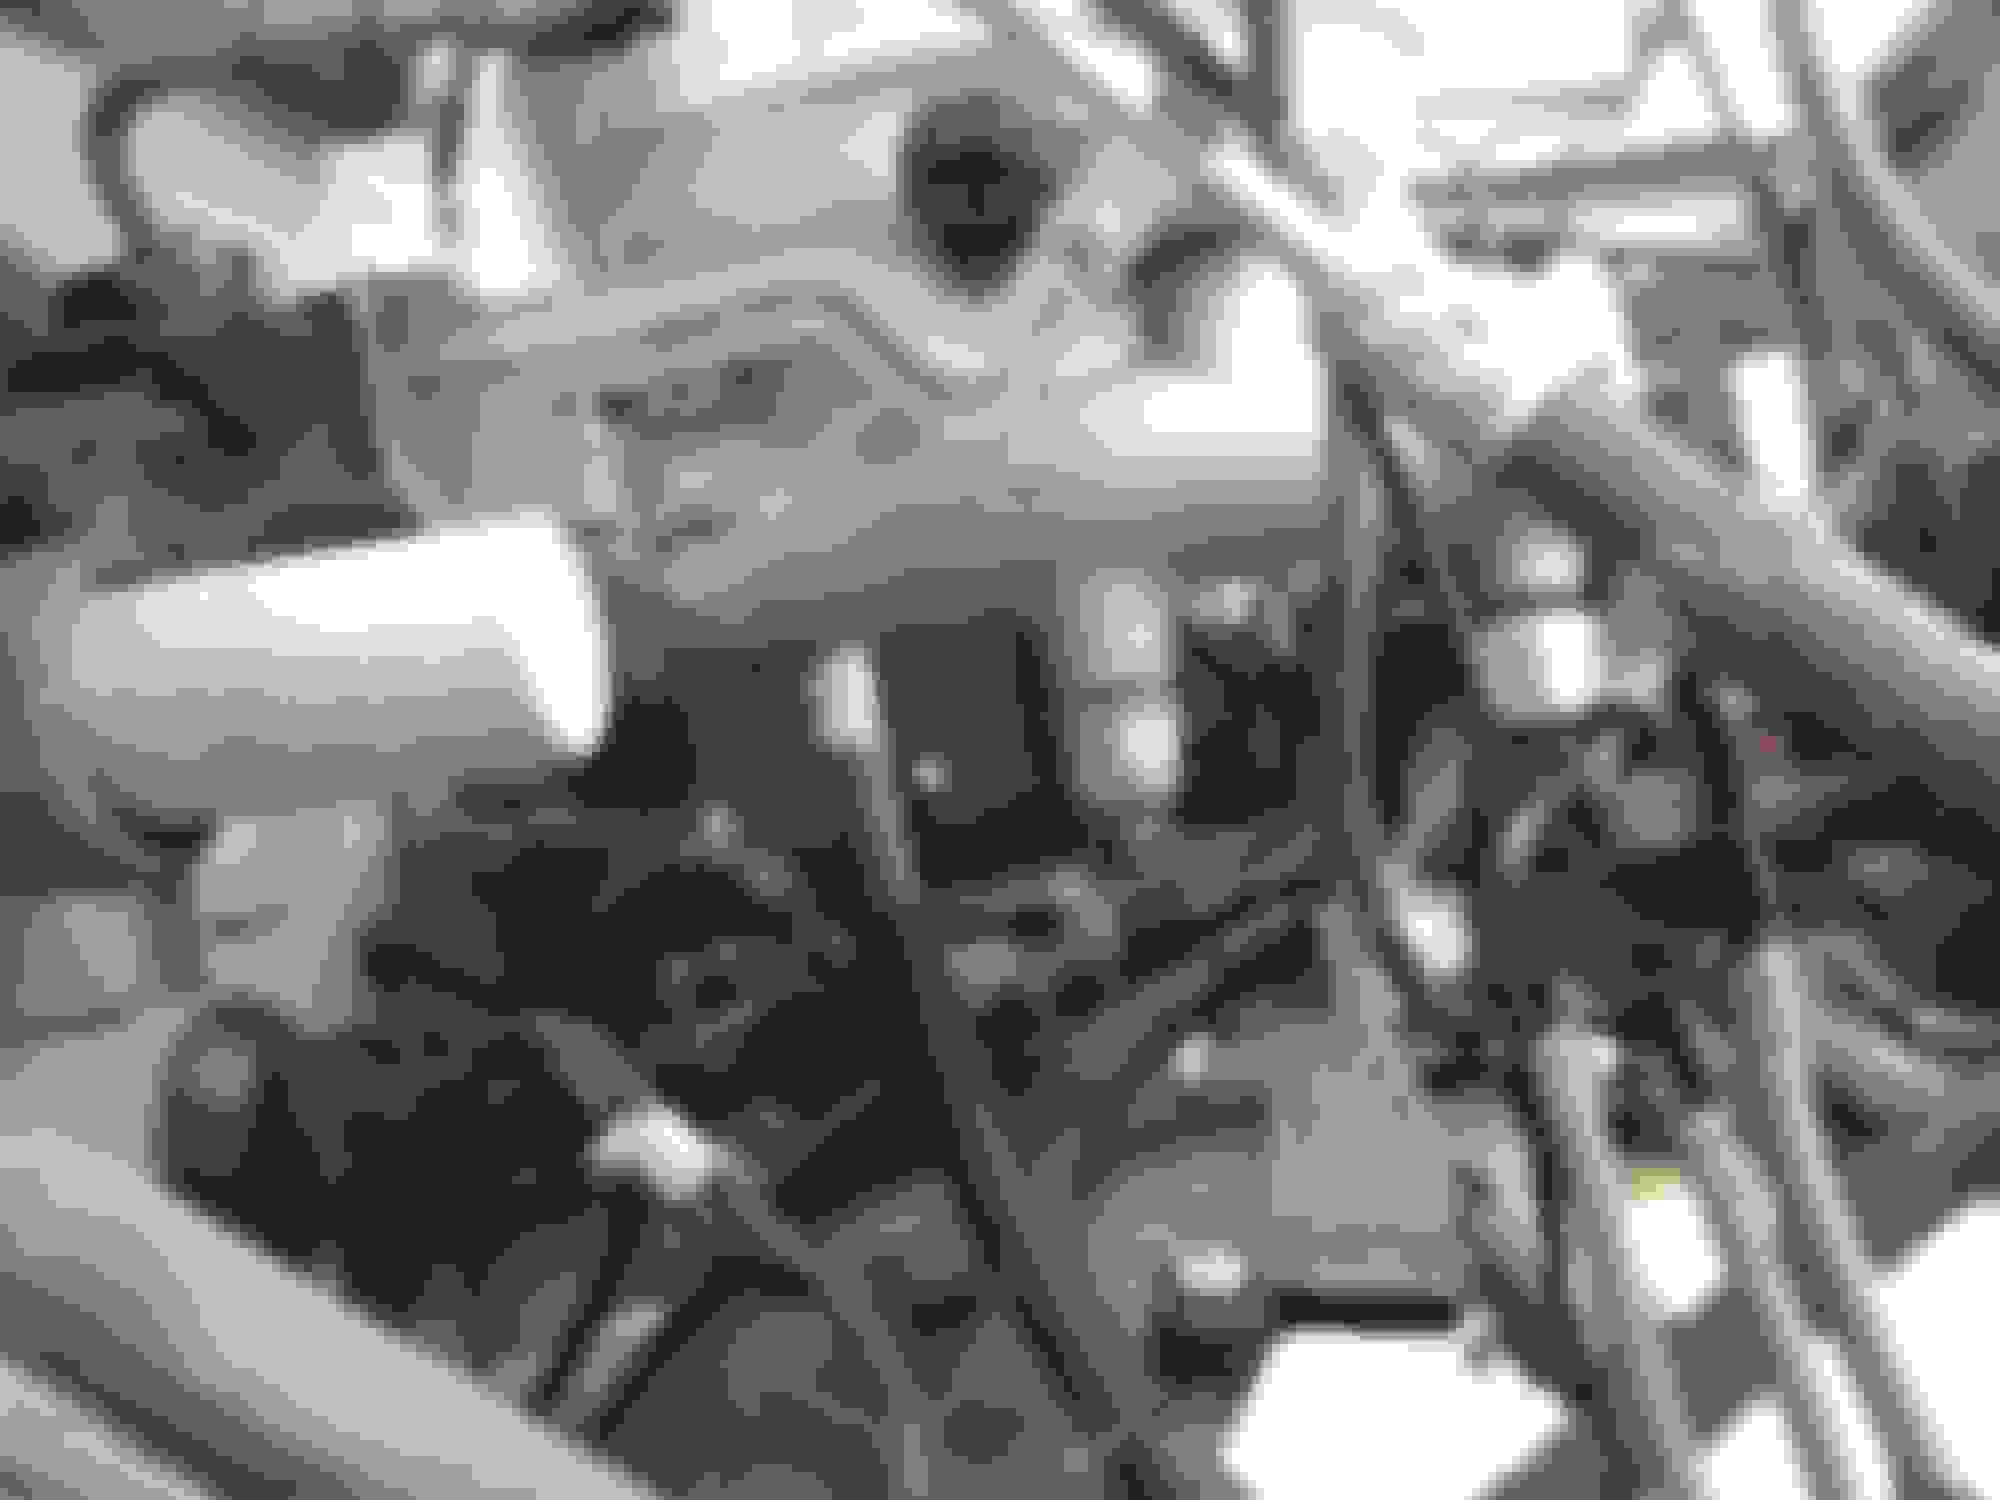
Hydroboost unit has a slightly different footprint from the 99-04 units. Also, the mounting plate to the firewall has a different bolt spacing...farther apart and a bigger mounting plate.
The hydroboost is a two piece unit. It appears you could take the front half off with the master cylinder, and it would bolt to the back half of a 99-04 unit. Same bolt pattern exactly. The back half of an '05+ would NOT bolt into the firewall of a 99-04.
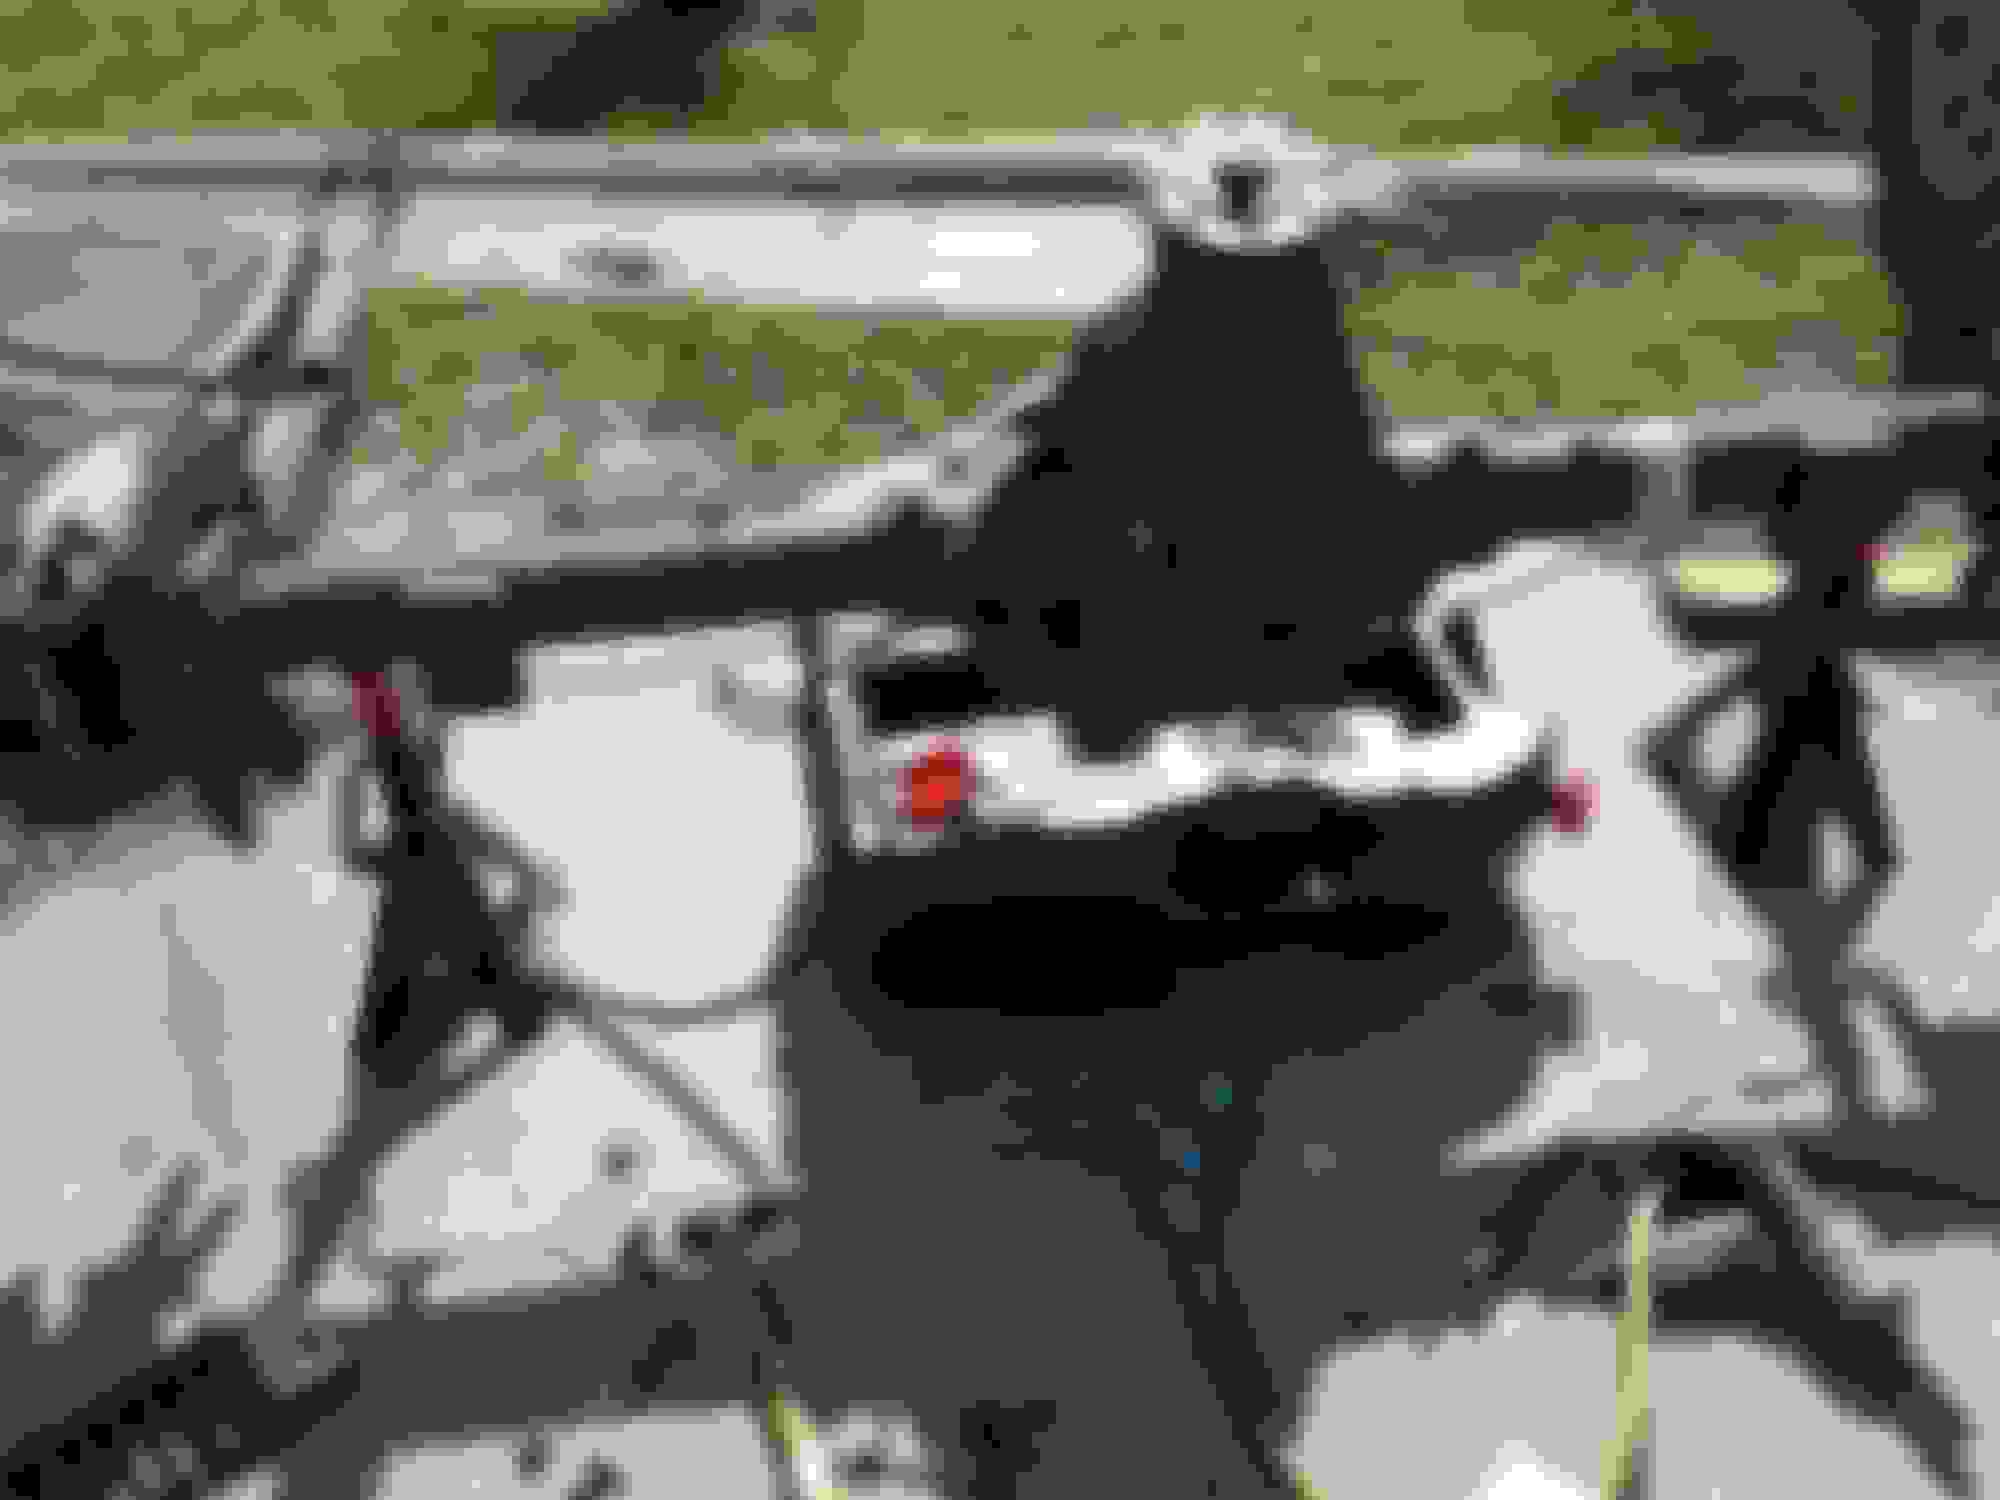
Continued working on my rear axle refurbish today after returning from the Gold Mine.
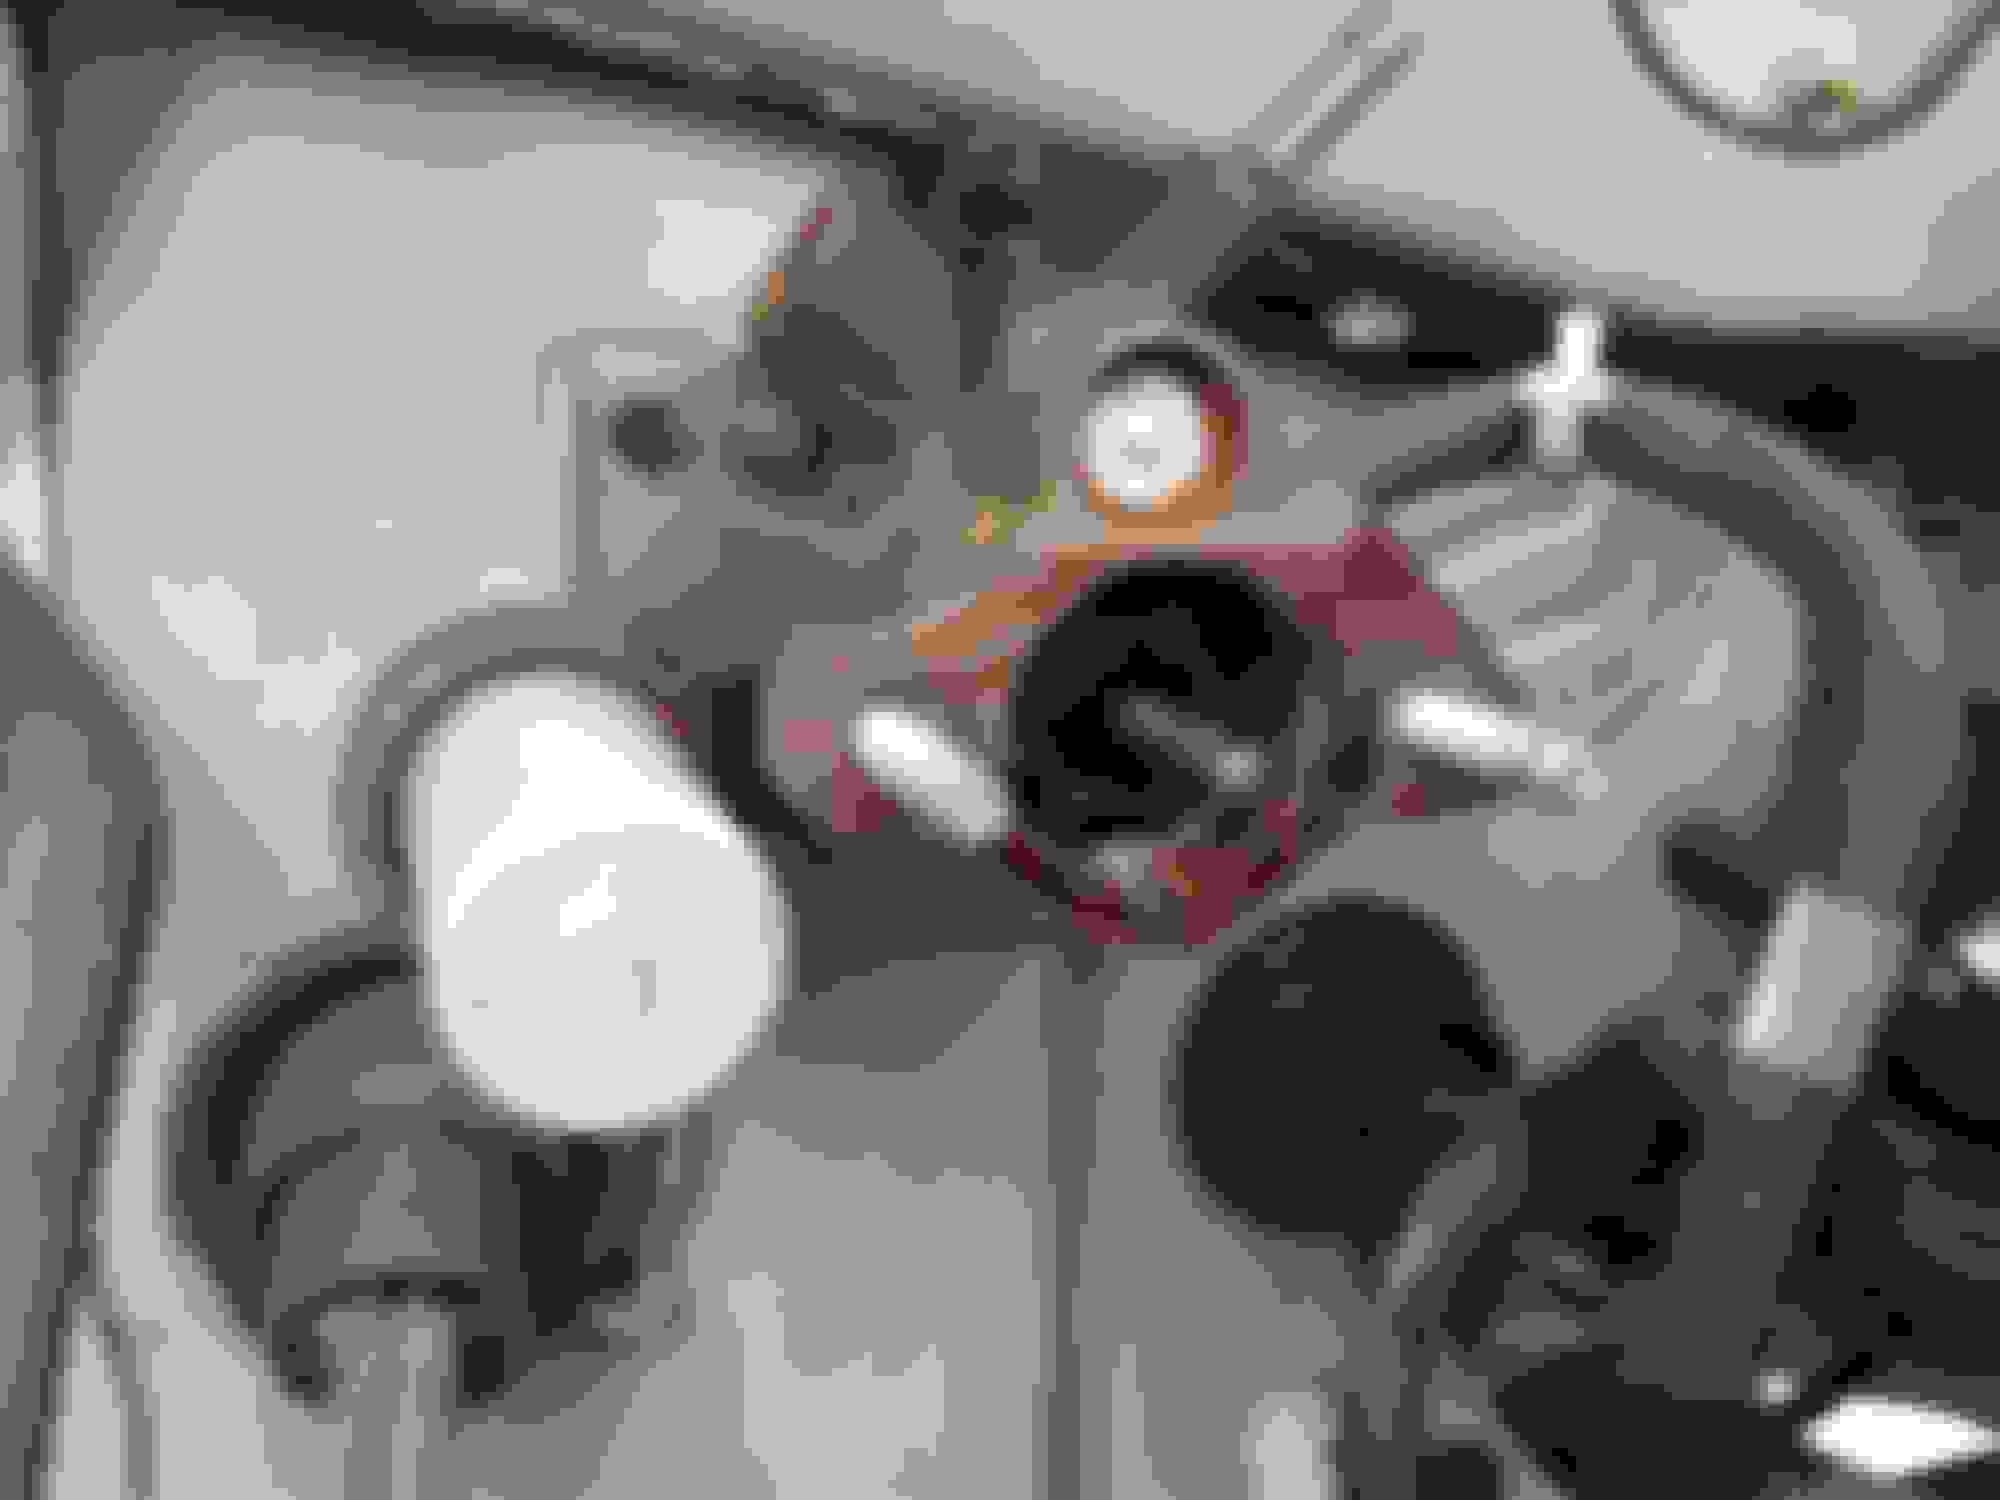
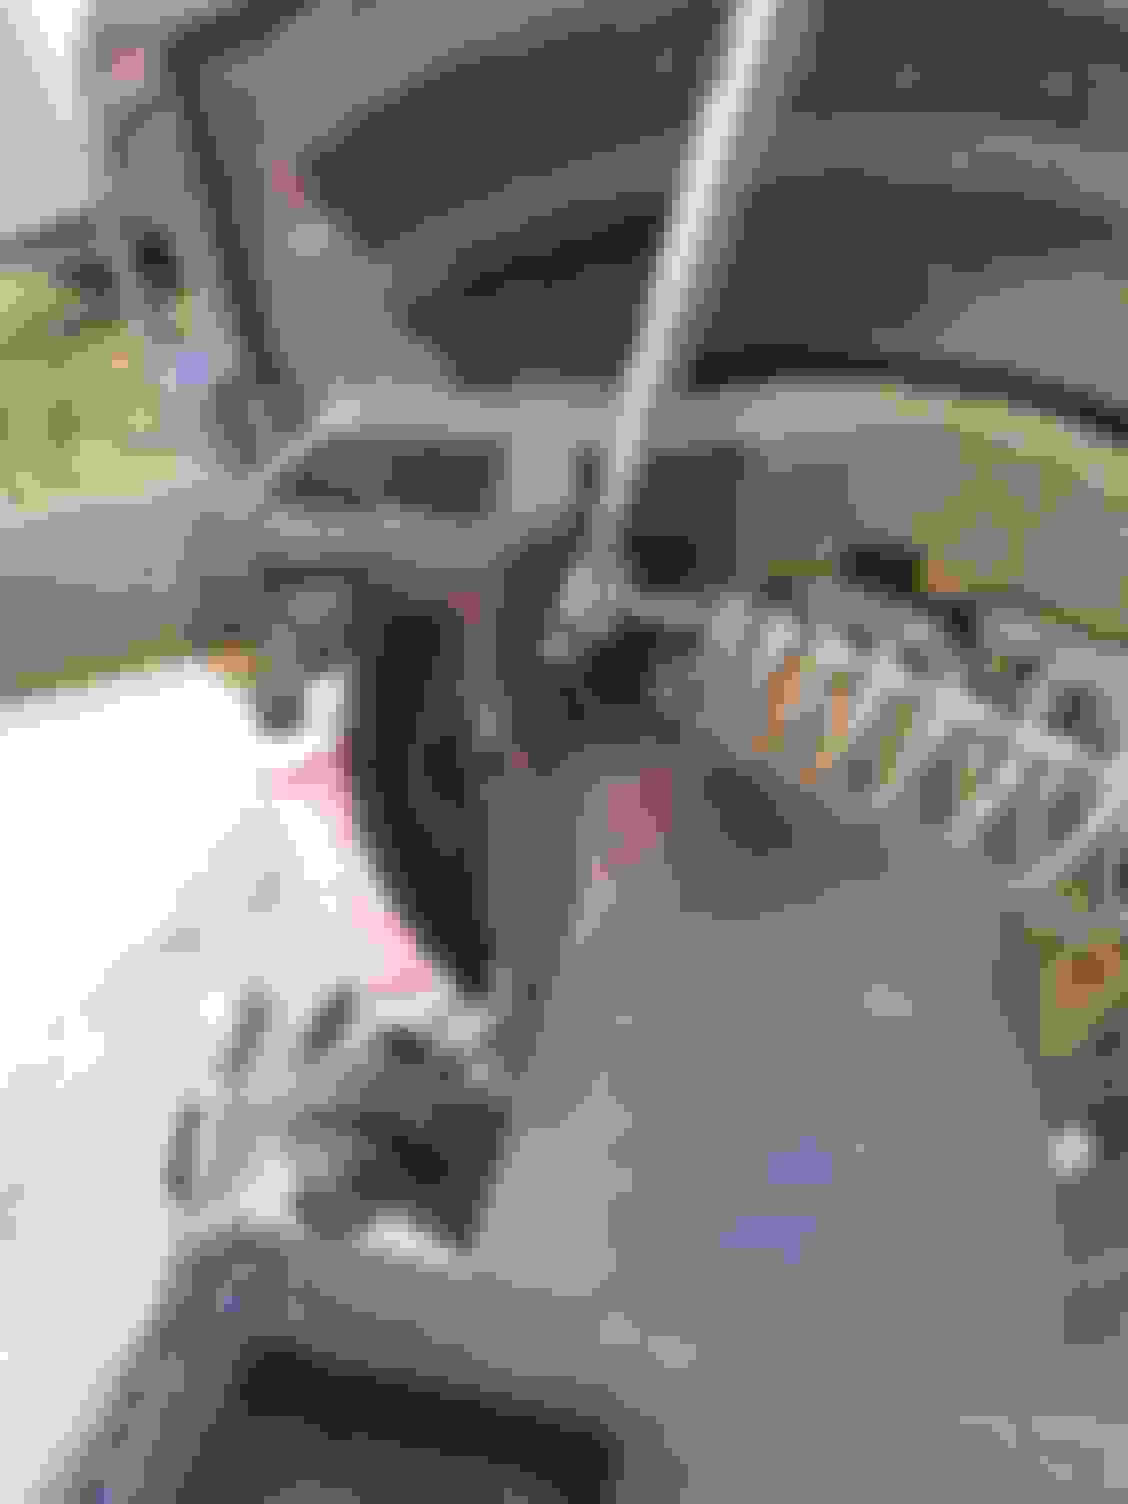
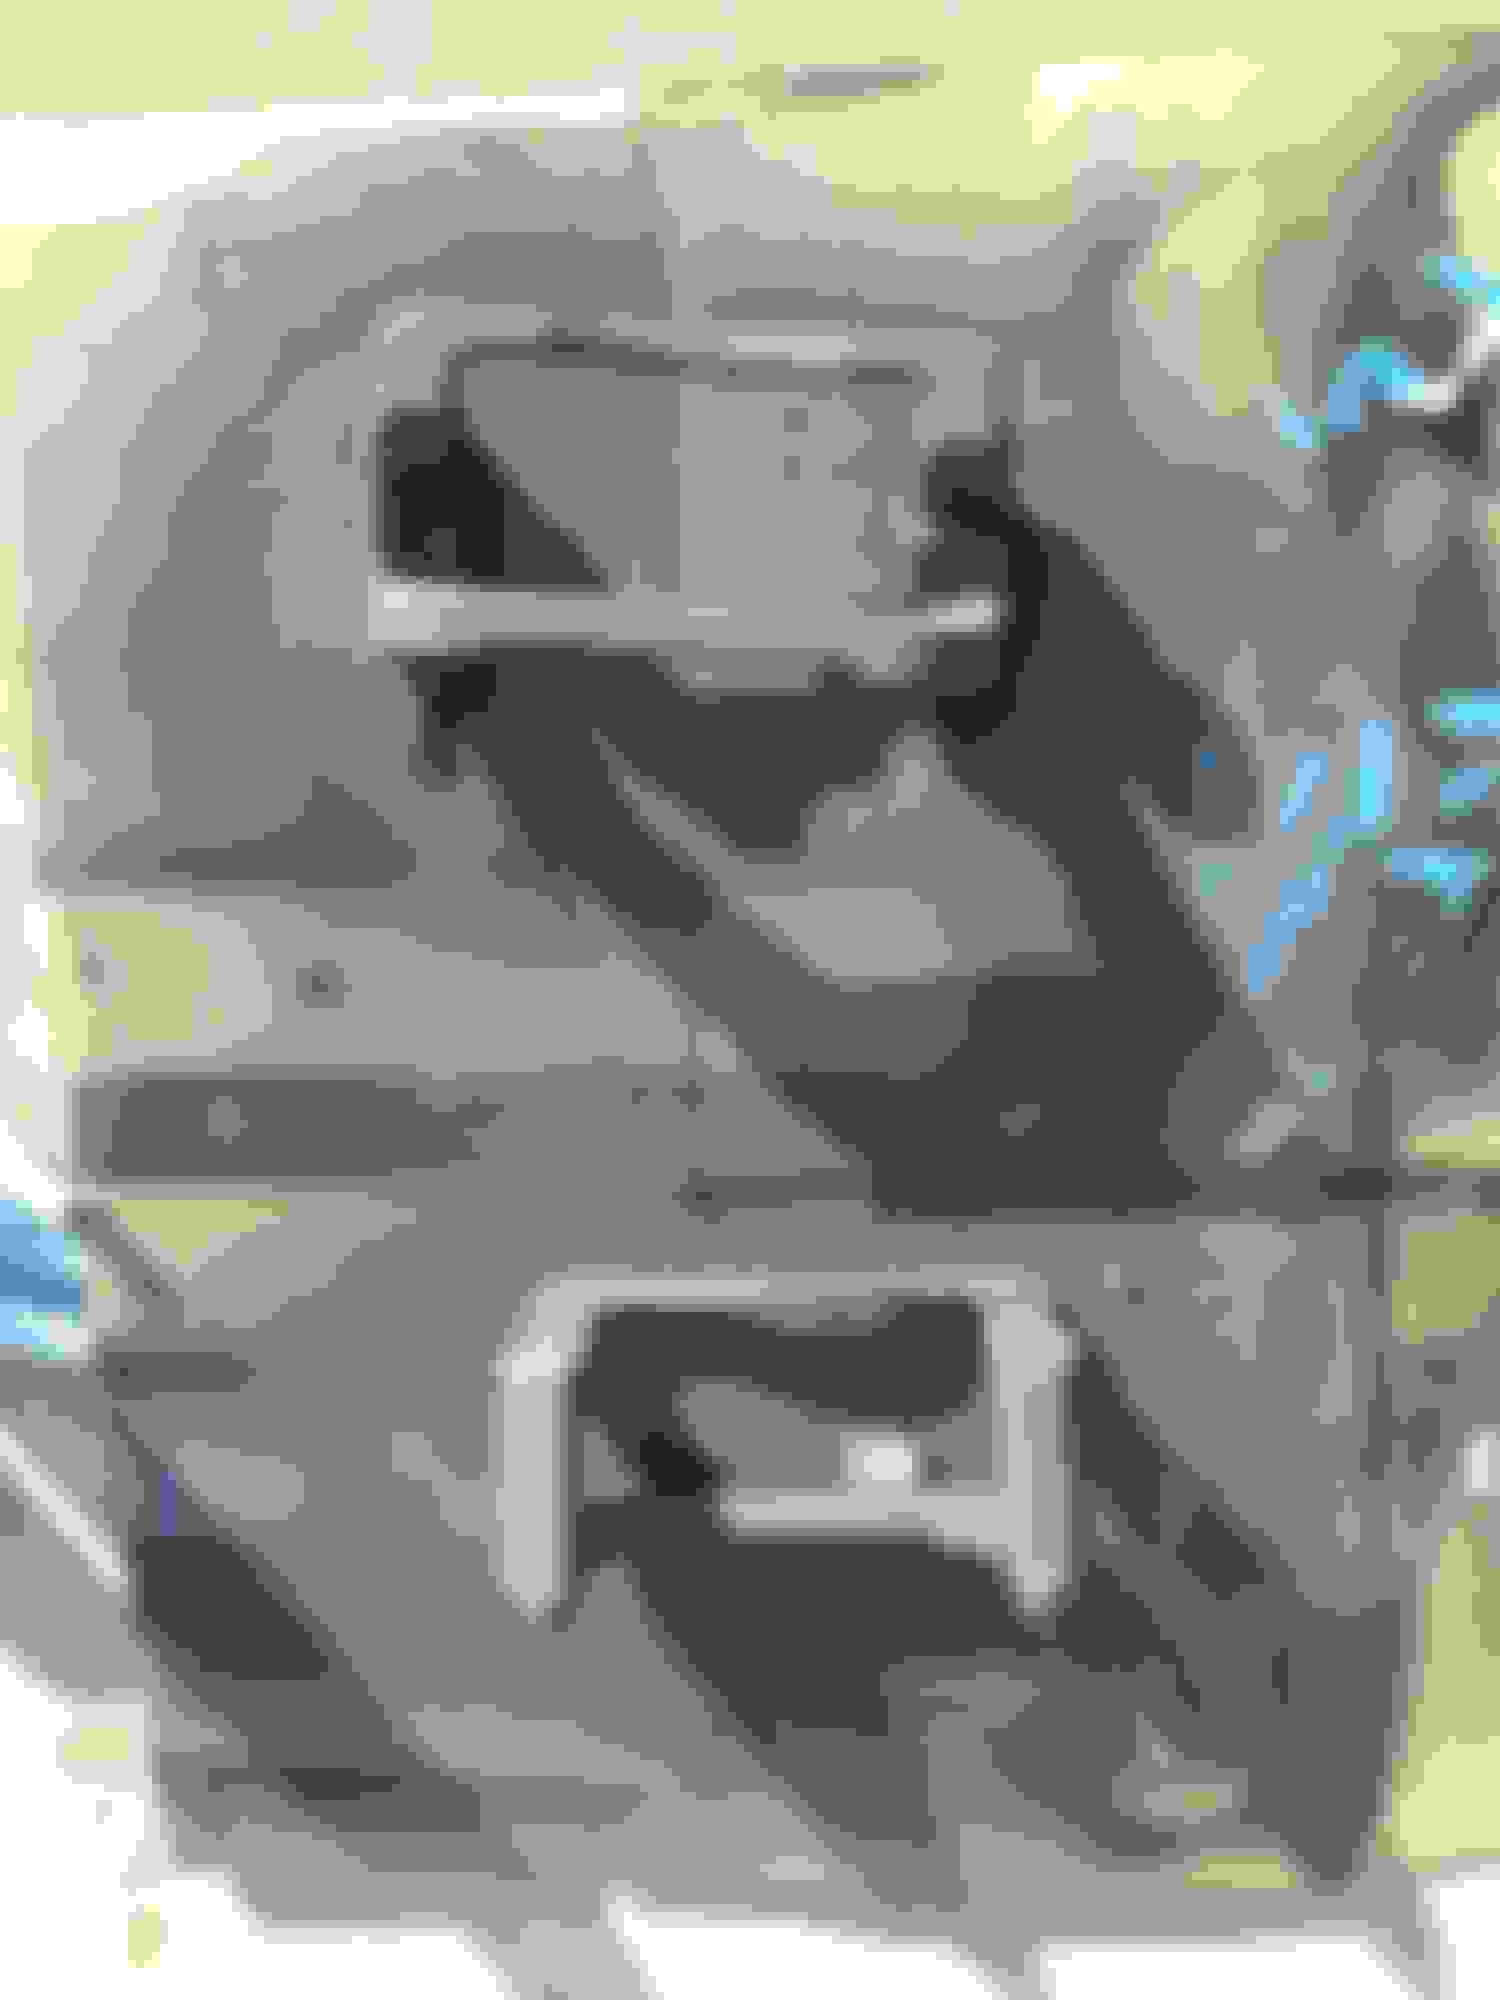
Needed to remove the rear parking brake line. It is damaged/cracked, so I got another from the yard that was in great shape. To remove, grab the spring and pull up hard. The square piece will turn 90 degrees. After it turns, push it back aft and lever it off the tab it is on.
A 13mm line wrench works great to free the line from the bracket.
Slip the line wrench over the tabs. It is a tight fit. Give it a slight twist until the tabs are depressed, and then pull on the cable from the back. It will slide out easily if the wrench is on the tabs. Twist the wrench a little if it sticks.
Like this...
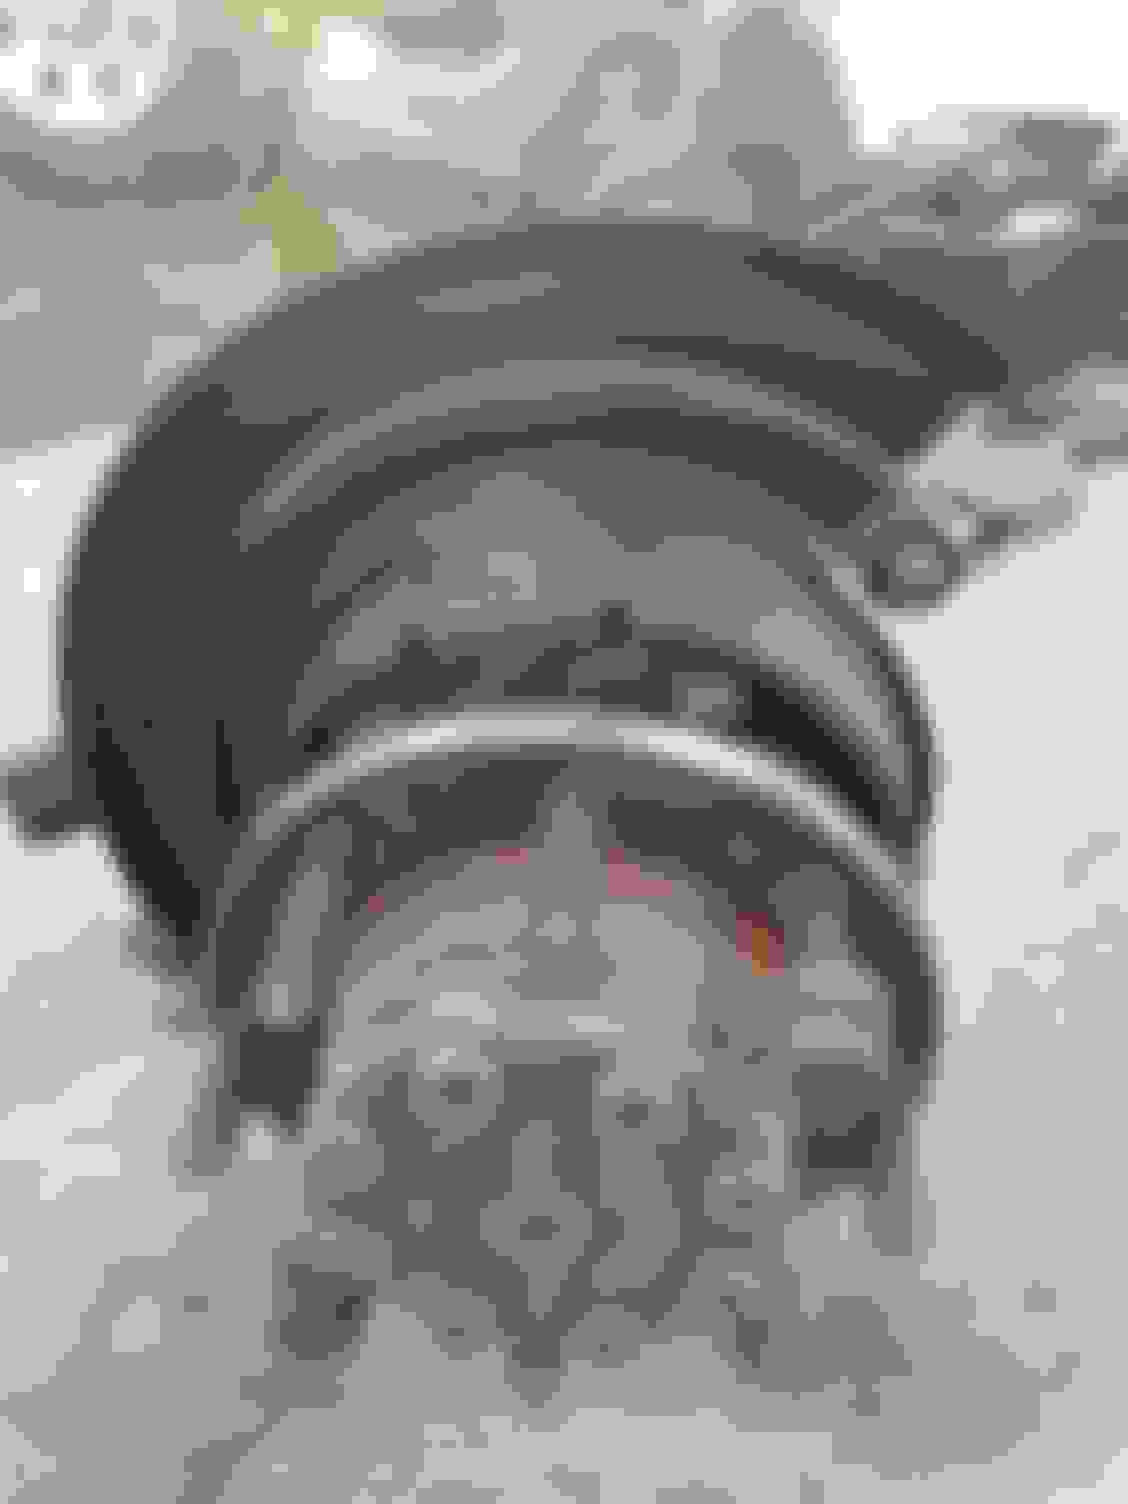
Then I continued cleaning up the axle housing with water and a stiff brush. I might not need to paint this thing after all! Brake backing plates in great shape!
Just a few spots to touch up...
No leaks on the outer axle seals and the bearings are smooth as glass when I spin them. Gonna finish cleaning the outside and pull the cover tomorrow. If everything looks good in there, I will not pull the outer hubs (don't need to). Got lucky there I think...
I will be rebuilding the calipers out of an abundance of caution. They retracted fine, but they sat in the junkyard for 3-4 years after the 6.uh-oh blew up in the truck. Better safe than sorry on that point, and the kit is too affordable not to.
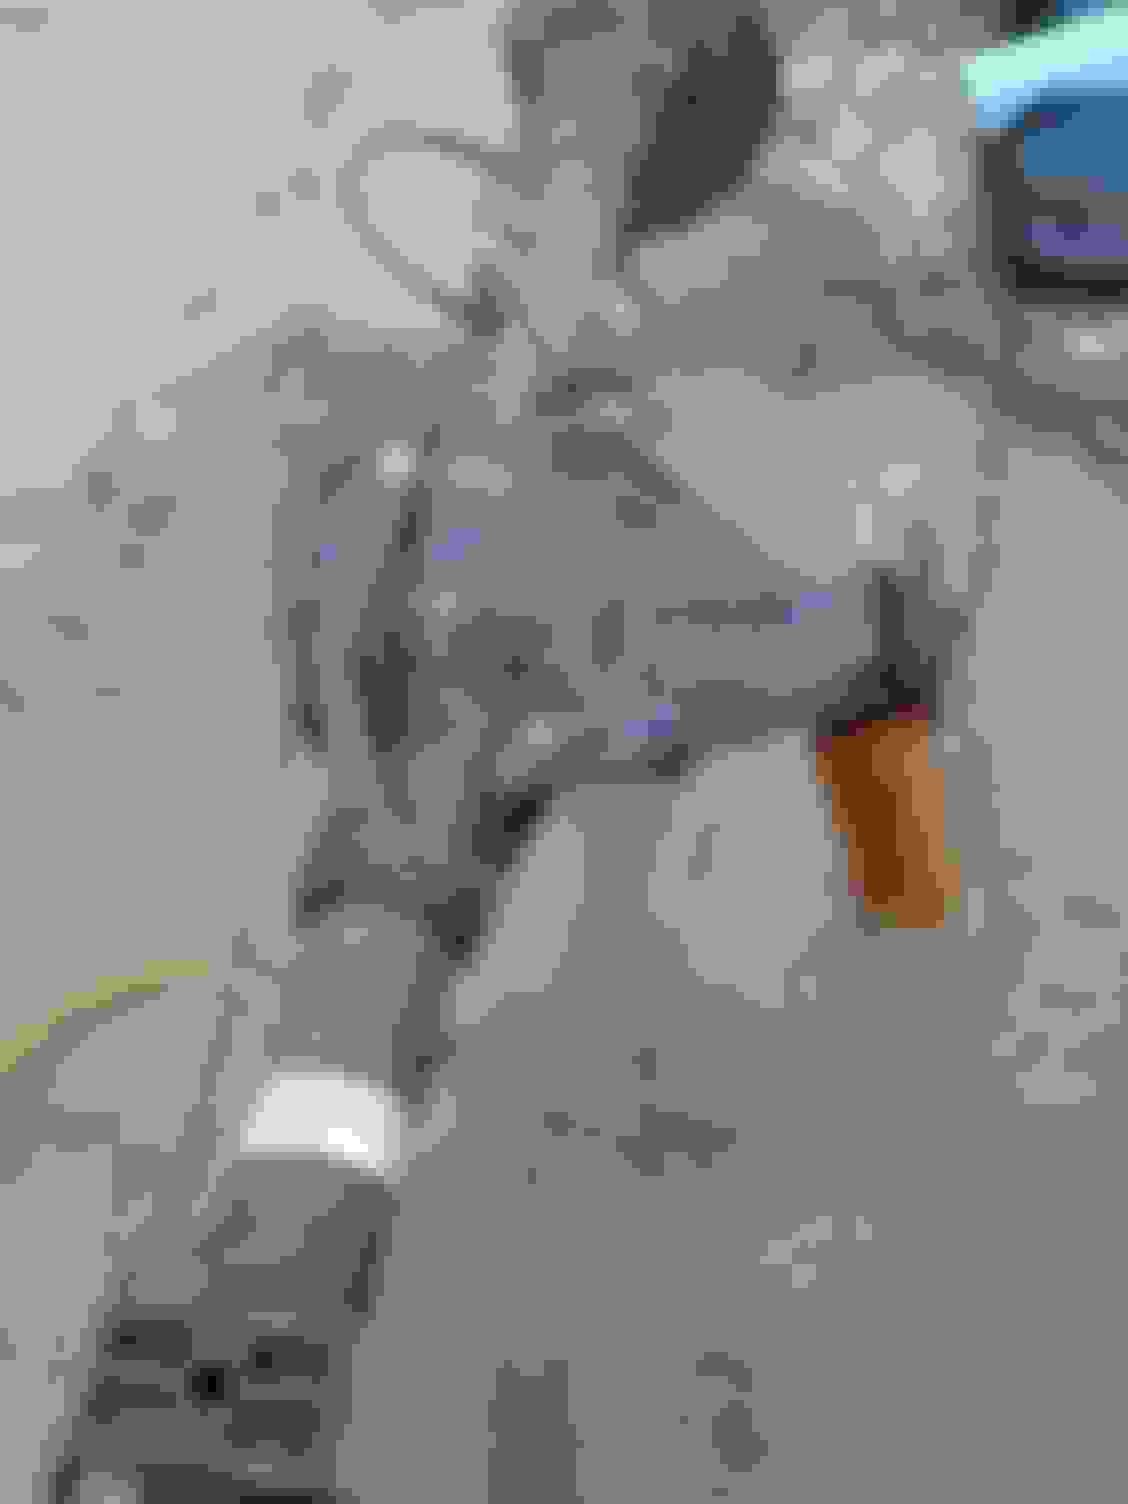
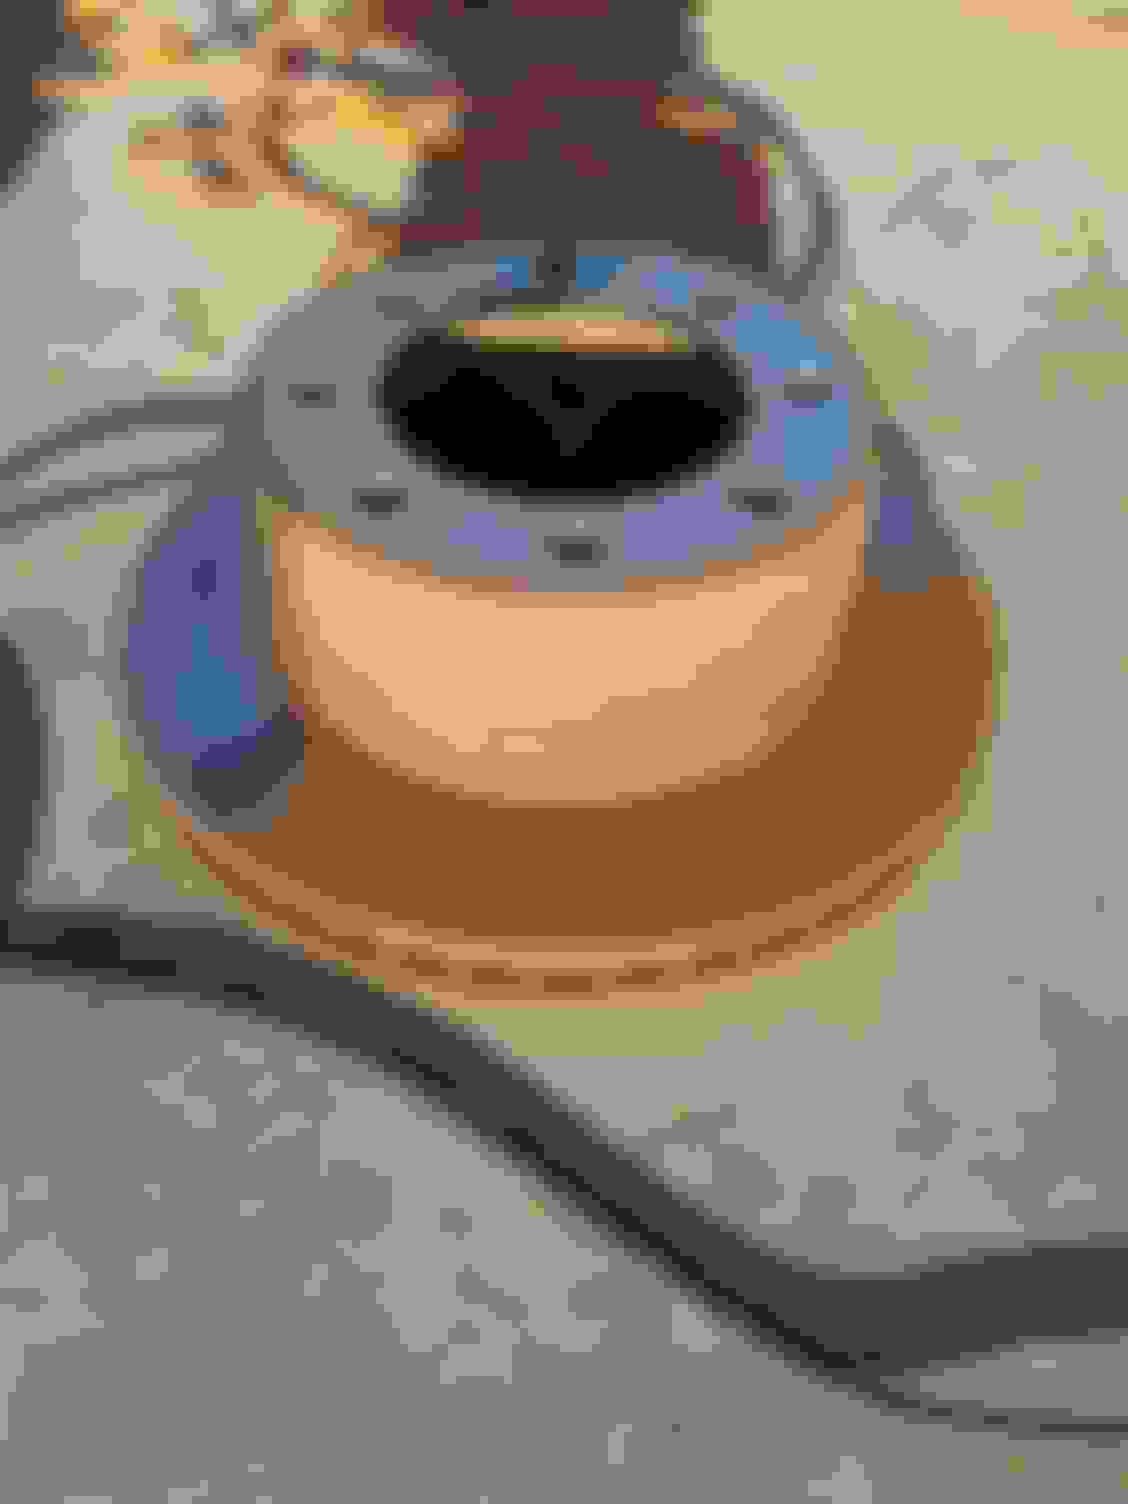
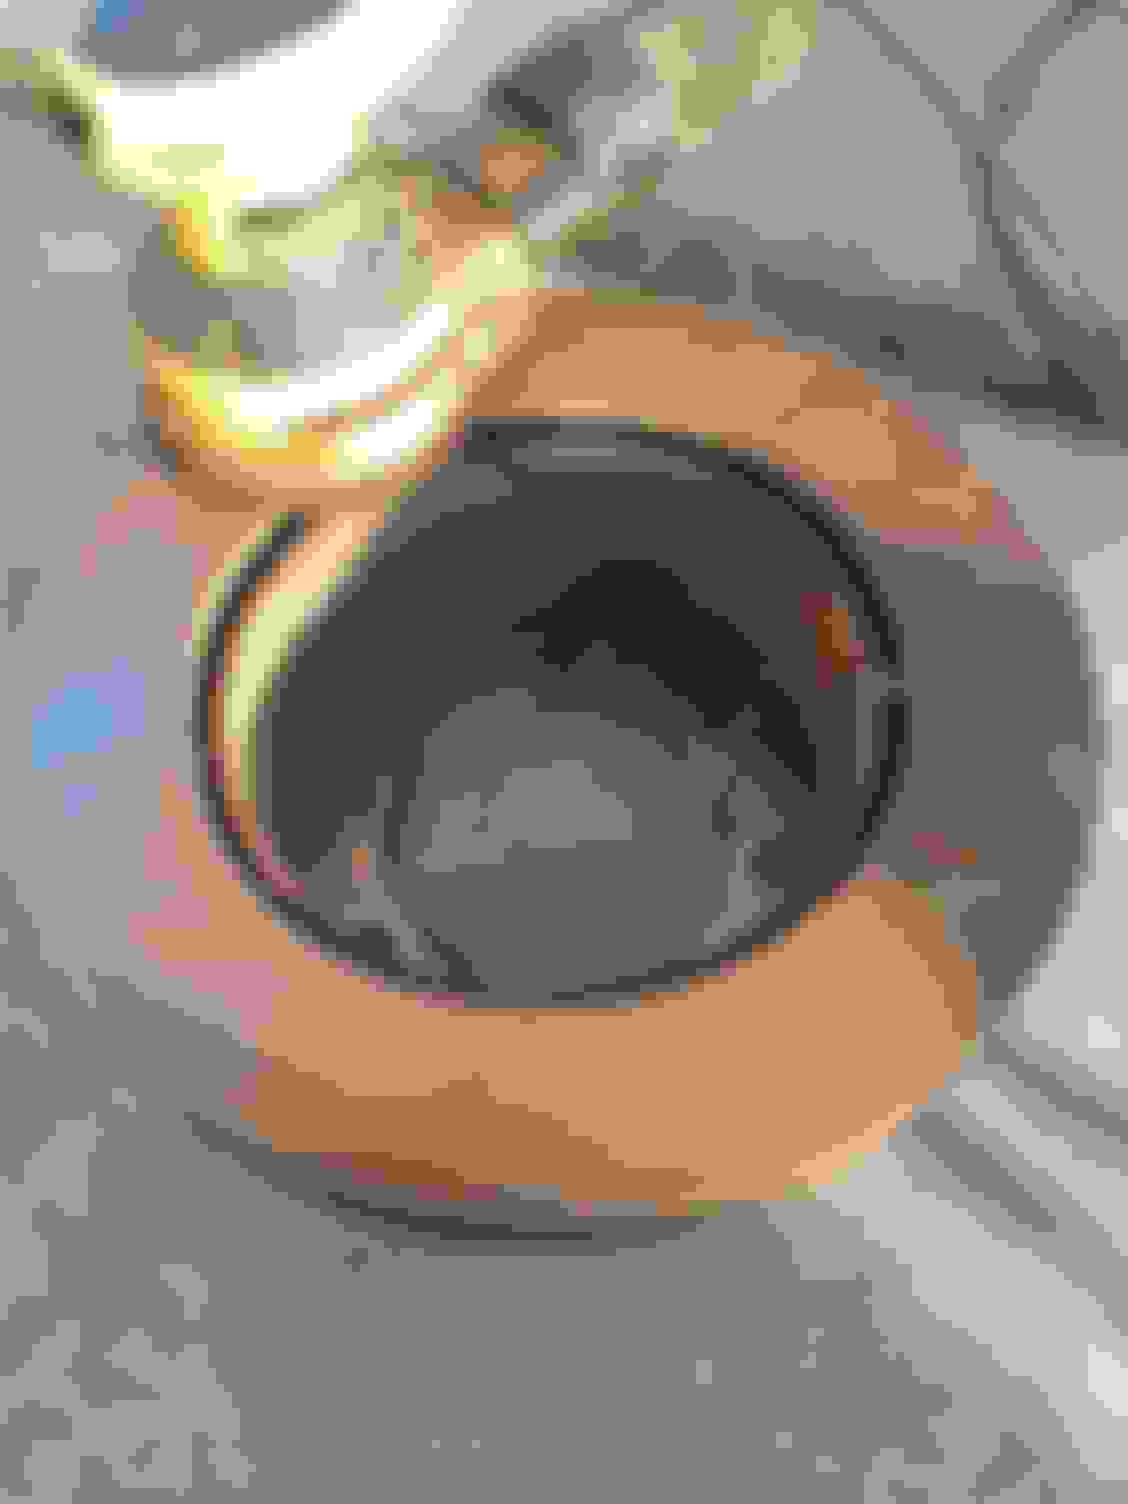
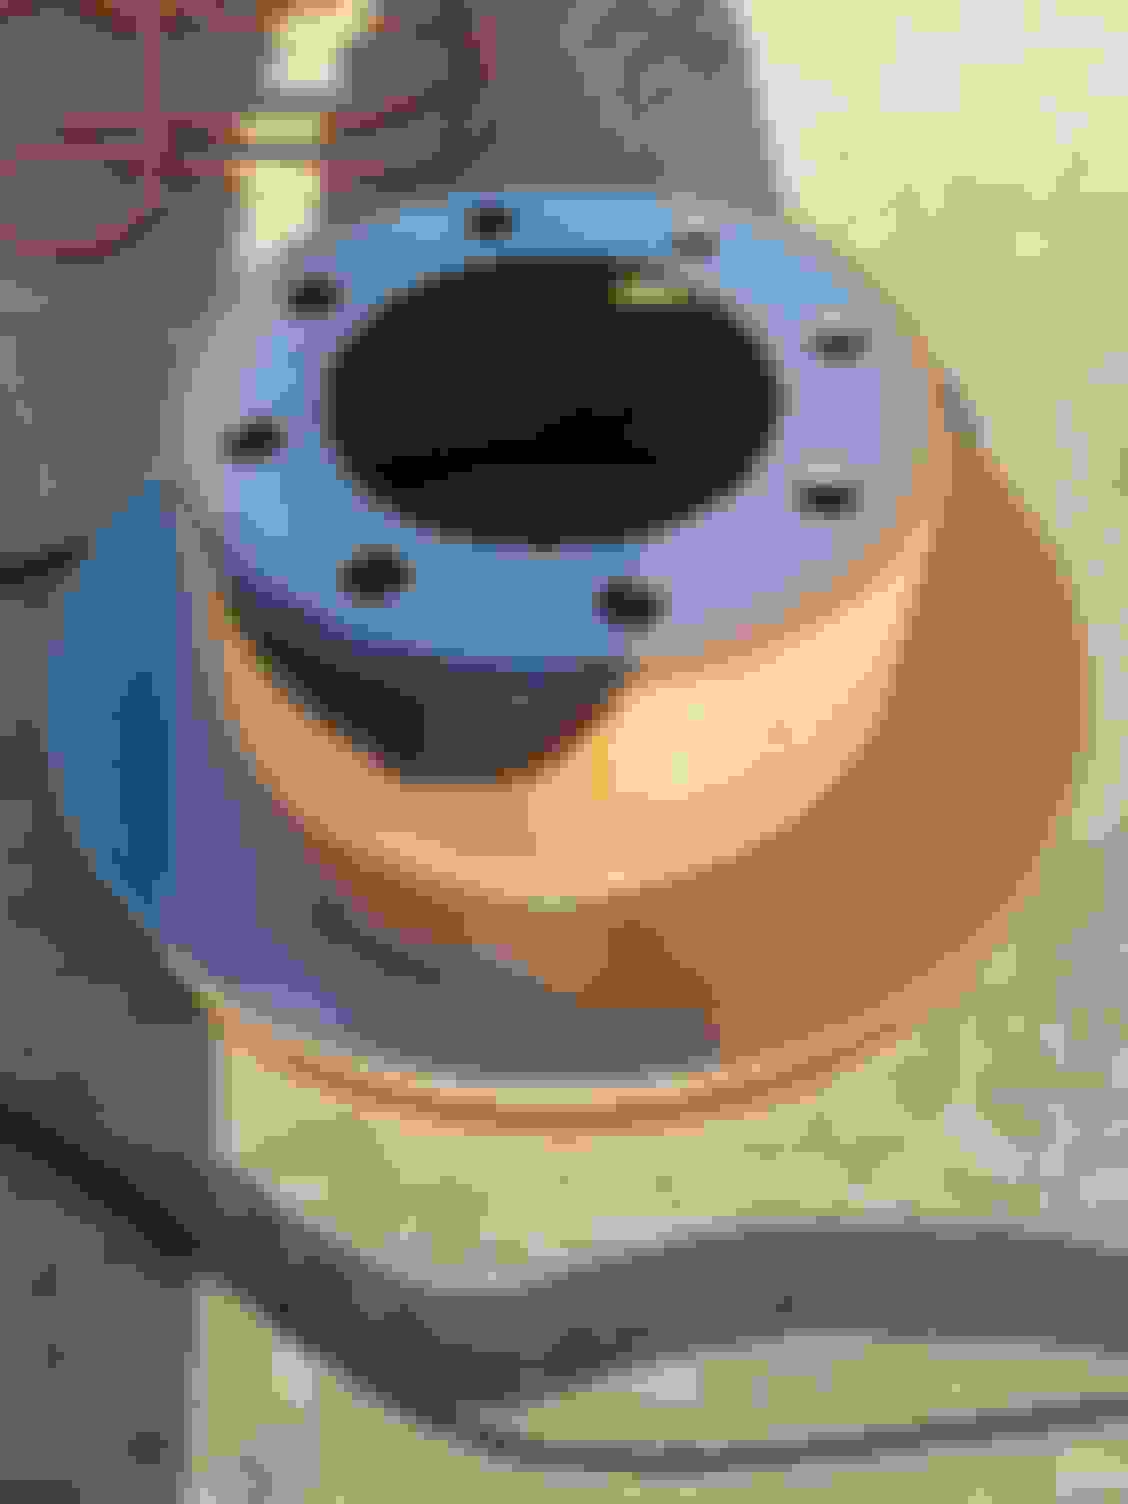
Got the differential opened up today. Gears look like new, and the wear pattern is perfect. The fluid looked like someone just changed it before the 6.uh-oh bit the dust. Got it all cleaned up and the new '08 cover on. Bolts are not tight yet, as I'm letting the RTV cure over night. Went with stainless steel allen bolts and washers.
Evidence of how long it sat. Inside of cover rusted above the oil level.
Draining the old (but still good) oil. No metal in the oil. No marks/chips on any of the gears.
After clean up. For those that don't know, the small gear to the left of the big one is the one for the vehicle speed sensor (ABS) on top of the pumpkin. The magnet in the sensor picks up the reading off the teeth and reports that number to the computer. You will have to use the sensor off your old axle, as the 05+ sensors won't talk to your older computer.
New cover installed. You want to lightly snug the bolts down just until the RTV starts to compress. Get all 12 bolts evenly snugged down and wait for the RTV to set up/harden. Wait several hours (or overnight), and then tighten the bolts down the rest of the way (28-38 lb/ft).
Brakes, calipers, slide pins and bleeder screws...grrrr
I was going to rebuild the calipers. Would have saved me some money. However, the slide pins were frozen on one side, both bleeder screws were rusted and I broke a caliper piston after it came flying out of the caliper and chipped (not careful enough with air pressure).
At that point, I admitted defeat and incurred my first costs since buying the axles: $120 for a set of rear calipers. They did come with all harware, new slide pins and new bleeder screws (3/8-24). Brake pads have also been purchased, but I was already counting on that expense. I bought the OEM semi-metallic pads with new hardware.
I intend this to be a checklist/handbook for those wanting to do this themselves later on.
While, with the improvements to the newest trucks coming off the line, and the age of our frames/bodies, this modification is beginning to be a bit outdated and toward the end of its lifespan. It is still relevant to anyone keeping an old truck going as long as they can. As those types of owners dwindle in number, this will become less common a mod in the future, I think. It's pretty uncommon now for that matter.
Great write up keep up the good work. Swap makes a huge difference. I did have frame reinforced and even made a plate to reinforce firewall while steering components were out of the way. Had a little flex before tearing it down.
They were ugly from sitting so long, but they were obviously fairly new when the truck went to the yard. Because there were no grooves or signs of wear, I refinished them with wire brushes on my drill and 80 grit paper on my random orbit sander. This saves me quite a bit of $.
Some people would have tossed these on first glance.
Progress...
Getting there...just replace the 80 grit often, and it goes really fast. Use your wire wheels to "buff" what's left, and last you will wipe down with a rag and brake cleaner. Then send them over to the paint booth.
In for high temp paint.
No more rusty rotors on the wheel side.
Caliper brackets got black high temp as well.
Calipers got red.
Brakes should get installed tomorrow. Still don't have my final wheels and rims. Need a little more $ before that happens. I'll paint the axle itself tomorrow where the original paint came off and caused a few rust spots. Most of the original paint was found to be intact under all the tan/red dirt.
Will be starting on the front axle later this week.
If you switch to the fancy, finned, aluminum '08 rear differential cover, you will need 12 of these (not necessarily stainless steel) size bolts. Your stock ones will not be long enough with the '08 cover.
5/16-18 x 1 1/4 is what matters. Get whatever style you like. Don't forget washers if you need them with your chosen style bolt head.
There are two places you don't want paint on your caliper brackets. The slide pin boot mounts...and the slots for the brake pads. More on those mounting slots for the pads tomorrow. You will need to tape these areas off if painting.
This Hennessey Takes the Expedition Tremor's Off-Roading Capability to the Next Level
Slideshow: The VelociRaptor Expedition gains a lift, upgraded suspension, Brembo brakes, and trail-ready equipment while retaining the stock 440-horsepower EcoBoost V6.
Rezvani's Latest Post-Apocalyptic Monster Is a Ford F-150 Raptor Underneath
Slideshow: Called the Fortress, the 850-horsepower pickup combines Raptor underpinnings with military-inspired features, survival equipment, and a starting price of $285,000.