When you click on links to various merchants on this site and make a purchase, this can result in this site earning a commission. Affiliate programs and affiliations include, but are not limited to, the eBay Partner Network.
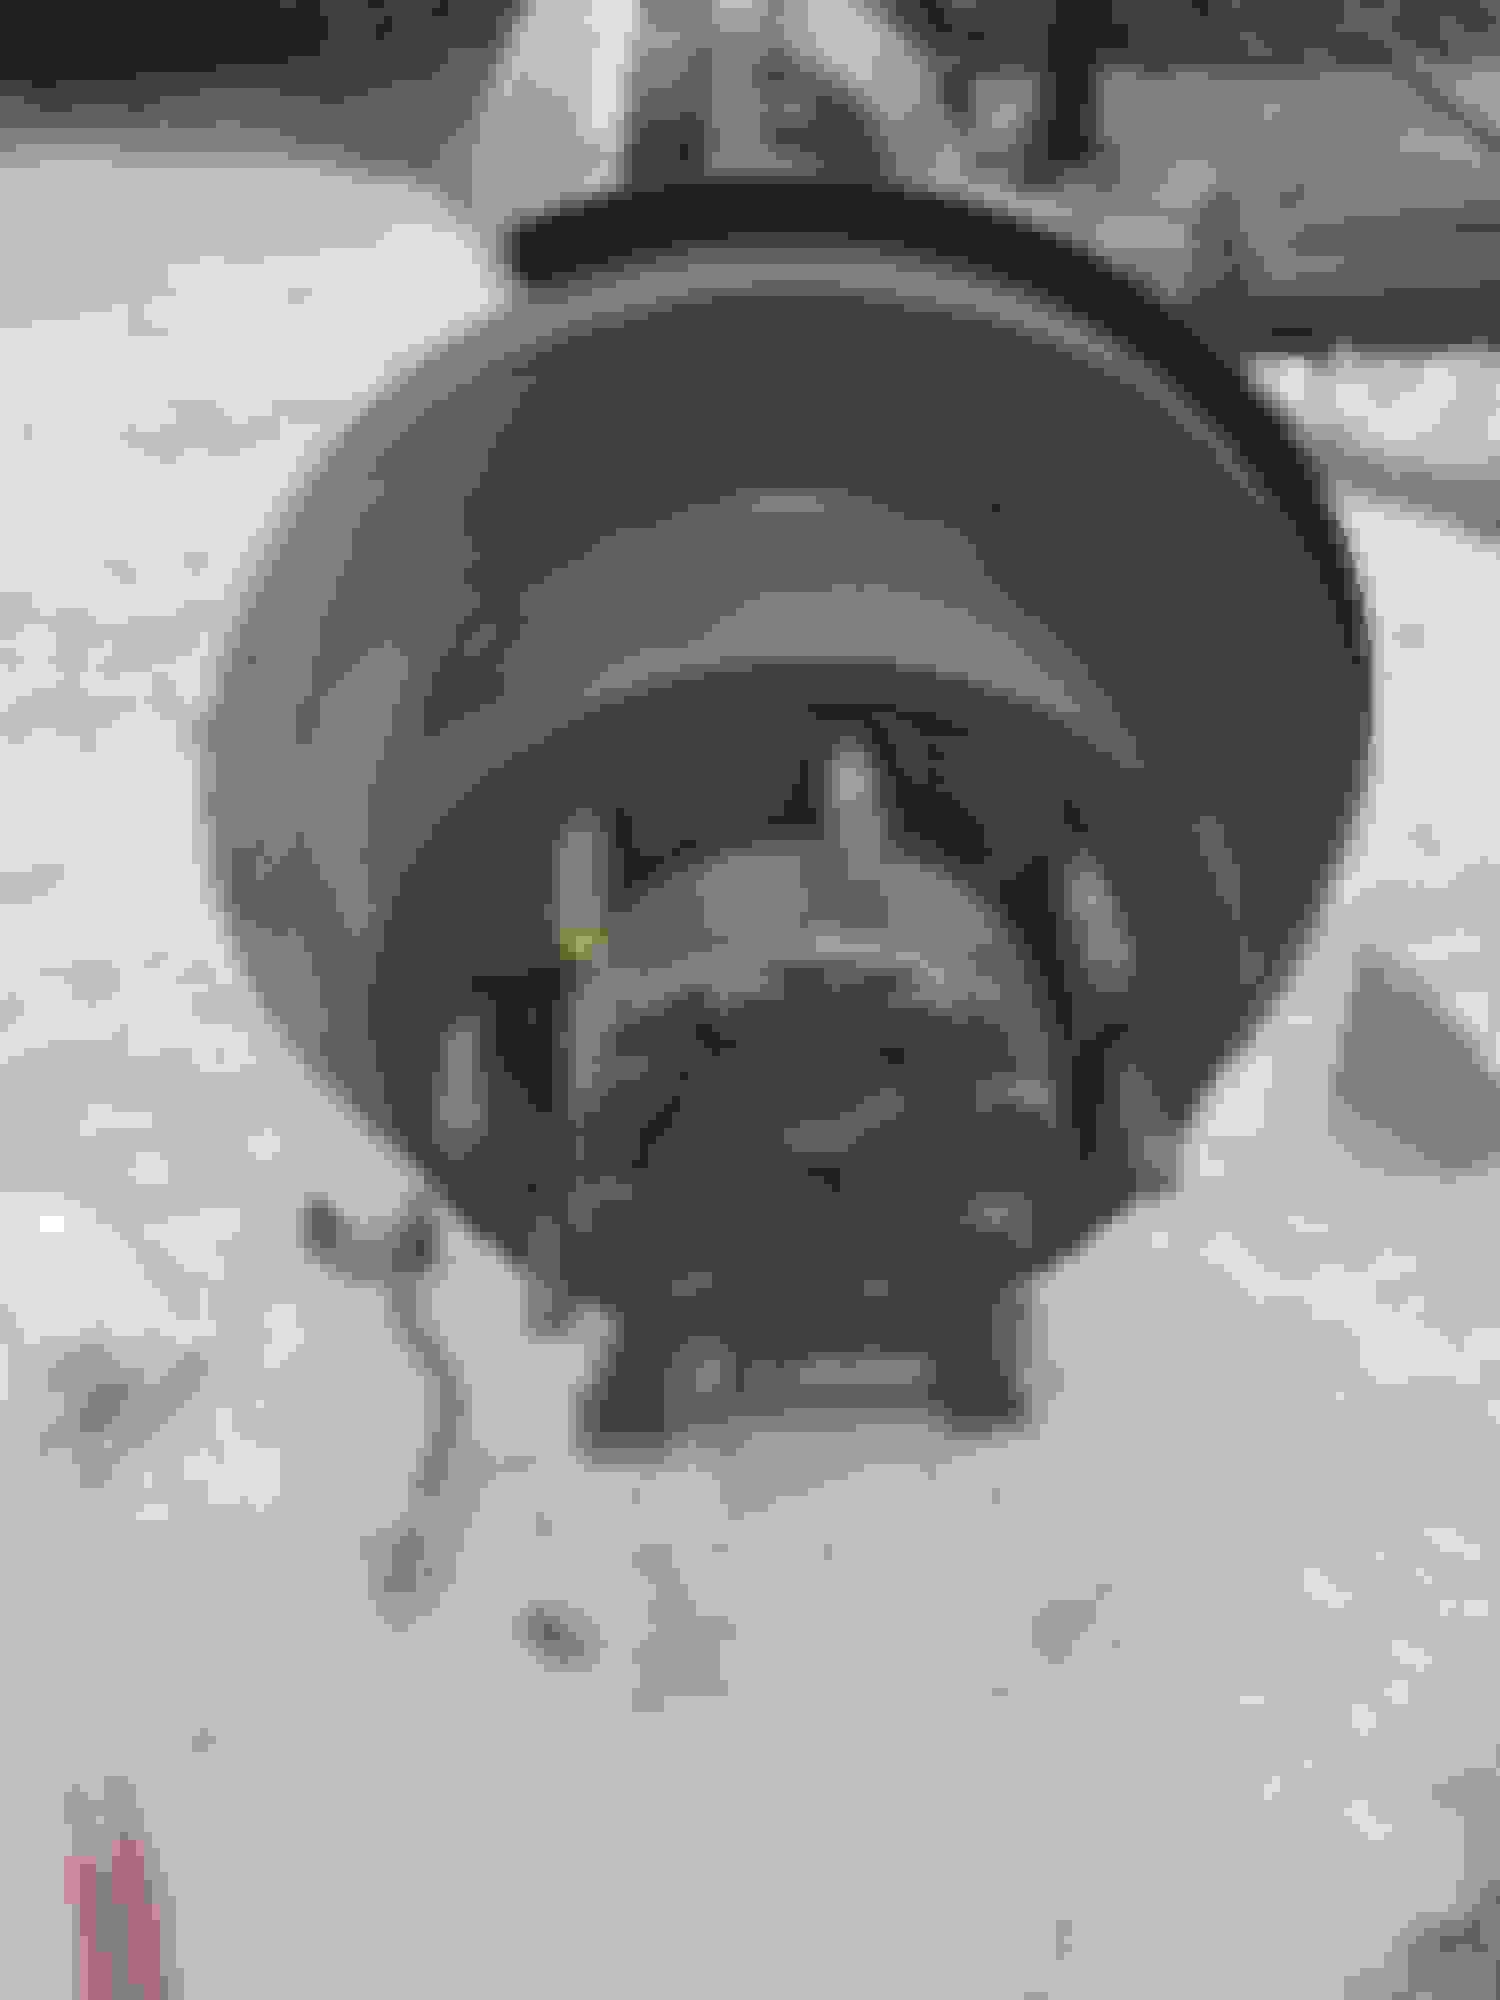
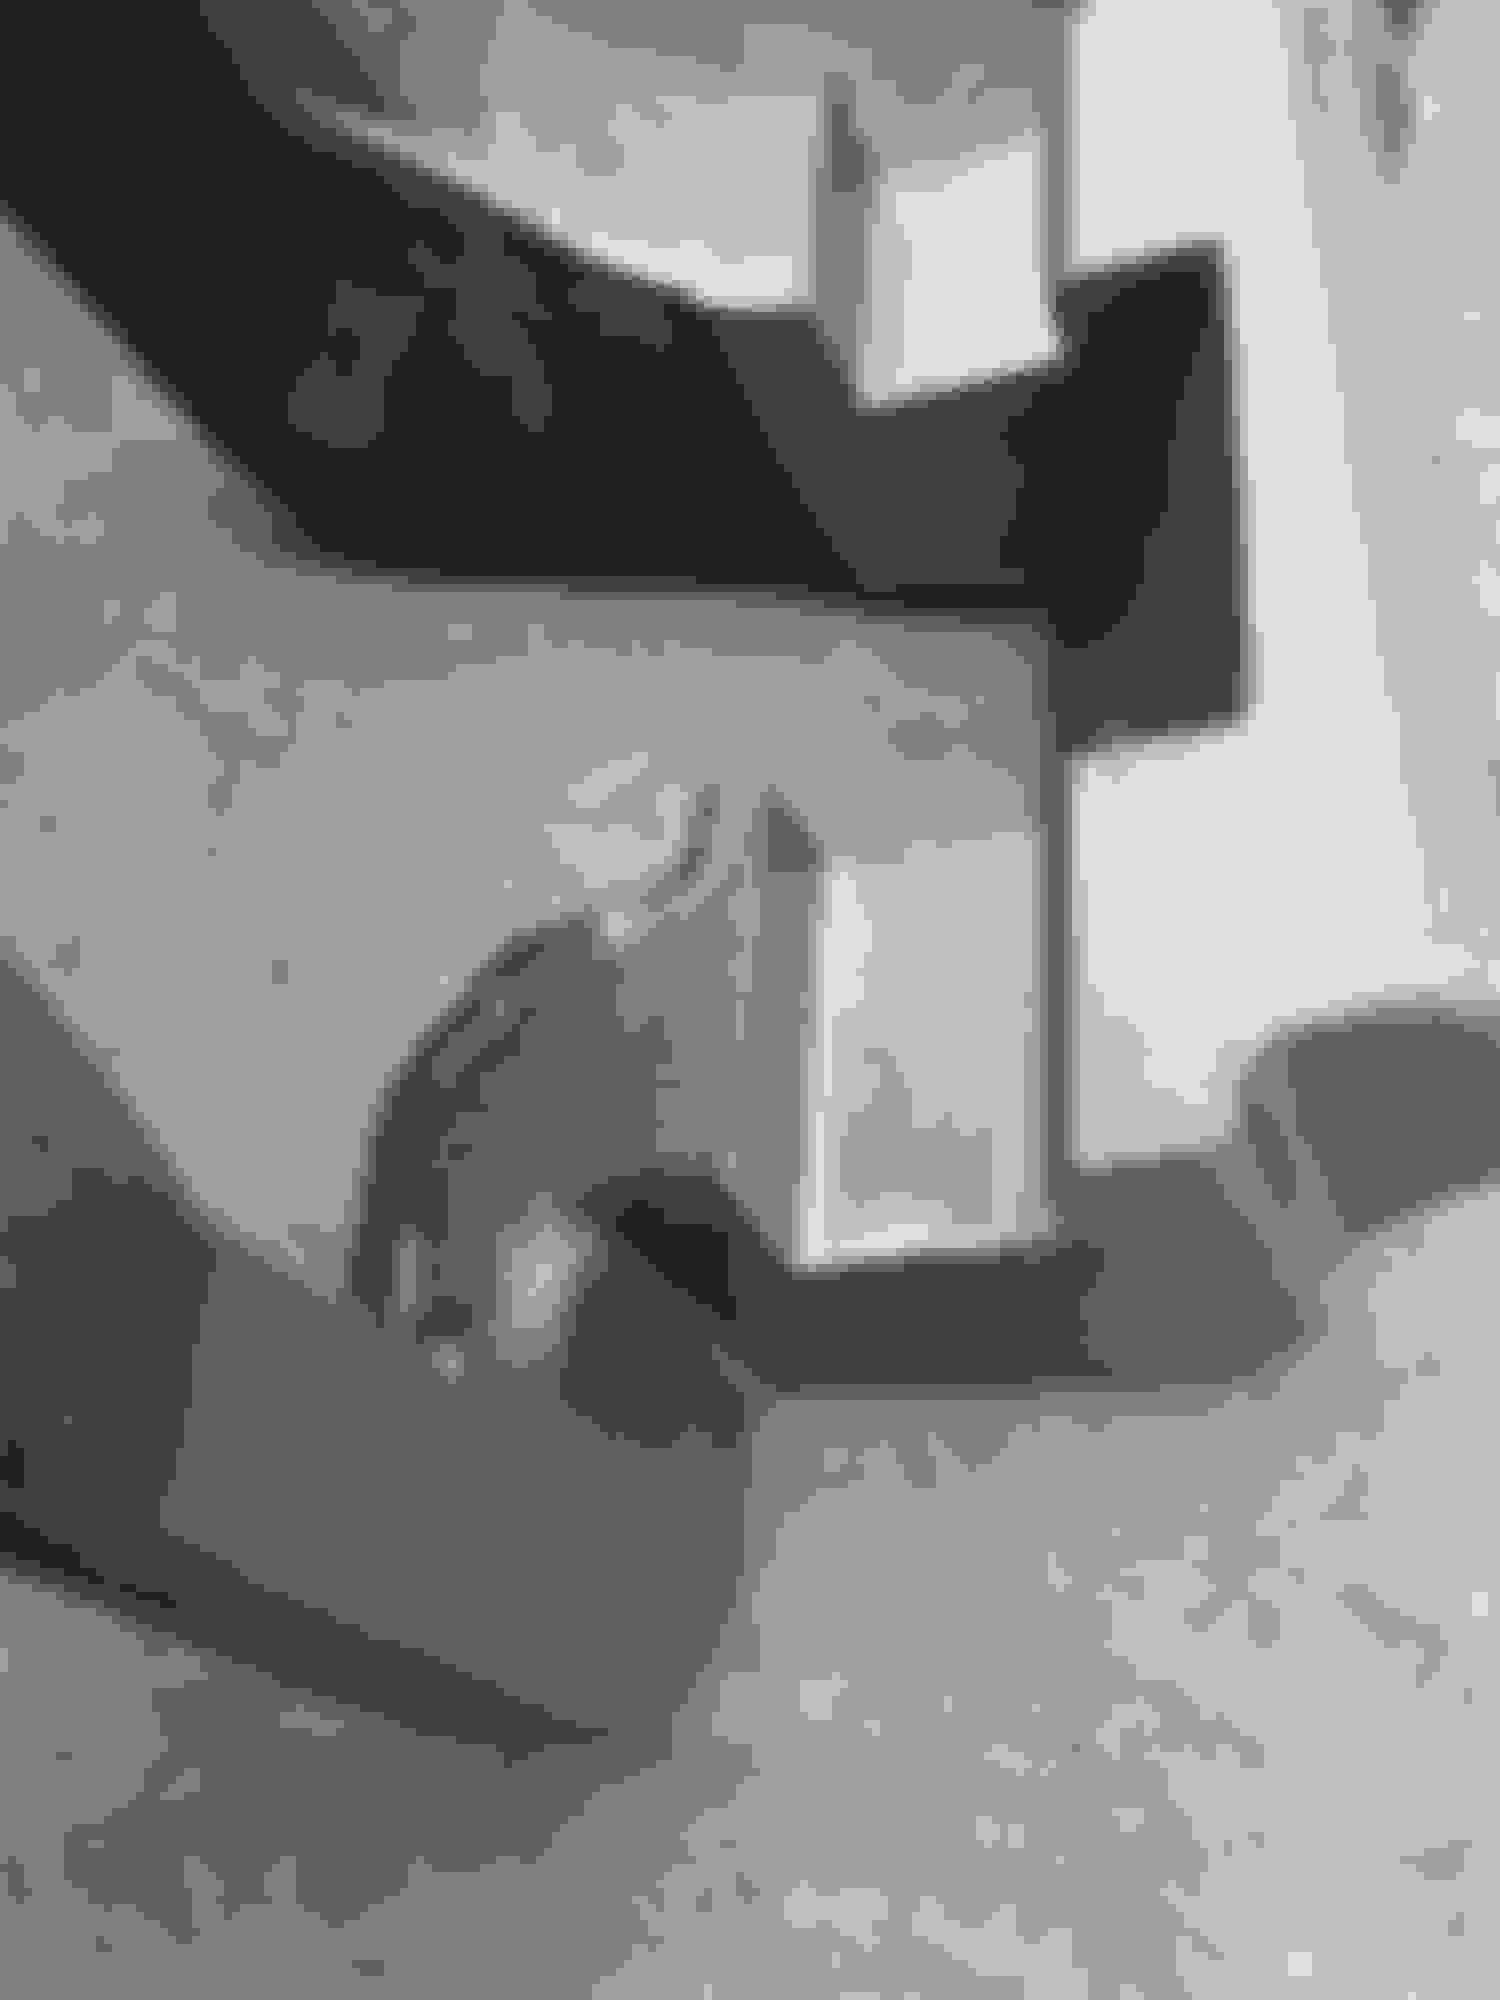
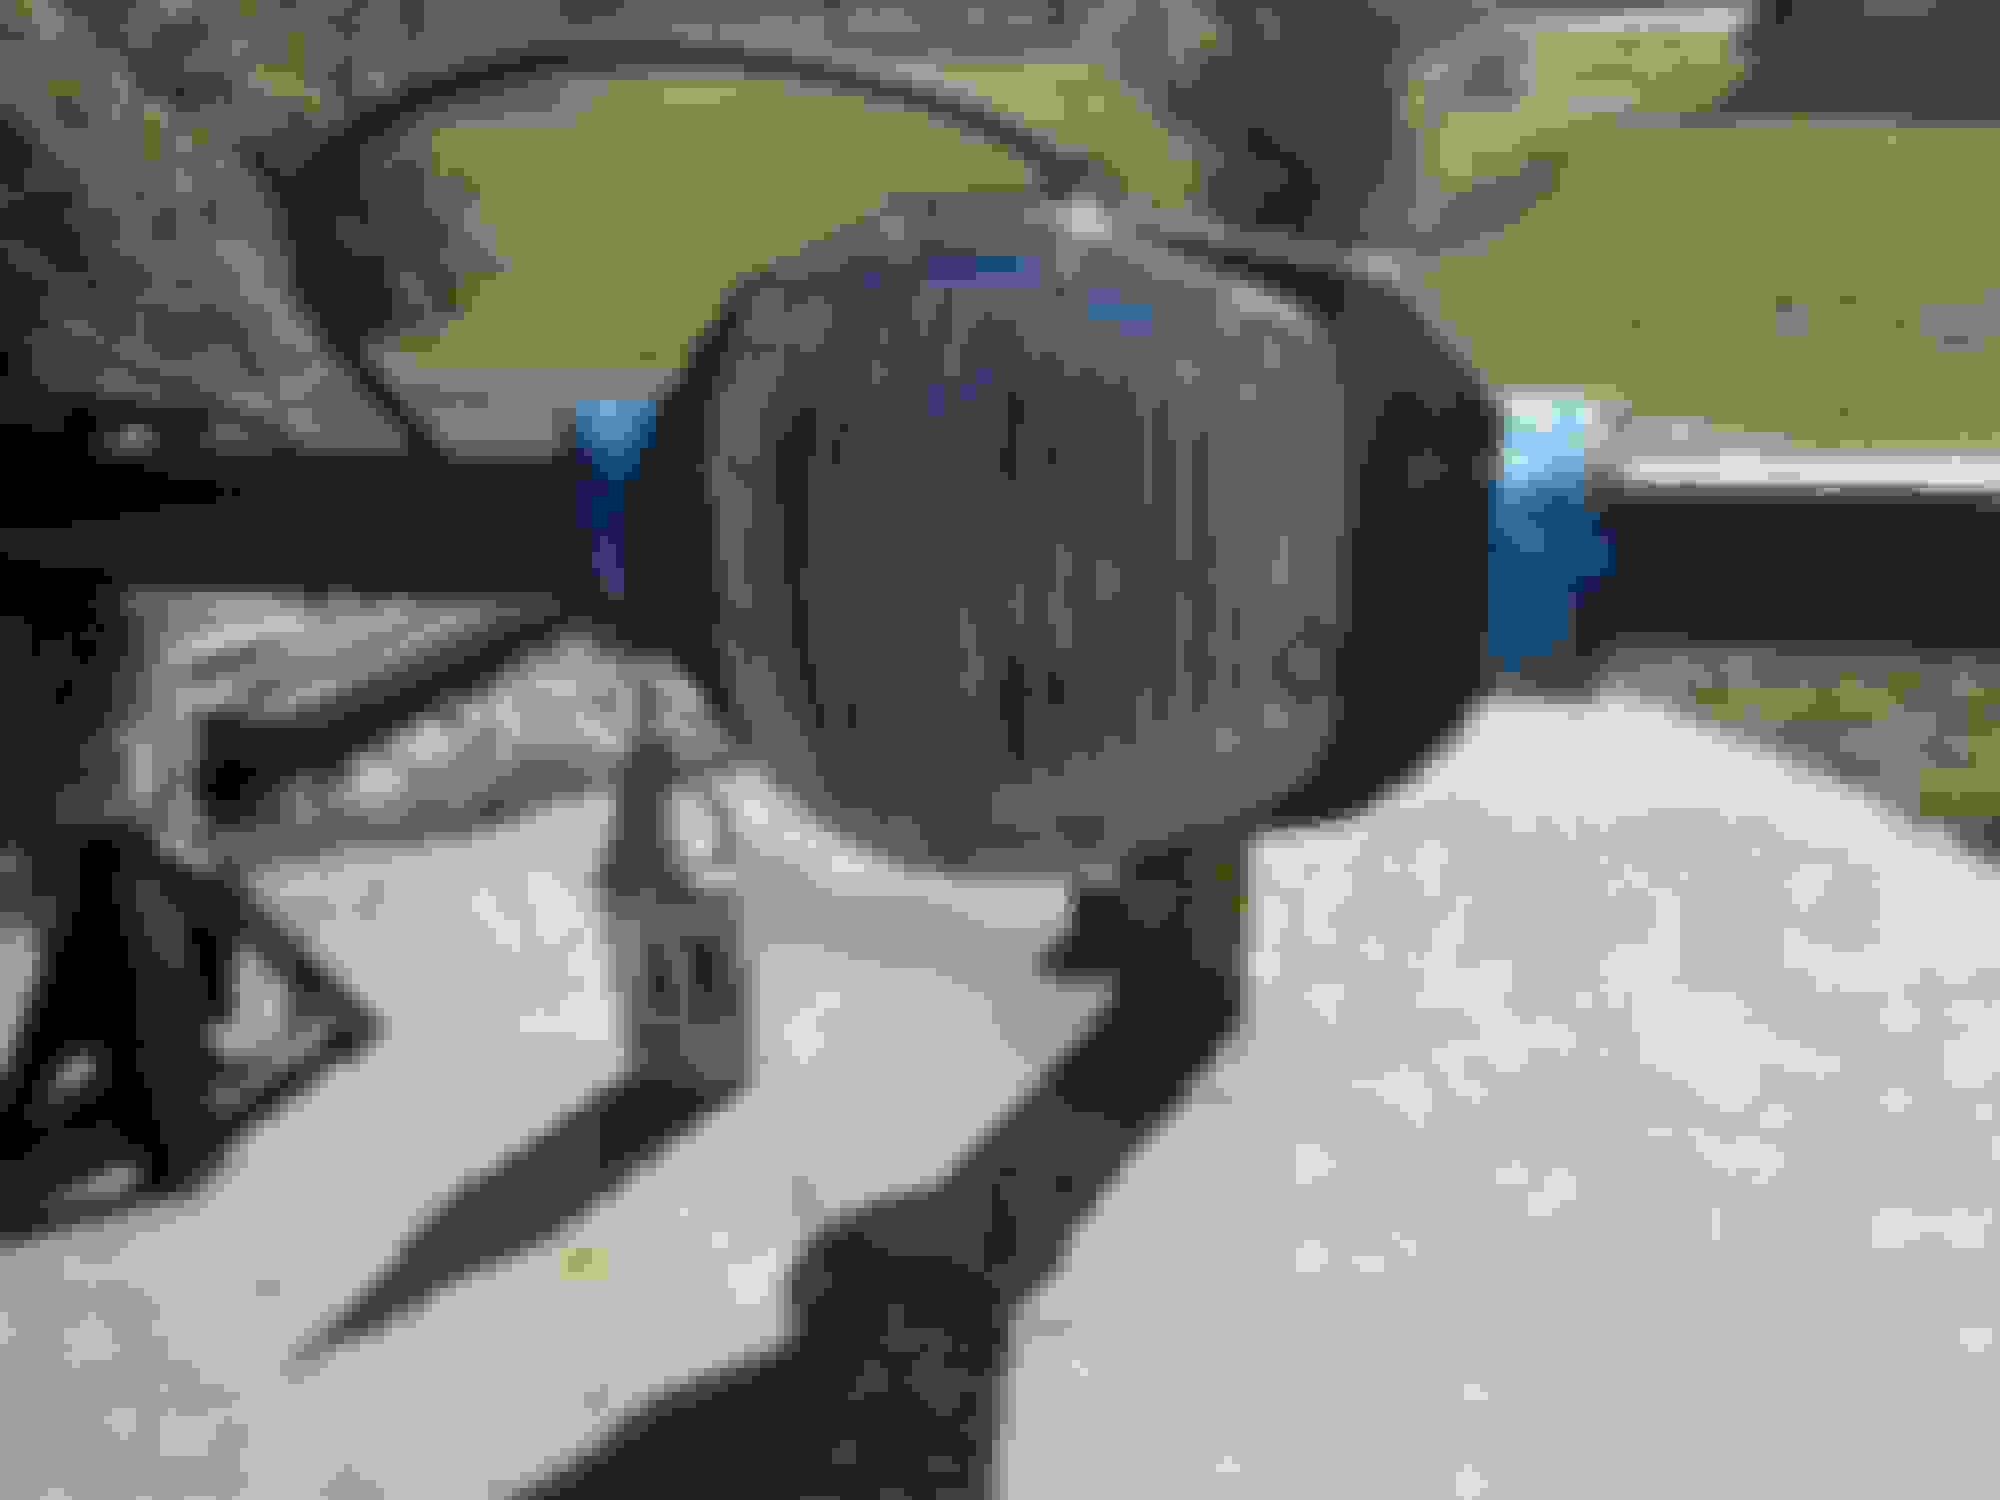
With all the brake parts painted, I went ahead and painted the outside parts of the axle that needed it today.
Luckily I didn't need much tape.
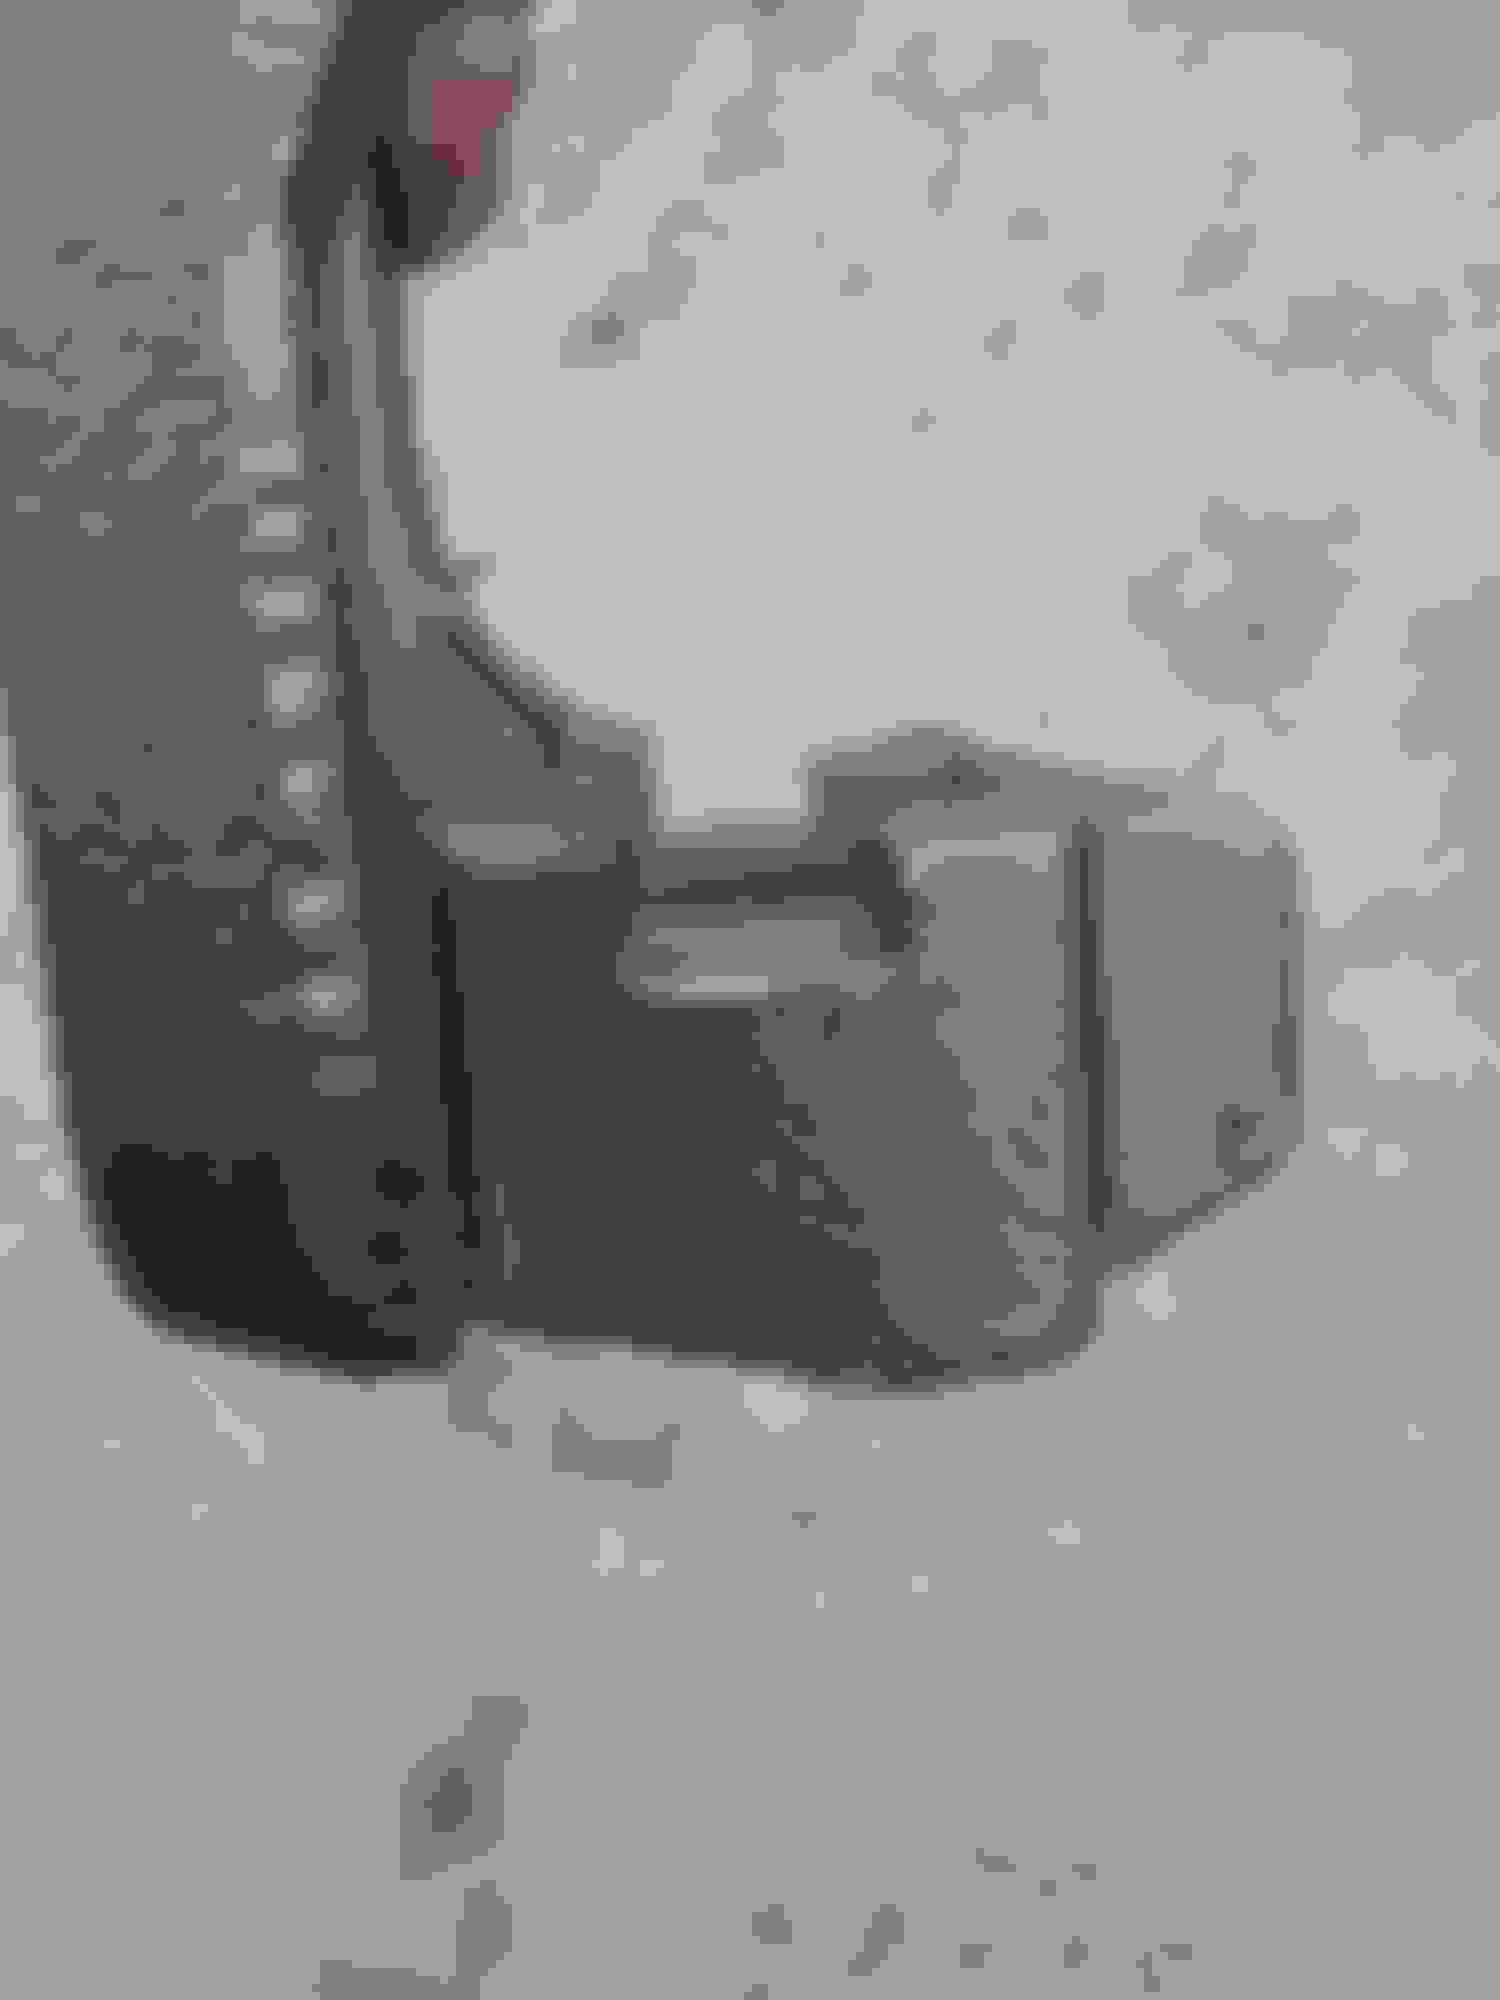
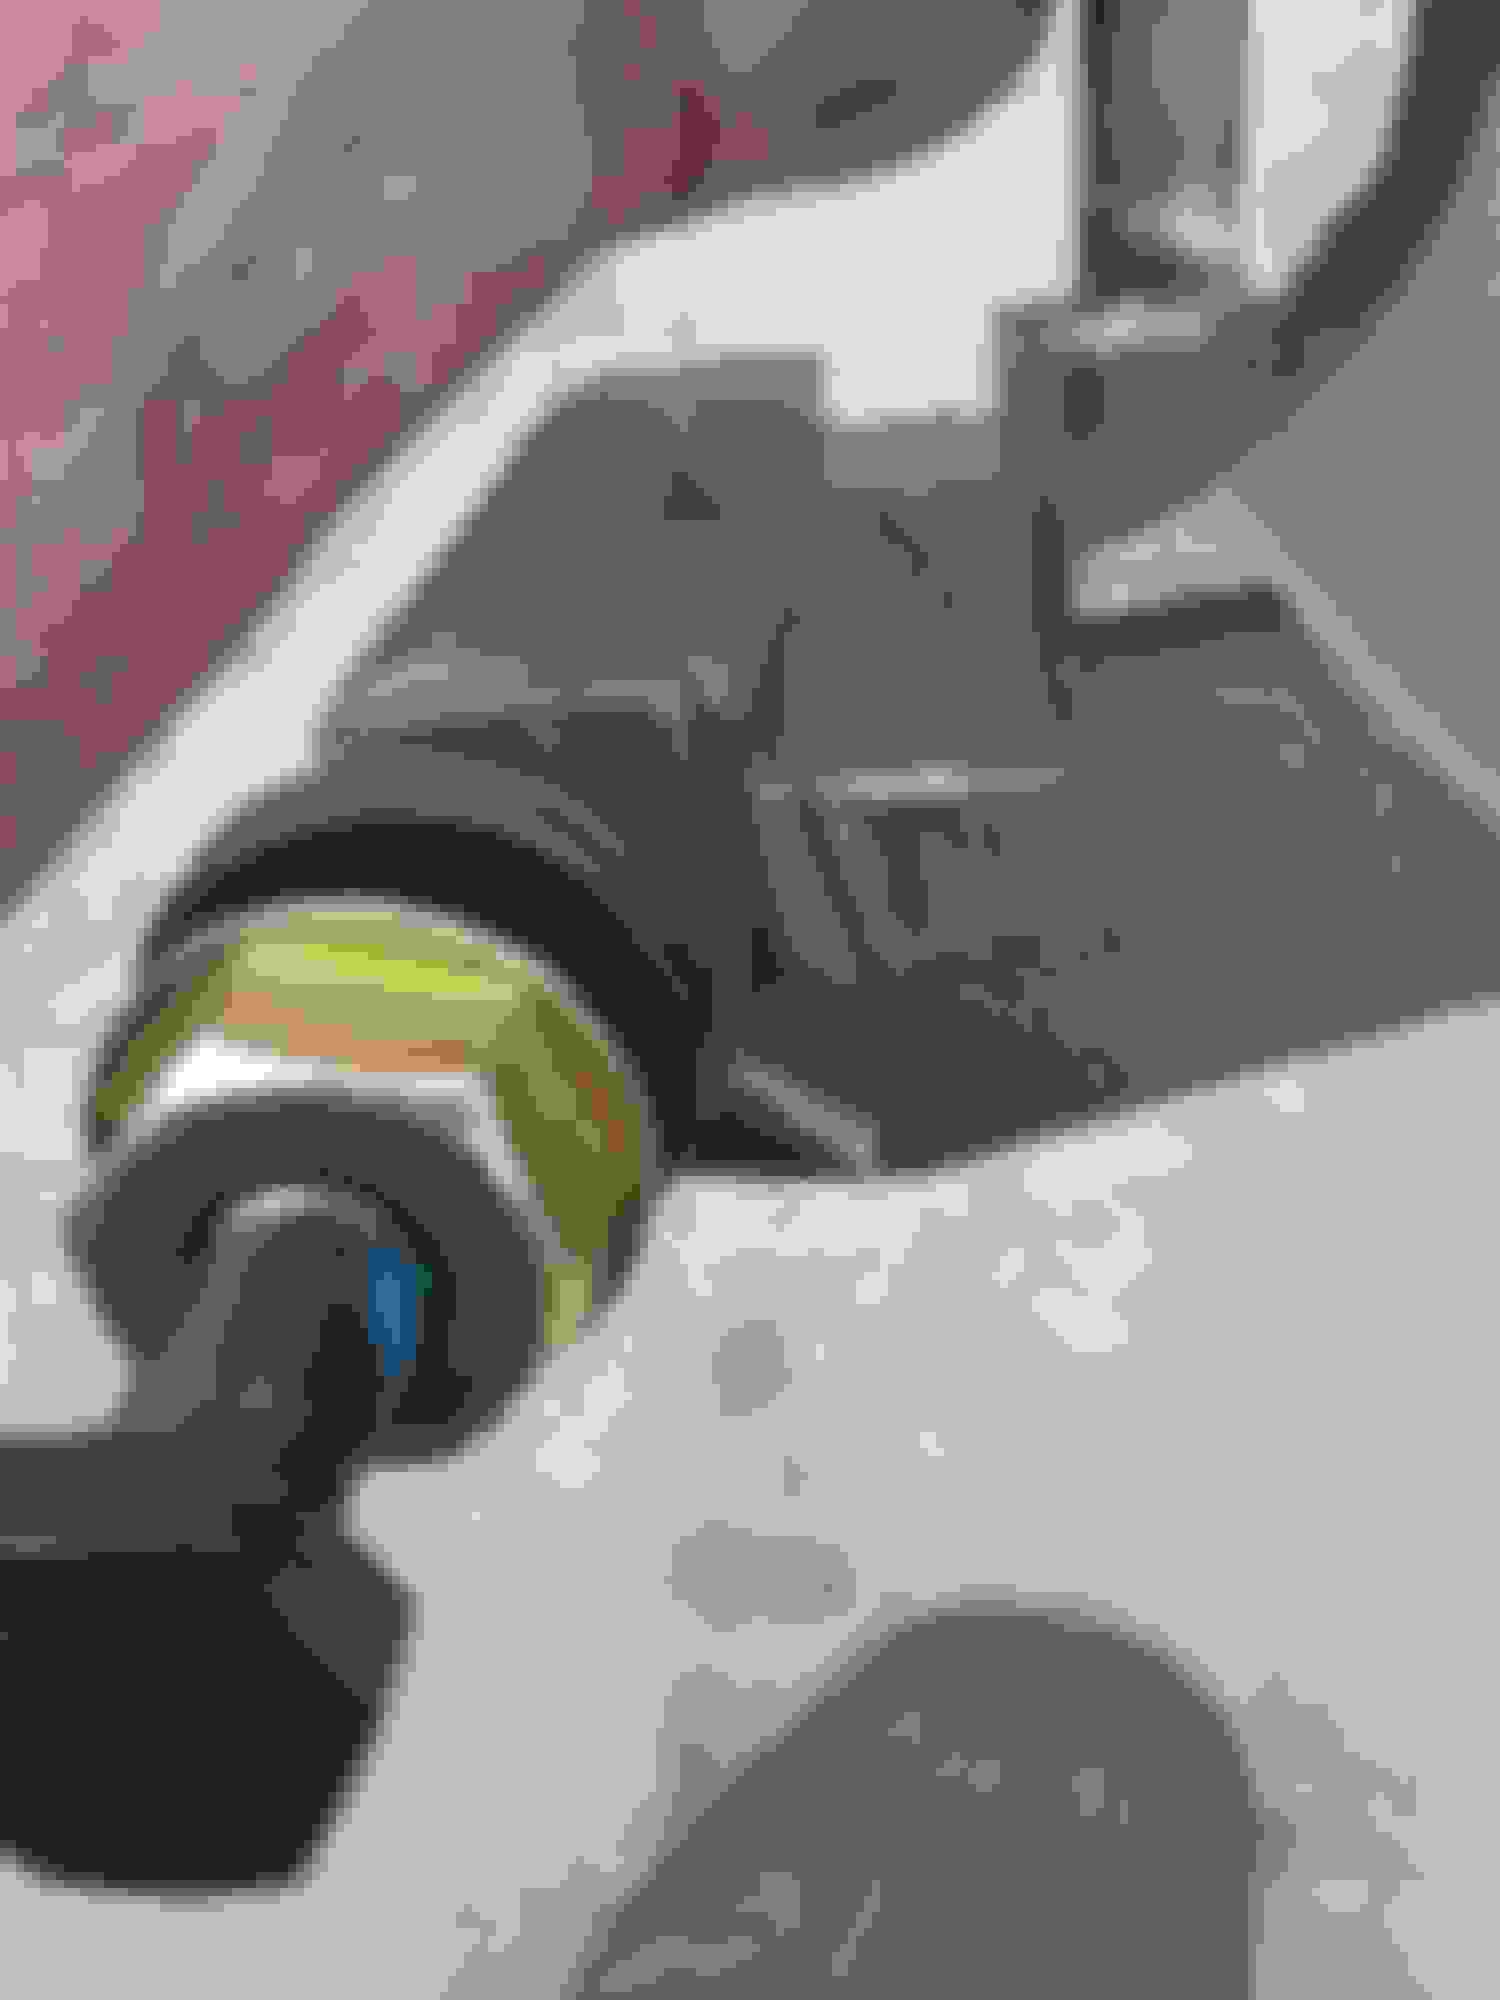
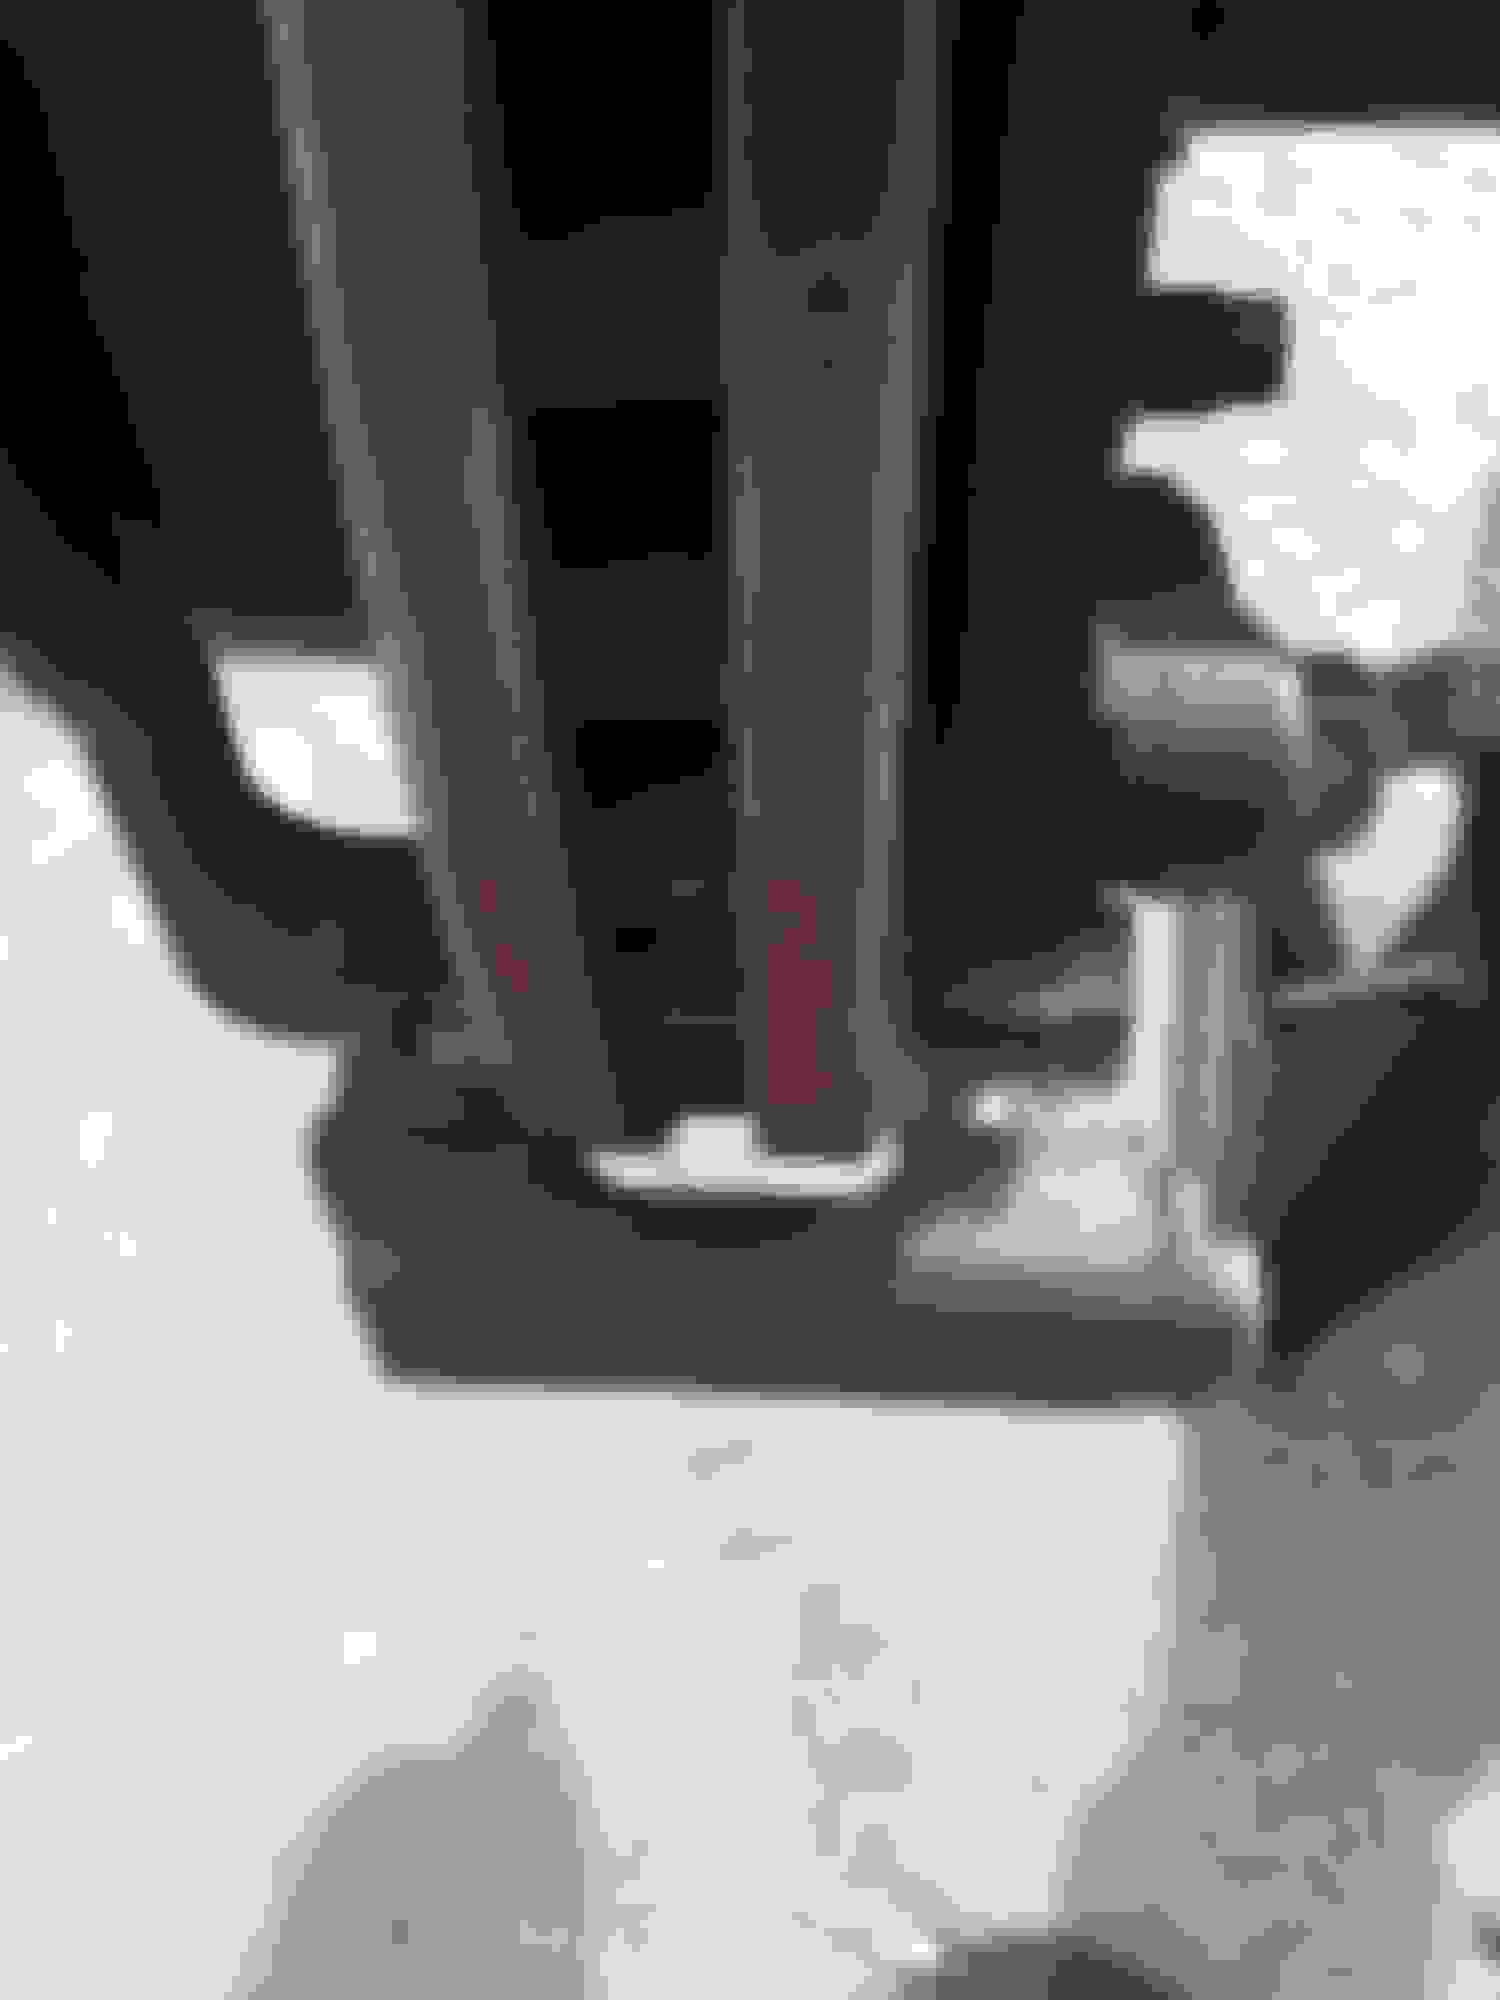
Gonna let the axle paint cure for a few days before assembling it back together (brake lines, parking brake). I will be pulling the shock mounts off my current axle under the truck, so I can't paint them yet. Axle vent tube was clear...no dirt daubers found their way into the tube...probably because of the smell. I'll probably paint the new sway bar while I wait for the paint to dry/cure. Gonna need new bushings for the bar, and probably end links, too.
In regards to switching out the brake master cylinder, I found this commentary on another site (regarding getting the MC off the donor to accommodate the bigger brake pistons):
"If your competent in working with making up hard lines, it's not a problem. Those rotors are not so much larger that I would justify doing this project on that basis.
1999 M/C with '05 F calipers will increase your pedal travel. Swaping out to the '05 will also increase your pedal travel above the '99 MC, but will generate a higher hydraulic pressure for a given pedal effort. One of the reasons that the '05+ brakes feel more effctive. It's not the rotors."
and
"If your doing both axles then I would change the M/C.
Ford changes it's line nuts regularly (maybe I should say depending on who engineered and supplied the M/C). I can't remember if the '99s line were epoxie coated or just clad. But we used to keep a huge supply from ex-prototypes and other severed sections so we would have whatever was needed.
For us what your are doing would have been building up a mule vehicle so we could test the '05 brakes on a '99 chassis. So if this was an RABS vehicle and we still wanted to use the RABS (we wouldn't), we would try to find line nut unions made by Weatherhead and sold through NAPA. They don't carry all sizes however. They also have adapters to do from one size to another. Same situation where they might not have all. If they had the right hardware, we would just use a 6" or 12" piece of standard stock bent to a U and connect the old lines to the master.
If this was not feasible, we would get the new lines for the '05 vehicle and section both the new ones and old ones so we were bare tube to tube. We would then use a stainless steel Swagloc or Yurloc union (from McMaster) to cannoect the two tubes. The standard procedure in the service industry is to always uses double or buble flares at the ends of tubes. For us that was not feasible the the standard compreession fittings with the round ferrel is not allowed (or legal). However, the Swagloc are rated way above the operating pressure of a vehicle, and they are used in very critical aerospace and nuclear applications. We never had a failure and they are the most simple to use."
Jack (FTE username: TooManyToys)
Former Vehicle Test Manager - Friction Products
To add more to what Pirate posted on the first page, 2001 Excursion full MC numbers:
Bore Diameter: 1.375 In.
Forward Outlet Size: 9/16-18 and 3/8-24
Material: Aluminum
Number of Outlets: 3
Package Contents: Master Cylinder
Package Quantity: 1
Rearward Outlet Size: 7/16-24
Reservoir Included: Yes
Sensor Included: Yes
And the 2007 full F250 MC numbers:
Bore Diameter: 1.5 In.
Forward Outlet Size: M10 x 1.0 and 3/8-24
Item Grade: Standard Replacement
Material: Aluminum
Number of Outlets: 4
Package Contents: Master Cylinder
Package Quantity: 1
Rearward Outlet Size: M12 X 1.0
Reservoir Included: Yes
Sensor Included: Yes
Based on the different connector sizes, it might not be a bolt in unless you have the lines from the donor truck coming out of the MC, and you splice them into the old lines like the test engineer talked about in the above quote. Luckily I can go and grab them, but others might not be able to. Will definitely post lots more about this when I get to that step/steps.
"As mike pointed out the stock F250 stuff is going to change a stock Excursion ride height by 2"
However if you plan to lift it beyond that you are going to need a new radius arm bracket that lowers the attachment point. PMF offer a new radius bracket that allows for up to a 2.5" lift while keeping proper link geometry and caster."
CAMO : To be clear, This will provide a 4 1/2" front lift on the ol X ???
Brakes, brakes and more brakes...gonna beat this one good.
It is imperative that the brakes going on your axles be 100% when they go under your truck. After all, we are all doing this for the bigger, better brakes right?
What follows is some seriously comprehensive info about the rear brakes and installing them correctly so you don't have brake drag, right pull, left pull, seized caliper pins, frozen caliper pistons, etc.
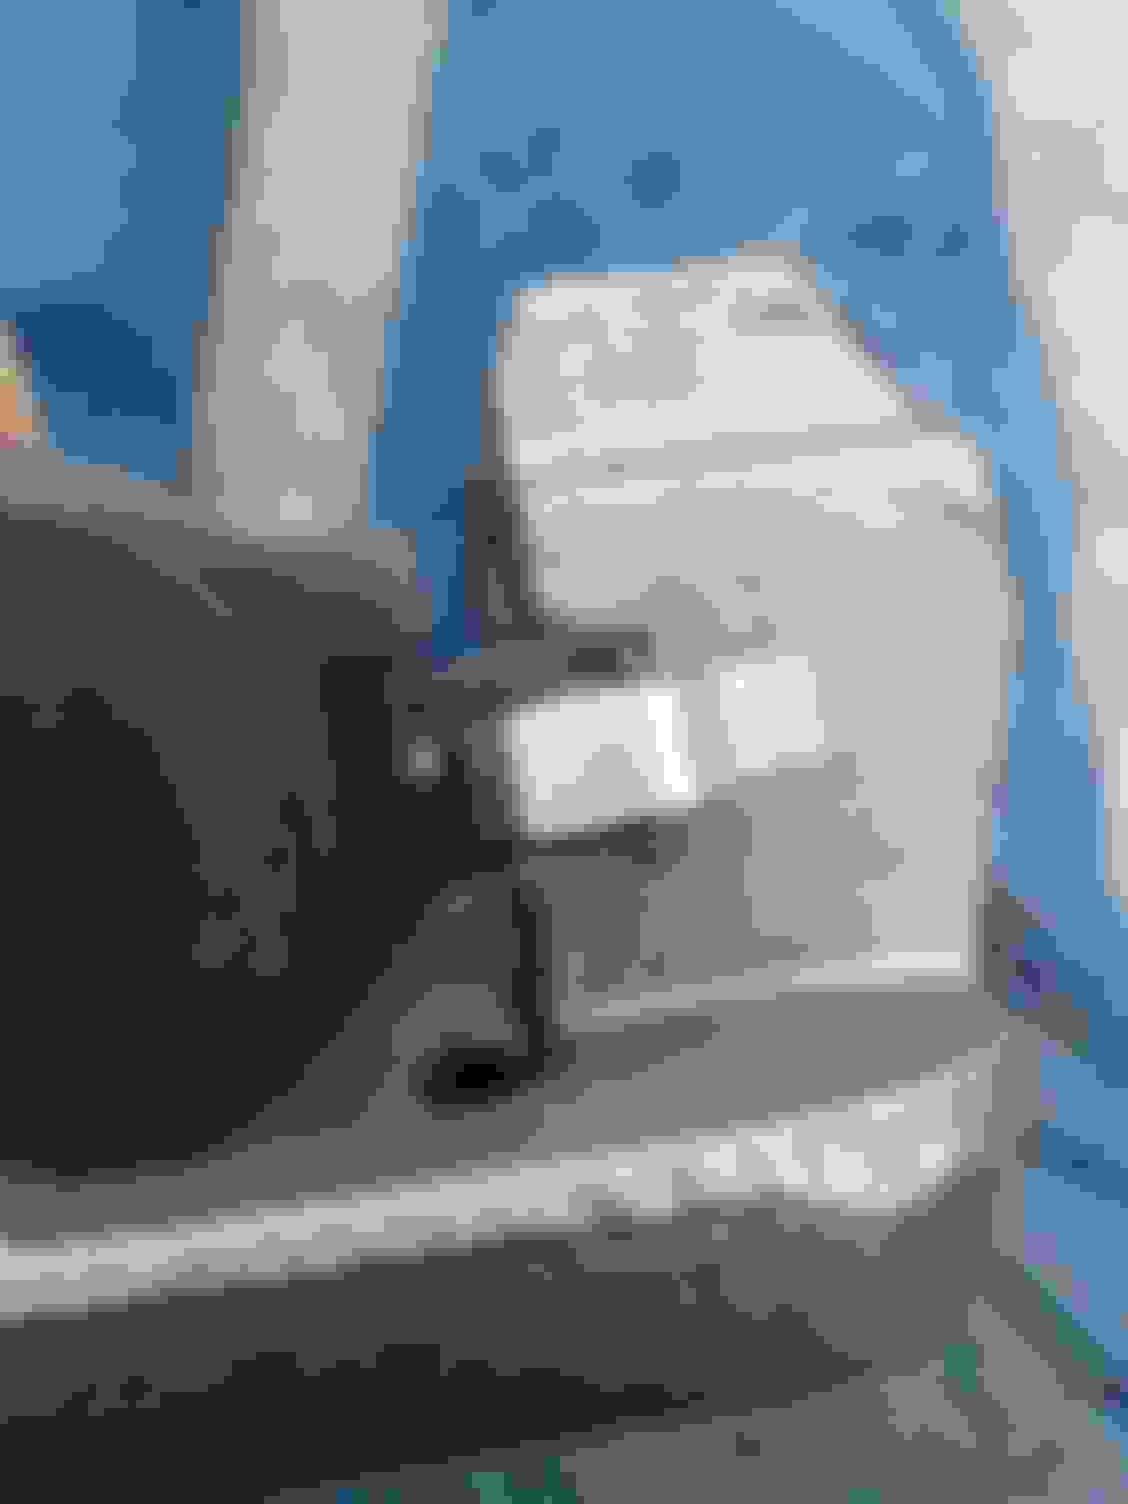
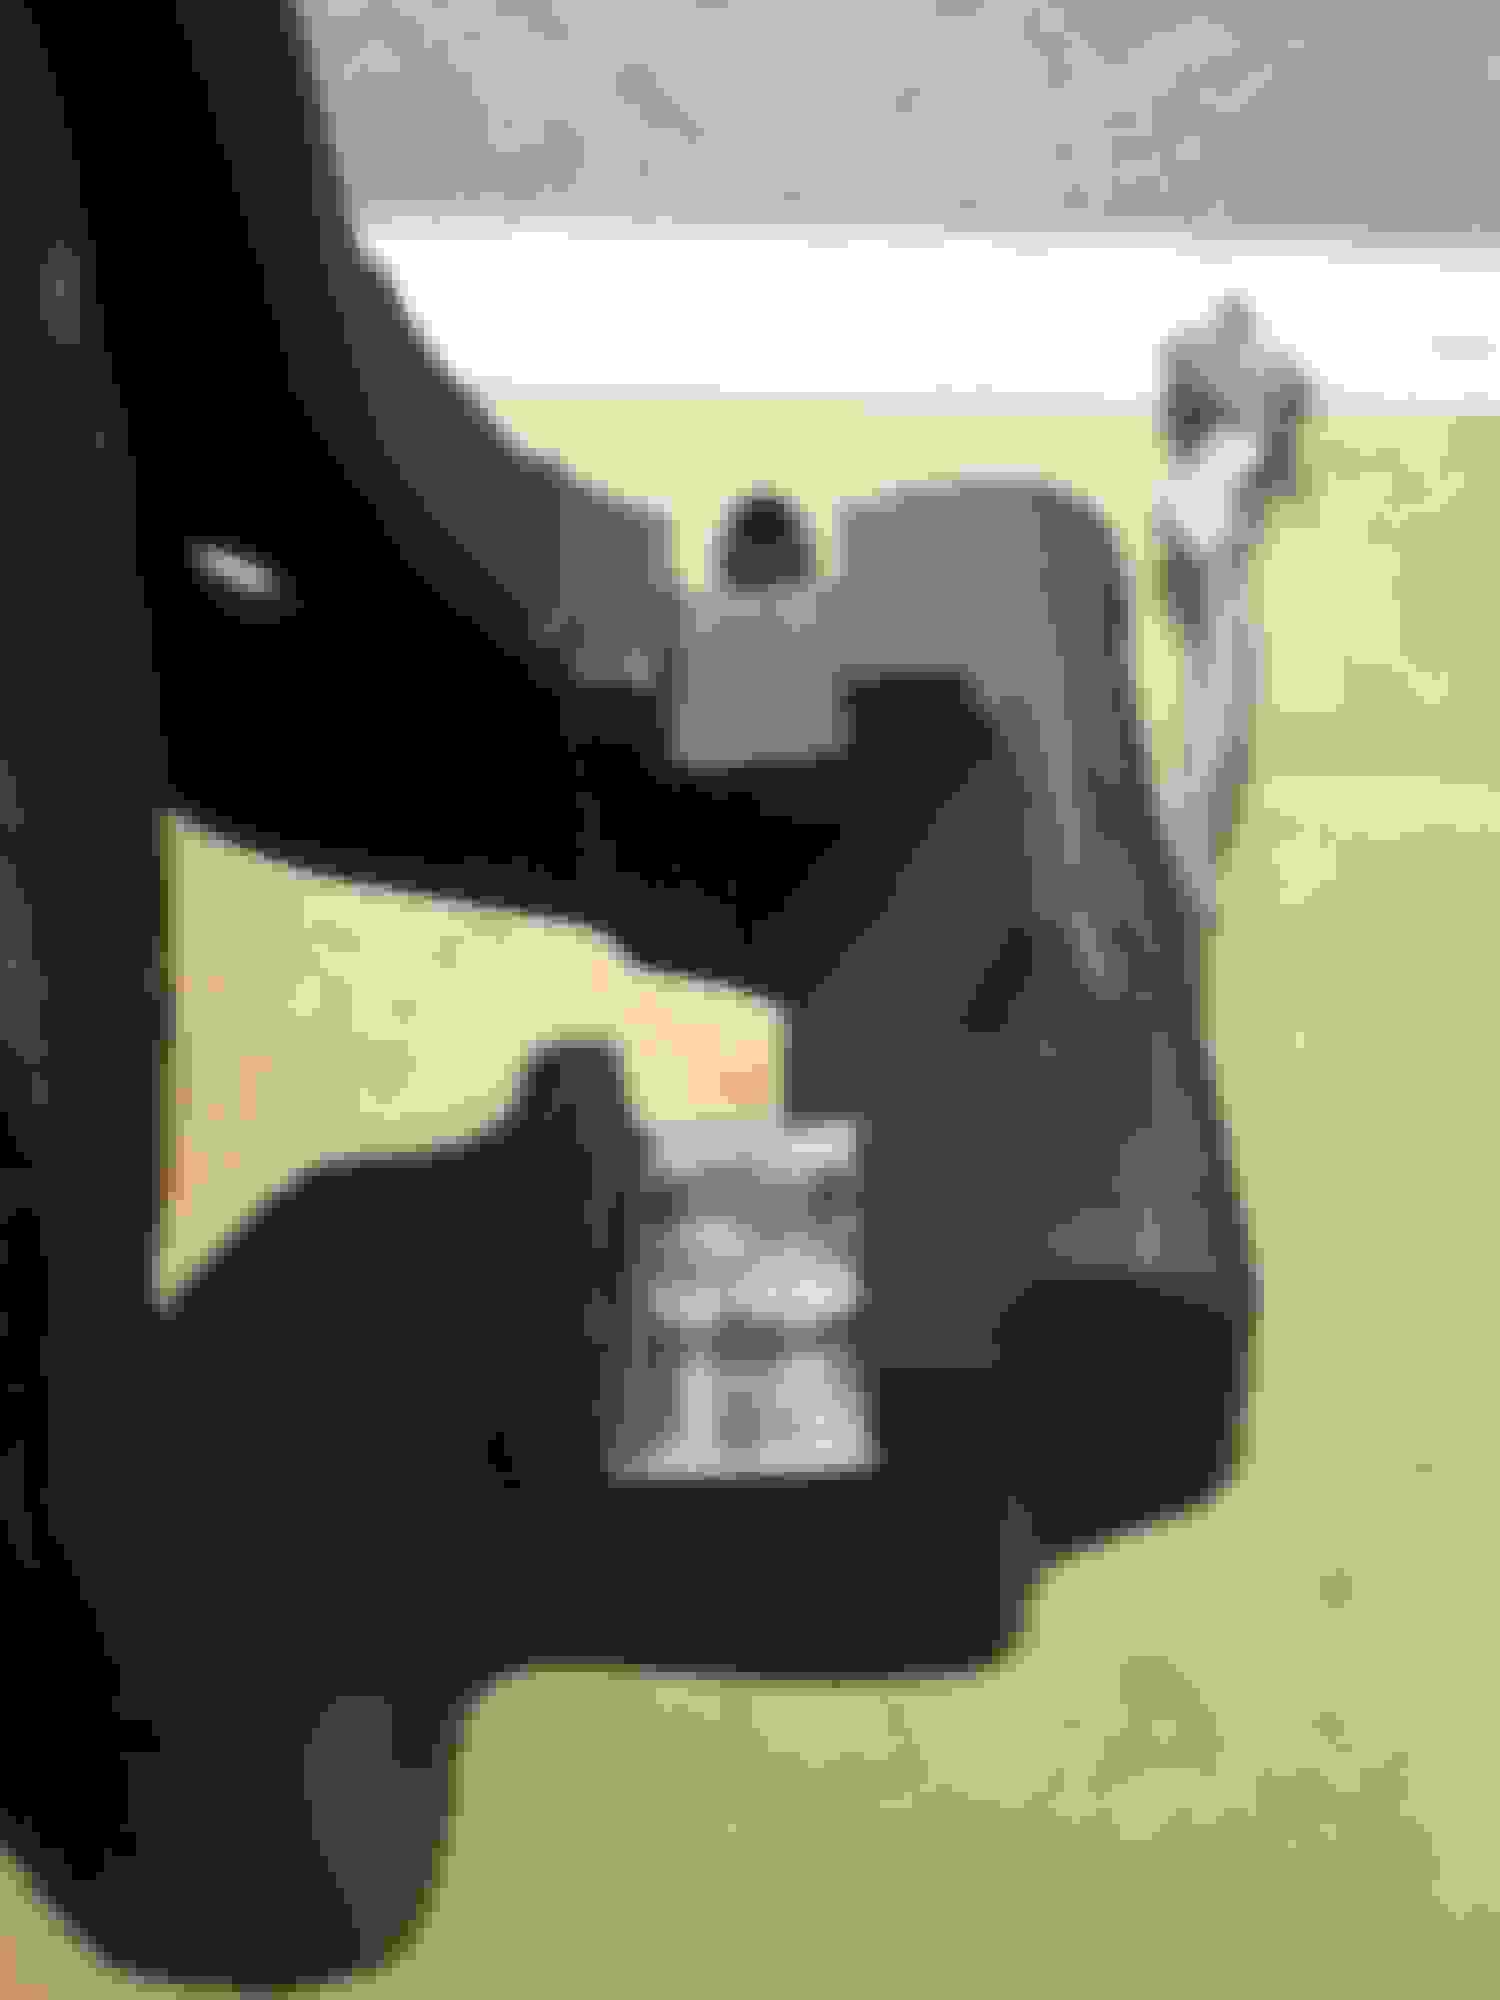
Find your parking brake adjuster. One click at a time, turn it until you get the desired resistance on the brake rotor as it turns.
If adjusting with the rotor on, there is an oval rubber plug (in the picture toward the bottom) on the bottom back of the brake backing plate. Remove it and make your adjustments. Don't forget to put the plug back in with a flat blade screwdriver...just stab it till it seats back in its hole.
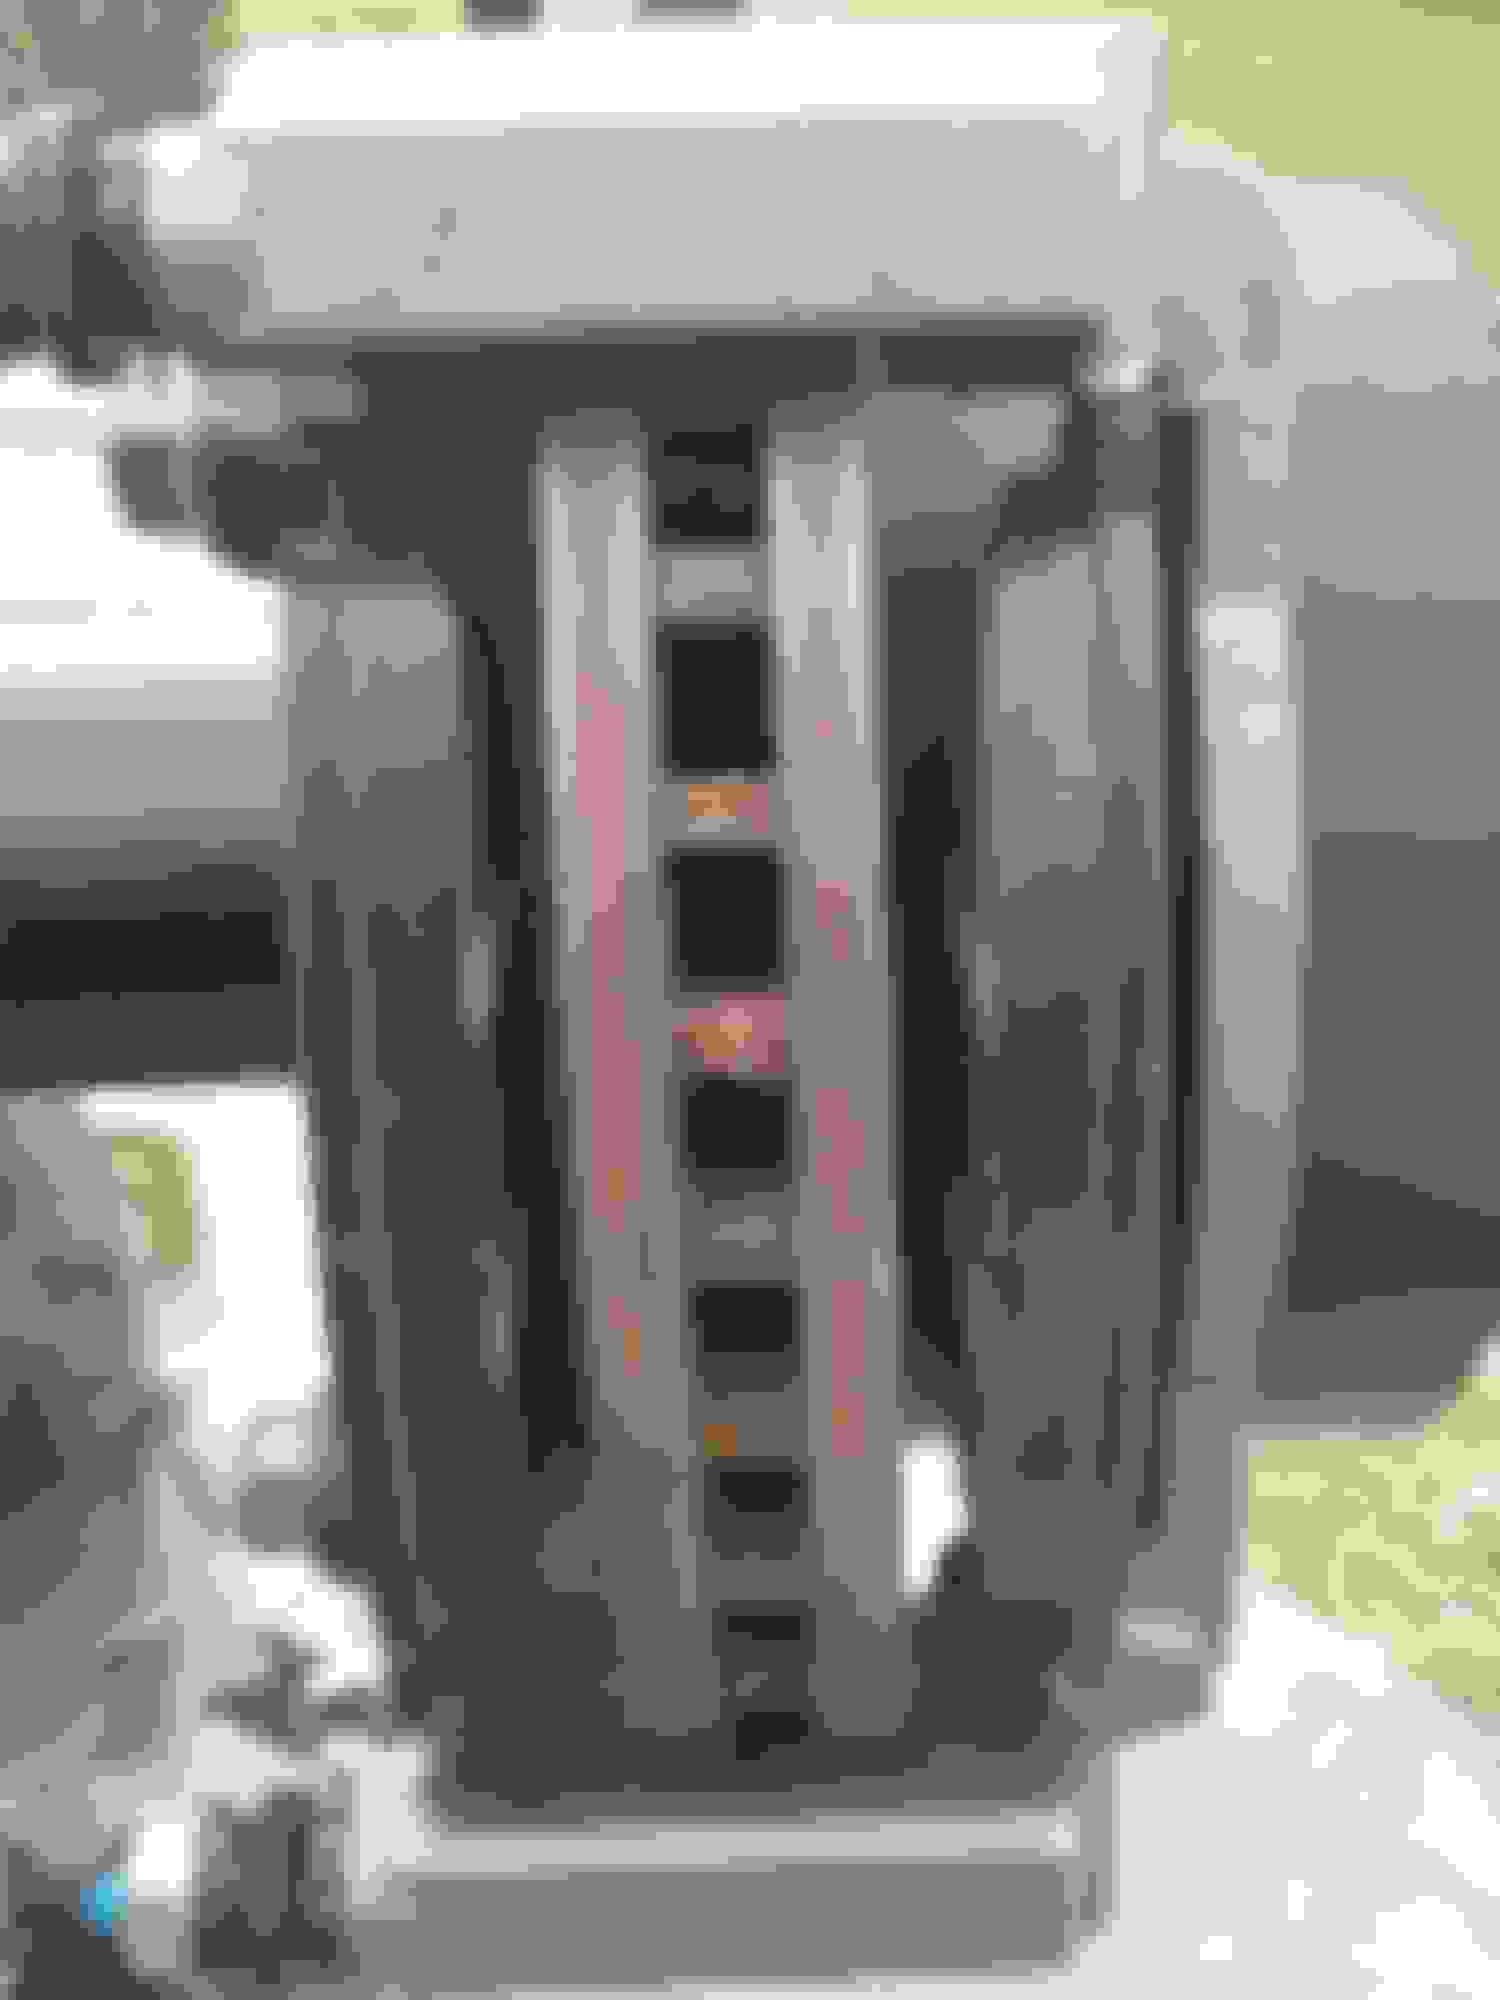
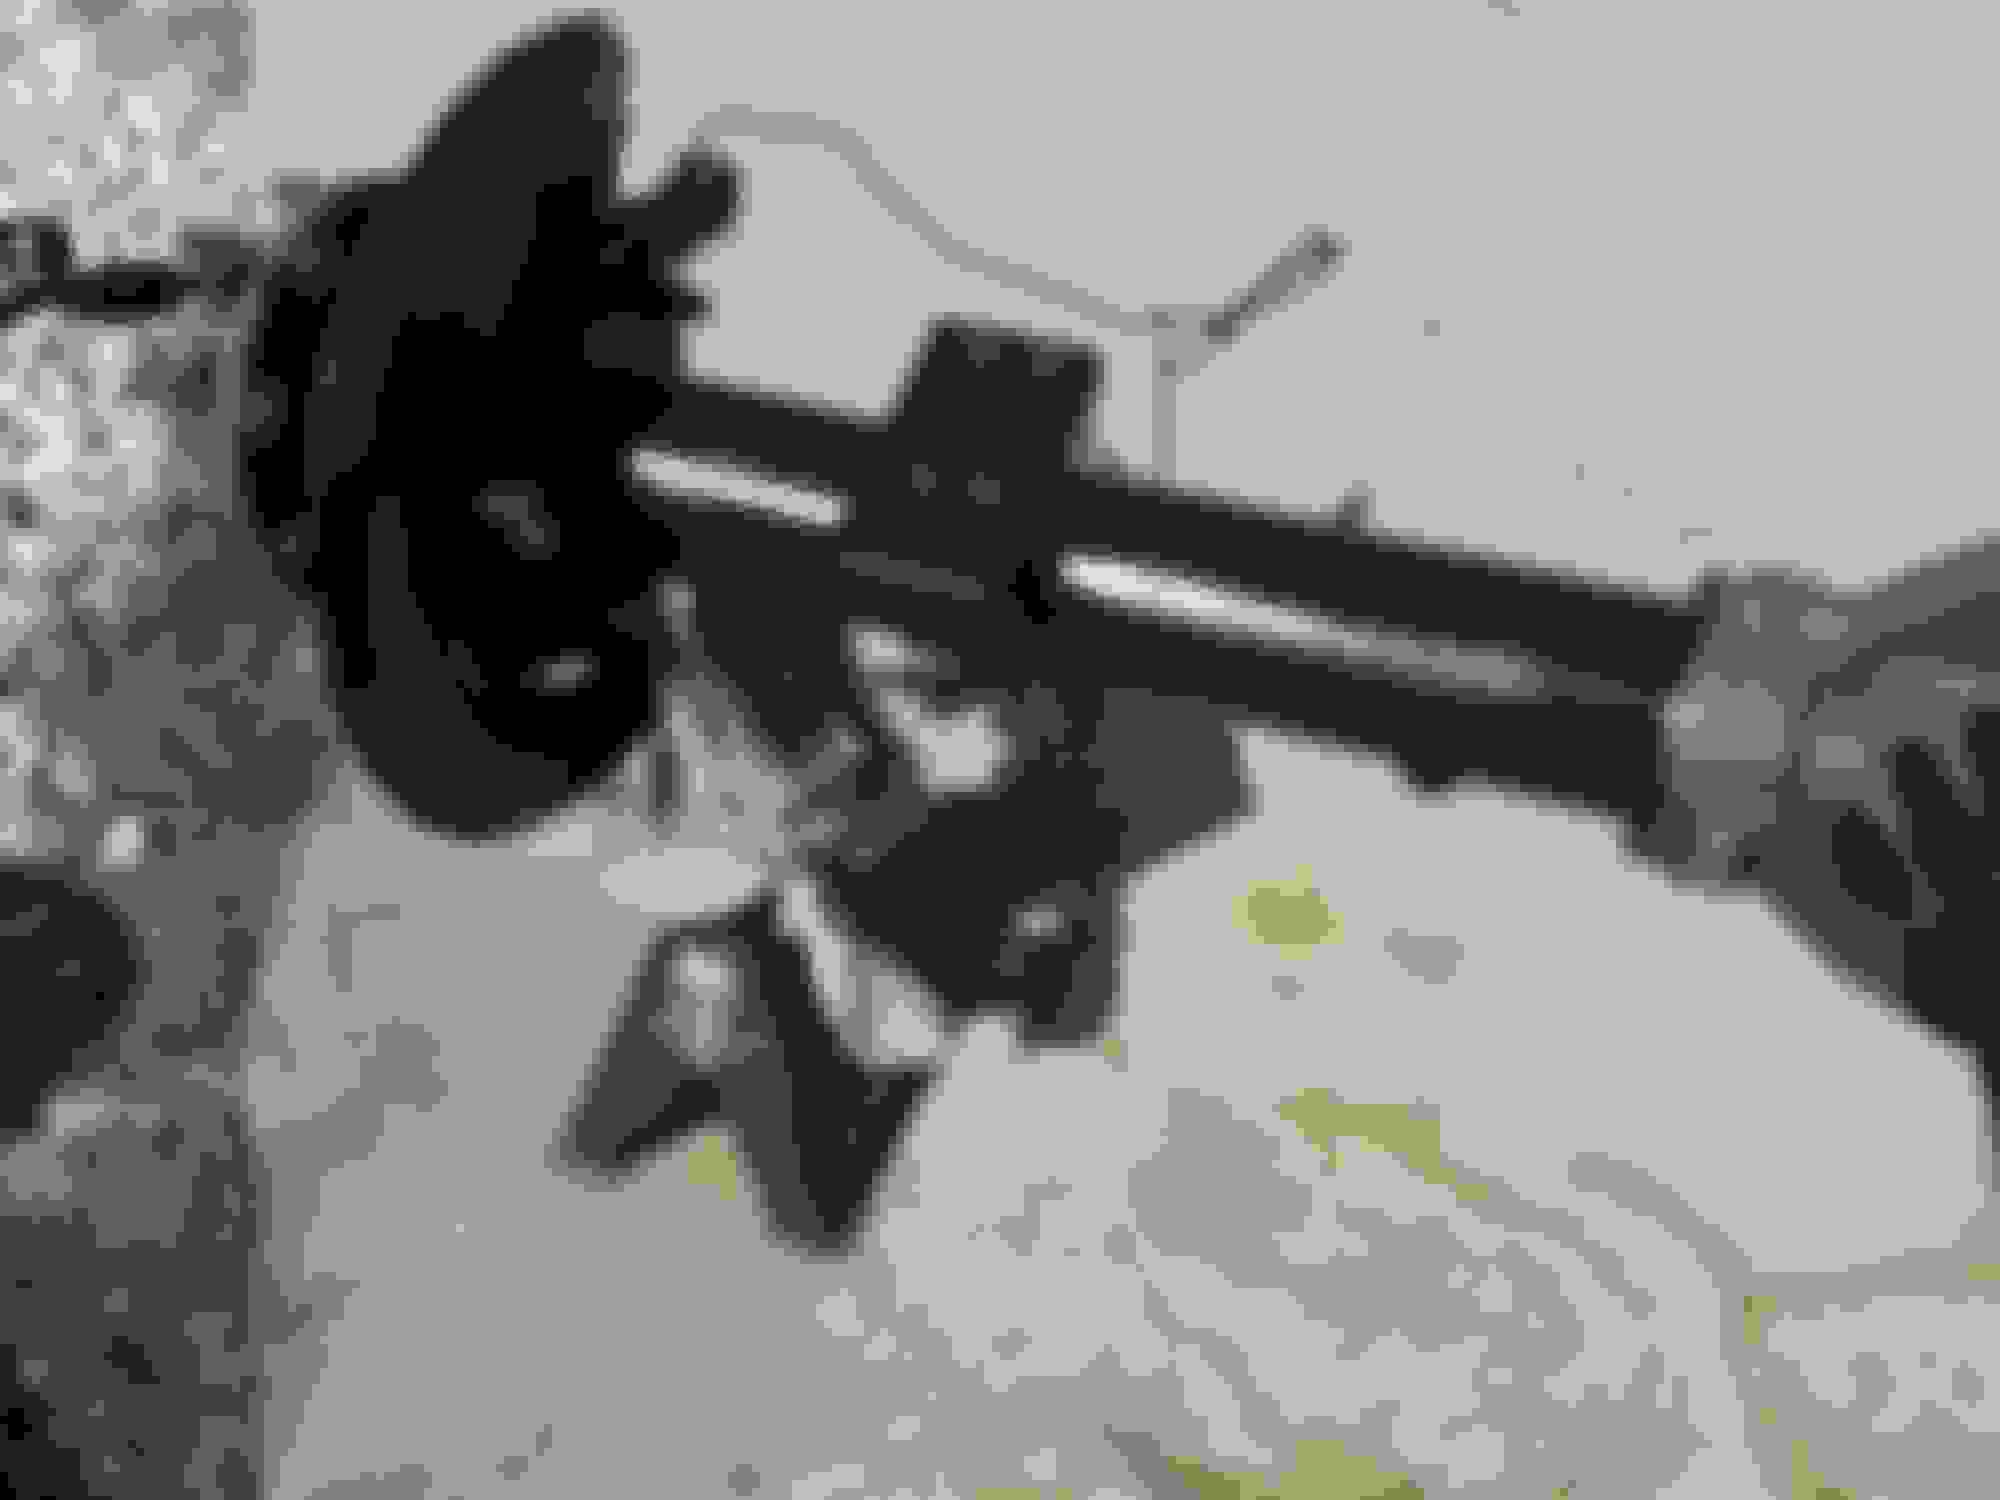
This is a new/rebuilt caliper mounting bracket. Hard to believe with all these dings in it...
See the raised edge into the plane the pads slide on?
Two more dings. Same bracket. Foreground and background...
Gonna need some files or sandpaper. I have files.
File all those dings flat with the sides and bottoms of all the brake tab grooves. The pads CANNOT move smoothly if you don't.
The desired result.
See that edge sticking up on the far side? No good.
Take it off.
More dings...sigh.
They gotta go, too.
Now that your brake pad mounting points are 100% operationally ready, you can break out the hardware and be prepared to be very disappointed...wait...what?
Brake tab in the groove without hardware...plenty of room in there, right? Wrong.
Houston...we have a problem. And it isn't your fault.
See the rub spots on those rounded corners (black streak)? That is NOT GOOD! Brake pads will not be able to slide, and they will hang up in the groove.
Gaaaaaaaah! NOOOOOOOOO!
And here is the problem. OEM on the left, and aftermarket on the right. The problem here is obvious...at least to me.
Old...good
New...bad.
File those round corners down!
Smooth as butter now! You don't have to take much off at all, but it makes a BIG difference.
Grease up those slots with brake grease.
This is some good stuff.
Once all greased and installed, squeeze your brake pads to the center.
They should SMOOTHLY and QUICKLY return to the outside.
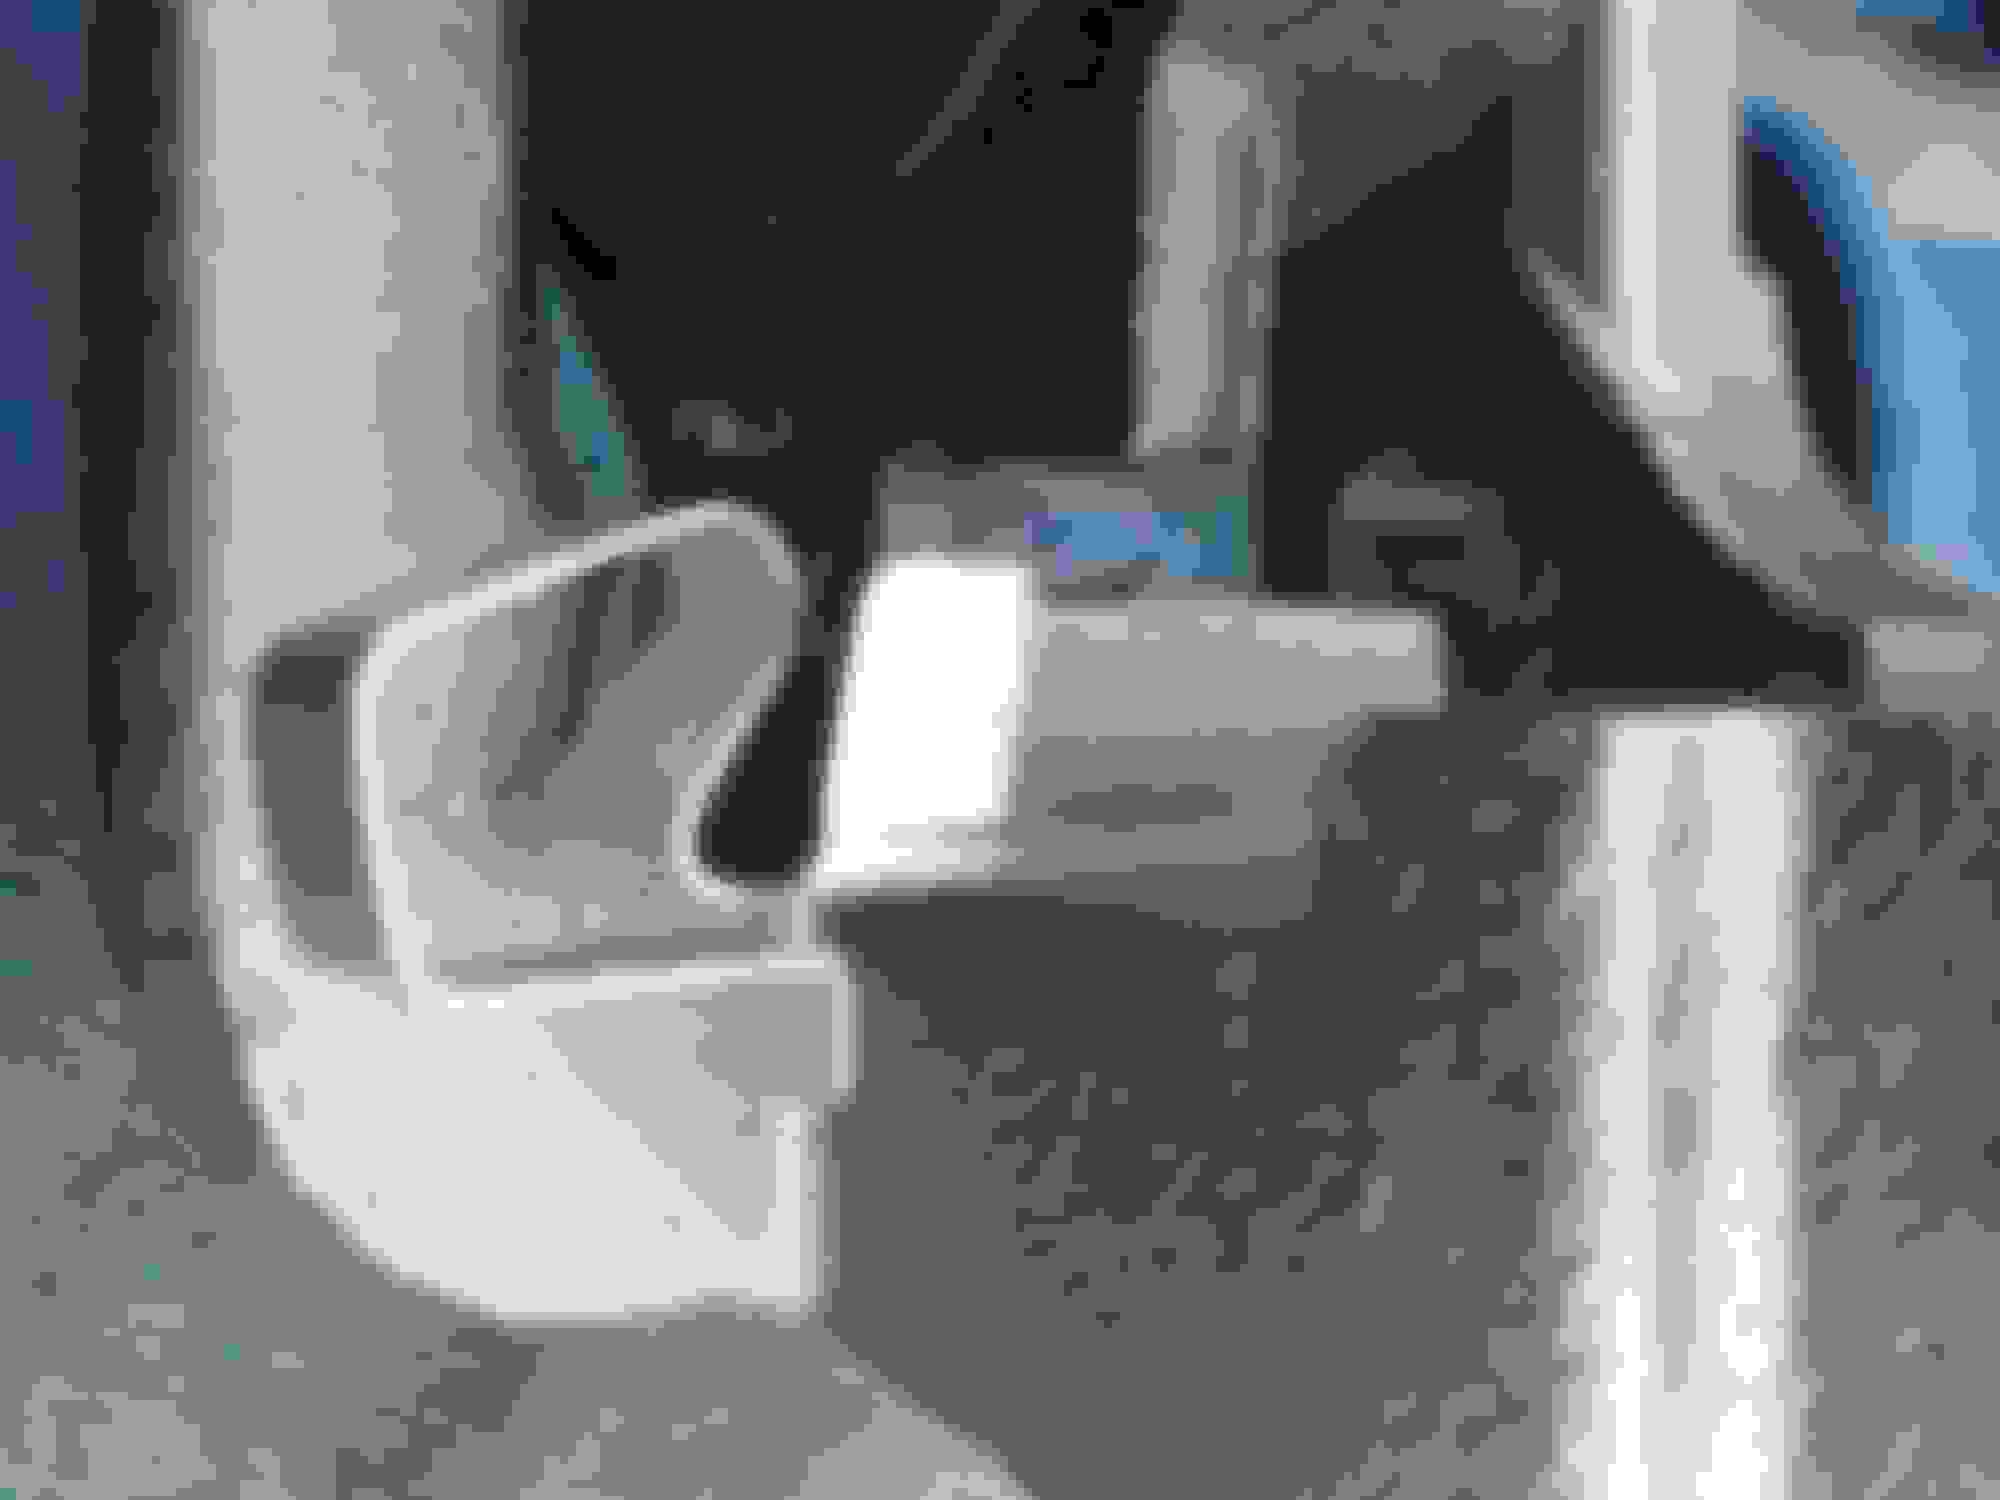
How they SHOULD look installed without the caliper. The pads should want to stay away from the rotor. Squeeze them, and they pop back out.
This is where that odd piece of hardware goes. Tuck the nose of it down and under the caliper bracket edge. The hole in that little piece goes over the little nub near the tab.
And there she is. Passenger side installed, and ready for brake lines/fluid.
Repeat the whole process on the other side. This is a bracket I reused, and you can see there is a different problem there. Rust in the brake tab slots.
You can use the file or the wire wheel, but you will likely have to use both. Don't remove a bunch of material. Just remove the rust and make the surface smooth.
Apply brake lube to the slots...
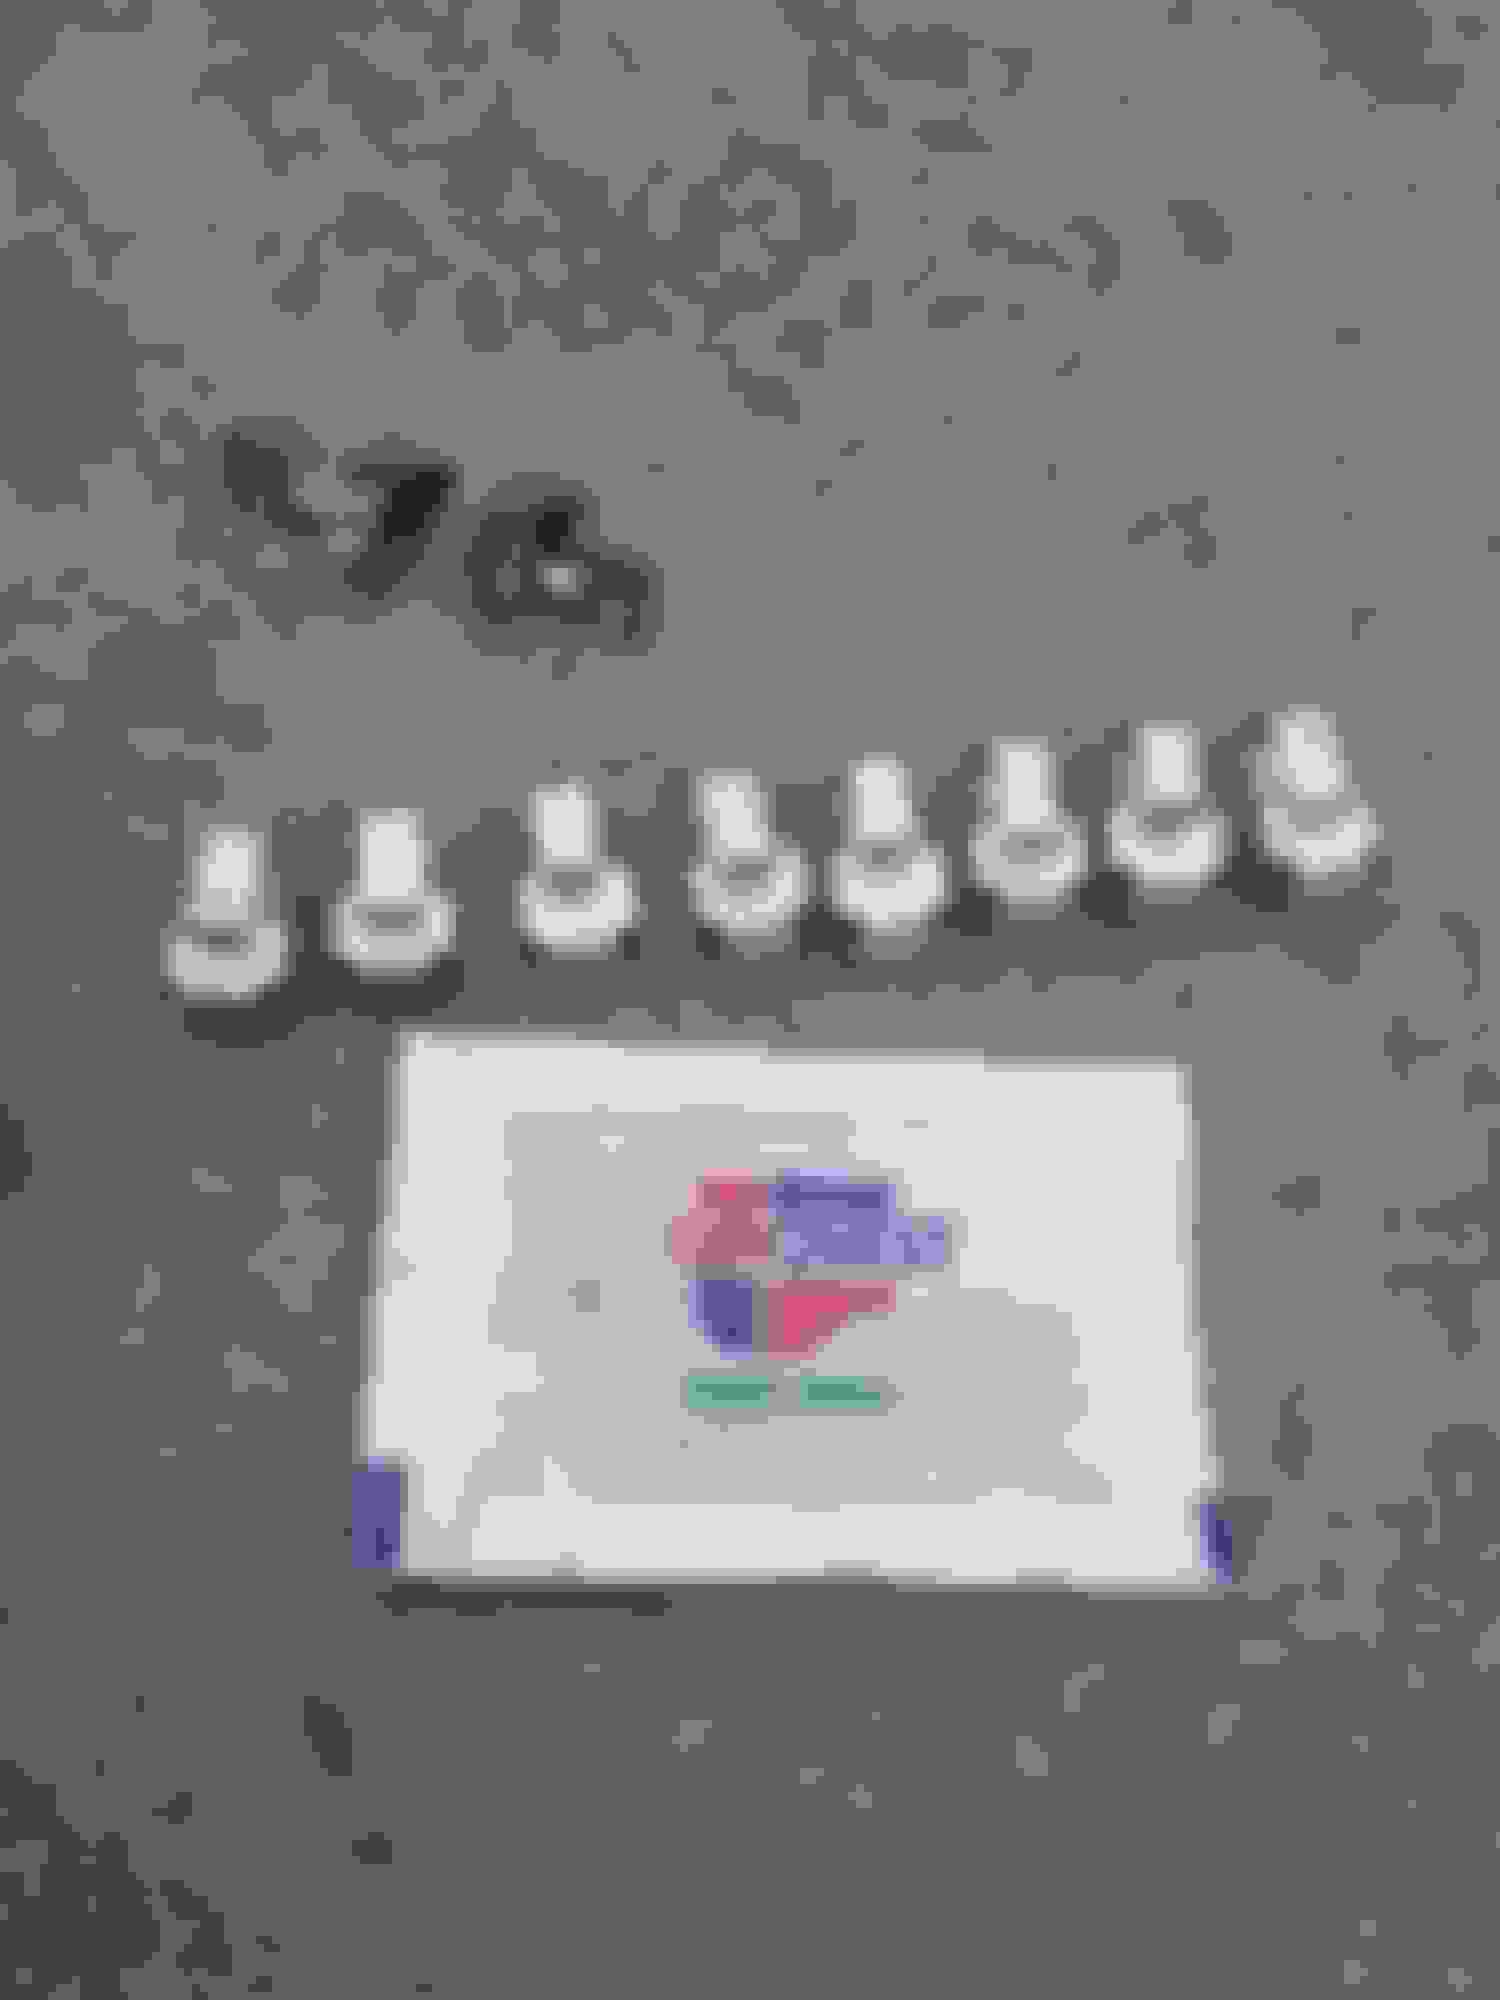
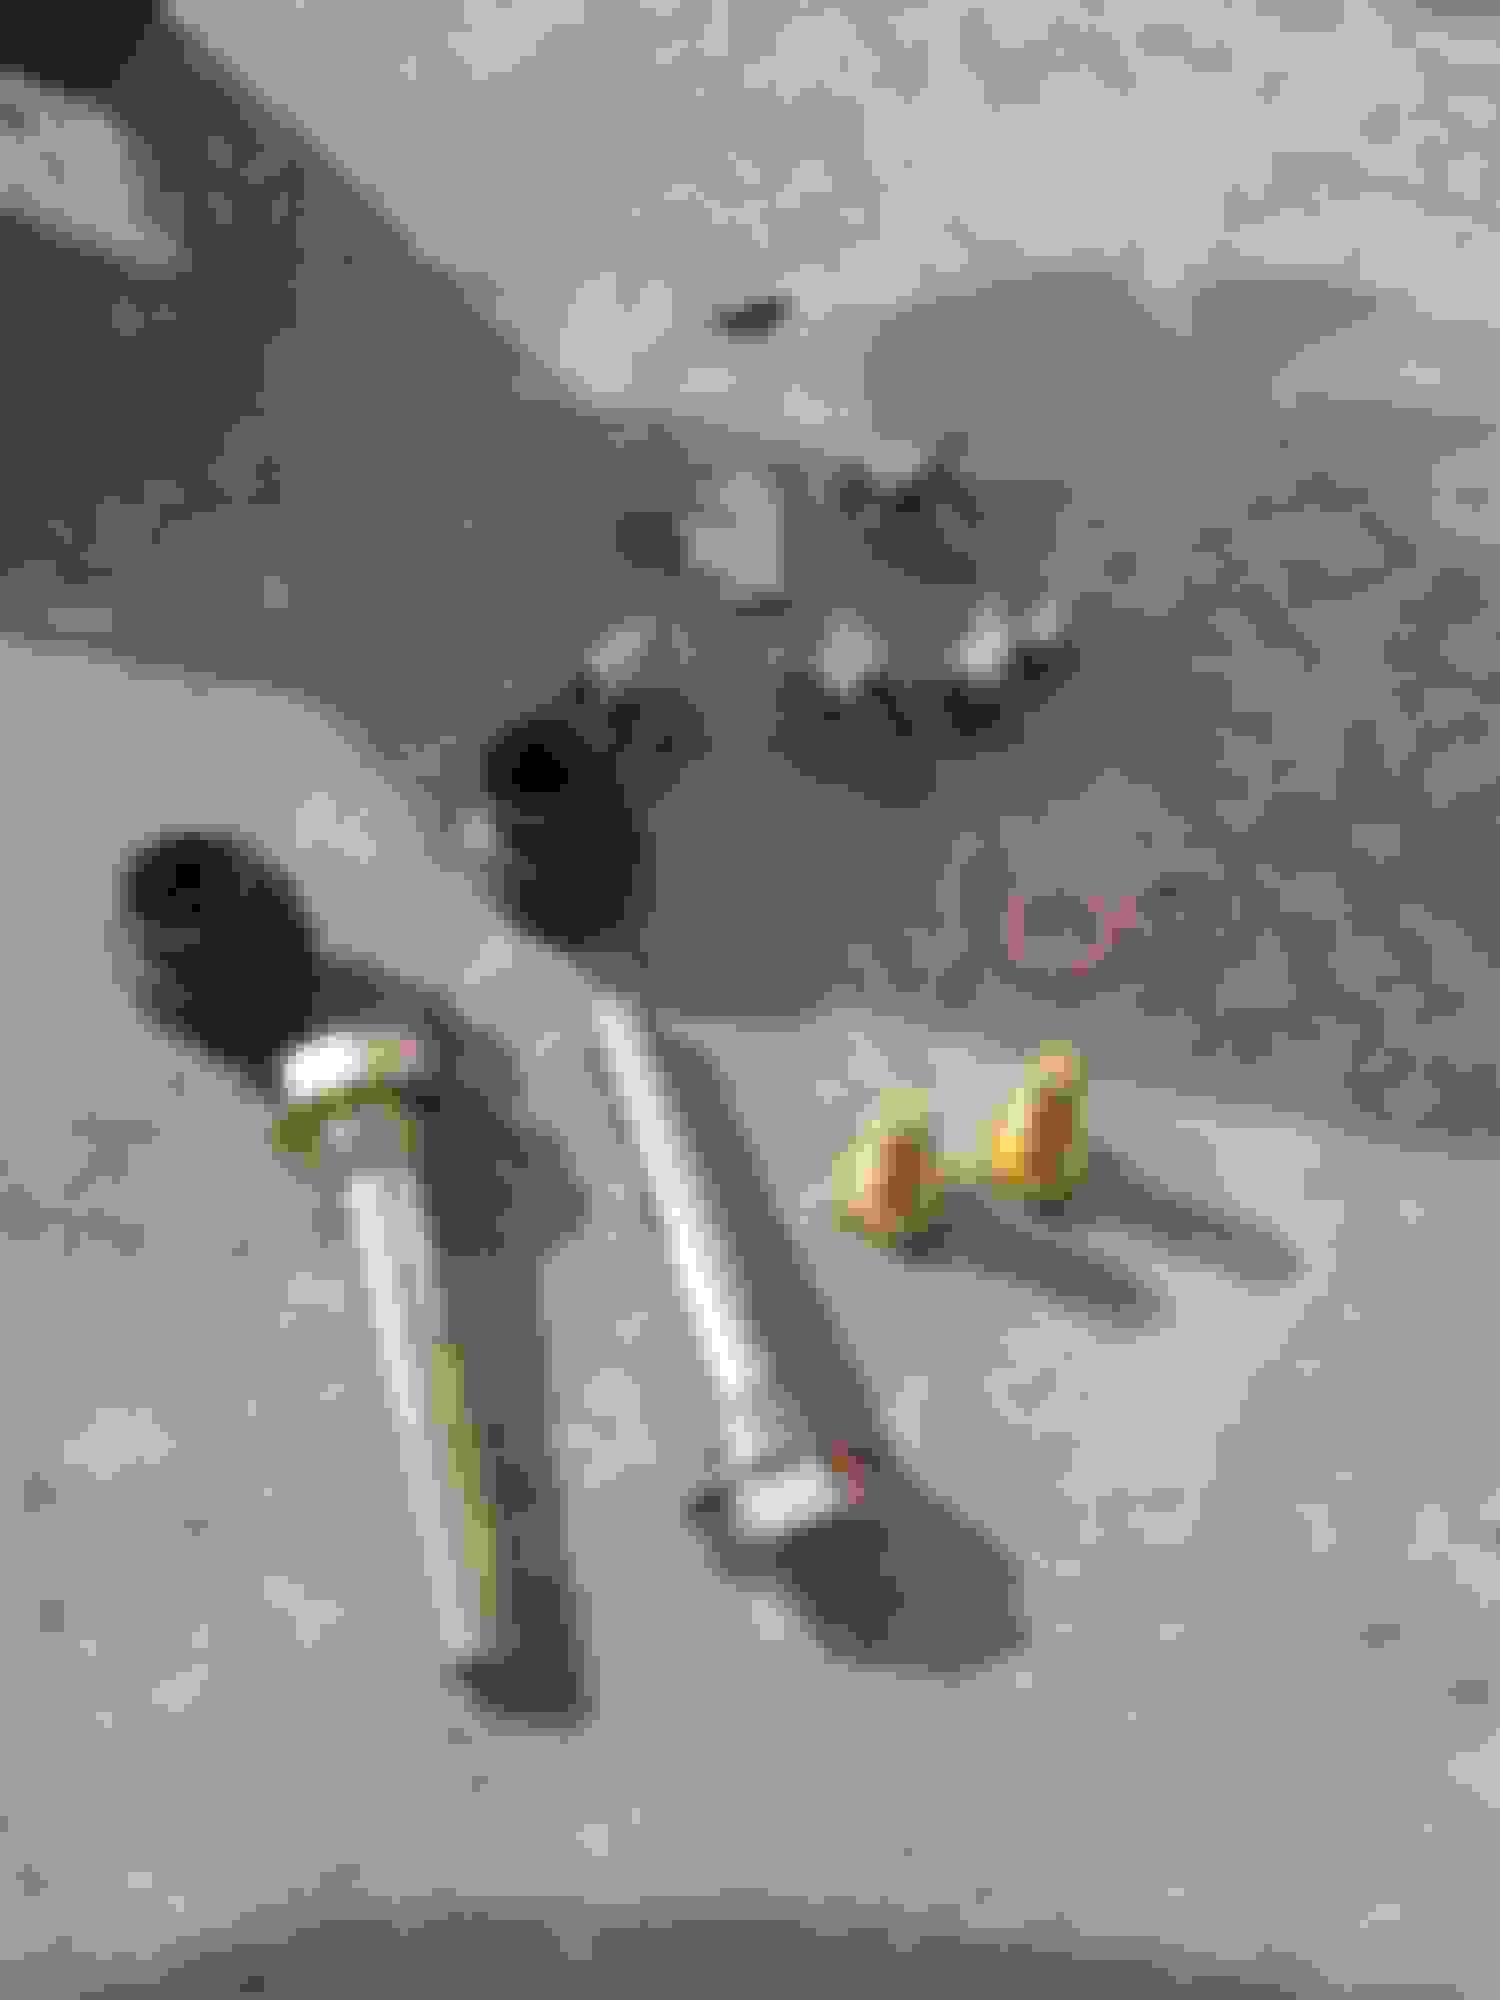
Get your hardware kit out.
Put a line of grease on each of the 3 flats on the pins. Twist the pins as you install them.
Step back and admire the mechanic and his work. That kid is good for his age!
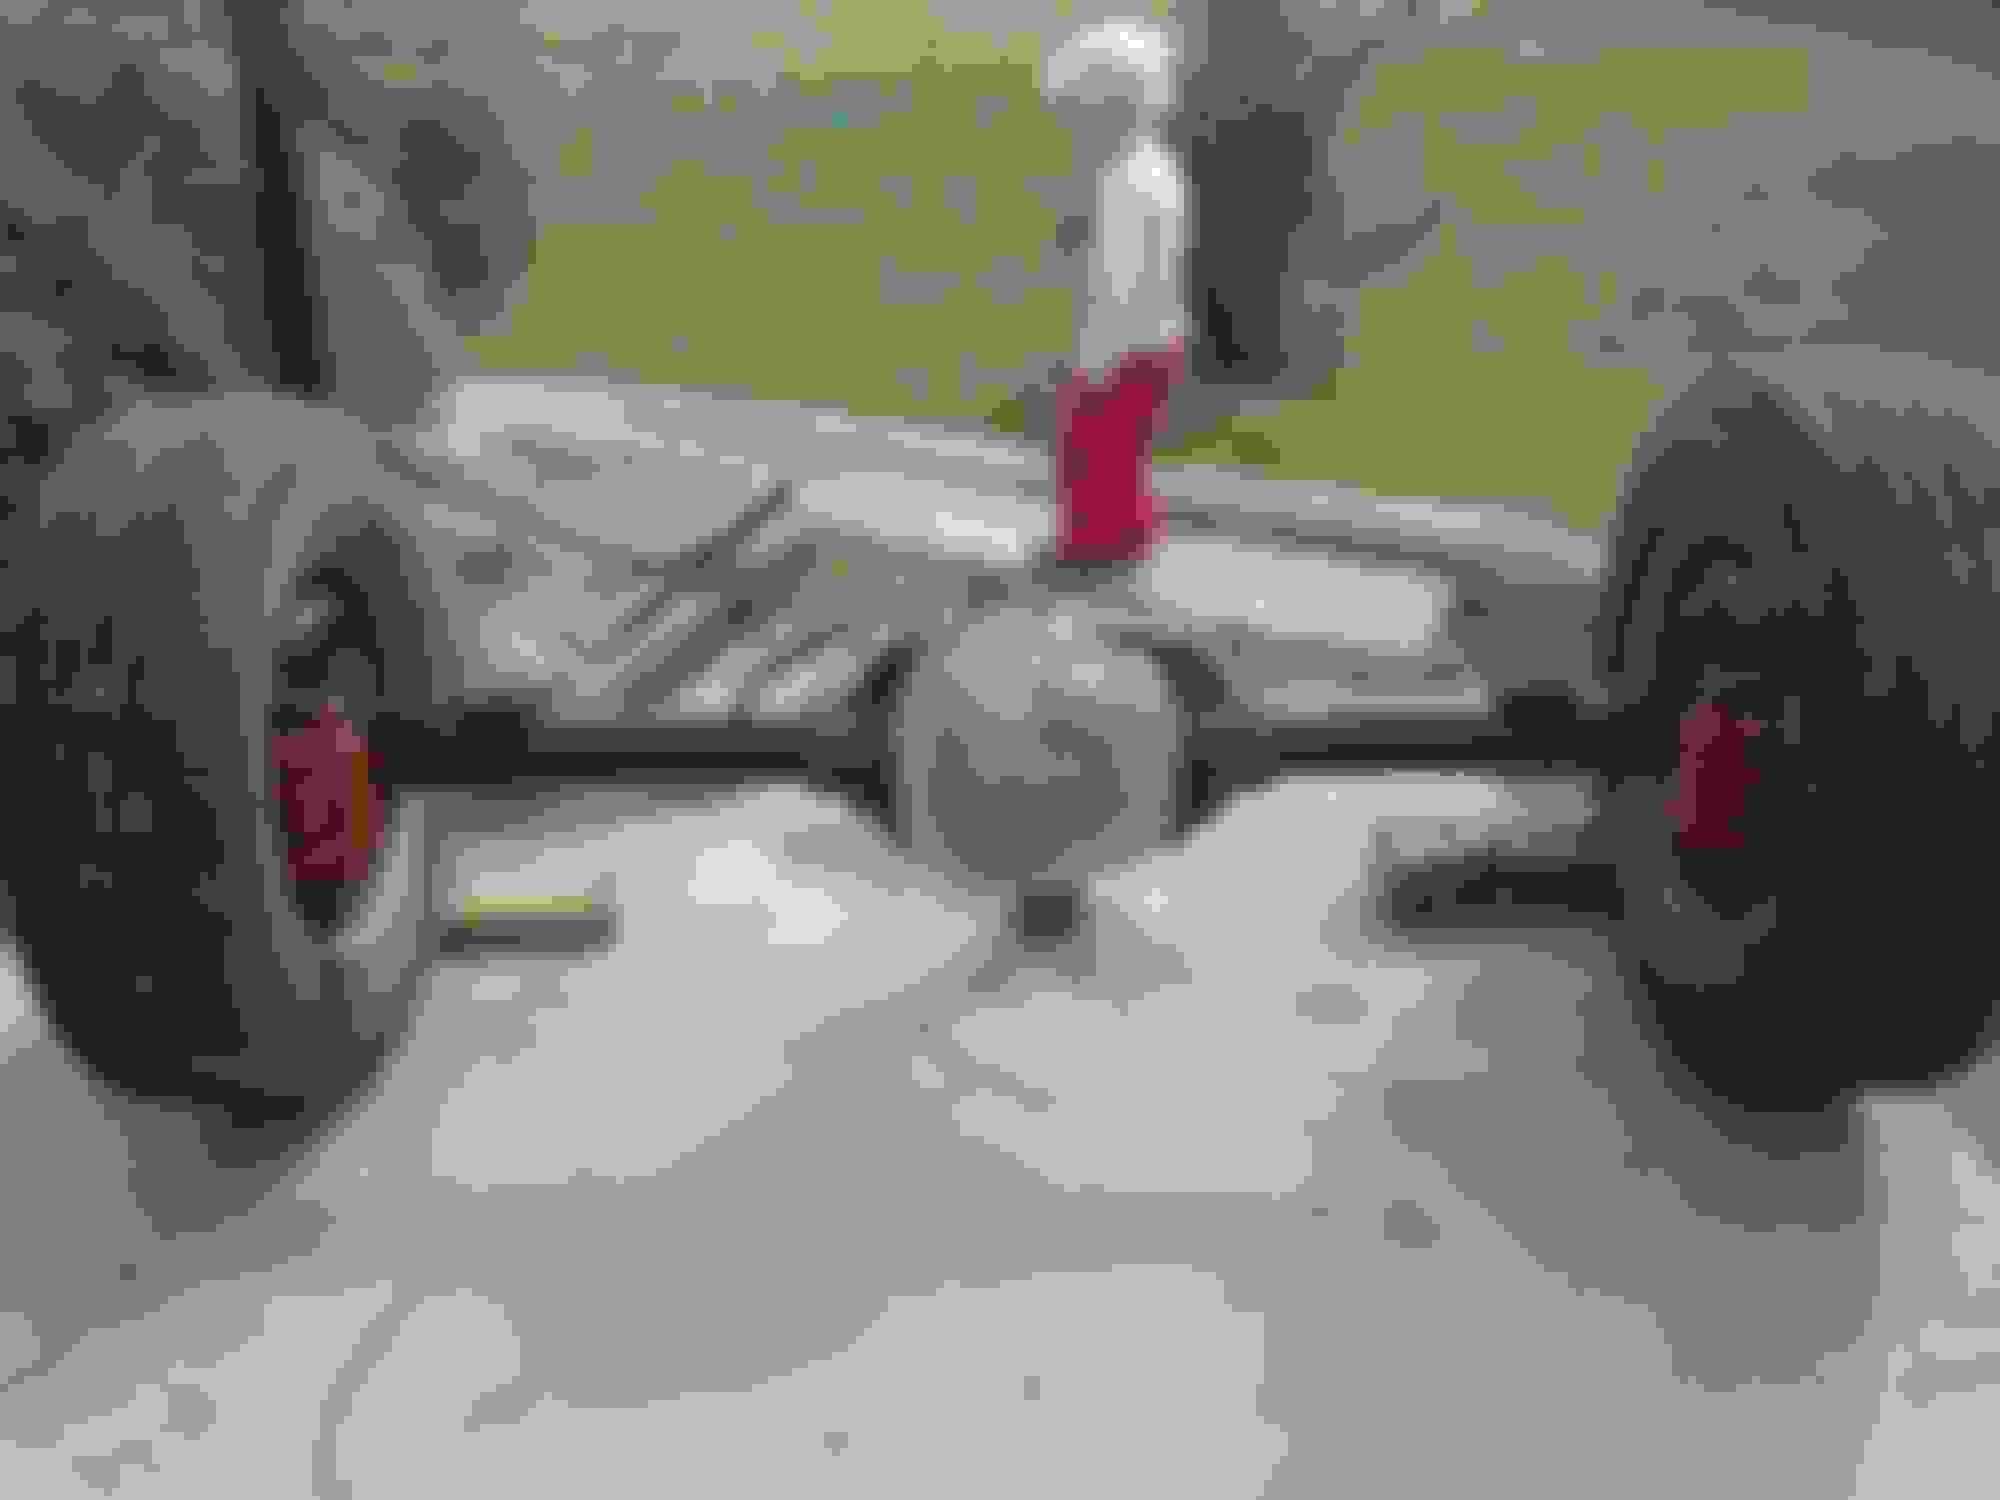
Those are my junkyard roller tires. I will not be running those old, ugly things.
If anyone doing this needs parts...bolts, master cylinders, brake lines, springs, gearboxes, brackets, swaybars, shock mounts...Bruce over at Hi-Tech Auto Parts has all the odds and ends to make this dream come true for you. He has the axles, too. He has been supplying me with all the parts (I buy them of course), so he knows what works and doesn't as we discuss how things are going on a weekly basis. He ships worldwide.
i am in mexico posting from a phone so ill be brief , 8-10 axles, not sure what the advantages would be off hsnd compared to tje 07 acle but the 13 + axles would be the most deserible since they have the 14" brakes, much bigger wheel nearings amd 35 spline stub axles. when i get home i'll cover the steering box solution but it boils down to using the 07 steering box and a custom tie rod from pmf.
I completely agree the '13 axles would be the bomb, but those would be REALLY hard to find yet for most folks. With all the dead 6.uh-ohs in the bone yards, '05-'07 trucks are a dime a dozen.
I gotta say, this thread has me exhausted just reading. It's an inspiration for sure, when you are finished - you'll need a vacation!
Ever thought about snow skiing/snowmobiling??
I can provide "free room and board" in a beautiful SW CO mountain setting, I've got a heated garage with electricity - you could help convert my Ex.
I've got a complete donor F250! so all the parts are 10 feet away in the same heated garage !!
Seriously, this is super inspiring.. Hopefully, I've got enough extra time to do "some" of this..
It is imperative that the brakes going on your axles be 100% when they go under your truck. After all, we are all doing this for the bigger, better brakes right?
What follows is some seriously comprehensive info about the rear brakes and installing them correctly so you don't have brake drag, right pull, left pull, seized caliper pins, frozen caliper pistons, etc.
Super info and something I hadn't really ever thought about when doing brakes. Well done! Thanks! Reps sent
Seriously, this is super inspiring.. Hopefully, I've got enough extra time to do "some" of this...
I have to admit I have an aversion to cold weather. Snowmobiling sounds fun, but no snow skiing for me.
As far as the time to do it all...you have plenty. I am doing all this prep work at a pace of about 3 hrs a day while the wife drives the X all over the countryside doing her business. When the prep work is all done, THEN I will tear the X down and have everything ready for a quick install. I will also install the radius arm brackets while she continues to drive it, and I will drill the extra hole for the coil buckets while she continues to drive it. Since you have a 2WD, installing the buckets and brackets ahead of time might be a problem for you...heck, you have to cut off two sets of brackets and buckets now that I think of it!!!
Time is not an issue doing it this way if you have a 4WD you are converting. Take your time and keep driving your rig while you get the donor axles to 100%
Most definitely subscribing to this! Nice to see that you're so close to me as well...might have to go check out the work one day lol.
As an aside, would it have been easier and/or beneficial to use the front frame clip from the donor truck ('05-'07) given that it's a beefier piece of frame compared to the Excursion's front clip? Would the front frame clip from the Super Duty slap into the Excursions rear frame portion?
Andre, you could do that, but it wouldn't make sense unless you had the engine out and cab off already. If you were building a truck from the ground up, and not modifying a running vehicle, it would be the way to go.
Rezvani's Latest Post-Apocalyptic Monster Is a Ford F-150 Raptor Underneath
Slideshow: Called the Fortress, the 850-horsepower pickup combines Raptor underpinnings with military-inspired features, survival equipment, and a starting price of $285,000.


 I'll probably paint the new sway bar while I wait for the paint to dry/cure. Gonna need new bushings for the bar, and probably end links, too.