When you click on links to various merchants on this site and make a purchase, this can result in this site earning a commission. Affiliate programs and affiliations include, but are not limited to, the eBay Partner Network.
that was using a 3" foam brush for the entire thing. I sanded the roof using 80 grit (instructions said 120, but I had a bunch of 80...close?). cleaned with water and let sun dry. no other prep
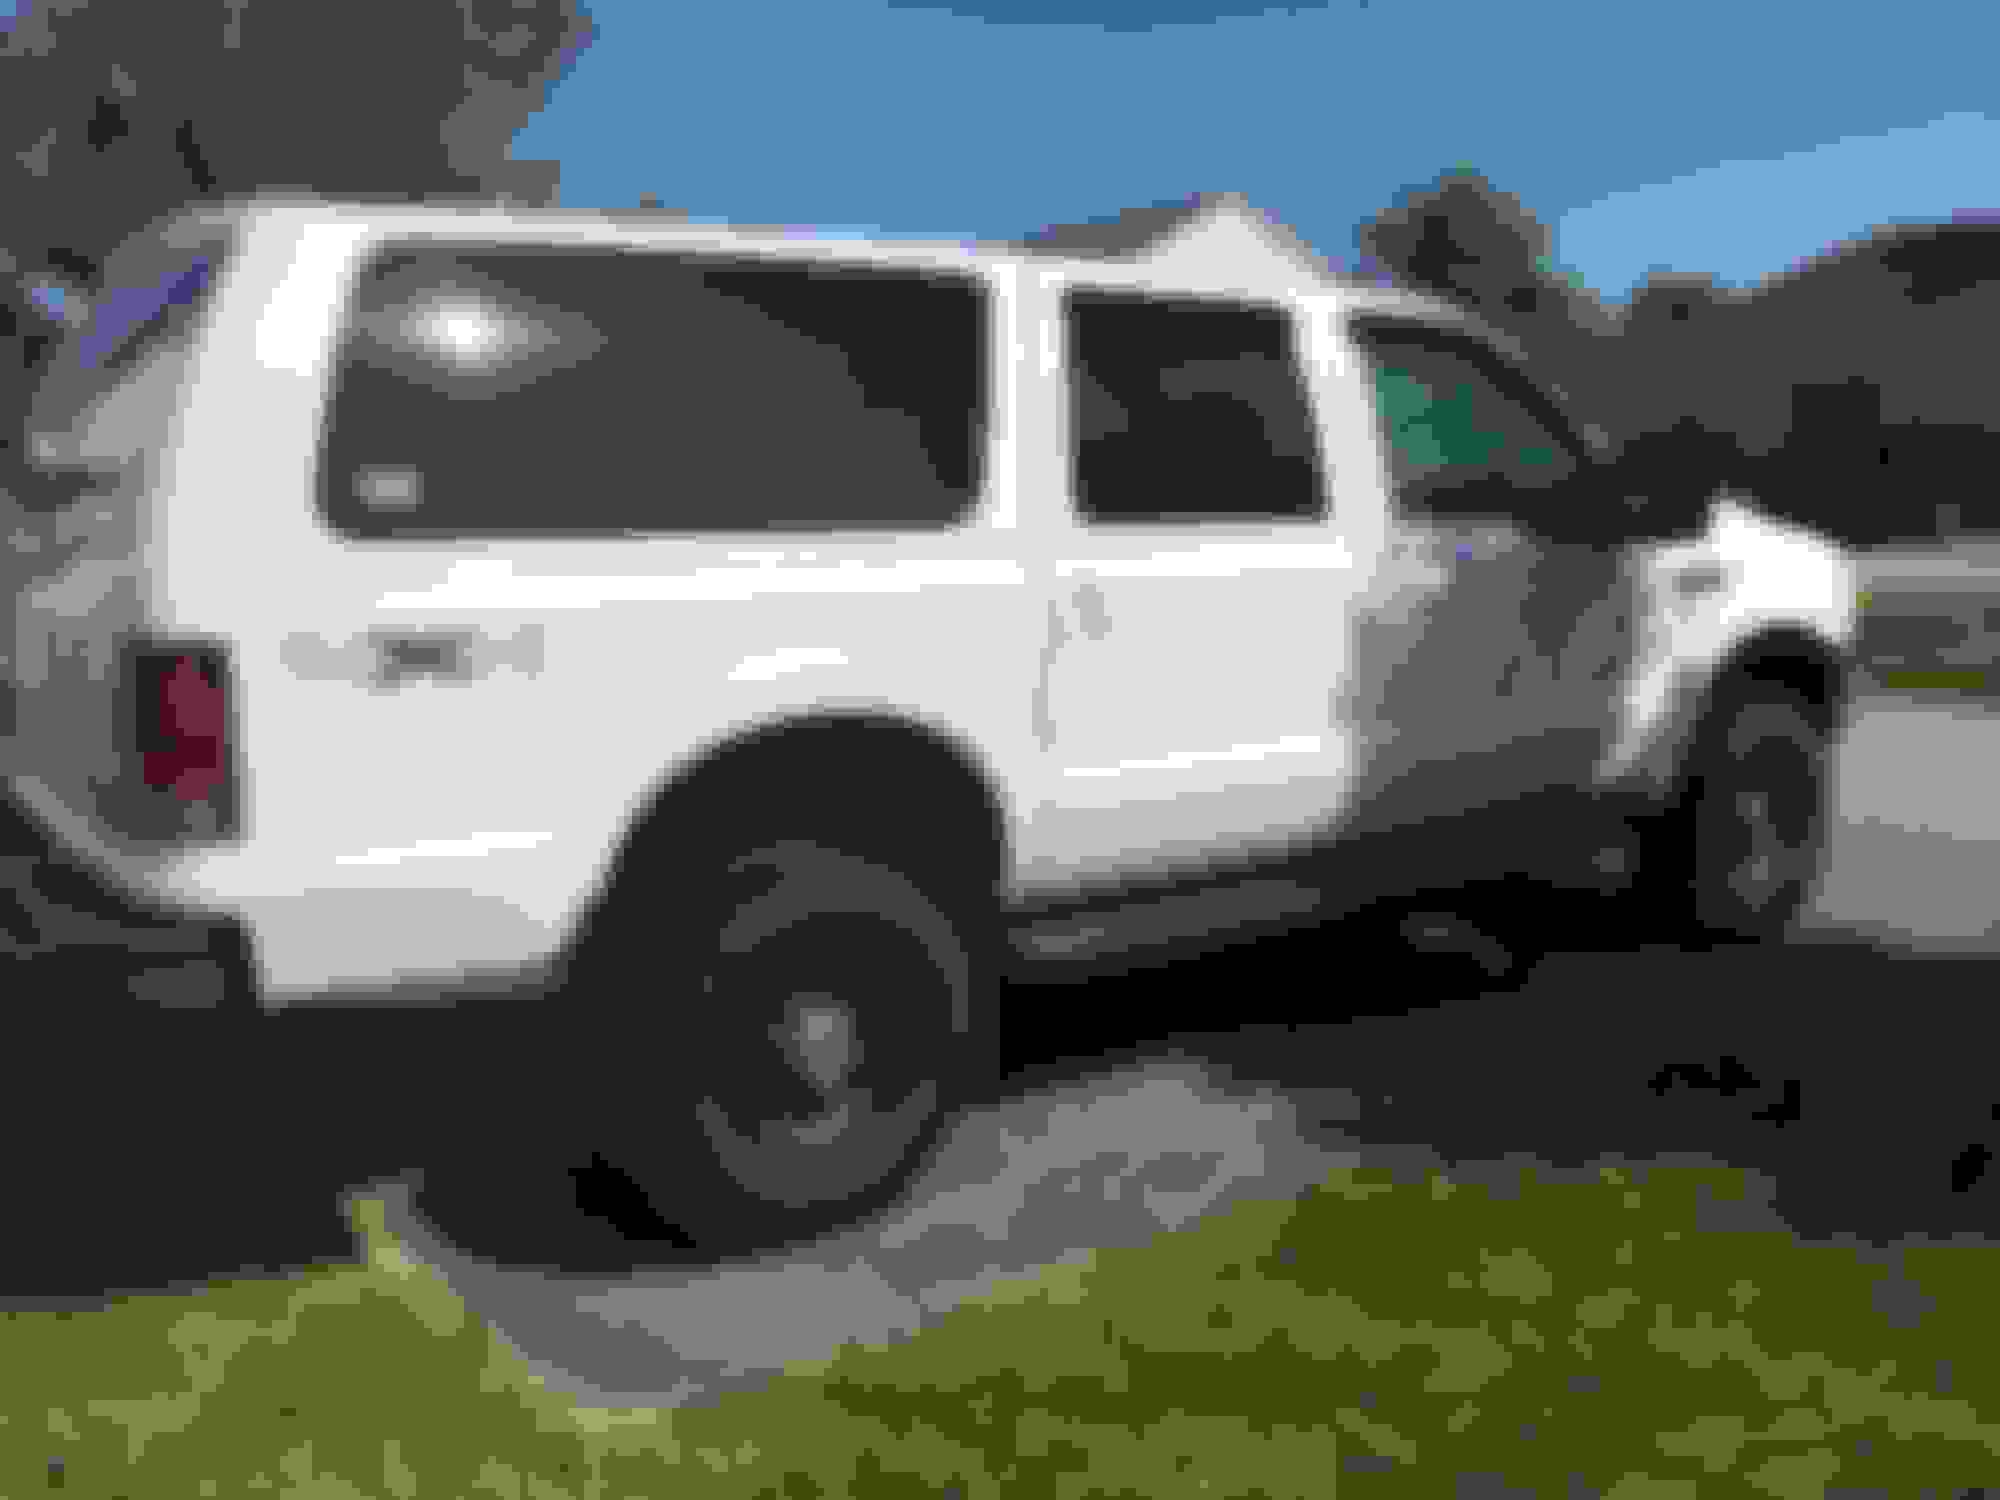
CC roof is essentially 1/2 size of the X roof. So it'd be close, but 1 can should be plenty for 2 decent coats. Can was like $16 or so. wouldn't break the bank if needed to grab another can lol
I plan on getting a 4" roller and doing the next layer tomorrow while sun is up/hot. help it cure faster. I was able to touch after about 1hr with no problems. takes a few hours to fully cure, 24hrs to final cure
fyi, this is bedliner. so as soon as you are done with the edges, remove the tape! if it cures, you'll be working alot harder to get the tape off since it's epoxy hardened
I got bored yesterday and figured out how to use some red 3/4" lamp assemblies I had laying around. For such a large vehicle, I'm apparently hard to see by idiot drivers here in CT
3/4" hole saw
Testing the waters
Like it, so went further and drilled 18 holes every 3" apart
Then I realized the sub-structure for that trim piece would block the light installation...so I clearanced it using my hole saw and a jig saw
Test fit before wiring. looked nice
Left side
Right Side
Did some wiring and final install
Still need to do final wiring. Couldn't find 7 pin wire diagram while I was outside
I was playing with the lights using a 9v battery. They light up rather nicely, and I think you guys will like how I wired them up for brake and turn signals
i was plannning something identicle with a kit i bought for my 78 350 but had a spare kit an thought of putting it in same place. Lemme know how good and visible it shows at night i held off doing it since i thought doors would hit it rendering it mostly pointless other then a minor light show under the overhang of the barn doors
oh perfect i got somethign similar to that its just much wider geuss ill be putting that to some good use soon will most pics of it once installed and info on product itself
Was in Walmart the other day and picked up some generic cup holders that were on clearance for $4.
cut a recess using 3 3/4" hole saw
used fiberglass resin to secure to the panel, then some dremel work under to console structure to clearance
not great, not terrible. Will work until I get a Superduty Jumpseat/console
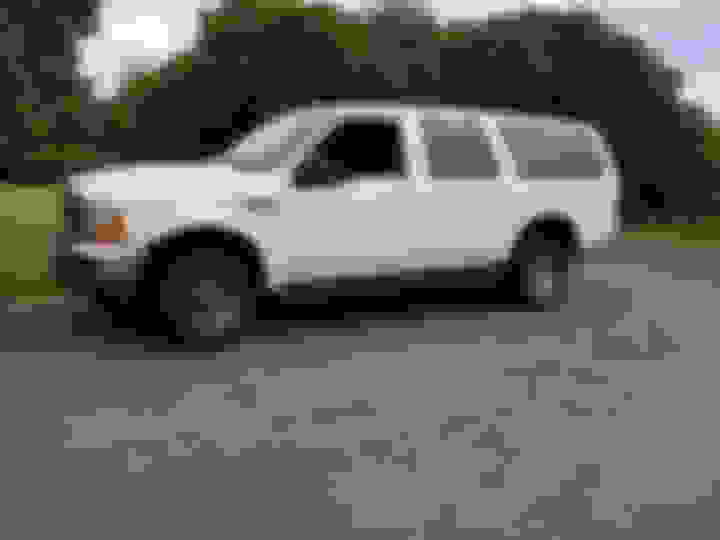
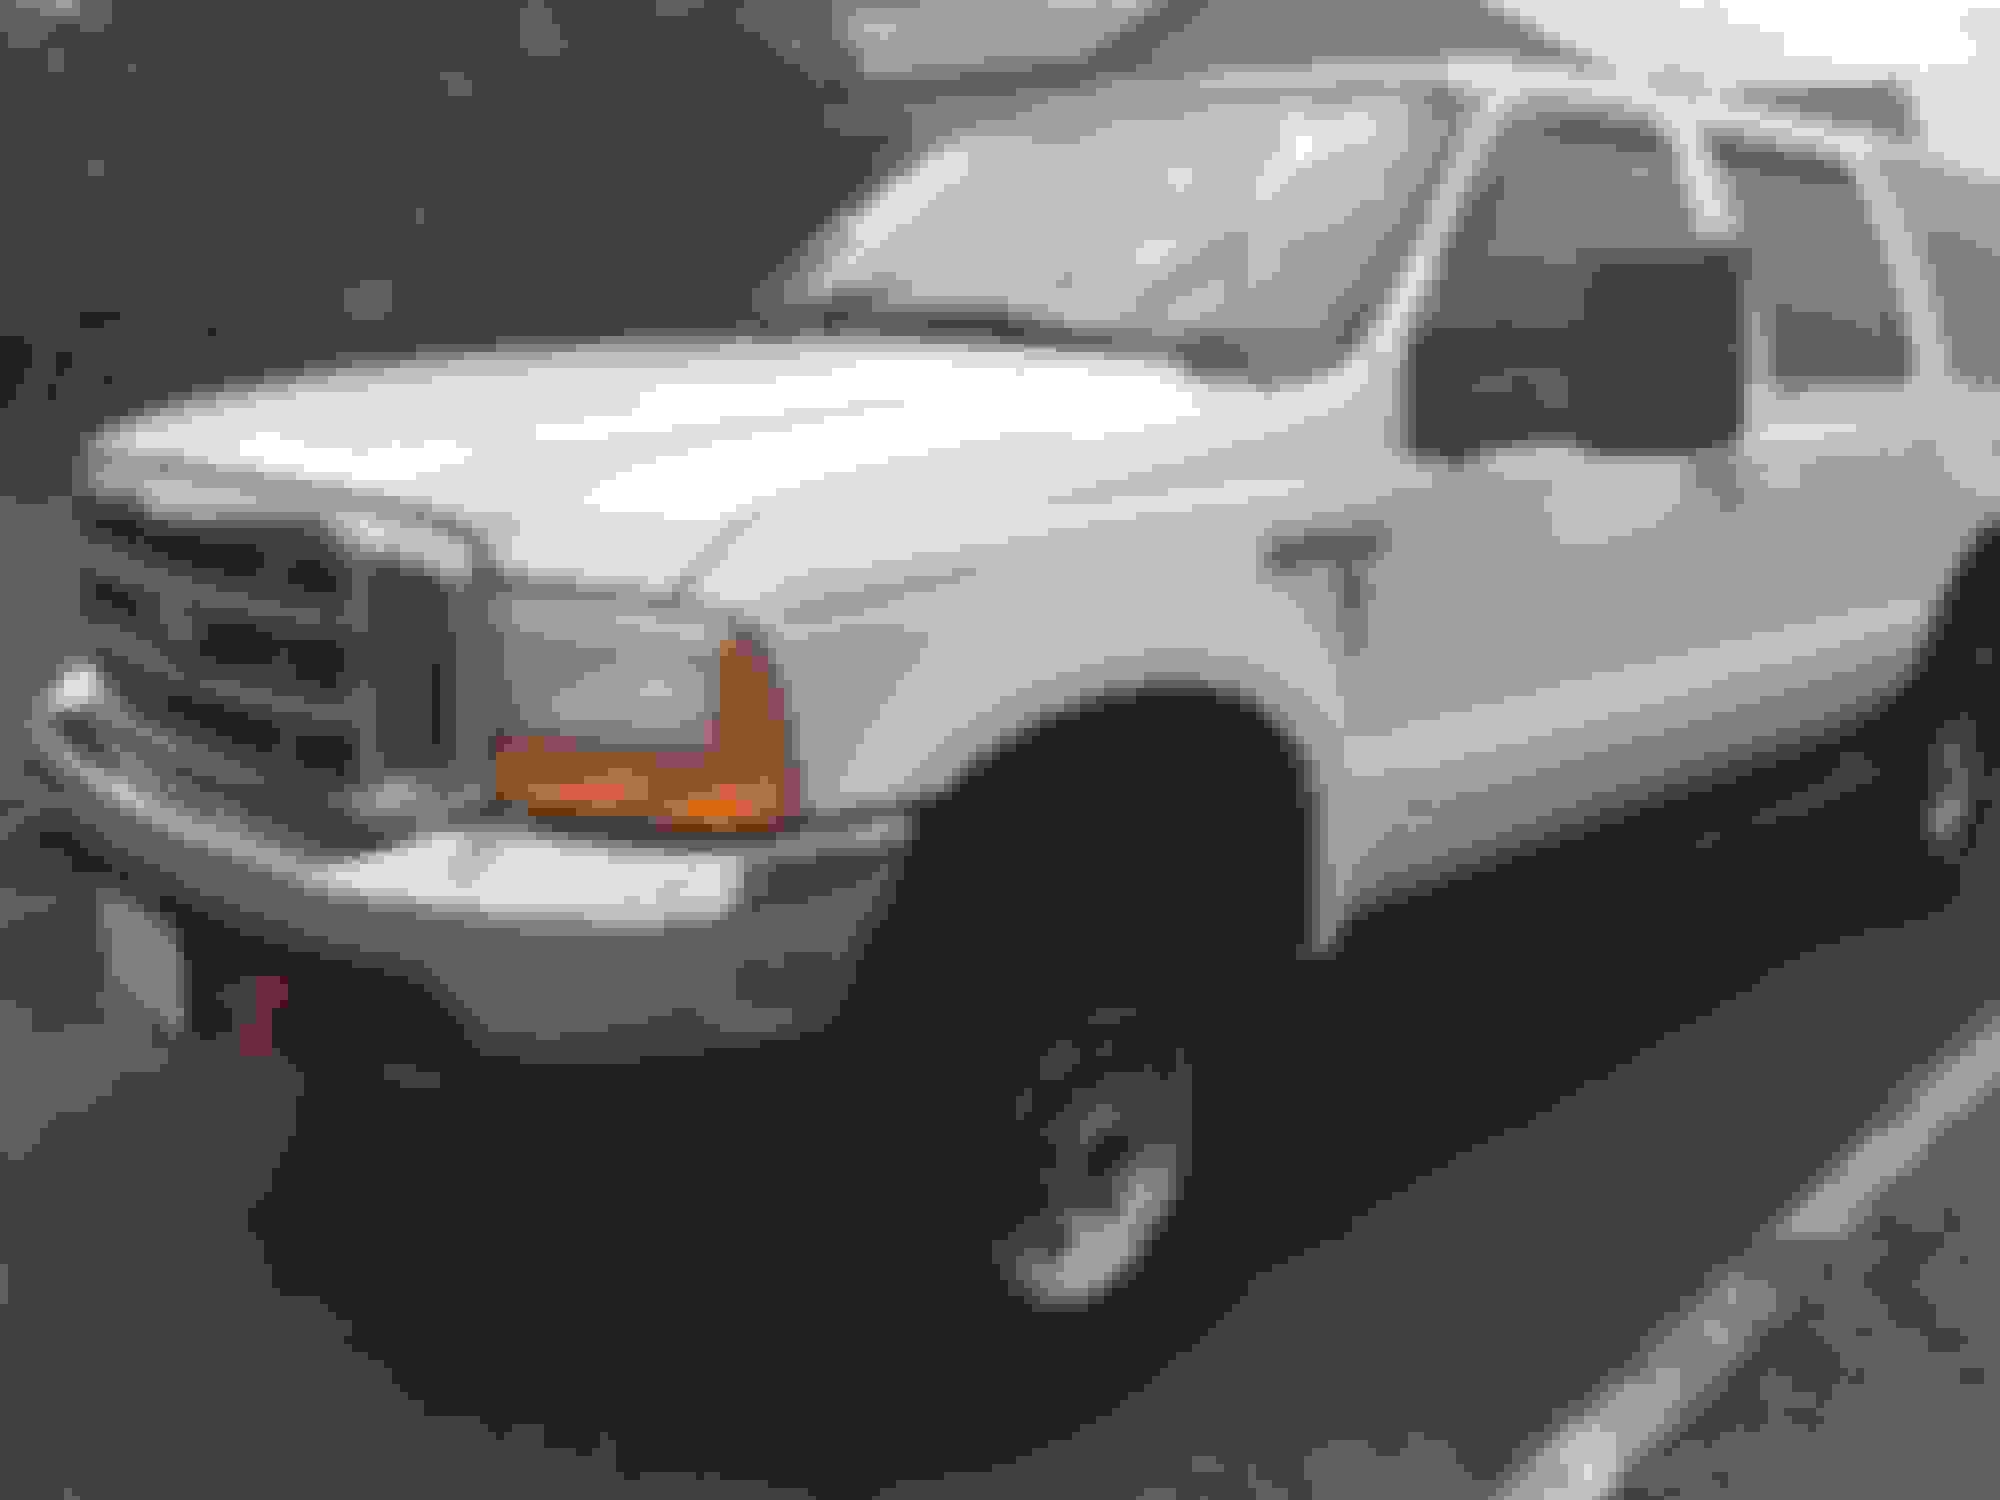
had the X on 4 jackstand to diagnose 4x4. 4x4Lo won't shift, and auto function of auto hubs doesn't work. Joy. But al least it shifts into 4x4Hi for now and the hubs work when manually locked in
so I painted the rims while I could spray with them rolling. Super neat trick, and comes out looking great. Just need to Nev'R Dull the center caps now
Last edited by Tylus; Sep 24, 2017 at 11:24 AM.
Reason: fix pictures
I have the exact same rims and tires. I also spray painted mine black a few years ago. They are my off-road tires for when we go camping and stuff out in the country at the farm. Gonna have to find them a new home soon when I get the 08 axles mounted up...shoot, I'm going to have to find a new home for my highway tire setup as well.
This Hennessey Takes the Expedition Tremor's Off-Roading Capability to the Next Level
Slideshow: The VelociRaptor Expedition gains a lift, upgraded suspension, Brembo brakes, and trail-ready equipment while retaining the stock 440-horsepower EcoBoost V6.
Rezvani's Latest Post-Apocalyptic Monster Is a Ford F-150 Raptor Underneath
Slideshow: Called the Fortress, the 850-horsepower pickup combines Raptor underpinnings with military-inspired features, survival equipment, and a starting price of $285,000.