When you click on links to various merchants on this site and make a purchase, this can result in this site earning a commission. Affiliate programs and affiliations include, but are not limited to, the eBay Partner Network.
looking good, please keep us updated on this build. I am considering boxing my frame too so it would be good to see how you tackle it. I'm still trying to decide what 4 link kit to do (either tci or no limit probably)and waiting for my Coyote to show up.
I kind of talked myself out of the triangulated because I heard it was hard to run the exhaust out the back like I want to do. The price on that one is definitely right though.....
Don't see how a parallel 4 link would make running the exhaust any easier with the panhard bar running side to side. Any good exhaust shop should be able to run the exhaust around the triangulated 4 link, a 3 link would be easier yet. I am somewhat of a student (some say "expert") of performance suspension design, the geometry of a parallel 4 link is often in bind around corners, over bumps. It's main original claim to fame was it's adjustability for drag racing, not street driving.
Steady as she goes... Getting prepped to box er up. I decided to fill all the unused holes in the frame. First I planned out what needs to be bolted to the frame like the running board bracket bolts and welded nuts inside the frame for them. I like to weld the nuts first, once the mask goes down it's easy to accidentally fill a needed hole. I cleaned up each nut and ran a bolt through each hole, then welded them in.
I went around and drilled out each hole one step with a uni bit to give a clean edge inside the hole to weld to, then flap disc the outside and inside of the frame around each hole. Hit with a little 3m weld through and it looks sort of like a palomino horse lol.
Then out comes the welder and I filled them in. I cleaned up the fill with a flap disc. I smoothed out the inside as well. Although the inside won't be seen, smooth is better for rust prevention. So far I have the bottom and side holes done, next work session I'll get the top filled and then I'll get started closing it up.
120 holes filled so far! I'll be in trouble tomorrow because I blew out the steel dust from the garage with my leaf blower and it immediately started raining. Wife might like the orange hue on the driveway???
Well, I finished up filling all the unused holes. As I mentioned I ground them smooth inside and out. Then I made my "mid" boxing plates.
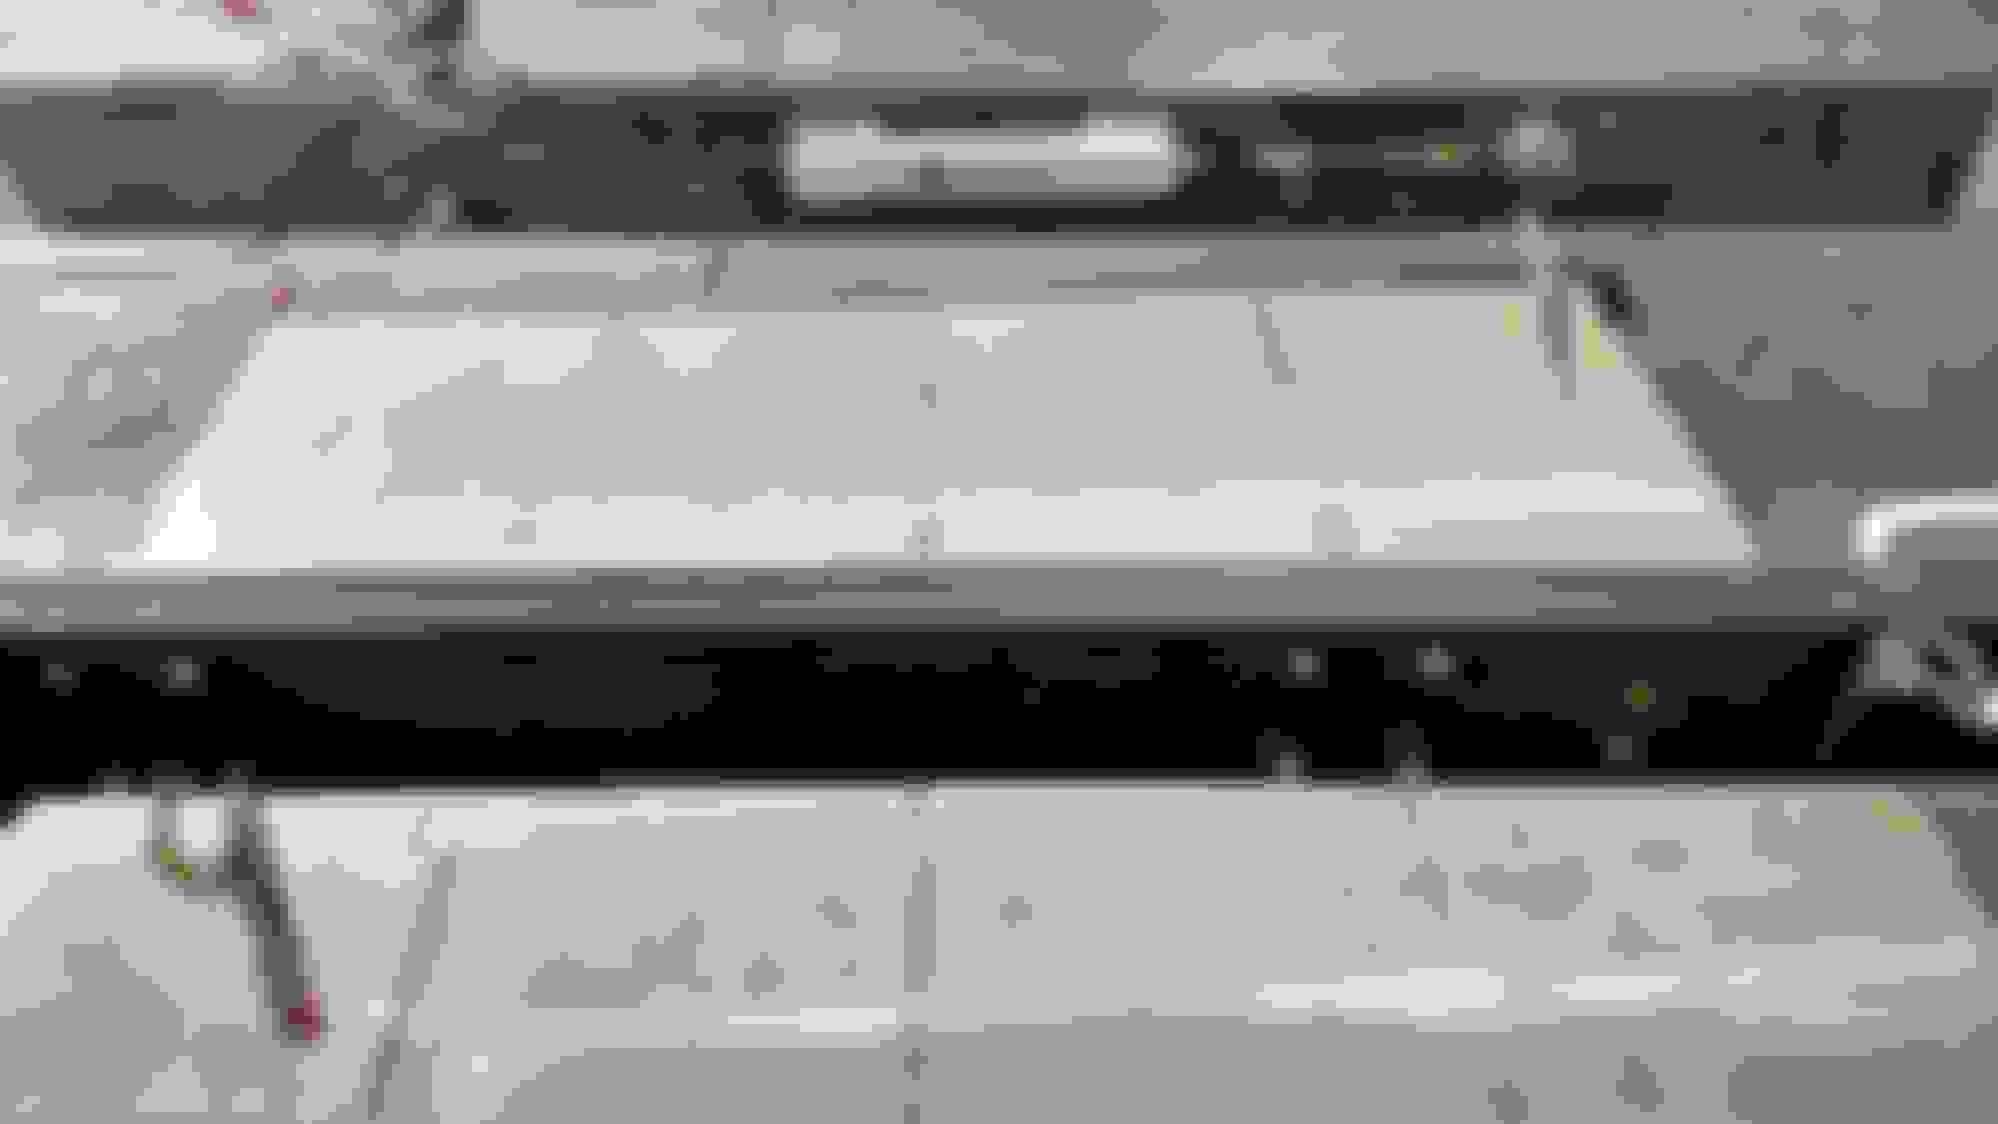
First I decided the fitment I wanted. Usually I just leave the welds, but with this much I feel I should clean them up. So I will use a full open corner. They clean up nice. This is how it will look before welding.
Because of that fitment, the boxing plate will be just about able to slide into the open c frame. It makes clamping it to the frame problematic. To get a solid clamp surface I cut 1/8" thick 1" �1" 90� channel into 1" long pieces. I welded two on top, and two on the bottom inside the open c frame. I will drill a hole in the plate at the tab locations and plug weld after the plates are fully burned in.
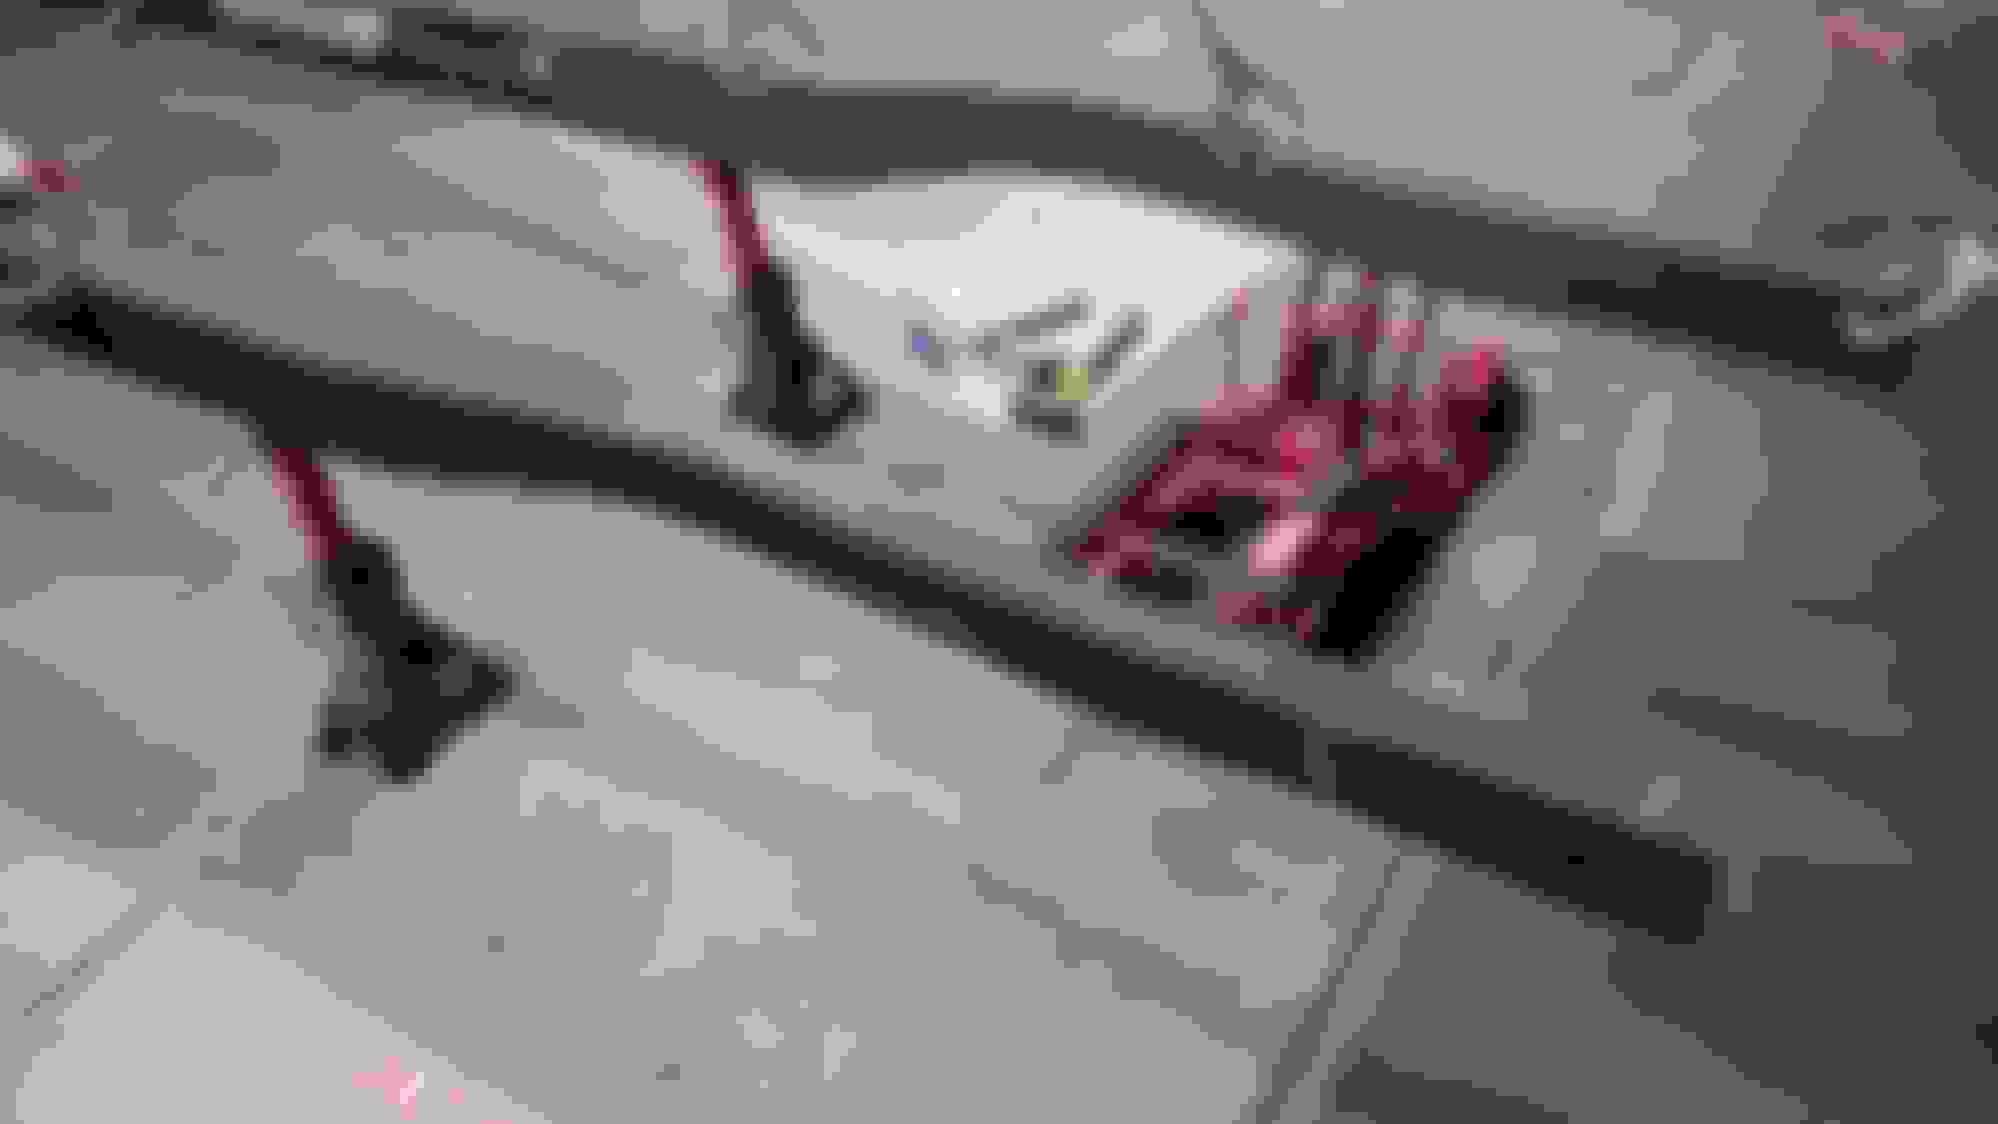
I welded nuts to the inside of the frame for the running board mounts, rear cab mounts, front cab wings that weren't rivets, and also welded nuts to my boxing plate for my e-brake set up and wiring harness. I'll be running the e-brake/wiring harness on the right. Then the fuel lines/brake line on the left. Here they are fitted up.
Next I'll order up some fuel line/ brake line clips and weld up nuts for those to the left mid plate. Then the joy of cutting out the rear boxing plates. I really NEED a plasma cutter lol.
edit* I did find a little rust scale on the frame where the factory cross members were attached. Just in the spots where it was steel to steel. I cleaned them up and hit them with SEM Rust Seal. Then cleaned the inside of the frame thoroughly amd sprayed the inside liberally with 3m weld thorough.
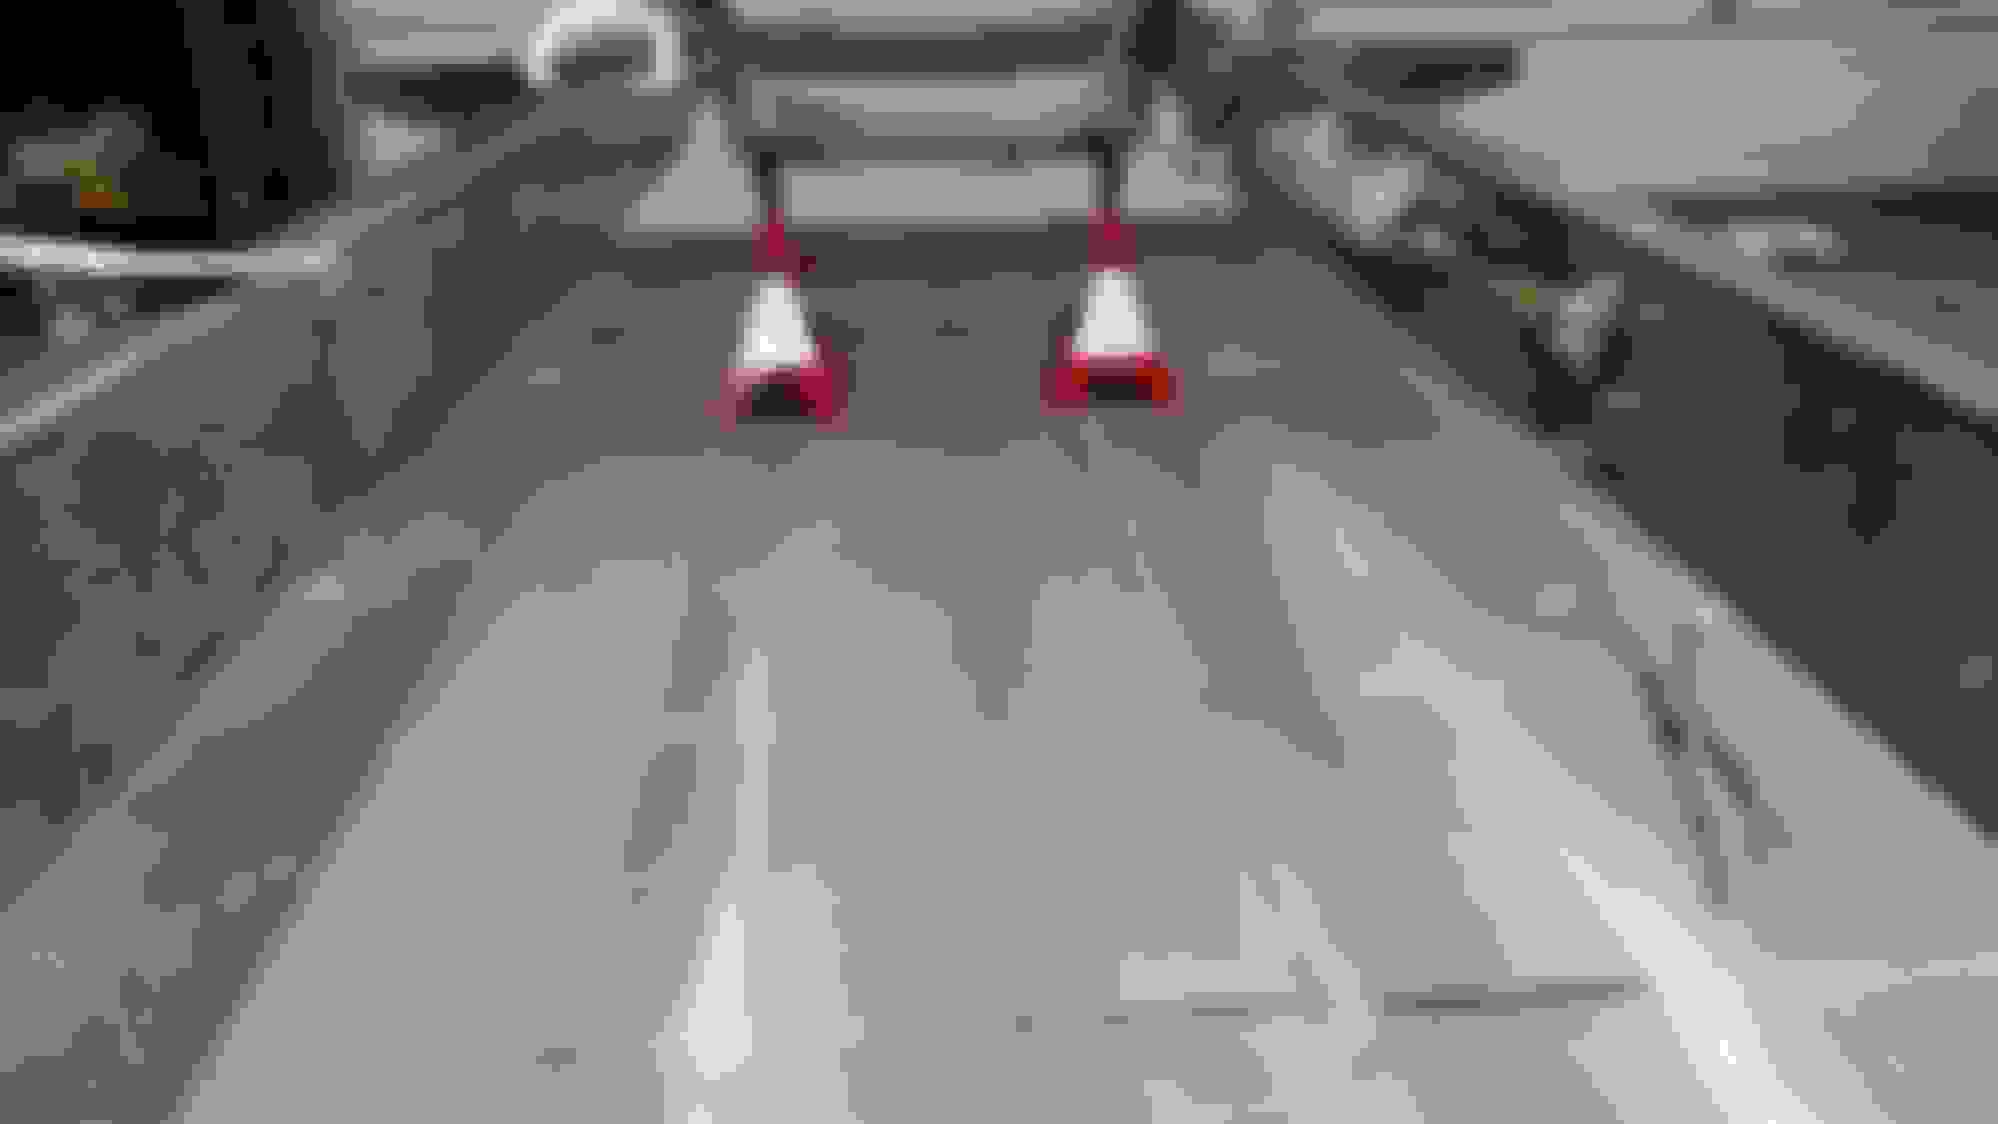
Had big plans to get both my rear boxing plates cut out tonight and got half way there before I ran out of cut off wheels...dam...knew I should have stopped on the way home from work to pick some up. But I did manage to trace out my lines for both. The plate was pretty heavy so I used my motorcycle jack to lift it in to place. Then clamped the plate to the frame and traced it out with a sharpie. I cut along the inside edge of the mark. I got one cutout, the other will have to wait until I get more cut off wheels.
Cut one off this sheet then ran out of cut off wheels.
Here it is clamped to the frame. Still needs some fine tuning...
Amazing job with great planning! Thanks for sharing, beyond my abilities but great to see what & how you are doing. What trans do you want to use. If 6R80, let me know as I you need to plan a lot of wiring details.
I learned a short time back that weld through primer has very little adhesion and was made for overlapping joints and flanges. I spray whatever frame paint i'm going to use on the inside and then grind my joint down and then use the weld through on the bare metal edges. I haven't fully boxed in my frame yet but was thinking of using eastwood cavity wax.
Amazing job with great planning! Thanks for sharing, beyond my abilities but great to see what & how you are doing. What trans do you want to use. If 6R80, let me know as I you need to plan a lot of wiring details.
Rezvani's Latest Post-Apocalytic Monster Is a Ford F-150 Raptor Underneath
Slideshow: Called the Fortress, the 850-horsepower pickup combines Raptor underpinnings with military-inspired features, survival equipment, and a starting price of $285,000.