When you click on links to various merchants on this site and make a purchase, this can result in this site earning a commission. Affiliate programs and affiliations include, but are not limited to, the eBay Partner Network.
my question on all this is.... does this kit address the know issues with the 4r100,, sprague spring that jumps off,, center support bracket issue, I remember reading a article on john wood and he does a lot of machining on parts to make them bullet proof..
does this harden the 4R100 to handle say 80 more HP and the associated Torque that can result. ??
Use a little thread locker when you install the shift cable bracket.
Good idea! Thank you.
Originally Posted by carl2591
looks like fun.
my question on all this is.... does this kit address the know issues with the 4r100,, sprague spring that jumps off,, center support bracket issue, I remember reading a article on john wood and he does a lot of machining on parts to make them bullet proof..
does this harden the 4R100 to handle say 80 more HP and the associated Torque that can result. ??
I sure hope it does!!! I did not go with the transmissionbench.com kit, but instead picked all my own parts. I feel my build is pretty equivalent to a Stage 1. The only custom machined parts I'm putting in is the machined center support with an added snap ring and a billet input shaft. All the rest is pretty standard rebuild parts that address a most/all of the issues the 4R100 has.
I made some good progress today. More to come soon.
Cleared the exhaust, frame and fender by jacking up the passenger rear tire higher than I would have liked to.
The pig is out!!!
Not too much on the magnet now, but I flushed the trans in June when I discovered a pan full of metal. Wish I would have taken a pic of that. It was gross.
On the bench.
Look at all the sludge.
More sludge.
The track that comes from the lower feed bolt in this photo is where I believe most of the sludge is coming from. Anyone know what that feed bolt feeds? Also, both these feed bolts were on the loose side. I easily snugged them up about 1/4 turn.
Sludge on the servo piston.
Transmissionbench.com homemade pump removal tool.
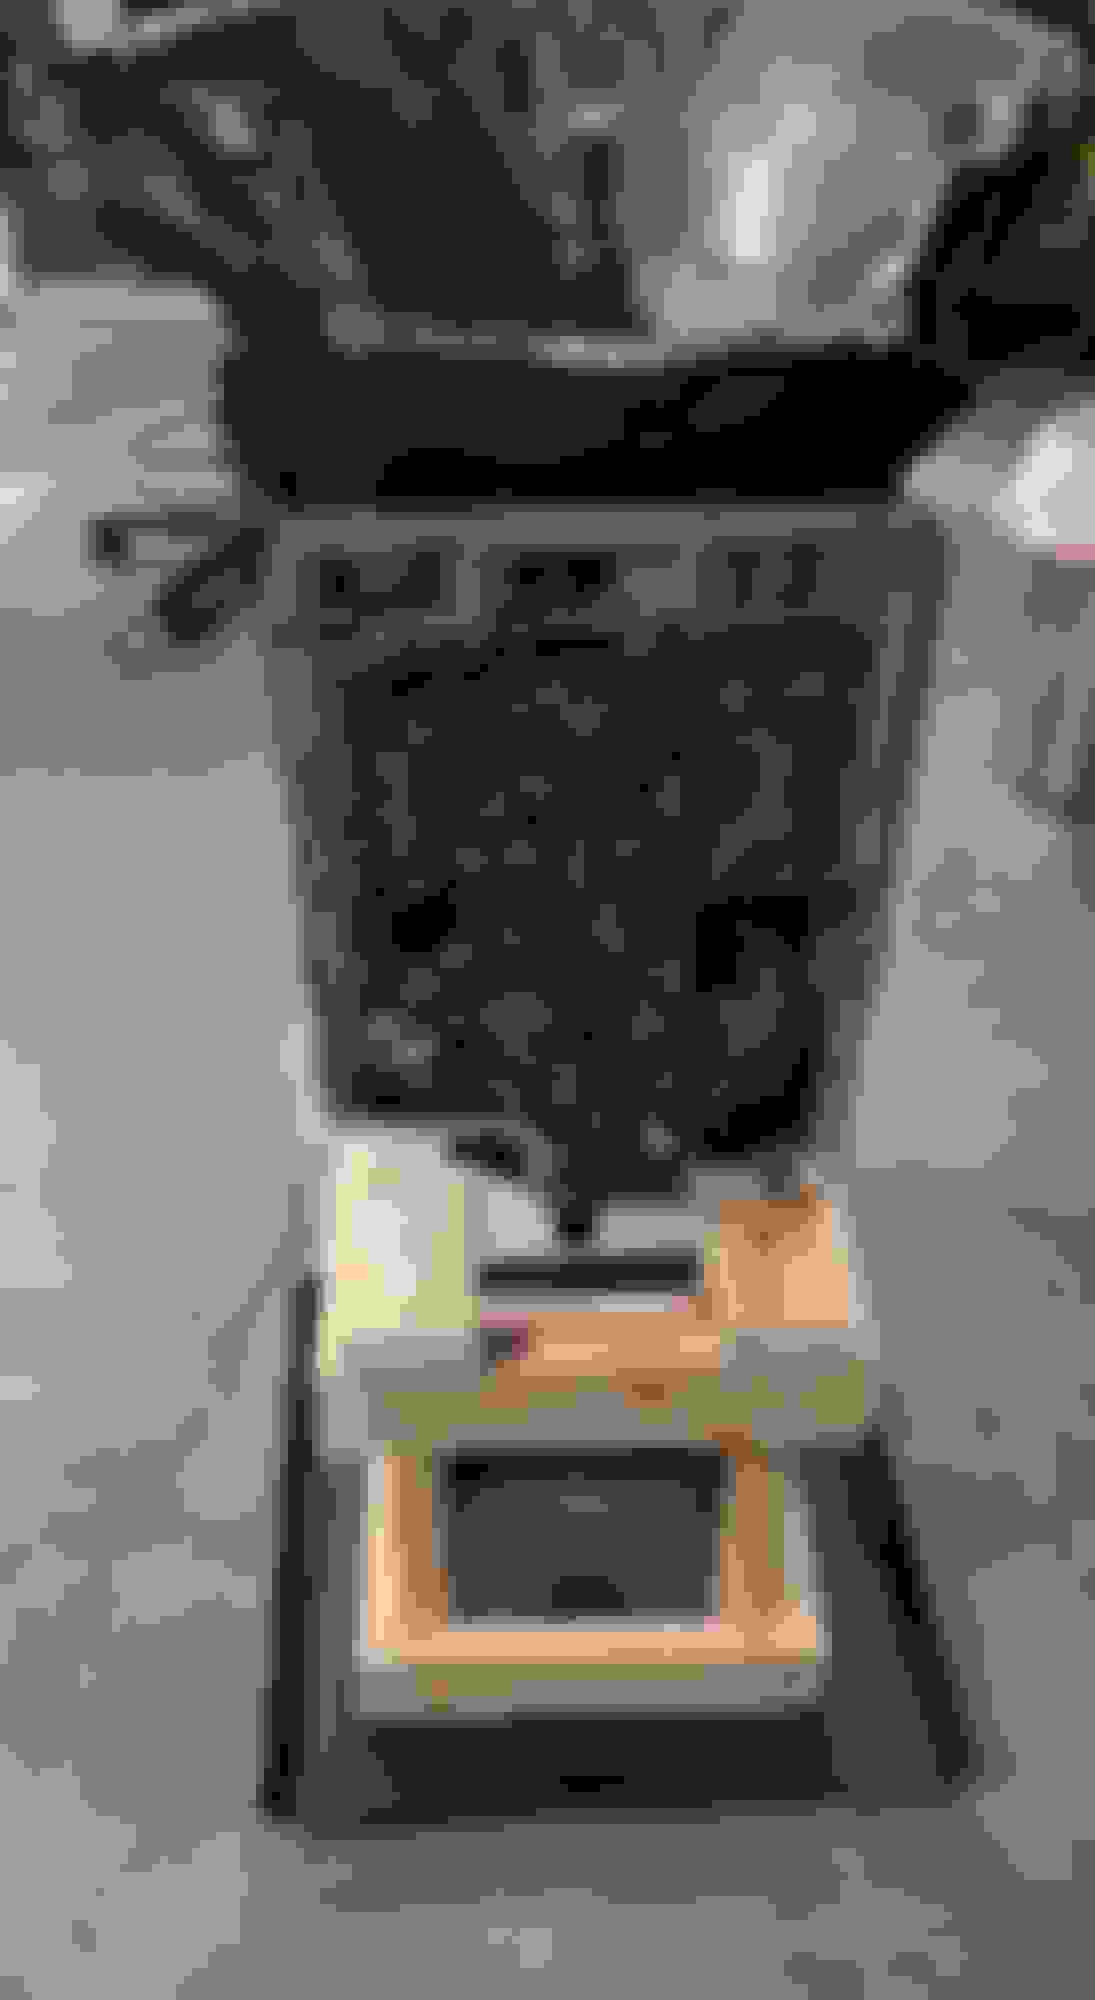
On the transmissionbench.com homemade stand.
Last edited by ebbnflow; Sep 5, 2019 at 12:04 AM.
Reason: spelling
Rockin it? Rocking the Cradle? Oh yeah.... Another 4R100 Build By EbbnFlow. That's the title to the song your singing us and it sounds good. I know these pictures take time and do not happen by accident. We all appreciate it. I found that this rebuild actually goes back together easier than it comes apart, which was strange for me. Its usually the opposite. After the cleaning and right before I started rebuilding, I got overwhelmed with all the hundreds and hundreds of parts. Then I realized that it can only go back together one part at a time and the part that mattered right now was the next part that goes in.
The sludge in the pan looks normal to me. The sludge on the valve body gasket, (the gray sludge) I did not see in mine. It appears nonmagnetic or even water-based. Someone else may have more to say on it. The center support and a few other parts are the only Aluminum. So between those and then the valve bodies is the only places I could see that coming from.
New gasket for transfer to trans housing was $7.99 at Napa, if you need it.
Awesome looking truck
good pictures thus far.. when you get a chance I, am I am sure others, would like to see a parts list of stuff you used and how they address the weak points of this transmission.. you my friend are an inspiration to us all.. (me). how long you think this going to take couple days or so.. I know we all gotta work and depending on weather , hot humid, its a PITA to work on $hi t outdoors in some places.
Originally Posted by ebbnflow
Good idea! Thank you.
I sure hope it does!!! I did not go with the transmissionbench.com kit, but instead picked all my own parts. I feel my build is pretty equivalent to a Stage 1. The only custom machined parts I'm putting in is the machined center support with an added snap ring and a billet input shaft. All the rest is pretty standard rebuild parts that address a most/all of the issues the 4R100 has.
good pictures thus far.. when you get a chance I, am I am sure others, would like to see a parts list of stuff you used and how they address the weak points of this transmission.. you my friend are an inspiration to us all.. (me). how long you think this going to take couple days or so.. I know we all gotta work and depending on weather , hot humid, its a PITA to work on $hi t outdoors in some places.
5 to 6 days. Day 1 remove tranny. I had help from my retired mom. Day 2 tran dissemble. Day 3 trans parts inspection, cleaning. Day 4 Rebuilding begins. Day 5 trans install. Day 6 completely clean up. Day 7 the Good Lord set aside to rest.
good pictures thus far.. when you get a chance I, am I am sure others, would like to see a parts list of stuff you used and how they address the weak points of this transmission.. you my friend are an inspiration to us all..
I would like to echo the words from carl2591 above. I think that current readers and future readers would love to see a parts list.
This might be the best 4R100 rebuild thread the FTE has and definitely deserves a spot in the Tech Folder.
Thanks for all the positivity. I didn't get much done so far today. I have no real timeline. I just want to make sure it gets done the right way. When I find the time, I'll edit my original post to add some specifics on my parts choices.
So far the biggest challenge for me was getting that damn roll pin for the gear selector rod out of the trans. Jimmy at the transmissionbench says this is the hardest part of the entire rebuild and I hope he is right.
I was looking over some of the parts last night and discovered some wear marks on the coast clutch drum. I've been scouring the internet for a replacement and have only had luck finding used parts that have these same looking wear marks. Maybe I'm overreacting. What do you all think?
I sure hope it does!!! I did not go with the transmissionbench.com kit, but instead picked all my own parts. I feel my build is pretty equivalent to a Stage 1. The only custom machined parts I'm putting in is the machined center support with an added snap ring and a billet input shaft. All the rest is pretty standard rebuild parts that address a most/all of the issues the 4R100 has.
I made some good progress today. More to come soon.
Cleared the exhaust, frame and fender by jacking up the passenger rear tire higher than I would have liked to.
The pig is out!!!
Not too much on the magnet now, but I flushed the trans in June when I discovered a pan full of metal. Wish I would have taken a pic of that. It was gross.
On the bench.
Look at all the sludge.
More sludge.
The track that comes from the lower feed bolt in this photo is where I believe most of the sludge is coming from. Anyone know what that feed bolt feeds? Also, both these feed bolts were on the loose side. I easily snugged them up about 1/4 turn.
Sludge on the servo piston.
Transmissionbench.com homemade pump removal tool.
On the transmissionbench.com homemade stand.
Lower feed bolt is the Intermediate/Lube circuit.
Sorry for showing all the photos again. But hey we like photos.
so i was watching video and he was removing the coast clutch in video 4 of 16 at the 15:00 mark and when he took it out I did NOT notice the marks you saw and took photo of on your or the use coast clutch. might be bad somehow.. ??
Thanks for all the positivity. I didn't get much done so far today. I have no real timeline. I just want to make sure it gets done the right way. When I find the time, I'll edit my original post to add some specifics on my parts choices.
So far the biggest challenge for me was getting that damn roll pin for the gear selector rod out of the trans. Jimmy at the transmissionbench says this is the hardest part of the entire rebuild and I hope he is right.
I was looking over some of the parts last night and discovered some wear marks on the coast clutch drum. I've been scouring the internet for a replacement and have only had luck finding used parts that have these same looking wear marks. Maybe I'm overreacting. What do you all think?
Coast clutch drum wear marks.
Just my opinion. But I think the drum is ok. From what I have read the coast clutch is only used during deceleration. But, if you can catch those wear marks with a fingernail I would take a brush on a drill motor or Dremel tool and knock the edges off. Do you have an exhaust break or use the transmission to slow down? If so you might want to put a new Coast clutch drum in it. If not, I'd let it run for another 20 years. You can change it out on the next rebuild.
Rezvani's Latest Post-Apocalyptic Monster Is a Ford F-150 Raptor Underneath
Slideshow: Called the Fortress, the 850-horsepower pickup combines Raptor underpinnings with military-inspired features, survival equipment, and a starting price of $285,000.


 how long you think this going to take couple days or so.. I know we all gotta work and depending on weather , hot humid, its a PITA to work on $hi t outdoors in some places.