When you click on links to various merchants on this site and make a purchase, this can result in this site earning a commission. Affiliate programs and affiliations include, but are not limited to, the eBay Partner Network.
The wagon came in handy several times 8' plastic table covering internal parts. I used the creeper to get the tranny and transfercase out from under the truck.
Assemblee Goo, Sonnax one piece rear bushing (Qty. 4), Sonnax one piece bushing driver, Motorcraft Filter, Sonnax Front Lube/Drainback Valve Kit
Not sure why I need 4 one piece bushings. 2 are 36008 D and 2 are 36008 B. I think the B is for e4od and D is for 4R100?
Originally Posted by ajbrown208
I used the creeper to get the tranny and transfercase out from under the truck.
Thanks for sharing all the photos. I'm curious about how you split the t-case from the trans. Most videos/tutorials I've seen split it after the extension housing. It looks like you split yours at the trans. Did you run into any difficulties doing it this way?
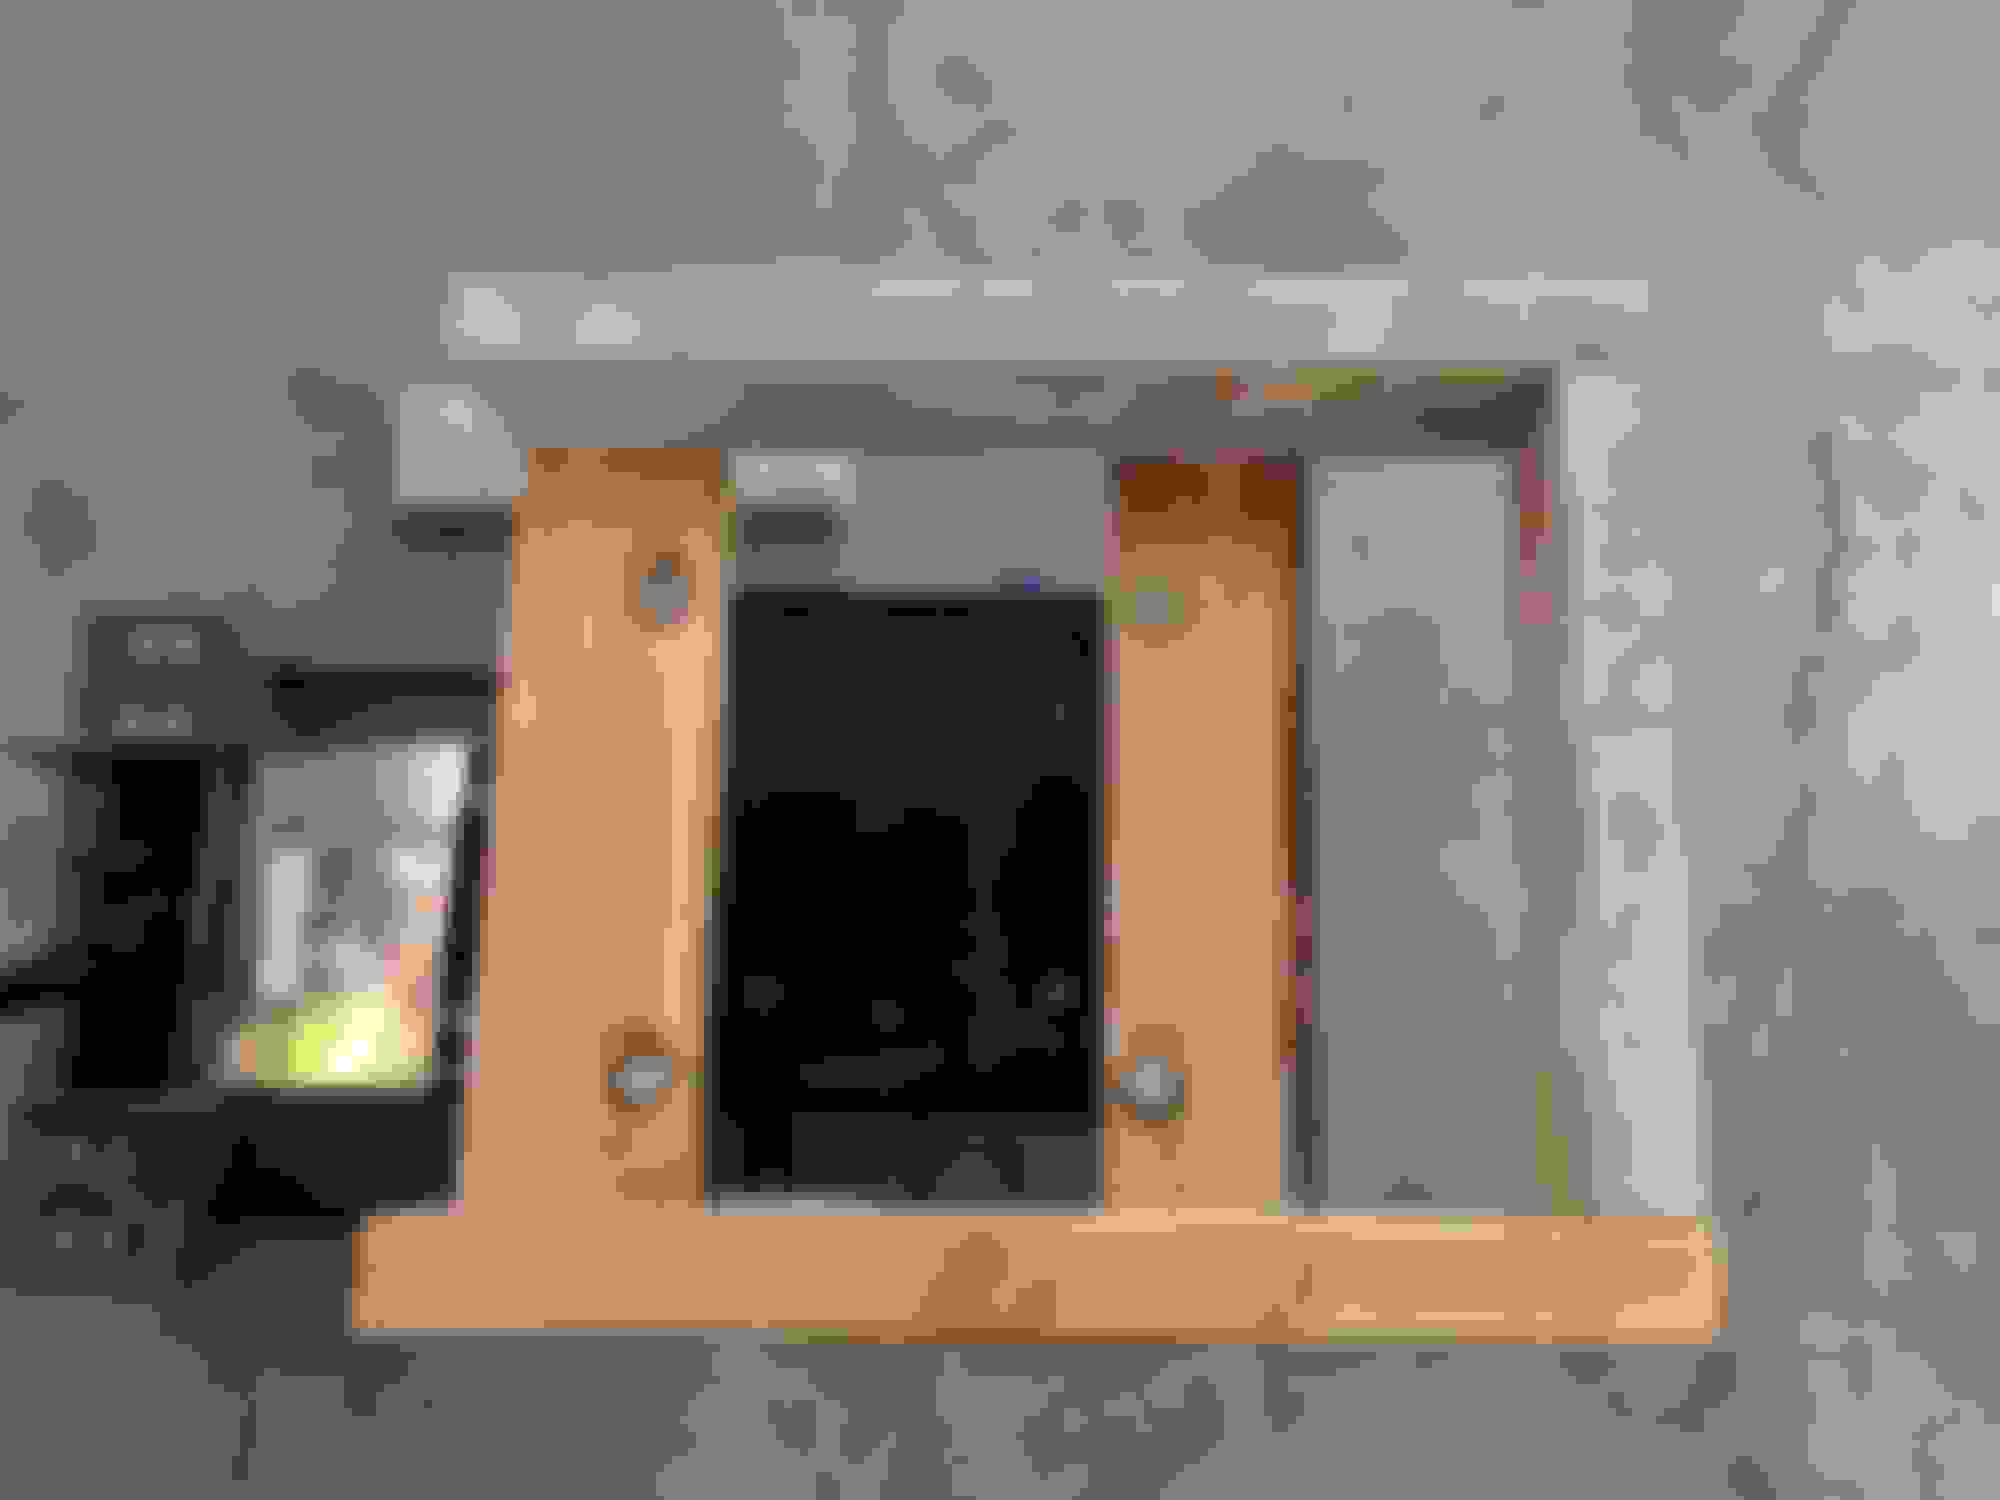
I like the 2x4 cradle too. Is that bolted to the square plate on the trans jack?
Assemblee Goo, Sonnax one piece rear bushing (Qty. 4), Sonnax one piece bushing driver, Motorcraft Filter, Sonnax Front Lube/Drainback Valve Kit
Not sure why I need 4 one piece bushings. 2 are 36008 D and 2 are 36008 B. I think the B is for e4od and D is for 4R100?
Thanks for sharing all the photos. I'm curious about how you split the t-case from the trans. Most videos/tutorials I've seen split it after the extension housing. It looks like you split yours at the trans. Did you run into any difficulties doing it this way?
I like the 2x4 cradle too. Is that bolted to the square plate on the trans jack?
Yes sir, I'm still a Freshman. It took me a while to figure out how to share pictures. The extension housing is still on the transmission in this picture. It is just different than what Jimmie shows because the one he is working on is a two rear drive. I'm assuming the only difference would be the extension housing, then transfer case, and then a different length in the drive shaft. The trannys would be the same. I dropped the case and tranny at the same time. I used some ratchet straps as a safety caught, in case I wasn't in the center of gravity when the trans came loose. I still don't know if I would do it different. That t-case is as awkward as anything I have ever come across. And Jimmie told me whatever I do not to drop that t-case. It made of manganese. The wooden craddle is held up by the red and green bungee.the top of it rest on the pan bolts. It was just enough to clear the pan plug and gave a flat surface of the jack. Get a couple of good night's sleep before you start. This thing will try to consume your mind.
36008 B early STD size bushing. E4OD.
36008 D late STD size bushing. 4R100.
Thanks for confirming that trackspeeder.
I haven't spent any time on this project in the last few days. Been preparing for a job interview.... Also it's been over 100 for the past week. Hasn't motivated me to get this project started, but I did get some more parts in the mail.
Mineral Spirits for parts washer, Cooler cleaner
Parts washer, clutch pack press
Sonnax 36743-01 - Center Support Spacer
I got a drip tray to go under the stand I made
Got another drip tray to go under the trans when it is on the bench
Machined center support and Sonnax snap ring
I plan to pull the trans sometime next week. More to come soon.
ebbnflow, I can't rep you again so soon, but you're killing it here.
The precision of your woodworking stands, the clarity of your photos, and the detail of your parts acquisition inventory... all point to one thing... that your personality is well suited to take on the DIY process of rebuilding your transmission.
Thank you for bringing us along on your journey.
Thanks for the vote of confidence and the rep Y2KW57. I sure need it. I've got a busy long weekend of non 4r100 activities and I've also got a 2nd interview on Tuesday for the job I interviewed for yesterday. Got to prep more for that. I hoping to pull the trans on Tuesday or Wednesday next week. More to come soon.
@ebbnflow I have piggybacked off of the rep point that Y2KW57 provided you and hit you with another rep point. I can only echo the words of encouragement he has provided. In addition, your level of research and attention to detail is a prime example of why I have included this thread in the "7.3L PSD Tech Folder" for others to read and learn from for many years to come.
Keep the pictures and steps accomplished coming, a lot of people are eagerly checking this thread for updates and tidbits of experience and knowledge they can takeaway.
Good luck on your 2nd interview and we hope you nail it!
I haven't spent any time on this project in the last few days. Been preparing for a job interview.... Also it's been over 100 for the past week. Hasn't motivated me to get this project started, but I did get some more parts in the mail.
Mineral Spirits for parts washer, Cooler cleaner
Parts washer, clutch pack press
Sonnax 36743-01 - Center Support Spacer
I got a drip tray to go under the stand I made
Got another drip tray to go under the trans when it is on the bench
Machined center support and Sonnax snap ring
I plan to pull the trans sometime next week. More to come soon.
I do not remember this black washer that goes with the center support. I have gone back through the lessons have not found where or when Jimmy said to install it. So heads up. ... I don't know I reinstalled it or not. I guess one come with the kit??? I k ow I had one left over.
@ebbnflow I have piggybacked off of the rep point that Y2KW57 provided you and hit you with another rep point. I can only echo the words of encouragement he has provided. In addition, your level of research and attention to detail is a prime example of why I have included this thread in the "7.3L PSD Tech Folder" for others to read and learn from for many years to come.
Keep the pictures and steps accomplished coming, a lot of people are eagerly checking this thread for updates and tidbits of experience and knowledge they can takeaway.
Good luck on your 2nd interview and we hope you nail it!
Thanks Sous. I appreciate the rep and positive vibes.
Originally Posted by ajbrown208
I do not remember this black washer that goes with the center support. I have gone back through the lessons have not found where or when Jimmy said to install it. So heads up. ... I don't know I reinstalled it or not. I guess one come with the kit??? I k ow I had one left over.
I don't think Jimmy disassembles the bearing/hub from the center support. That is where this gasket goes.
Do have the dimensions of that Jack cradle you made out of 2x4's? I was trying to mock one up today, but didn't get very far because my exhaust is in the way as well as some electrical connections. Thanks.
Thanks Sous. I appreciate the rep and positive vibes.
I don't think Jimmy disassembles the bearing/hub from the center support. That is where this gasket goes.
Do have the dimensions of that Jack cradle you made out of 2x4's? I was trying to mock one up today, but didn't get very far because my exhaust is in the way as well as some electrical connections. Thanks.
Your right. Jimmy did not disassemble the center support hub. Lesson 8 somewhere around 20 minutes in. Thank you. 2) 2X4's @ 18", 3) 2X4's @ 12". Notice in the picture that my trans range sensor is not installed yet. I didn't have this cradle during take down. But if you have a table saw or router, you could leave the sensor on and remove the wood in the area of sensor to 3/4" thickness. Even with the transmission out, it took me 35 minutes to get the sensor off. It was that stubborn.
Your prep work is awesome and your going to do a better job than I. And mine shifts better than it ever has. Its a pleasure to drive again. Good luck in your interview.
Thanks for the dimensions. That will help save me some time when I pull the trans. I also appreciate the pm you sent me. I might give you a call if I get stuck or have questions when I get this project under way.
Thanks for the comments. I've ordered a bench style clutch spring compressor on eBay for the 2 clutch packs that need it. I'm also going to make the tool in the transmission bench videos to remove the pump and to compress something else in the case (can't remember what it is called). The transmission bench videos are what gave me the confidence to tackle this myself.
I used his video series on the 4R70W to rebuild the tranny in my Expedition. His videos are excellent, and he is a good teacher.
I started the trans removal today. Didn't get too far, but got the drive shafts, skid plate, torque converter bolts and most of the electrical connectors removed.
I did find a couple of loose bolts on the bracket that holds the shift cable to the trans. I tried to get the video to post in the thread, but all I could manage was linking it as an attachment. It was so loose I am surprised I was able to put my truck in gear. Not sure how long it has been like that.
I also built a 2x4 cradle that mounts to the trans jack. Credit goes to ajbrown208 as he made it first.
I hope to have it completely removed by the end of tomorrow.
Let's get this party started!!!!
Trans Cradle - Credit to ajbrown208 for the idea - Thank you!
Trans Cradle - Credit to ajbrown208 for the idea - Thank you!
Trans Cradle - Credit to ajbrown208 for the idea - Thank you!
This Hennessey Takes the Expedition Tremor's Off-Roading Capability to the Next Level
Slideshow: The VelociRaptor Expedition gains a lift, upgraded suspension, Brembo brakes, and trail-ready equipment while retaining the stock 440-horsepower EcoBoost V6.