When you click on links to various merchants on this site and make a purchase, this can result in this site earning a commission. Affiliate programs and affiliations include, but are not limited to, the eBay Partner Network.
Thanks, I believe the exhaust that is going on it is the Diamond Eye 4" kit. It is purchased, but I don't have it in my hands yet. I have no pictures to update with yet, as I am doing the injectors right now. About the only thing I can say about doing the injectors on a van, well..... I really shouldn't repeat those words on a public forum
Any reason you went with Atlas springs. And not the ones ujoint sells for the 7.3's?I signed up just to follow your build.
The Atlas springs are the ones supplied by Ujoint Offroad.
Last nights adventures included finishing up the injectors. Passenger side took 3 hours, driver side took an hour. I can see why some people say that the body needs to come off to do injectors. For the record, I did not pull the body to do it. I did have to pull some of the valve train apart in order to get #3 and #5 out. Installing them was a treat also, but, alas, it is done. Now I can start reassembling the rest of the motor.
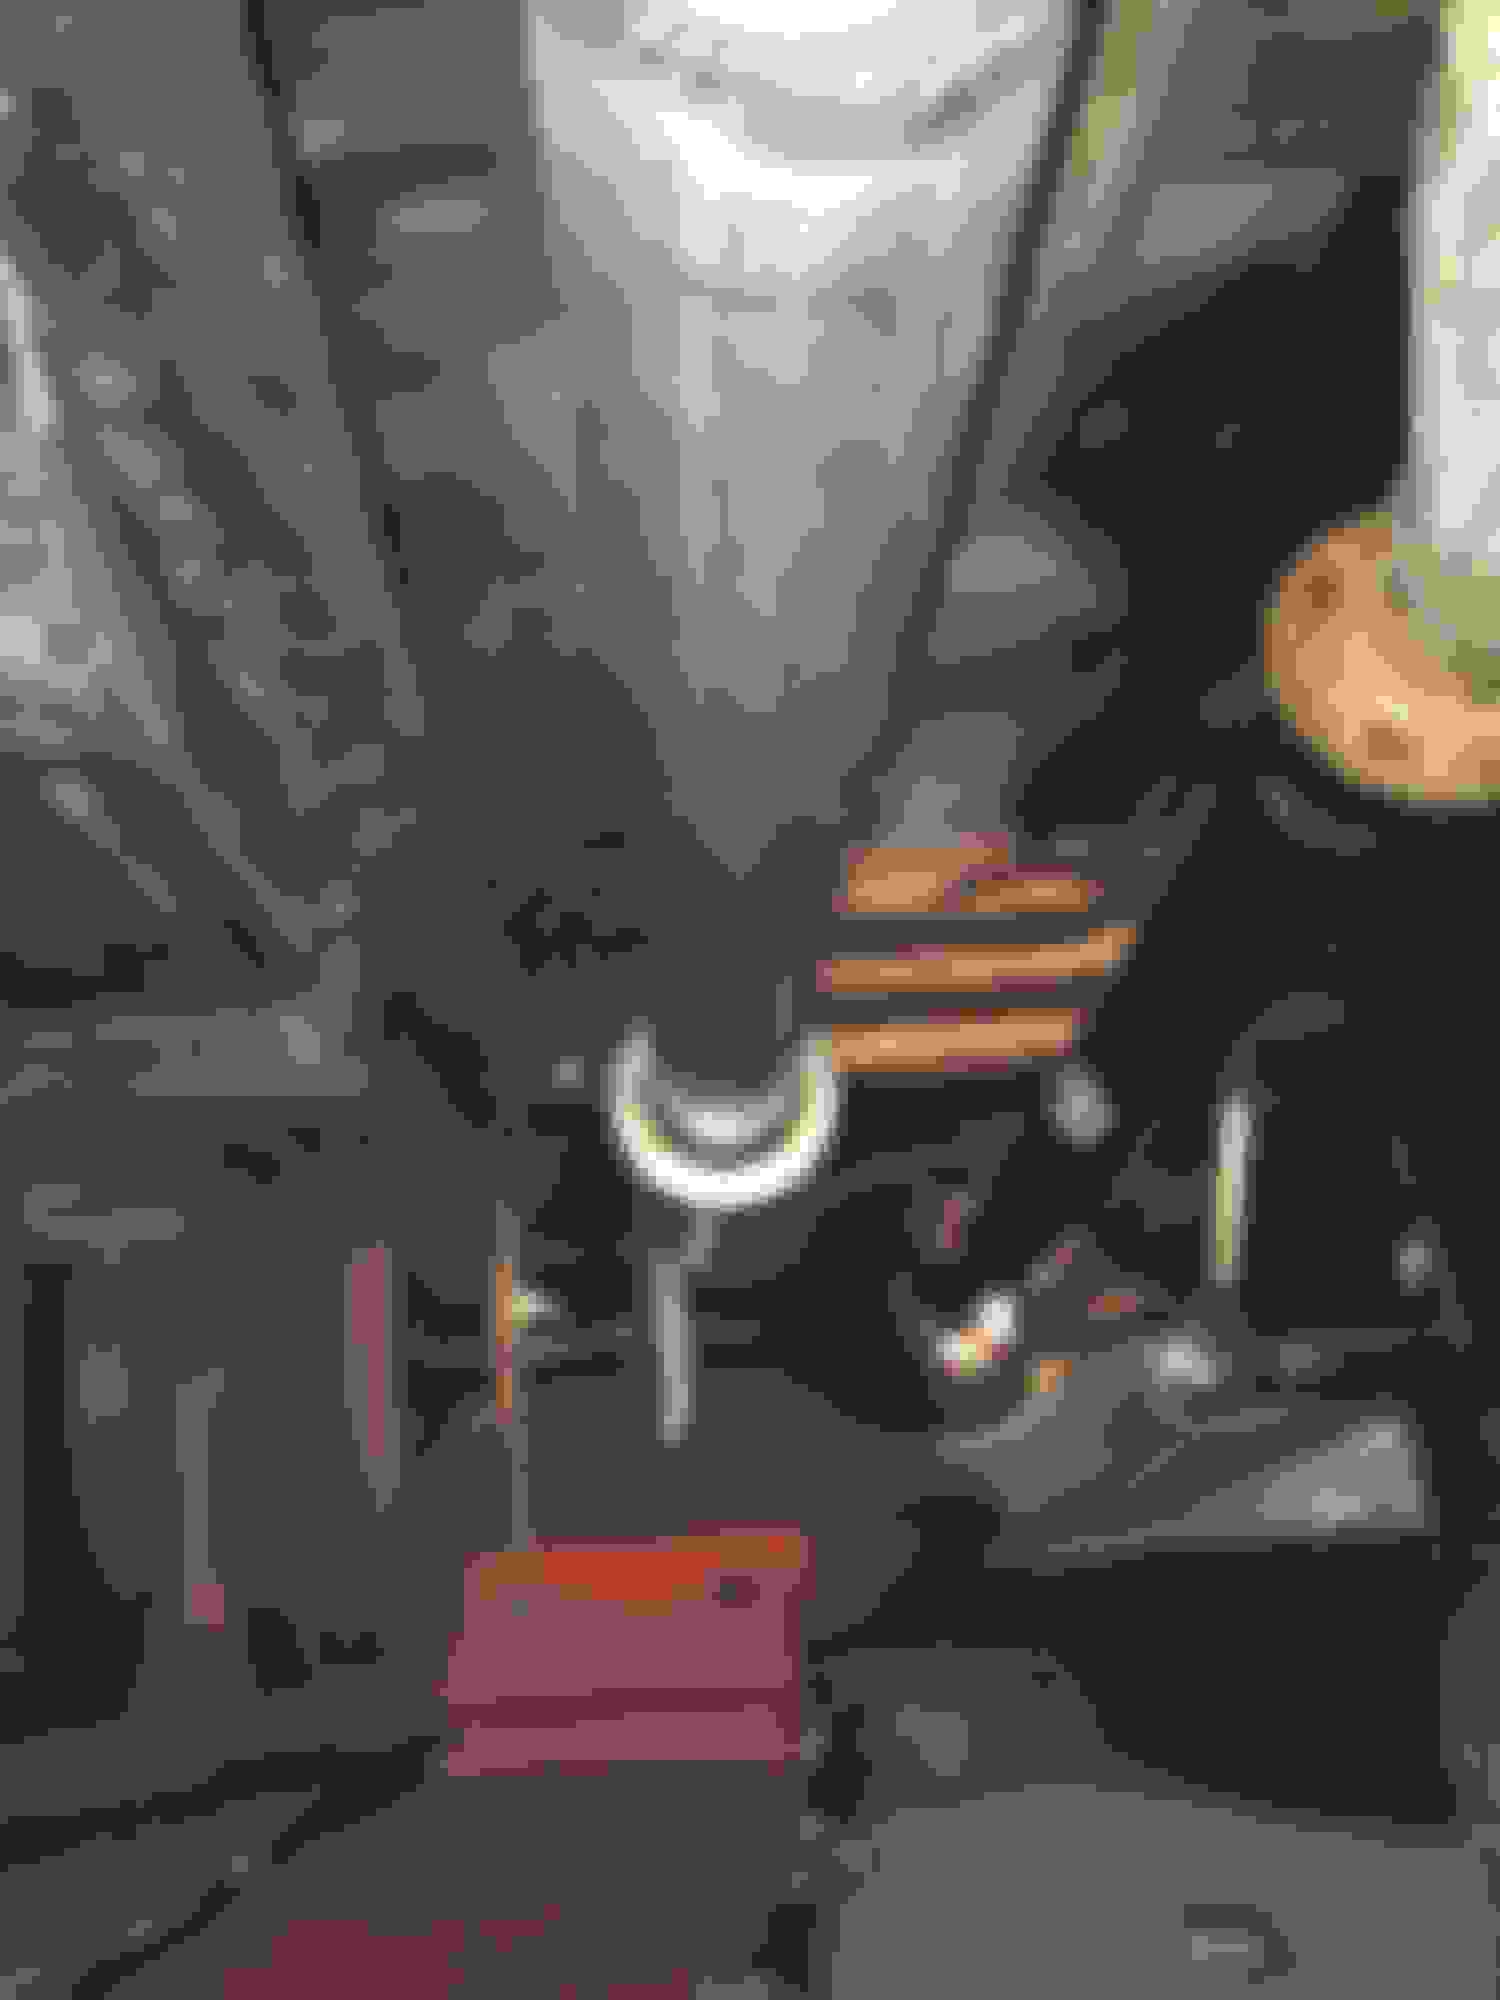
Well, I got a chance to get out in the garage last night, albeit a cold one out there. I got the factory battery box moved back on the frame rail, and the second battery box mounted to the frame. This clears up a little bit of space under the hood.
The box closest is the original box, and the new box is behind it. I still have to wire up the batteries, but this is one more item checked off the list.
That's an interesting looking battery array---is it some sort of drop-down or swing away contraption?
There are 4 bolts that hold each box on the frame rail, 3 of the bolt holes on the battery boxes are slotted so that you can slide the box into place and lock it with the 4th bolt. There is a cable on each side of the box that is bolted to the frame so that the box can hang off the rail as you wire the battery in place.
It can still be quite interesting wrestling the battery box back up in place.
Steve S.
To many to list.
Interesting set up. Gives me some ideas about how to attach a house battery to the frame rail in my e250.
This weekend was a weekend of getting some wiring done. I got the pyrometer sensor installed, the transfer case wiring "roughed in", the fuel pump wiring ran, removed the factory fuel lines and got a list together of fuel lines needed to finish off the Fass fuel pump install.
The owner stopped by to see progress so far and drop off the exhaust. Well, that side tracked me, as I wanted to install new shiny parts
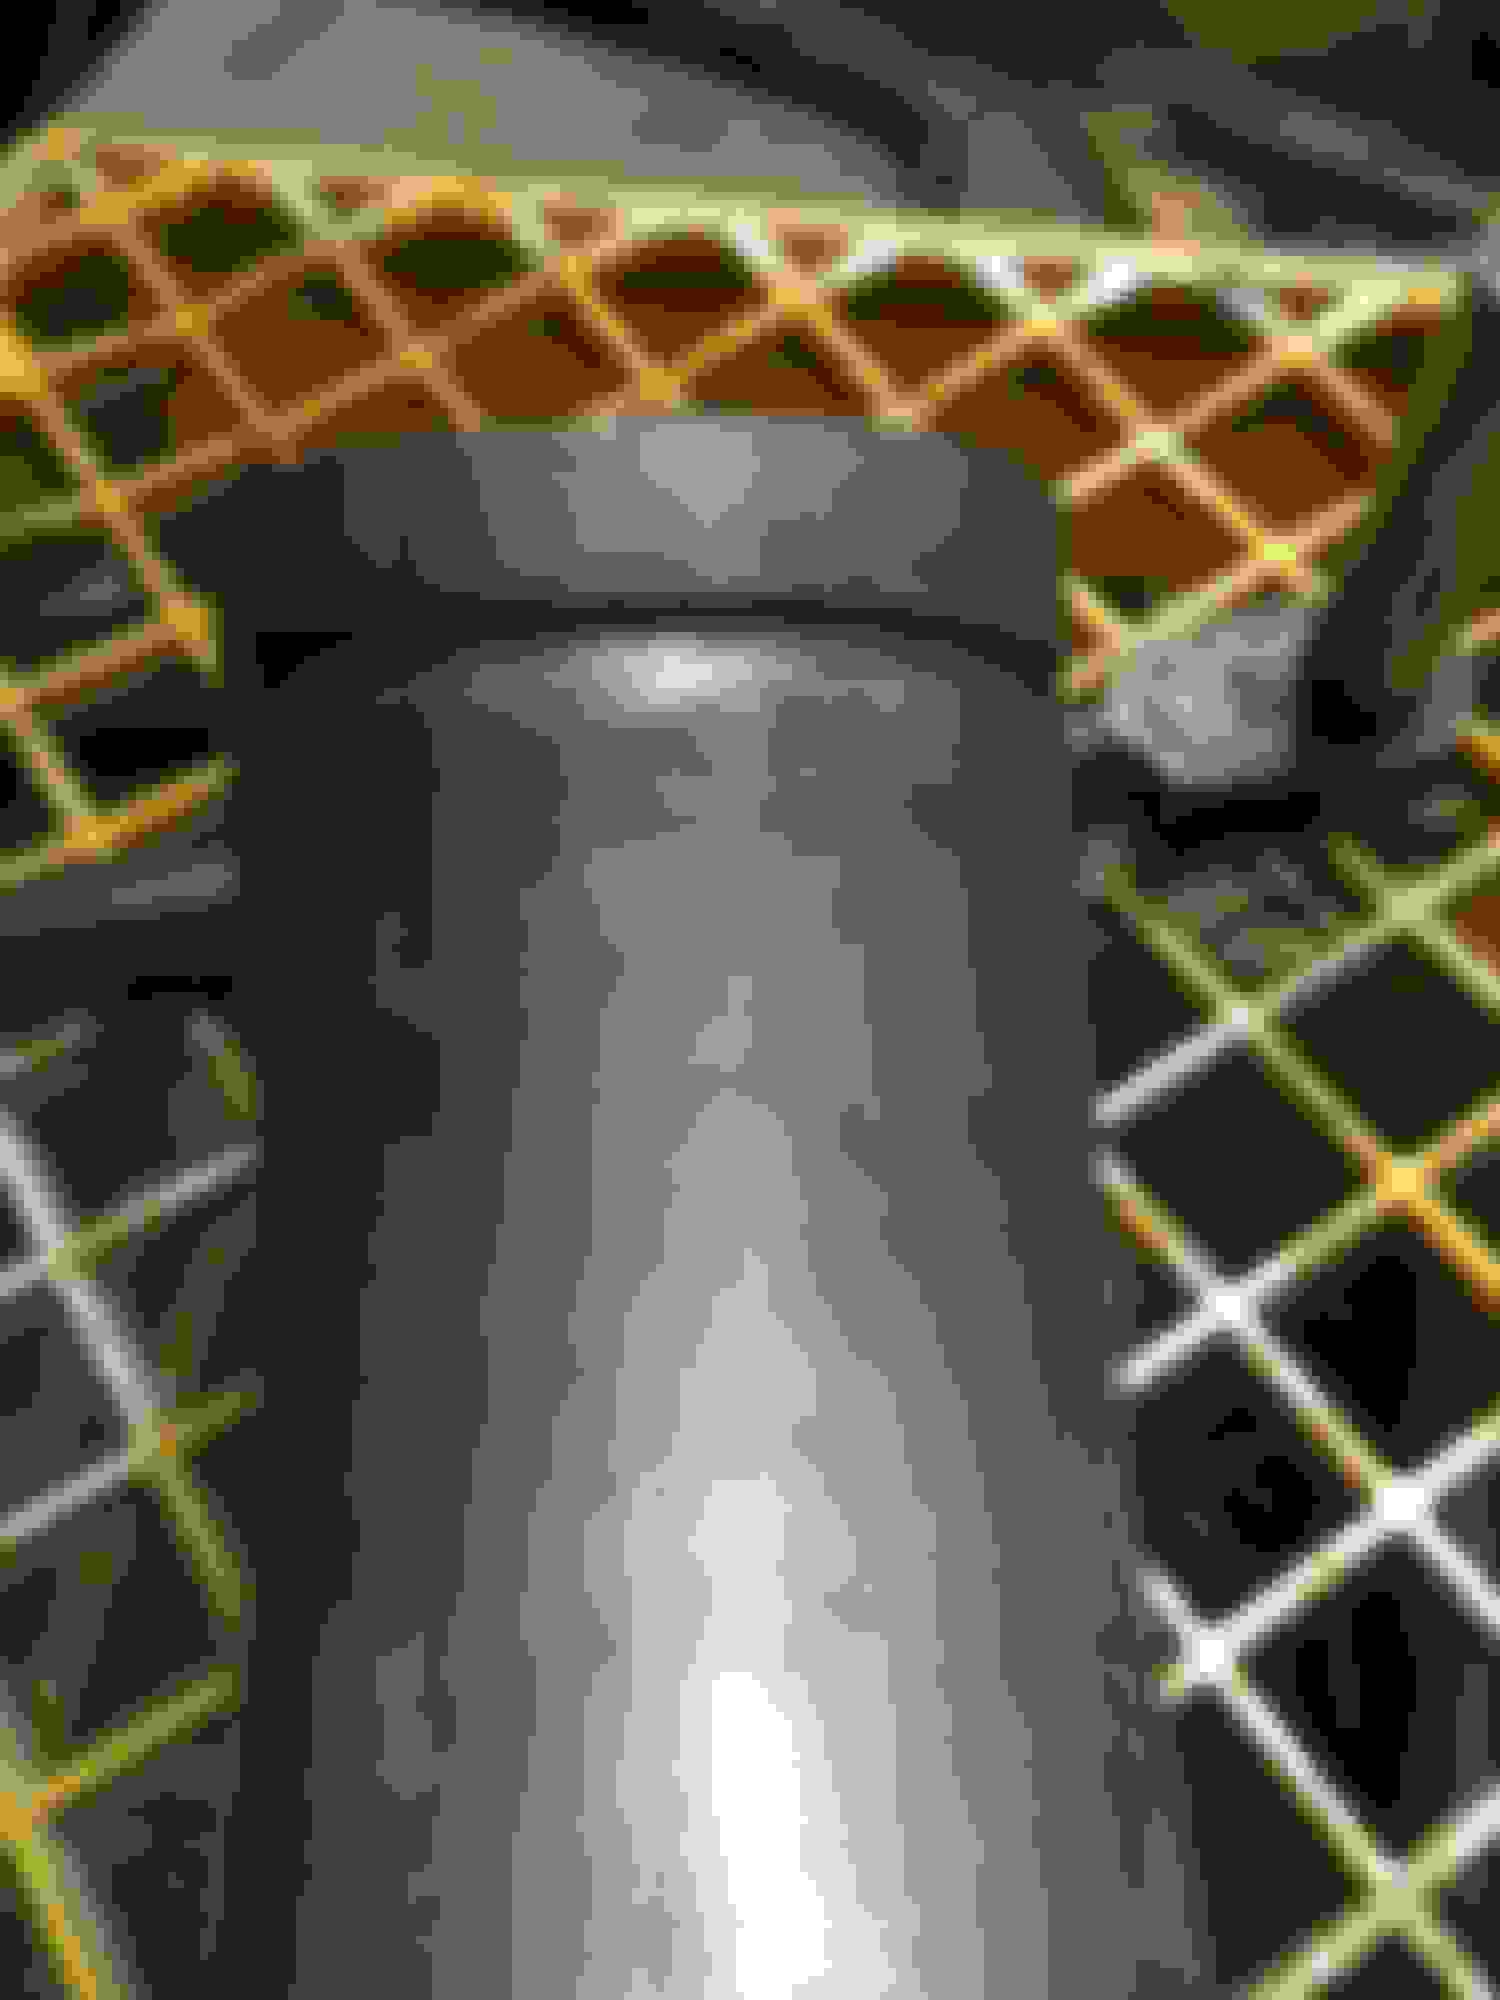
I installed the exhaust from the turbo to the muffler. I also installed the exhaust brake.
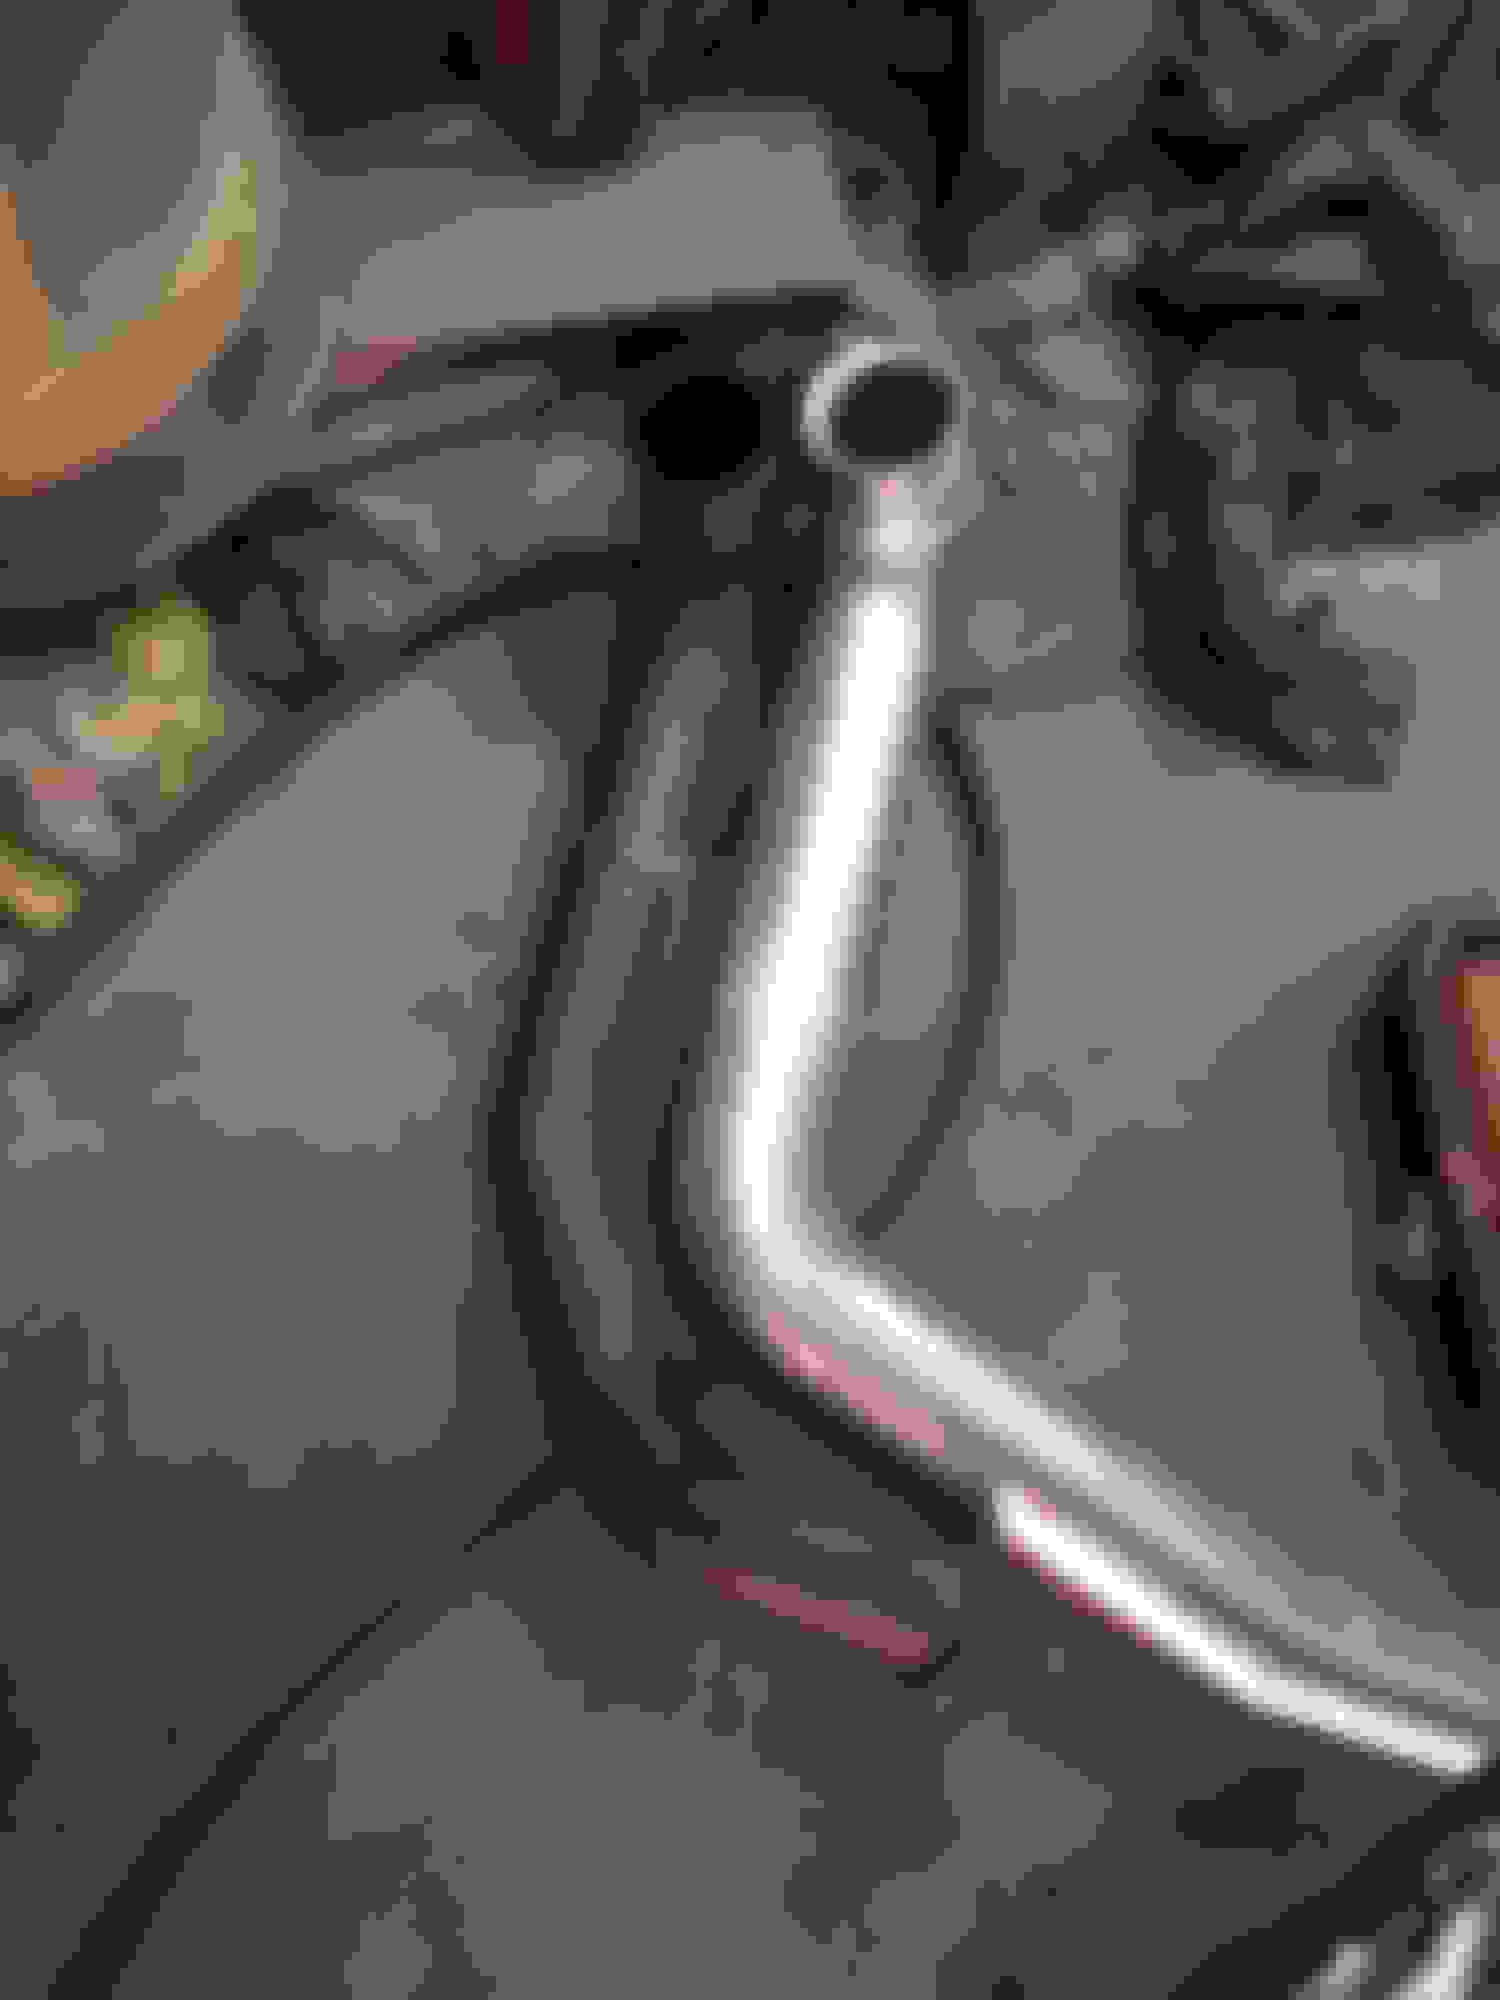
The new down tube, compared to the stock. Huge difference.
This is the exhaust brake. It is protected by the transmission cross member. The wiring for the transfer case can be seen here also. All of the electronics will be housed on the passenger side foot well next to the second row of seating.
Still working on wiring. And there is more to come.
This is the GEM module that will control the 4x4 system. We are only using the controls for the transfer case, as the front hubs have been converted to manual hubs.
More wires to connect.
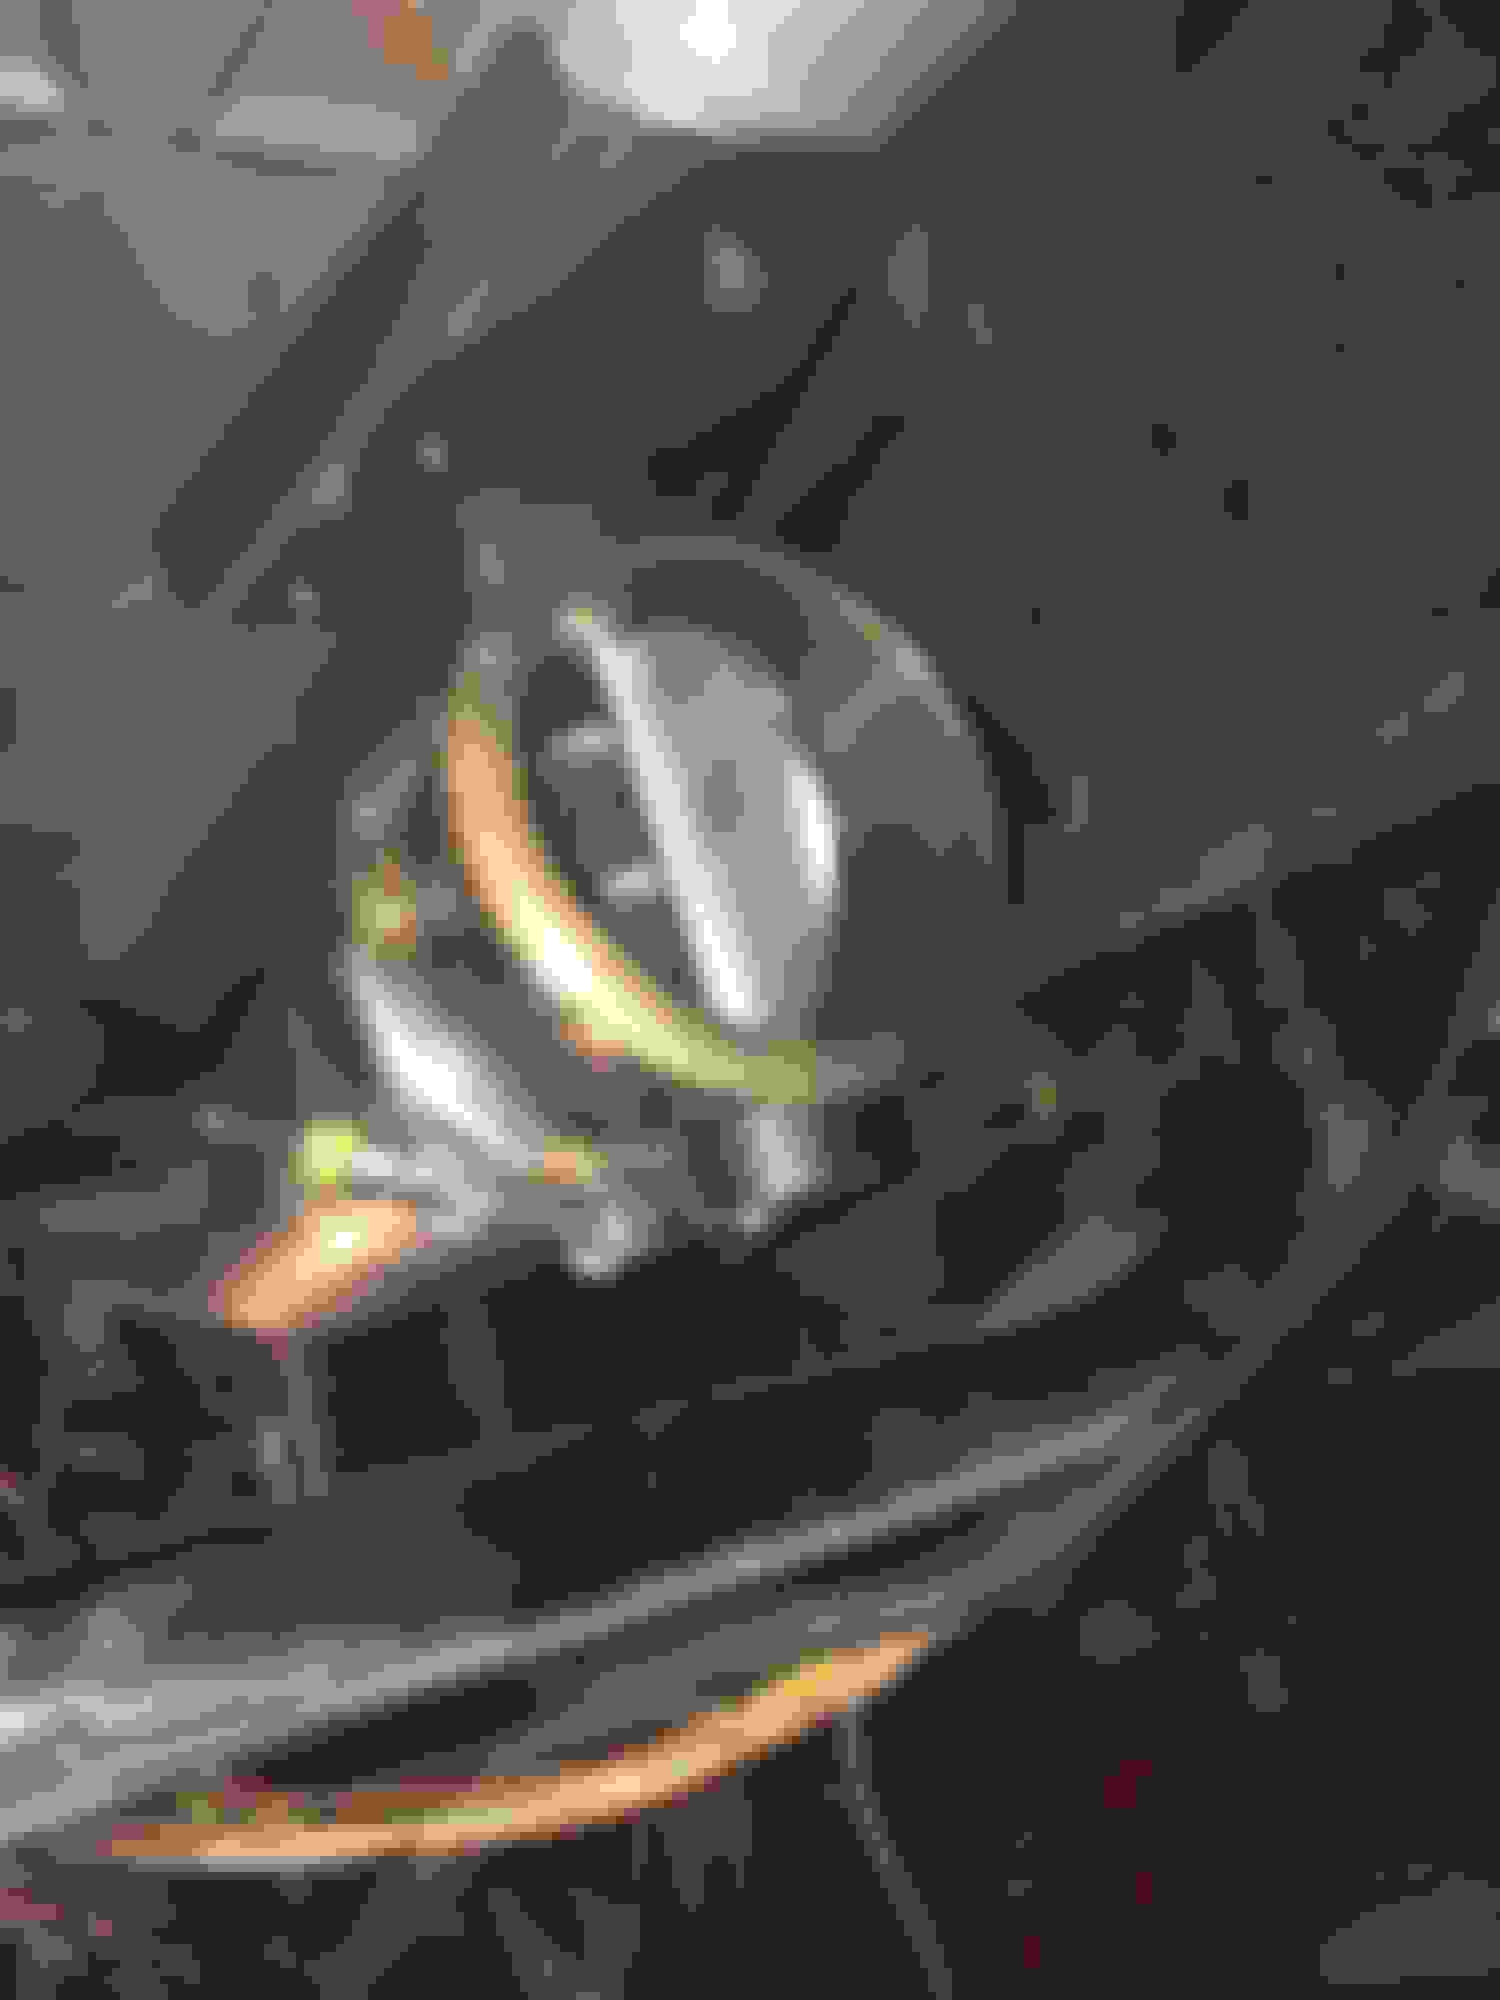
I did take a break from wiring in order to test the new intercooler tube I built for leaks.
Holding steady at 35 psi. If I tried to push 40 psi, it would blow off the rubber boot on 1 end or the other. No air leaks at 35 psi, so we are good.
We dont want to have boots blowing off while on the road, so I put the bead on the ends of the tubes to match what is on the factory truck tubes. There is a bead that is on the boot that is under the clamping area and it helps hold the boot on to the tube.
So out came the bead roller and worked the ends slowly.
That will work just right.
Within the next few days, we will be working on swapping out the front inner structure, getting ready for the '08 front swap. More pictures on the way.
Last night the owner came over and got the spot weld cutter out and went to town on the front end. The 99 front inner structure is removed and the 08 inner structure is ready to go on.
Before the spot weld cutter attacked it.
And after. The rest was cleaned up and sprayed. This weekend, he should be able to get the '08 inner structure back on.
This Hennessey Takes the Expedition Tremor's Off-Roading Capability to the Next Level
Slideshow: The VelociRaptor Expedition gains a lift, upgraded suspension, Brembo brakes, and trail-ready equipment while retaining the stock 440-horsepower EcoBoost V6.
Rezvani's Latest Post-Apocalyptic Monster Is a Ford F-150 Raptor Underneath
Slideshow: Called the Fortress, the 850-horsepower pickup combines Raptor underpinnings with military-inspired features, survival equipment, and a starting price of $285,000.