When you click on links to various merchants on this site and make a purchase, this can result in this site earning a commission. Affiliate programs and affiliations include, but are not limited to, the eBay Partner Network.
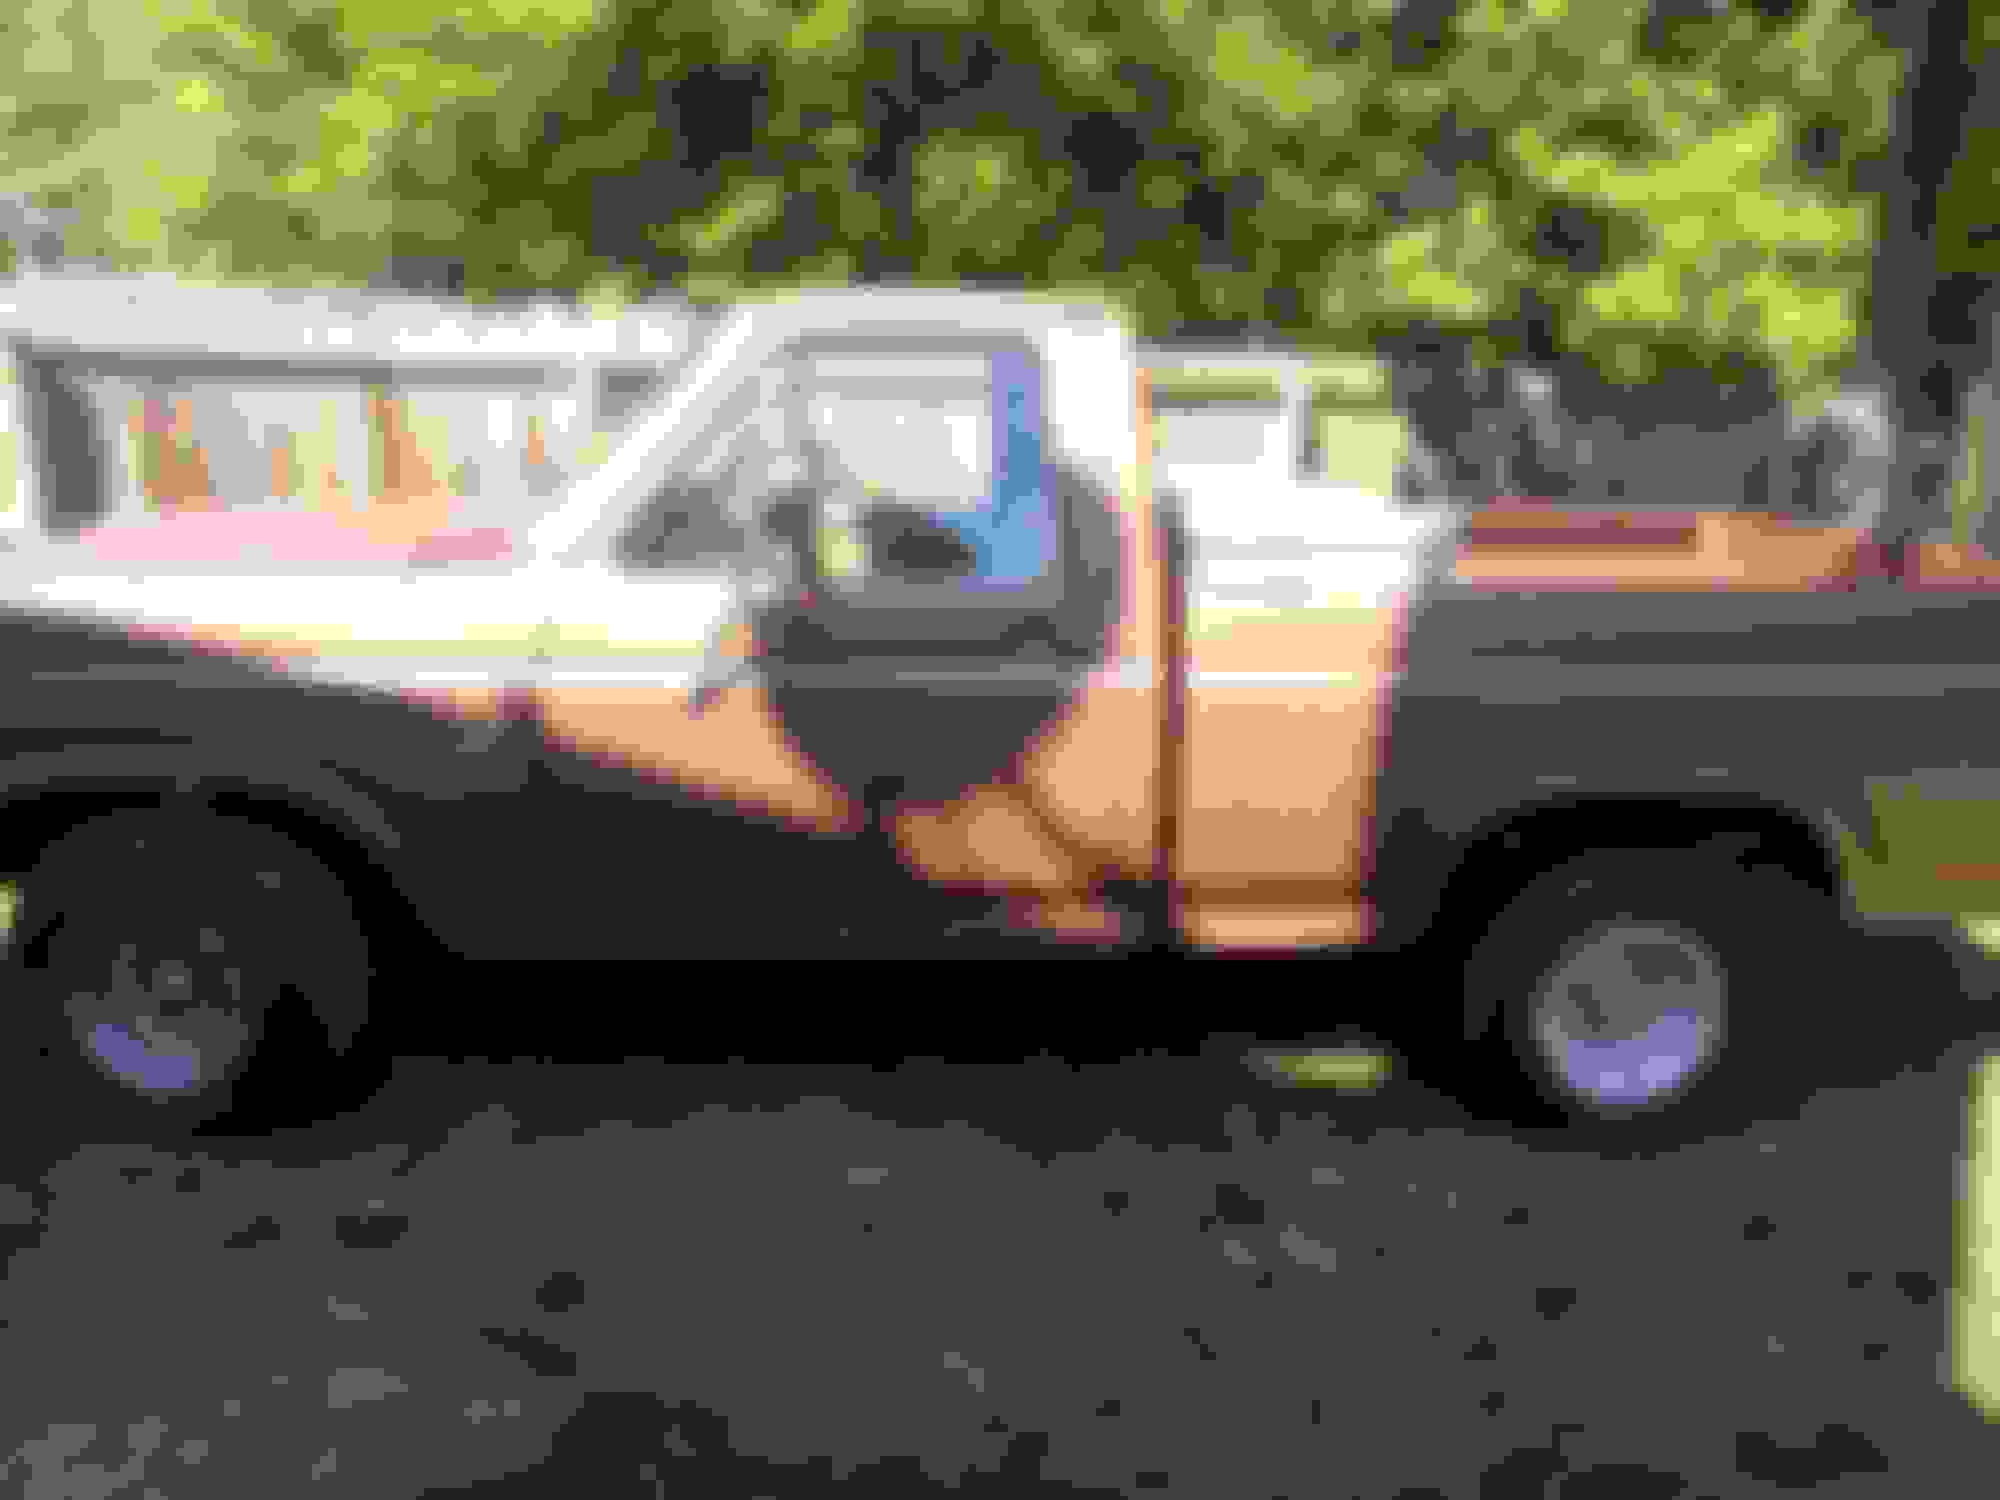
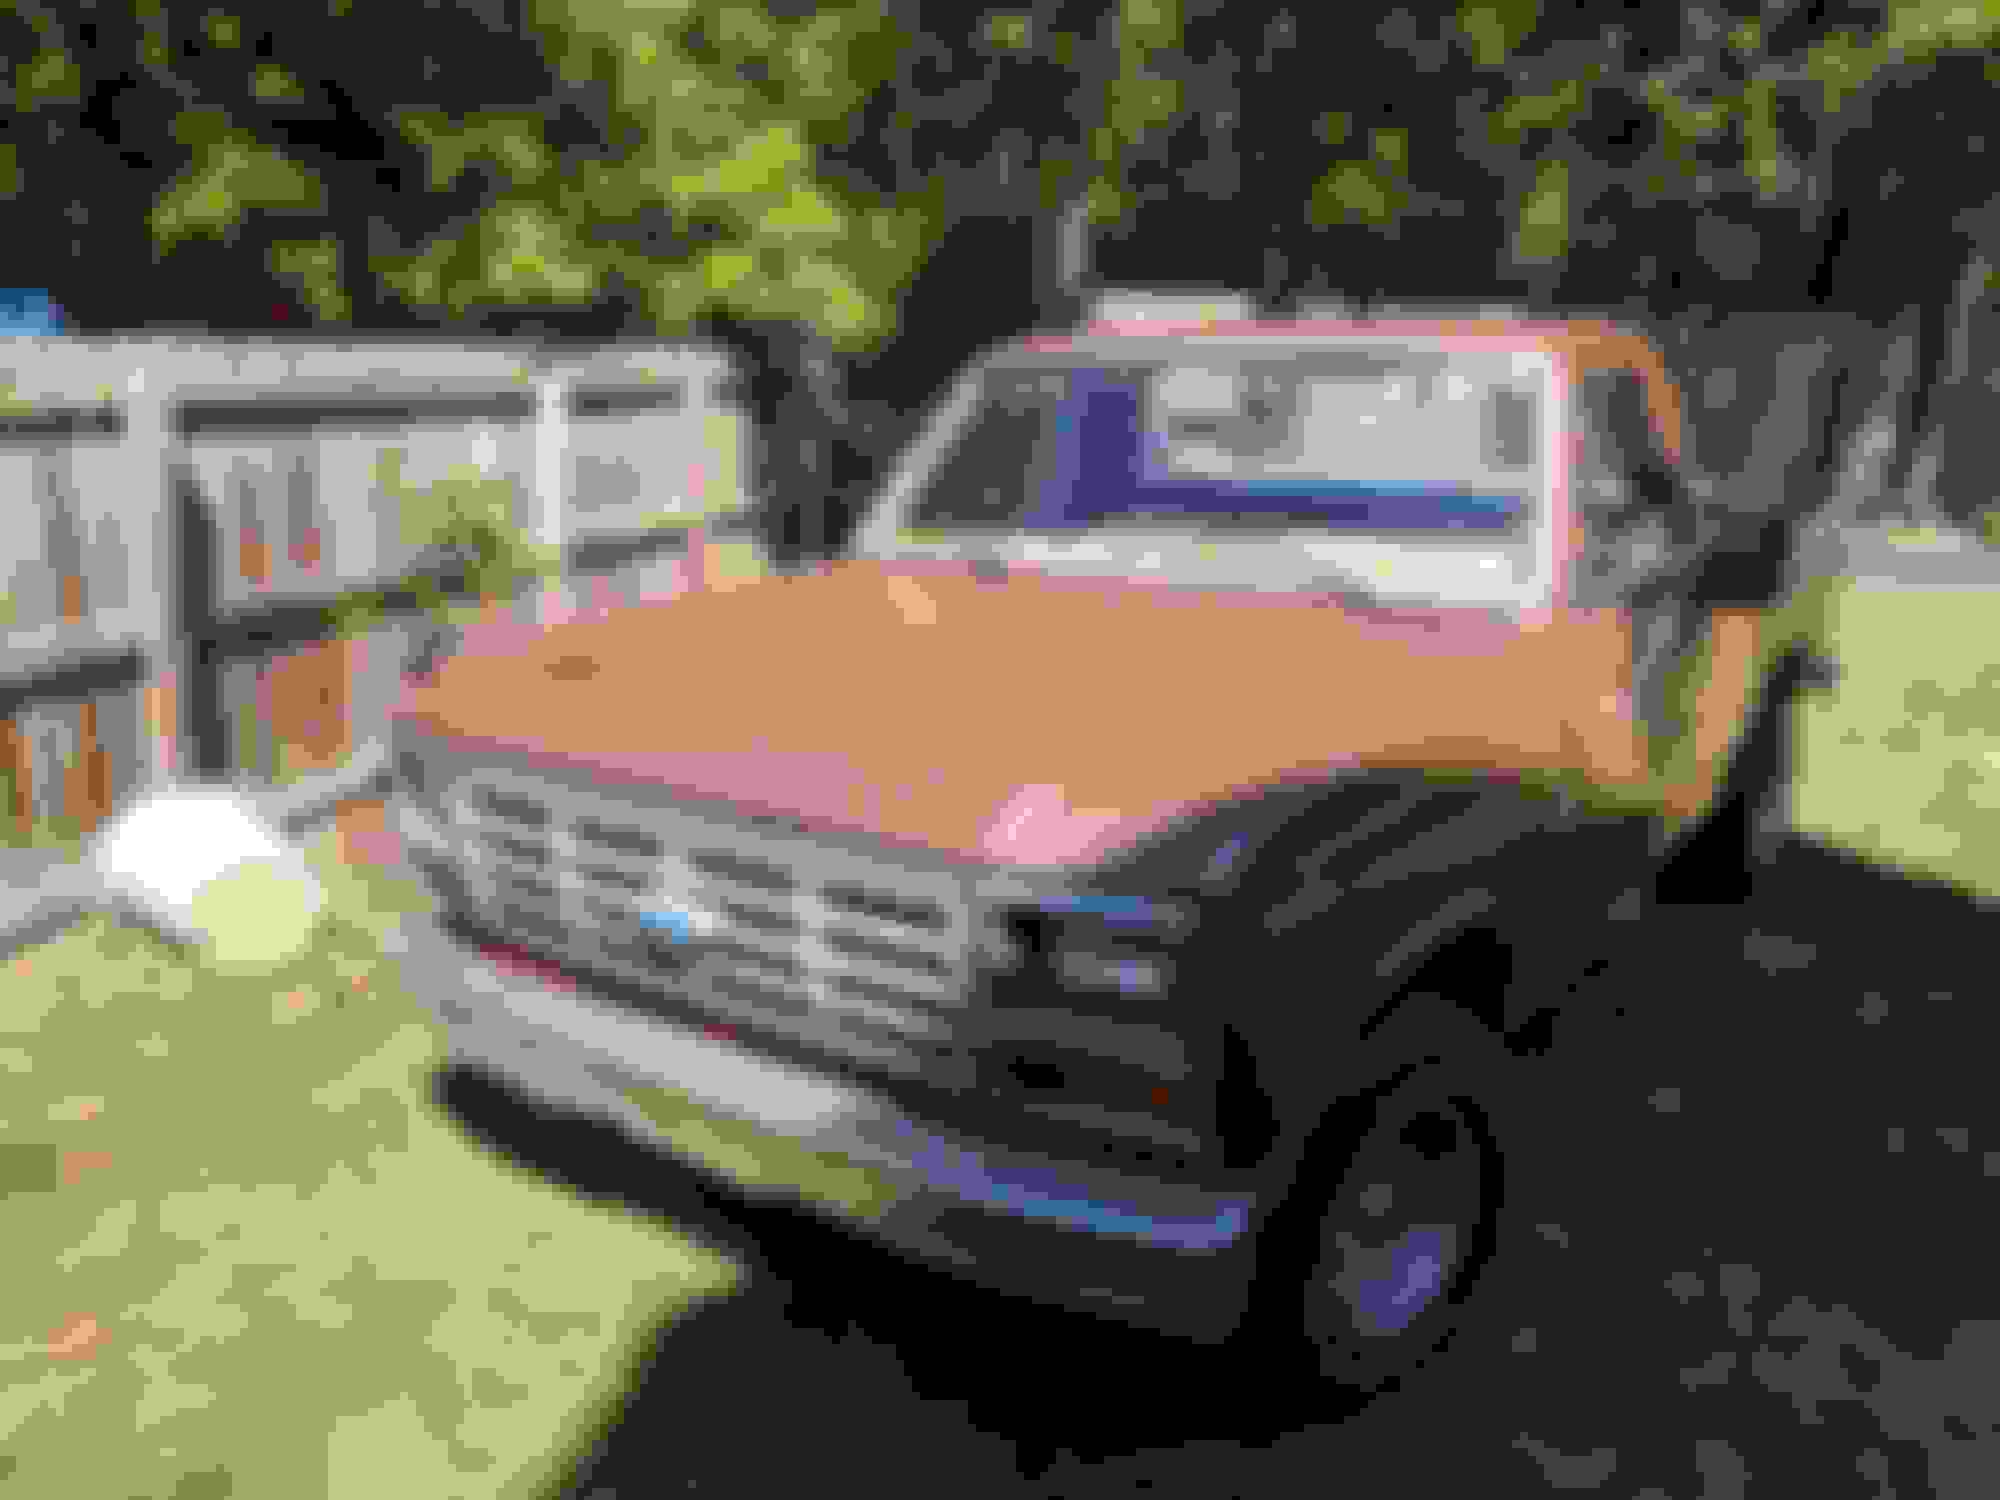
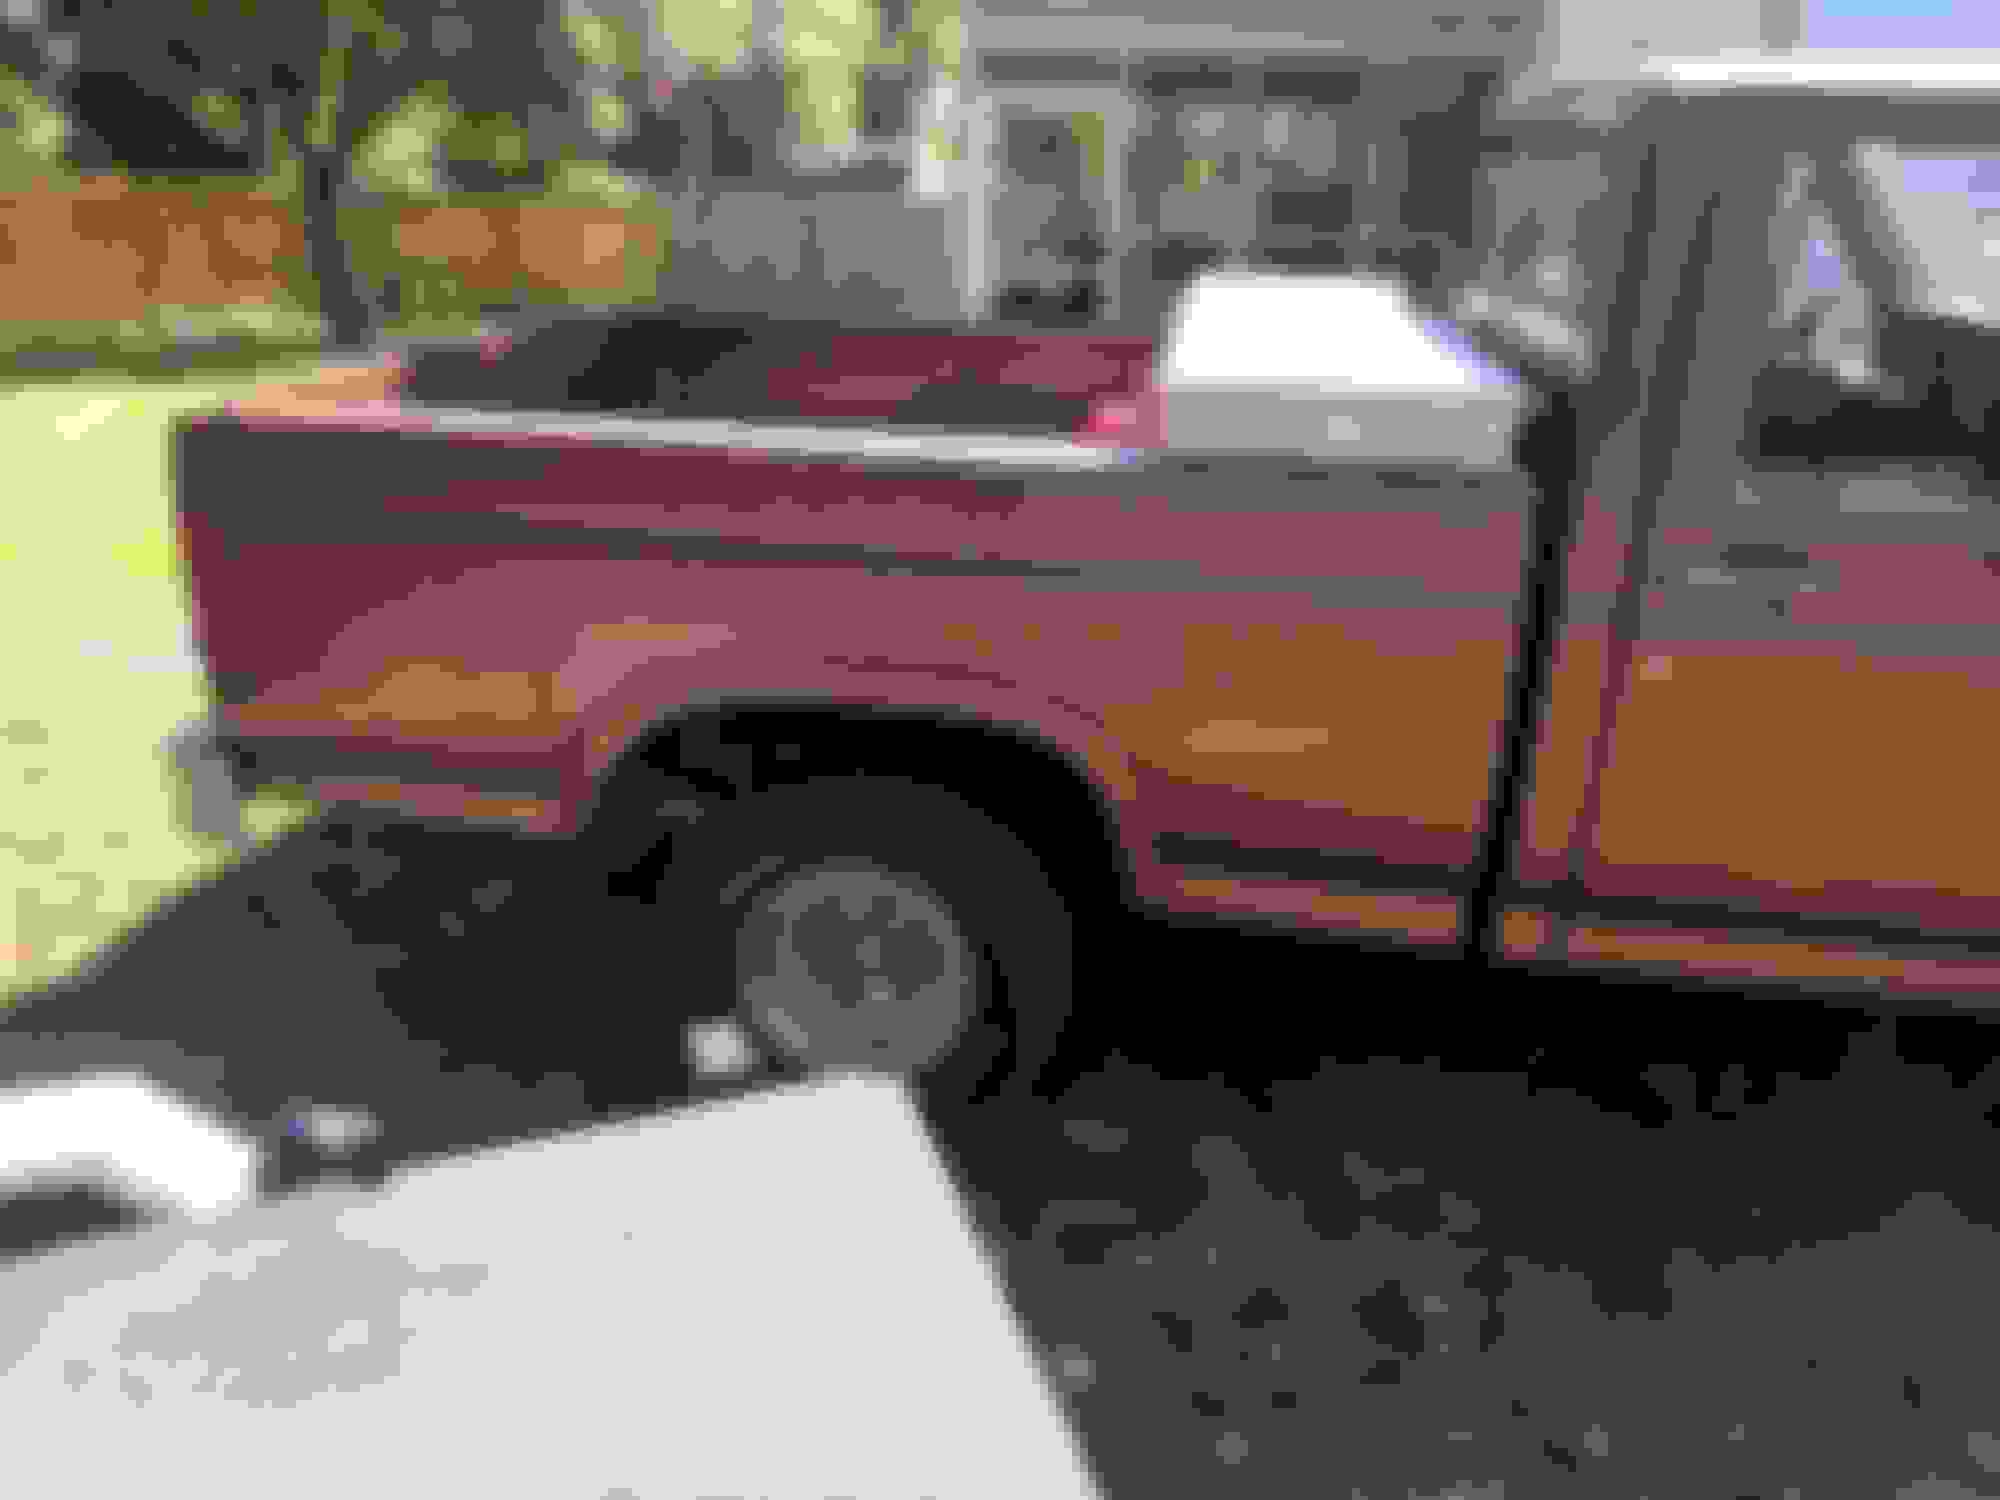
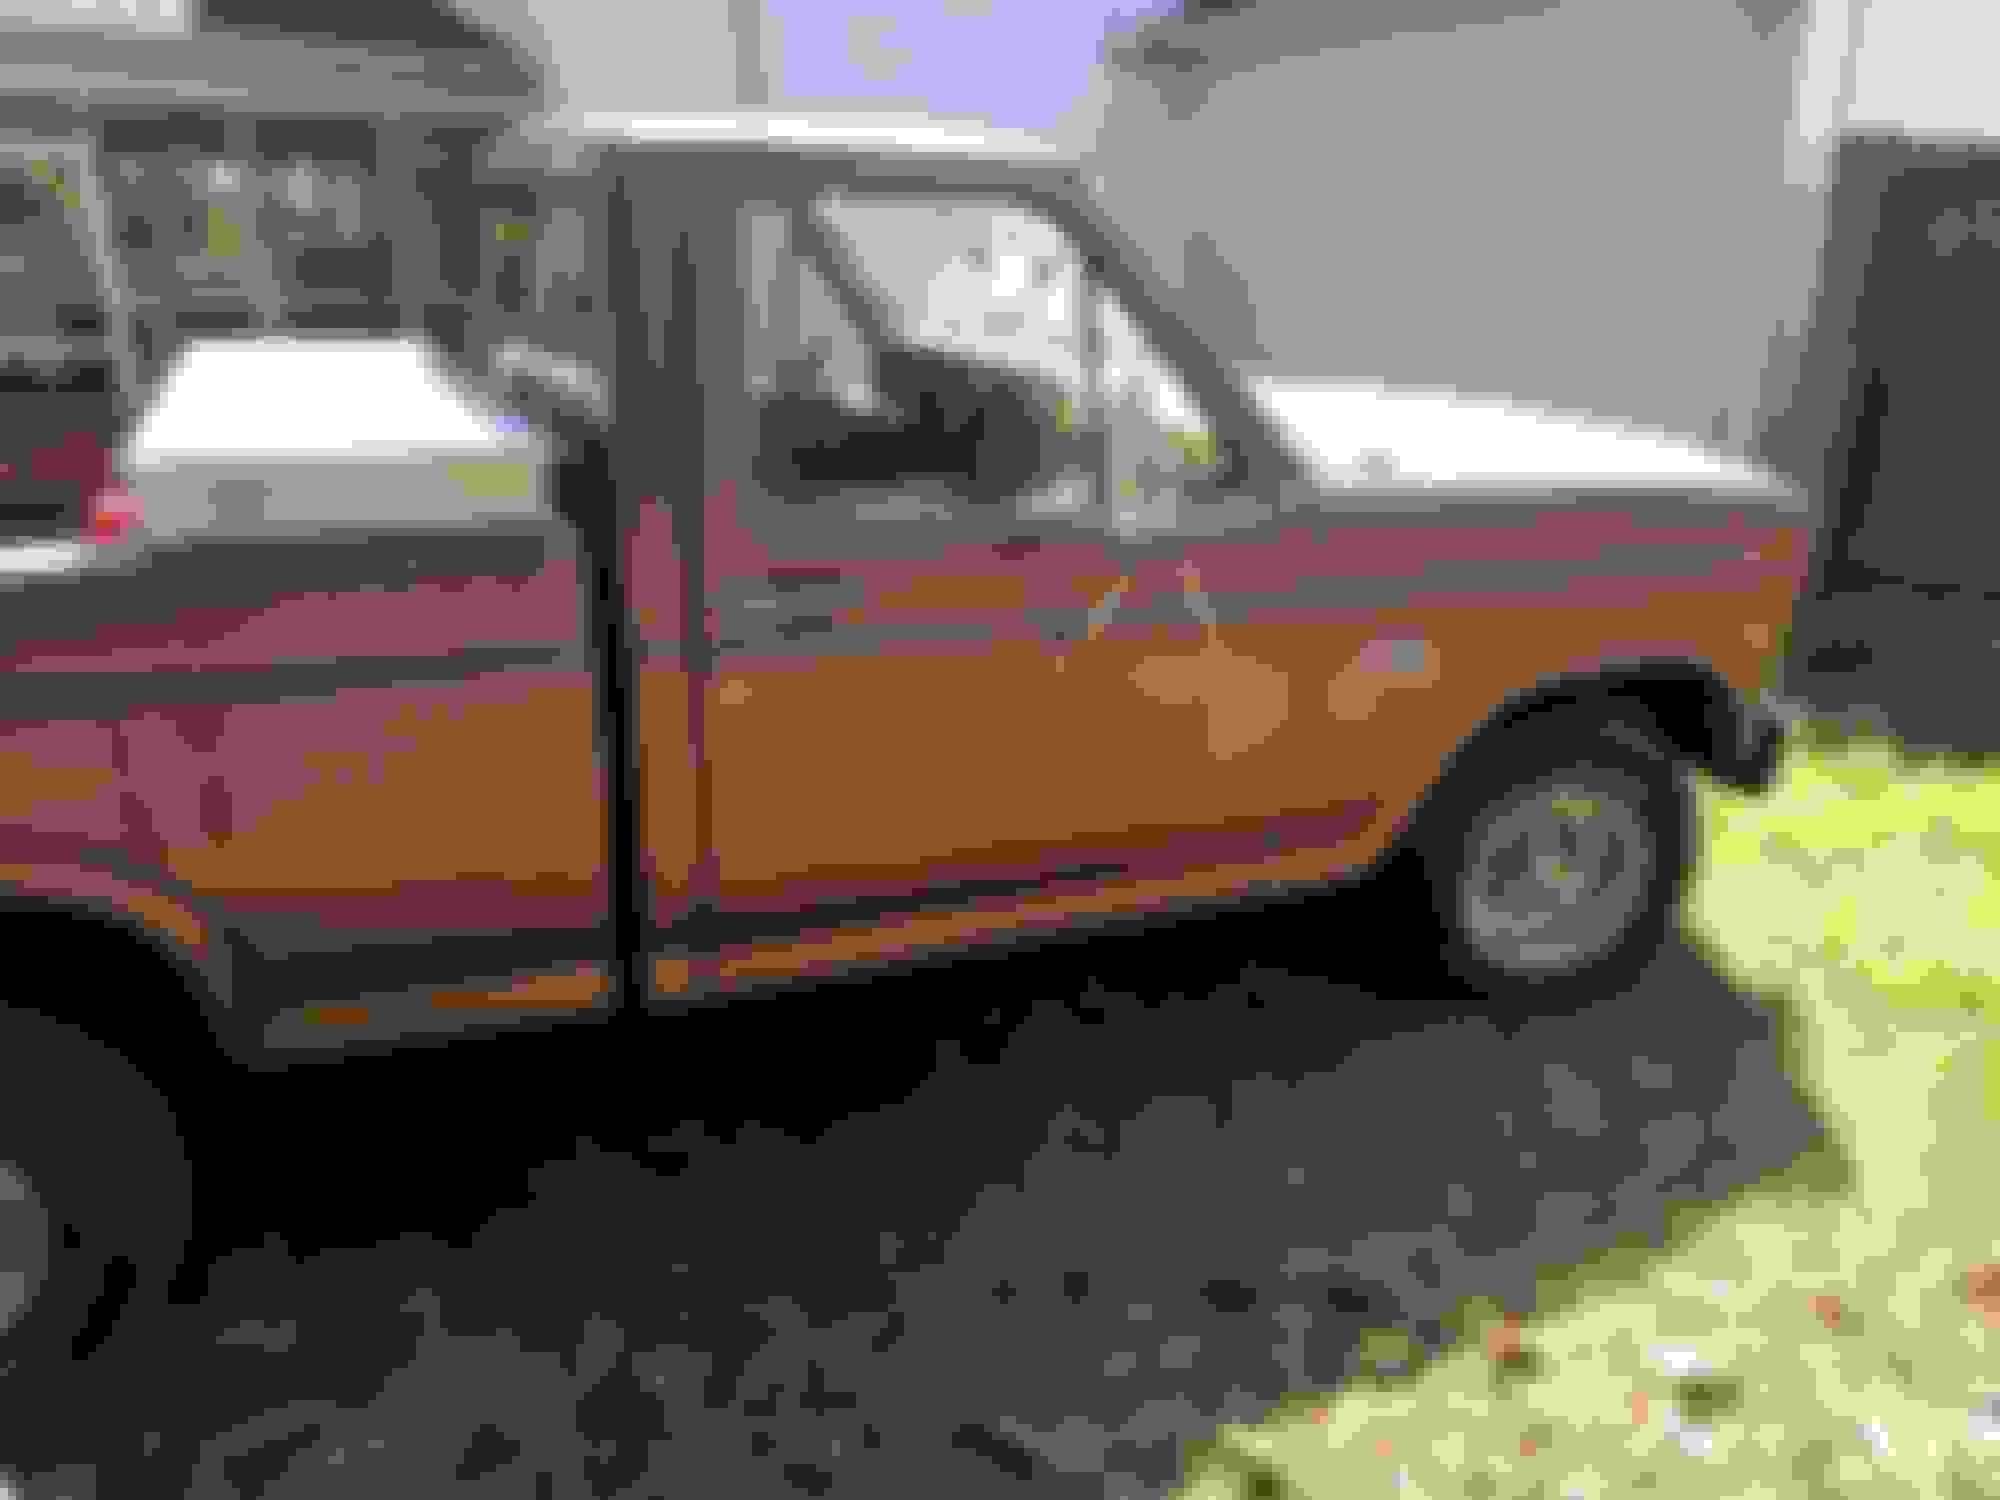
Here she is in all her glory. Paid $2800 for her. Name pending. Mostly surface rust. Only bad spots are the inside bottom of the doors. The weather stripping and window scrapers are gone so water pooled in the door. Thinking some clean up and we'll work will take care of it. Bumper is also rusted through but that's the extent.
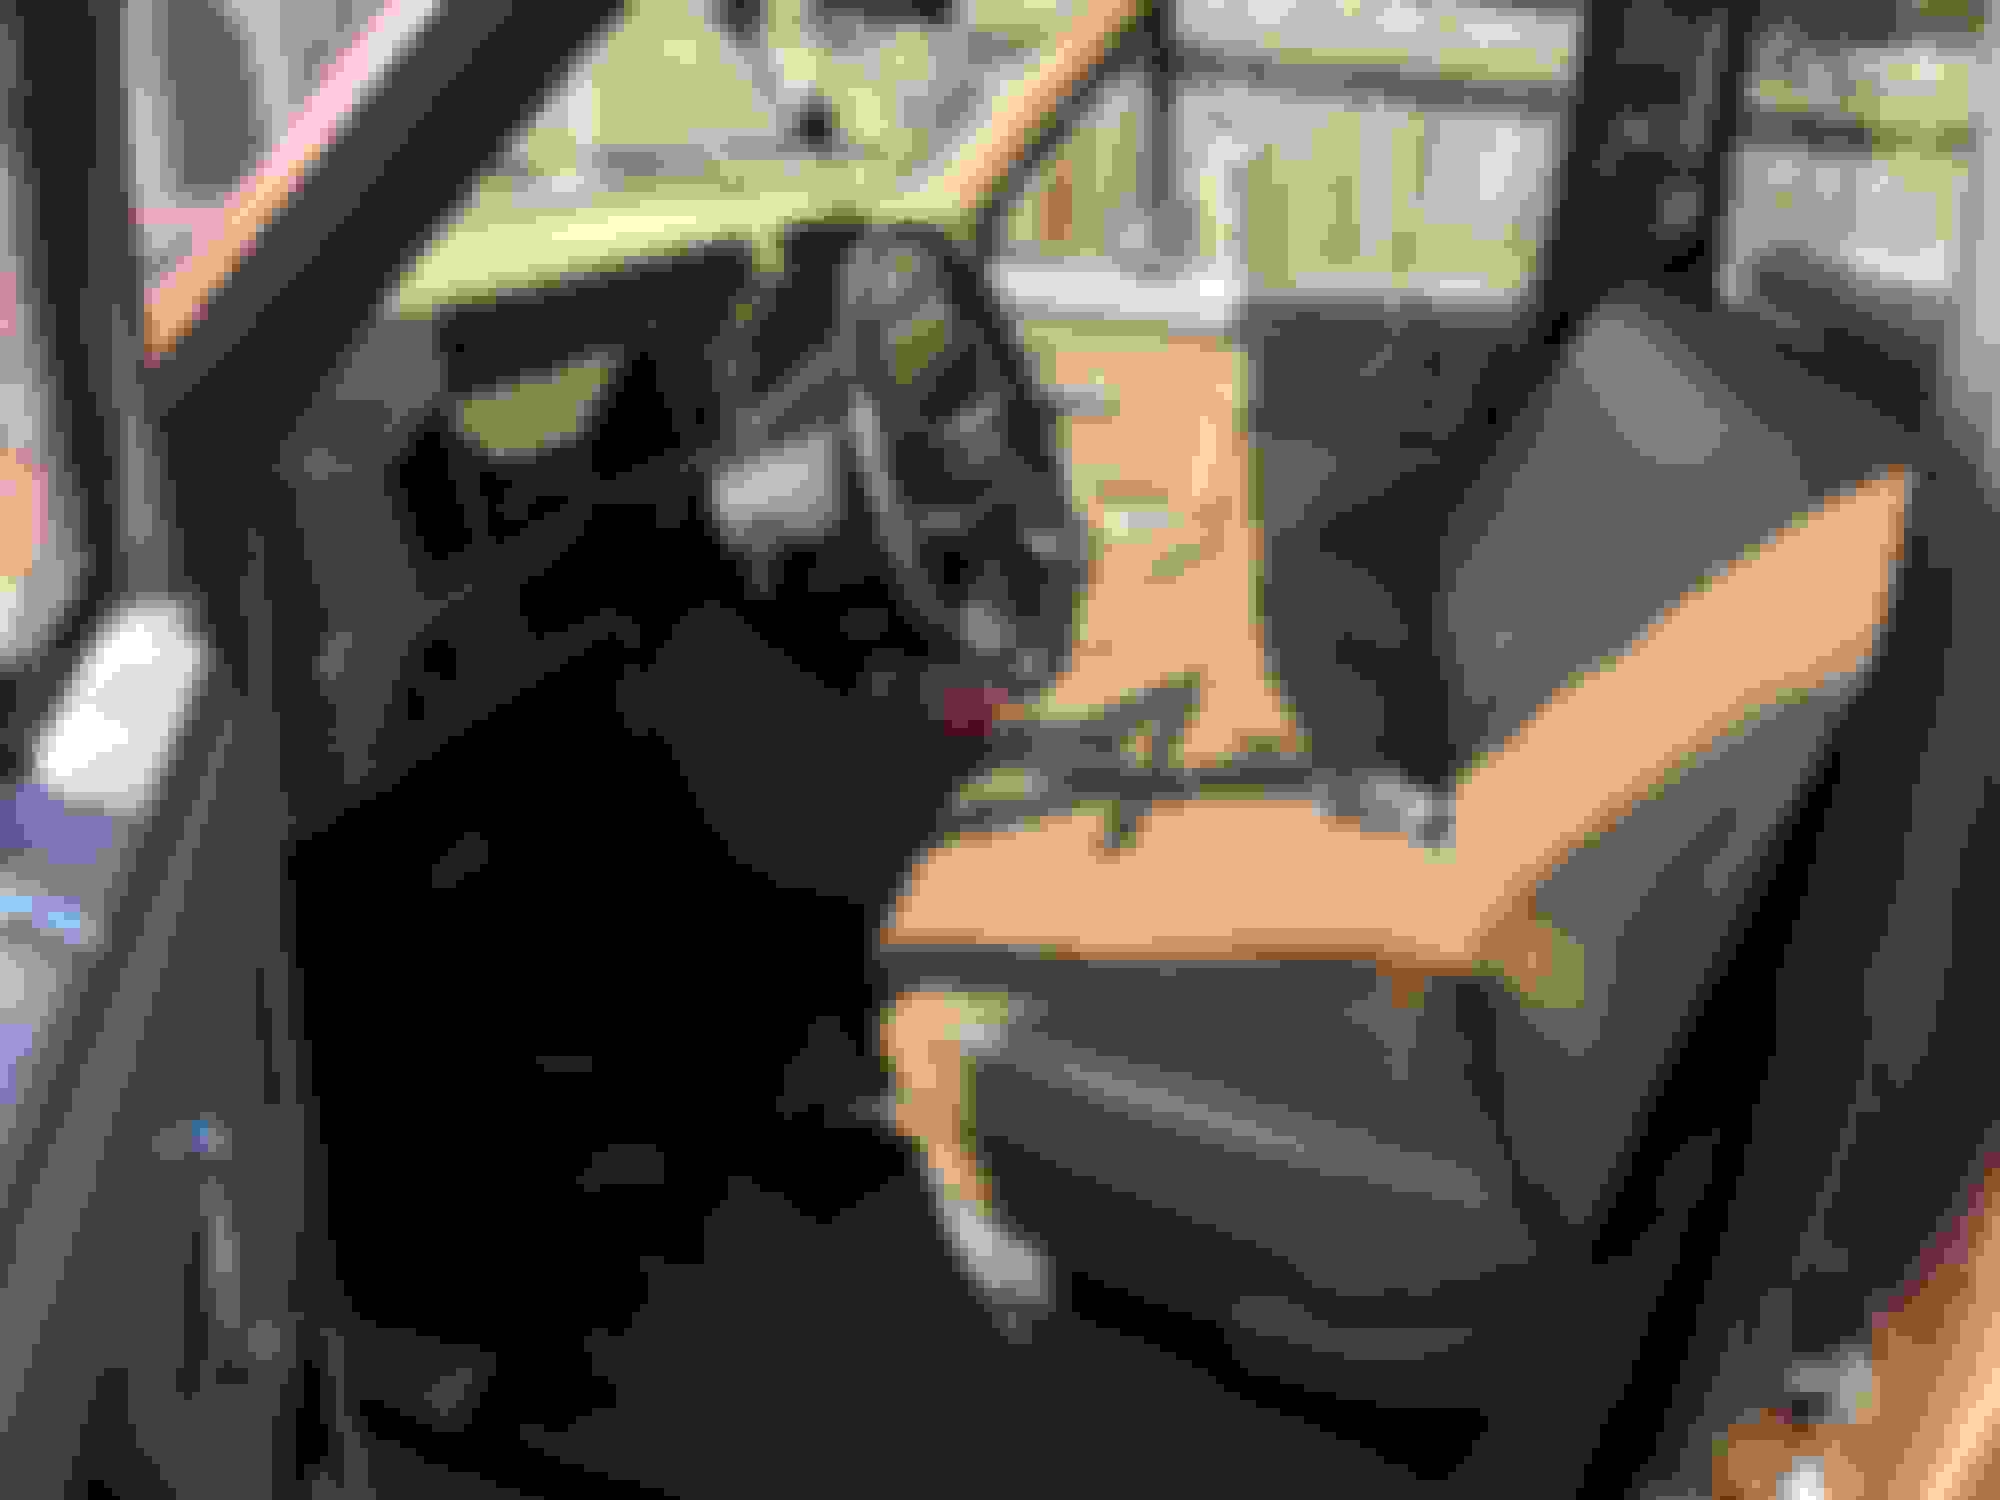
I'm thinking the new color will be matte black... Or maybe just gloss black not sure. Interior will be redone as well, black and tan. Having a hard time finding A pillar mouldings. So if anyone has a line on those let me know.
I plan on using this thread to document our journey with this, never did this before but have some technical knowledge and am pretty handy. Also I build aircraft so I'm sure some of that skill will carry over.
I got to ask why is it guys want to paint their car / truck flat black (or gloss black) where it get damn hot in the summer?
The truck looks in pretty good shape.
I would do the needed body work and look into someone or you painting it the factory color this way you don't have to do the door jambs or under hood.
I like the brown also. I just bought a Bronco II that is that color on the top and hood and lower body, and the side has a contrasting tan very similar to your interior color.
Color is definitely a debate in the house right now. The original factory color is "Chestnut". Also have talked about doing the Eddie Bauer style paint scheme with the blue and tan.
Really wanted to do a black and tan interior.
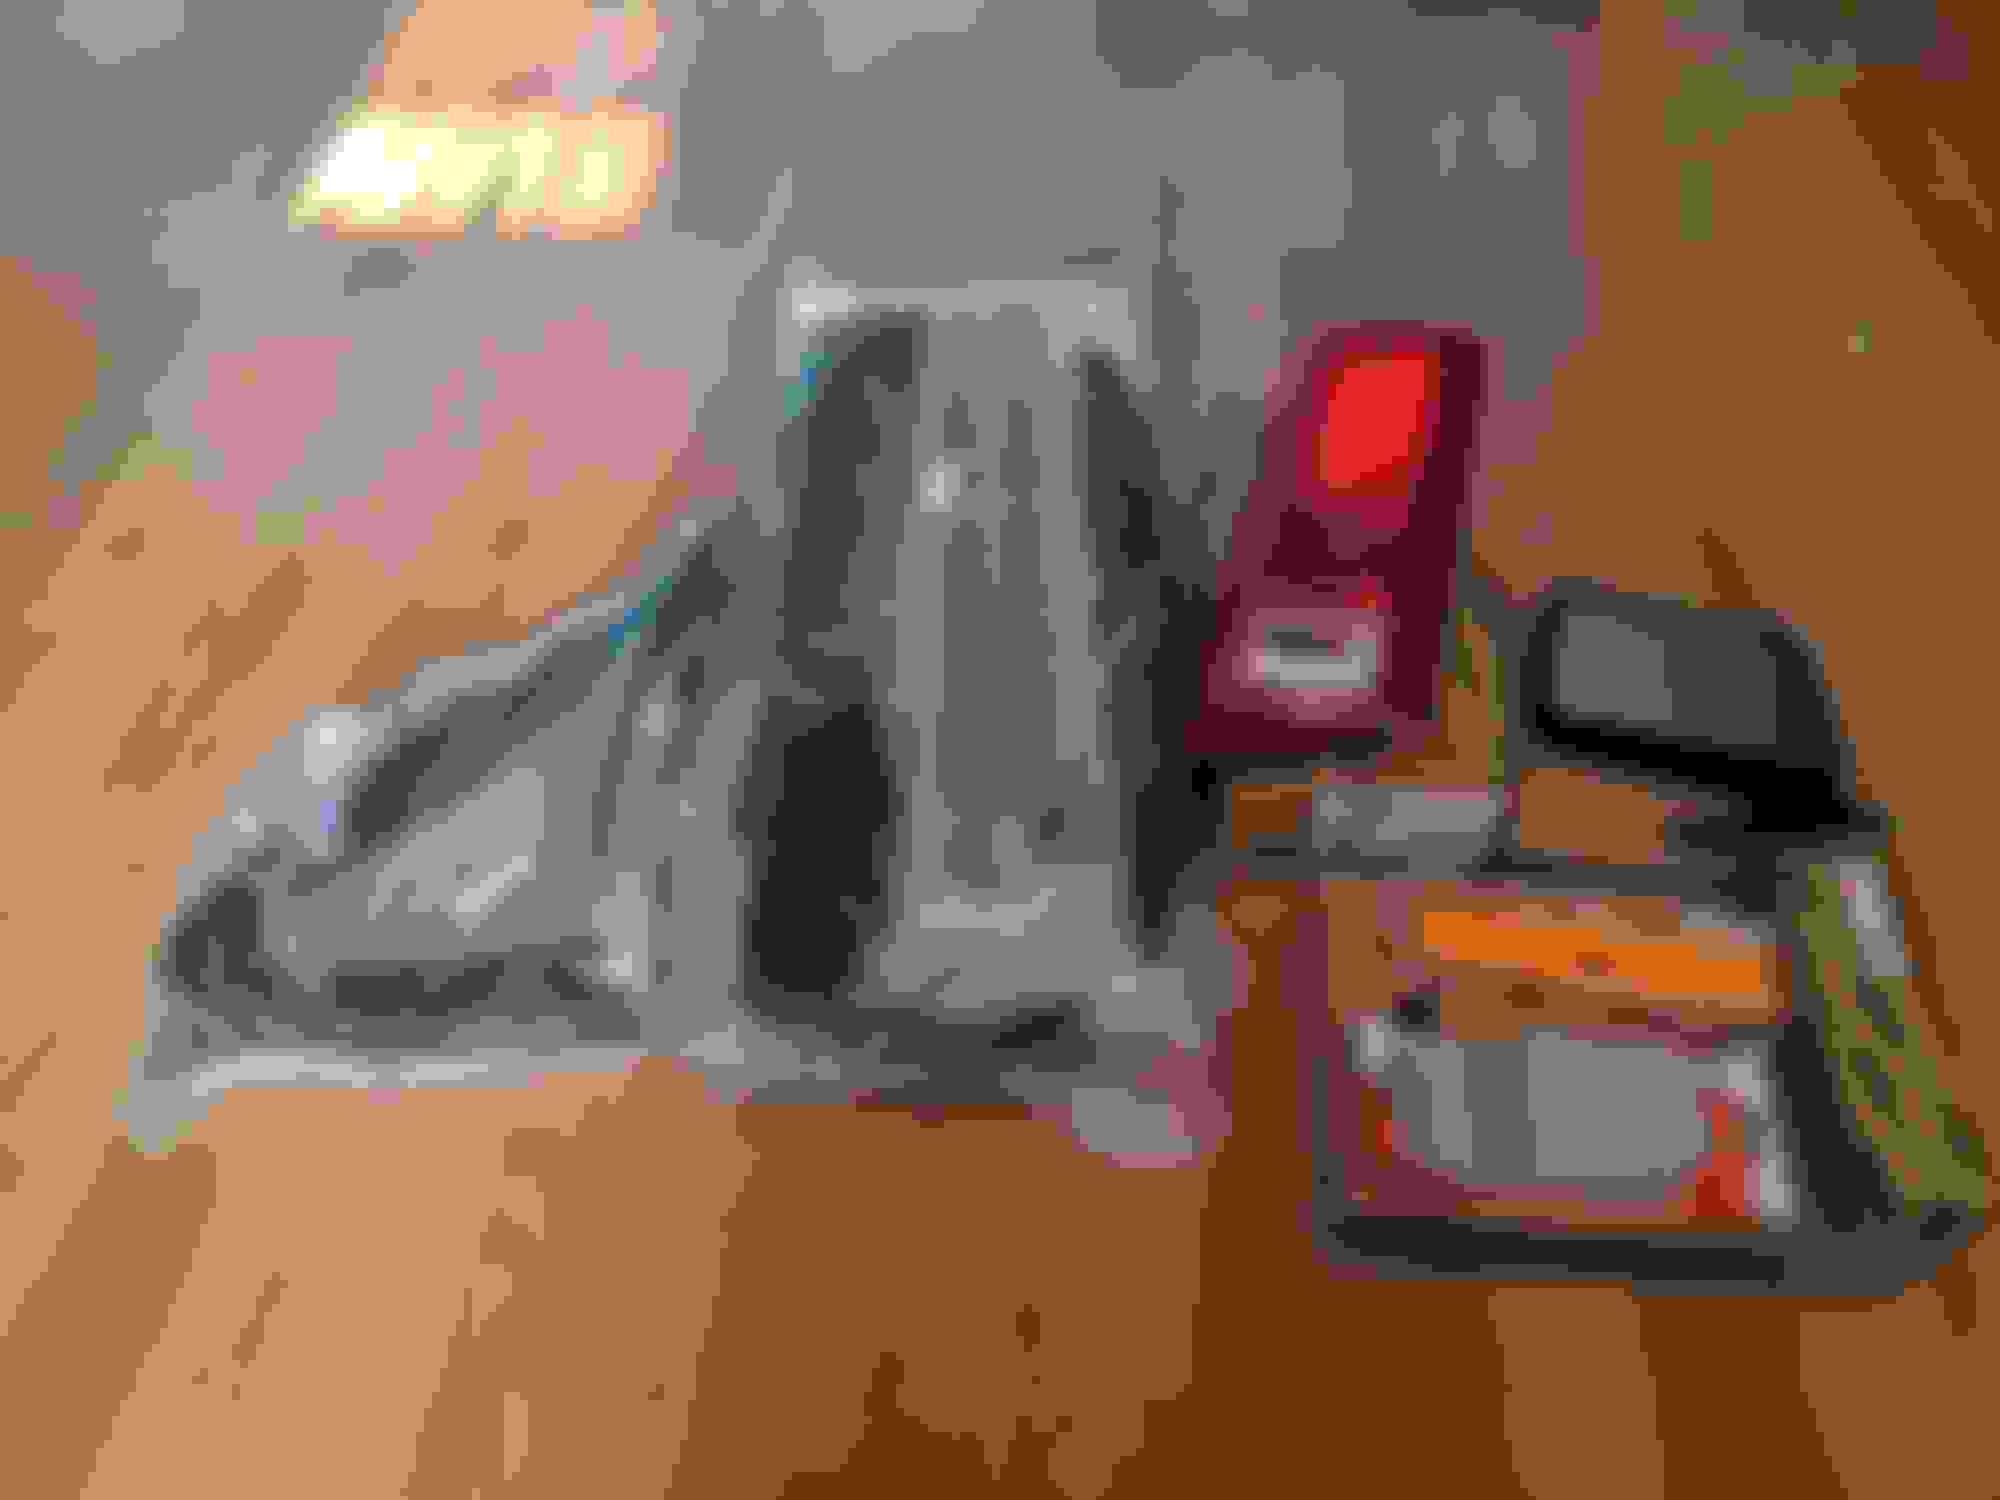
Door seals, some lenses and replacement sport mirrors came in today. The tow mirrors are not factory, they literally we're screwed into the truck with sheet metal screws. These were the original style mirrors on this truck per the PO. I may go to the metal domed mirrors in the future (these are Doorman replacements and we're only $7). Sanded and primed under the mirrors to treat some rust. Pulled the guage bezel to get some lights replaced. And get it ready to change the speedo gear to an 18 tooth.
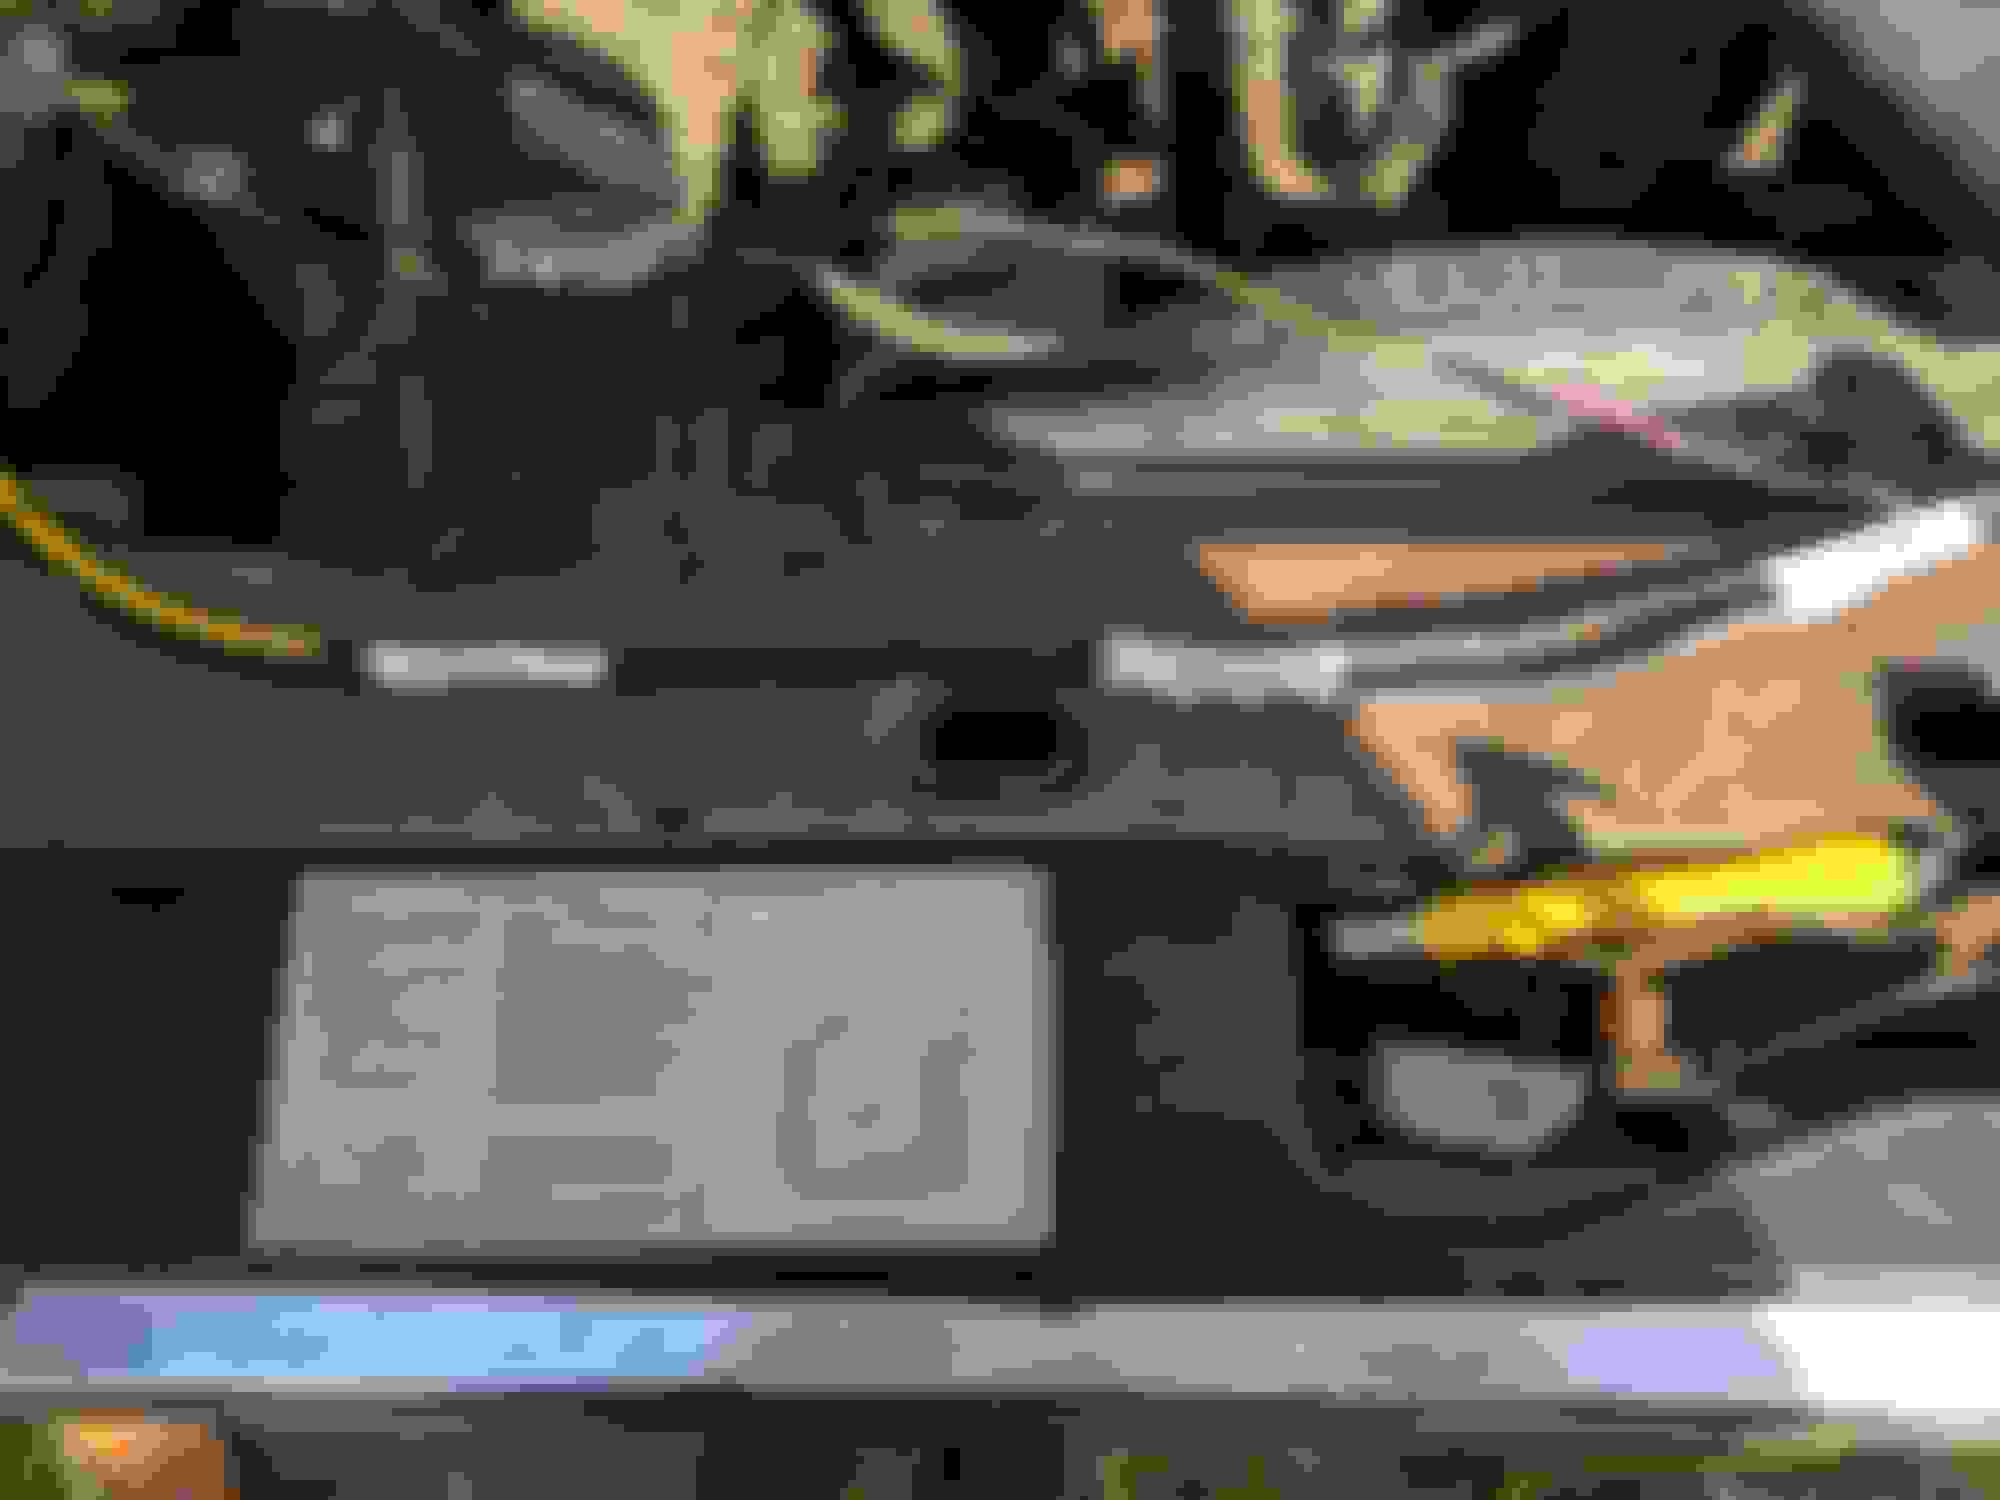
Per the door label the truck originally had 195/75 R15 tires and it has 235/75 R15 now making the Speedo about 5 MPH slow.
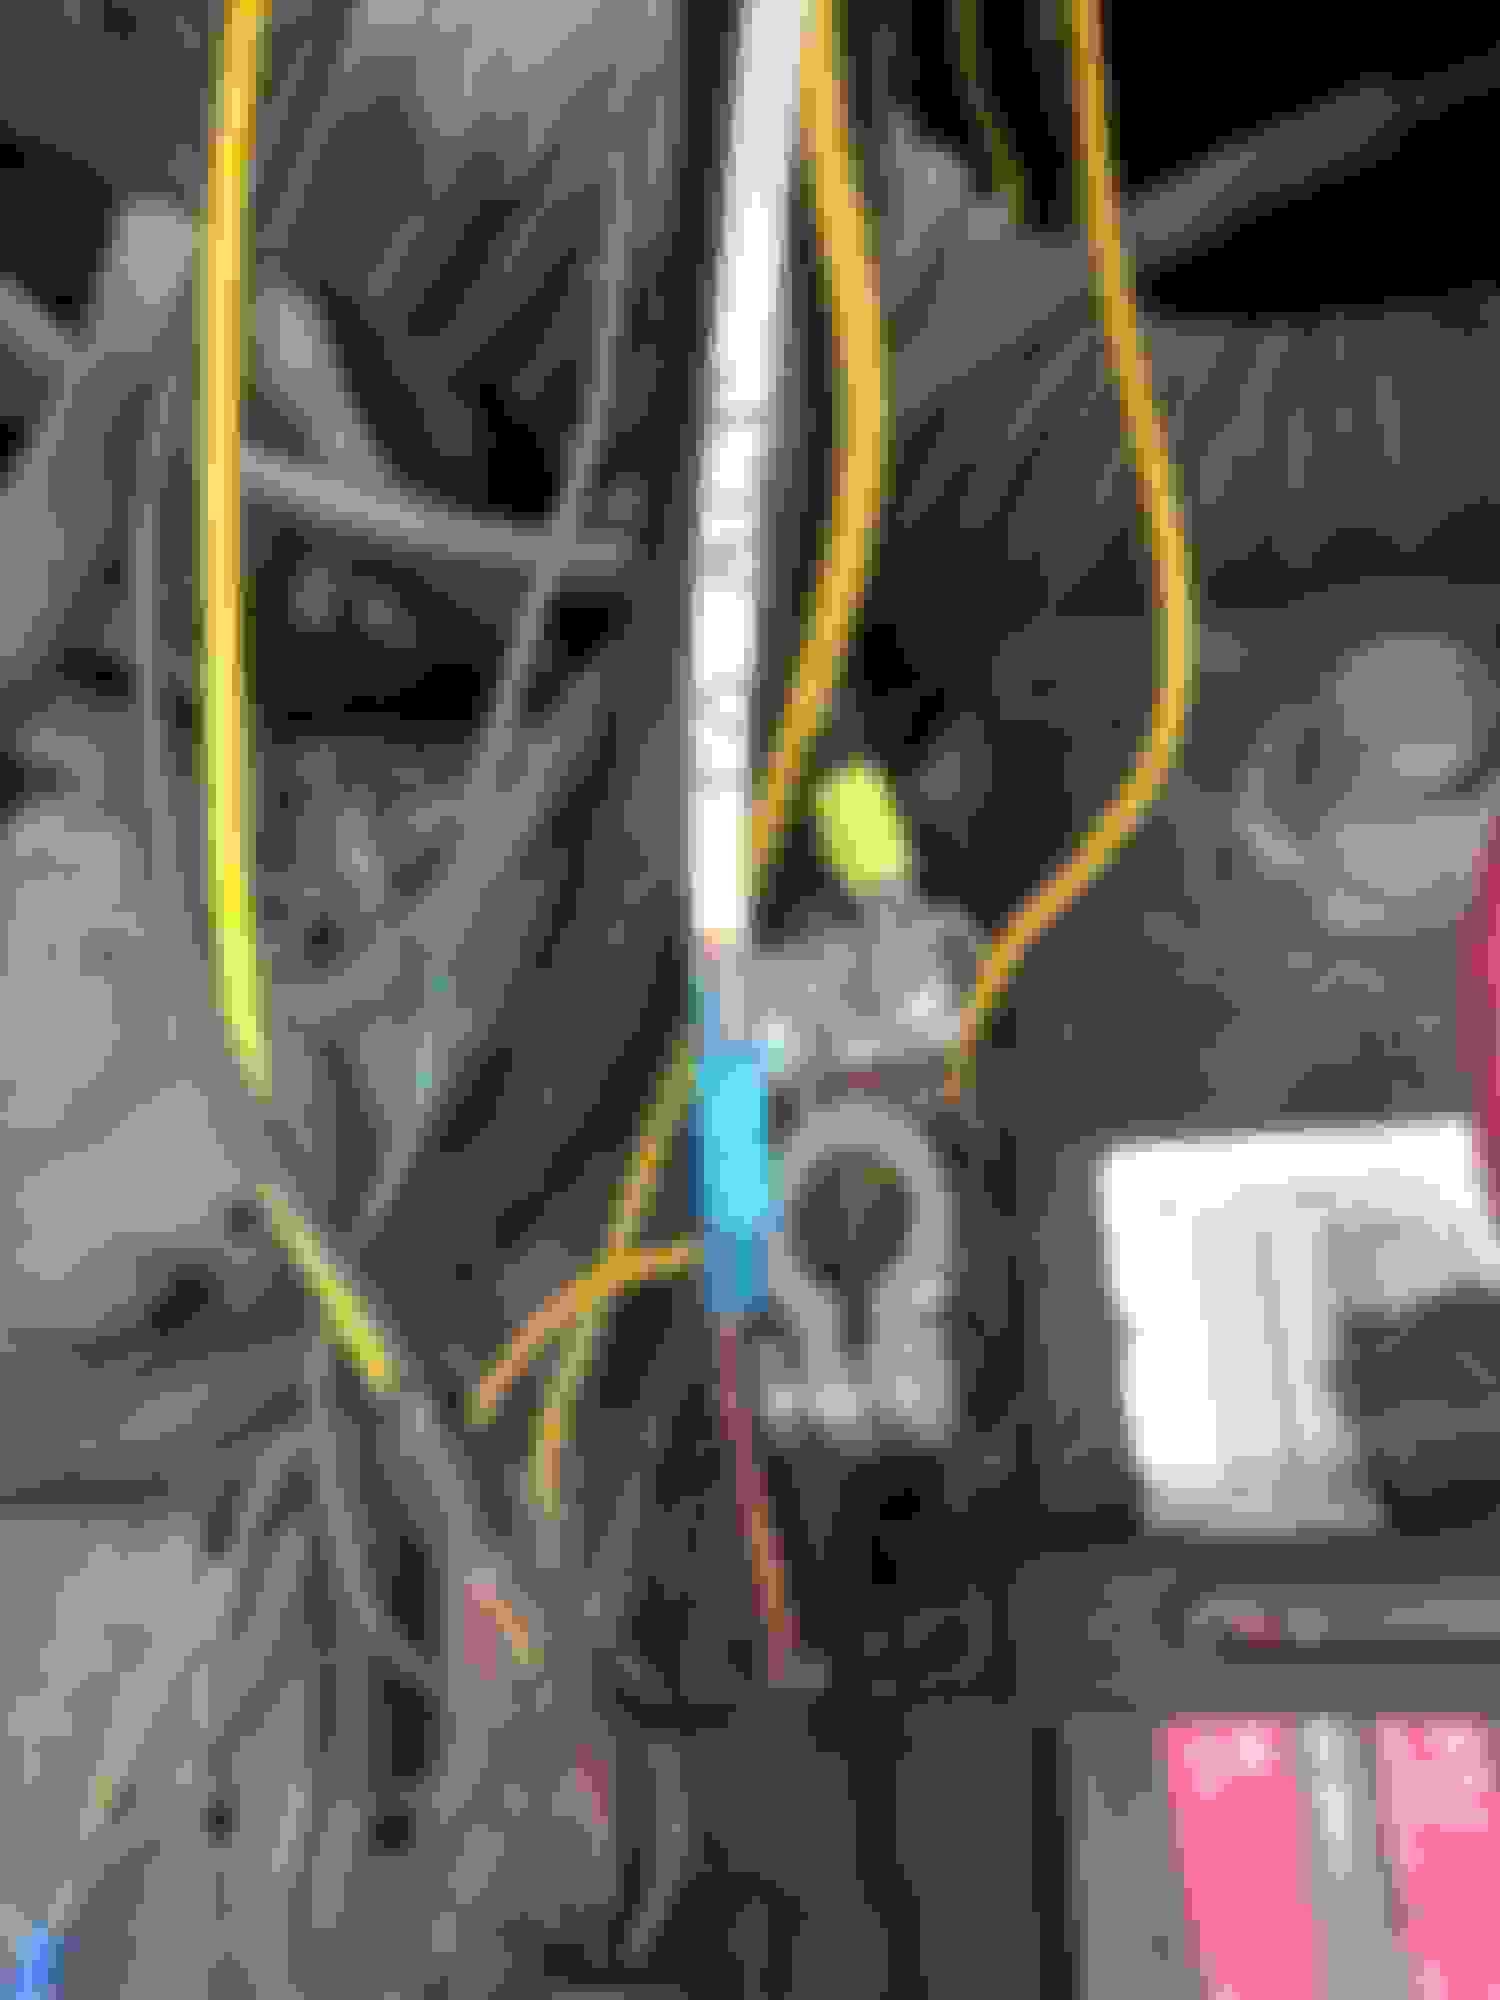
Started rewireing and shrink labeling wires. Soldiering the B/O lines didn't work. I knew it was a long shot with the guage of the cable, throwing 1000F at it and still no joy. SO... Solid 4 guage and 8 guage swage crimps are on order and will be here Sunday. So basically I'm just trying on some easy, instant gratification stuff while the garage is prepped and parts come in. Dome light lense was not the right style though, back to the catalog.
I like the brown also. I just bought a Bronco II that is that color on the top and hood and lower body, and the side has a contrasting tan very similar to your interior color.
Think that is the Chestnut/light desert tan layout correct?
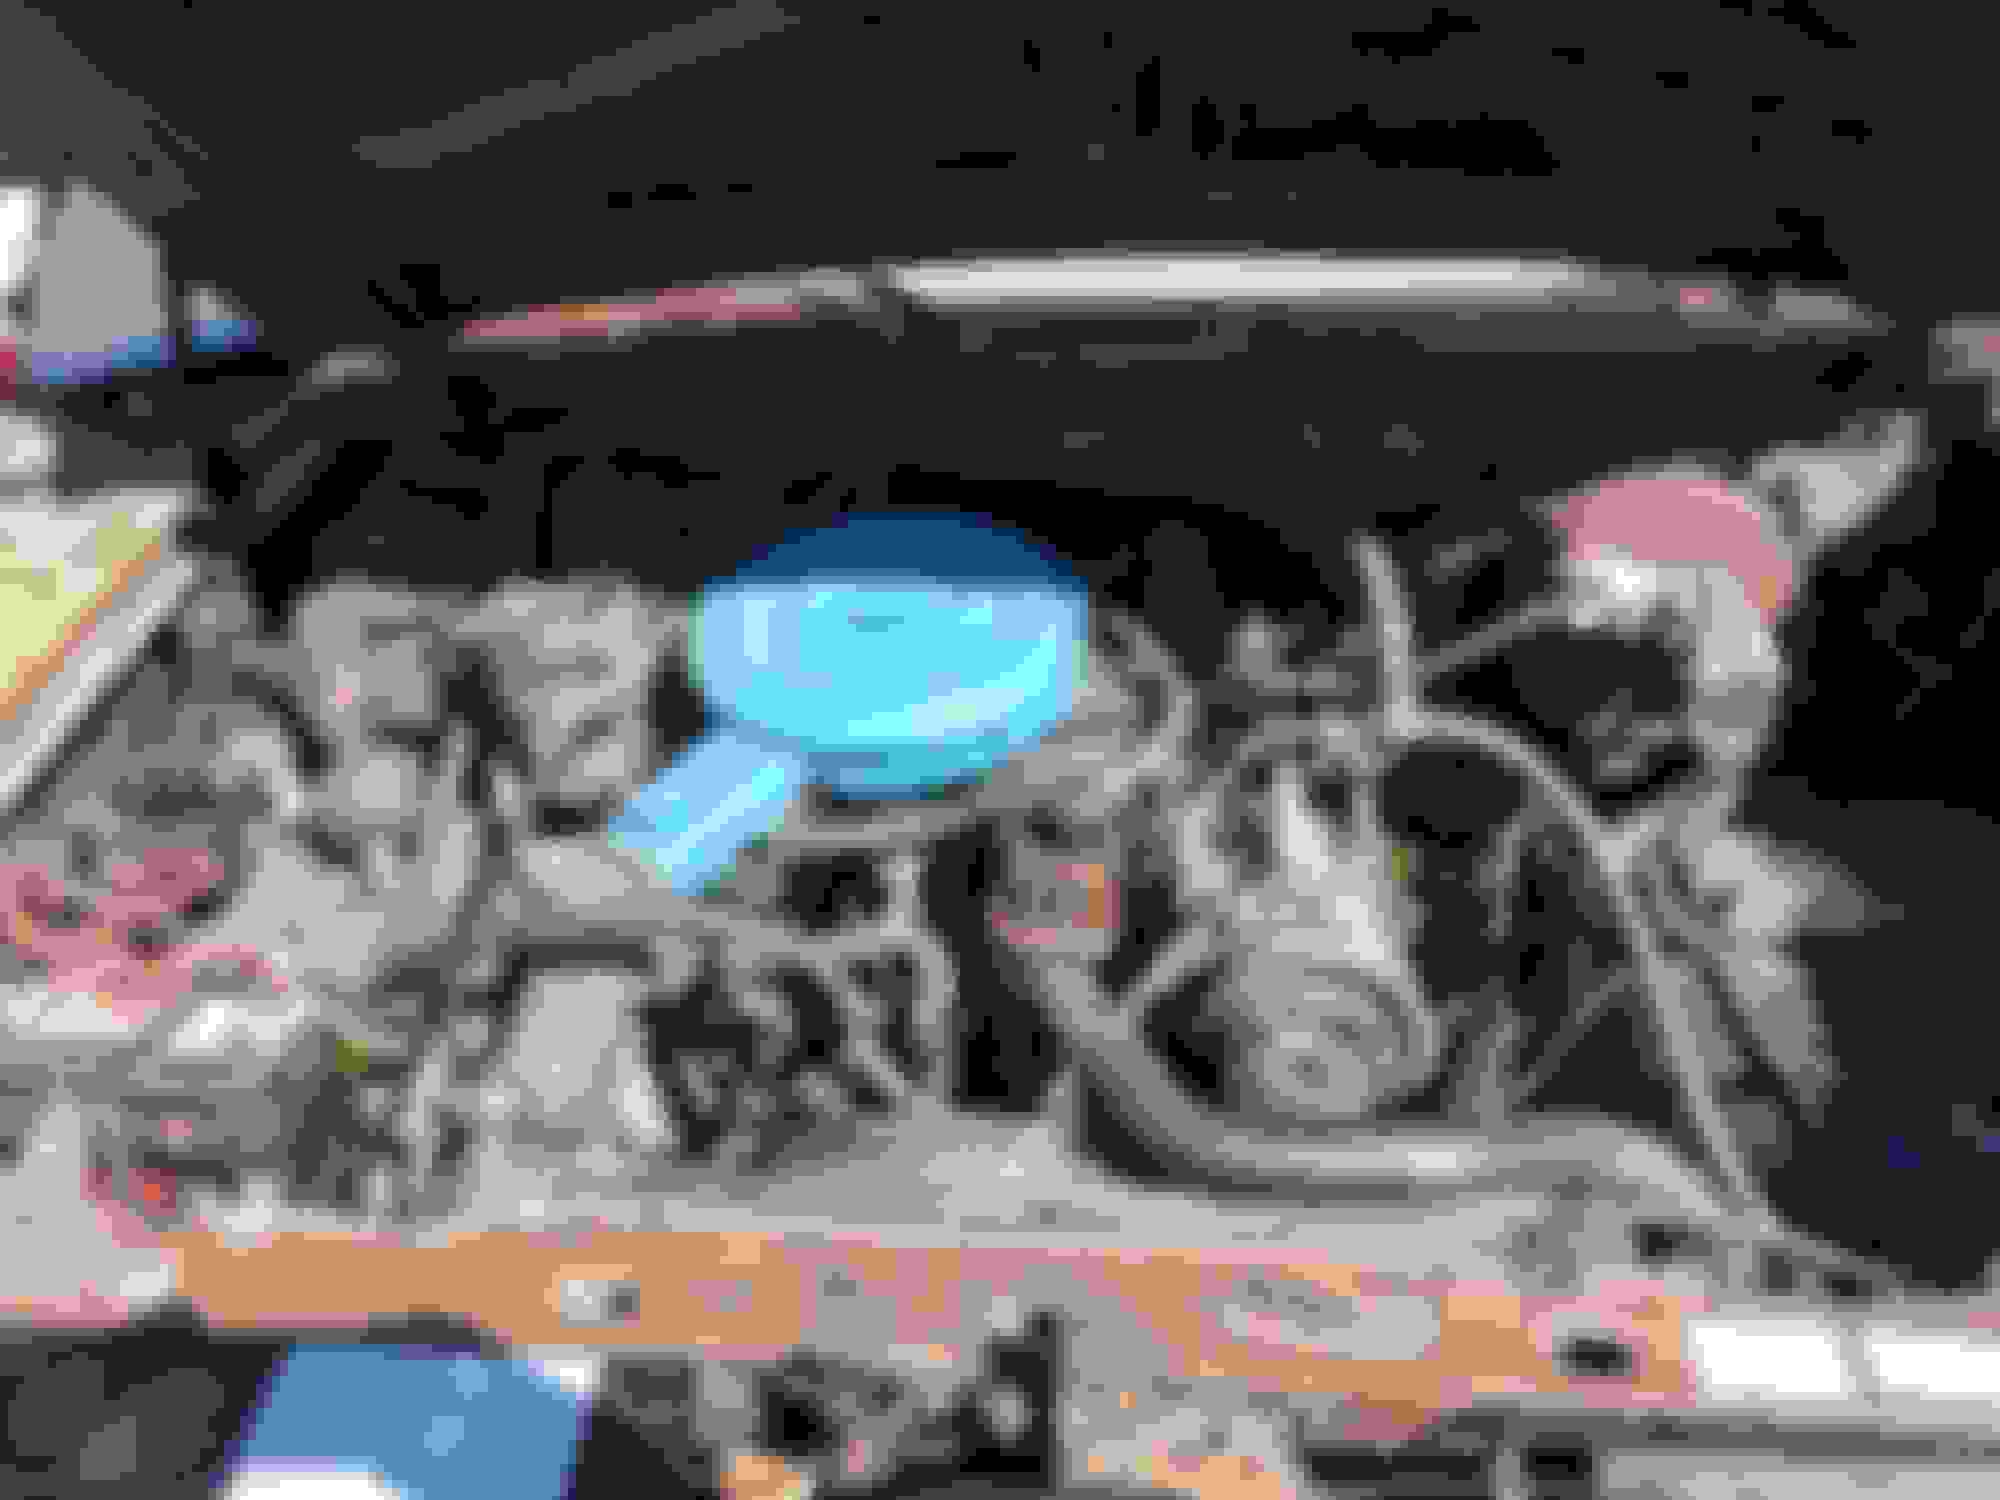
The 300 is an OHV I-6 (Inline 6). An L-6 is a flathead aka L-head.
Lol thanks for catching the typo... No it has an old flat head in it... JK. I do know the difference between L I and V. I actually had a project before this that never got started because I moved from San Antonio to Charleston for work. Was a old 1942 *****'s MB with the old flat head in it. I also bought a 80s model Jetta with the VW diesel in it. Plan was to pull the flat head and install the VW diesel as part of the restoration. I thought it ironic to have a German engine in a WWII US military vehicle. I had just gotten the Jeep put into storage and was getting ready to start when the job offer came across the table and I had to sell everything.
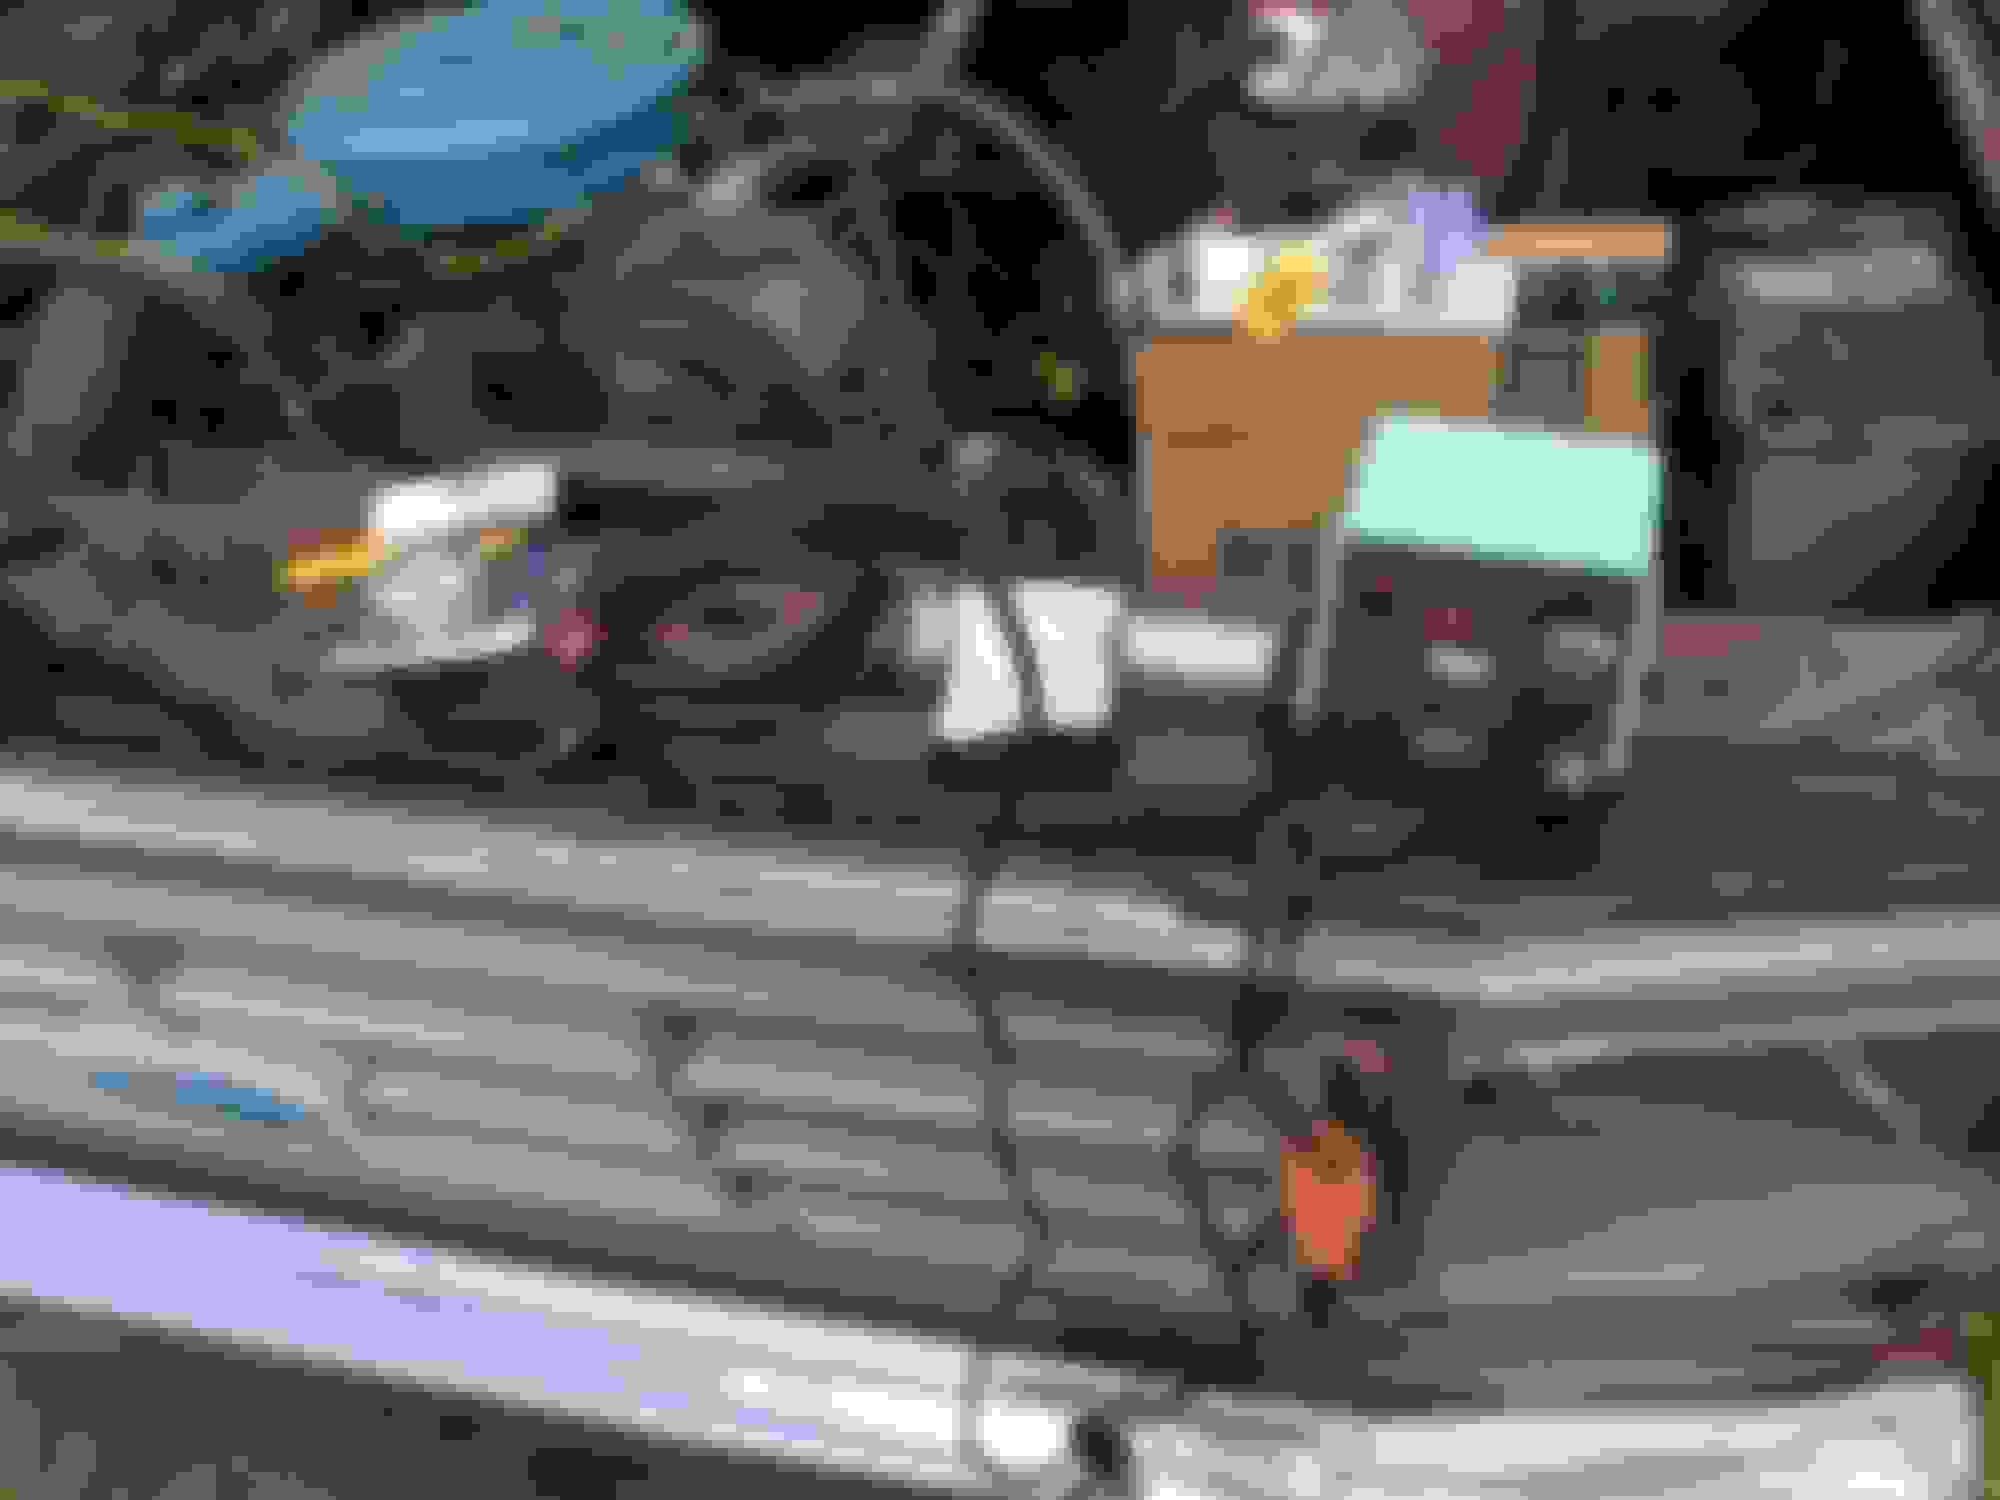
On the battery cable end that I see you may want to replace that cable.
Them "bolt on" ends can cause issues down the road.
If your battery cables are like my 81 F100 cables you have:
1 from the battery + to the solenoid.
1 from solenoid to starter.
1 (a long one) from battery - to the frame by the motor frame mount with a tab in the middle of the cable, then to 1 of the starter bolts.
You can use 2 cables for this if you wish. I removed the tab from the old cable and Soldiered it to the new cable.
I also have a 10 gauge wire from the left side of the motor to firewall for a body ground and should have a braided ground cable from firewall to hood on the right side.
On the rubber seals are they from LMC also?
Some of the post don't look too good on them, they say go with Denis Carpenter as they last a little longer.
On the tail lights try rubbing compound & buffer then polish should clean up real good.
Dash lights have you thought of LED's? They say the colored covers turn white and block most of the light from the bulb.
My covers were in good shape so I left them in place. I also went with LED's in green to match the wiper / head light switch light color and the radio if I ever get one.
Only thing with LED's is some can only be installed 1 way or they don't work. You test before you bolt the cluster back in and if not working turn the bulb 180* and test again.
As part of my rebuild I pulled the cluster out of the truck, cleaned the contacts on the back where the bulb sockets go and painted the gauge needles.
I also polished the clear lens, cluster looks great.
Oh for Soldiering heaver wires / cables a soldiering or station will not cut it. Get one of them mini torches and use it like you are soldiering copper pipe.
I use a little flux on the wire ends, I may tin them or not depending how I feel at the time. A little heat shrink on the wires and Soldier, slide the heat shrink over soldier and use mini torch to shrink.
I had to use the mini torch to Soldier the tab in the middle of the battery cable, that was #2 gauge cable.
Lol thanks for catching the typo... No it has an old flat head in it... JK. I do know the difference between L I and V. I actually had a project before this that never got started because I moved from San Antonio to Charleston for work. Was a old 1942 *****'s MB with the old flat head in it. I also bought a 80s model Jetta with the VW diesel in it. Plan was to pull the flat head and install the VW diesel as part of the restoration. I thought it ironic to have a German engine in a WWII US military vehicle. I had just gotten the Jeep put into storage and was getting ready to start when the job offer came across the table and I had to sell everything.
Sell because you moved??
LOL when I moved from CT to NC back in April of 2015 I moved all 3 of my projects.
First came down when we signed papers. Week later we had to go back up for the cats so the 2nd came down then. The 3rd I went up after a month or 2 after we were in the house.
And no none where the 81 F100 flare side I am rebuilding, that I got in December. The others got pushed back for the truck.
Dave ----
On the battery cable end that I see you may want to replace that cable.
Them "bolt on" ends can cause issues down the road.
If your battery cables are like my 81 F100 cables you have:
1 from the battery + to the solenoid.
1 from solenoid to starter.
1 (a long one) from battery - to the frame by the motor frame mount with a tab in the middle of the cable, then to 1 of the starter bolts.
You can use 2 cables for this if you wish. I removed the tab from the old cable and Soldiered it to the new cable.
I also have a 10 gauge wire from the left side of the motor to firewall for a body ground and should have a braided ground cable from firewall to hood on the right side.
On the rubber seals are they from LMC also?
Some of the post don't look too good on them, they say go with Denis Carpenter as they last a little longer.
On the tail lights try rubbing compound & buffer then polish should clean up real good.
Dash lights have you thought of LED's? They say the colored covers turn white and block most of the light from the bulb.
My covers were in good shape so I left them in place. I also went with LED's in green to match the wiper / head light switch light color and the radio if I ever get one.
Only thing with LED's is some can only be installed 1 way or they don't work. You test before you bolt the cluster back in and if not working turn the bulb 180* and test again.
As part of my rebuild I pulled the cluster out of the truck, cleaned the contacts on the back where the bulb sockets go and painted the gauge needles.
I also polished the clear lens, cluster looks great.
Oh for Soldiering heaver wires / cables a soldiering or station will not cut it. Get one of them mini torches and use it like you are soldiering copper pipe.
I use a little flux on the wire ends, I may tin them or not depending how I feel at the time. A little heat shrink on the wires and Soldier, slide the heat shrink over soldier and use mini torch to shrink.
I had to use the mini torch to Soldier the tab in the middle of the battery cable, that was #2 gauge cable.
Keep us posted
Dave ----
Yes Sir LED all the way.
I found led direct replacements for almost every bulb in the truck so far. Also rung out everything with an ohm meter yesterday as well. Even the crappy harness from the alt rung out. Still going to replace it all but I'm really starting to question that alternator, and it the guy bench tested it correctly.
Yes and I don't like them cheap sheet metal one I see in this picture also but that is me.
I have 2 projects (70 AMC Javelin & 81 F100) I replaced the battery cables on before ever trying to start them.
I have never had any problems with them not starting any time I needed to. The Javelin has not been started in 3+ years and the battery is over 7+ years old so may need to be replaced.
My truck has a battery that is WAY to small for it but it holds a charge so I can move it when I need to. I chalk it up good battery cables.
Also when I had a shop with dad most of our cars you have to jump start to move. I swore I would never need to do that with anything I own unless it has been setting for way to long like the Javelin or my Gremlin now sitting 5+ years too but I don't need to move them.
Dave ----
Ok got the harness torn down replaced everything from splice 202 back to the alternator.
Checked the battery at start up 12.6v.
Engine running starter selenoid to ground 12.8-13.v
With battery disconnected engine started to stall and then reved up as expected, starter selenoid to ground 15.2v.
Ammeter showing no change.
Let truck idle while I did some other things cam.back and checked voltage a Ross the battery and from starter selenoid to ground, both ranged 13.18-13.55v.
Numbers are better then the 12.5v charge it was putting out but something still seems off, it took a bit to get to 13+v of charge.
The ALT gauge not moving is normal and a complaint a lot have of it.
You can have the gauge converted to measure volts but the gauge face will still say ALT.
Search for Rocket man.
Did I read right the motor was running and you pulled the battery cable?
That is a big NO NO! It can lead to hurting the ALT.
After you first started the motor did you raise the RPM up when checking?
That is another complaint the older ALT's don't put out much at idle and why you have to check the volts at about 2000 RPM.
Dave ----
 04-25-2019, 05:00 PM