When you click on links to various merchants on this site and make a purchase, this can result in this site earning a commission. Affiliate programs and affiliations include, but are not limited to, the eBay Partner Network.
Yes this half @$$3d fuel system is going to get replaced.
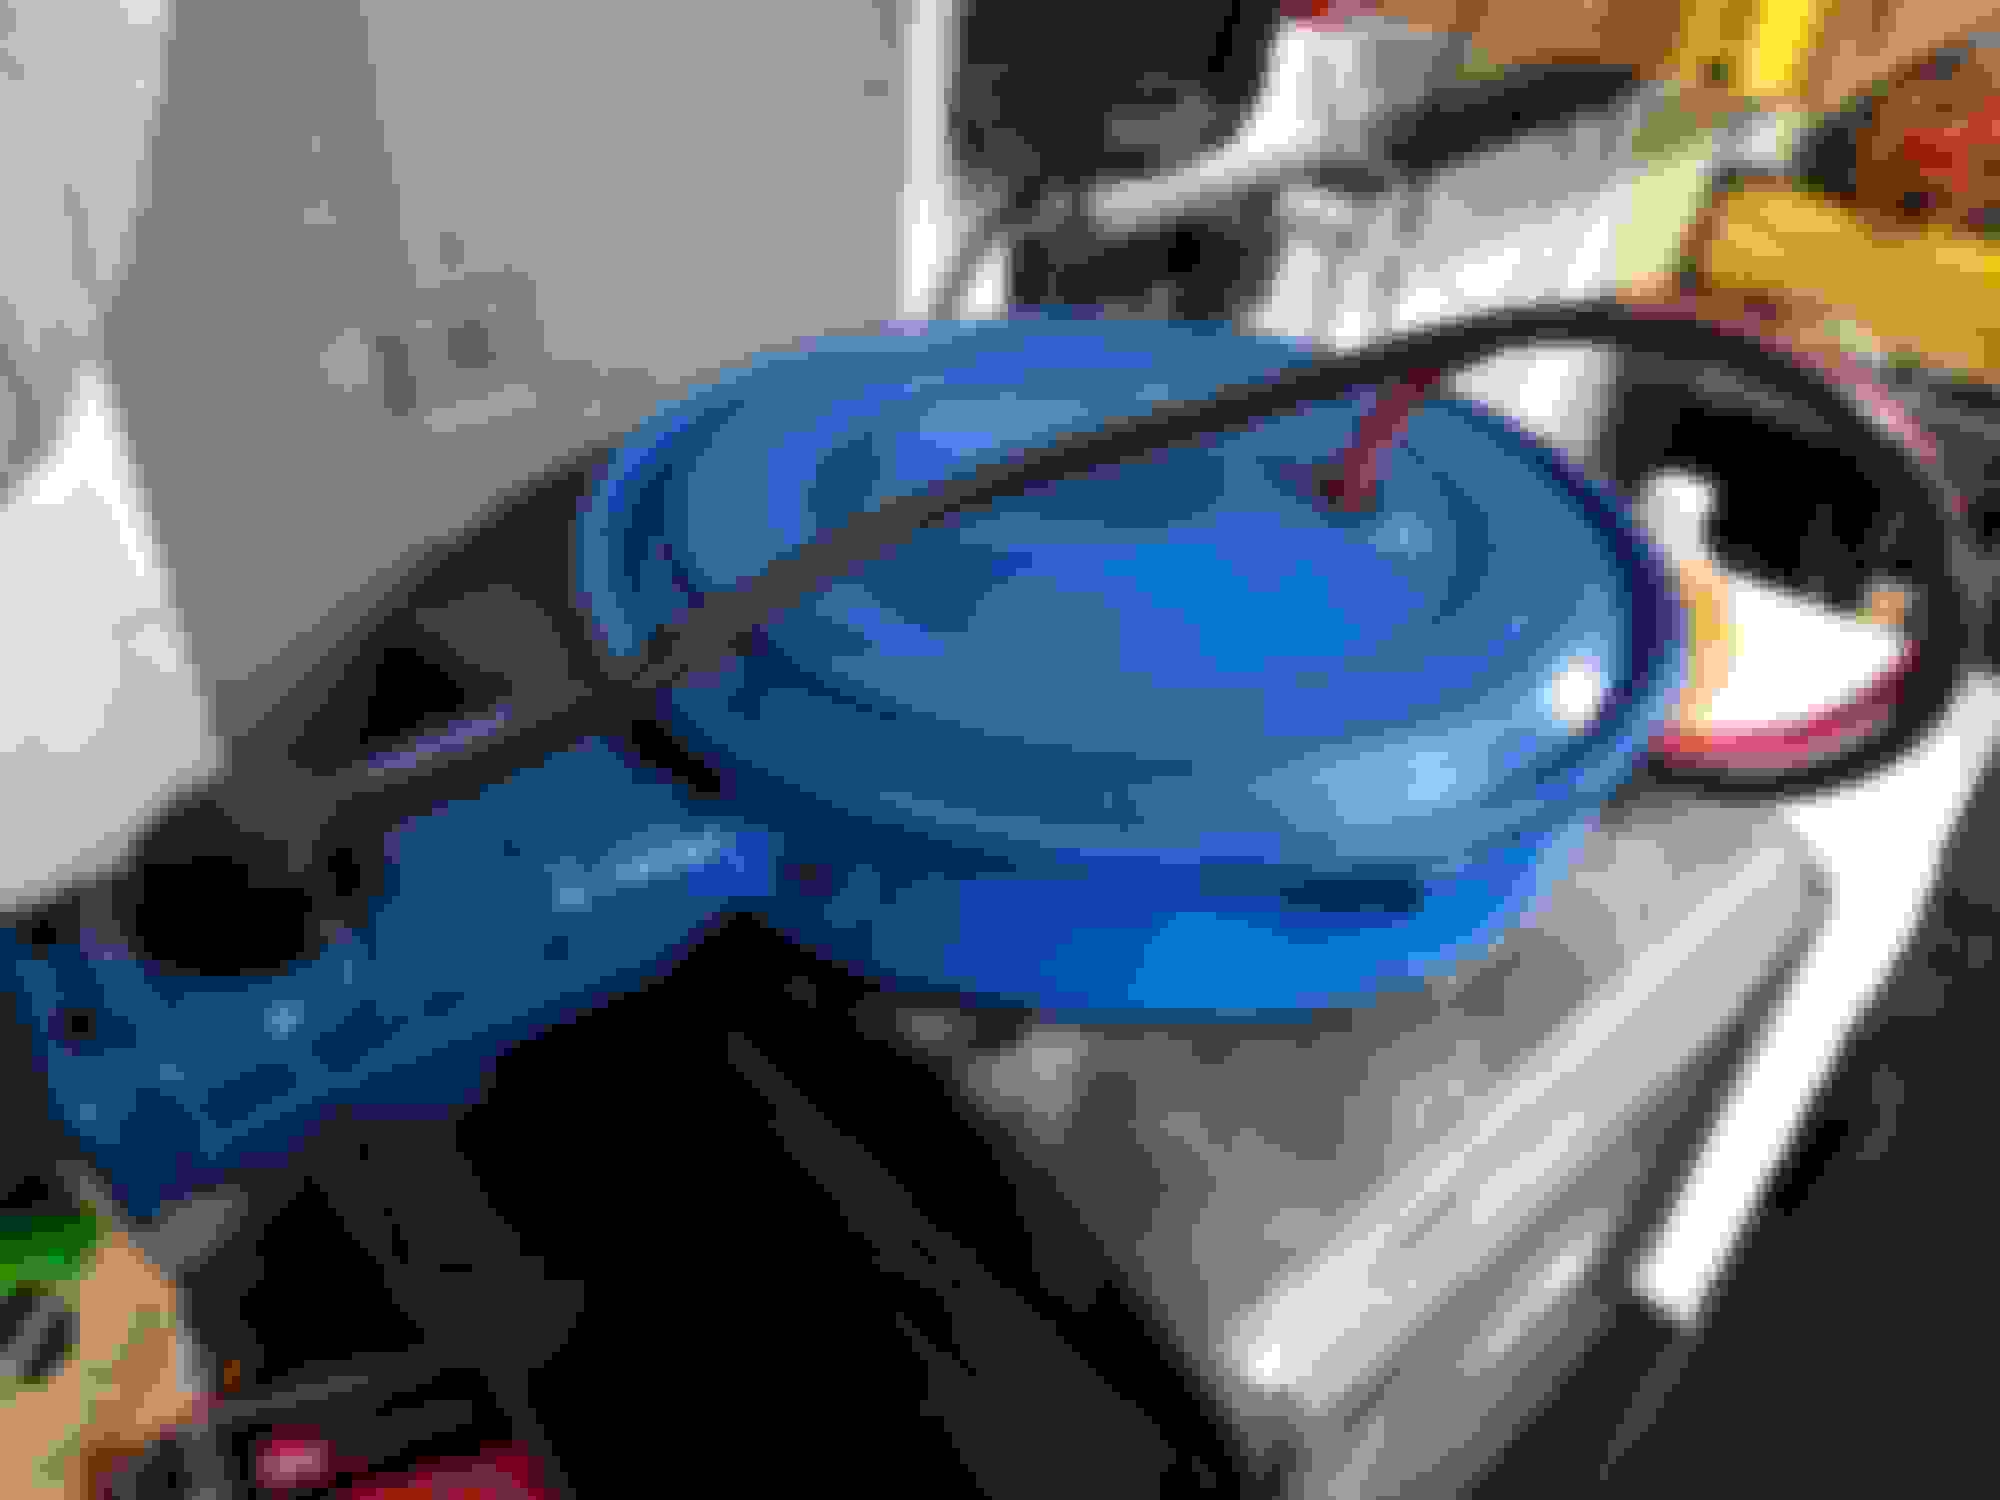
Air cleaner is shaping up
Followed suit with others on the forums and replaced my rollers with some "Ford" blue 1/2" pex. Cut to 7/8" long, split and used the hand dandy Swiss army knife pliers to spread them on. I stall good about 3 seconds with this method. I'm not going to tape them. Curious how long they will hold up like this. Heck I got 5 more feet of pipe. Doors close smoothly, no slamming needed no second push. I can feel some sag on the release so hinge pins and bearings will happen when the new doors get here. Looks to be about a 3/8" drop when the door releases.
Also decided to test how well my equipment worked on cleaning up the rusted frame
Not looking to bad. She is pitted pretty good on the under side and inside. Cleaned up with some mineral spirits and will apply corroseal.
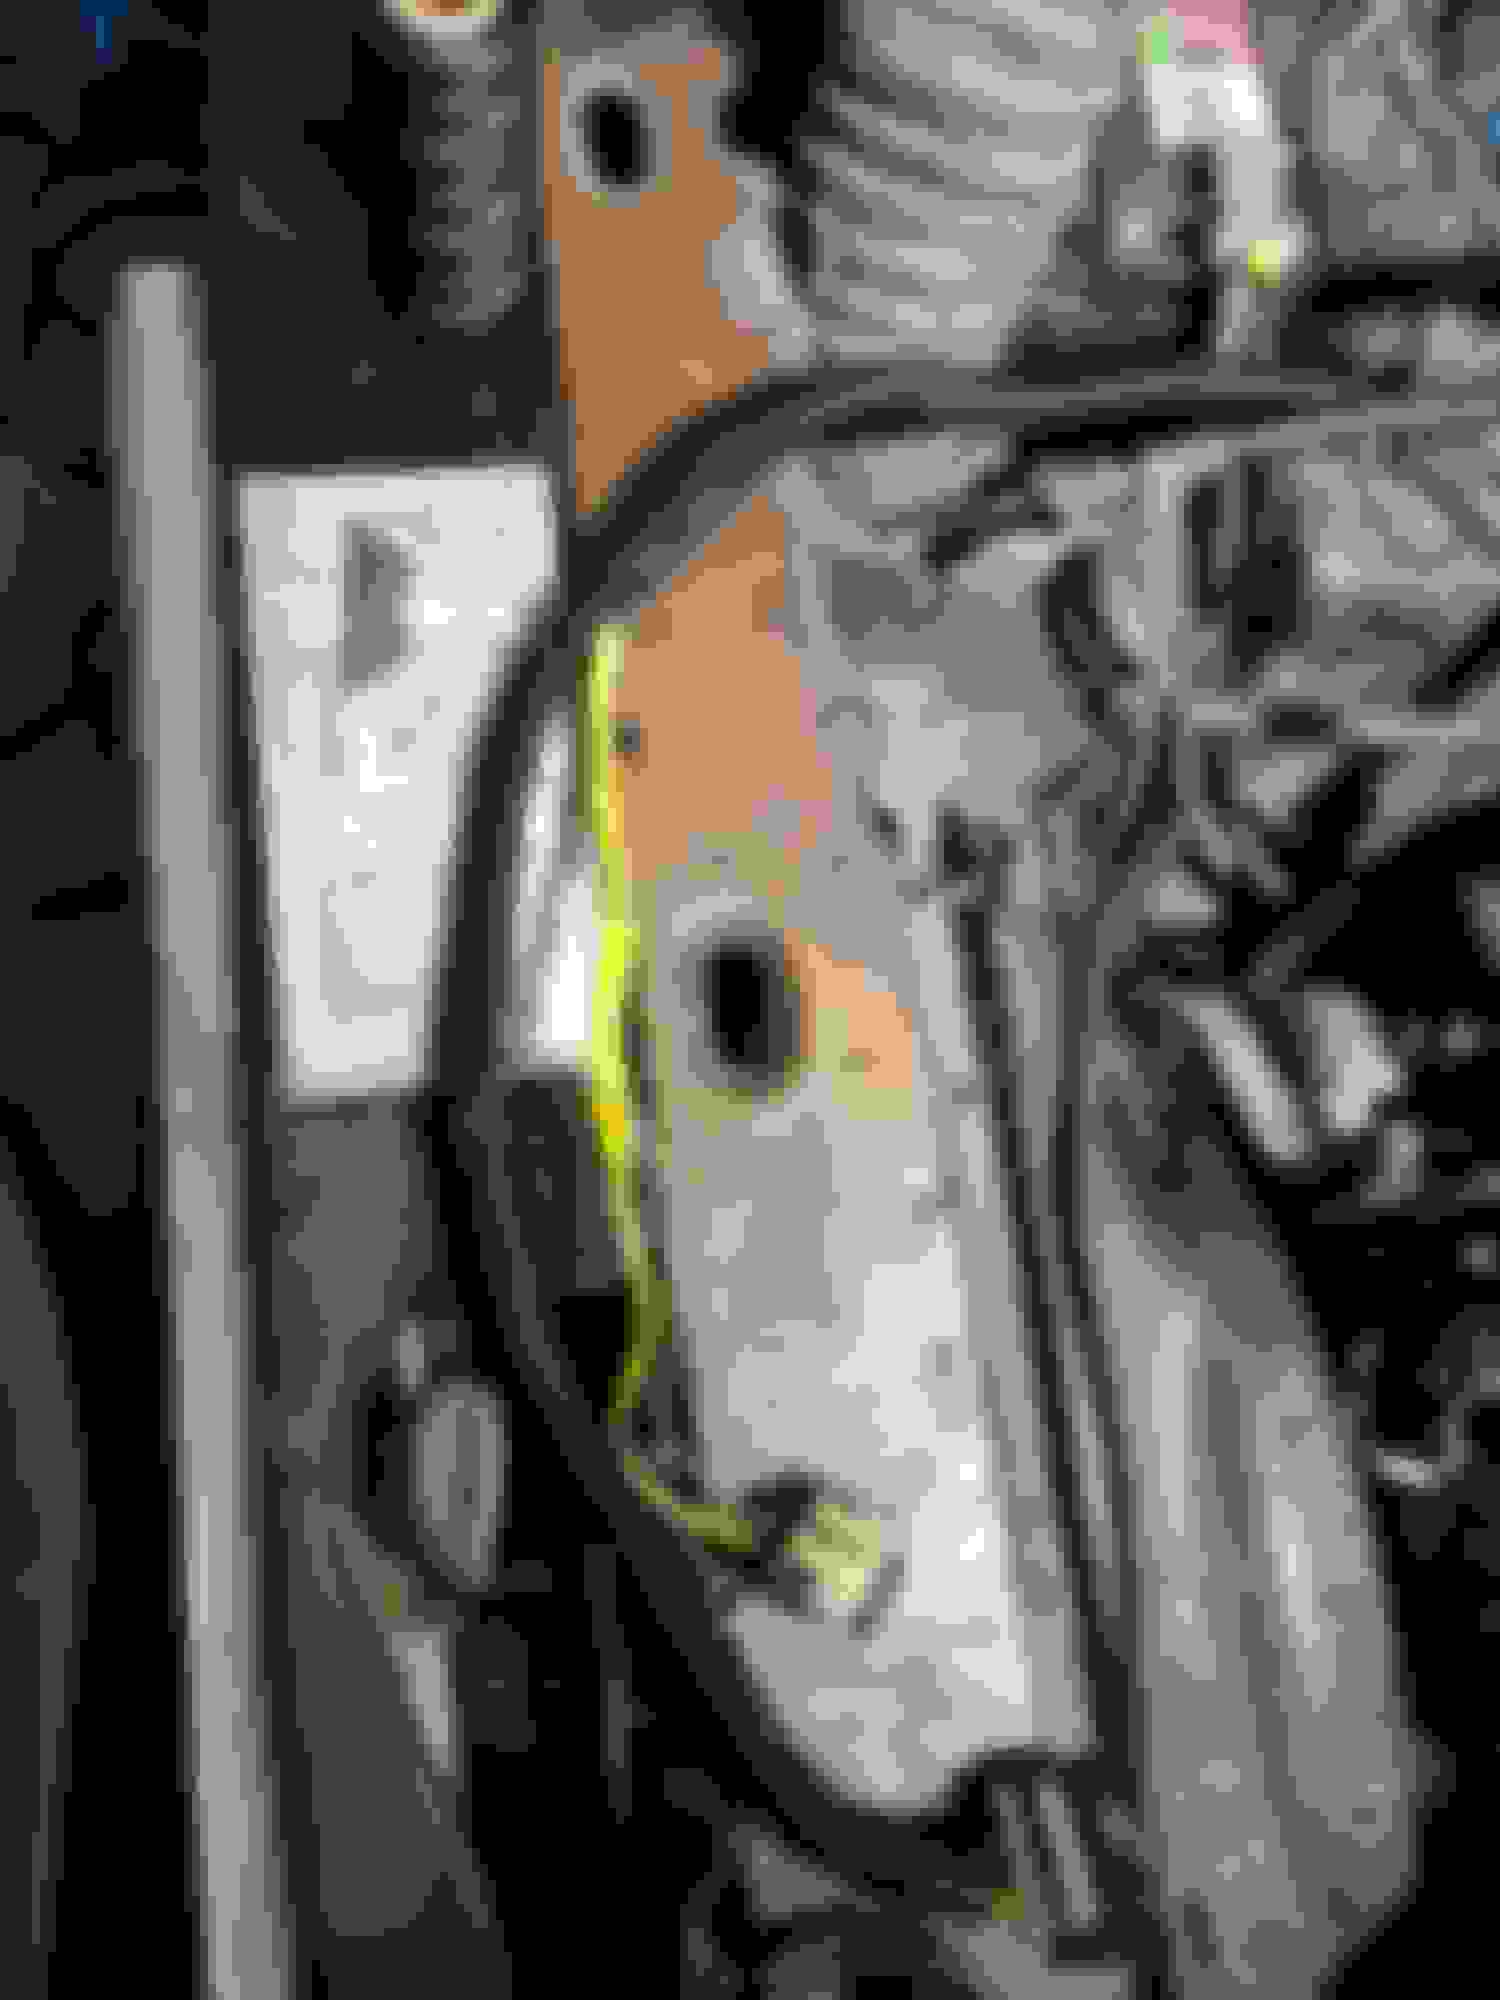
While inspecting the wiring and replacing the plastic look that is falling apart found another bad wire splice. This is S276 that was opened for some reason. Probably troubleshooting by a PO. Replaced labeled and sealed her up. Blasted out all the connectors and applied dielectric grease for good measure and closed them up definitely have a few connectors I will need to replace at some point.
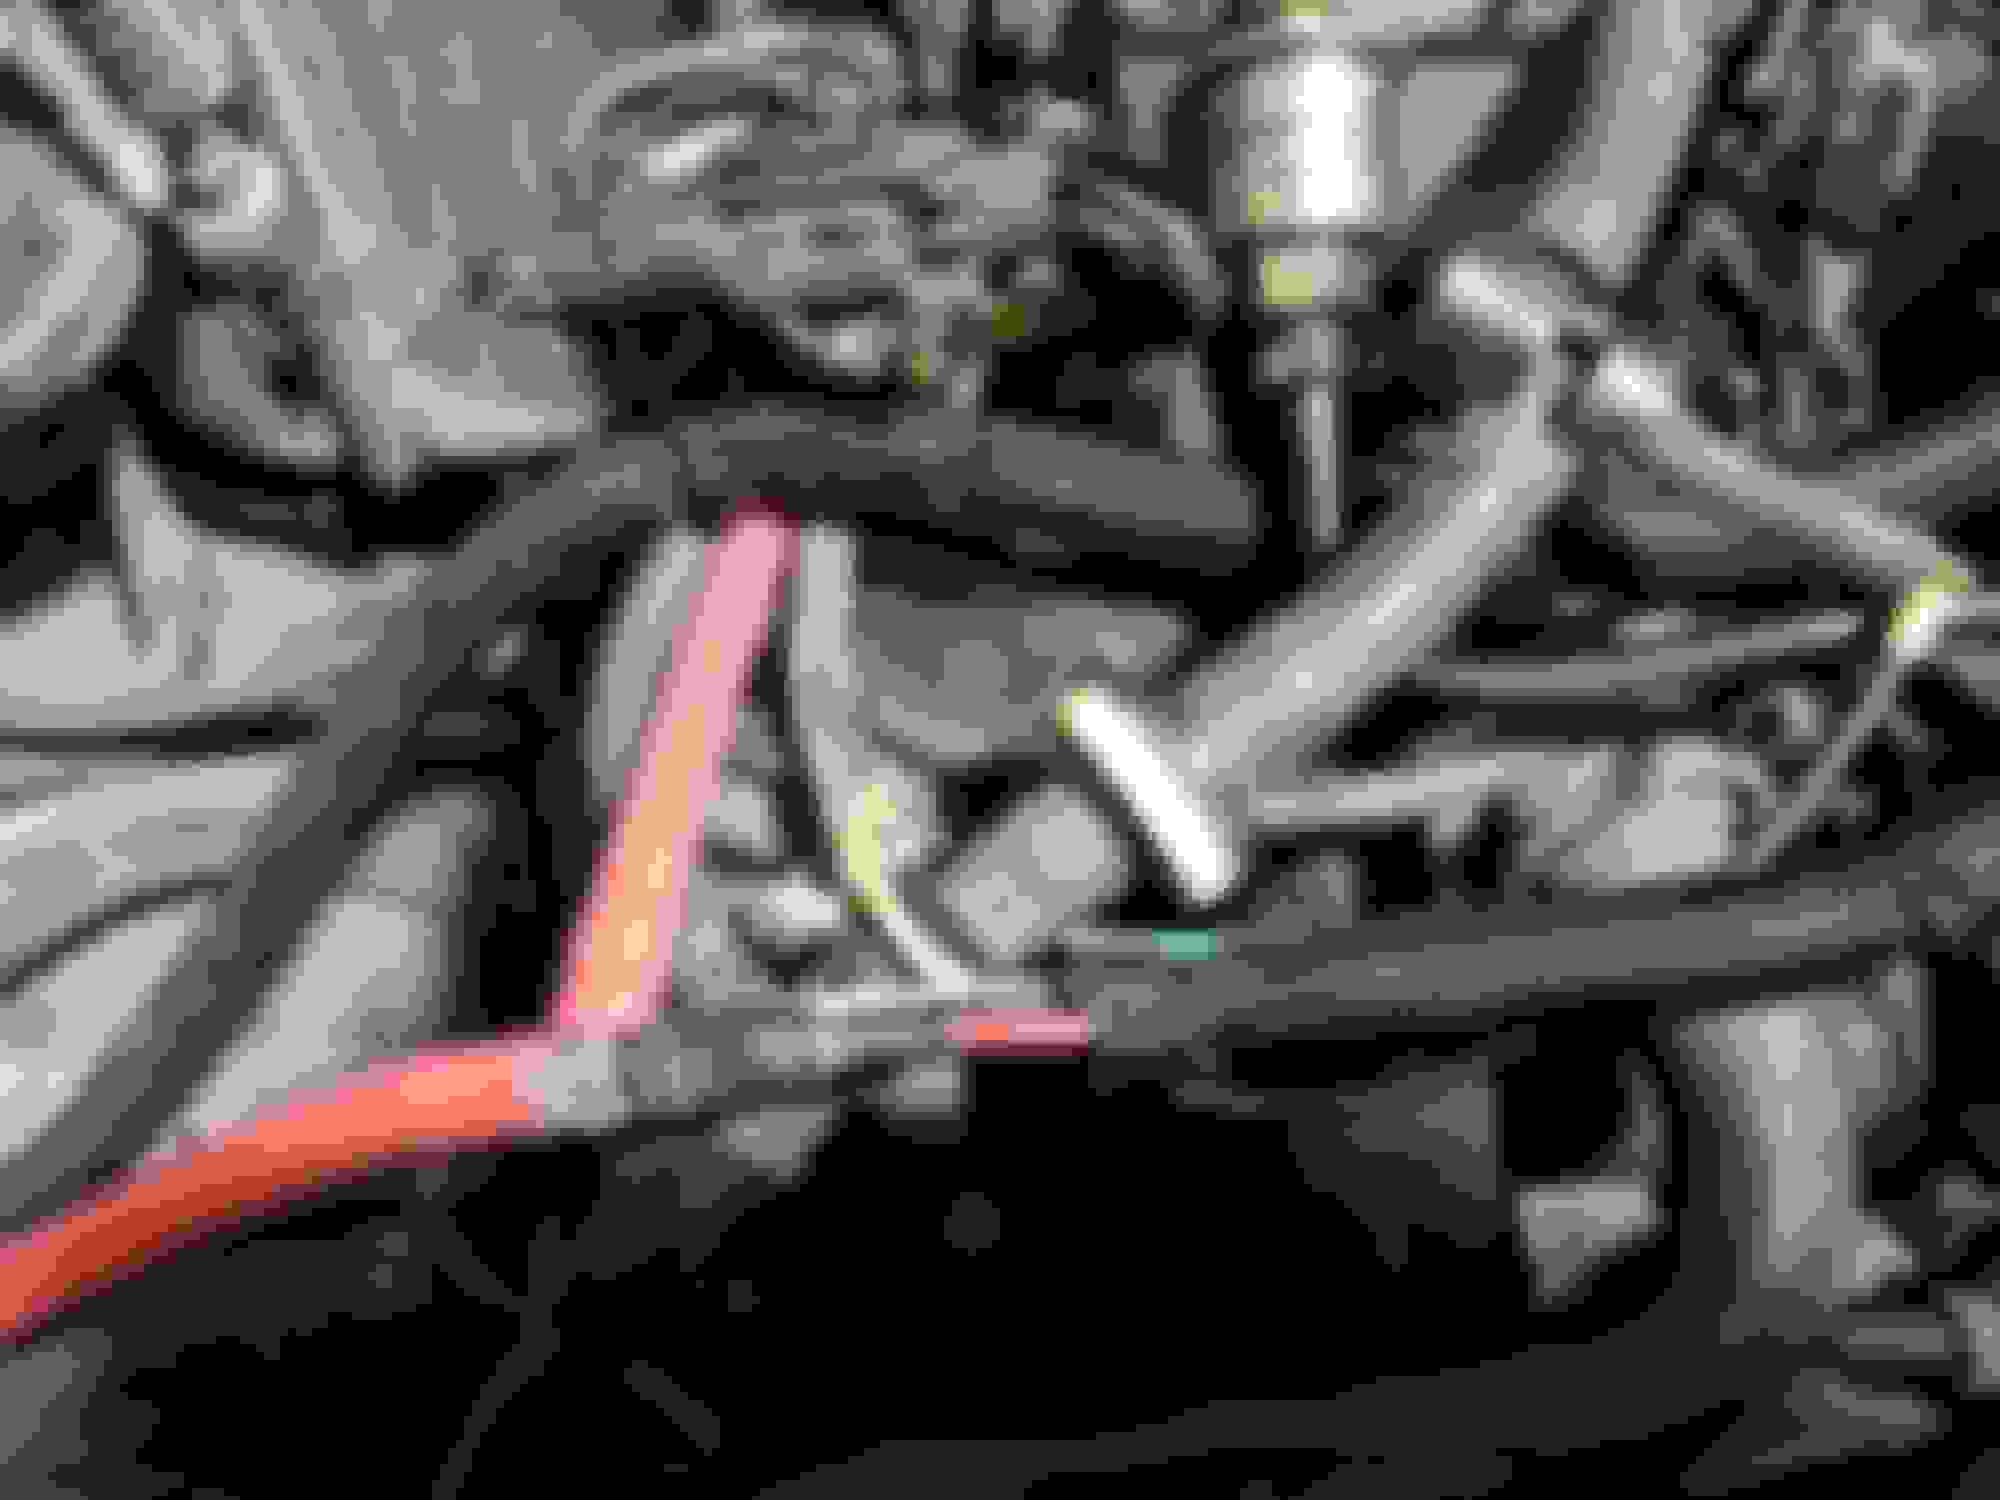
Mixture control selenoid replaced. New egr gasket installed, some general tidying up of wires and hoses, new vac lines in place... It still looks like a mess though.
Someone spliced in a line using compression fittings. Those are the fittings with the little brass rings that look like wedding bands. You are not supposed to use compression fittings on a brake system. You should always use flare fittings. You can get universal brake lines at the store and they also sell the proper couplers to couple the flare fittings that come already in the lines together.
I usually use 3 lines to remake the line to the rear. One long line to go behind the tank, with a coupler and a shorter line going up front to the proportioning valve, and a coupler and short line going to the rear and up to the rubber hose connection. Buy the copper nickle lines, they will not rust and are very easy to bend by hand.
That fuel line looks original to me. They started using plastic in the late 80's trucks. They seem to last ok, though they can be a little hard to work with and repair.
I think before I went to crazy under there I would get a good pressure washer and clean that under side.
It will make it easier to see what good & bad and to work on it as you will not have crap falling on you and in your eyes.
It looks like most of it will come right off with the washer.
Before My truck even made it to my house I stopped by work and used the pressure washer. It looked cleaner when I was done but you could not tell I did it when I started working on it.
Dave ----
Yes sir, as soon as I have it back together was going to get a undercarriage wash done.
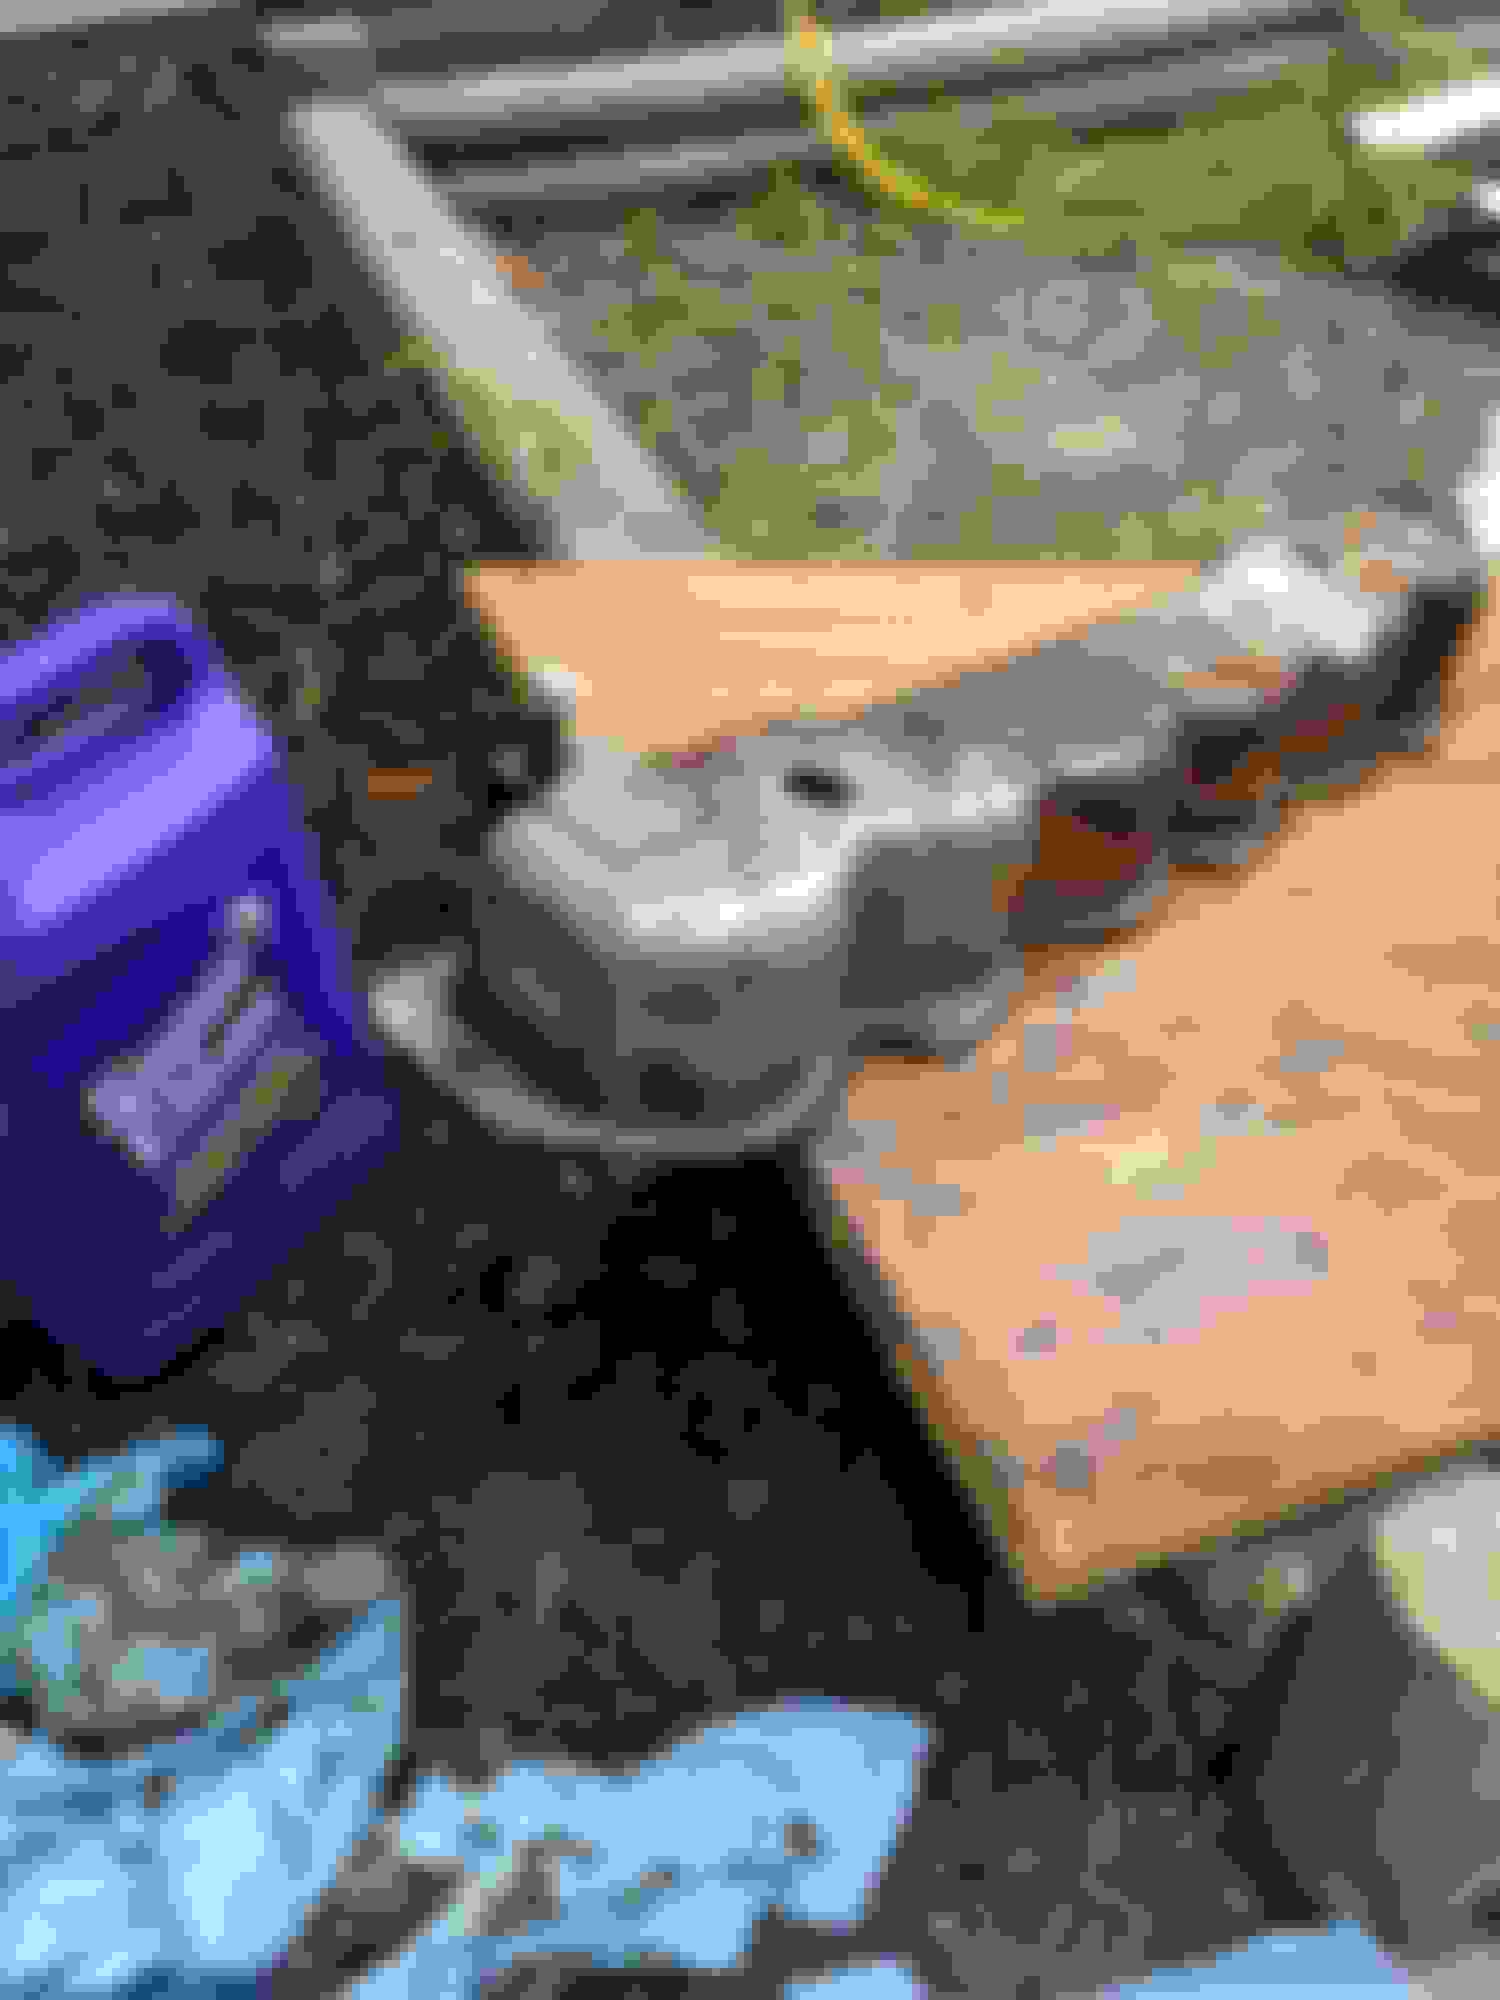
Plugs, cap and rotor changed. Found out in the plugs. The old breather was full of oil, went through can of parts cleaner trying to clear it nothing but bugs and oil with no end. Gave up and bought a Spectre aftermarket breather.
I'm hoping this being clogged up and the PCV being dull of oil was the issue with the oil in the air cleaner and not blow by.
Suspecting the valve cover gasket bad I pulled the valve cover. All the bolts were finger tight and the old cork gasket was in three pieces.
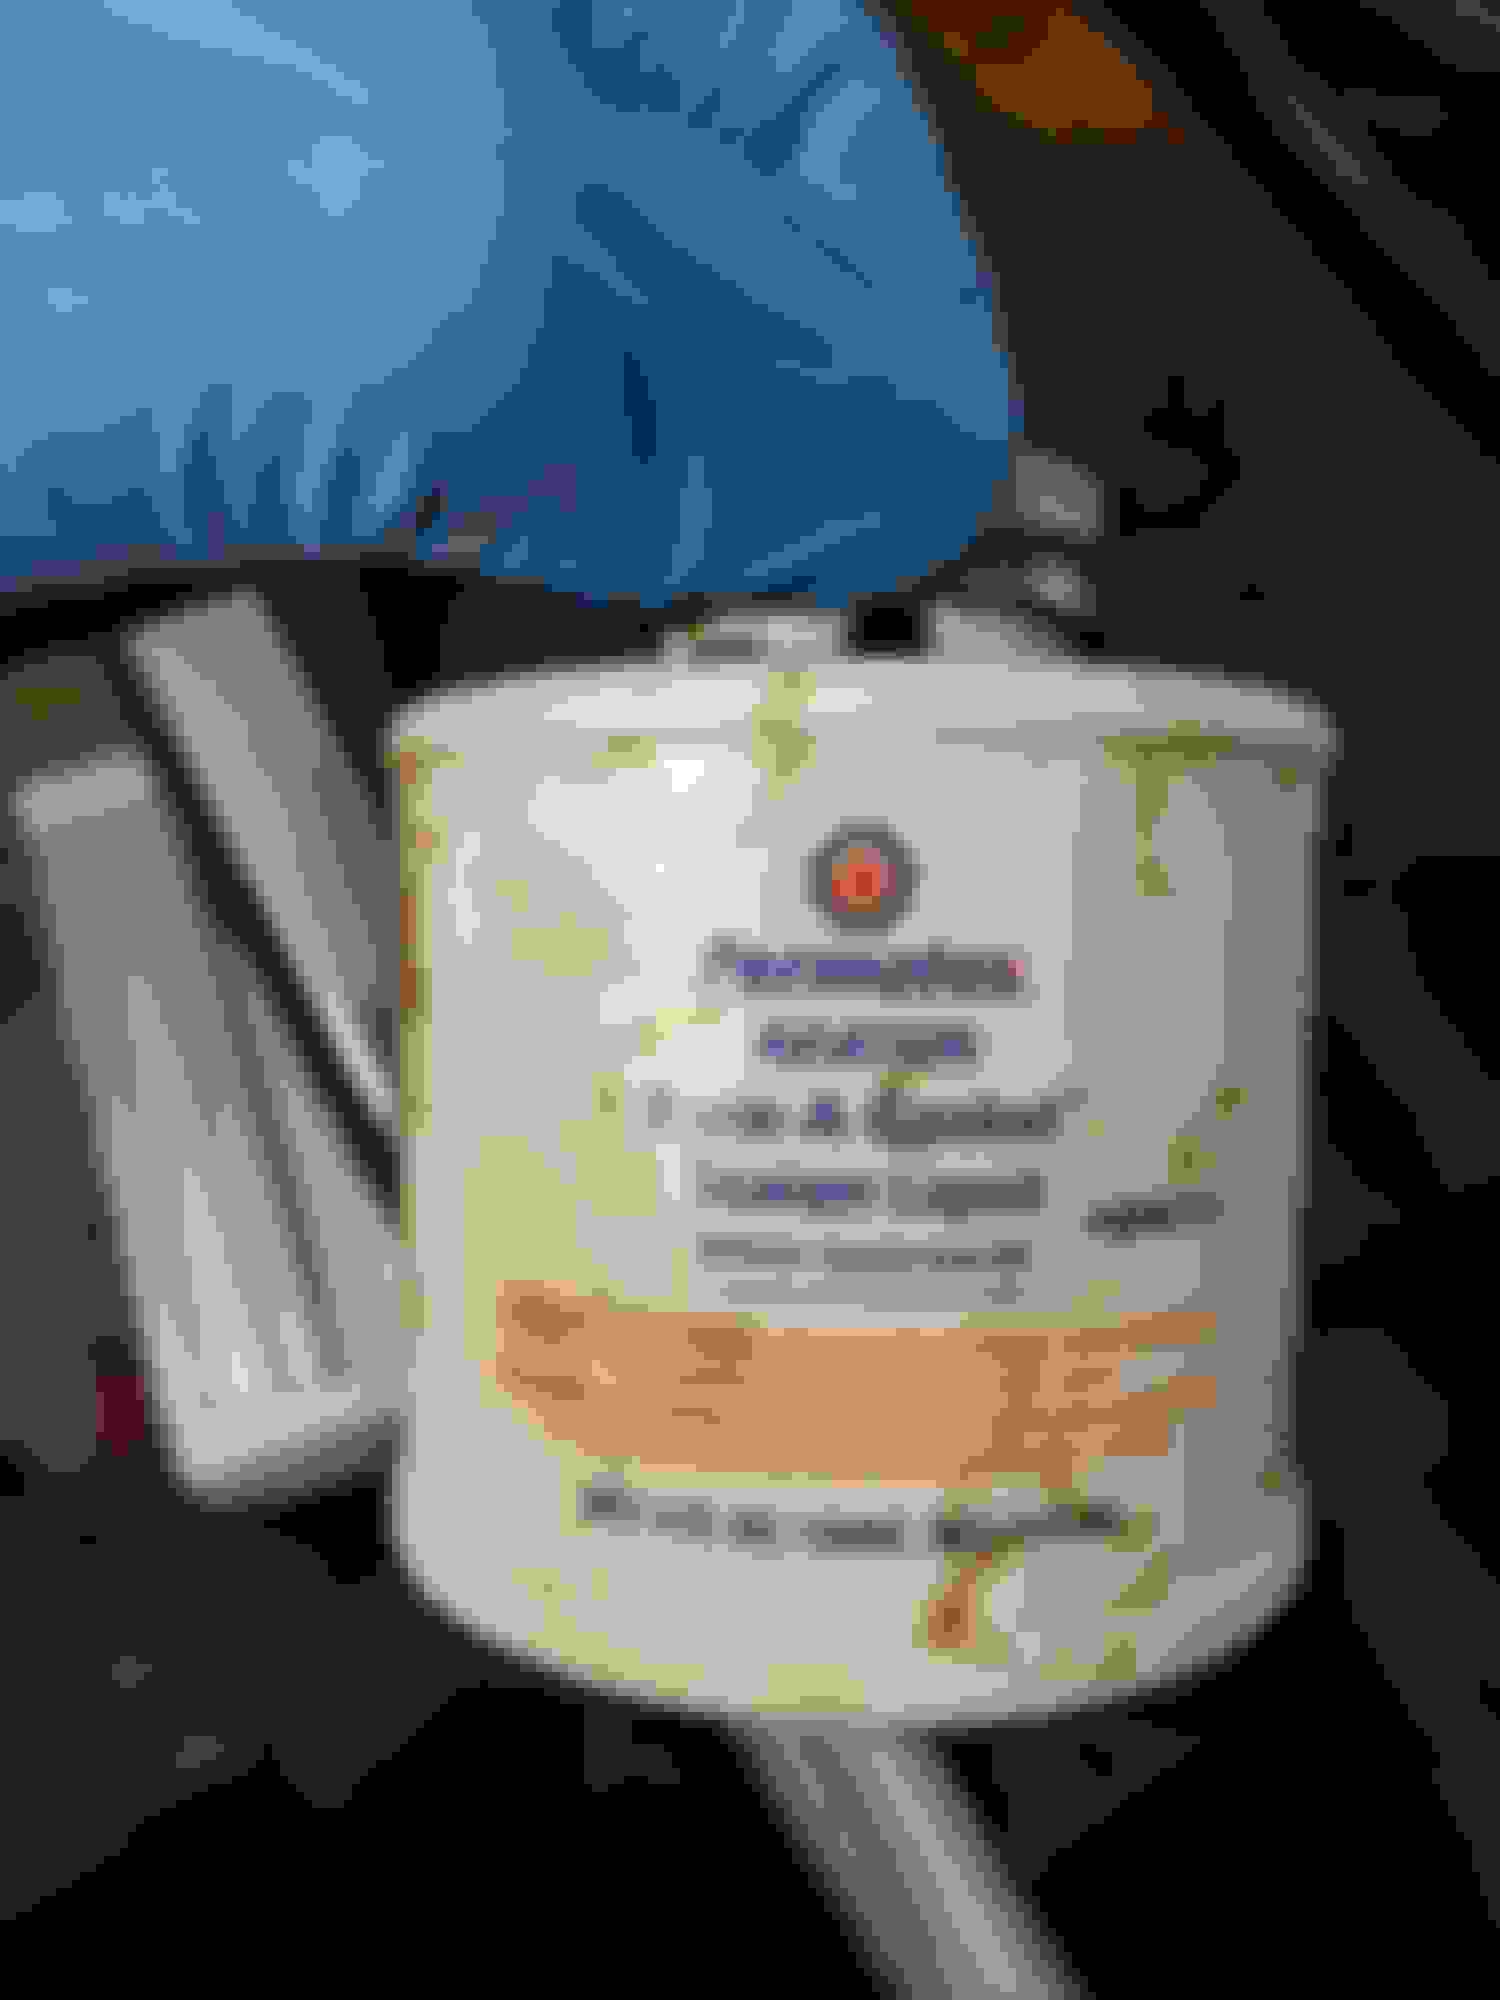
The entire engine bay has like 1/8 inch of greasy buildup. The valve cover was no different. Cleaned it up inside and out and gave her a coat of paint. A new Mahale valve cover gasket with metal carrier is in standby.
A boning tool from my leather kit was used to shape the tape to the logo. My son thought I needed some matchbox cars. No bad, needs a hair of touch up.
Today's update, still waiting on some deliveries to get the engine buttoned back up. But my LMC freight deliver with new doors, liners and new seat belts etc came in. I wanted to get the doors sealed up and on and functioning seat belts installed so it would be safer to drive.
Pulled the driver's side door apart. Unfortunately it looks like my vent window frames are too far gone. New ones will have to be salvaged or ordered. Pulled the dash pad, trim etc so I could remove the weather seals. When they came out O noticed a lot of water under the vynil mat. I expected some moisture as the jute insulation acts as a sponge and the mat does not breathe for the water to wick out. A good amount of rust found under the mat but nothing bad enough to warrant patching. I may have to yank these hinges the rest of the way to ensure I get every bit of rust. I will be knocking the paint back about 1/4 inc around the rusted spots, treating it with corroseal and then oil based primer and enamel. I may skip the enamel in the tub and just use bedliner. Eventually it will get Eva matting and then pad and carpet.
Using a high powered light layed so it shown across the paint I looked for any indicators in the paint that there may be rust starting under the paint in addition to the obvious areas. This is a trick we use in aviation look for defects in all sorts of surfaces , paints, and sealants. An angle grinder with 80grit wheel and random crimped wire brushes in a drill were used to remove rust paint and primer. Cleaned with mineral spirits to remove dirt and oil. Then Coroseal was then used to treat an seal the metal. After 24hours I'll check for any bleed through and coat again if necessary. Anything not covered by carpet or trim will be buffed, primed and painted. Anything covered will just be primed and painted with no smoothing. Unfortunately found some minor pin holes in the cab corner.the inside of the cab corner had wet materials in it when I got it I don't think it is enough to stress about.
There are plenty of factory holes in these floors, vinyl/rubber mats and jute padding just held water. Even the door sills are screwed through the rocker and the screw exposed to the elements. Perfect spot for water intrusion and rust. I will be wet installing all this hardware with probably a polysulfide sealant. Then encapsulating it from the undercarriage with the same. This followed by primer and topcoat will keep it from ever being a point for rust.
Also got a couple shots of the section of frame I did a test run on. Which was cleaned up with an angle grinder with Norton 3in crimped wire wheel.
But seriously, great job and looking forward to more updates!
Sorry I had to lol been in tight laced boots all day... I payed for it though, my foot found one of the discarded crimped wires from the brush... Those are like pulling out barbed needles.
Ok easy day today, valve cover is back in. The gasket was a Mahle rubber/cork with metal carrier. Very easy to work with. Installed with the ever excellent Permatex No. 3 Sealant. Bolts all installed ton100inlbs. I will recheck them tomorrow to make sure it's still holding 100. I always like to retorque with fresh gaskets and new bolts. Granted at 100inlbs tour not gonna have much of anything going on, but you might find one you missed.
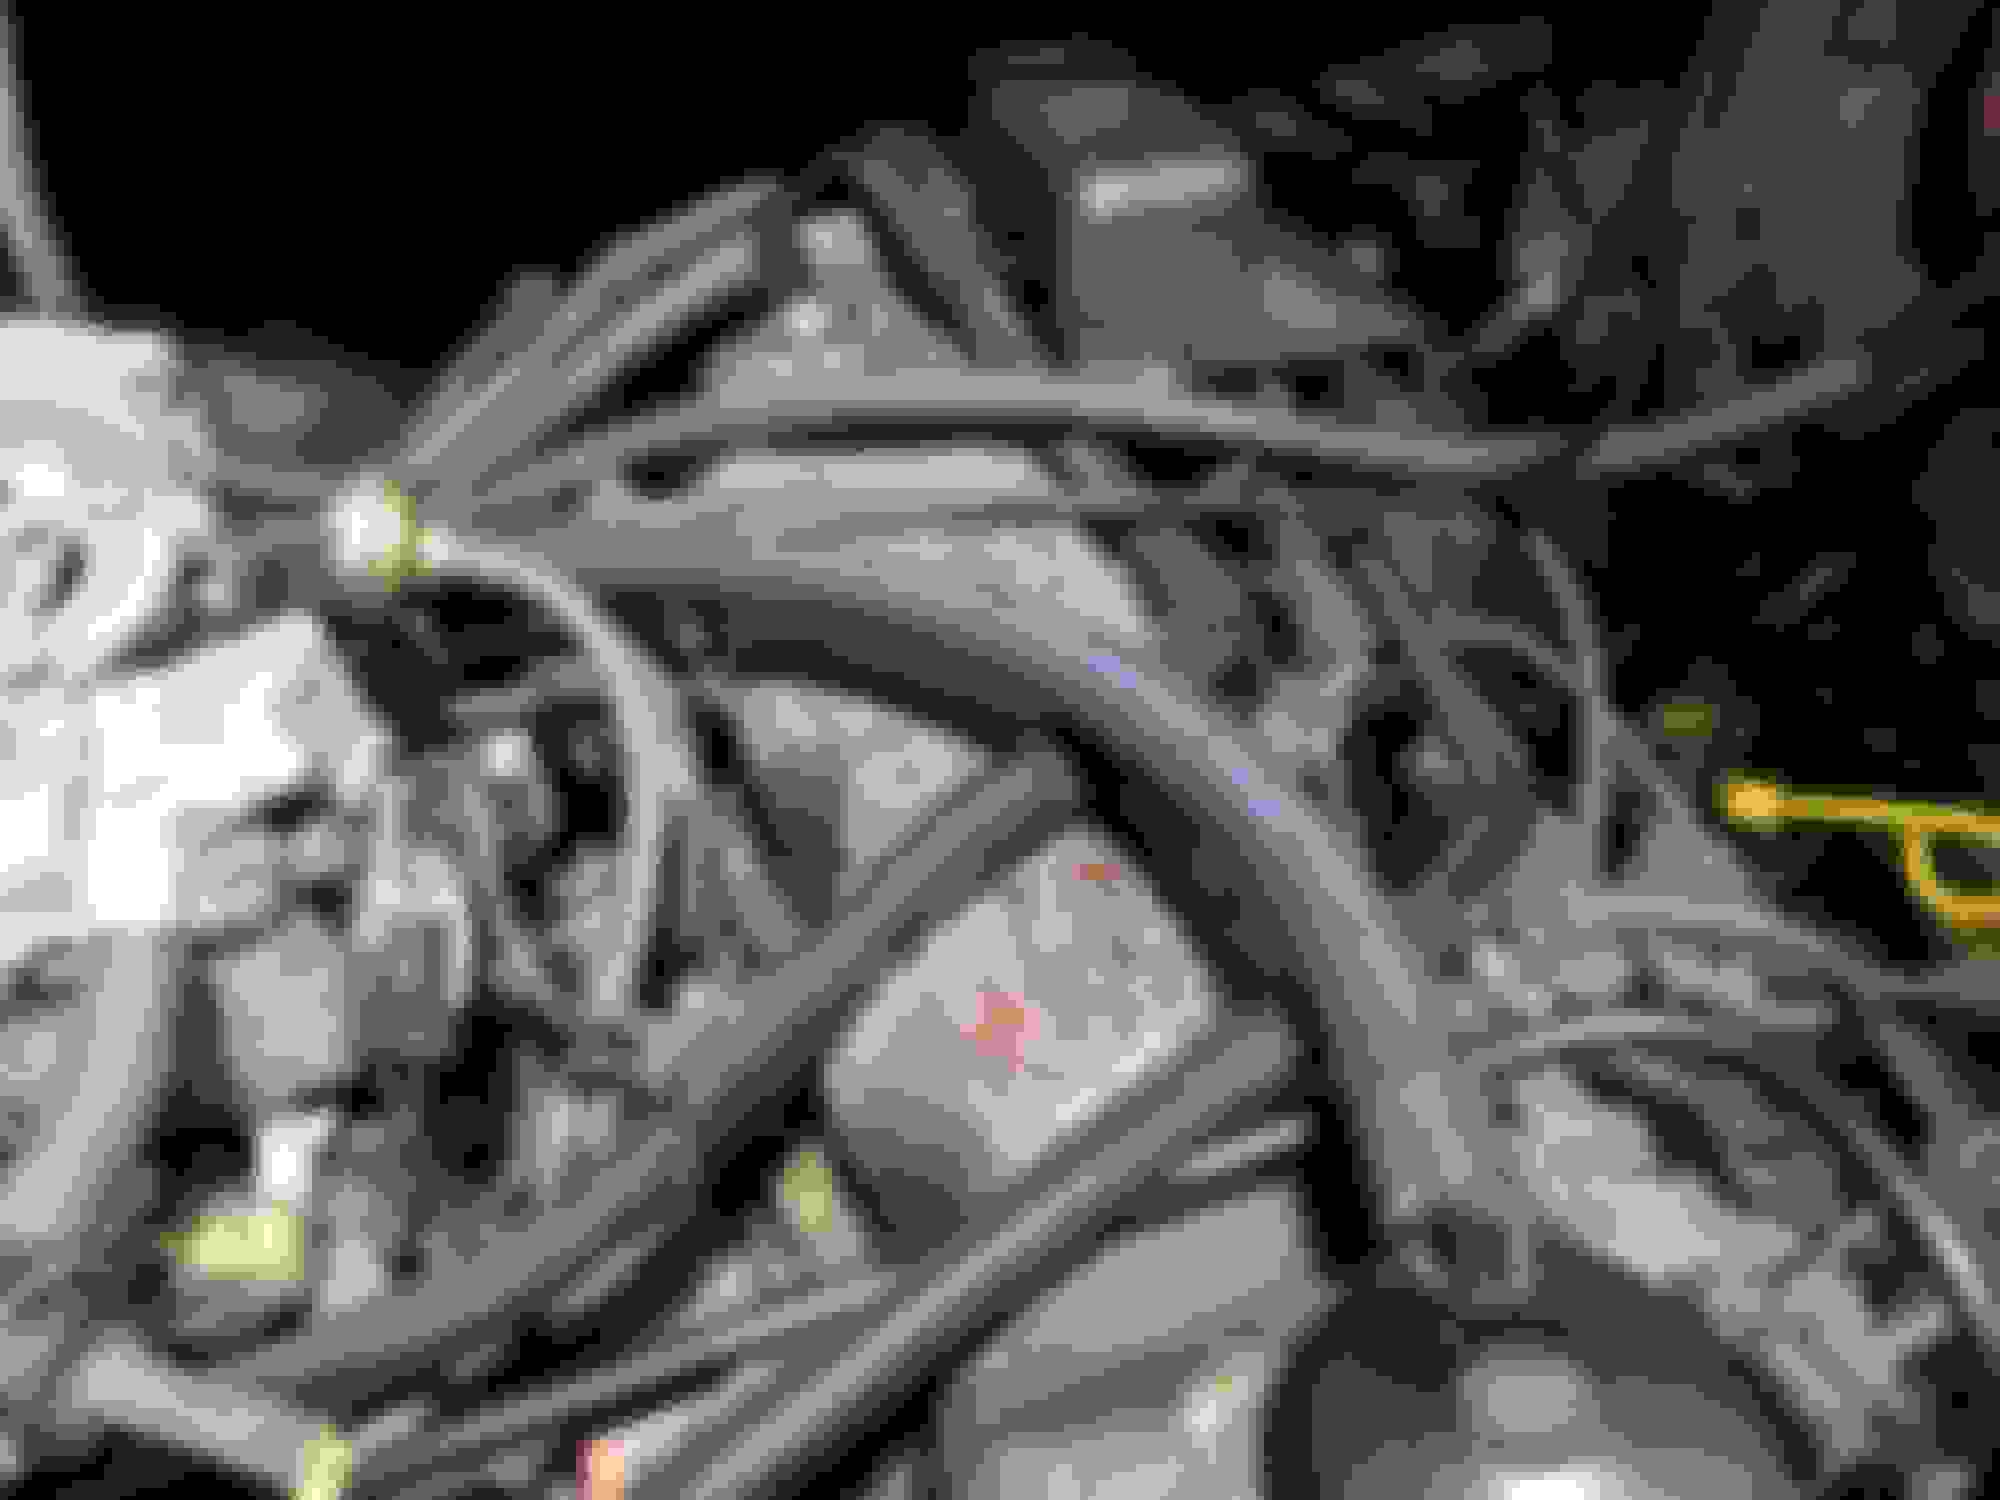
Most of the wire look has been replaced with high temp split braid and lacing tie after wire inspections were done. New push rivets and wire clamps replaced the old brittle ones. New PCV Valve is installed, needs a breather yet.
I'm really trying around with one day extending and routing all these hoses and wires along the firewall. I'm an aircraft guy, we do things nice and neat lol.
I think tomorrow... Time permitting, I am going roll her out of the garage to pull the bench seat then work on cleaning the rest of the rust out of the cab so I can seal and primer over the weekend. And or may prime sand and paint the new divers door so I can get it assembled and installed. The new vent windows deliver tomorrow.
Not much done today, had to run my daughter to her cousin's house and that killed about 2.5hours of my evening.
I decided to tidy up a bit and organize the parts etc that I have. Then I busted out my new pipe straightener, vise, and double flare tools and decided to work on trying to make a new fuel line for from the carb to the fuel pump.
Good thing I have 25 feet of tube...
First one I started came out beautifully. I got to the second bend and realized I had forgot the fitting. I had given myself spare length so I lopped off the end, ran the tube through the straightener, made a new flare and slid on the fitting on. The bends went great got to the final bend before the fuel pump and ran into another issue.
The last bend is only about 2 inches from the previous bend. I ended up flattening my previous bend.😣😣
So giving that up for tonight, I'll start fresh in the morning. I went out and looked at how the stock tube laid in. Instead of coming up 5.25 inches from the pump, making a bend with 2 inches of horizontal travel, the another bend with a rise of 3.5 inches. I should be able just to out in a 9 inch rise from the pump and eliminate that 2 inch bend all together.
Not much done today, had to run my daughter to her cousin's house and that killed about 2.5hours of my evening.
I decided to tidy up a bit and organize the parts etc that I have. Then I busted out my new pipe straightener, vise, and double flare tools and decided to work on trying to make a new fuel line for from the carb to the fuel pump.
Good thing I have 25 feet of tube...
First one I started came out beautifully. I got to the third bend and realized I had forgot the fitting. I had given myself spare length so I lopped off the end, ran the tube through the straightener, made a new flare and slid on the fitting on. The bends went great got to the final bend before the fuel pump and ran into another issue.
The last bend is only about 2 inches from the previous bend. I ended up flattening my previous bend.😣😣
So giving that up for tonight, I'll start fresh in the morning. I went out and looked at how the stock tube laid in. Instead of coming up 5.25 inches from the pump, making a bend with 2 inches of horizontal travel, the another bend with a rise of 3.5 inches. I should be able just to out in a 9 inch rise from the pump and eliminate that 2 inch bend all together.
New fuel tube bent and test fitted today. Got it painted up now it's curing.
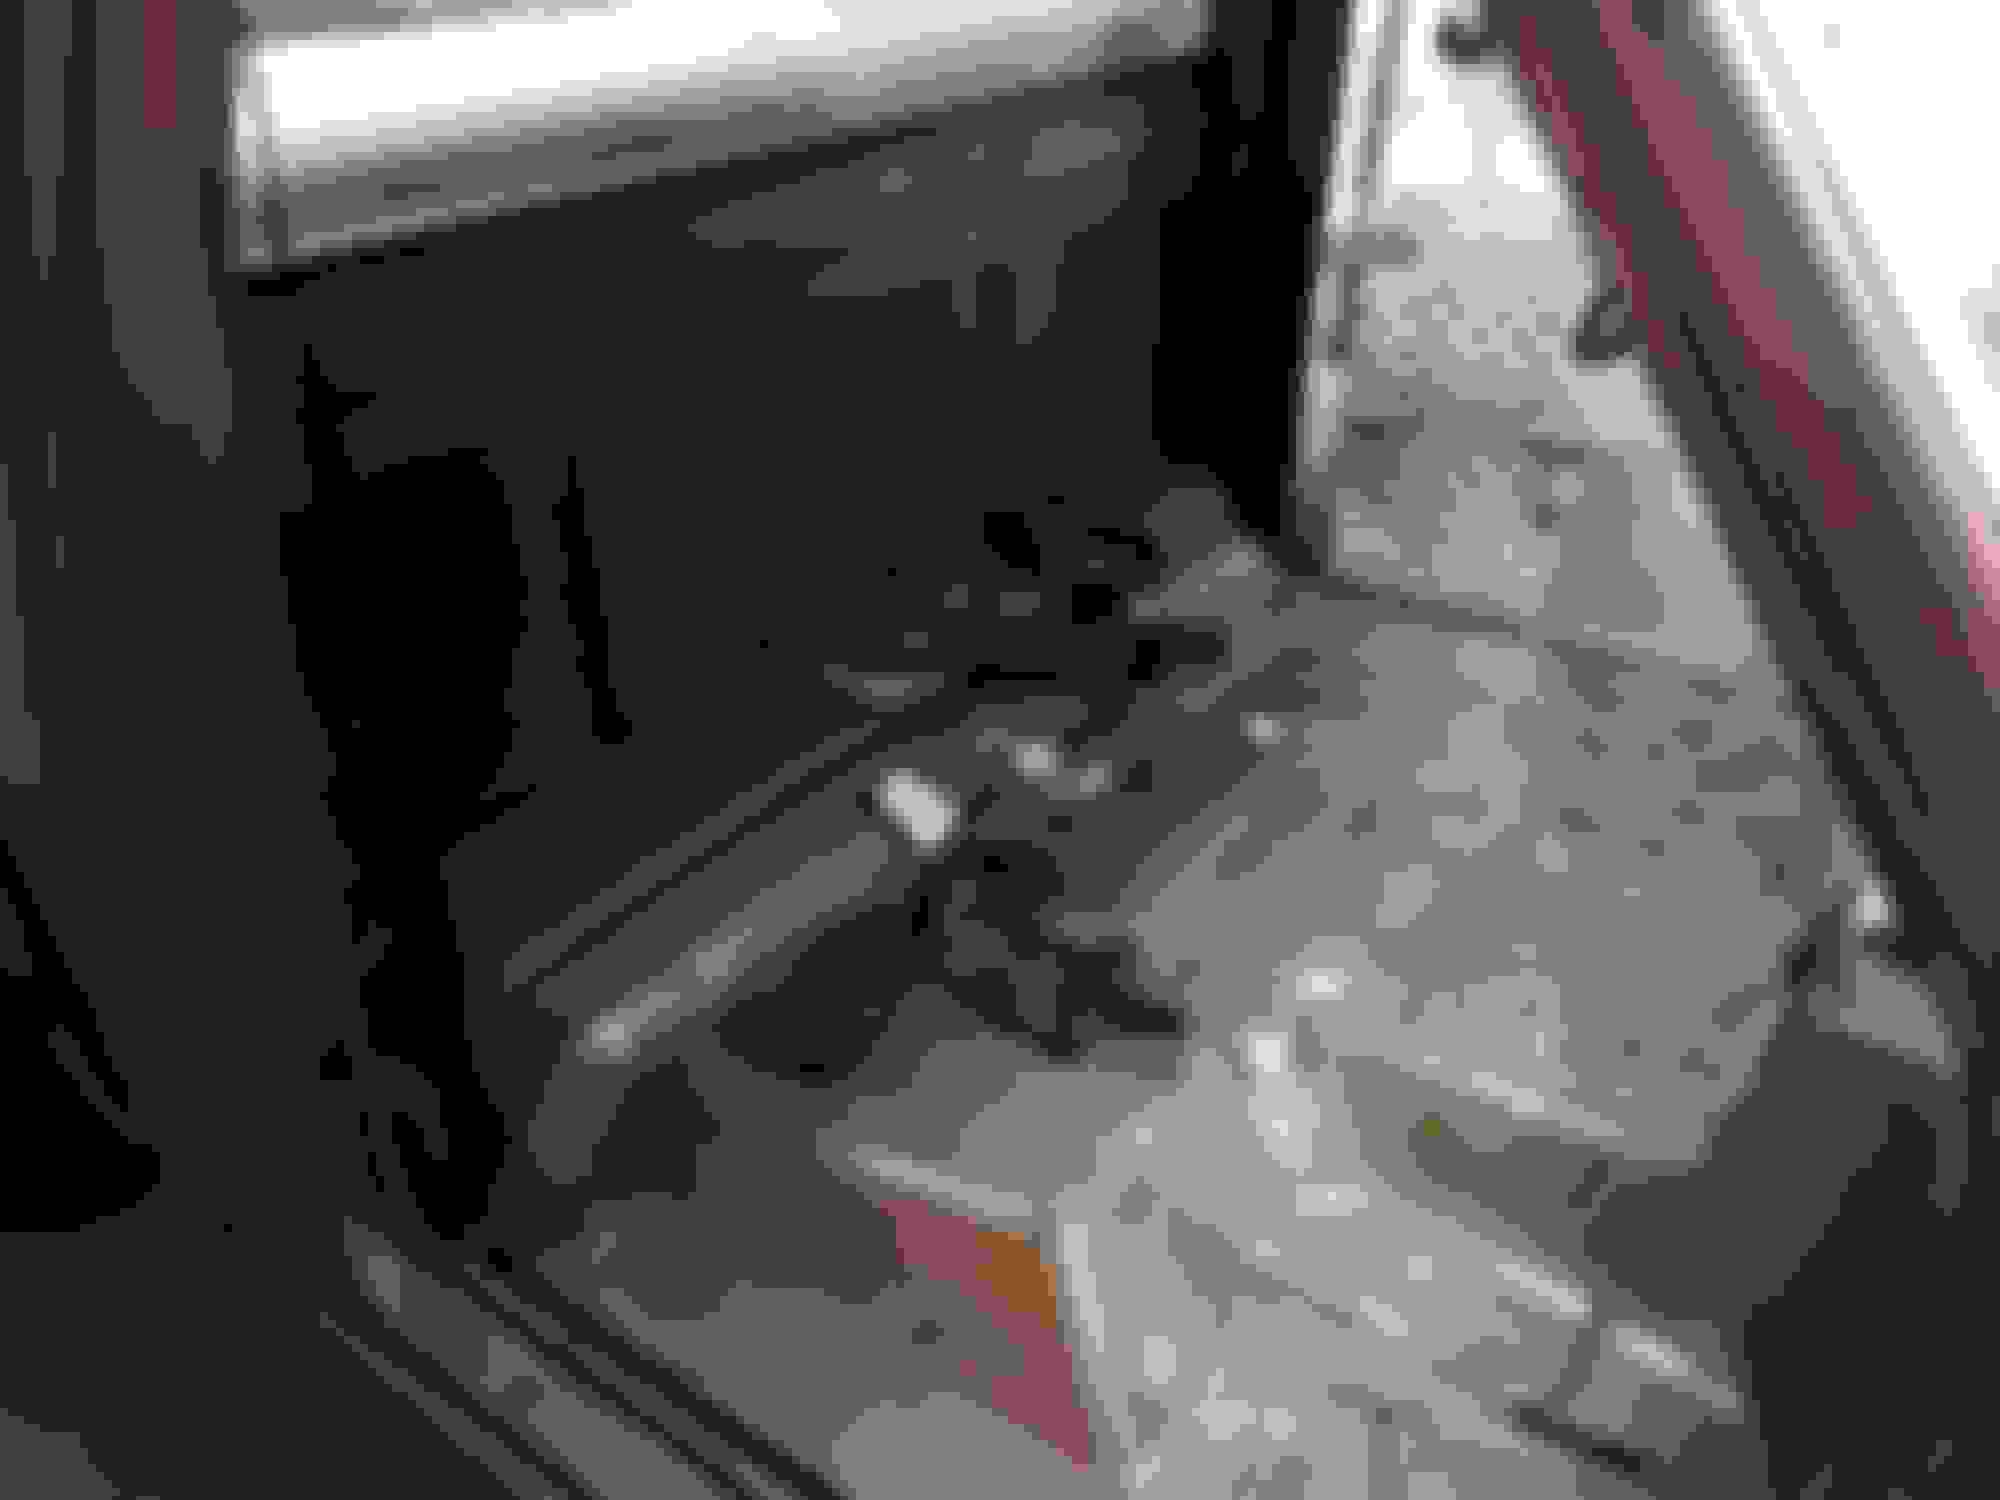
Pulled the truck out of the garage so I could open and remove the passenger door (yes my garage is that tight), and pull the bench. When I did I found a nice puddle of transmission fluid. She is pretty wet all over but looks like at least one is from the pan. Getting add that to the agenda.
The tube running to the cats is disconnected, hacked off or otherwise flopping around, held in place only by a zip tie to the transmission dip stick tube.
Bench is out need to beat on the passenger slide rail a bit to see if I can get it working again, made that last bolt a PITA.
There is rust on the passenger side door channel and where the seat belt bolts in that concerns me a bit. It smells, feels and looks like some solvent, gas or other product was spilled and got under the mat here, melted away the paint and let rust settle in pretty good.
Also when under the truck I found the cross member where the rear passenger cab body mount is rusting away pretty bad. I hope I can clean it up and weld in reenforcement here.
The plan for the weekend of building doors has now shifted to pulling the bed and getting it set up in the back yard on saw horses so I can treat and clean up this frame. Might as well order new bed and body mounts/bushings and bolts now. I will work back and forth between sanding, treating and painting the cab, and the frame. School starts back up next month, free time is running out.
 05-09-2019, 01:08 PM