When you click on links to various merchants on this site and make a purchase, this can result in this site earning a commission. Affiliate programs and affiliations include, but are not limited to, the eBay Partner Network.
I don't use the Everglass product. Metal-2-Metal does not use a cream hardener and it seems like it is much harder and more stable than other fillers. Kinda like the idea that it is filled with aluminum...looks like metal putty when you use it. When sanded it even looks like metal.
I ordered the Autoloc bolts, if they aren't longer I'll send them back... I love amazon prime. I also picked up a few large washers from Fastenal today to test fit, if this works I'll just measure it and turn a new beveled washer out of aluminum.
I too have tried various length/style striker pins but found that the ones supplied by Trique (or at least ones that are similar in design) work the best. The issue is the depth of the head of the pin...when the latch is engaged (door closed) there is not a lot of room for the head of the striker pin between the bear claw and the outer housing (see photo in my post above). I don't have a lathe so I couldn't modify the pin. In my case the reason that the striker pin did not fit properly was because the gap in the door jamb was too wide...moving the pin out towards the door with a spacer seemed to be the best solution. Jake, you are on the right track with turning your own washer...I have been looking at buying a mini-lathe but it's just not in the budget right now. Good luck...
I too have tried various length/style striker pins but found that the ones supplied by Trique (or at least ones that are similar in design) work the best. The issue is the depth of the head of the pin...when the latch is engaged (door closed) there is not a lot of room for the head of the striker pin between the bear claw and the outer housing (see photo in my post above). I don't have a lathe so I couldn't modify the pin. In my case the reason that the striker pin did not fit properly was because the gap in the door jamb was too wide...moving the pin out towards the door with a spacer seemed to be the best solution. Jake, you are on the right track with turning your own washer...I have been looking at buying a mini-lathe but it's just not in the budget right now. Good luck...
I had two issues with mine, too short because the gap was too wide, and the second was because the striker was not completely straight.
I used the jambs I bought from Charlie for a clean look. I installed them to match the existing door frame. I ended up rolling the tops out on them a bit more to straighten the striker. So my jamb now has a slight twist to it.
The reason I ordered the autolocs was because the altmans have a recess cut into them where the thread joins the striker, and when it binded, it broke off. SO since I had to take everything back apart, I made my own plate (thicker than Charlies) with a nut that sit further in the jamb. So the extra length on the thread came into play there.
This isn't even the original jamb Charlie sent me. I ended up remaking it rather than trying to undo the nut and backing plates. The driver's side went on fine after I figured out how to roll the top.
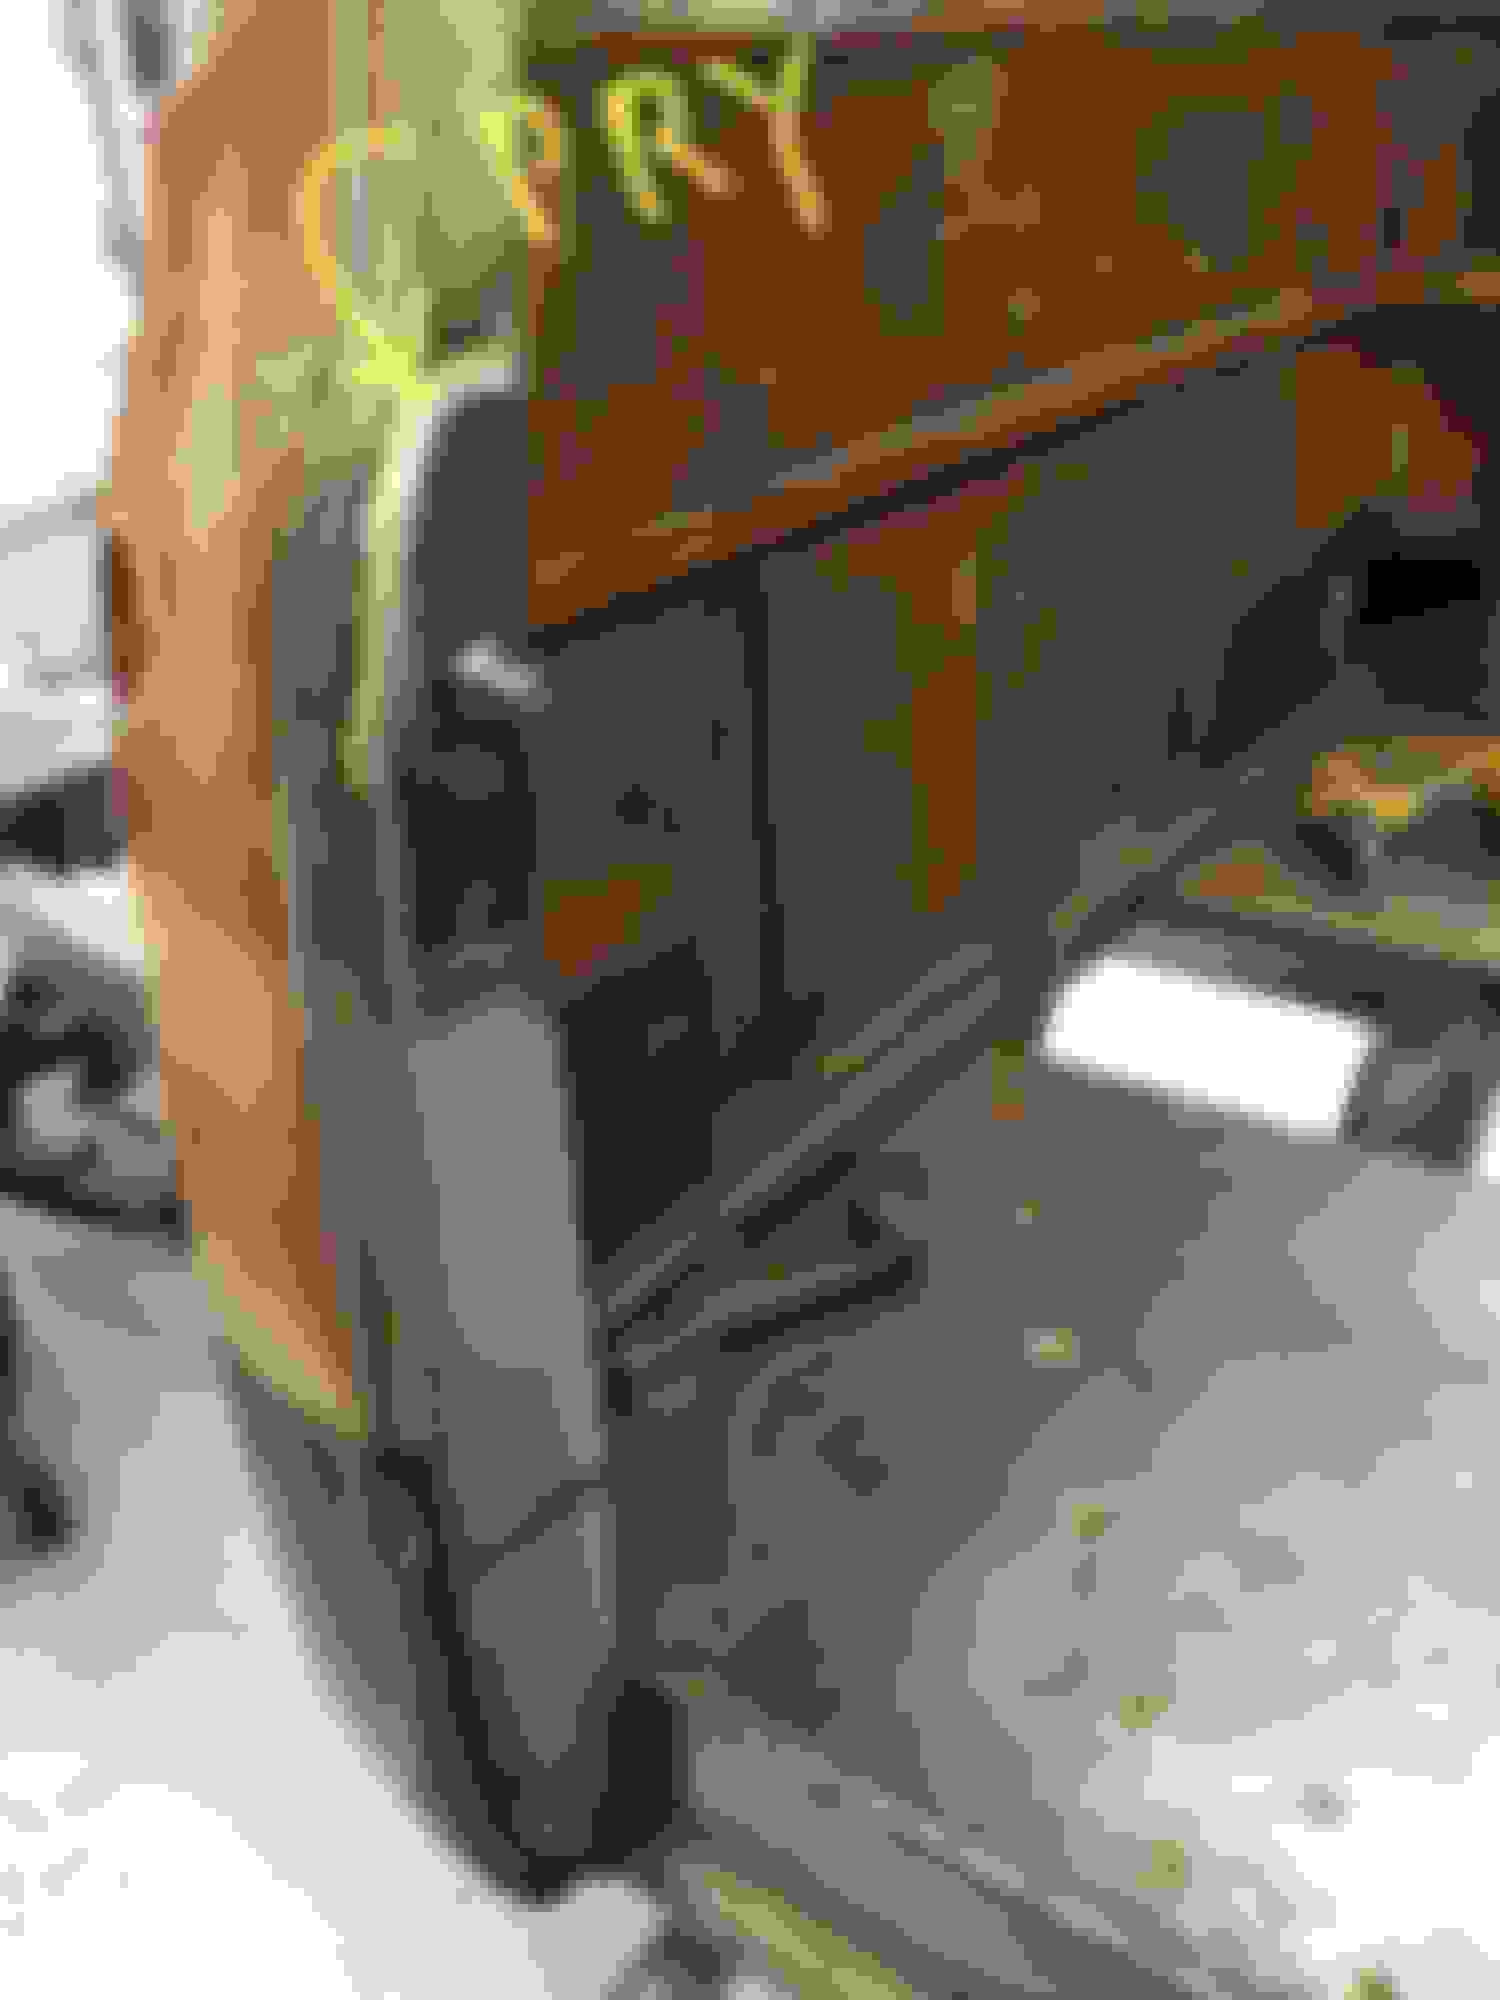
I fit the bottom flush, then welded it in solid filling all gaps. Then I sliced it along the yellow line with my cutoff and pried the upper left corner out about an 1/8", placed a welding rod in to fill the gap, and welded it up.
I also welded mine latch plates into the door. This moves the about 1/16 farther from the striker as well
I had two issues with mine, too short because the gap was too wide, and the second was because the striker was not completely straight.
It looks like you have that fixed but in case you run into this again the way that we used to fix this type of striker that was not perpendicular to the door (not an actual bent striker post) was to put a pipe on the post and gently bend it. This should just bend the B pillar slightly. Usually they are only off by a couple degrees.


 02-07-2018, 08:35 PM