When you click on links to various merchants on this site and make a purchase, this can result in this site earning a commission. Affiliate programs and affiliations include, but are not limited to, the eBay Partner Network.
OK, I can't believe it. I'm going to work on this thing and I can't figure out how to get the piece of the intake off where the CCV mounts into it. I got two small bolts out of the side bracket and can't find any other bolts holding it in, it looks like it is the CCV and how it mounts to the valve cover that is holding up the show. Any help?
I would leave those small bolts in there. In fact... I do. I remove the two 13mm nuts off the hold-down bracket, slide the 42-pin connector through the square hole, loosen the clamp on the turbo intake, then yank the whole assembly. Here's a vid - about 3 minutes in:
I see in the video you bring bracket along with that piece of tube. I've only seen the one clamp on the CCV with with my eyes so far and it's a single use type that squeezes on and it's tucked down in there pretty far. I'll have to see what I can find under there with a mirror on the other clamp. Thanks for that.
OK, as the progress continues...I'll just keep it in this thread unless yous think I should fire up another one. Snipped that non reusable clamp with the dikes, heated the hose with a hair dryer and got it apart. Ohmed the glow plug pins and they all came up the same like 1.5 or so. Now...How do I get that last bolt on the valve cover? My short socket is too short and my deep one is too deep. I tried a swivel too, still can't get on that thing. Even worse, what's getting it back on like? The PO supposedly installed new glow plugs and I want to see what is in there. I'd like to peek at the injectors too.
I use about 2 feet of 3/8" drive extensions, a Craftsman deep 13mm, and a U-joint for the rear bolt on both covers, then remove one of the 12" extensions for the stud bolts. I use a 13mm flex socket for all the rest. I've got my total time from pop the hood to VC off (per side) at about 4 minutes now.
For that back bolt, face the firewall and use your left hand to work with the driver-side rear VC bolt, and use the opposite hand for the passenger side.
Being the persistent type that I am I dove back under there. My recipe was a standard 13mm with a universal on it plus a short extension. Once I got that properly planted I added my swivel ratchet. I am better than most at dropping things so I will affix that bolt to the socket with some RTV Blue and let it set a bit before I attempt reinsertion.
Now for what I have found complete with pics.
Glow plugs are Beru made in Ireland and the one I pulled out ohmed at about 1.5. Since that whole side ohmed around that through the UVCH I'll accept that bank as acceptable.
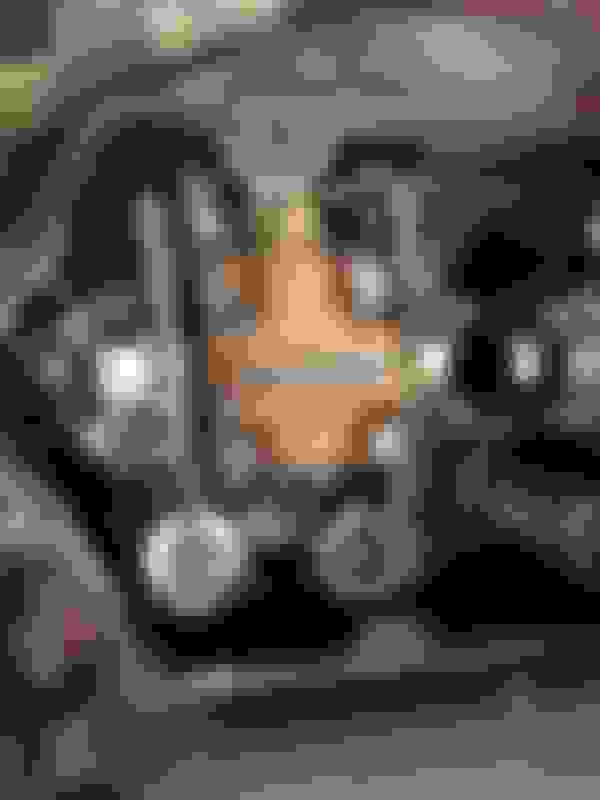
Here is a shot of an injector if there is anything that can be told from this.
The UVCH seems to have its own $.50 mod and it looks like this.
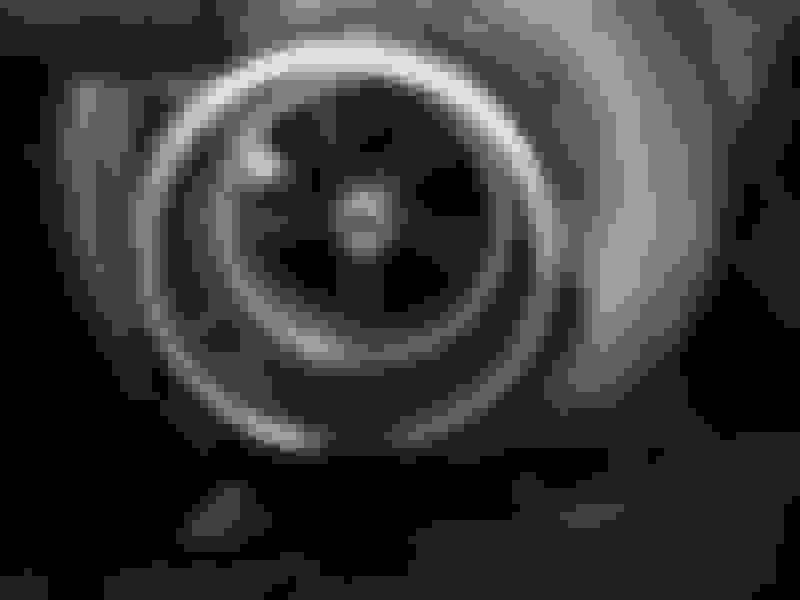
And the turbo has no discernible movement. Any input on this wheel?
And this is what I felt like while I was figuring out that rear bolt.
The wheel looks great...in better shape than mine was.
The injectors look like they could be originals. The plastic covers on the e99 OEM's that came out of mine were more of a dark brown than what yours appear to be. I wish I had a pic of the serial #'s to compare.
I am not aware of what the turbo is and given the other tricks on the ride nothing would surprise me. That is one reason I posted pics of the injectors, I thought that they might be upgrades. I took a pic of the tag on the turbo a while back and posted it, the response was that it looked like a stock turbo number.
I'm thinking about that UVCH and gasket myself. I have a hard time putting something like that back together not 100% myself. I might even break one of my codes and go with the Dorman ones since they integrate the gasket and the harness, I do like that feature.
Mark,
I have found that putting a wrap or two of teflon tape around a bot or nut makes for a nice snug fit in sockets. Works great and no waiting time or mess
OK, all finished up with that project. First just wanted to check on the glow plugs because I seem to have a cold start problem. Glow plugs ohmed out at 1.5 or so on the one side. Pulled one to see what they are and they are Beru made in Ireland. Made in Ireland tells a little about manufacture date because factory seems to have moved, have to check previous thread to see on that. UVCH is all working good so I left well enough alone, torqued all injectors and they all tightened a little, seems they were around 100 in lbs. They all 'broke' free and I tightened them. My wrench has a dial gauge on it so I didn't have to step it up to see what was what. I did not warm it up and retighten, rain was coming and I was ready to finish up. Teflon tape on bolt head is a great idea and one to be used much in the future. Thanks for that tip. Not sure whether to check under passenger's side as I expect more of the same under there.
Oh, yea, lost one black mini-mag flashlight somewhere, somehow, lost one straw for the PB Blaster and broke the bottom piece on that plastic cover over the HPOP while I was heaving myself up there.

 01-30-2016, 09:53 AM