


Project Rust Removal
Thread Starter
|
Laughing Gas
Joined: Jan 2011
Posts: 763
Likes: 19
From: MA
Project Restore + Rust Removal
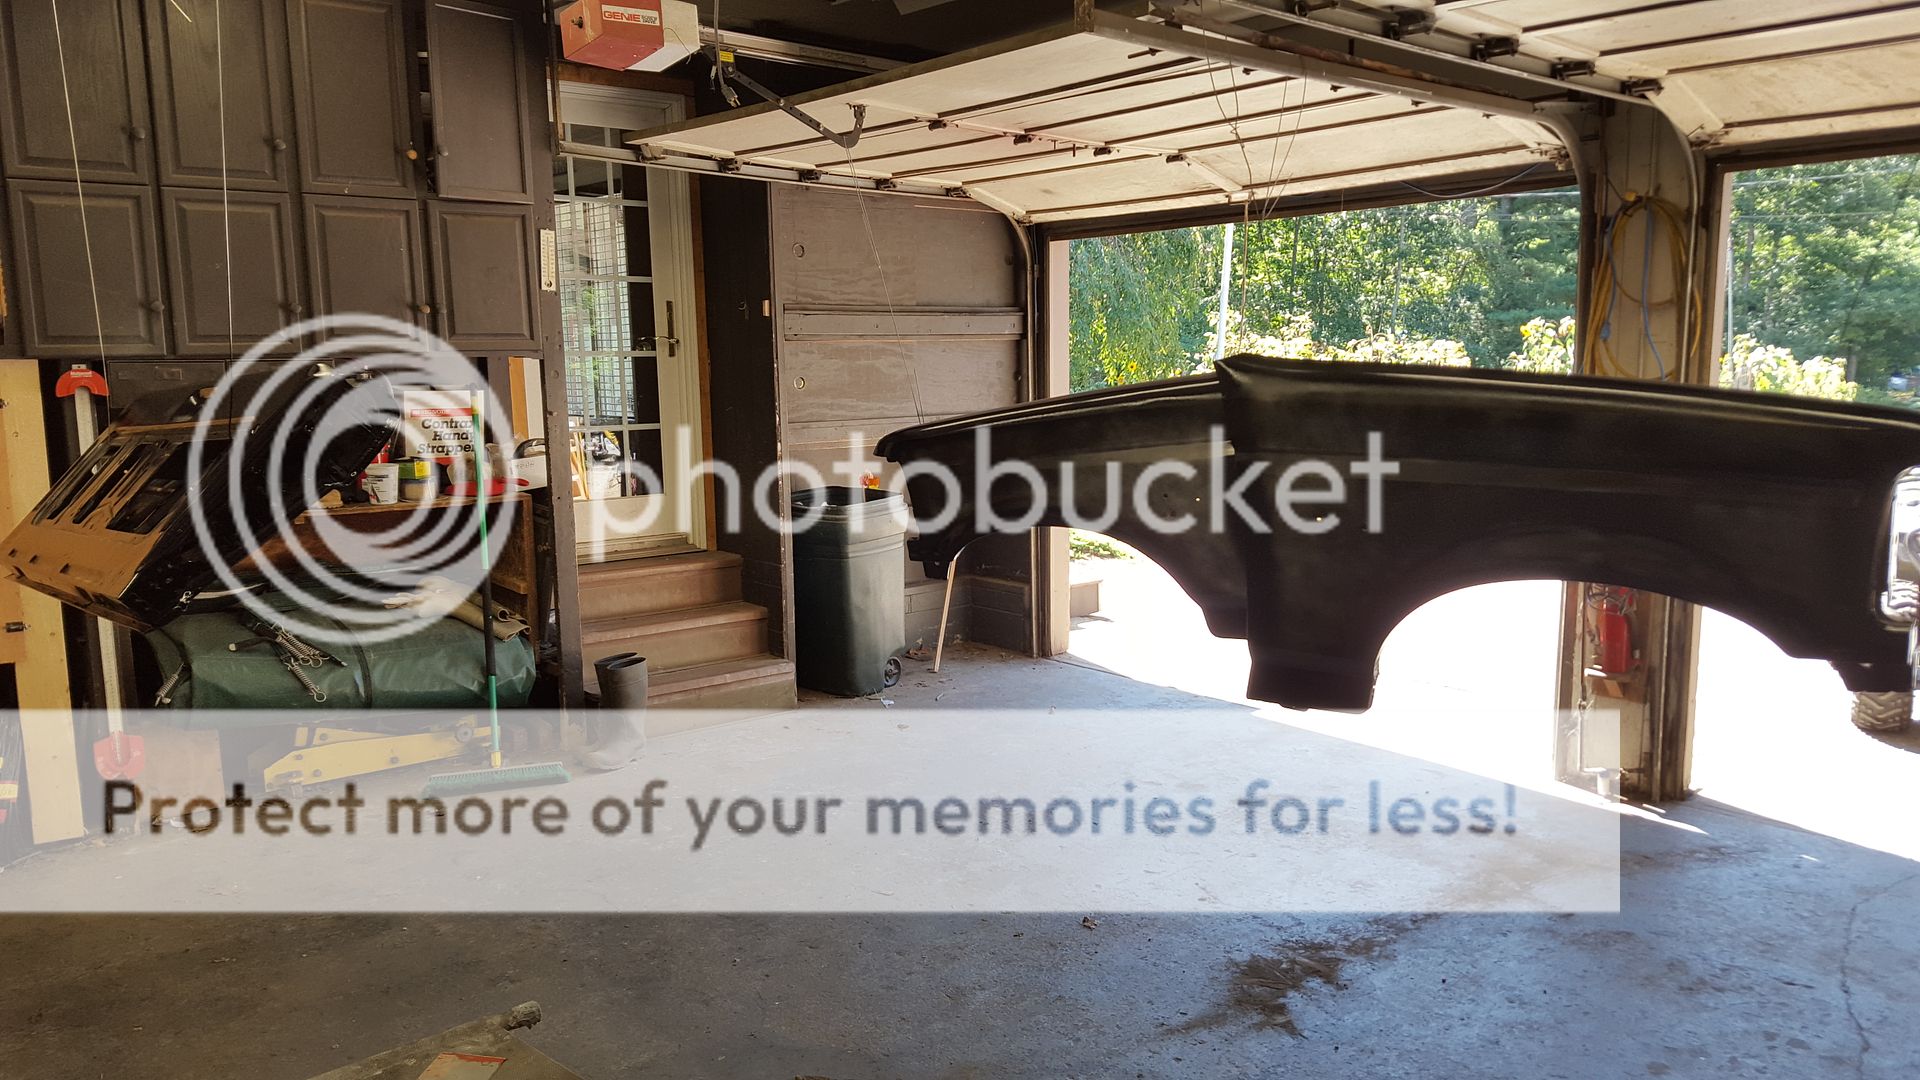
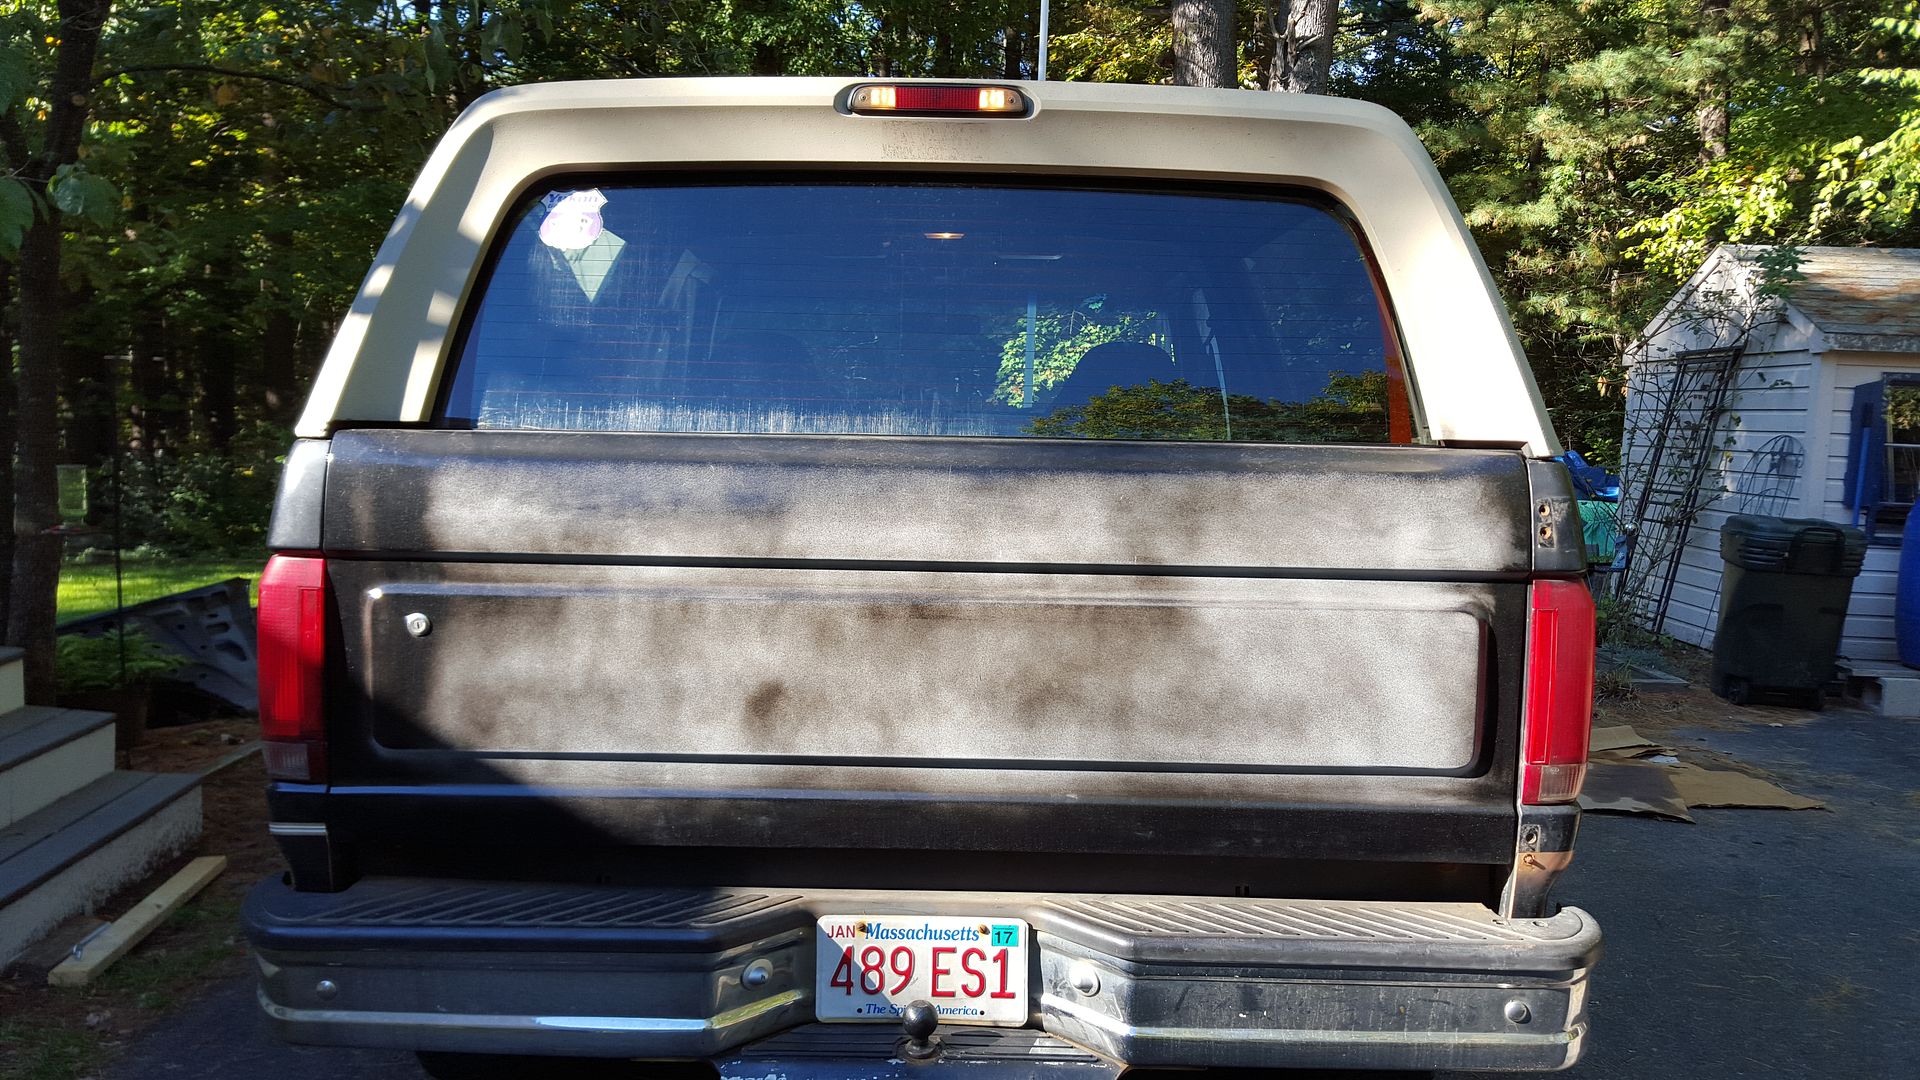
So it's been a little while since I posted. Not much has gone on. I've had a set of fenders from a Texas junkyard that were in good shape and bought a tailgate from JBG.
So I thought I'd share some pics. From what I've done so far. Hence the name I am in the rust belt of the country. I'll post more pics as I continue on.
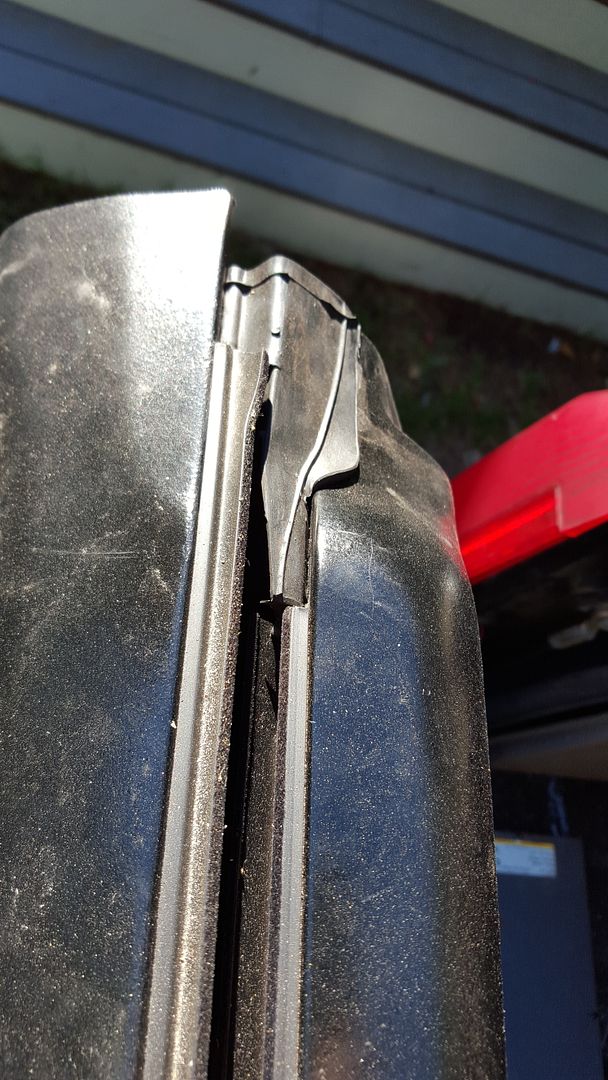
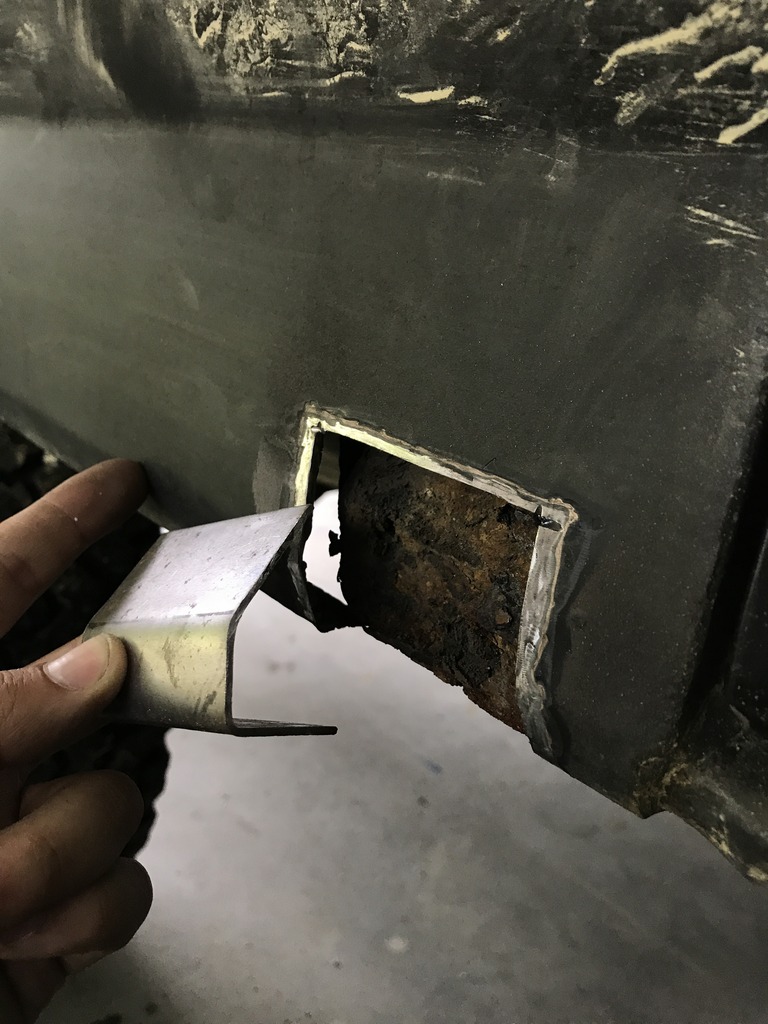
Access Panel - Even this is rusted. PO tried to stop the rust with painters tape.
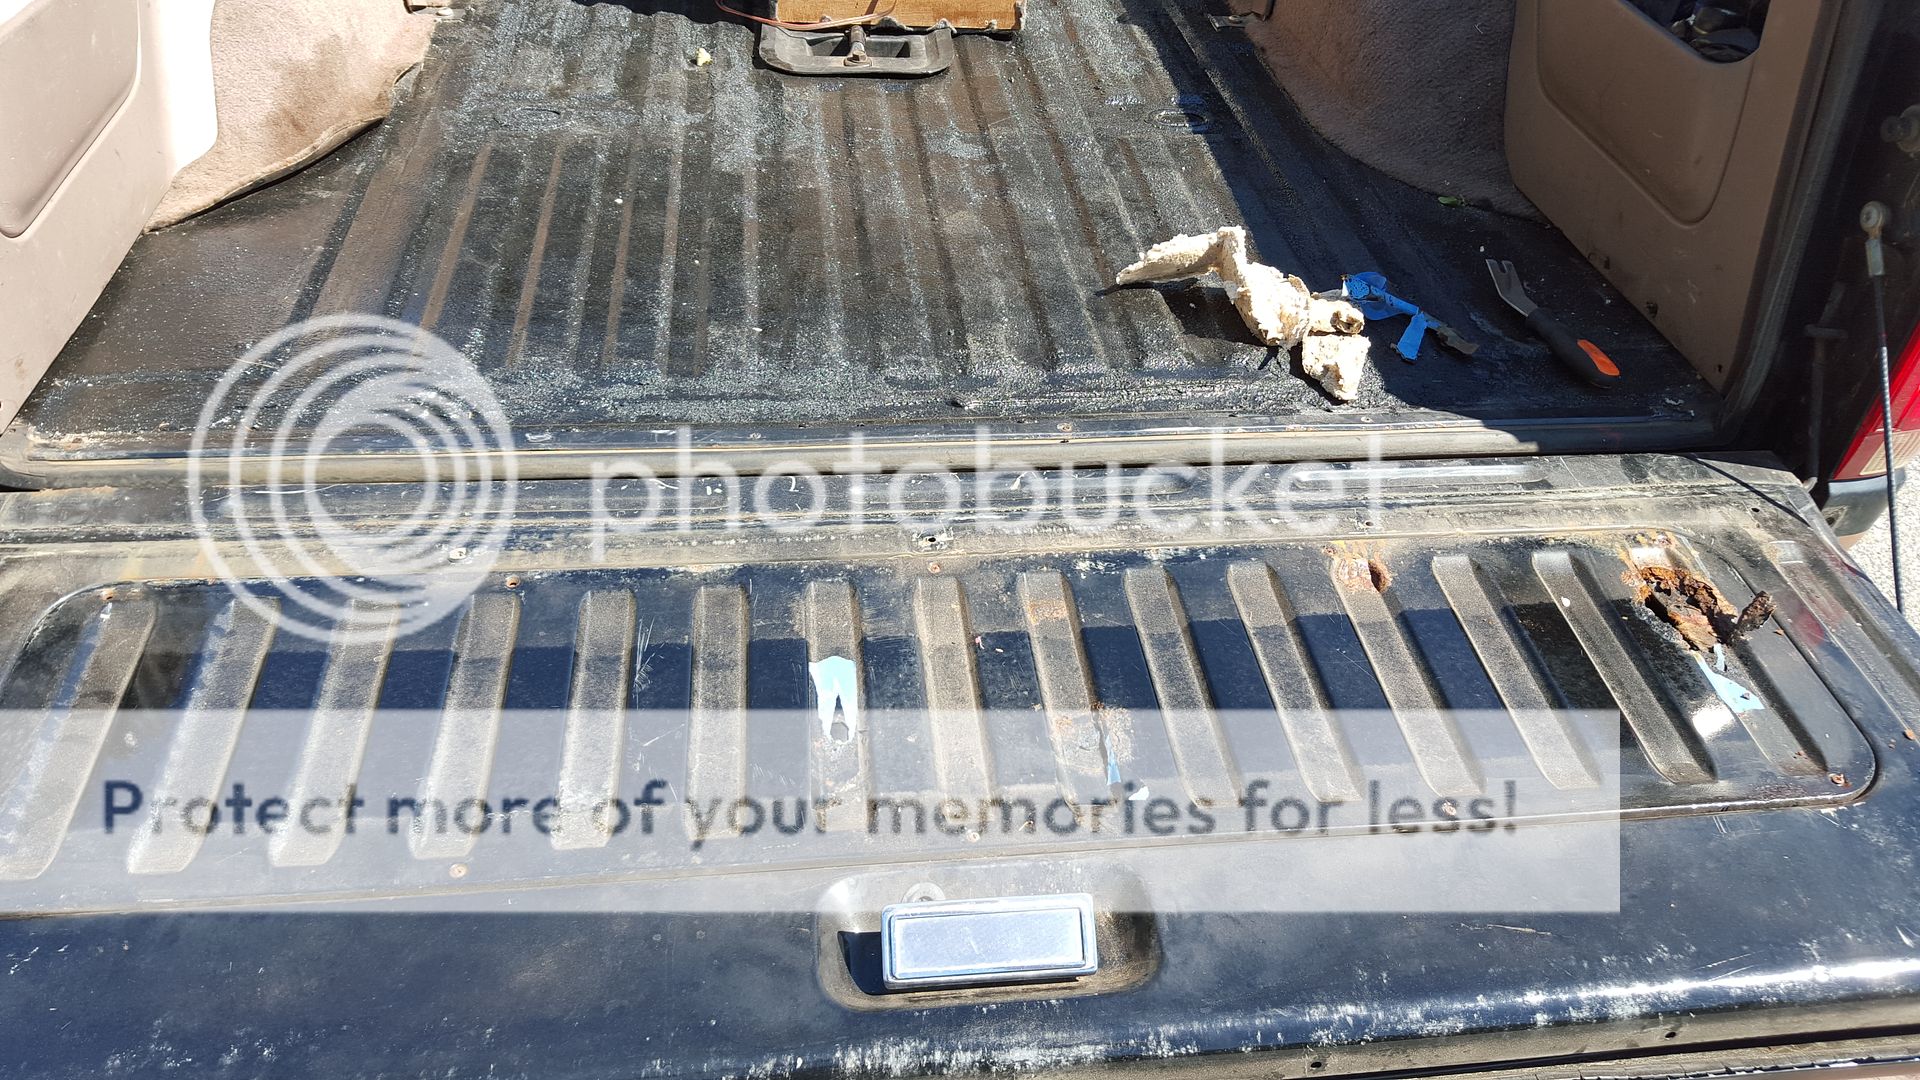
Getting there. Hinge bolts were a nightmare to get off.
Rusted tailgate. 2 bolt heads snapped. 2 unbolted no problem and 2 required and combo of sawzall and air hammer to remove bolt head.
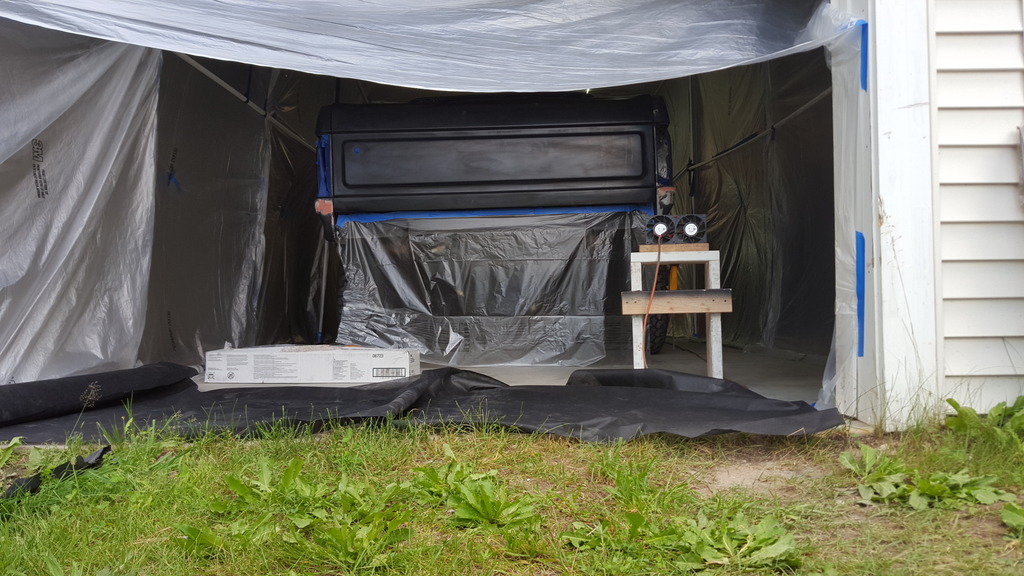
Did the jams with multiple coats of paint. Dusted the main body of it. Will paint the whole nose of the truck once I get them on the truck.
Back side of tailgate
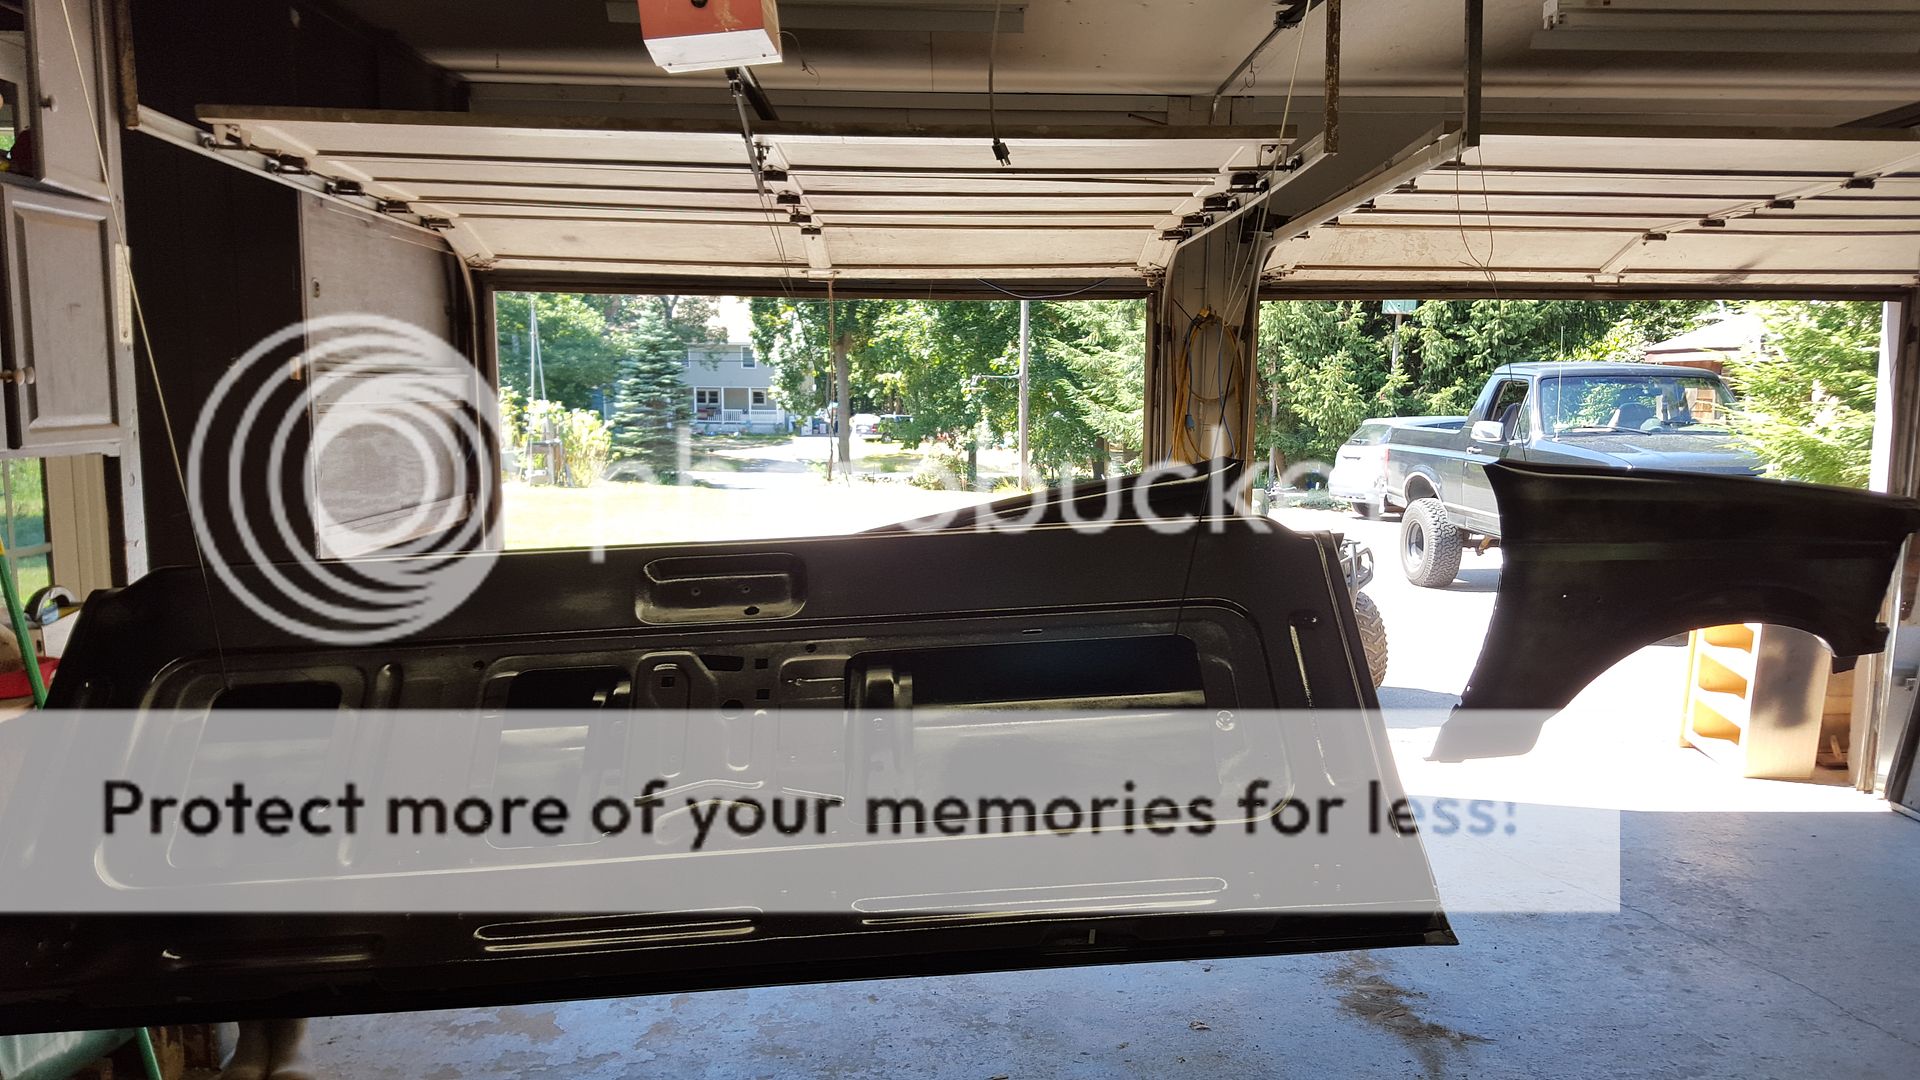
Did a few coats on the backside as well, really trying to seal everything in.
So I thought I'd share some pics. From what I've done so far. Hence the name I am in the rust belt of the country. I'll post more pics as I continue on.
Access Panel - Even this is rusted. PO tried to stop the rust with painters tape.
Getting there. Hinge bolts were a nightmare to get off.
Rusted tailgate. 2 bolt heads snapped. 2 unbolted no problem and 2 required and combo of sawzall and air hammer to remove bolt head.
Did the jams with multiple coats of paint. Dusted the main body of it. Will paint the whole nose of the truck once I get them on the truck.
Back side of tailgate
Did a few coats on the backside as well, really trying to seal everything in.
Thread Starter
|
Laughing Gas
Joined: Jan 2011
Posts: 763
Likes: 19
From: MA
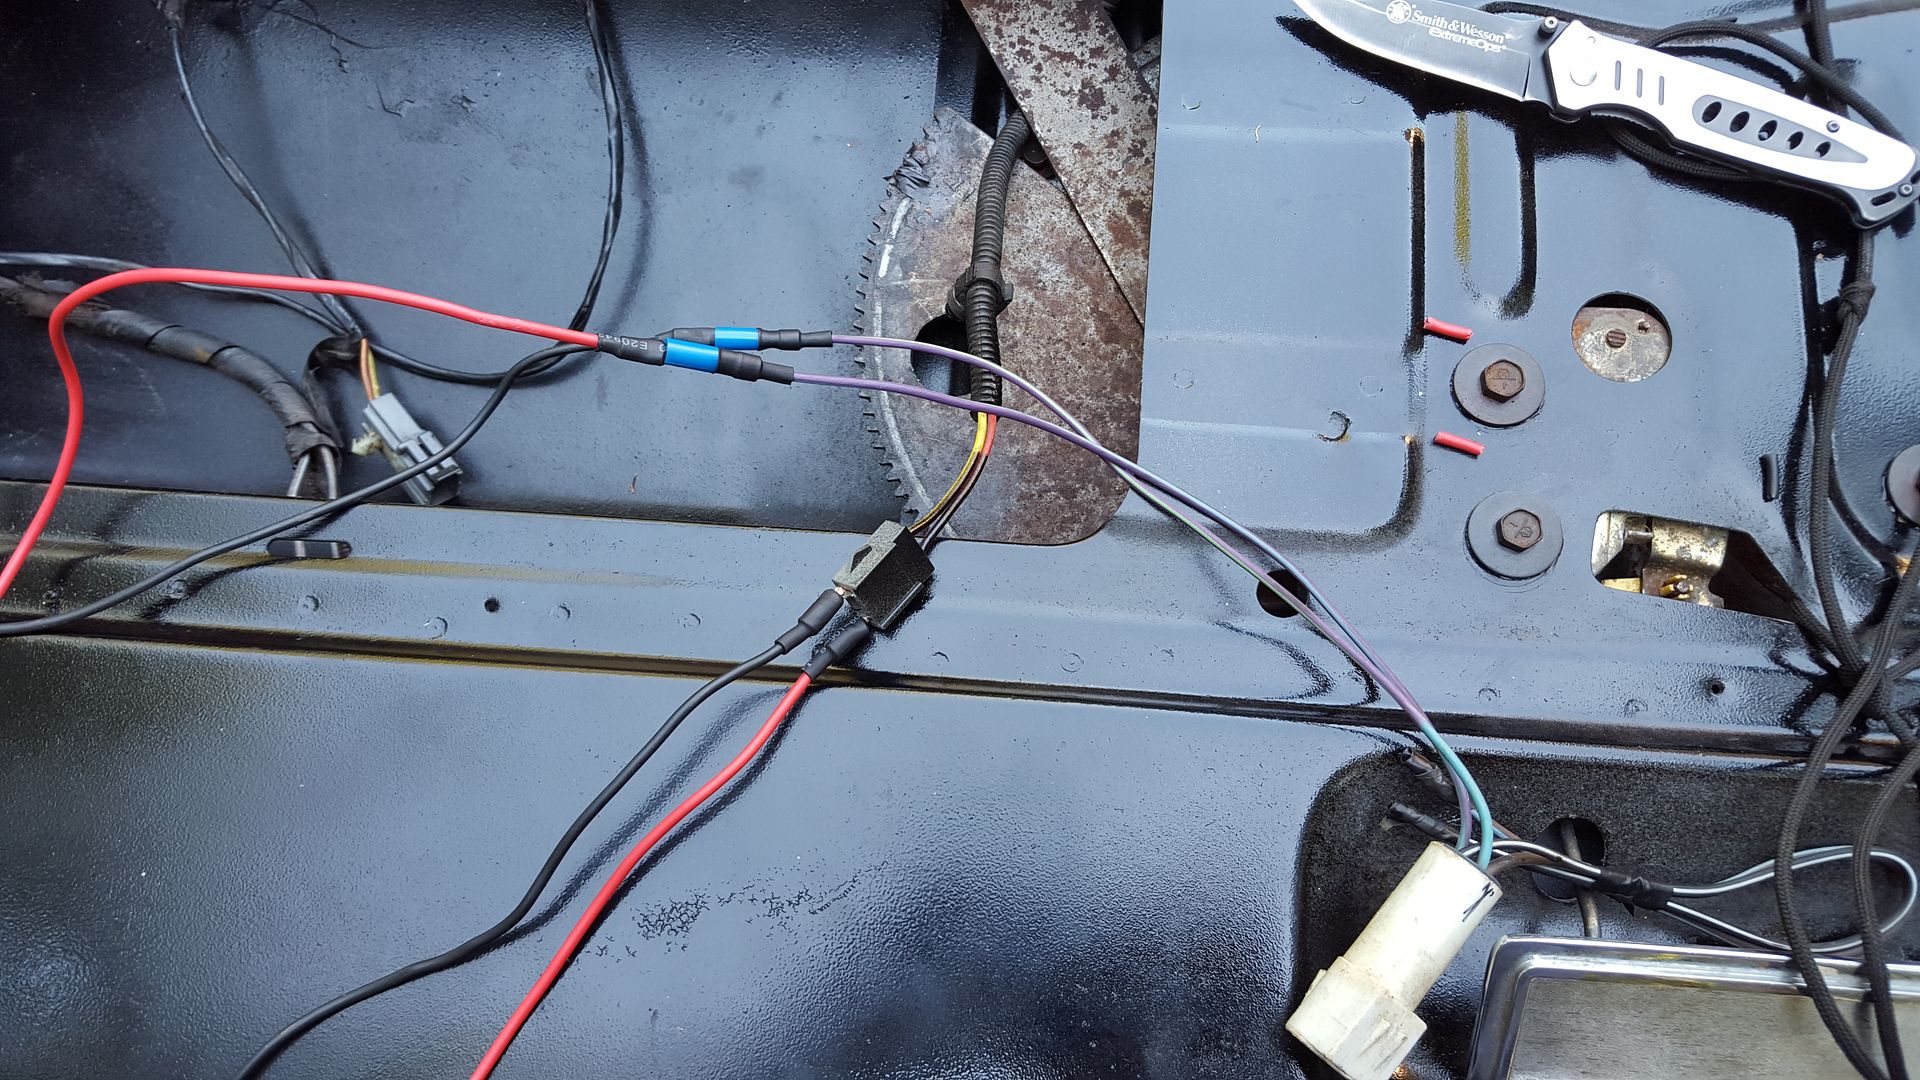
Hey folks. So I got a chance to work on this some more. I put the new tailgate back on. Unfortunately the safety latch that prevents the window from opening when the tailgate is down no longer works after transferring everything over so I had to wire the motor directly to the wire harness and bypass the key switch and the safety latch switch. I cut the original plug back far enough in case I want to reattach it and wired the motor directly back.
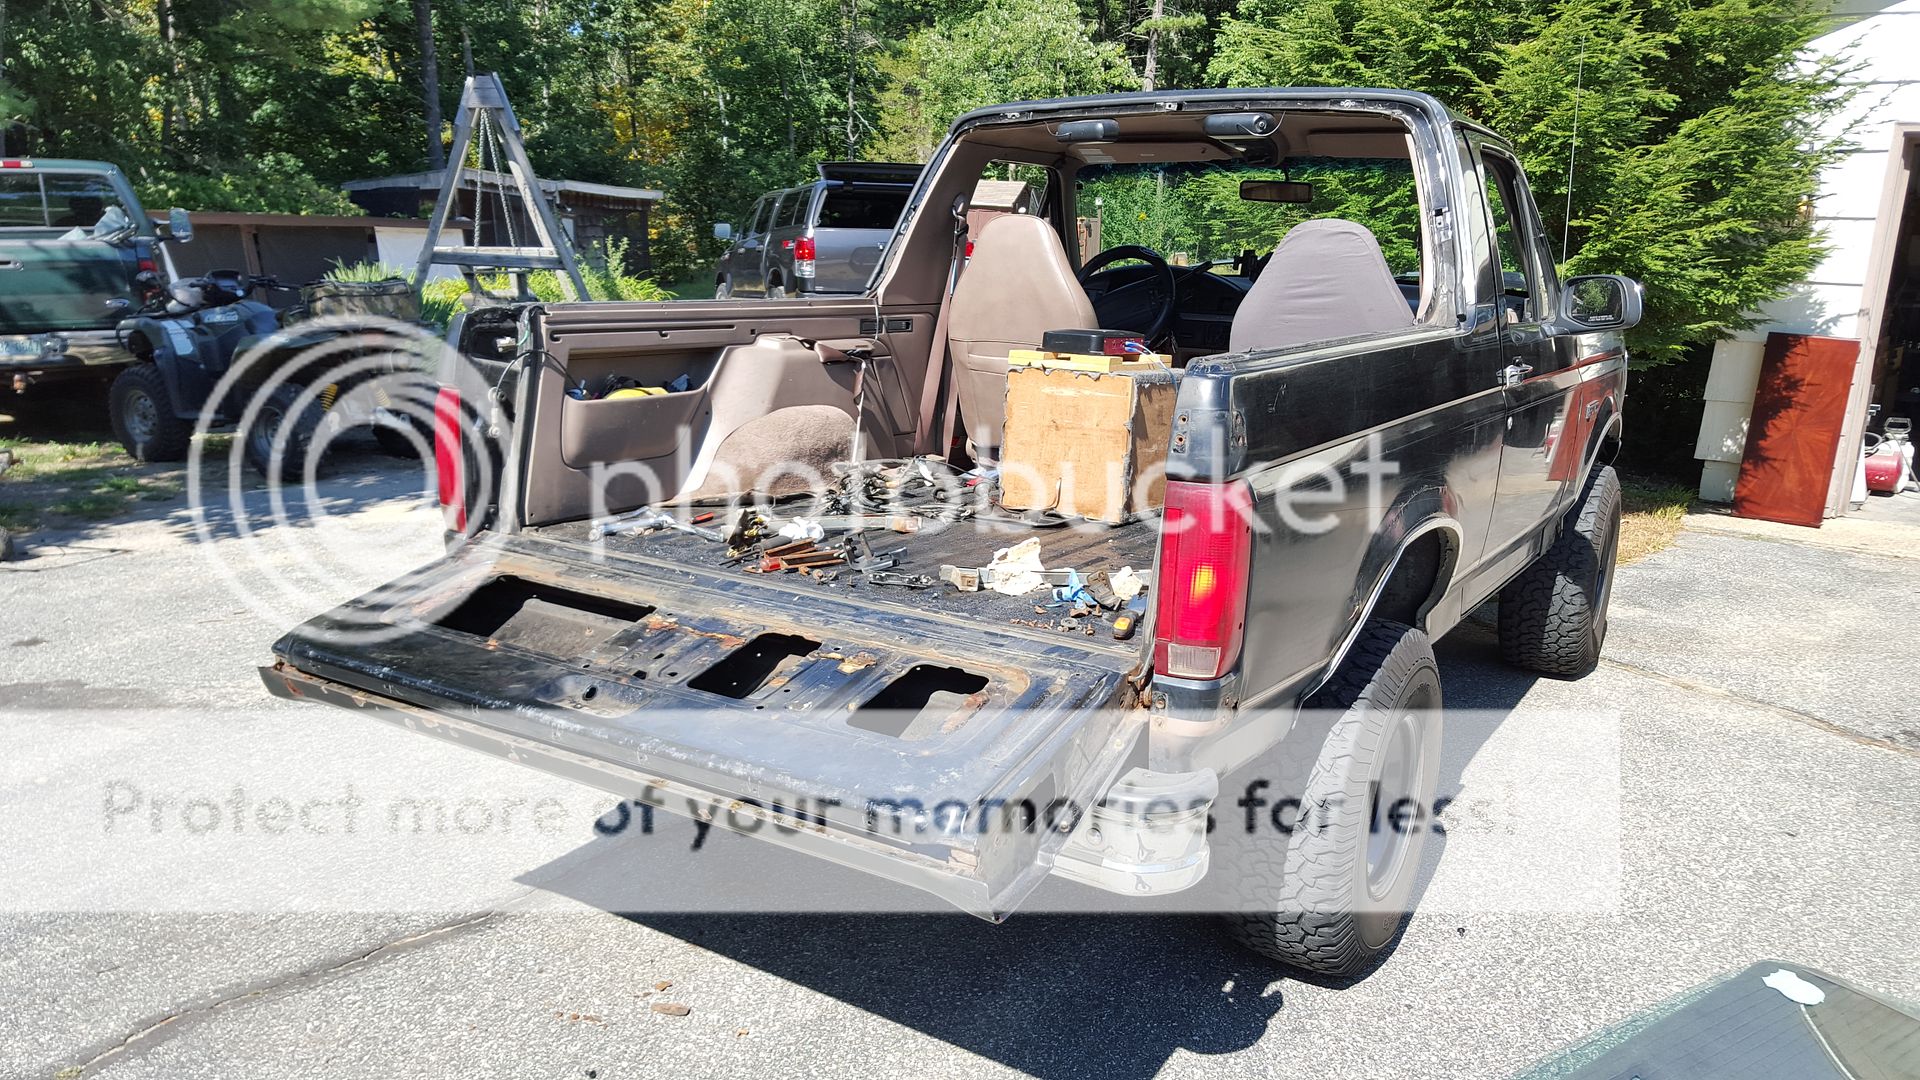
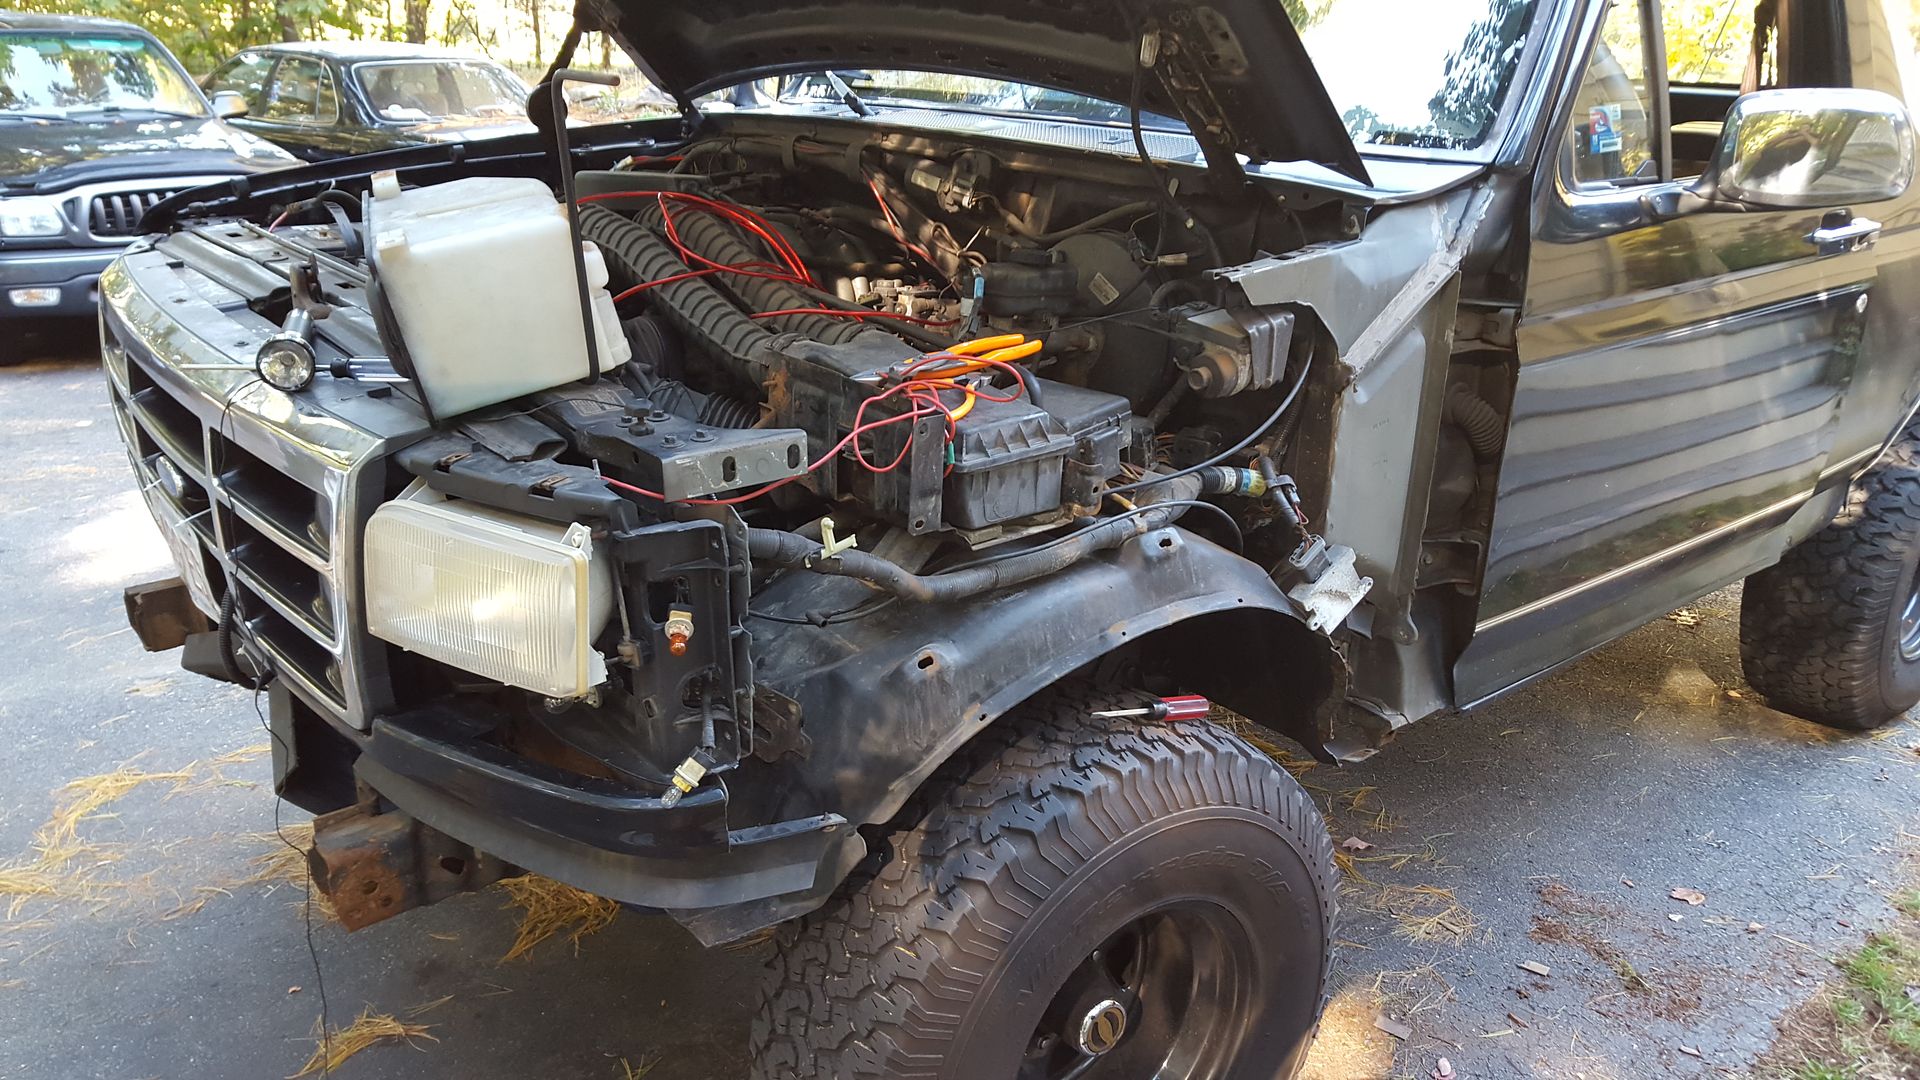
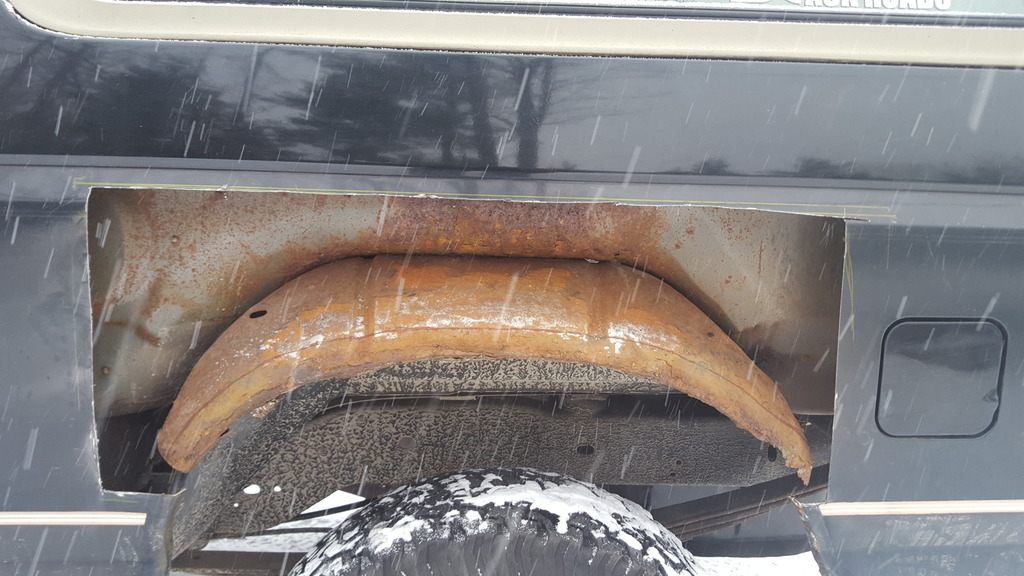
I'm going to paint it while its on the truck since I did the jams. The rear fenders need serious work but in the mean time i am going to fill the wholes from the tire carrier.
Bought all new seals to keep the water out.
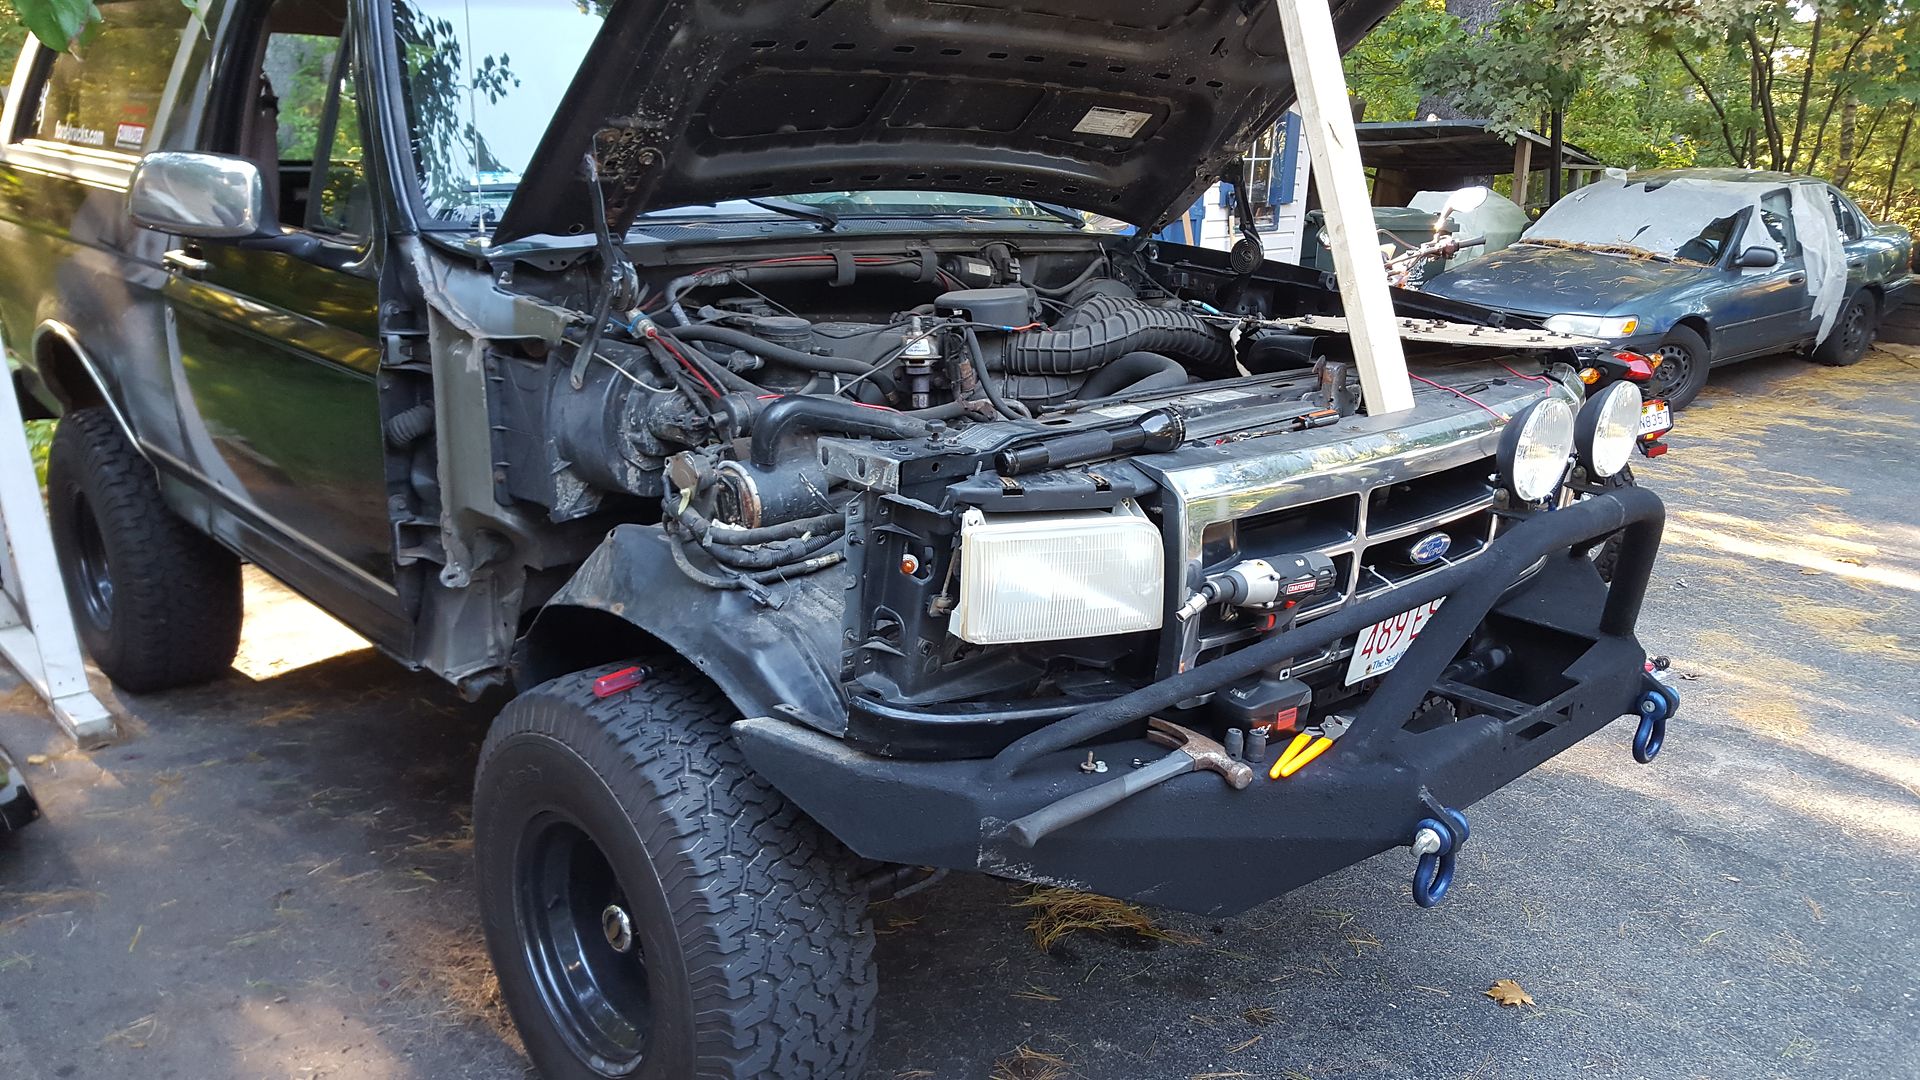
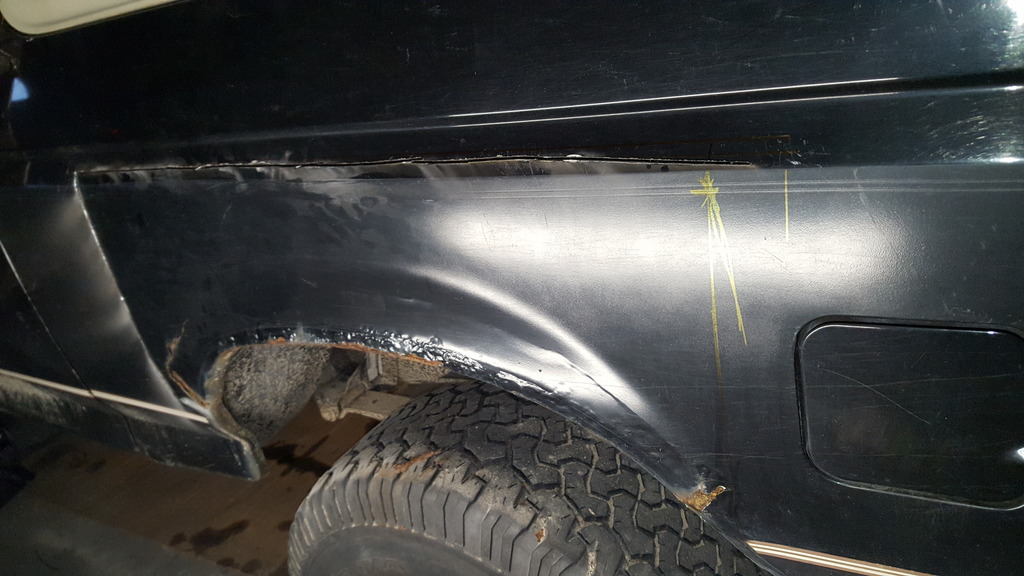
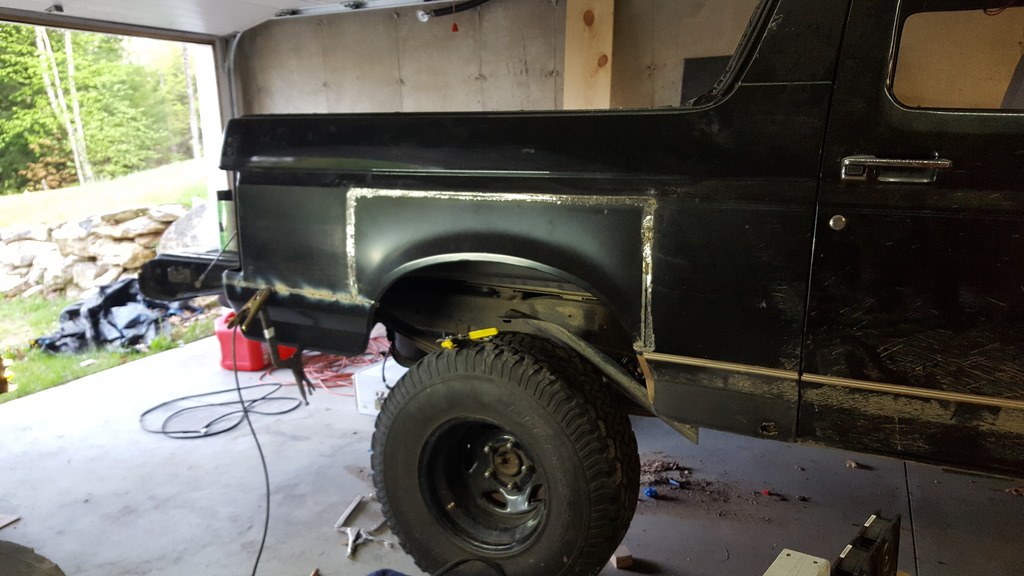
Ripped the old fender out
 [/URL]
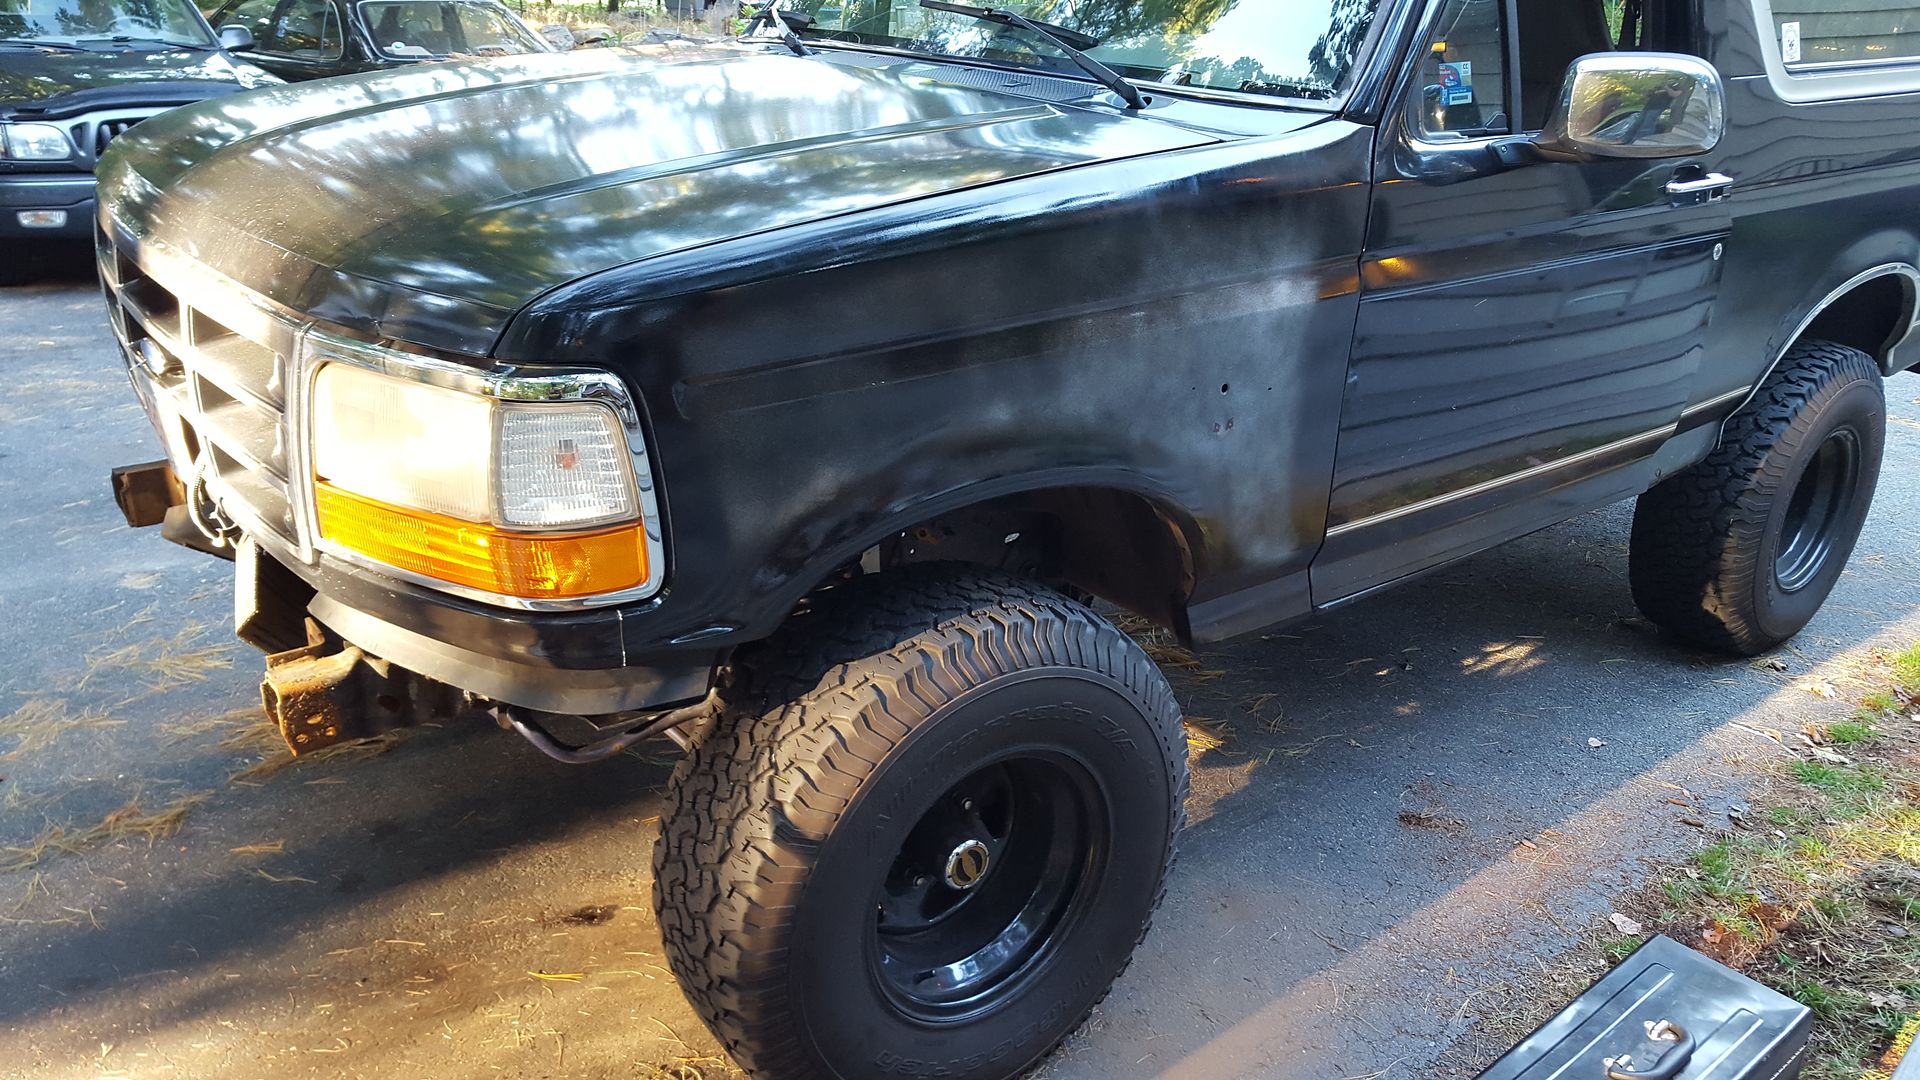
Forgot to take the bumper off so I did it after I got the old one out. Unfortunately this bumper weights over 100 pounds so I had to use the hanger I built to remove the cap to hold it then took 2 of us to moved it out of the way. So I could only get one fender on in the daylight and just driving around with no bumper until I do the other side.
Alignment is still a little off but I will tweak it at another time.
I'm going to paint it while its on the truck since I did the jams. The rear fenders need serious work but in the mean time i am going to fill the wholes from the tire carrier.
Bought all new seals to keep the water out.
Ripped the old fender out
[/URL]Forgot to take the bumper off so I did it after I got the old one out. Unfortunately this bumper weights over 100 pounds so I had to use the hanger I built to remove the cap to hold it then took 2 of us to moved it out of the way. So I could only get one fender on in the daylight and just driving around with no bumper until I do the other side.
Alignment is still a little off but I will tweak it at another time.
Thread Starter
|
Laughing Gas
Joined: Jan 2011
Posts: 763
Likes: 19
From: MA
Removing the old ones go slow, there is metal in them, my outta one I ripped out it was so rusted an no longer a seal. The inner one I replaced as well. But they pop straight in and out, and I can guarantee you will scratch the paint with the metal clips. Start right from the ends and work on getting the first 2 clips out. Once you get those out first it'll be easy the rest of the way. Putting them in probably took about 10 minutes to do.
Thread Starter
|
Laughing Gas
Joined: Jan 2011
Posts: 763
Likes: 19
From: MA
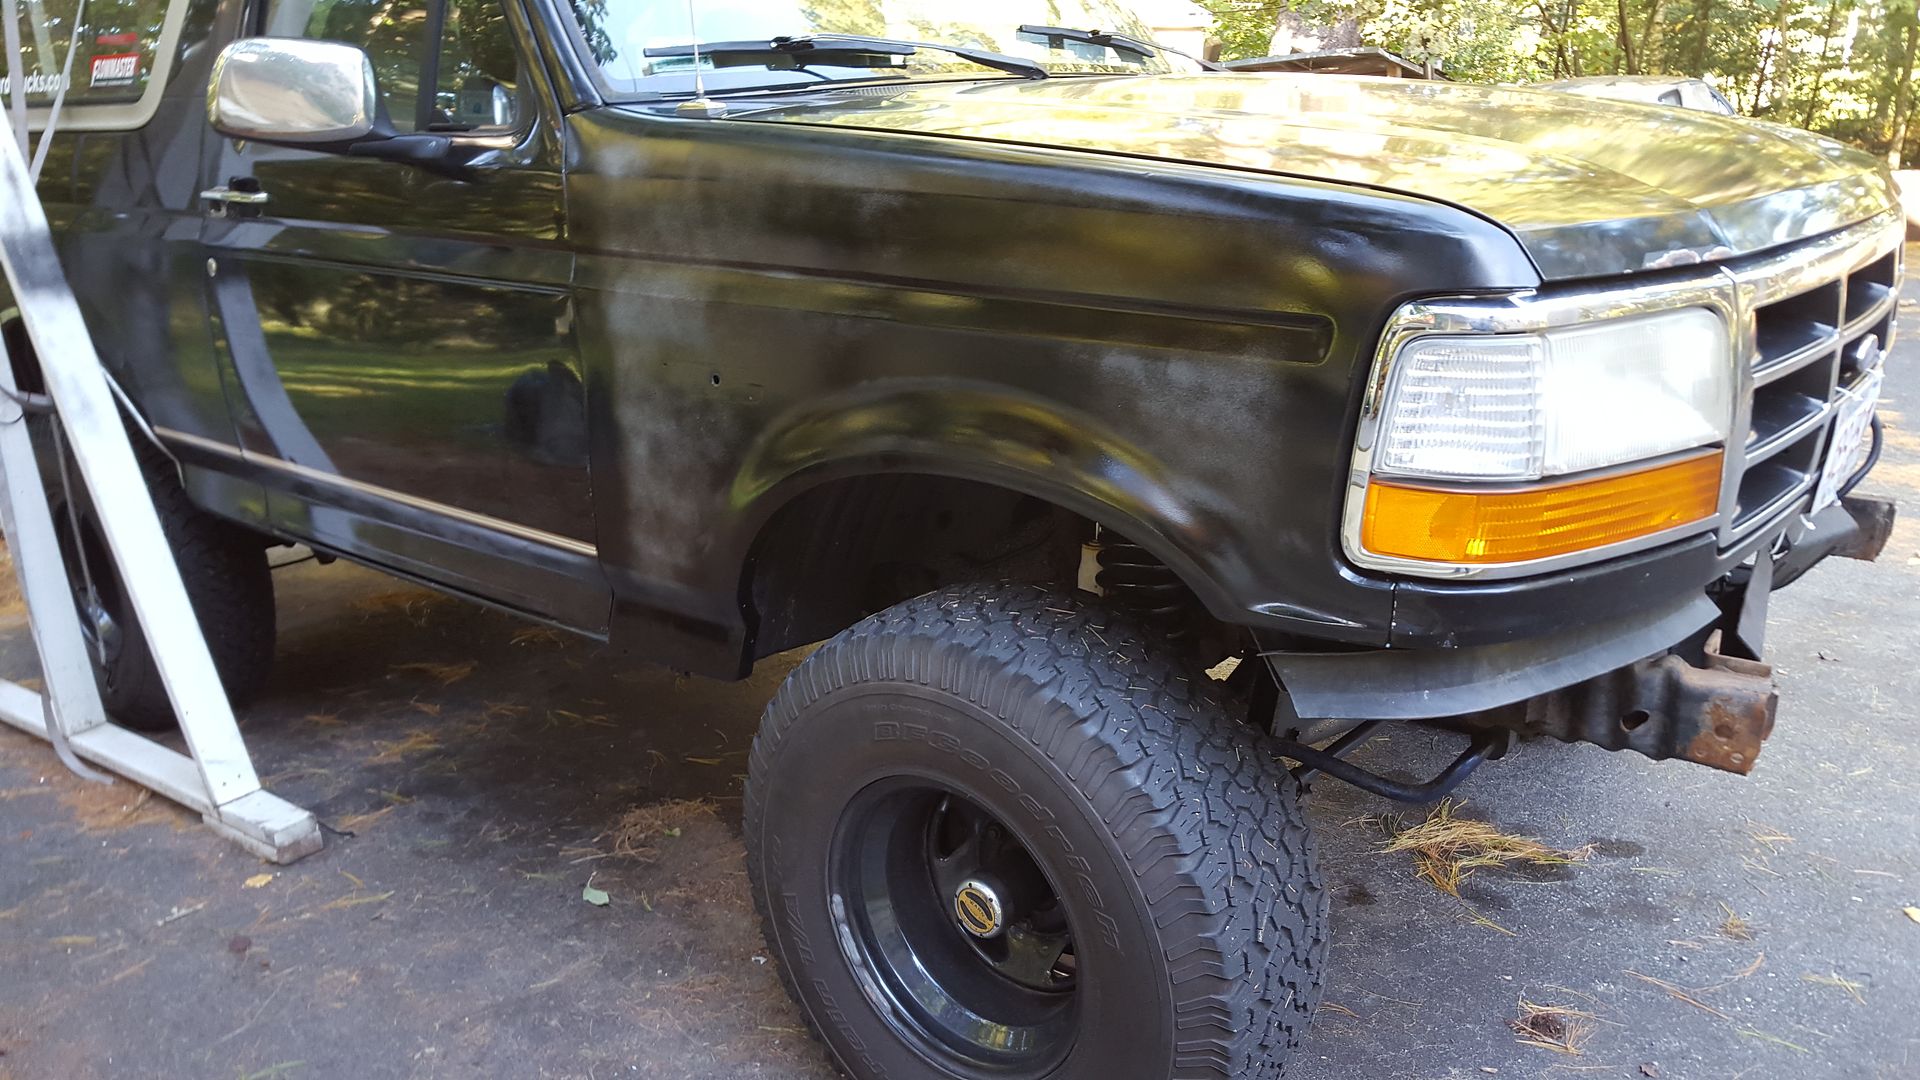
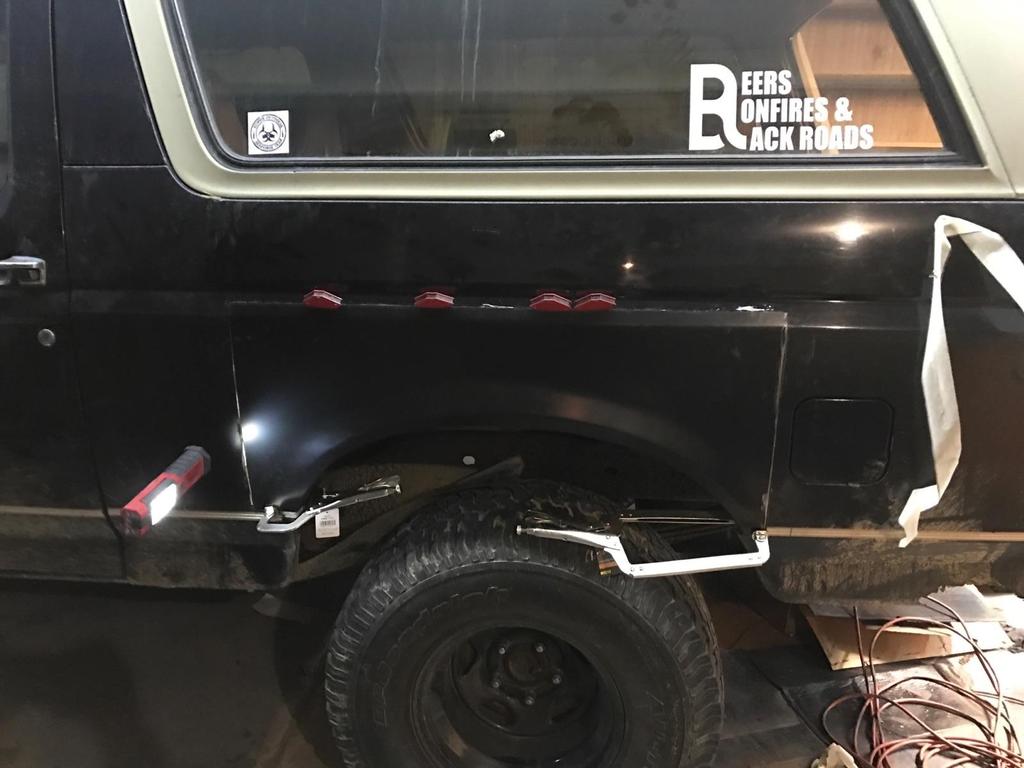
Got work done on the driver side yesterday. Didn't run into as many issue here and got the gaps all perfect on this side. Next step will be wet sanding fenders, sanding the hood filling any dings in it. Then painting the front end of the truck.
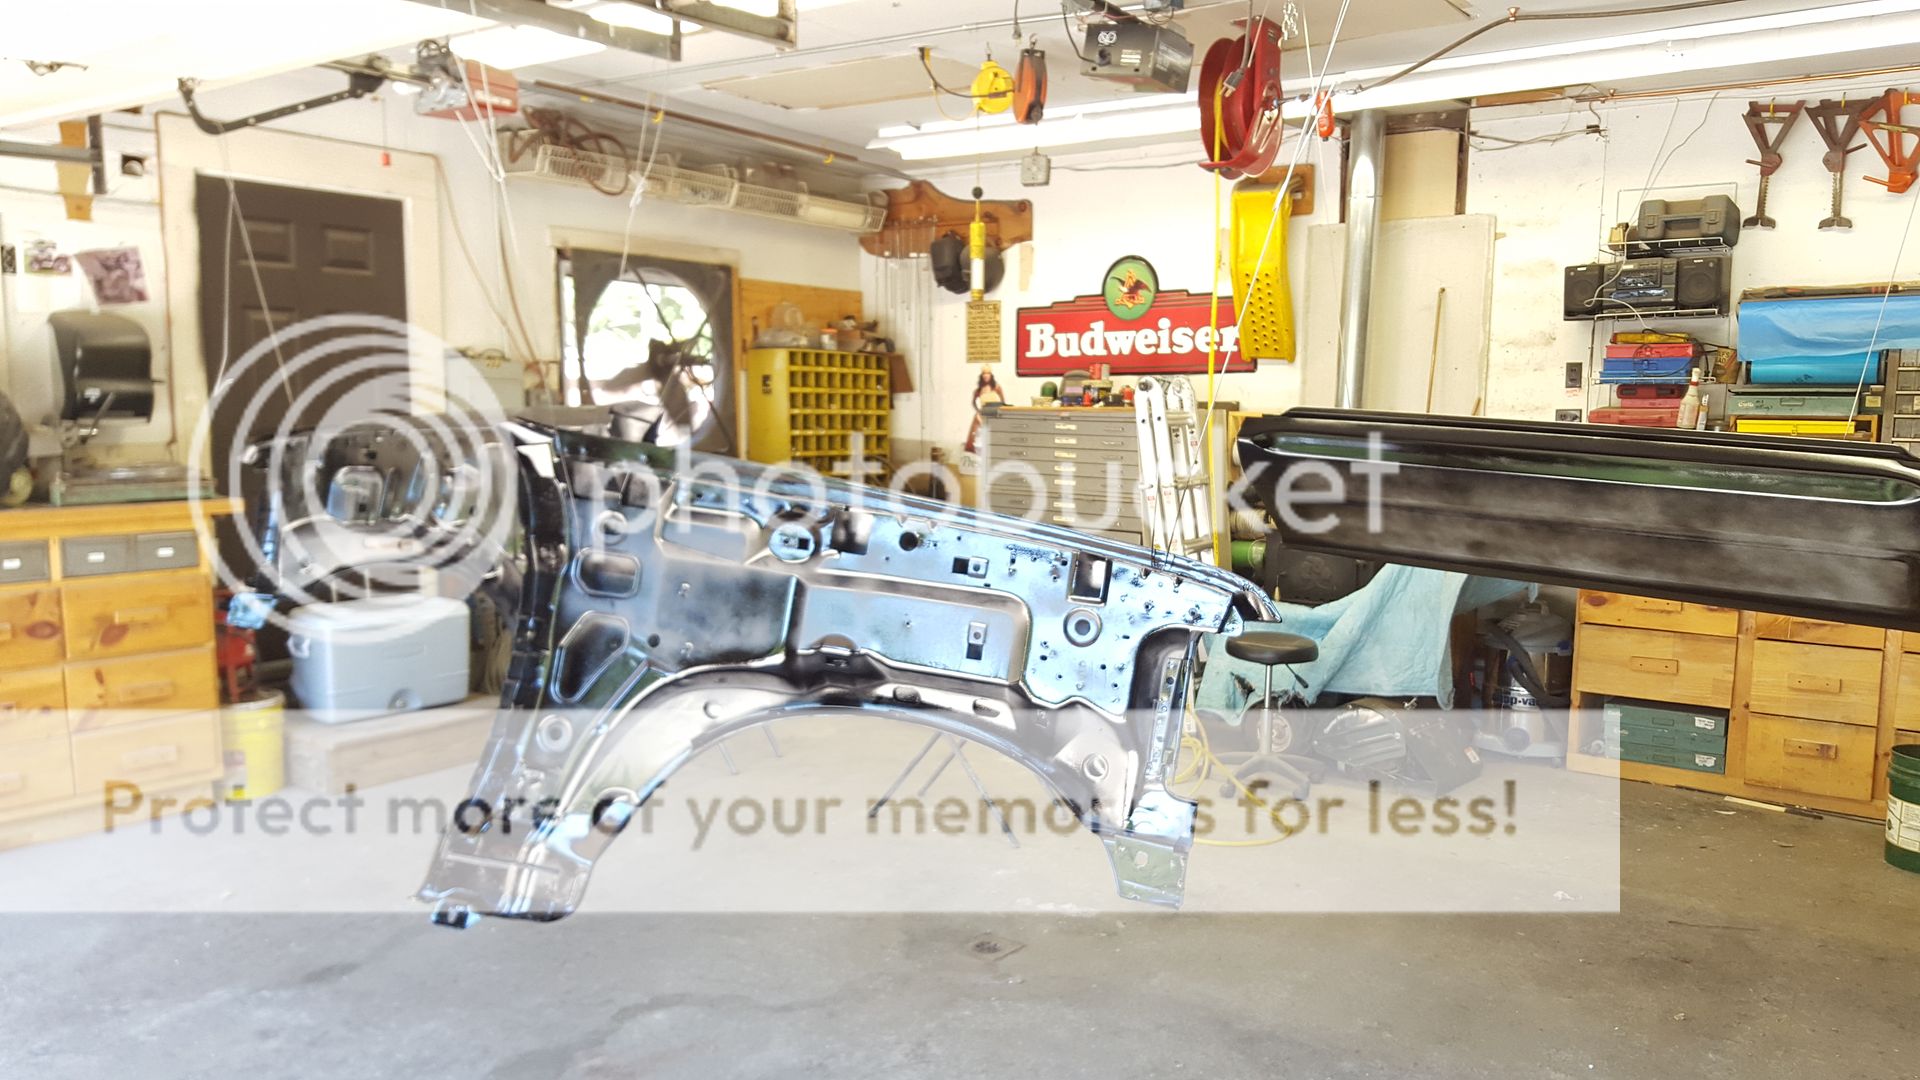
All put back together
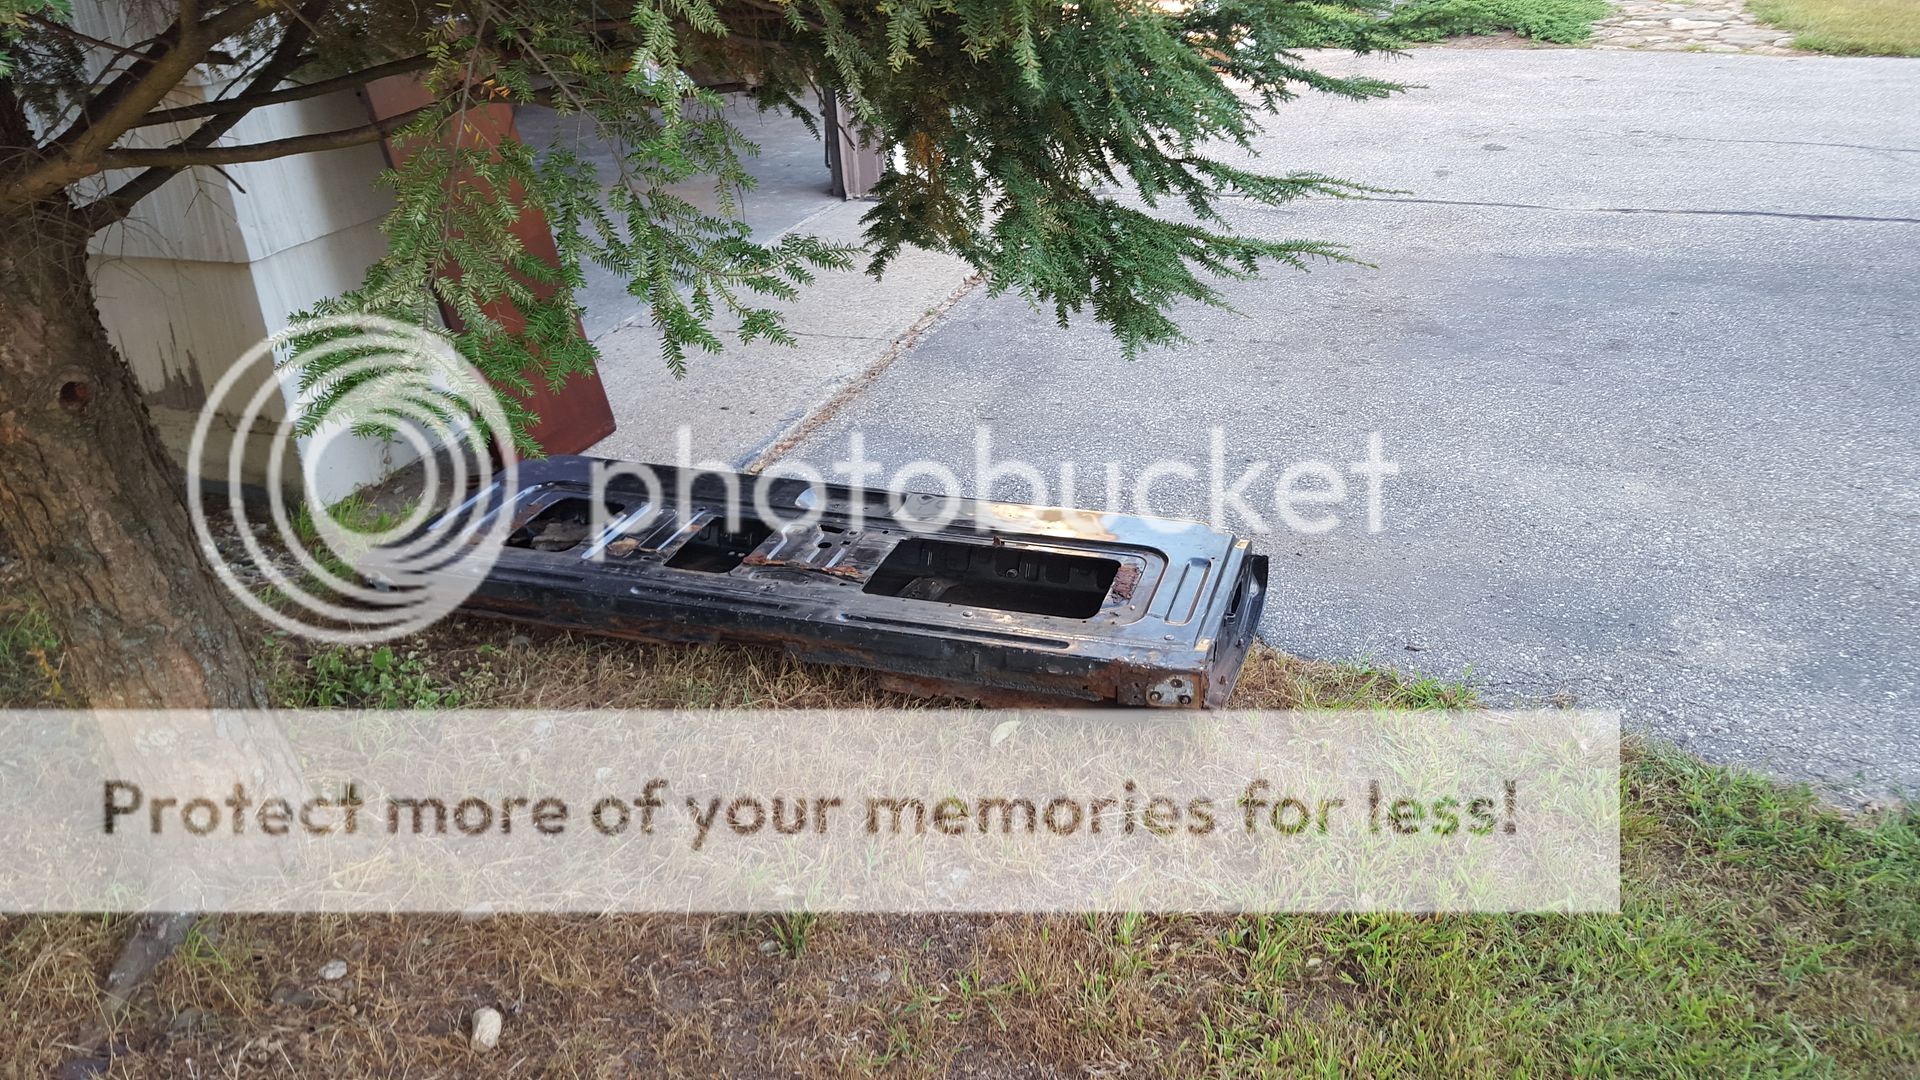
Backside of the old fender.
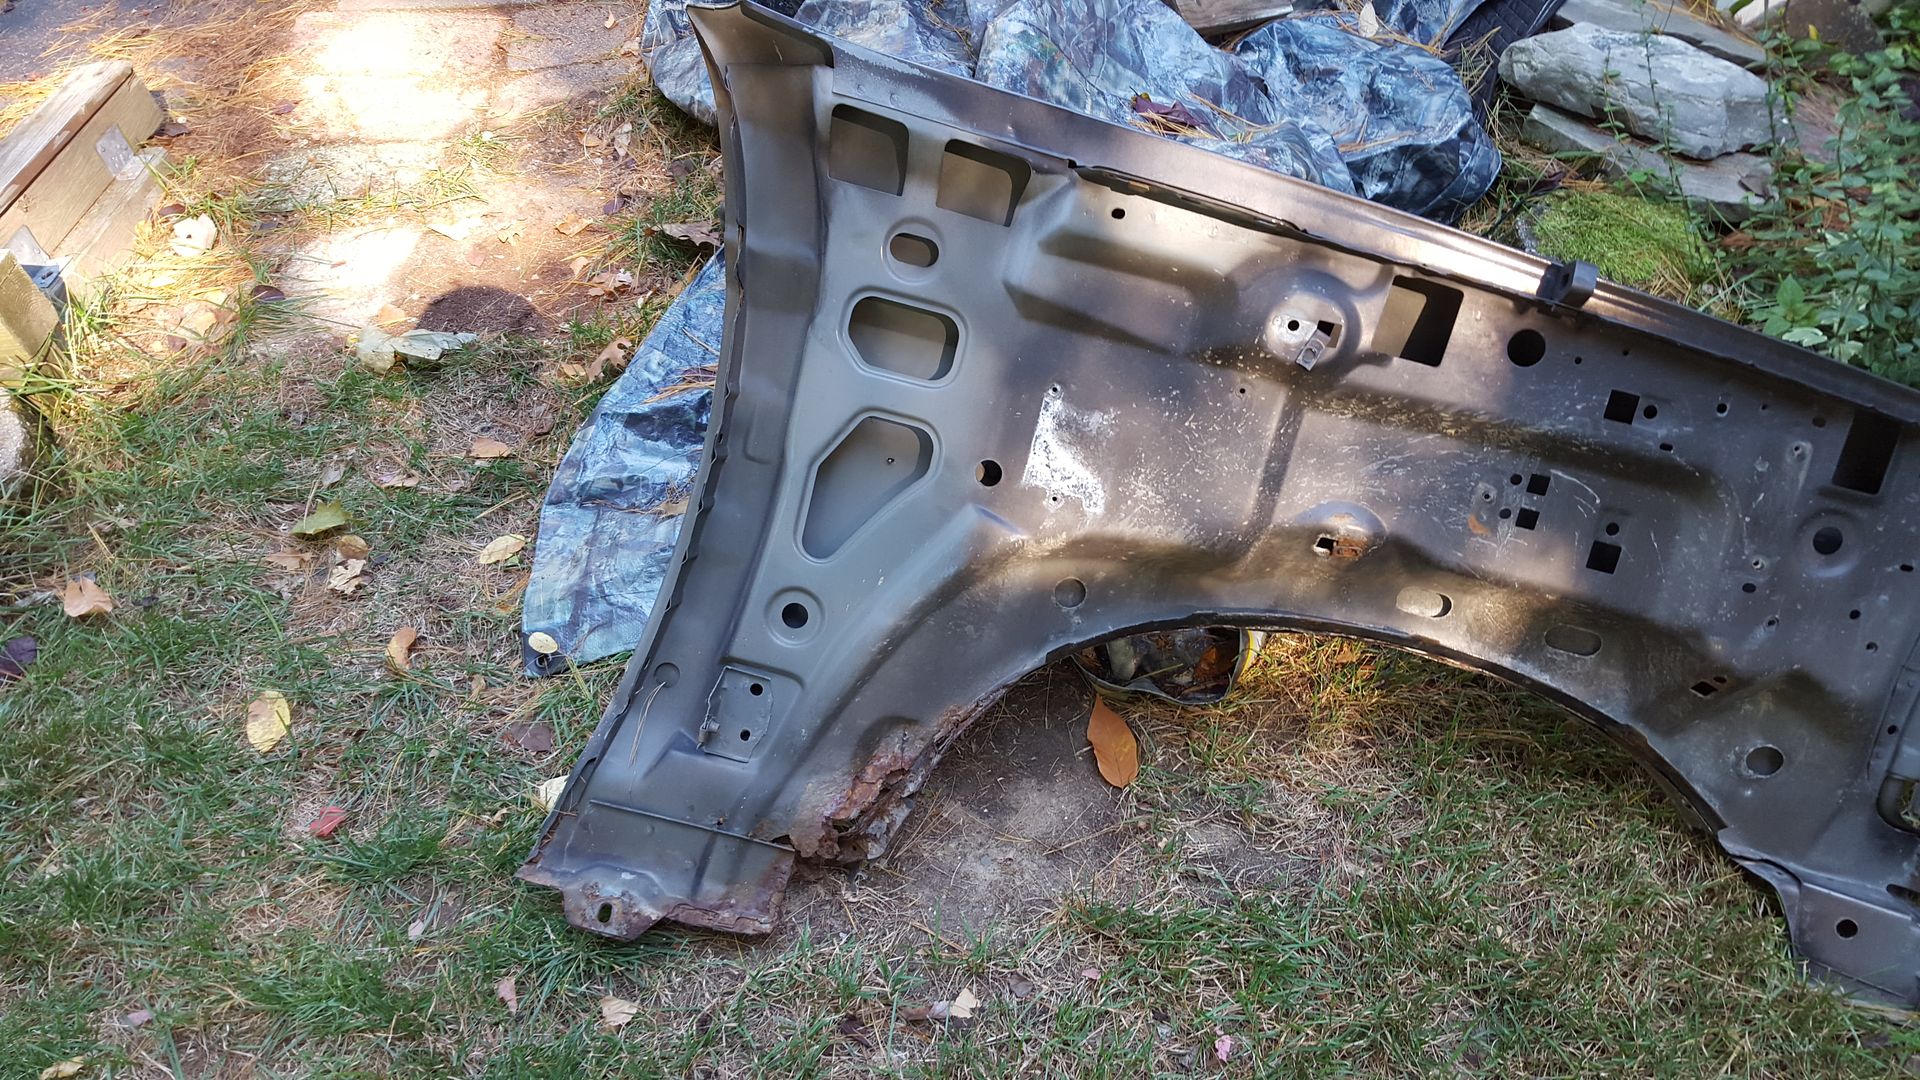
All put back together
Backside of the old fender.
Thread Starter
|
Laughing Gas
Joined: Jan 2011
Posts: 763
Likes: 19
From: MA
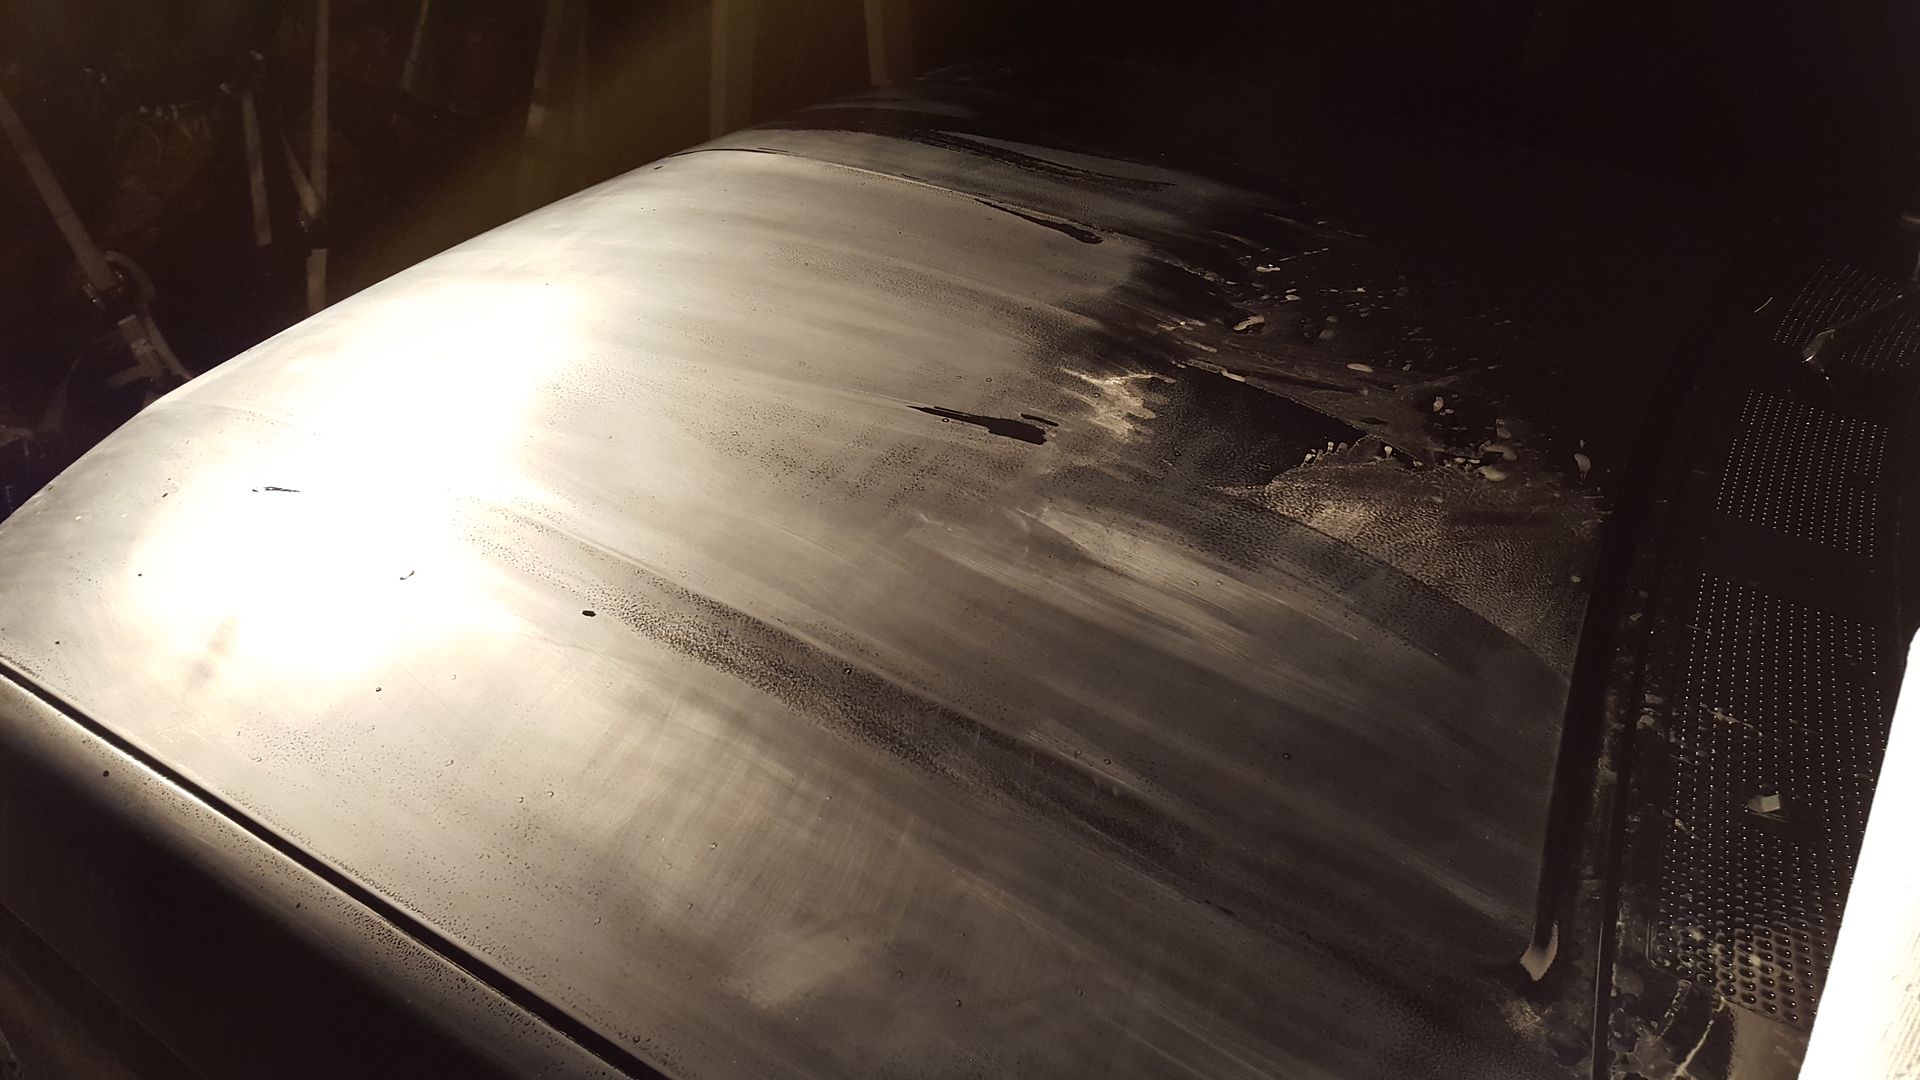
Kind of have 2 threads going now. Painted everything, working on wet sanding orange peel now
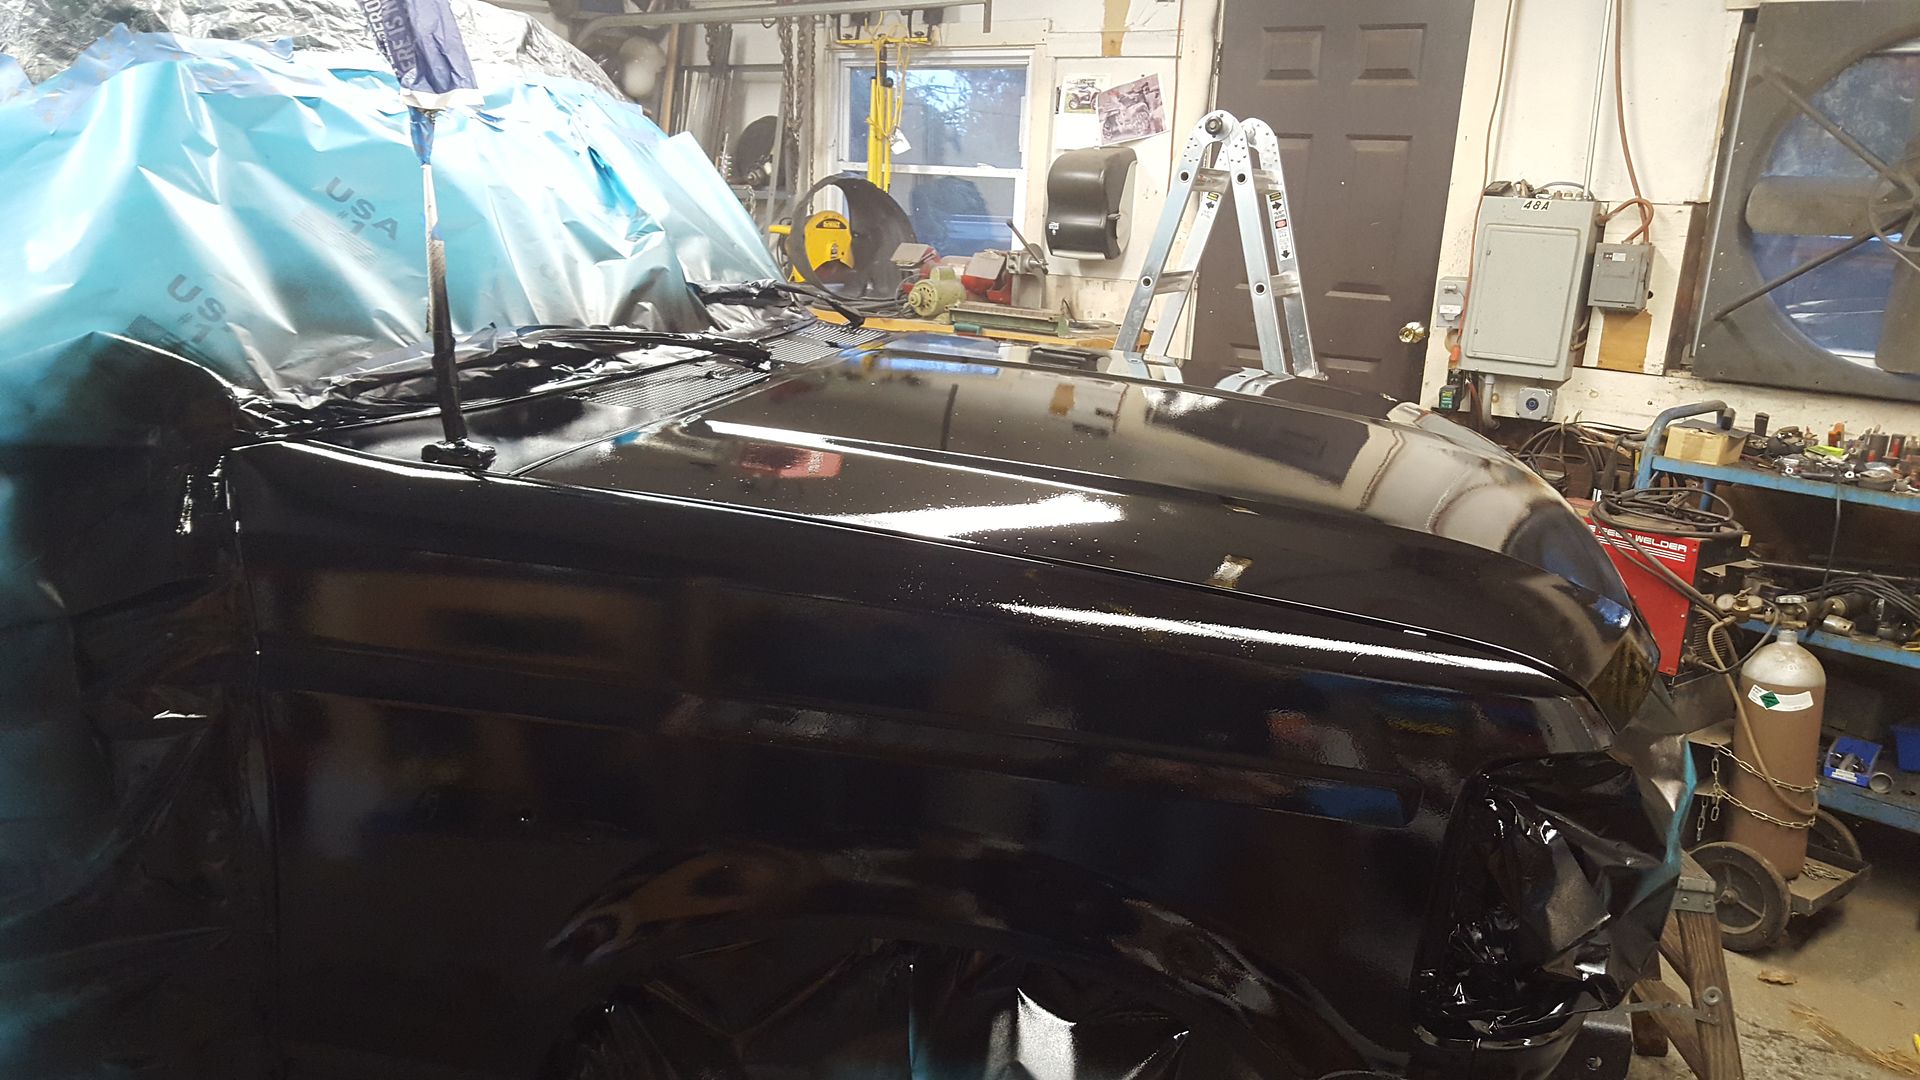
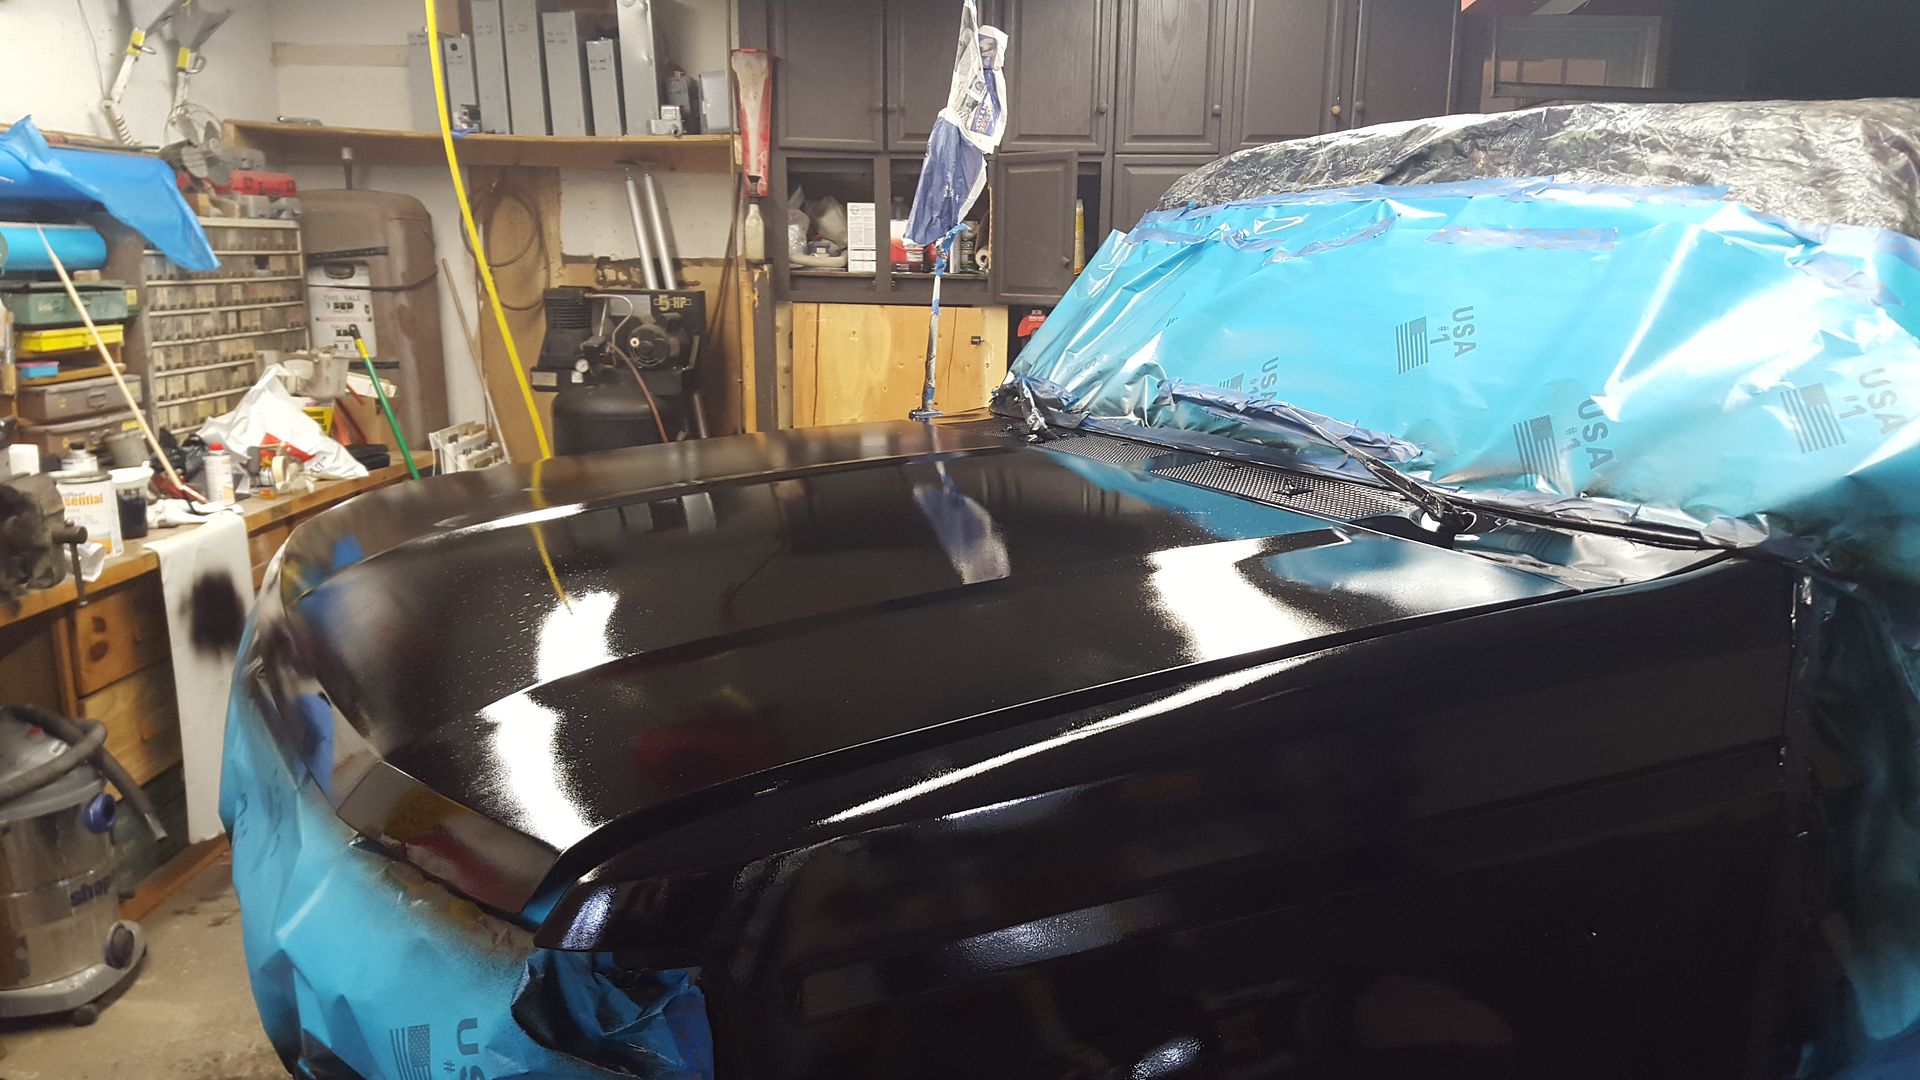
Started the hood with 3M 1000 grit. Can see a little orange peel
Started the hood with 3M 1000 grit. Can see a little orange peel
Trending Topics
Moderator


Joined: Dec 2007
Posts: 7,987
Likes: 104
From: Boise, Idaho

FTE Stories
Ford Trucks for Ford Truck Enthusiasts

3 Best / 3 Worst Parts of Modern Ford Ownership
Brett Foote
10 Amazing Upgrades That Solve Common Ford Truck Owner Headaches
Pouria Savadkouei
Every 2026 Ford Engine Explained
Brett Foote
10 Ugly Ford Trucks That We Still Kinda Love
Joe Kucinski
10 Things Every Truck Owner NEEDS (2026 Edition)
Michael S. Palmer
Rezvani's Latest Post-Apocalyptic Monster Is a Ford F-150 Raptor Underneath
Verdad Gallardo
Top 10 Most Expensive Ford Trucks Ever Sold on Bring a Trailer
Joe Kucinski
2027 Ford Super Duty Buyer's Guide (Every Model, Engine, & Package)
Brett Foote
Top 10 Ford Truck Tragedies
Joe KucinskiThread Starter
|
Laughing Gas
Joined: Jan 2011
Posts: 763
Likes: 19
From: MA
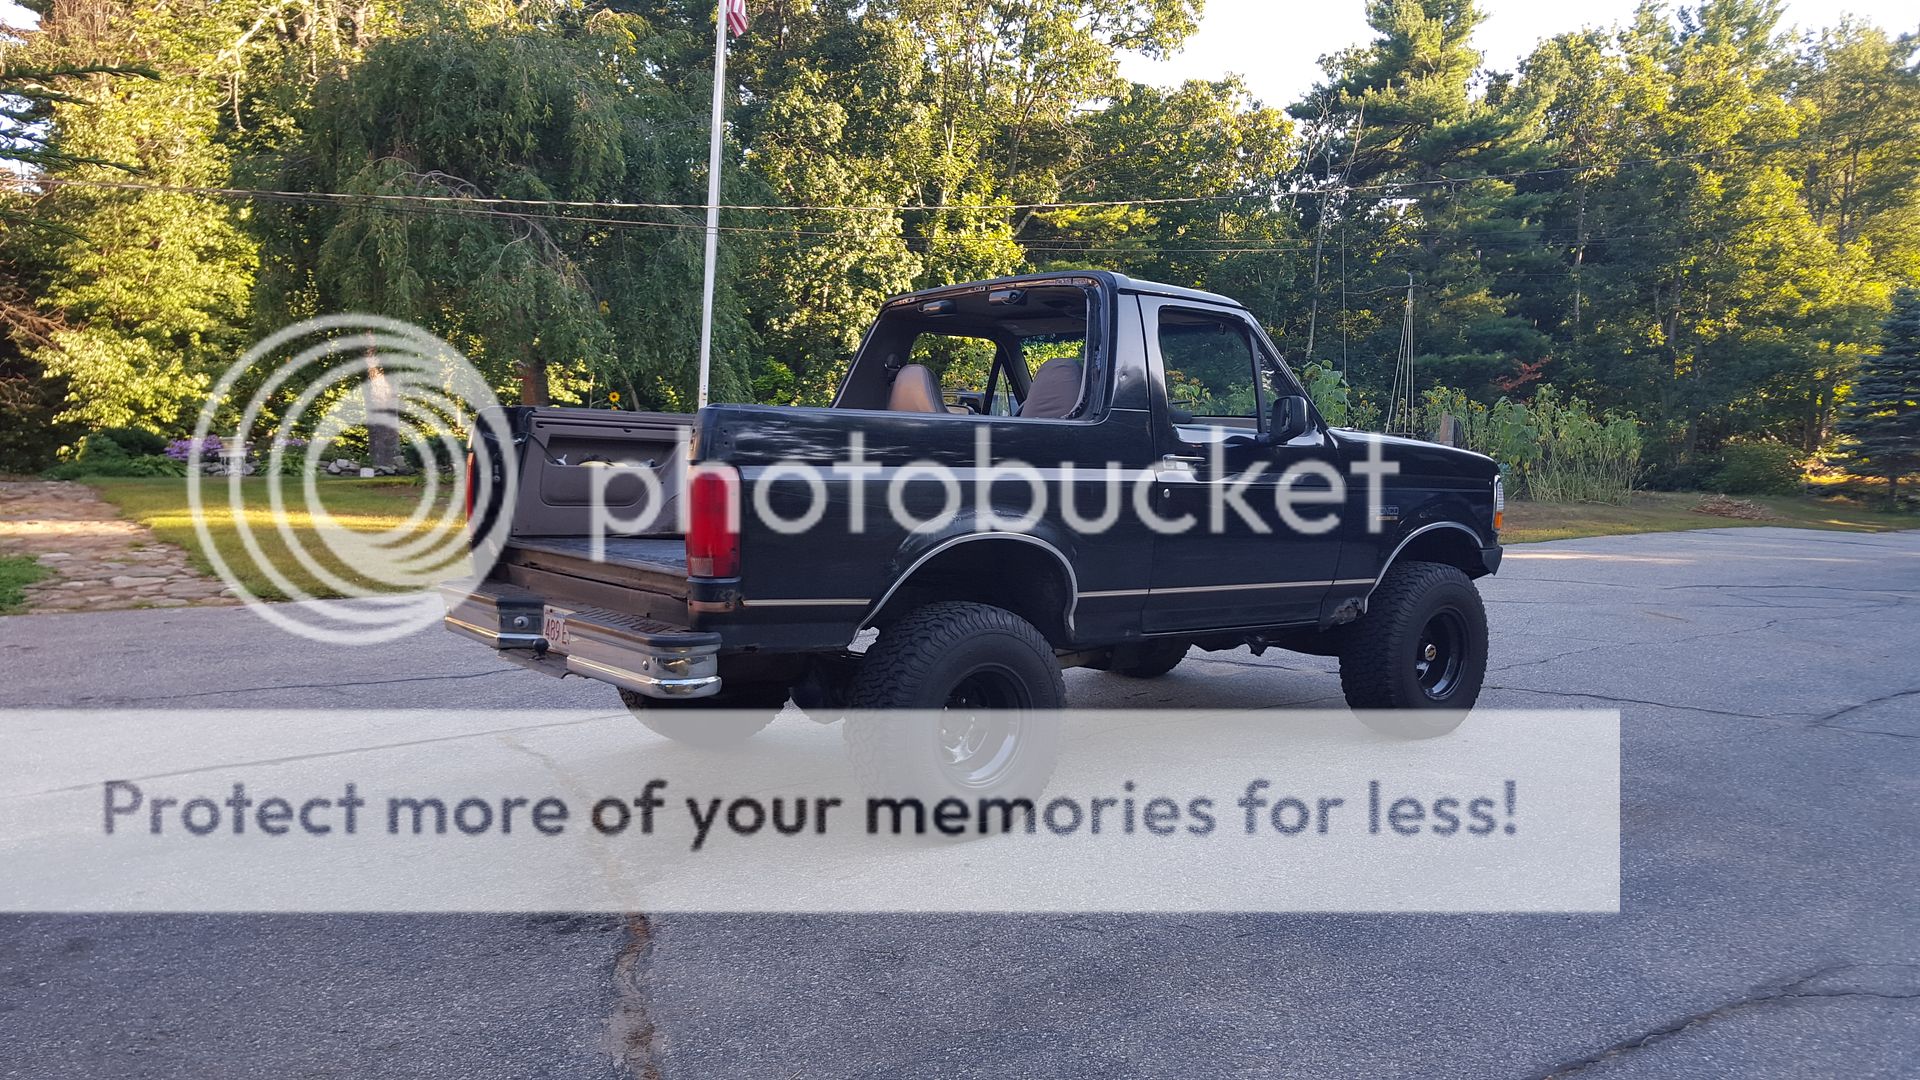
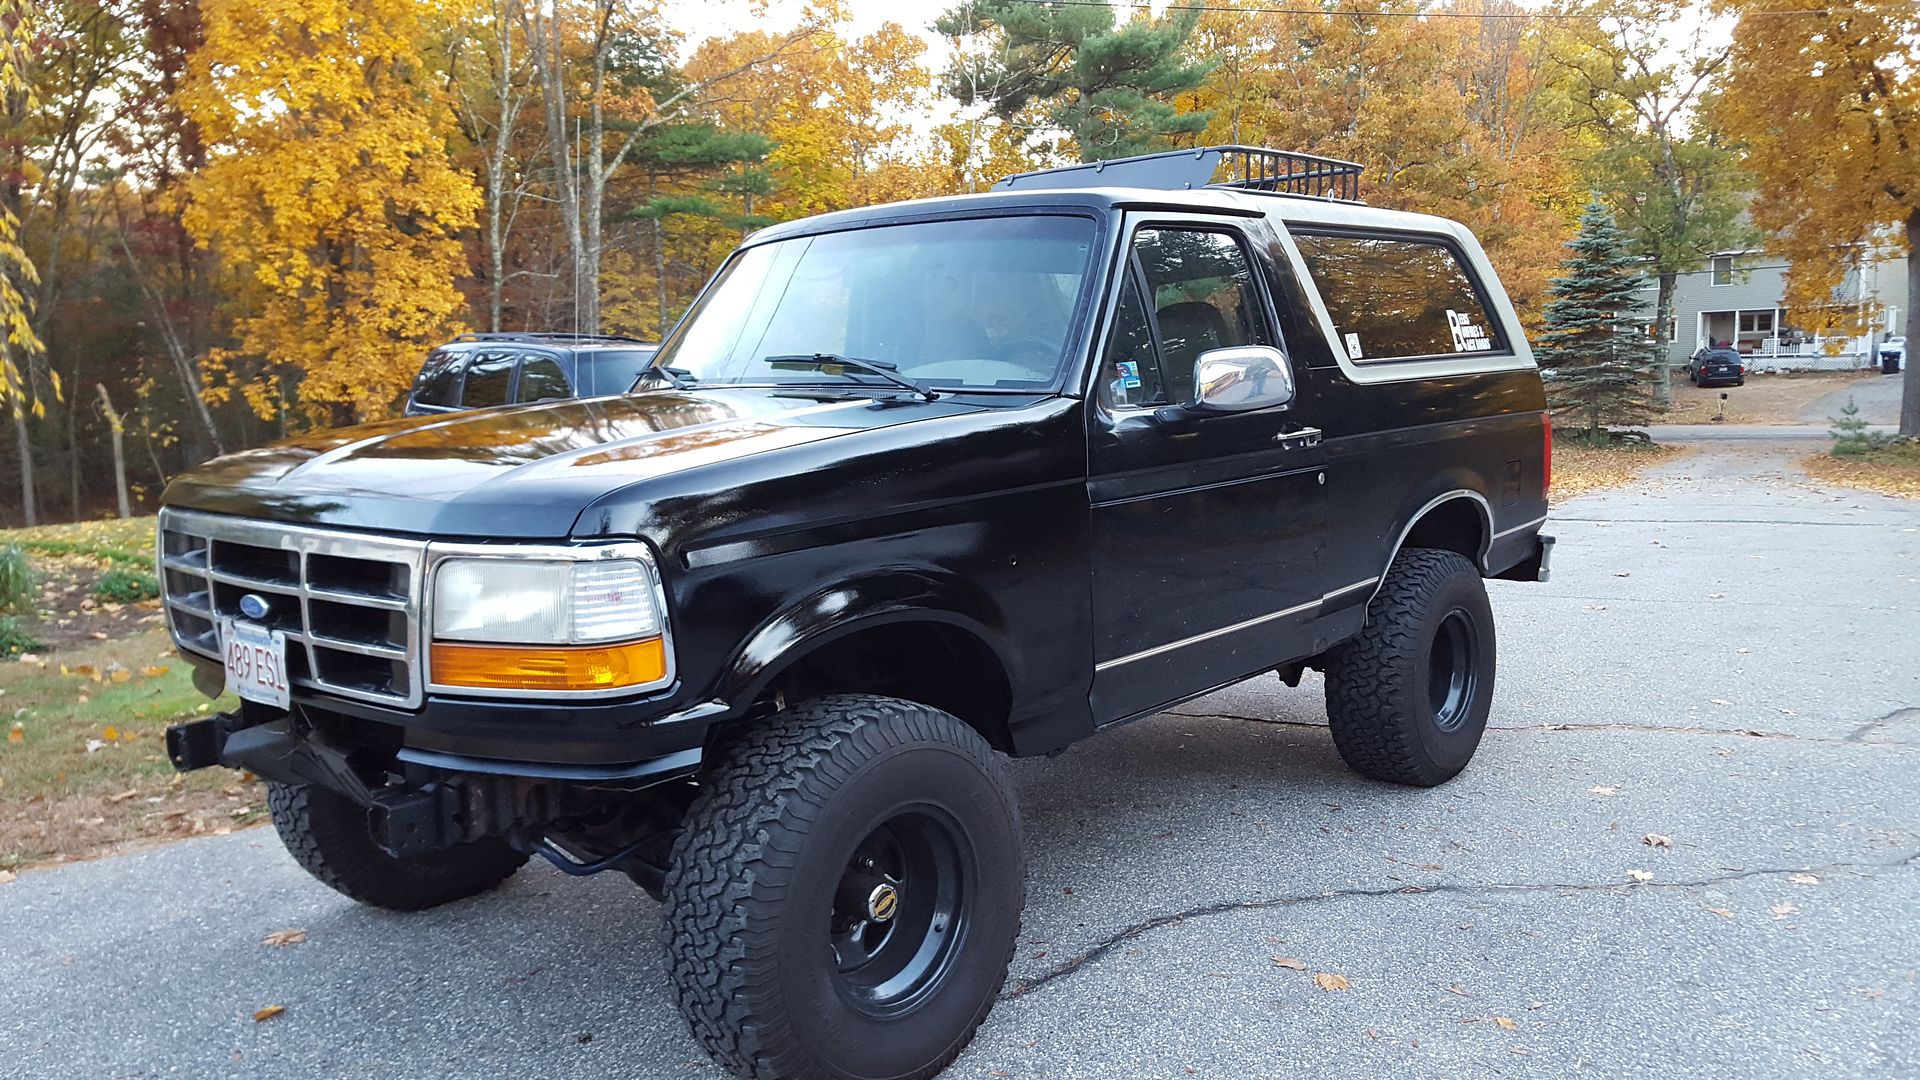
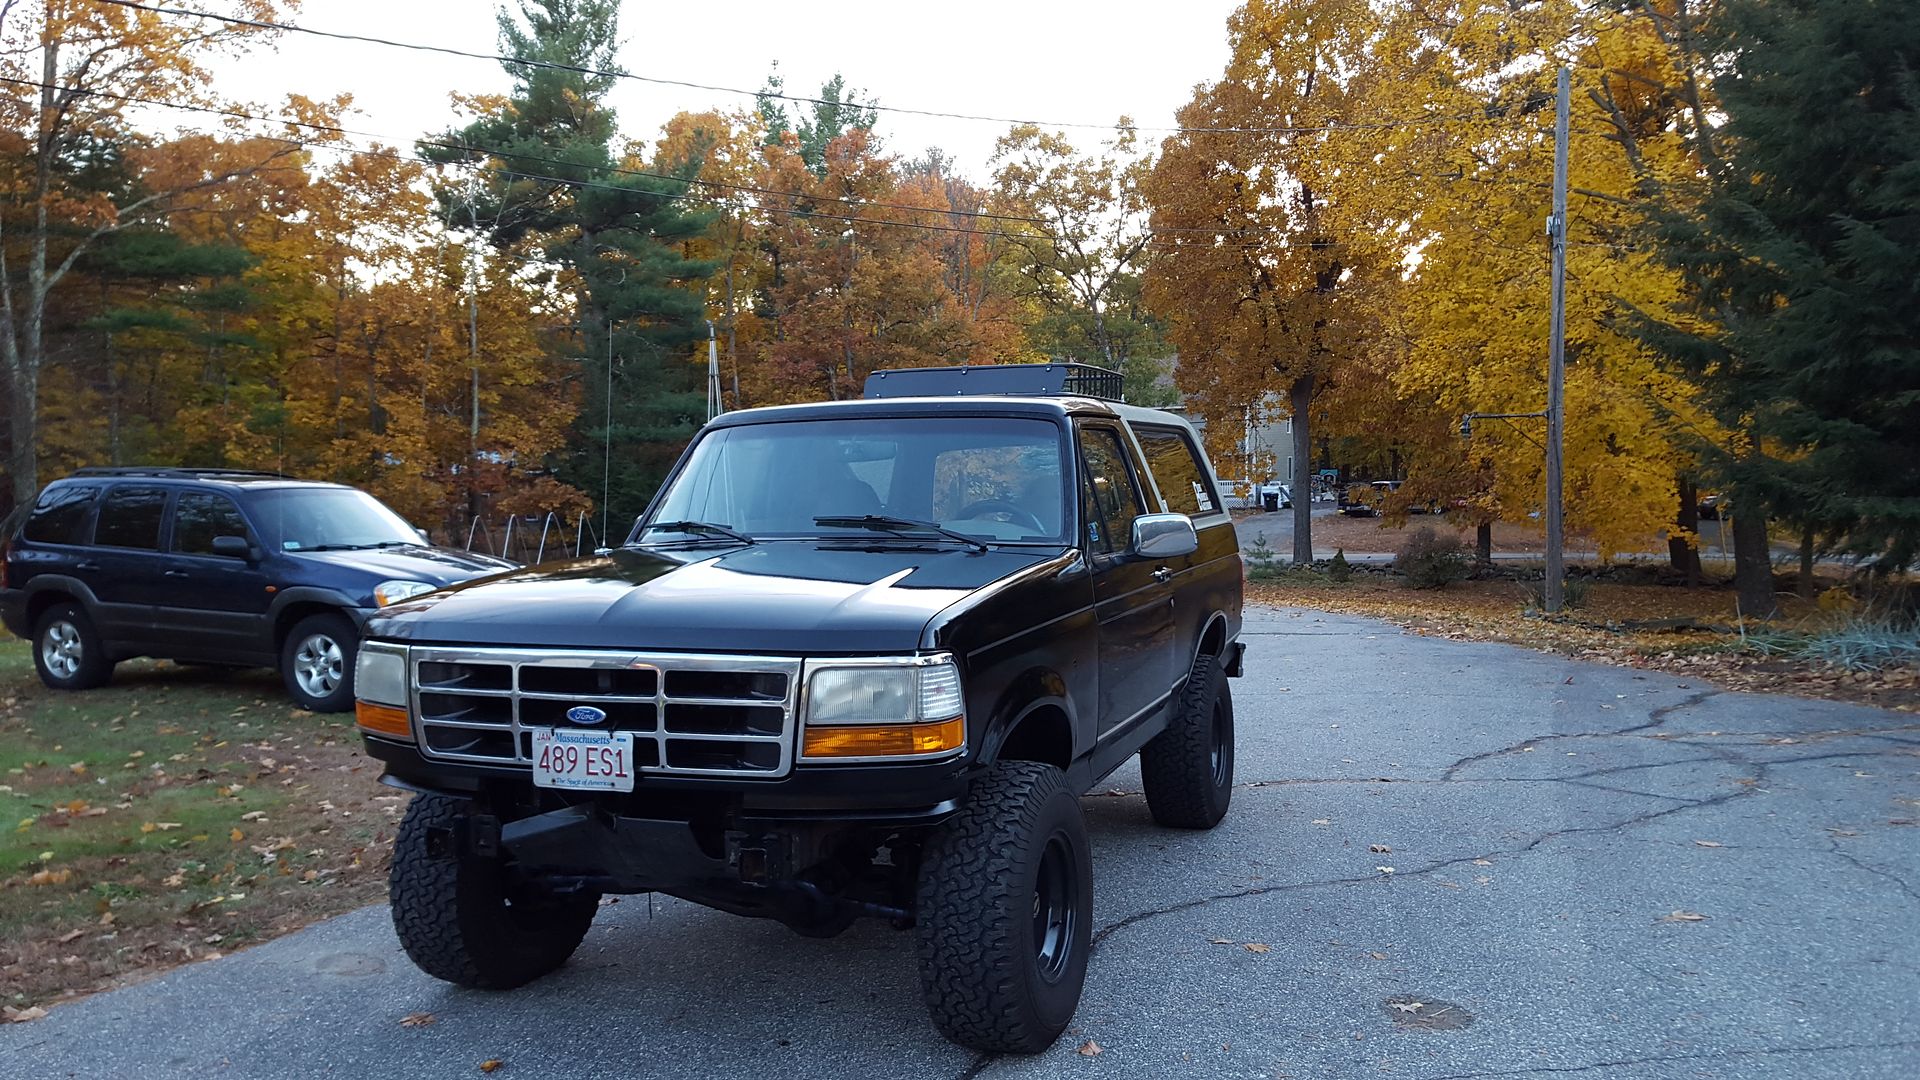
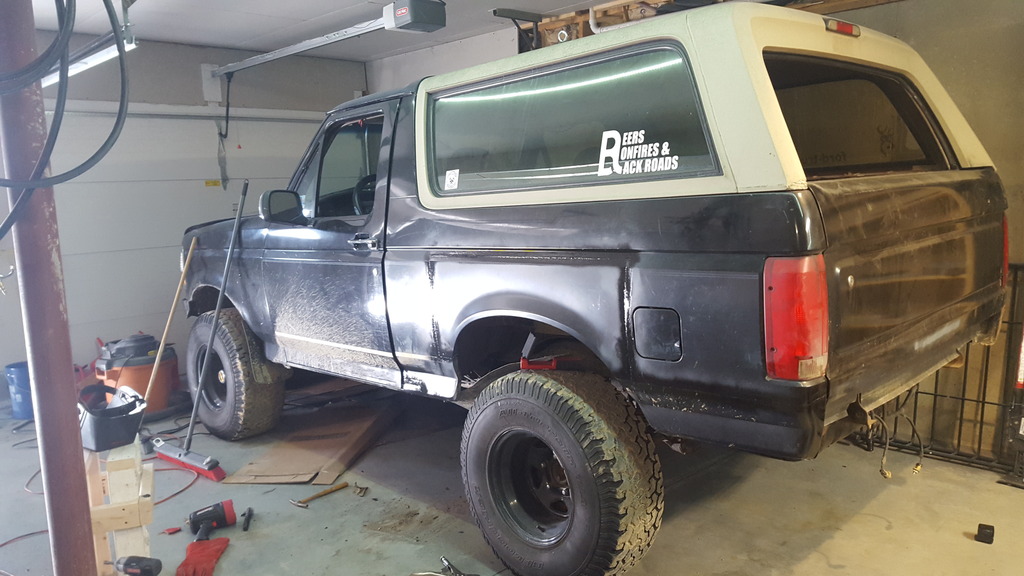
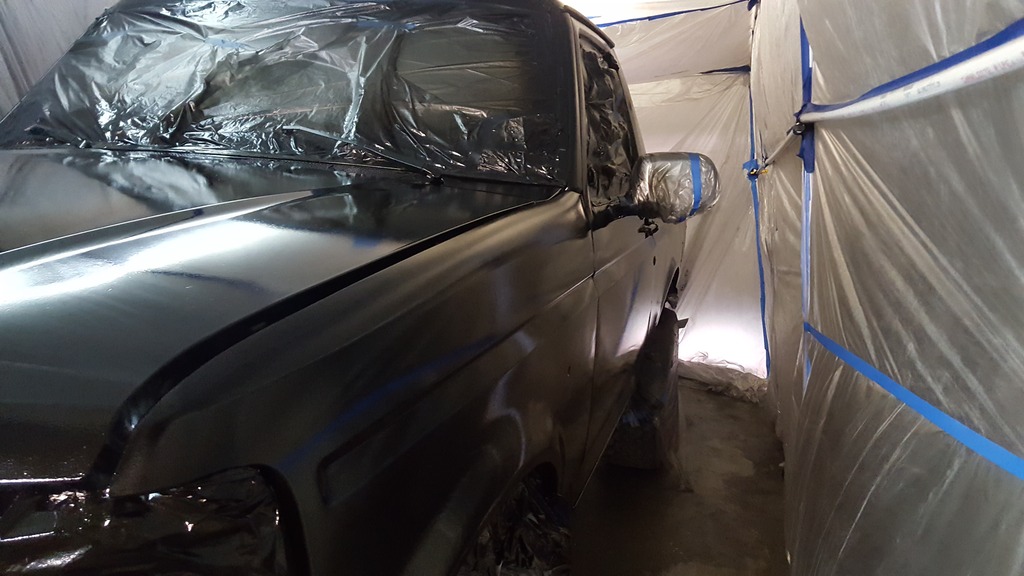
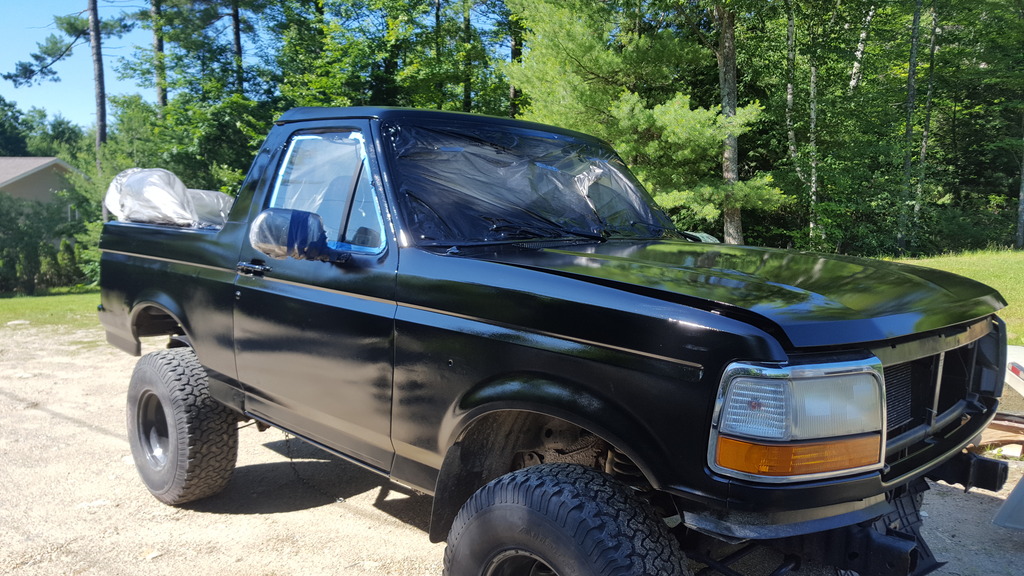
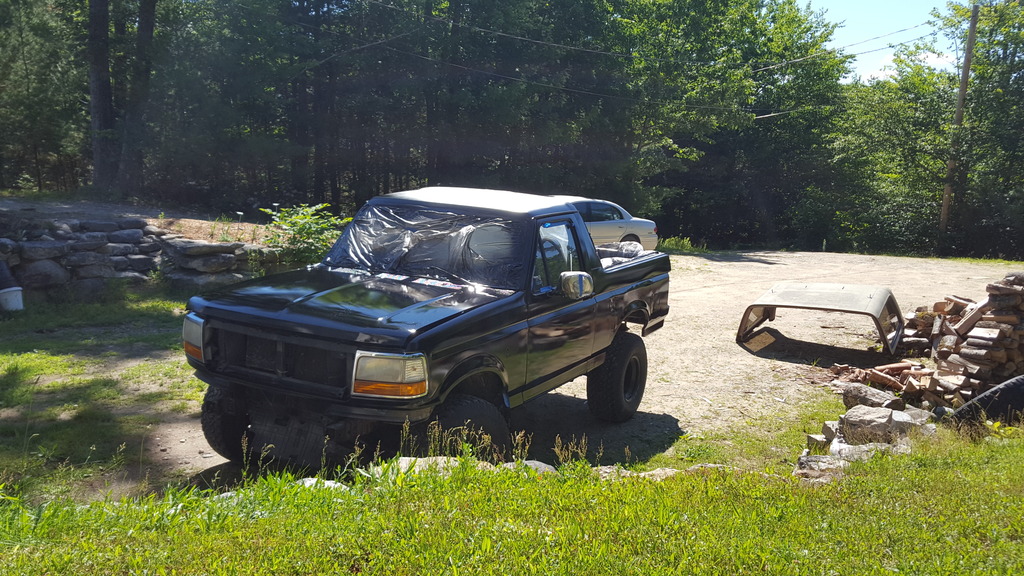
Hey guys, it's been a while since I posted anything, I just painted the whole truck yesterday. Figured it would be perfect to continue on to this thread. The previous posts here I replaced the front fenders and tailgate, I painted those and the hood with a black single stage fleet paint (actually used on excavators and dump trucks lol). I was pretty happy with how it turned out for a novice.
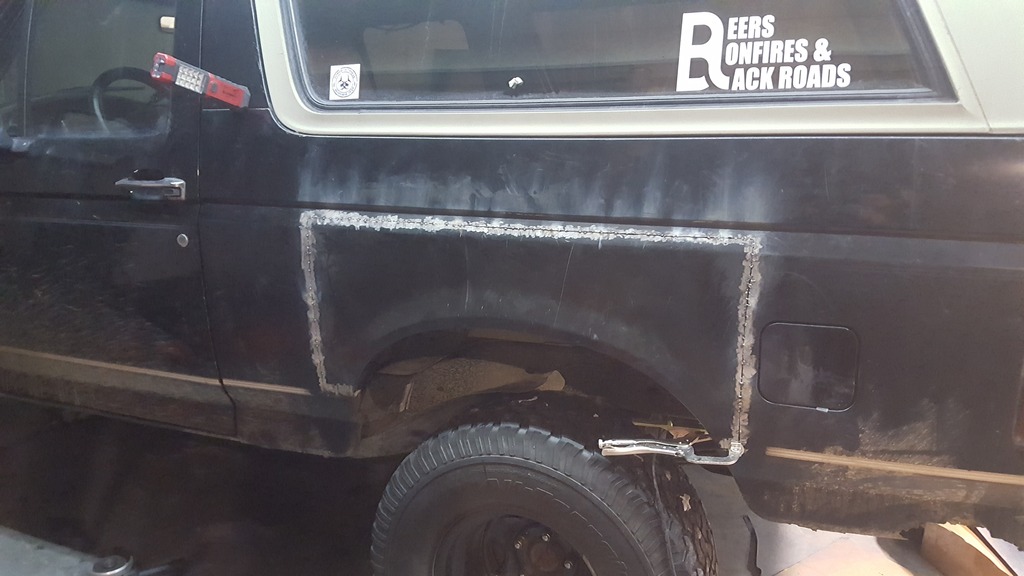
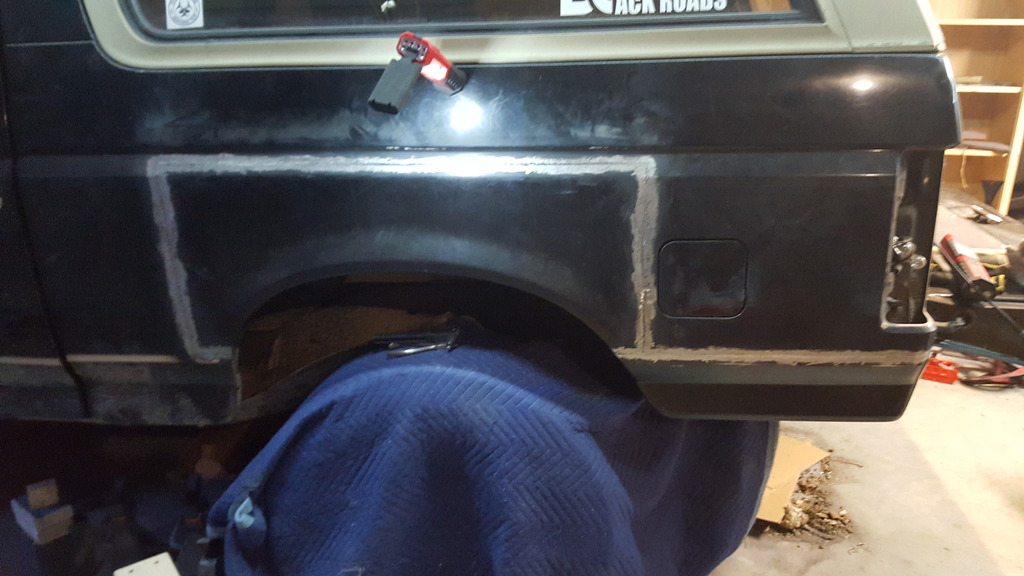
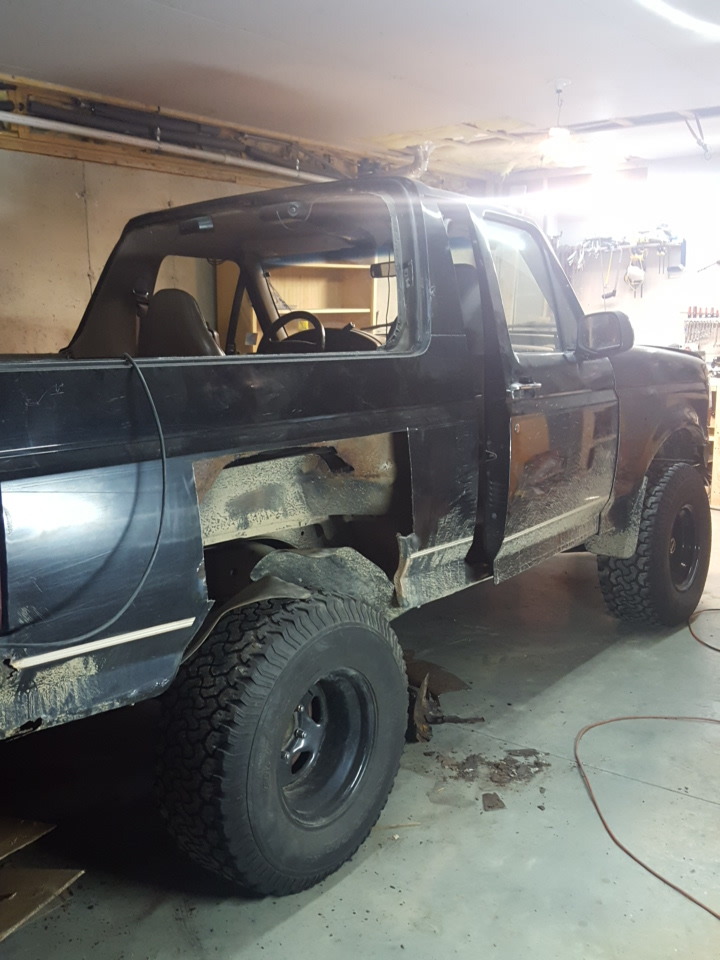
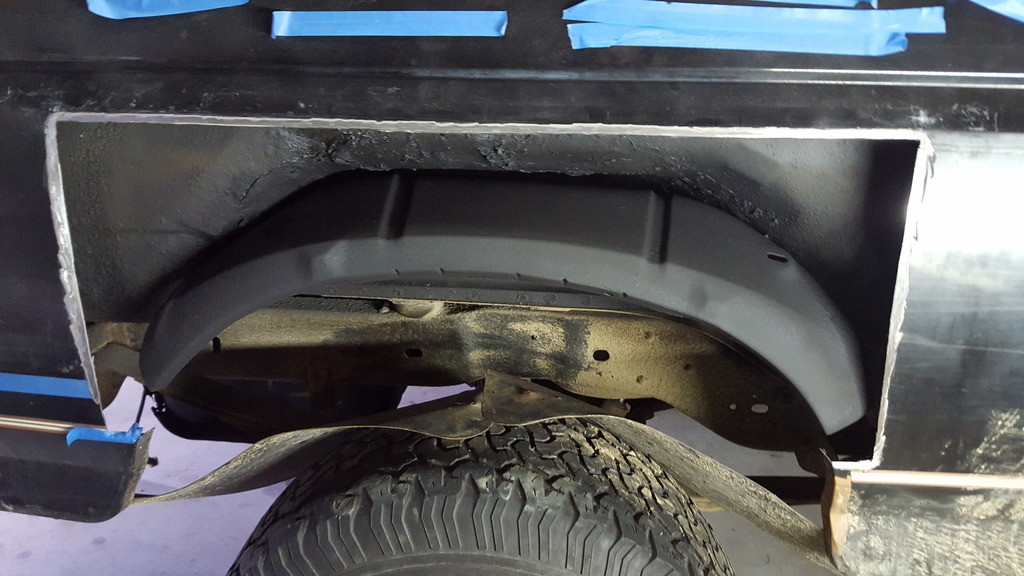
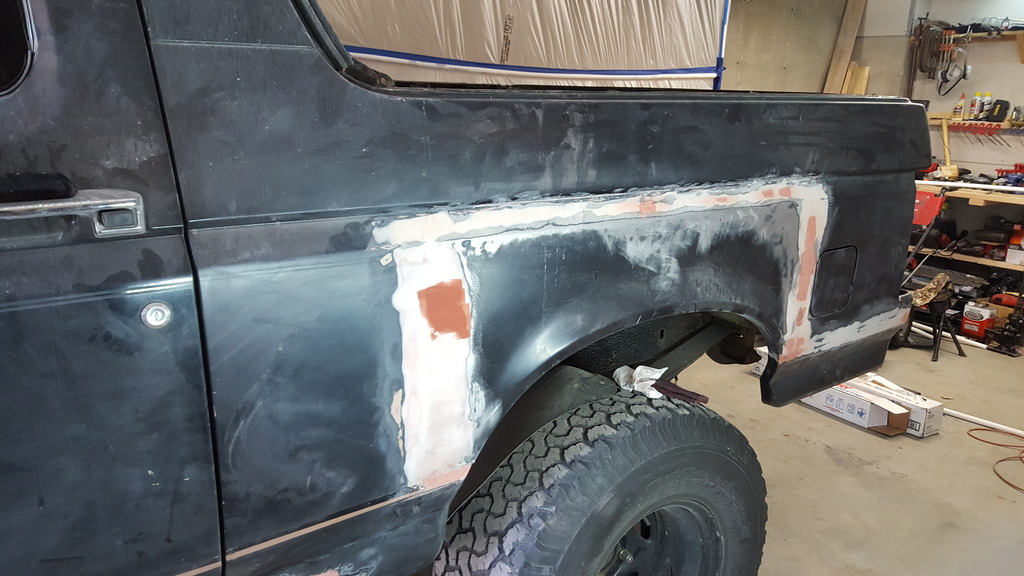
I started to cut out the rear panels in February of this year and the truck sat in the garage pretty much all winter and spring. So that is what all of these pictures are.
The driver side wasn't as bad as the passenger. I had to cut out the inner fender well and wheel hump on the passenger side and made my own patch. And bolted up a new inner well.
I'm a novice at welding and general body work and painting but made it all work out so I can atleast get a sticker again since there's no more rust.
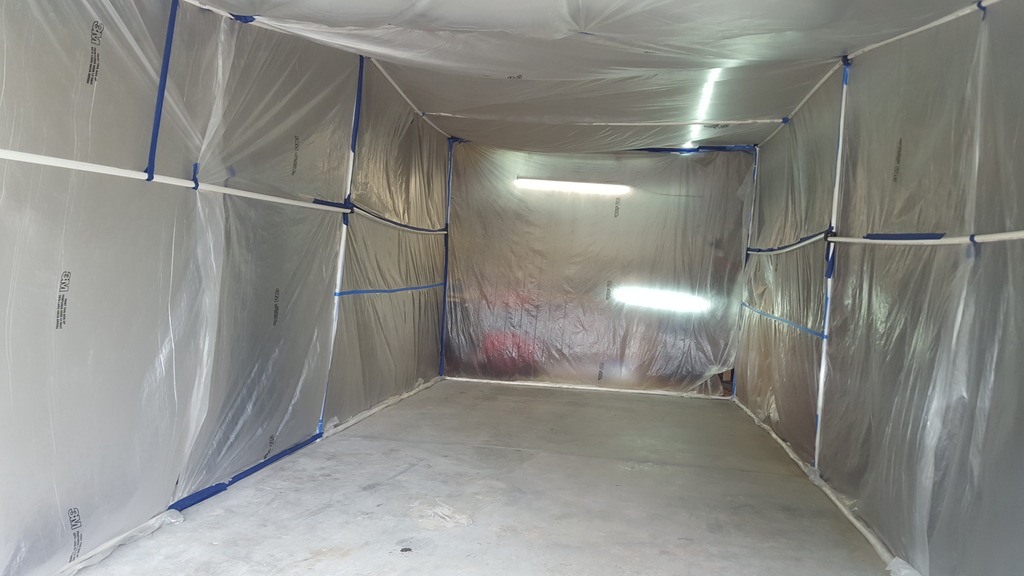
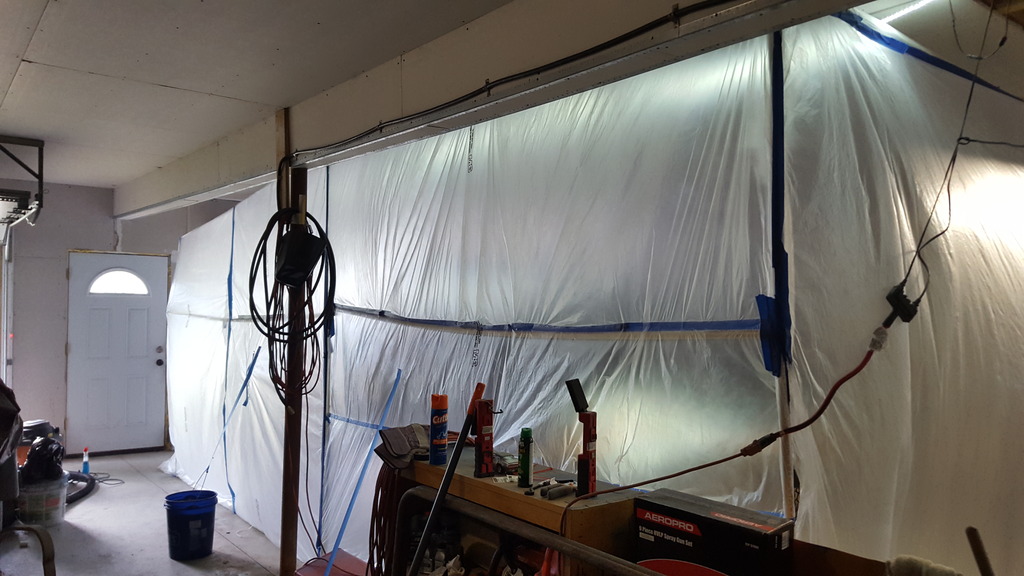
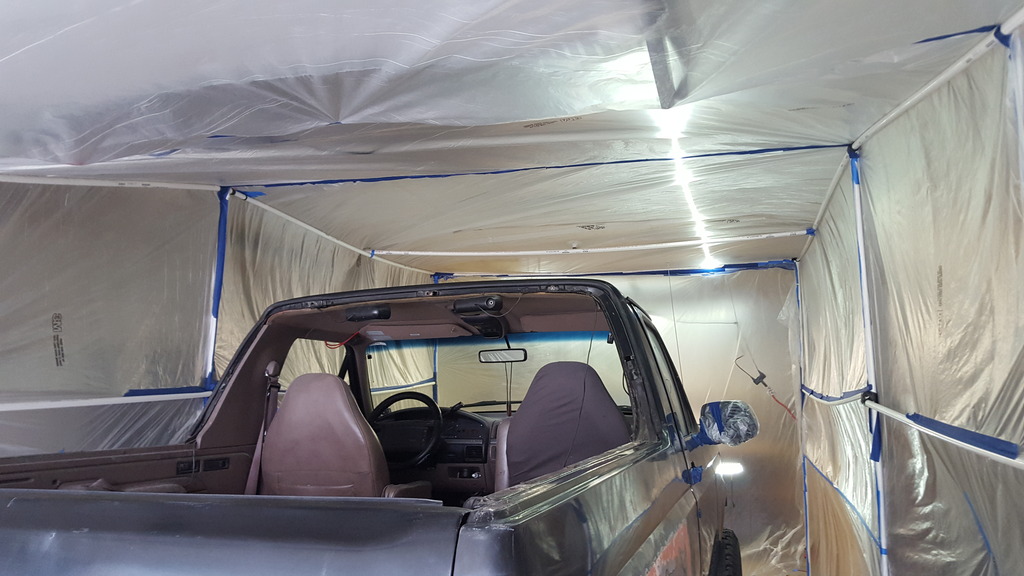
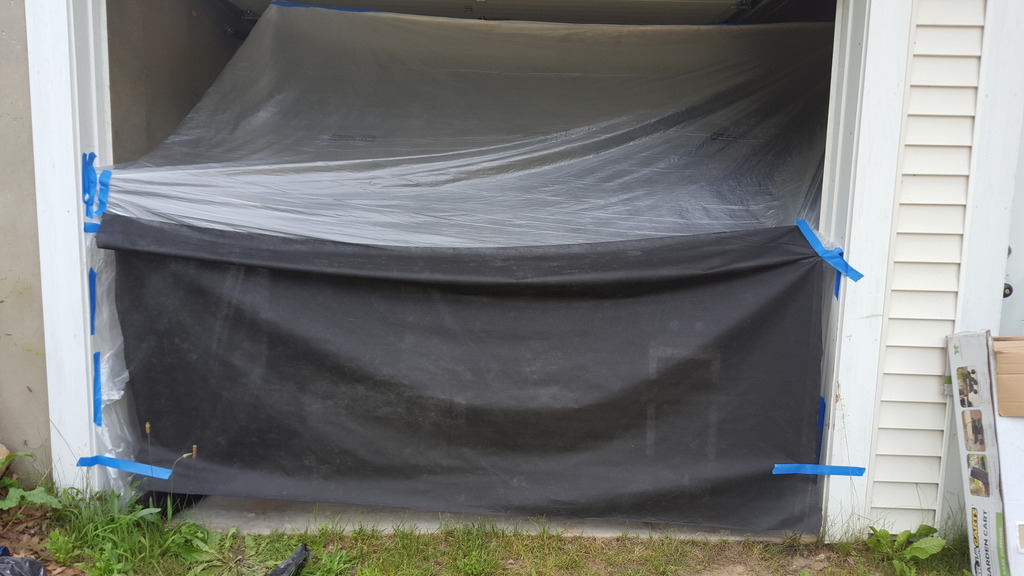
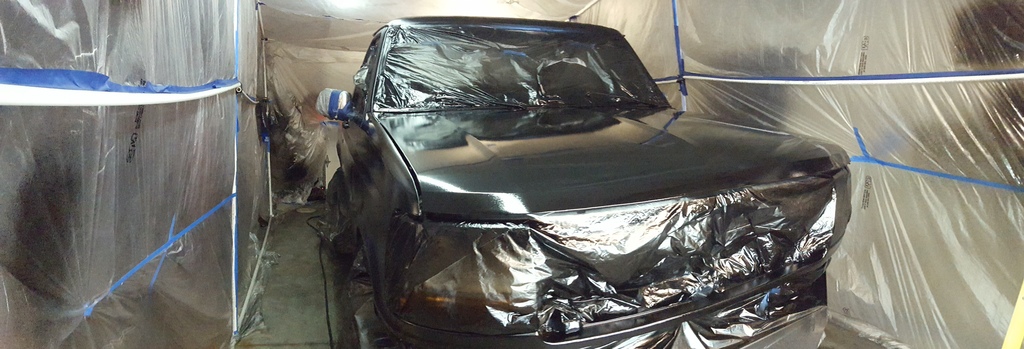
I got all of this done and built a paint booth out of 3/4" PVC and car painting plastic. All of this cost me about 100$ to build. Since its a under the house garage this was a must to keep fumes out of upstairs and it sure helped. I used 2 very high speed brushless fans I got out of a storage array at work (I'm also a techy) and wired them up to a 12v power supply. This worked great pushing all of the fumes out of the garage. I also added some garden mesh screen to catch the paint as well as keep bugs (most of them..) out.
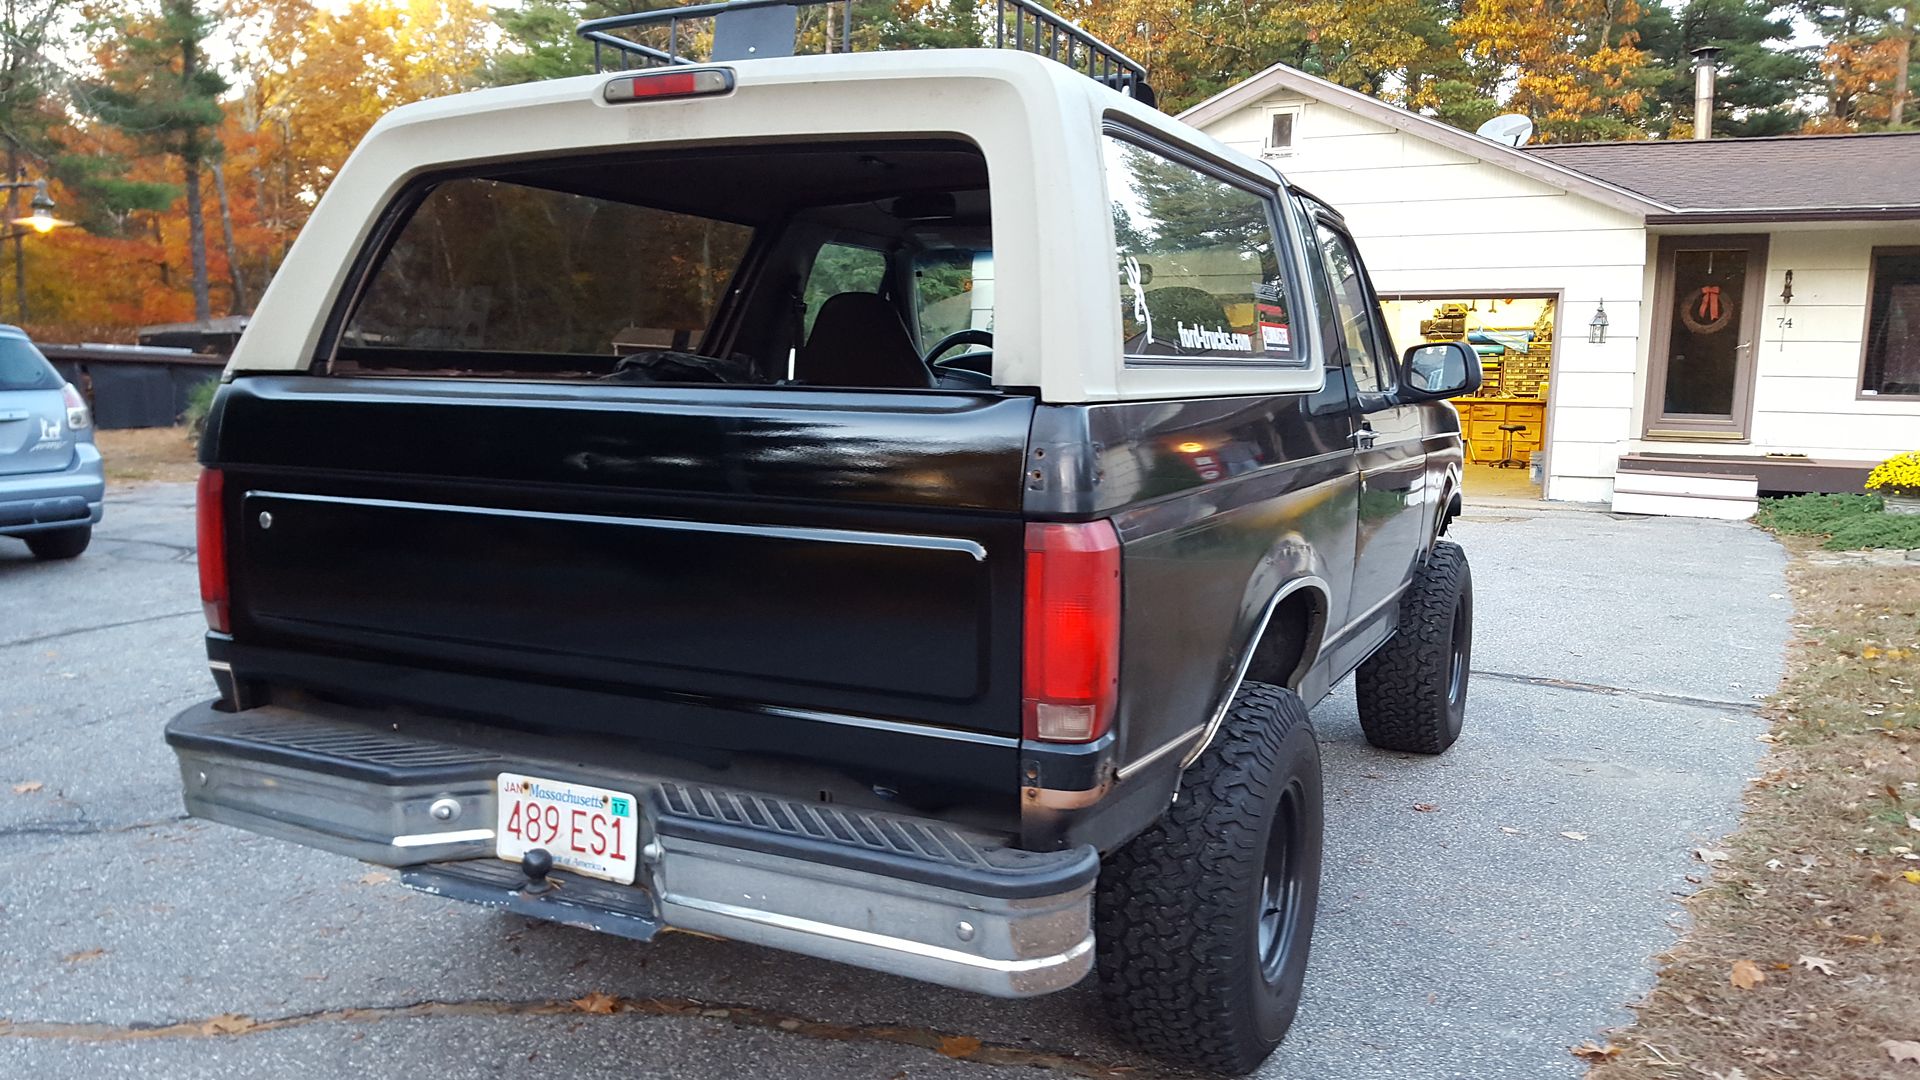
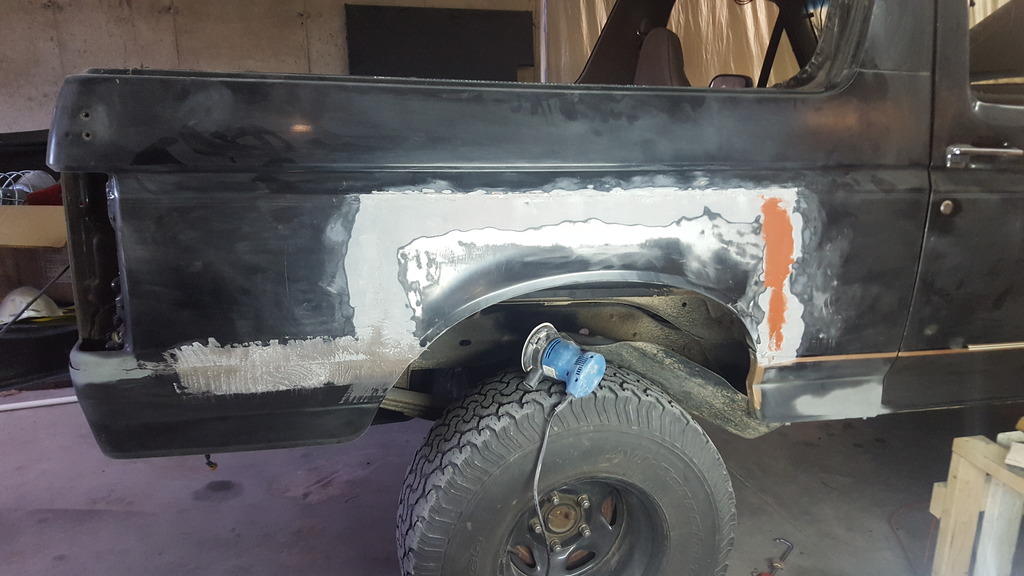
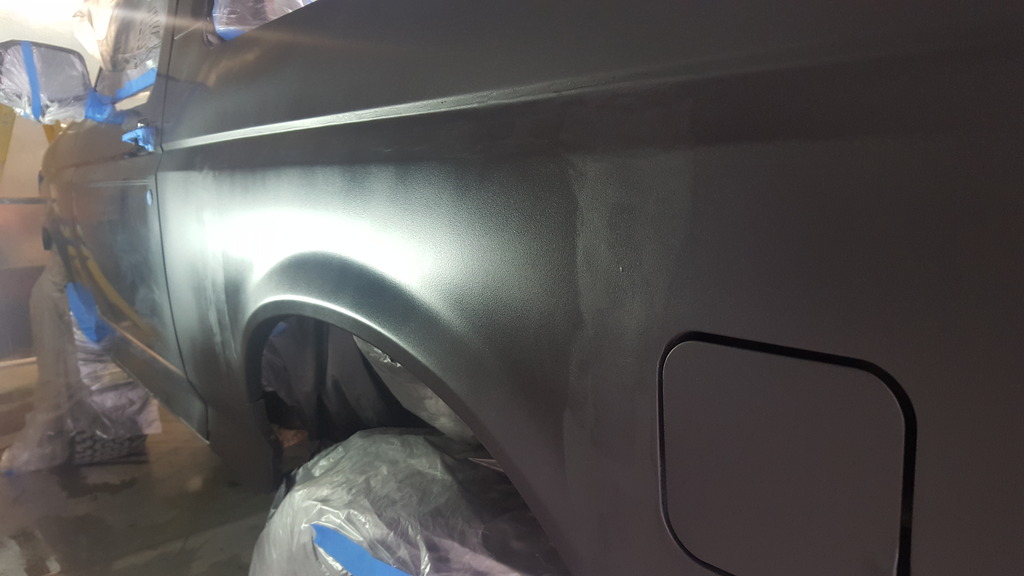
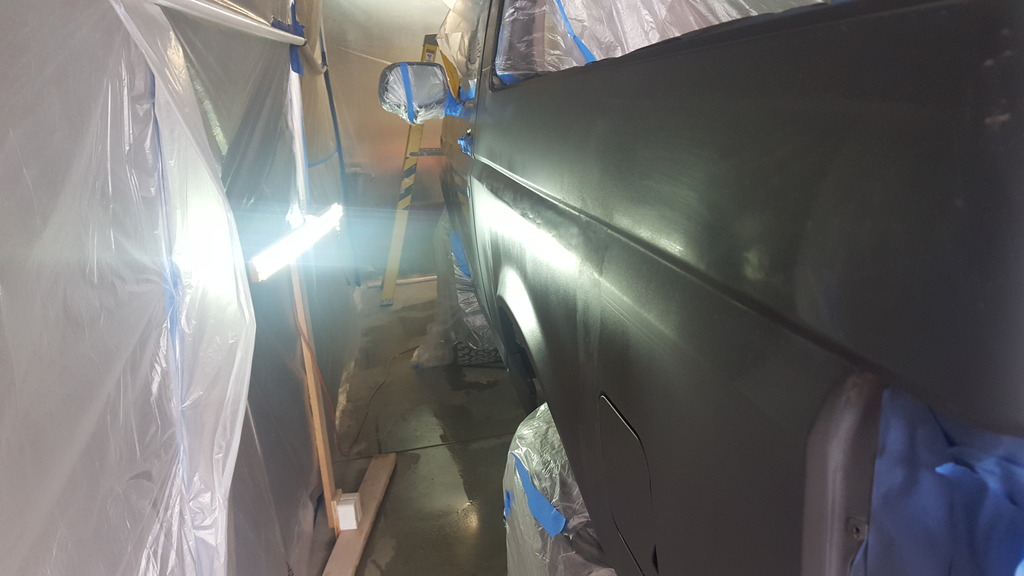
I bought a set of TCP spray guns to paint, and painted the rear fenders with a high build black primer, 4 coats of this then some sanding after 2 hours of drying. Then on to paint, it took a little bit of tweaking to get the guns to spray better, so unfortunately the passenger side has 2 runs and some splatter, the rest of the truck turned out better. Have a little bit of orange peel but not as bad as the first time I painted the hood and fenders.
I'm going to let it sit for a fews days before I get into cutting and buffing. Still debating how I want to get rid of the runs and splatter. I've seen people use a razor blade and then sand it down before buffing and waxing so I may try that. Worse comes to worse I'll just repaint the affected areas and try to blend it. Wasn't surprised you could still see the bondo lines even though it felt pretty smooth, I could probably try sanding the paint down to blend it smooth if, not sure if anyone has an tips on this?
I started to cut out the rear panels in February of this year and the truck sat in the garage pretty much all winter and spring. So that is what all of these pictures are.
The driver side wasn't as bad as the passenger. I had to cut out the inner fender well and wheel hump on the passenger side and made my own patch. And bolted up a new inner well.
I'm a novice at welding and general body work and painting but made it all work out so I can atleast get a sticker again since there's no more rust.
I got all of this done and built a paint booth out of 3/4" PVC and car painting plastic. All of this cost me about 100$ to build. Since its a under the house garage this was a must to keep fumes out of upstairs and it sure helped. I used 2 very high speed brushless fans I got out of a storage array at work (I'm also a techy) and wired them up to a 12v power supply. This worked great pushing all of the fumes out of the garage. I also added some garden mesh screen to catch the paint as well as keep bugs (most of them..) out.
I bought a set of TCP spray guns to paint, and painted the rear fenders with a high build black primer, 4 coats of this then some sanding after 2 hours of drying. Then on to paint, it took a little bit of tweaking to get the guns to spray better, so unfortunately the passenger side has 2 runs and some splatter, the rest of the truck turned out better. Have a little bit of orange peel but not as bad as the first time I painted the hood and fenders.
I'm going to let it sit for a fews days before I get into cutting and buffing. Still debating how I want to get rid of the runs and splatter. I've seen people use a razor blade and then sand it down before buffing and waxing so I may try that. Worse comes to worse I'll just repaint the affected areas and try to blend it. Wasn't surprised you could still see the bondo lines even though it felt pretty smooth, I could probably try sanding the paint down to blend it smooth if, not sure if anyone has an tips on this?


 Looks nice.
Junior User
Joined: Nov 2010
Posts: 53
Likes: 0
From: Cape Cod,Massachusetts
Looking good. The past few years here in Mass have been tough since they started using calcium Chloride on the roads. I'm building a '95 now since my '93 has seen to many years ( and 489K miles) of road salt.
Where abouts in MA are you?
Where abouts in MA are you?
Thread Starter
|
Laughing Gas
Joined: Jan 2011
Posts: 763
Likes: 19
From: MA
Thanks guys! Yeah its brutal, I'm not sure if it will see that many long winters anymore since I put a ton of work into it. I actually moved out of Mass, I was around the Lowell area but moved in southern New Hampshire.
Laughing Gas
Joined: Nov 2013
Posts: 1,210
Likes: 7
From: Minnesota
I'm going to let it sit for a few days before I get into cutting and buffing. Still debating how I want to get rid of the runs and splatter. I've seen people use a razor blade and then sand it down before buffing and waxing so I may try that. Worse comes to worse I'll just repaint the affected areas and try to blend it. Wasn't surprised you could still see the bondo lines even though it felt pretty smooth, I could probably try sanding the paint down to blend it smooth if, not sure if anyone has an tips on this?
Thread Starter
|
Laughing Gas
Joined: Jan 2011
Posts: 763
Likes: 19
From: MA
Yes I used black primer, I only used it on the rear panels. I sanded it down before I painted with the single stage. I'm going to try the razor blade method first and then try to sand it down. I'll most likely end up re painting that side.
Junior User
Joined: Nov 2010
Posts: 53
Likes: 0
From: Cape Cod,Massachusetts
The razor blade method works well if you are careful and take your time. Be sure to sand the two corners off the razor blade so they don't dig in. Also, you want to scrape the run out, not slice it off. I have done this several times with good results.