
Drip Rail Fabrication

Thread Starter
|
Tuned


Joined: Aug 2007
Posts: 455
Likes: 108
From: Maryland
Drip Rail Fabrication
Most people who encounter rust issues in and around the drip rails think their only choice is to shave 'em off. This will hopefully give you other options....
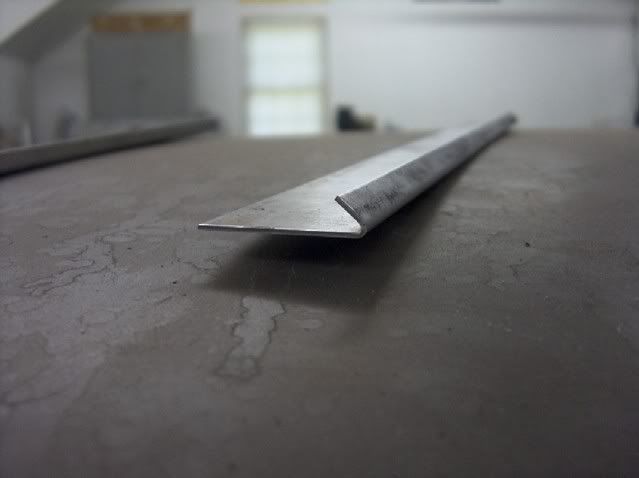
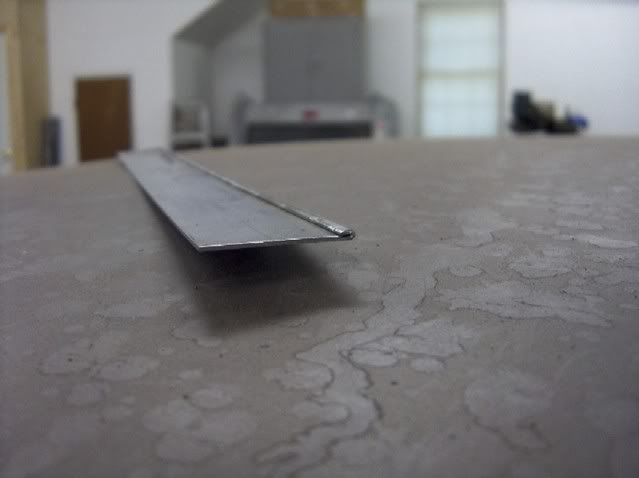
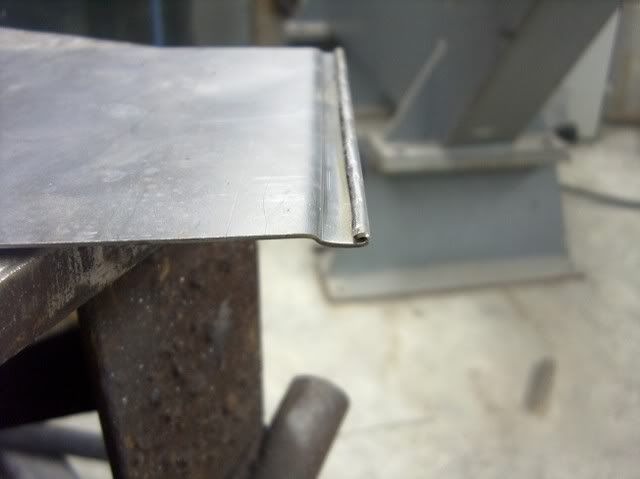
Last year some rust repair in the roof of a 55 wagon led me to fabricating a section of drip rail as well. Here's a profile of the section:

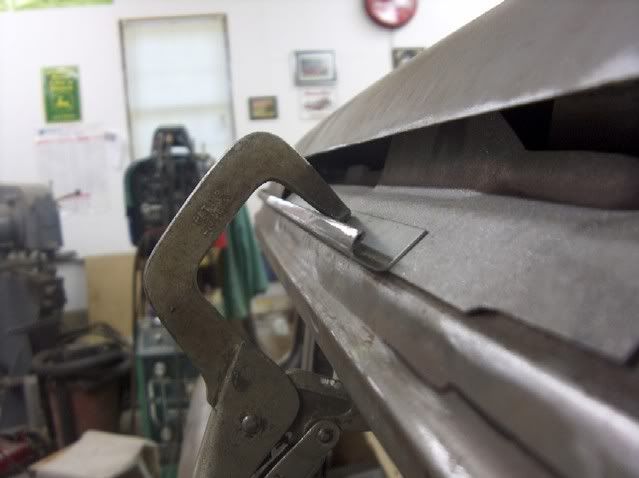
Here's my fabrication of the repair pieces at the time..........
Piece is then marked and cut for the top "hem"
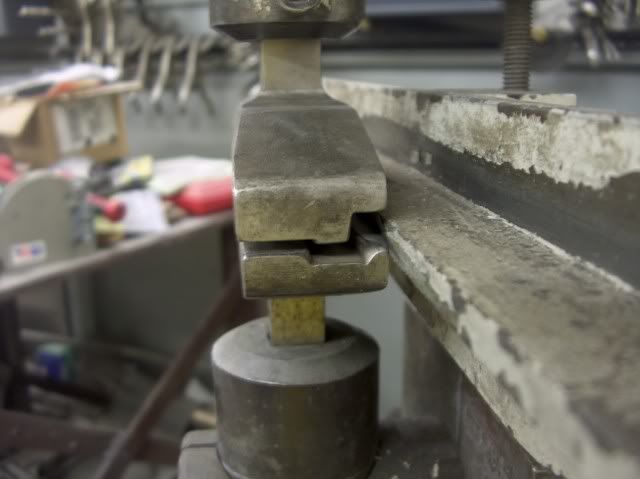
Flatten the hem
Followed by a slight bend in the apron brake to form the radius
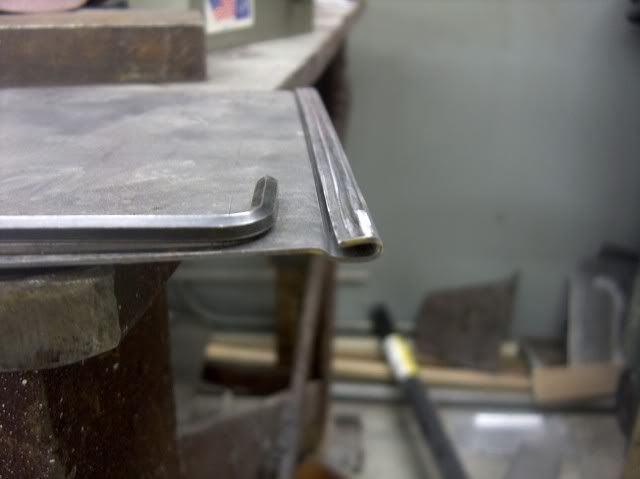
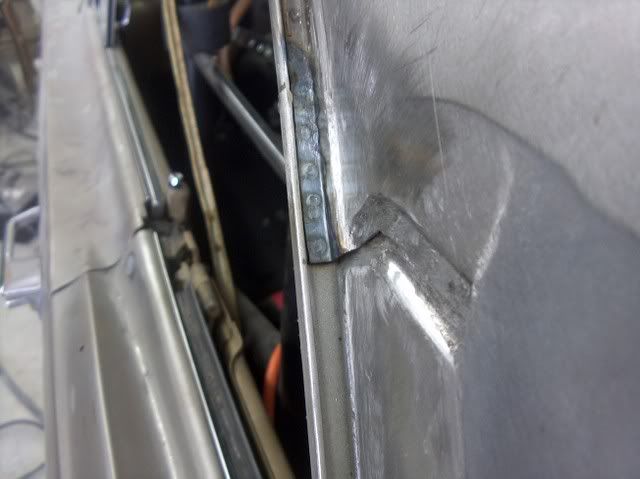
Test fit
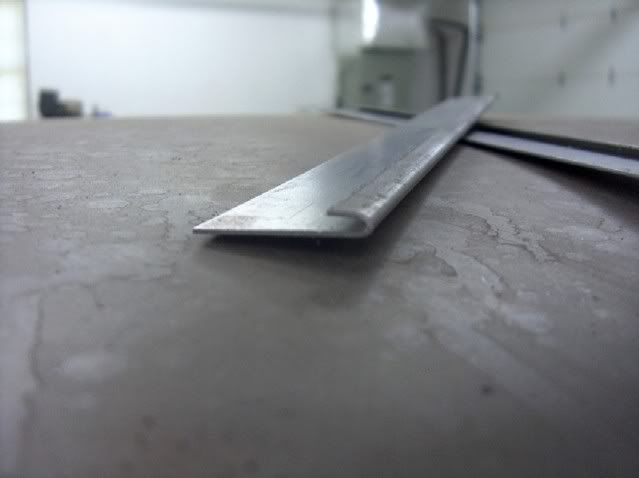
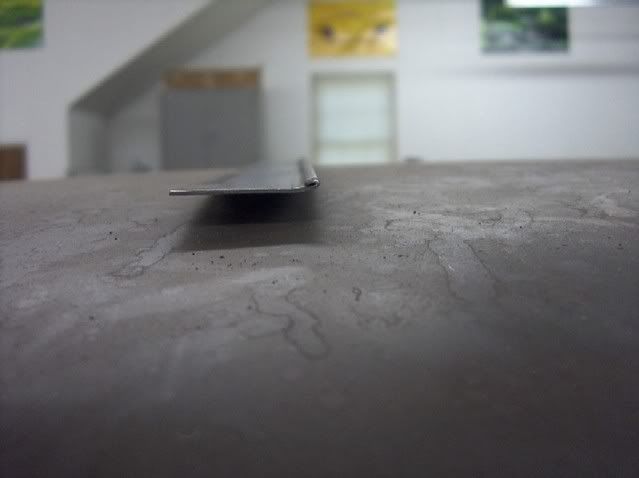
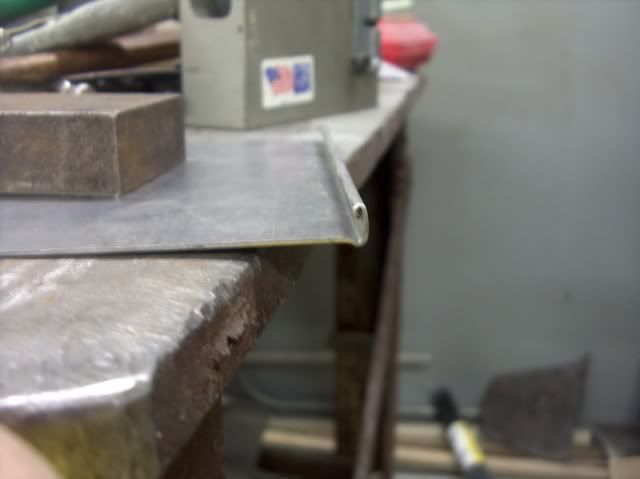
Another recent project called for more gutter fabrication. The issue I had with the one for the 55, a quick glance at the profile shows a slight kick up on the bottom just inside the face of the drip rail......
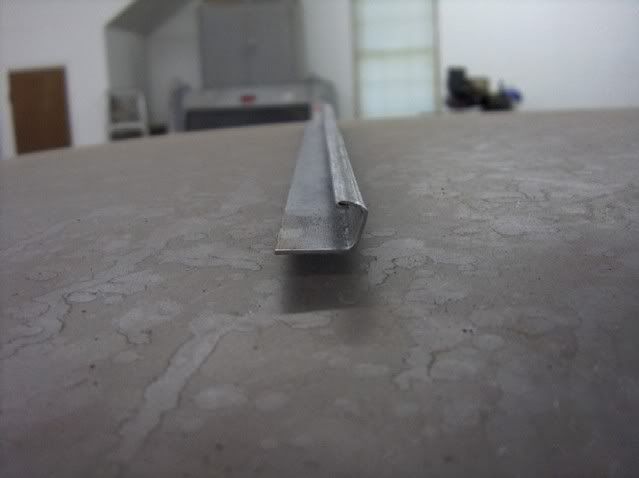
Where my replacement came straight across the bottom...........
Now I'll be the first to admit there's always room for improvement, and this was one of them. I remembered the Pullmax Lockformer tooling I had bought off Ebay a couple years back, and knocked the dust off. In looking at the tooling, I thought it may just work.
I made a pass with a piece of scrap 18 ga................
Marked and trimmed the top edge for the hem............


The hem gets flattened out..........
..........and is inserted headfirst into the apron brake. The apron clamps down just inside the tooling mark you see

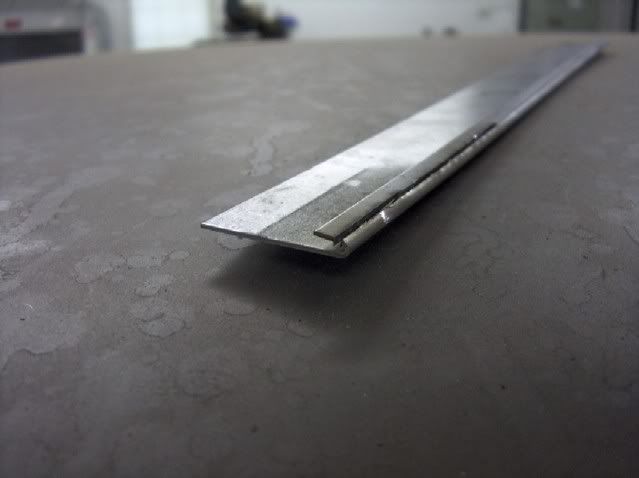
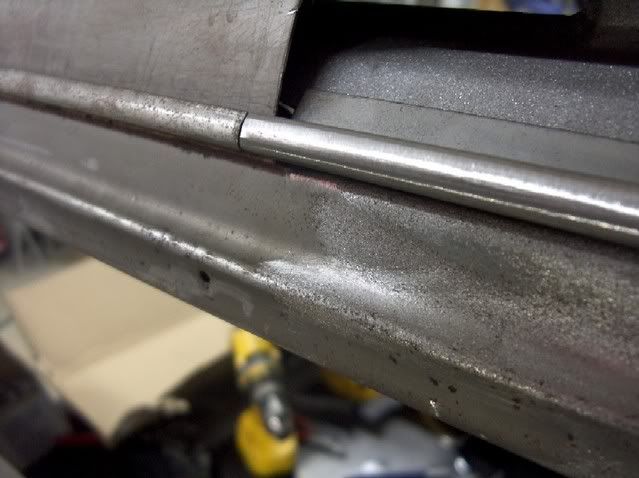
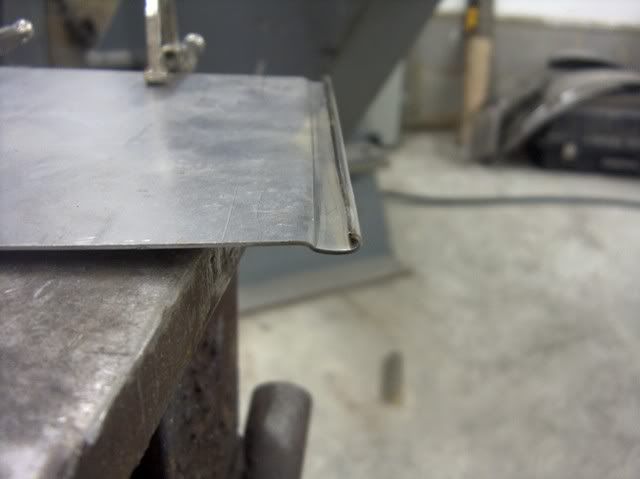
A finished sample, and comparison to the old original:

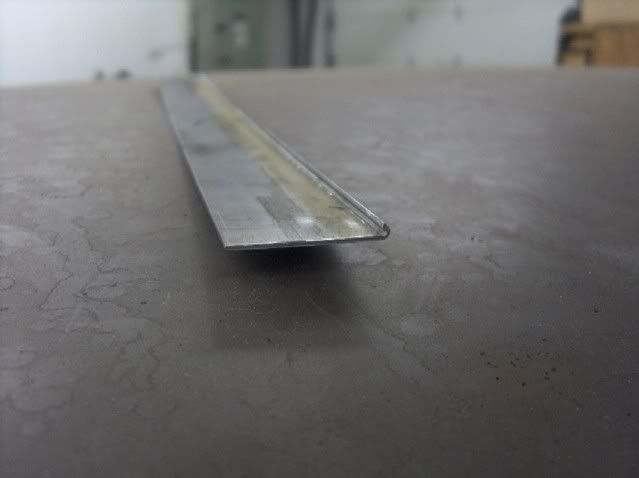
Yeah, I like that much better....
Last year some rust repair in the roof of a 55 wagon led me to fabricating a section of drip rail as well. Here's a profile of the section:
Here's my fabrication of the repair pieces at the time..........
Piece is then marked and cut for the top "hem"
Flatten the hem
Followed by a slight bend in the apron brake to form the radius
Test fit
Another recent project called for more gutter fabrication. The issue I had with the one for the 55, a quick glance at the profile shows a slight kick up on the bottom just inside the face of the drip rail......
Where my replacement came straight across the bottom...........
Now I'll be the first to admit there's always room for improvement, and this was one of them. I remembered the Pullmax Lockformer tooling I had bought off Ebay a couple years back, and knocked the dust off. In looking at the tooling, I thought it may just work.
I made a pass with a piece of scrap 18 ga................
Marked and trimmed the top edge for the hem............
The hem gets flattened out..........
..........and is inserted headfirst into the apron brake. The apron clamps down just inside the tooling mark you see
A finished sample, and comparison to the old original:
Yeah, I like that much better....
Thread Starter
|
Tuned
Joined: Aug 2007
Posts: 455
Likes: 108
From: Maryland
Originally Posted by cujo8
I'm guessing you needed more than a hammer-n-dolly to make these drip rails. :-)
True, but most heating/AC sheet metal shops should have a lockformer so you could get a piece bent up locally.


Thread Starter
|
Tuned
Joined: Aug 2007
Posts: 455
Likes: 108
From: Maryland
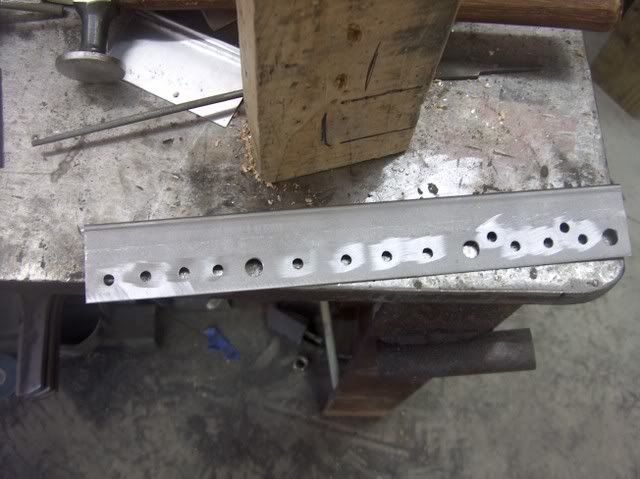
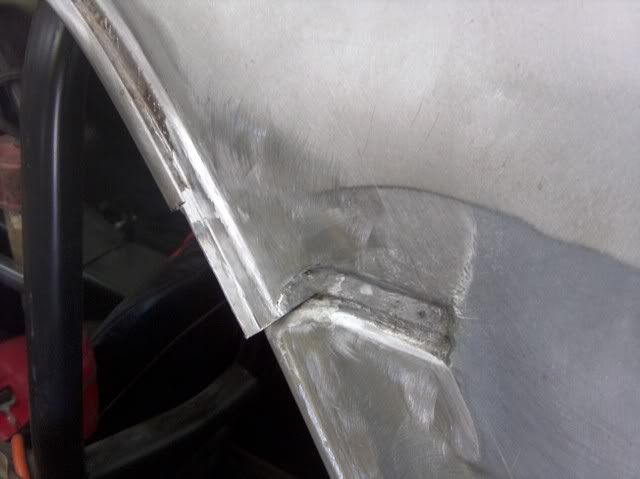
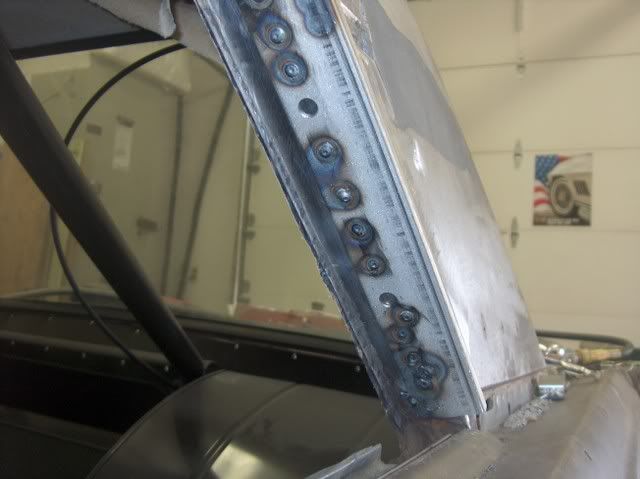
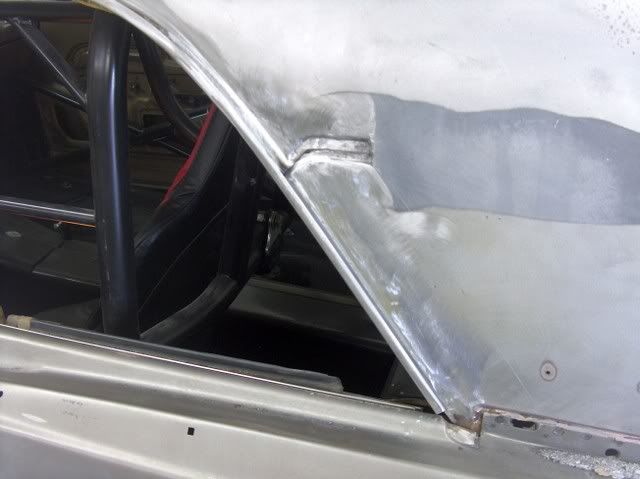
OK, enough practice, here's the real deal installed. I guess you could consider this the "final practice piece", complete with 3 clearance holes for the window weatherstrip screws and various plug welds.

Oops, still need to finish the roof patch!
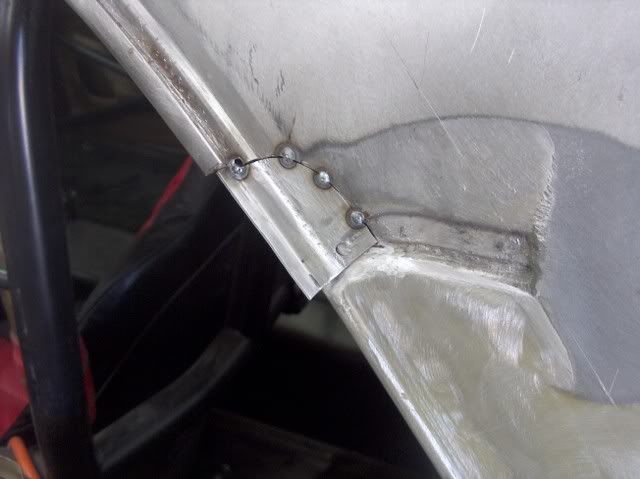

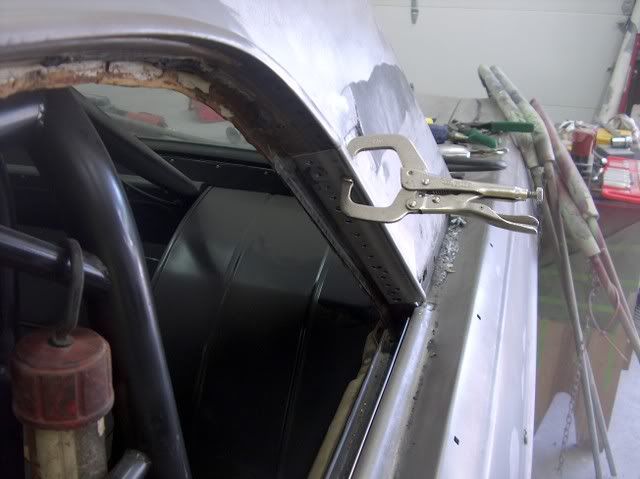
Test fit and installation of the drip rail:
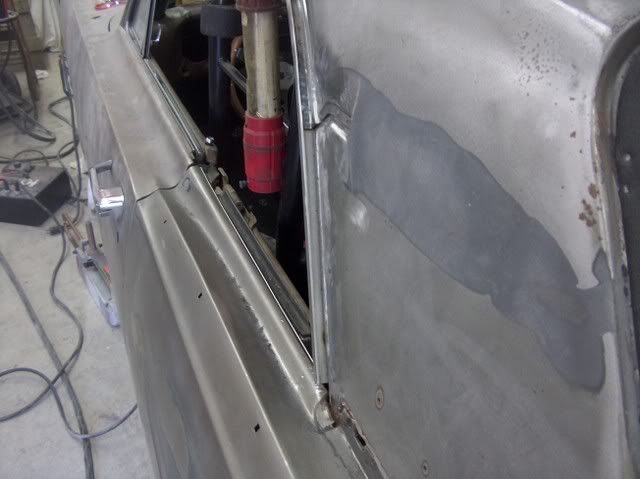
And there you have it. Hopefully it will help someone along with a similar repair.
Oops, still need to finish the roof patch!
Test fit and installation of the drip rail:
And there you have it. Hopefully it will help someone along with a similar repair.

Thread
Thread Starter
Forum
Replies
Last Post
MP&C
1997 - 2006 Expedition & Navigator
14
Jul 10, 2024 12:33 PM
MP&C
1948 - 1956 F1, F100 & Larger F-Series Trucks
34
Apr 9, 2013 01:49 PM
MP&C
1948 - 1956 F1, F100 & Larger F-Series Trucks
12
Aug 9, 2010 10:00 PM