1973 - 1979 F-100 & Larger F-Series Trucks Discuss the Dentsides Ford Truck
Sponsored by:
Sponsored by: Moser

My 1978 F150 Restoration

Thread Tools
 
Search this Thread
 
  #1  
Old 12-20-2020, 05:58 PM
mudbogger2's Avatar
mudbogger2
mudbogger2 is offline
Tuned
Thread Starter
Join Date: Mar 2004
Location: Hoschton,Ga.
Posts: 278
Received 82 Likes on 52 Posts
My 1978 F150 Restoration

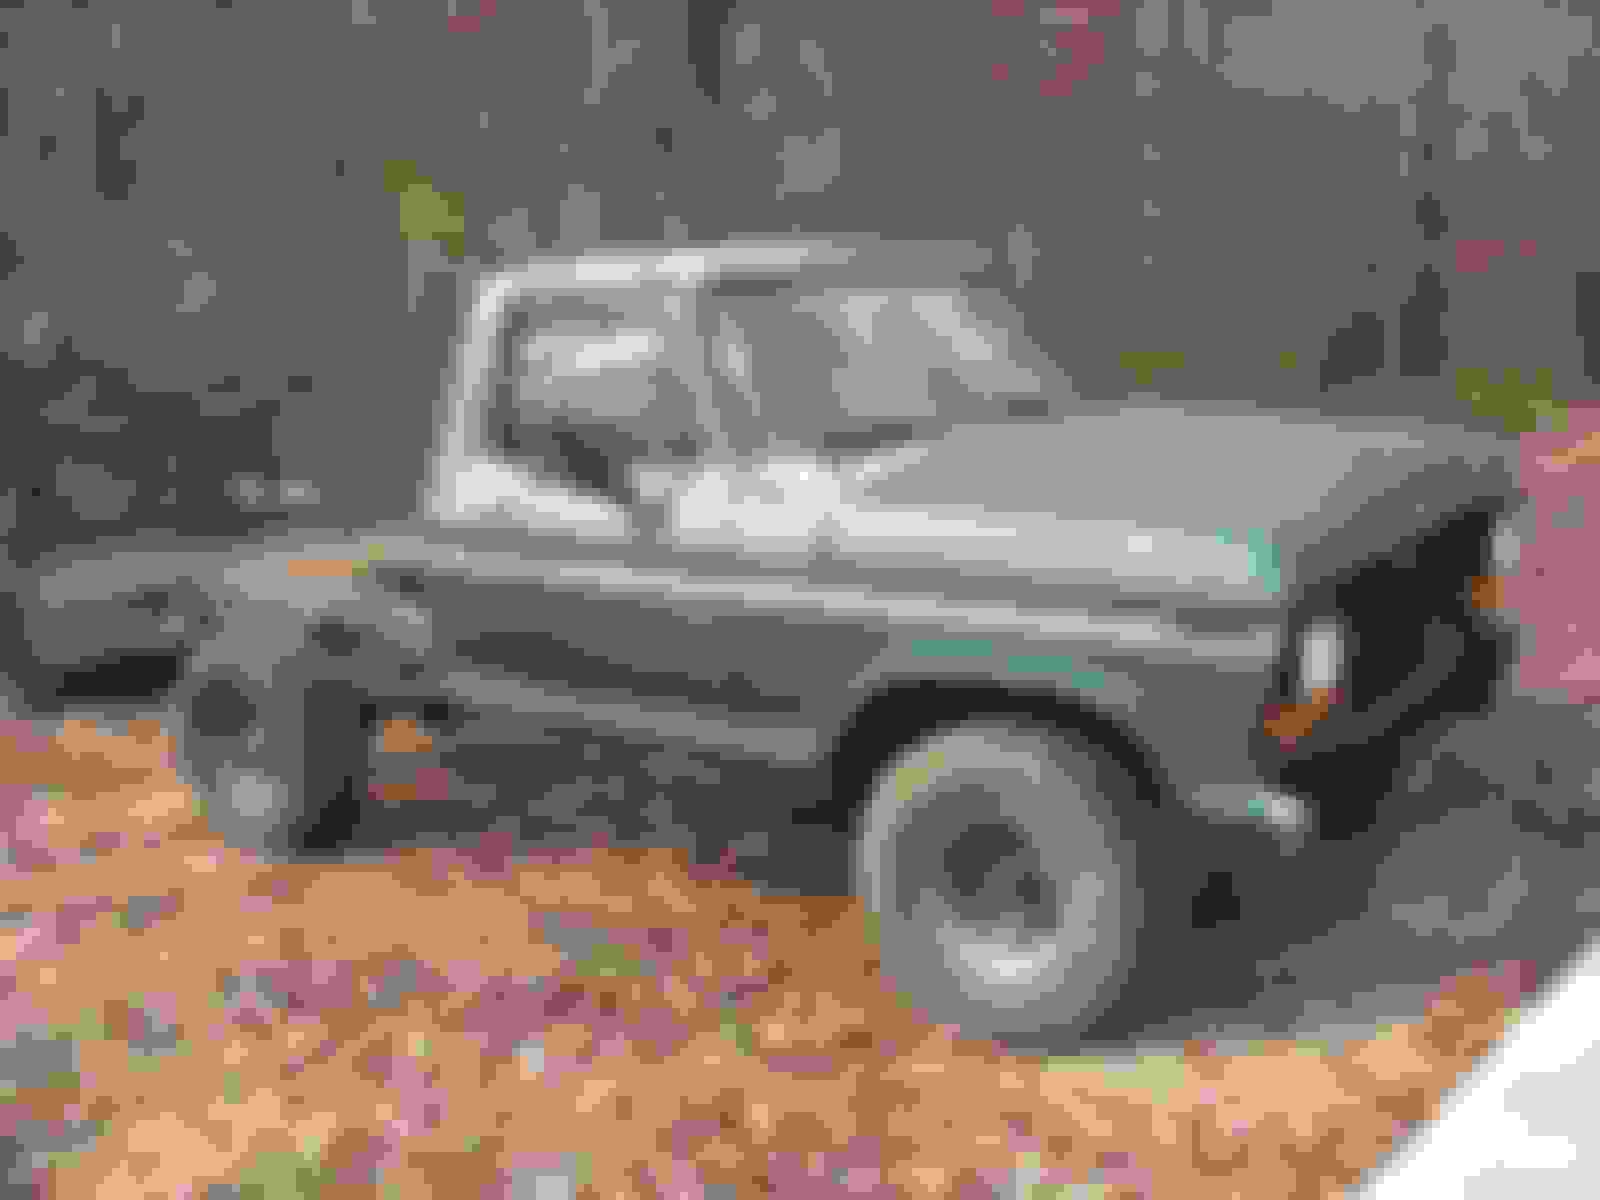
This is going to be my restoration project of my 1978 F150 4X4. I purchased this truck in 2003 with the intent to restore it. Rebuilt the engine and transmission a few years later and then it sat. For a long time. Kids, bad economy honey do projects all took precedence. Well I had a shop built at the end of last year and it was finally time to start the restoration of my truck. Going to be a resto-mod basically done the way I wanted things to be not just original or correct. I am pretty far along but just now getting around to posting so it will begin with a flurry of pics over the next few days to get to the point where I am at now.
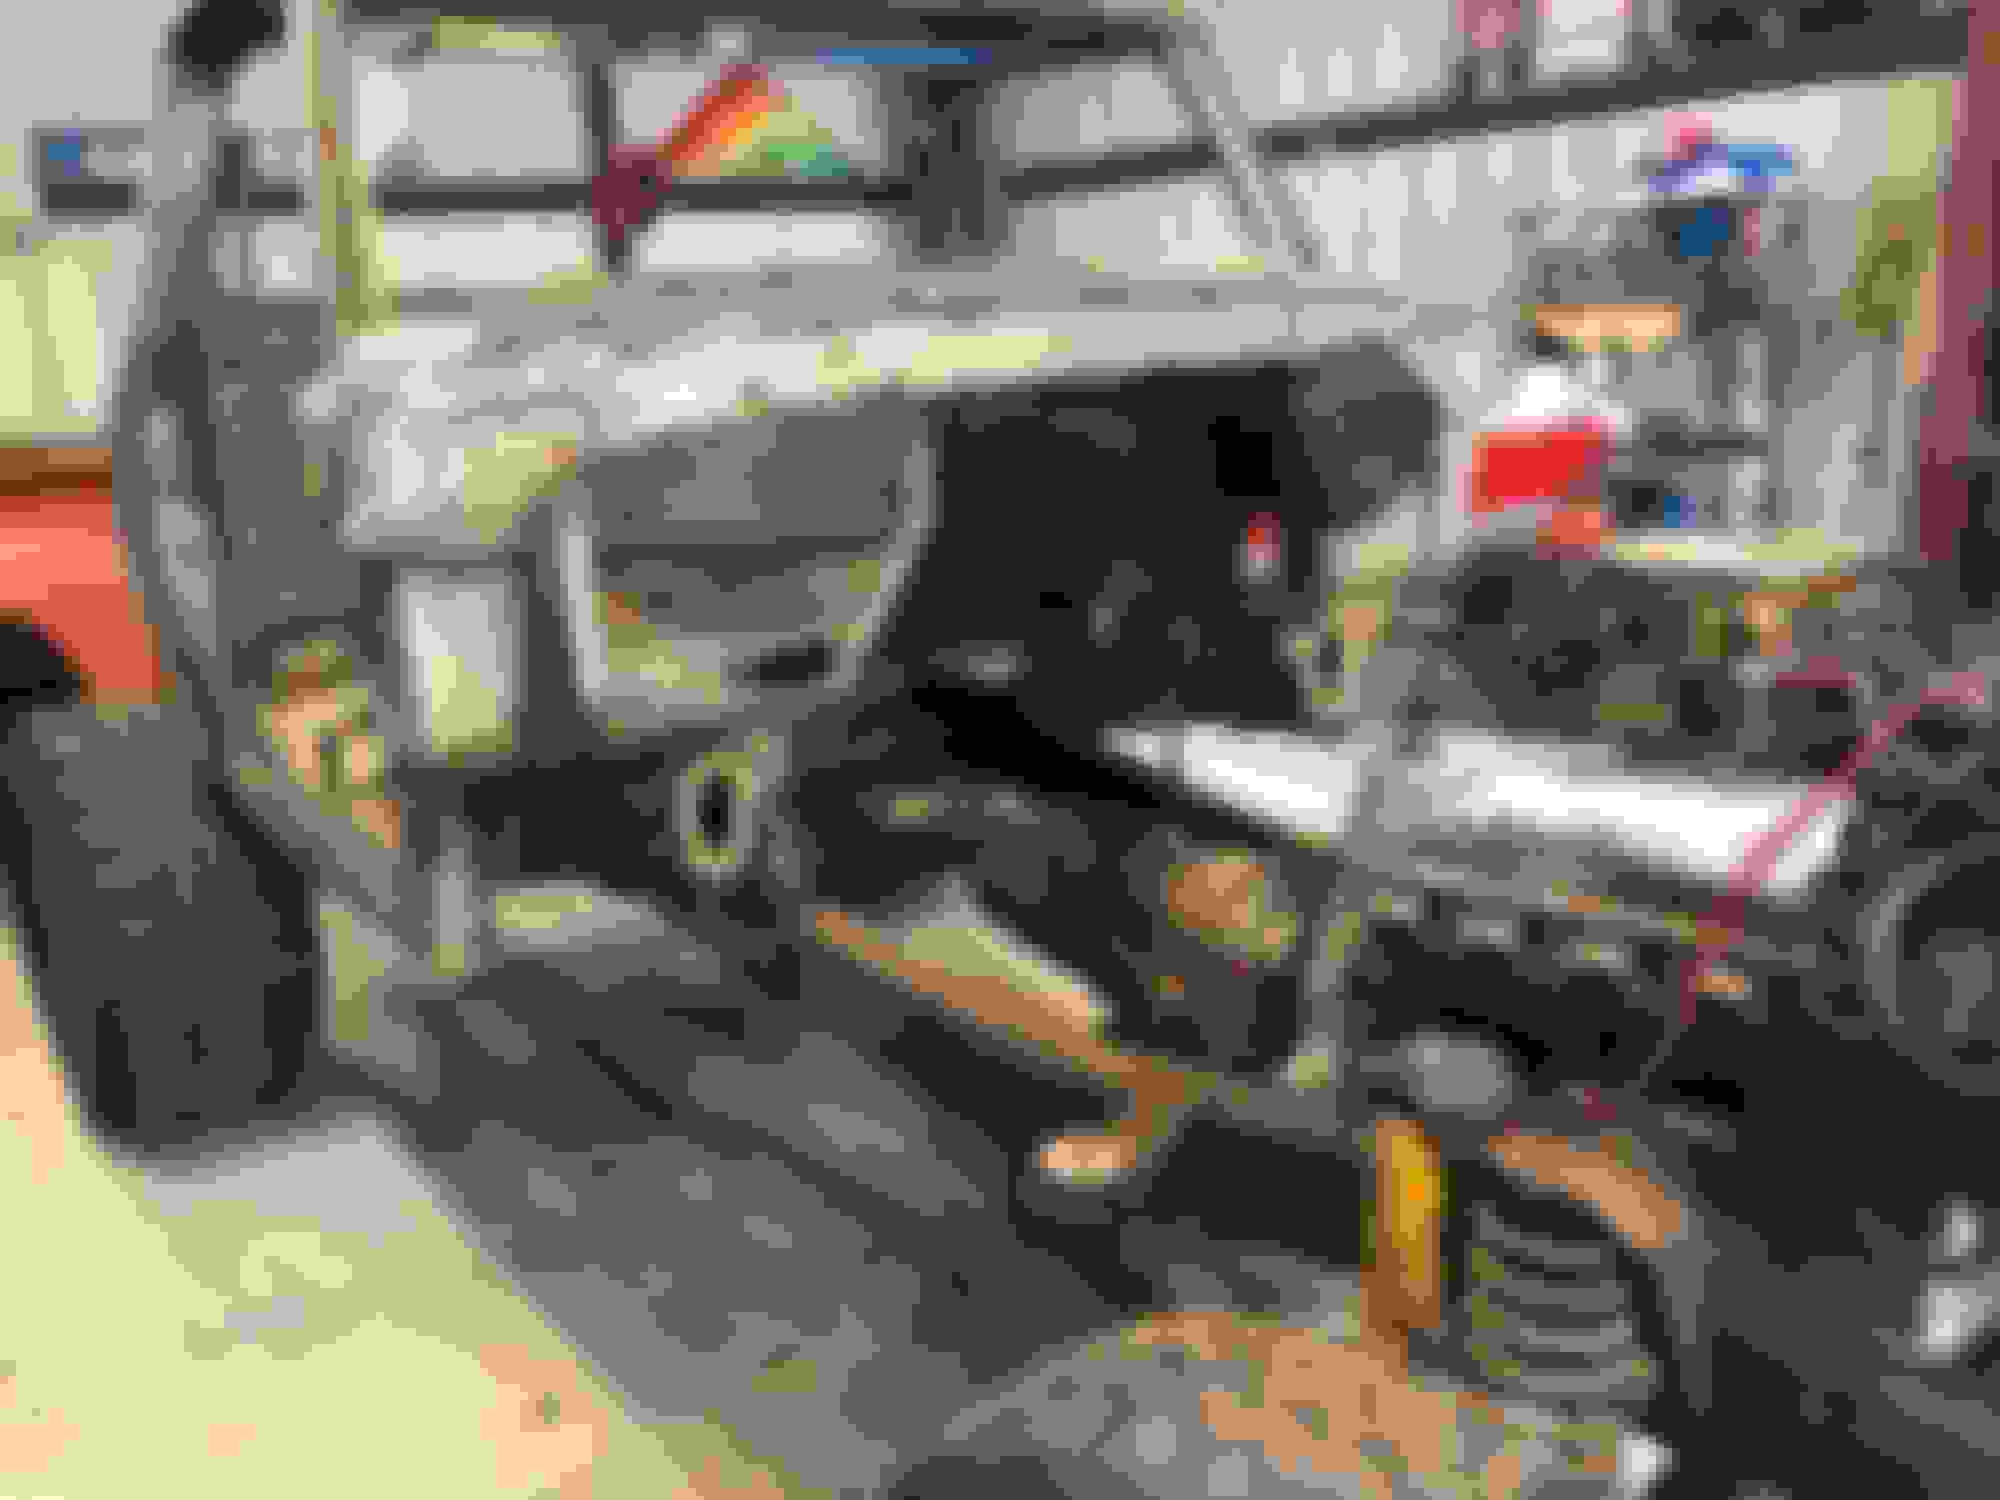
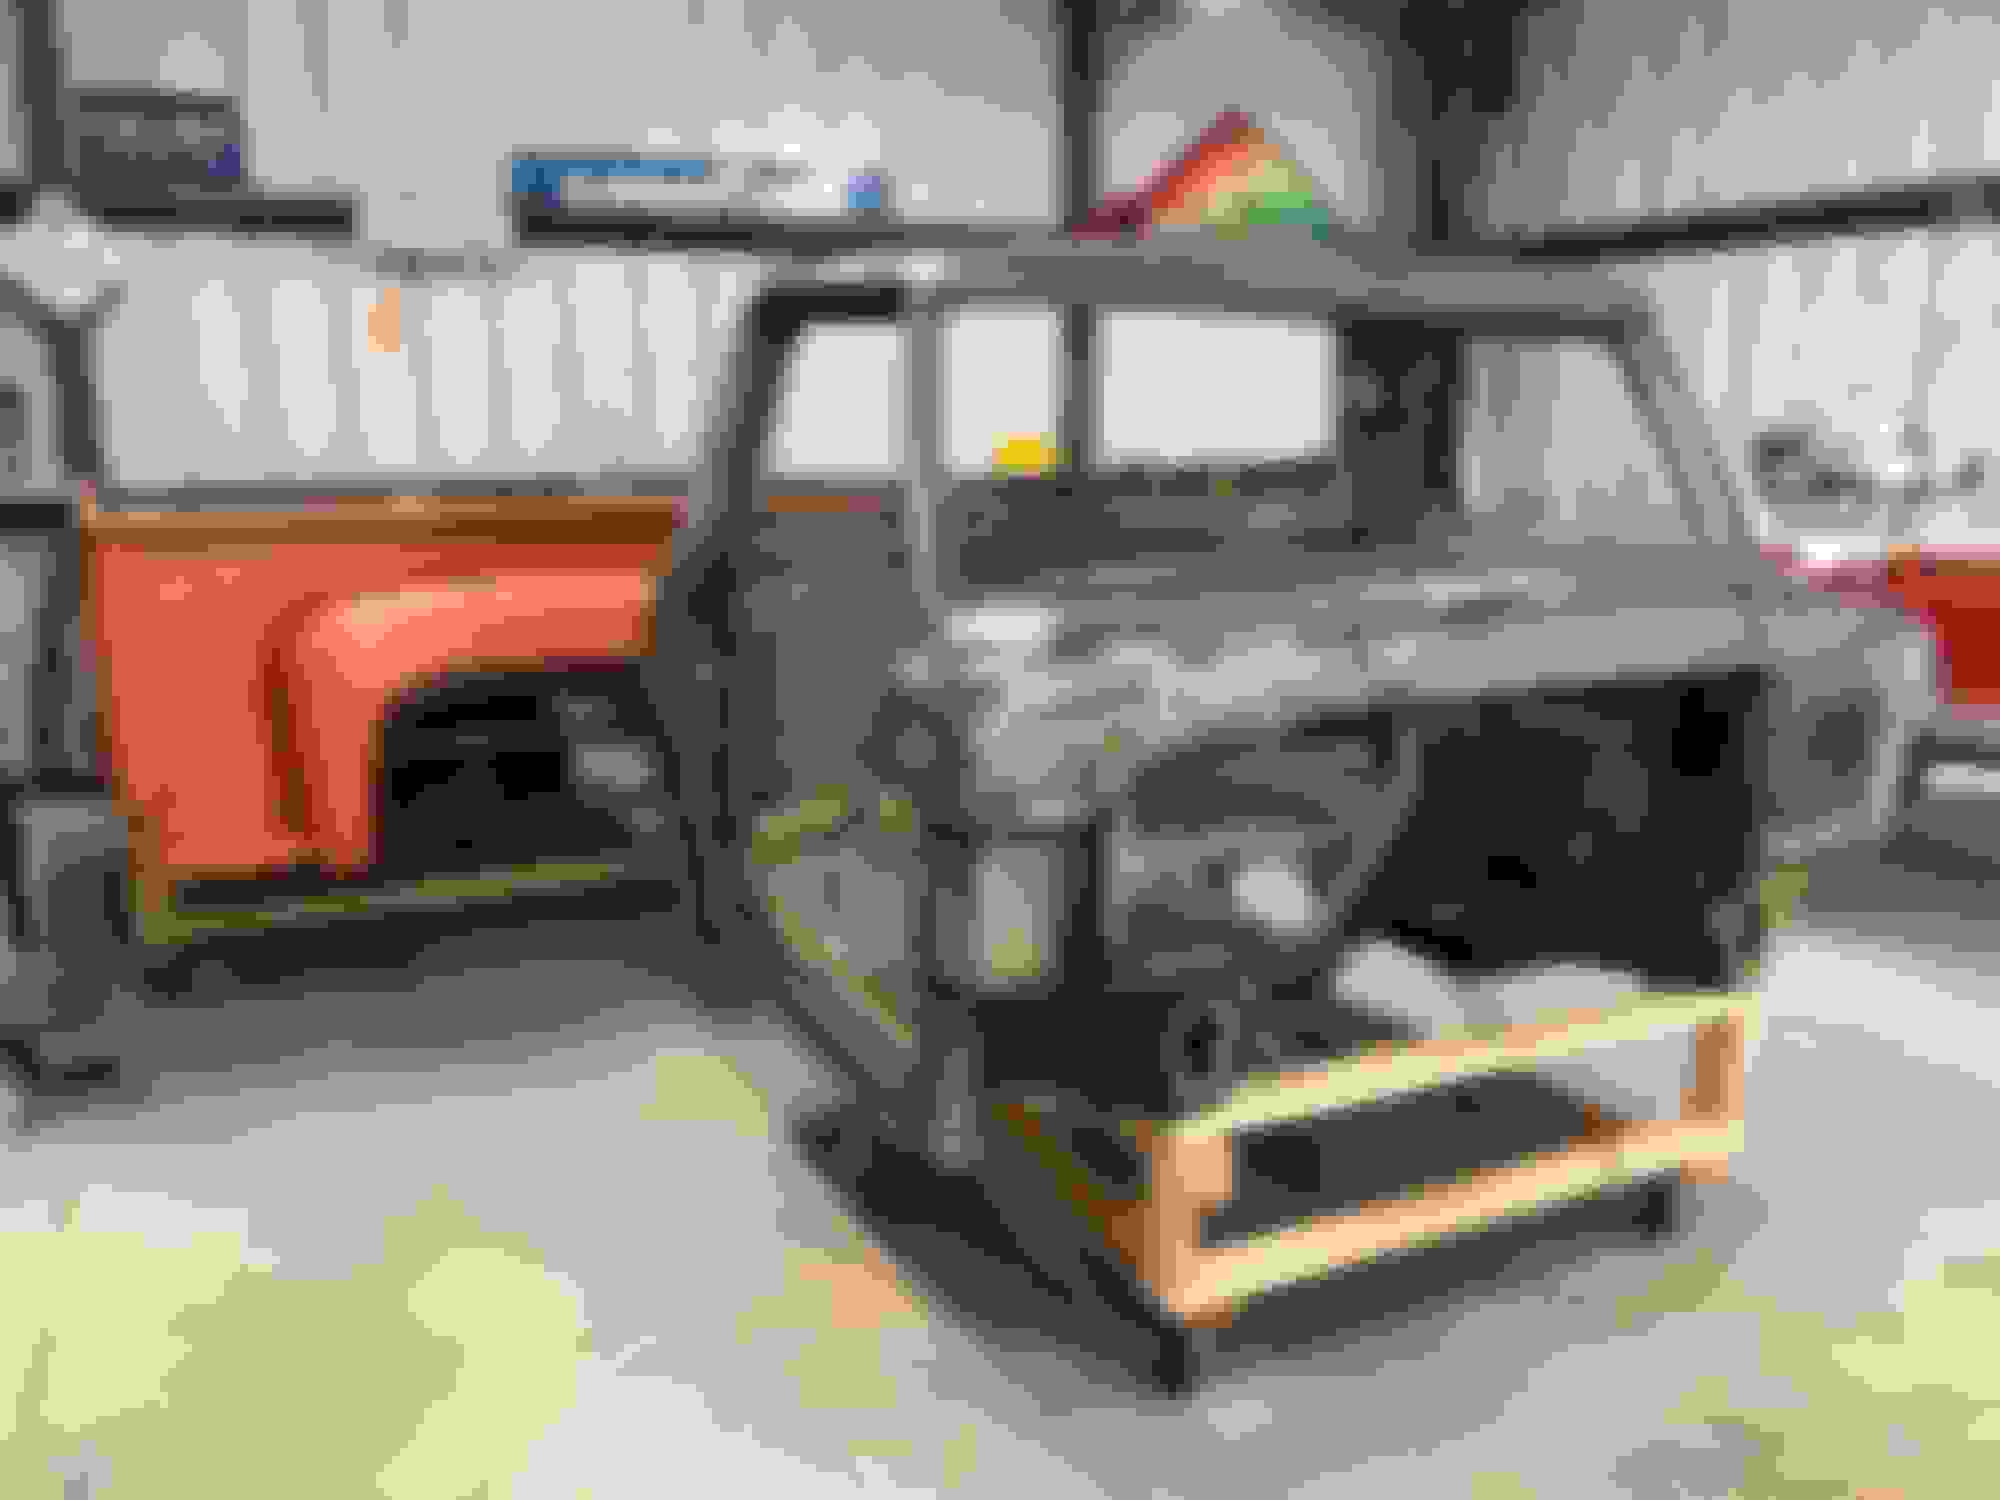
Here is the beginning.

2010


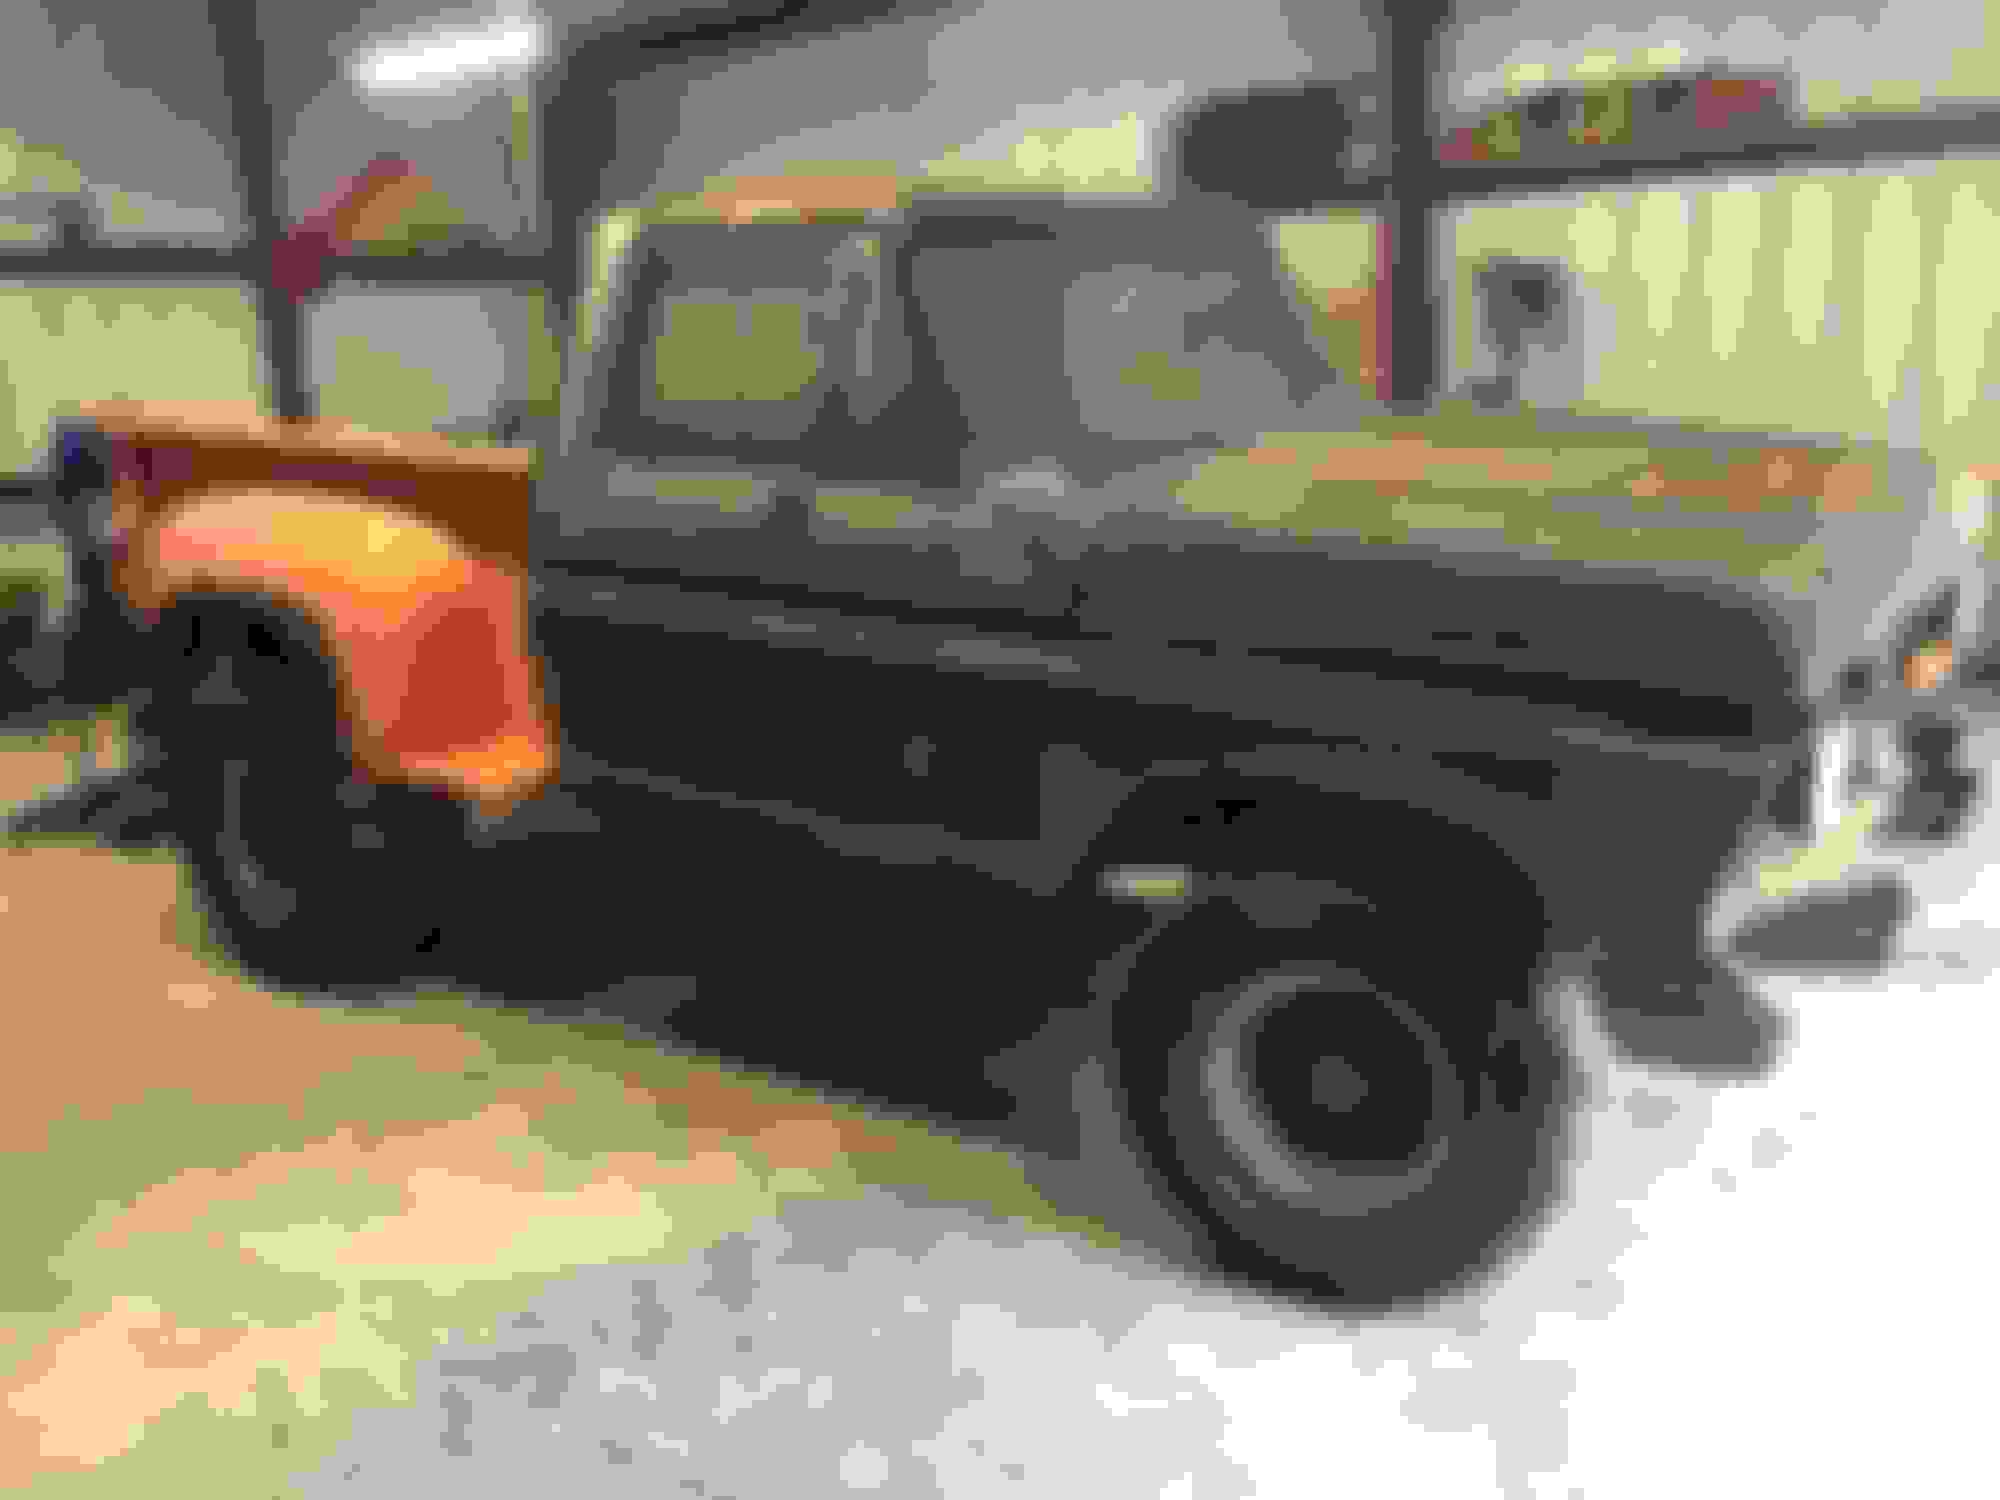
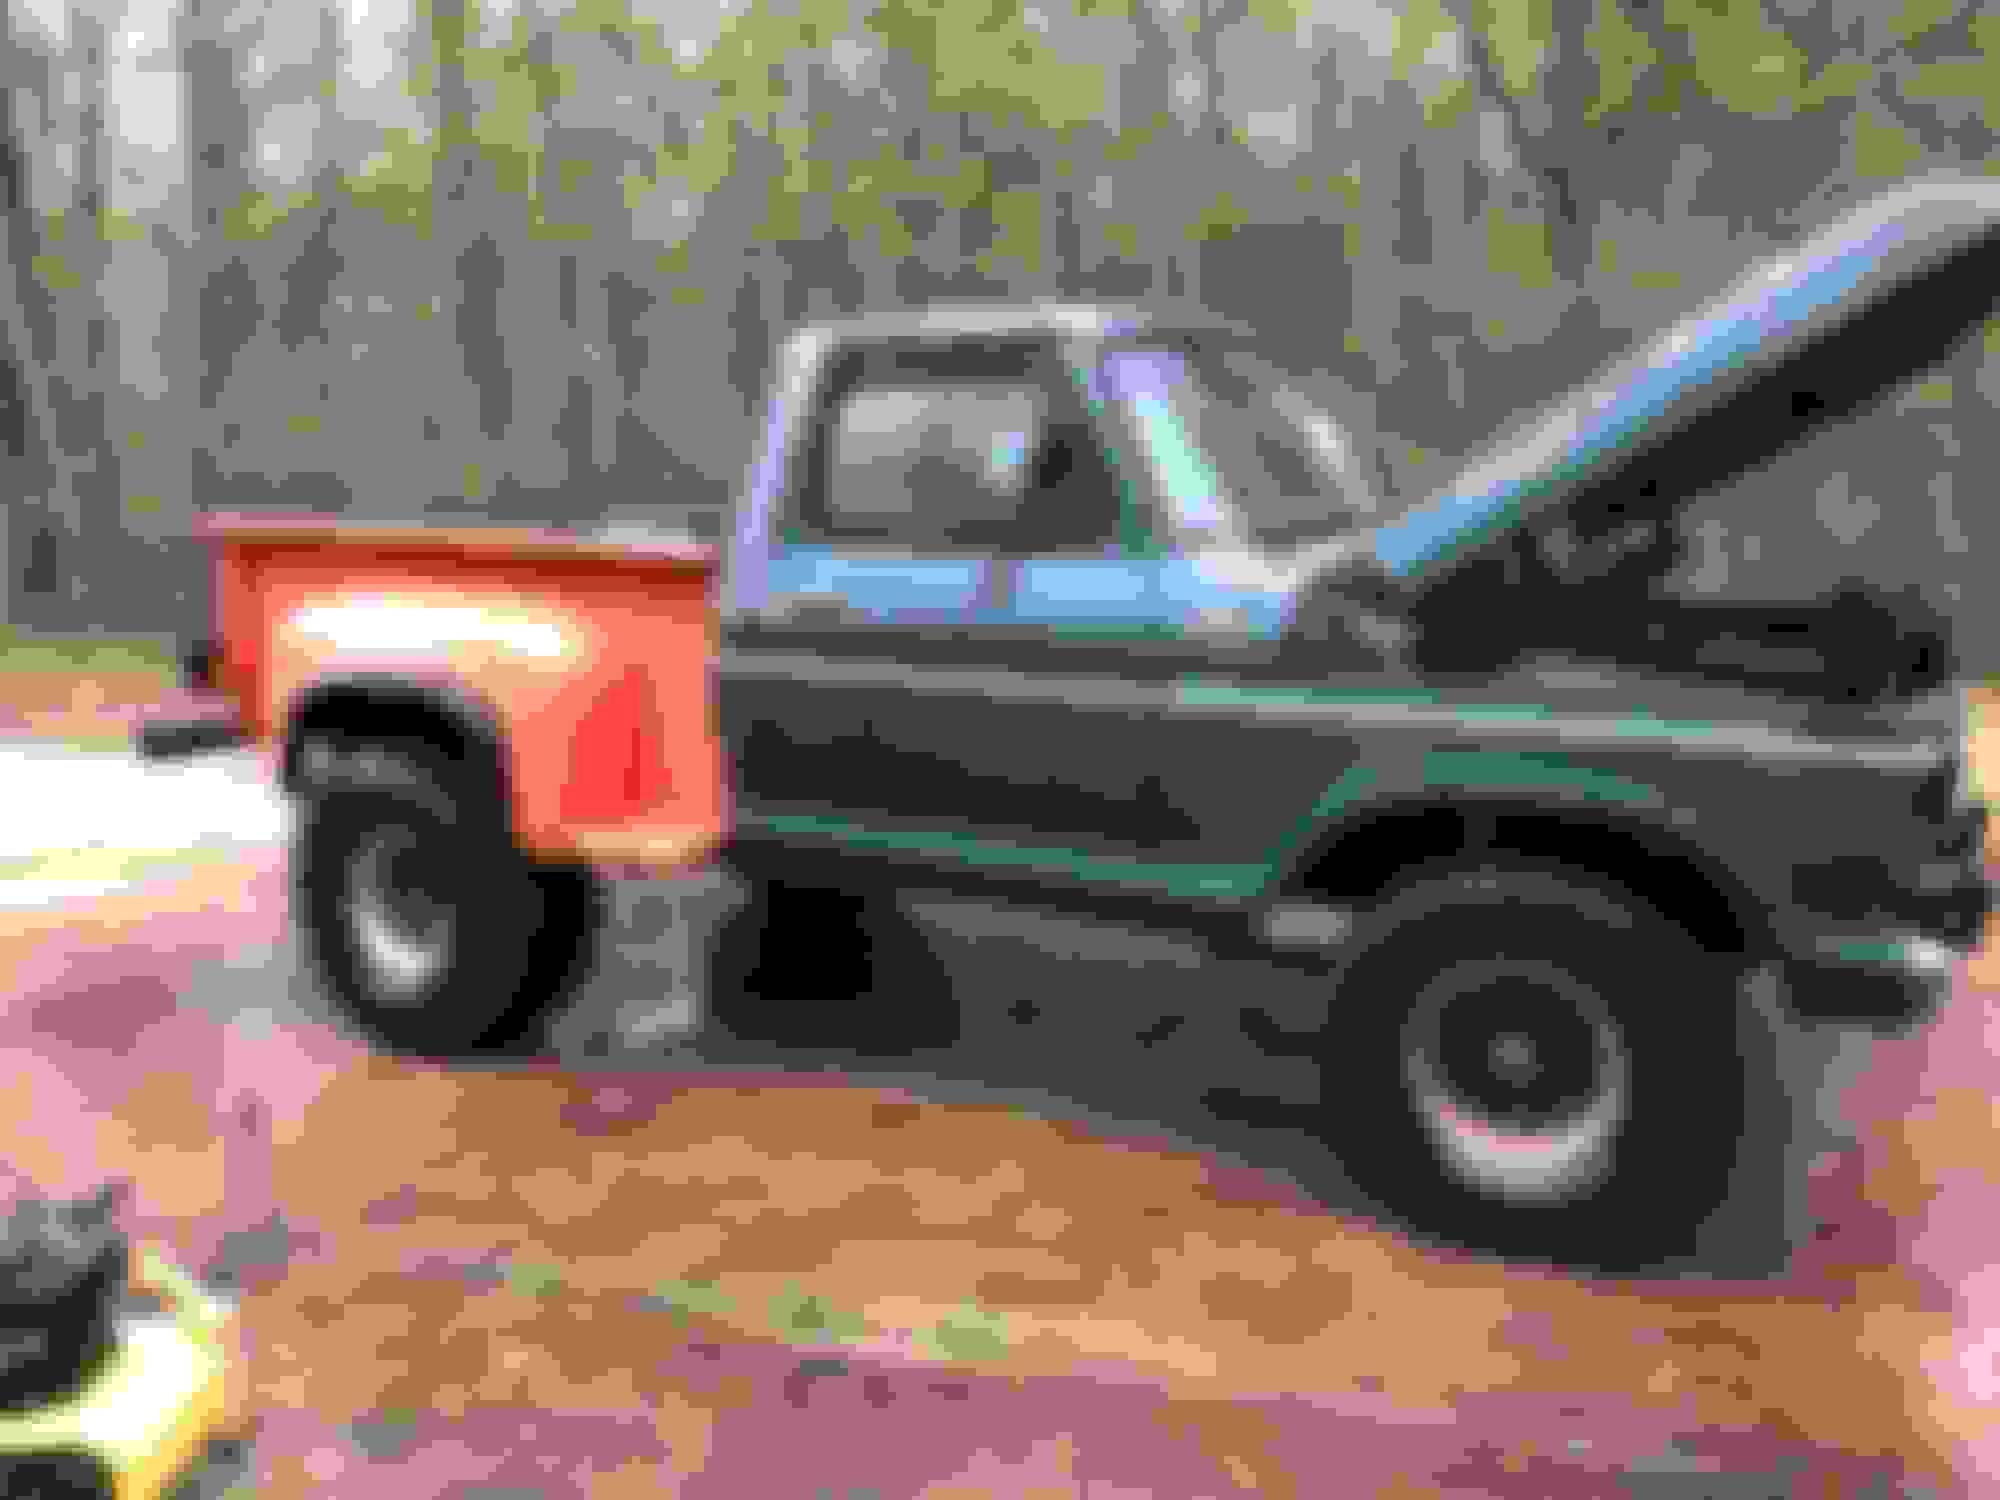
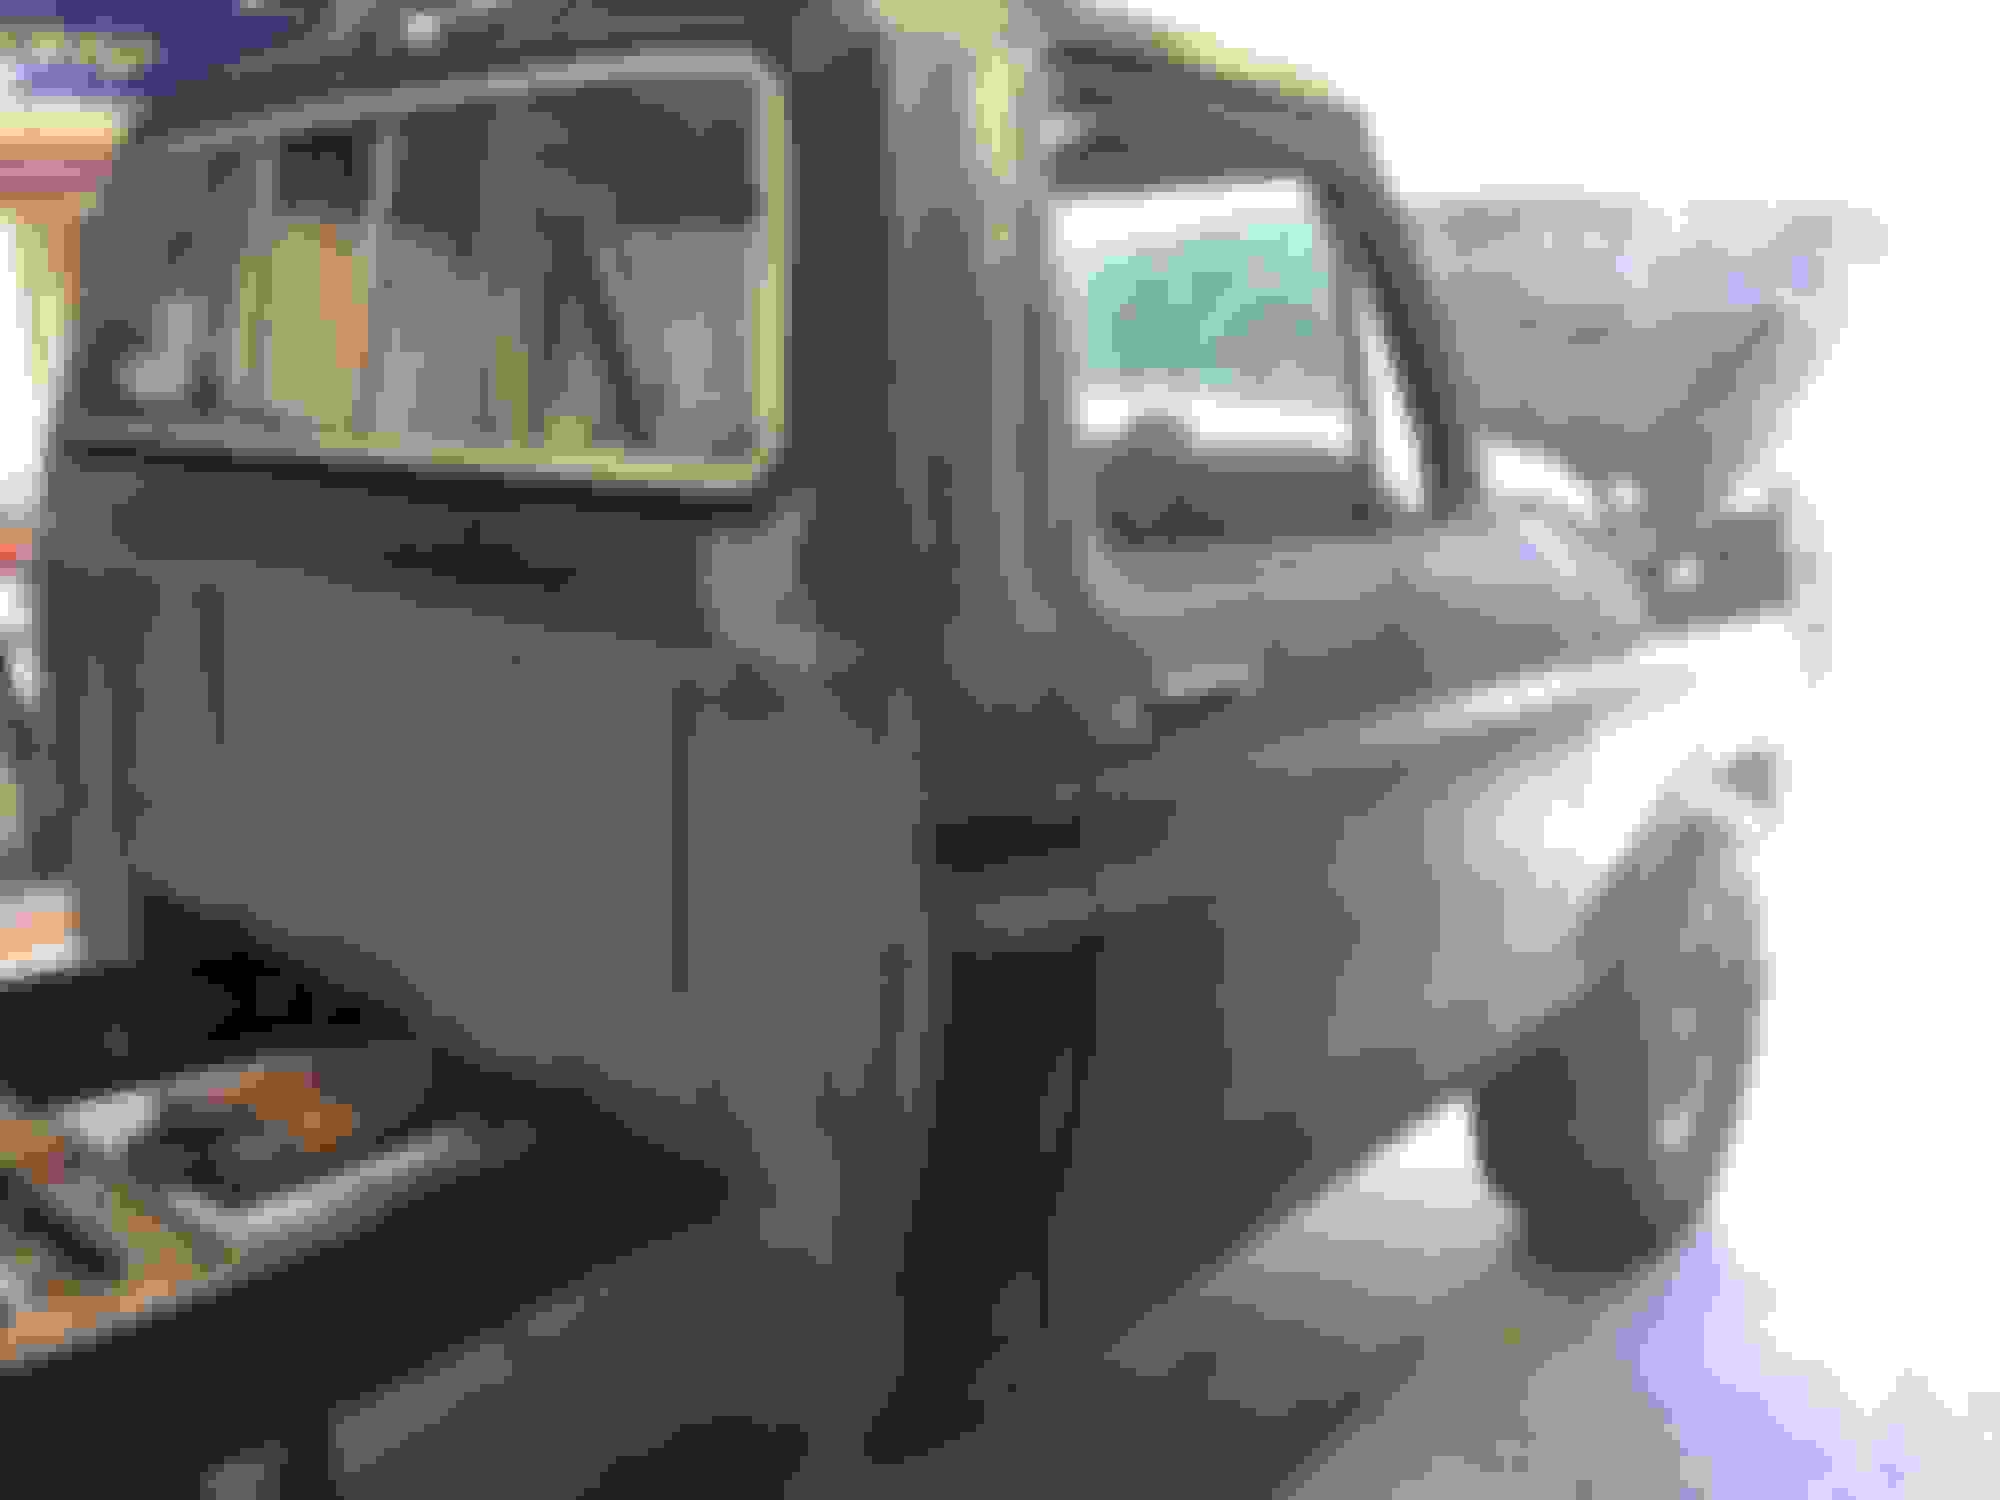
The truck started as a styleside. I swapped the bed to a flareside.


More to come.
 
  #2  
Old 12-20-2020, 06:42 PM
mudbogger2's Avatar
mudbogger2
mudbogger2 is offline
Tuned
Thread Starter
Join Date: Mar 2004
Location: Hoschton,Ga.
Posts: 278
Received 82 Likes on 52 Posts
Cleaning and striping down the cab for primer.


Epoxy primer on bottom. The underneath of the cab is being done in raptor liner.


  #3  
Old 12-20-2020, 06:47 PM
mudbogger2's Avatar
mudbogger2
mudbogger2 is offline
Tuned
Thread Starter
Join Date: Mar 2004
Location: Hoschton,Ga.
Posts: 278
Received 82 Likes on 52 Posts
Epoxy primer for the inside of the cab.

 
  #4  
Old 12-20-2020, 07:07 PM
mudbogger2's Avatar
mudbogger2
mudbogger2 is offline
Tuned
Thread Starter
Join Date: Mar 2004
Location: Hoschton,Ga.
Posts: 278
Received 82 Likes on 52 Posts
Removing the engine, trans and transfer case.


The following users liked this post:
  #5  
Old 12-20-2020, 07:50 PM
mudbogger2's Avatar
mudbogger2
mudbogger2 is offline
Tuned
Thread Starter
Join Date: Mar 2004
Location: Hoschton,Ga.
Posts: 278
Received 82 Likes on 52 Posts
Removing axles and cleaning the frame.


The following users liked this post:
  #6  
Old 12-20-2020, 07:54 PM
mudbogger2's Avatar
mudbogger2
mudbogger2 is offline
Tuned
Thread Starter
Join Date: Mar 2004
Location: Hoschton,Ga.
Posts: 278
Received 82 Likes on 52 Posts
Transfer case got a rebuild and paint. Frame treated with POR-15.


  #7  
Old 12-20-2020, 08:34 PM
mudbogger2's Avatar
mudbogger2
mudbogger2 is offline
Tuned
Thread Starter
Join Date: Mar 2004
Location: Hoschton,Ga.
Posts: 278
Received 82 Likes on 52 Posts
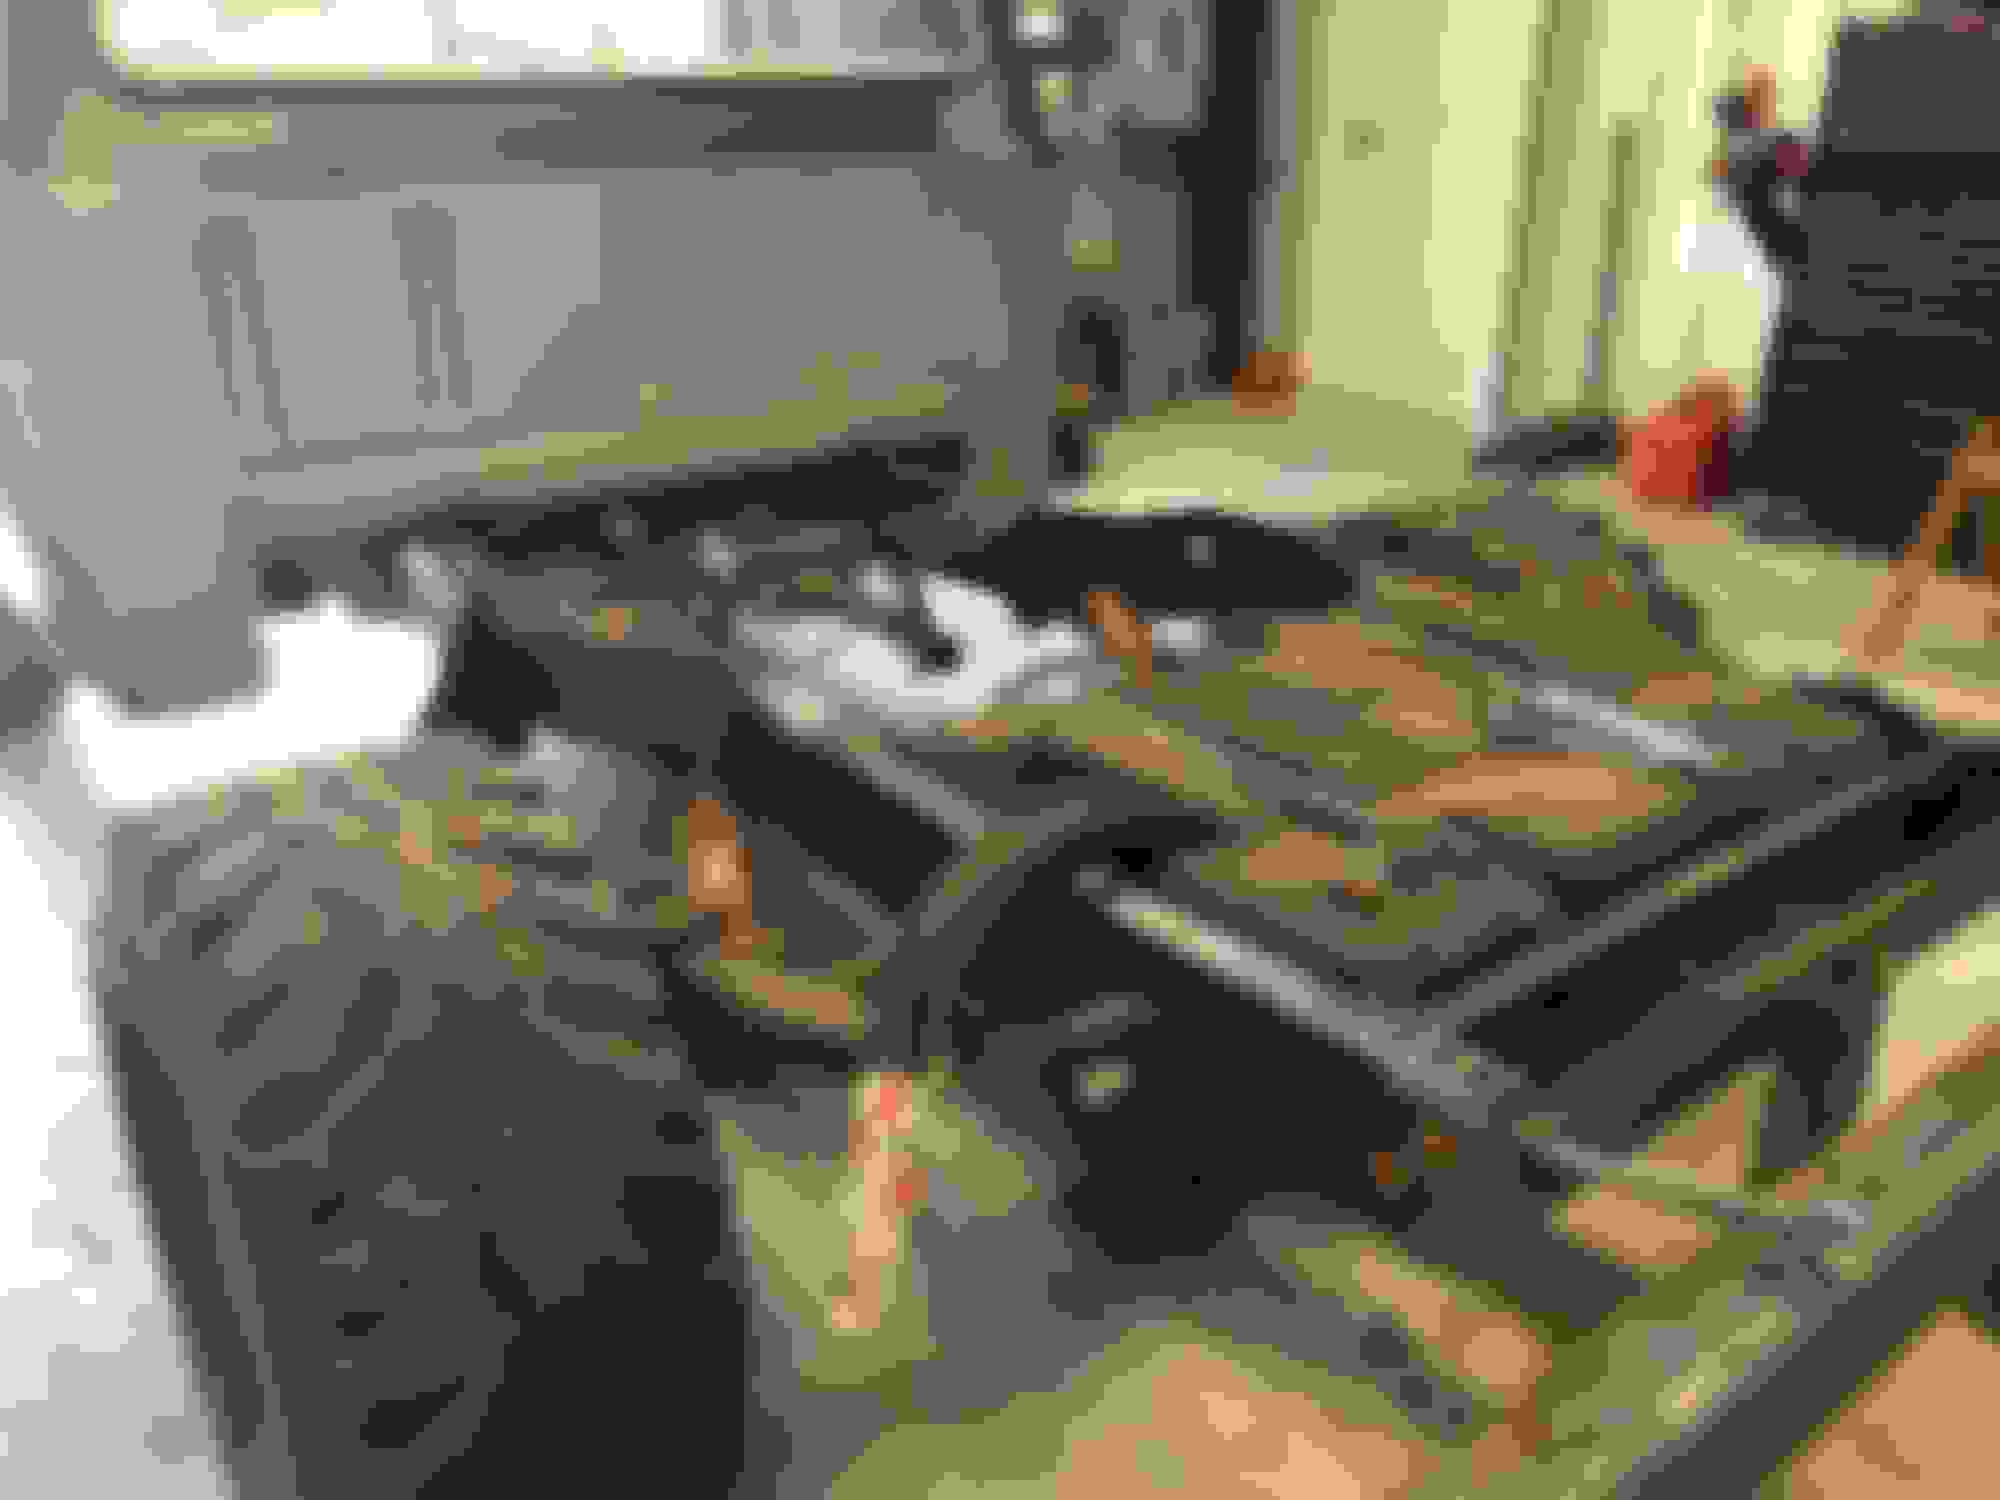
Axles rebuilt and coated with POR-15. Had to do some repairs on the rear axle backing plates. They had groves in them from the shoes wearing into them.


The following users liked this post:
  #8  
Old 12-21-2020, 07:07 AM
mudbogger2's Avatar
mudbogger2
mudbogger2 is offline
Tuned
Thread Starter
Join Date: Mar 2004
Location: Hoschton,Ga.
Posts: 278
Received 82 Likes on 52 Posts
Installing the 4" lift kit and axles onto the frame.

 
  #9  
Old 12-21-2020, 07:15 AM
mudbogger2's Avatar
mudbogger2
mudbogger2 is offline
Tuned
Thread Starter
Join Date: Mar 2004
Location: Hoschton,Ga.
Posts: 278
Received 82 Likes on 52 Posts
Plastic fuel tank I bought in 2004 and installed as the original was gummed up really bad. After mostly sitting for 16 years a hot water rinse out and it was like new once more.

Brake lines installed on the axles and to the frame.

 
The following users liked this post:
  #10  
Old 12-21-2020, 07:21 AM
mudbogger2's Avatar
mudbogger2
mudbogger2 is offline
Tuned
Thread Starter
Join Date: Mar 2004
Location: Hoschton,Ga.
Posts: 278
Received 82 Likes on 52 Posts
Red head steering gear installed. hard brake lines in frame and BPMV installed. Also trying out nylon fuel line from the tank to the fuel pump.

 
  #11  
Old 12-21-2020, 07:36 AM
mudbogger2's Avatar
mudbogger2
mudbogger2 is offline
Tuned
Thread Starter
Join Date: Mar 2004
Location: Hoschton,Ga.
Posts: 278
Received 82 Likes on 52 Posts
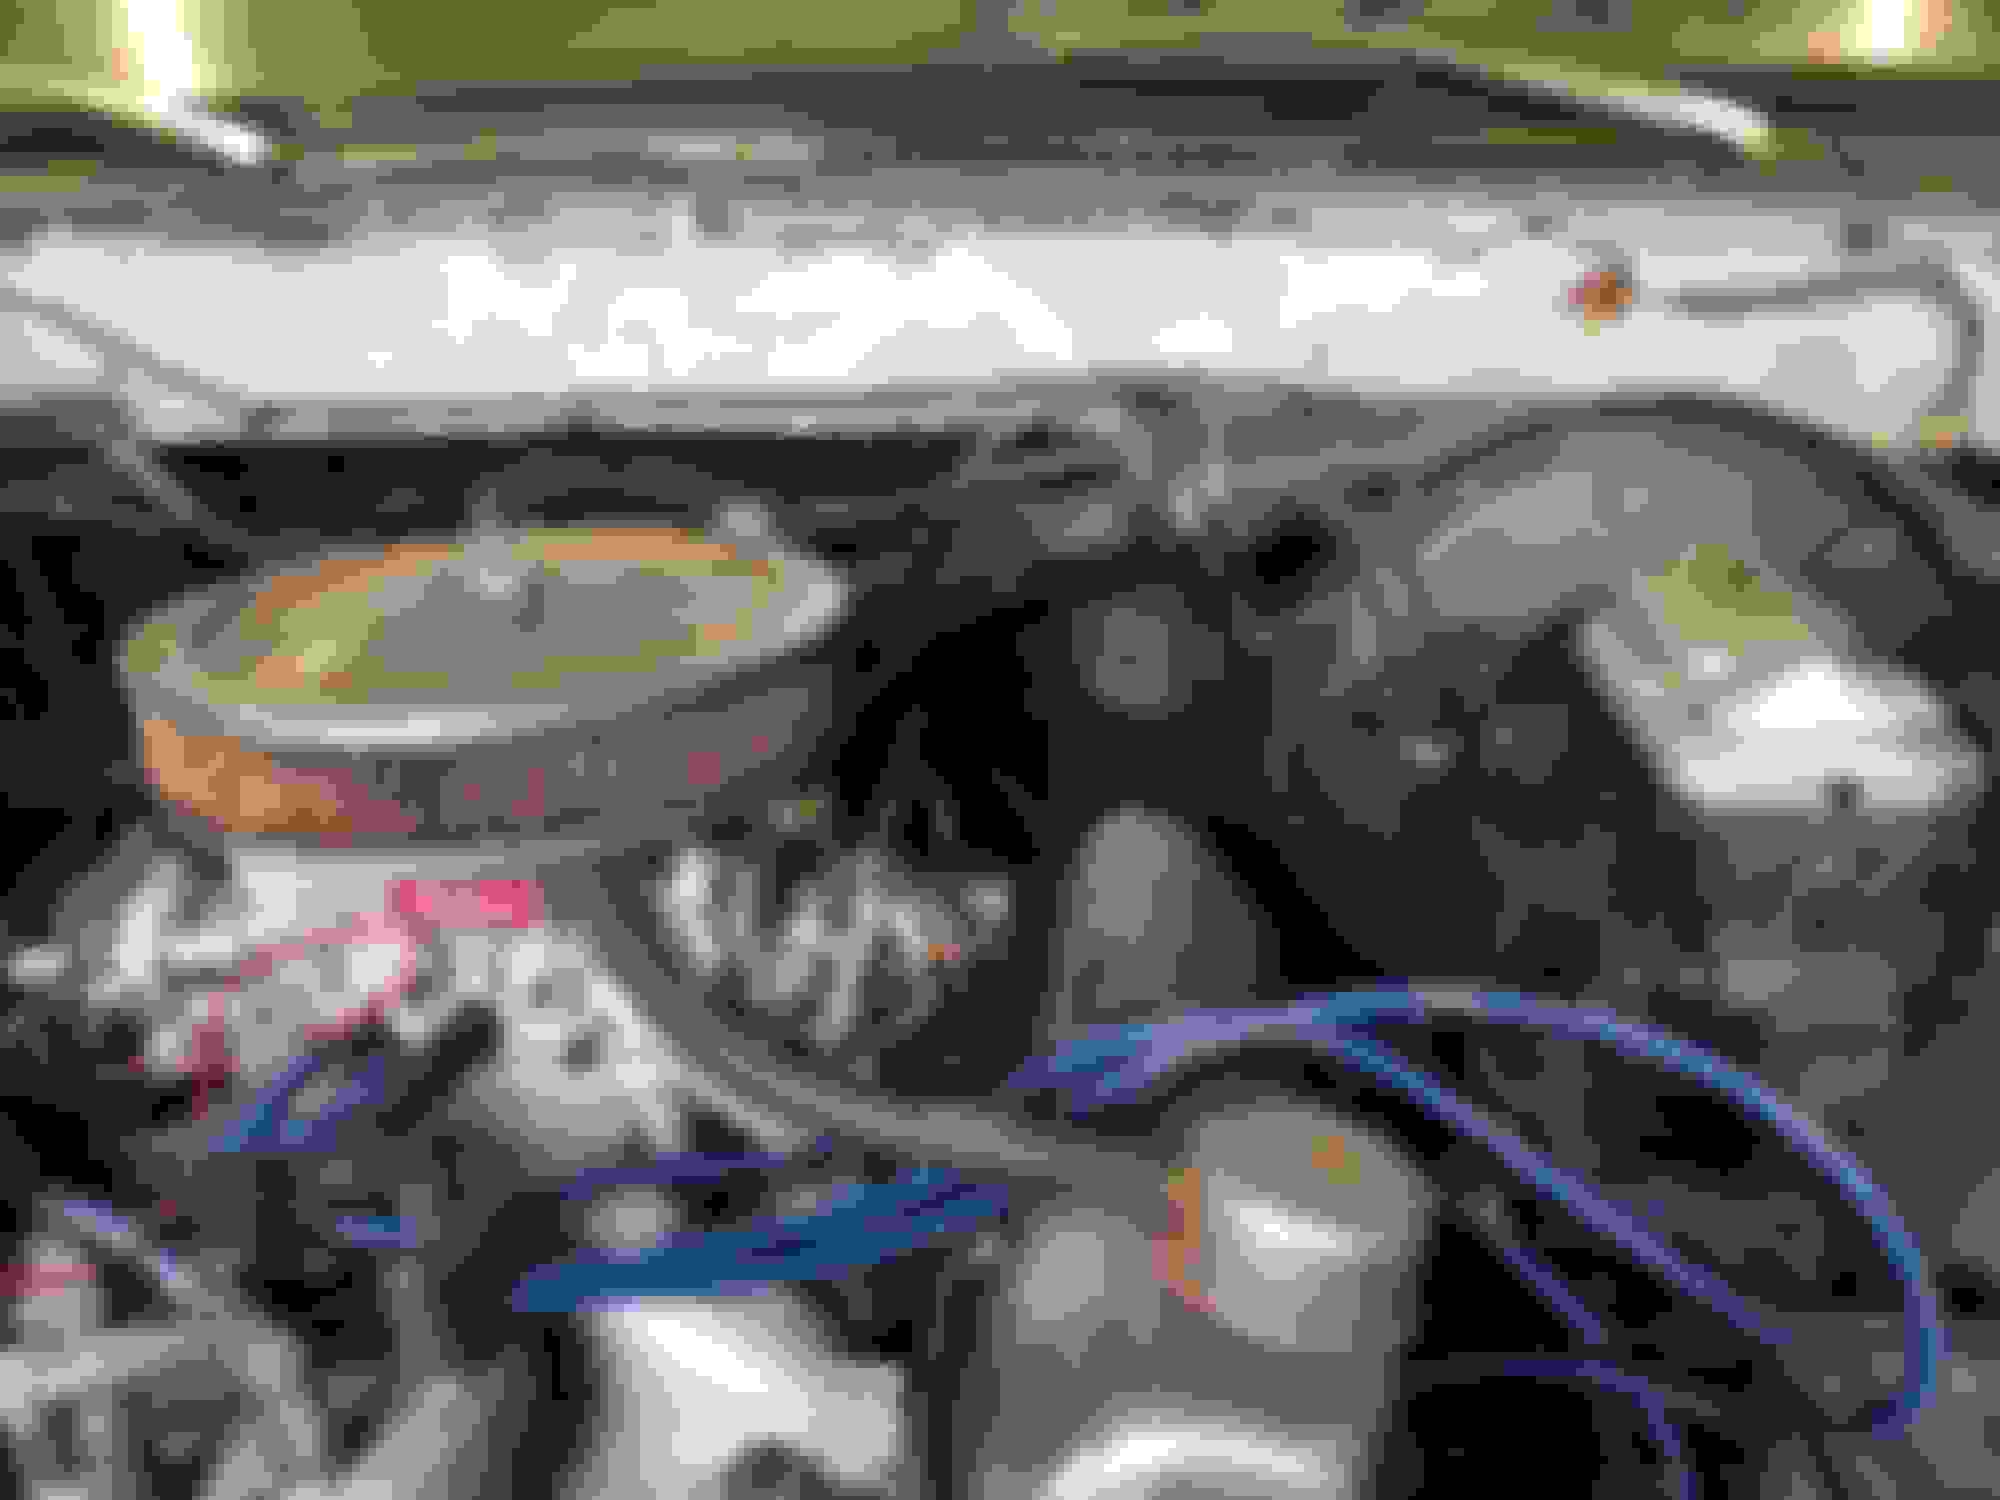
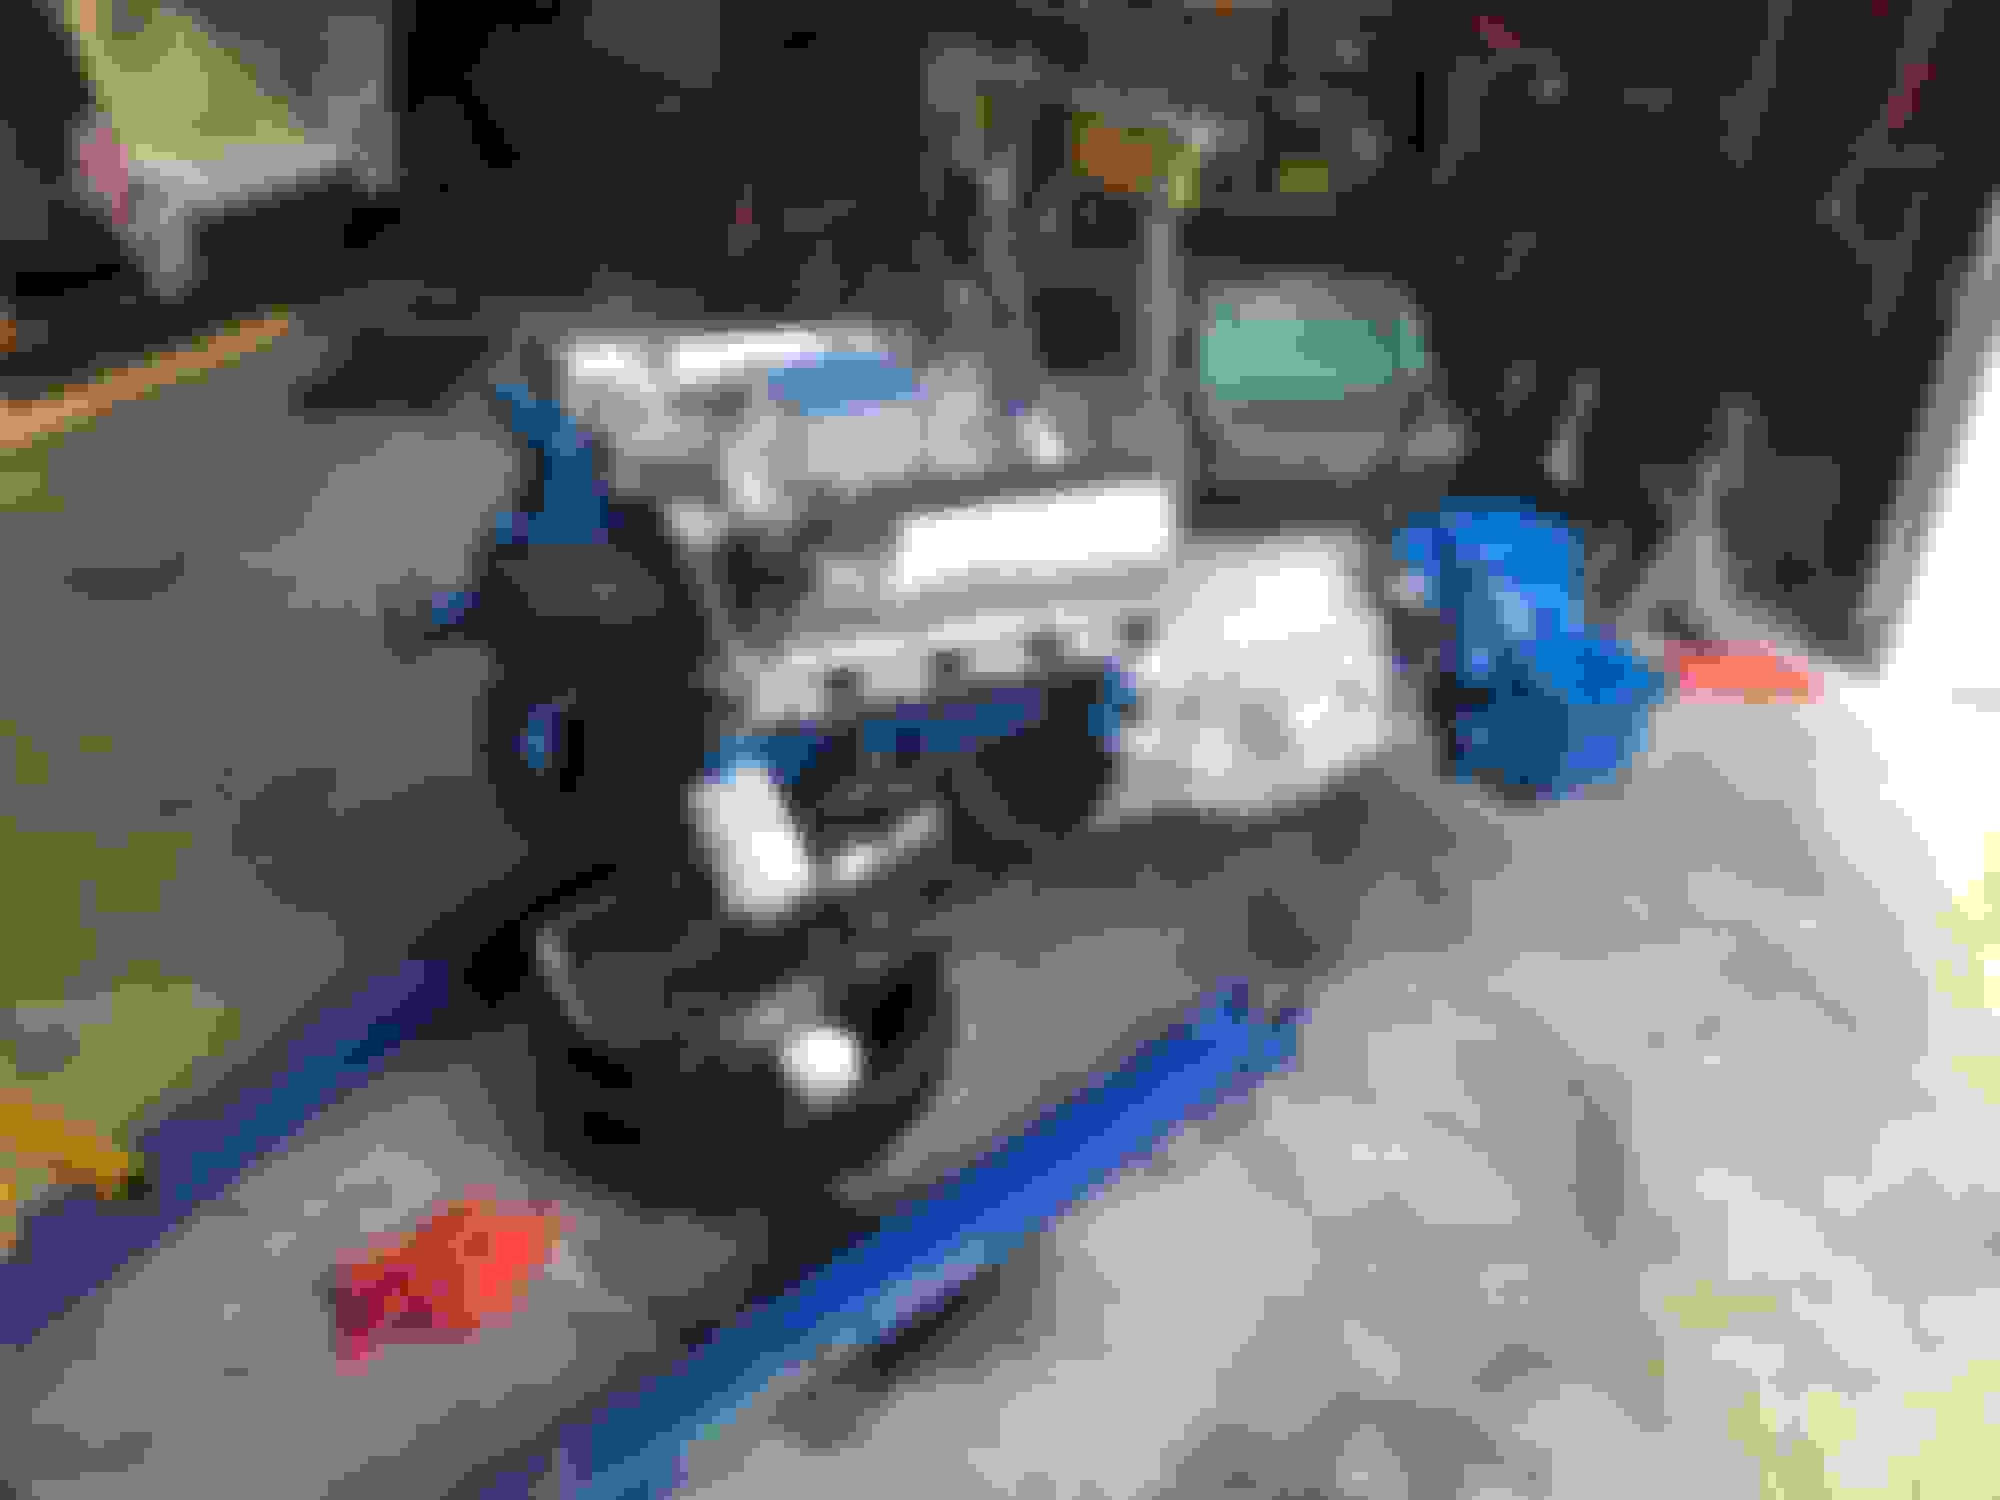
Engine and transmission only have about 50 miles on them from when they were rebuilt in 2004-2005. Just going to spruce them up. Nothing internal needed. This is my post from 2004 where I decided on what goes in the motor. 2004 motor rebuild post 351M turned into a 400.
Engine still squeaky clean inside!


The following users liked this post:
  #12  
Old 12-21-2020, 07:43 AM
JJF20's Avatar
JJF20
JJF20 is online now
Hotshot

Join Date: Nov 2017
Location: Northern Ontario
Posts: 14,719
Received 1,943 Likes on 1,127 Posts
That’s beautiful, very nice work.

It looks like it is in nice shape overall to start with, looking forward to seeing the finished truck. I like the flare side box.

Subscribed.

Cheers, 🍻
 
  #13  
Old 12-21-2020, 09:36 AM
Meridian_Mike's Avatar
Meridian_Mike
Meridian_Mike is offline
Cargo Master

Join Date: Jan 2019
Location: Mississippi
Posts: 2,665
Received 223 Likes on 185 Posts
Looking GOOD!!!!
Looking REAL GOOD!

Good job with the documentation!

Keep up the good work!!


  #14  
Old 12-21-2020, 01:51 PM
mudbogger2's Avatar
mudbogger2
mudbogger2 is offline
Tuned
Thread Starter
Join Date: Mar 2004
Location: Hoschton,Ga.
Posts: 278
Received 82 Likes on 52 Posts
Thanks!
I took lots of pictures along the way. Just hitting the high points here.
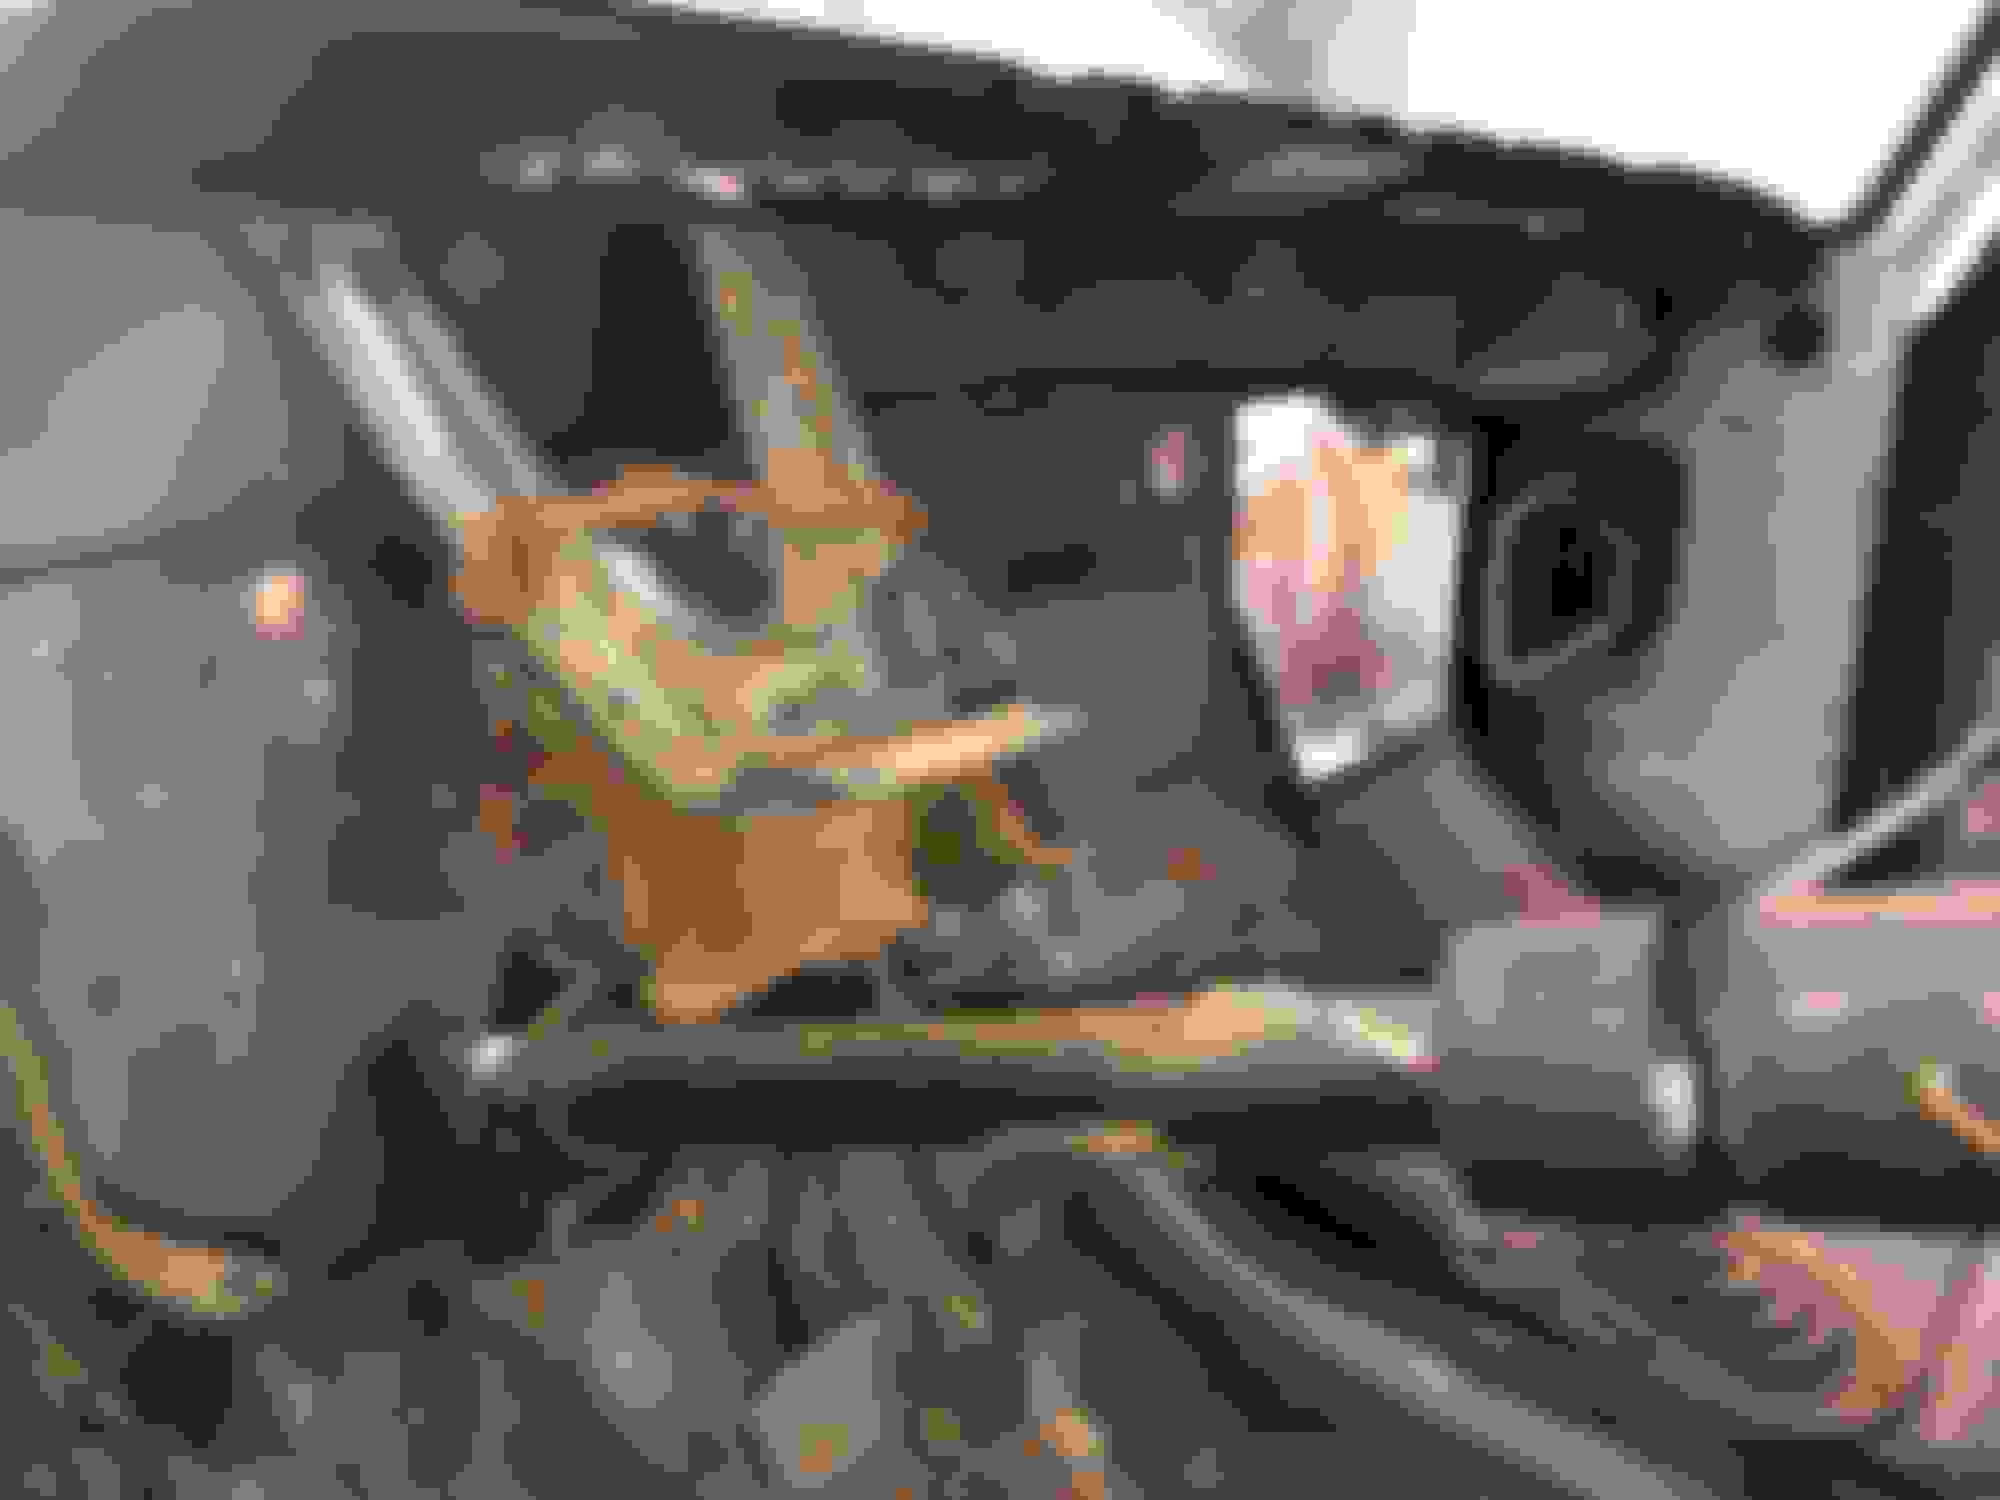
Motor, trans and transfer case back in the frame. HEI distributor, fuel lines and 3G alternator installed.


The following users liked this post:
  #15  
Old 12-21-2020, 08:31 PM
SlikWillie's Avatar
SlikWillie
SlikWillie is offline
Cargo Master
Join Date: Sep 2013
Location: Silverdale, WA
Posts: 2,622
Received 625 Likes on 366 Posts
Subscribed!! I like how this is going. Awesome job so far.
 
The following users liked this post:


Quick Reply: My 1978 F150 Restoration


All times are GMT -5. The time now is 08:02 AM.