


Butt welds for patch panels
Thread Starter
|
Tuned


Joined: Aug 2007
Posts: 459
Likes: 123
From: Maryland
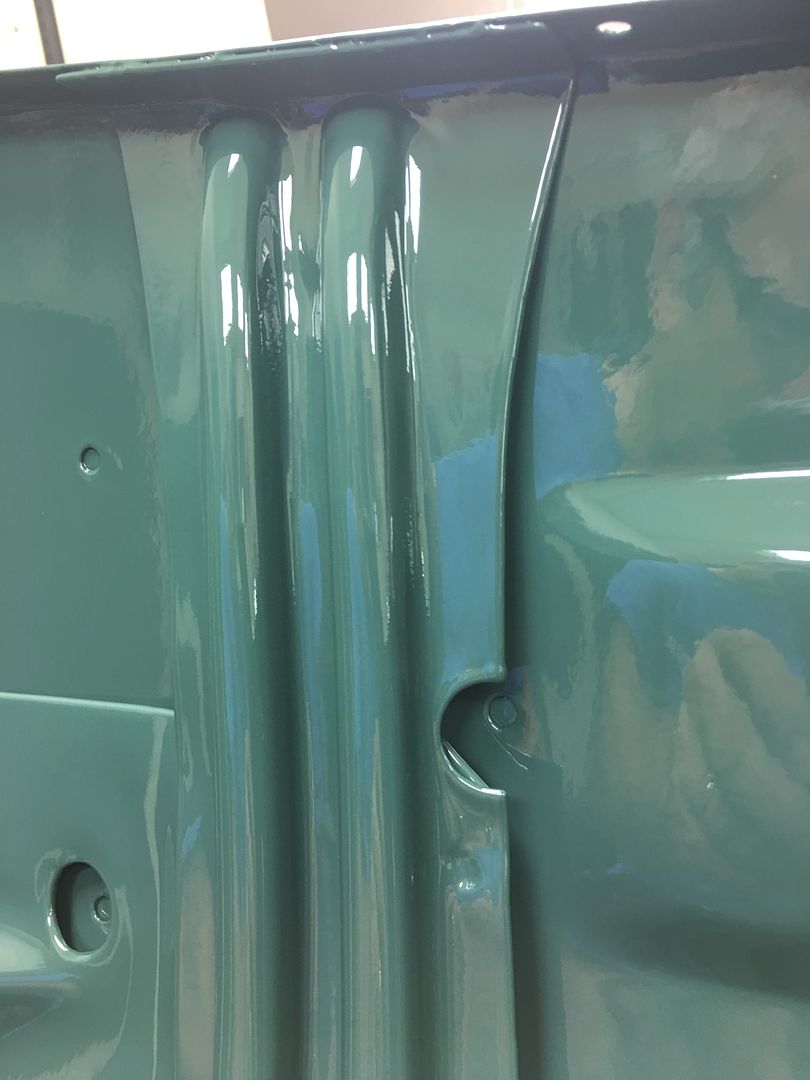
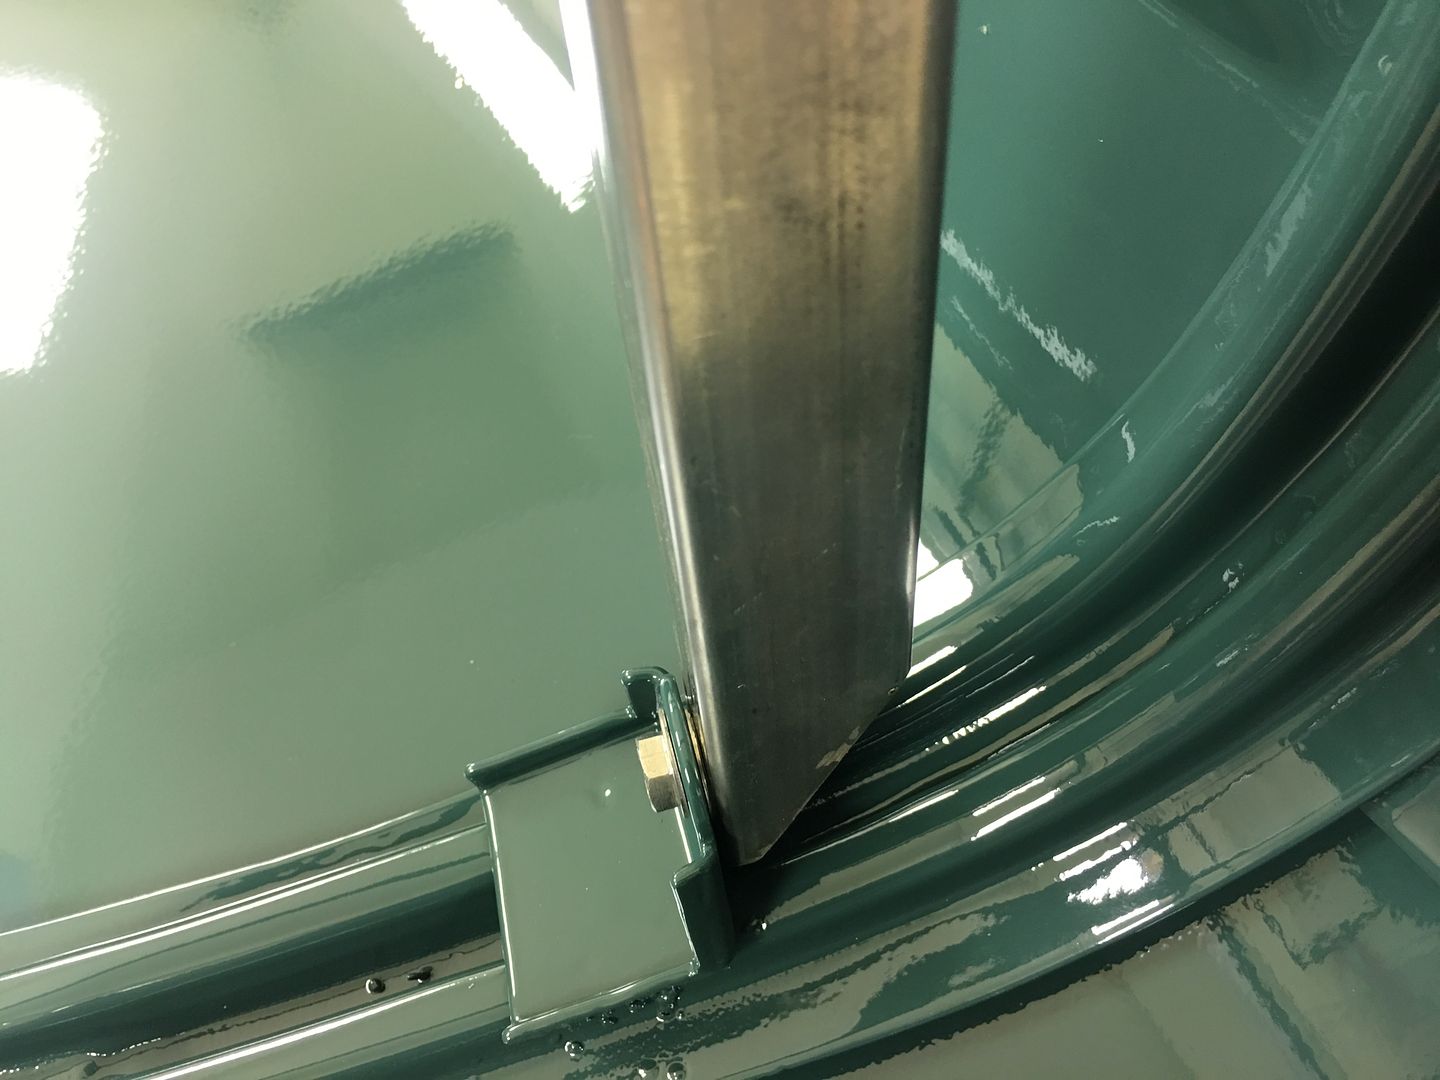
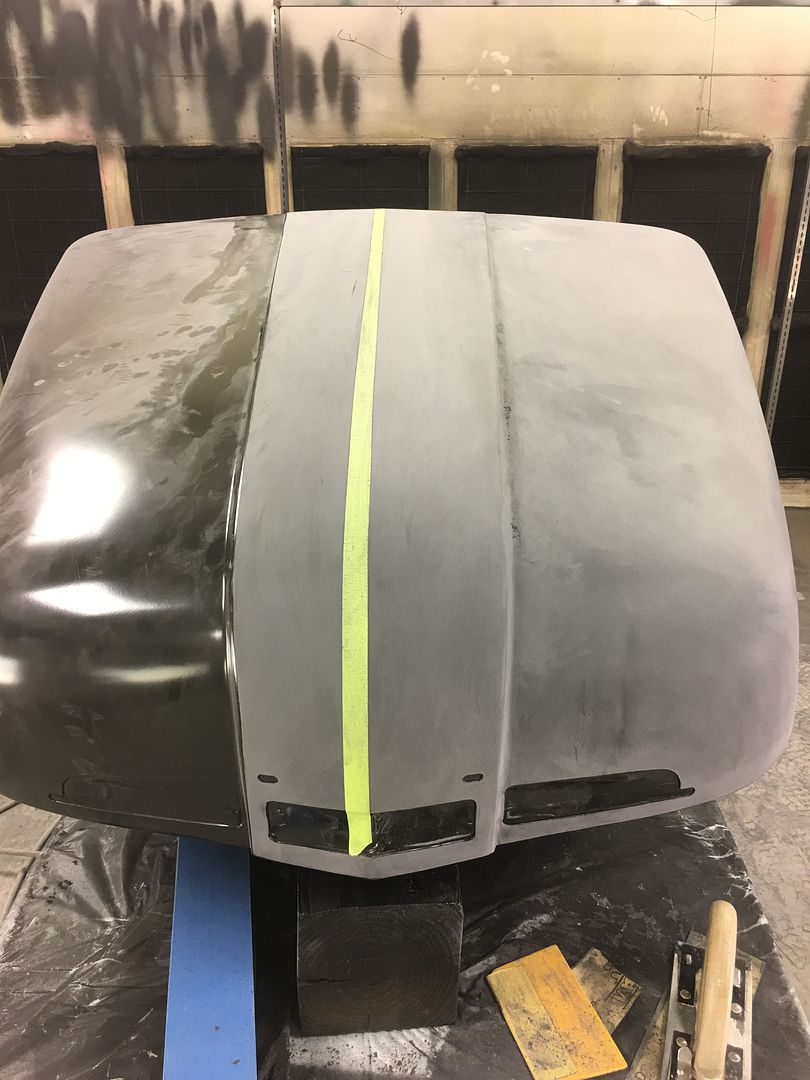
Playing catch-up here, the inside of the crease was blocked using tape to keep the center line sharp, then brace welded in place and some epoxy touch ups done..
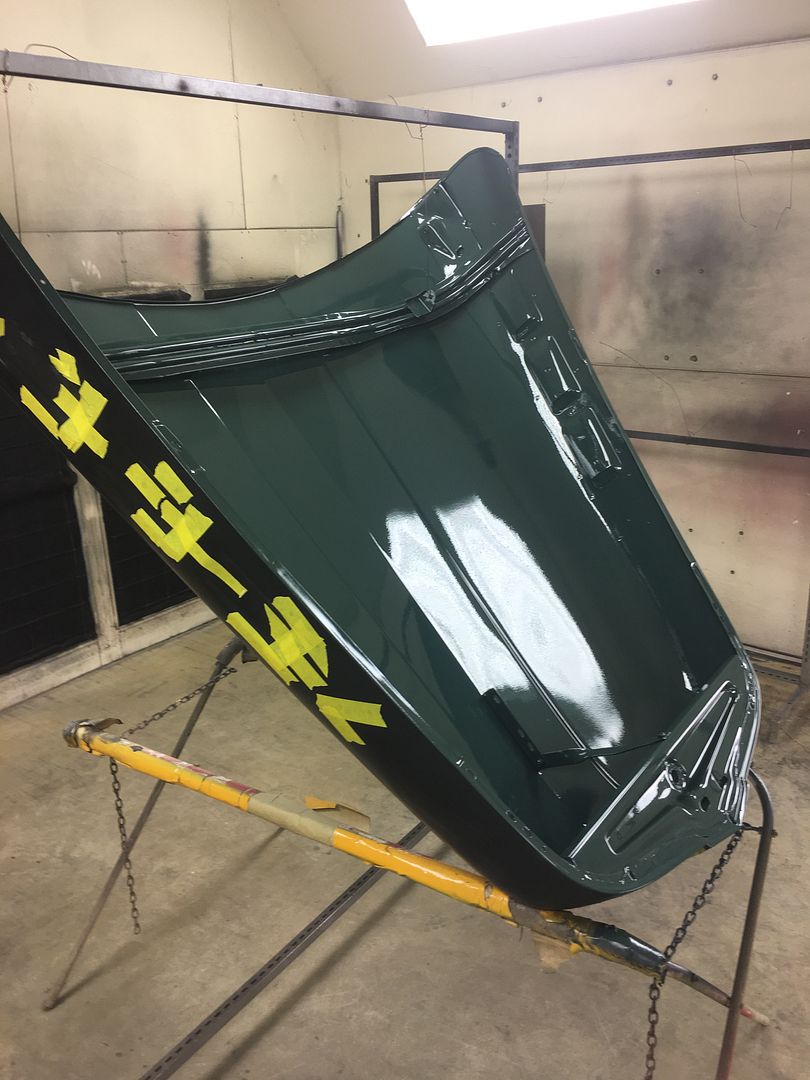
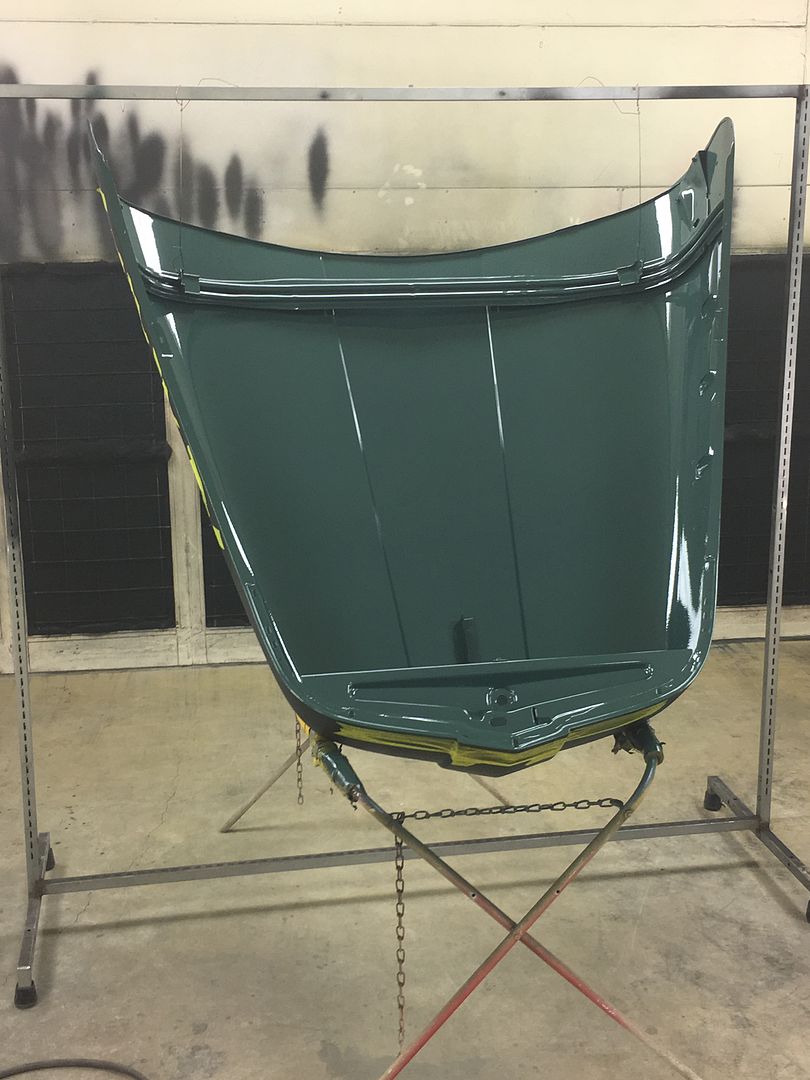
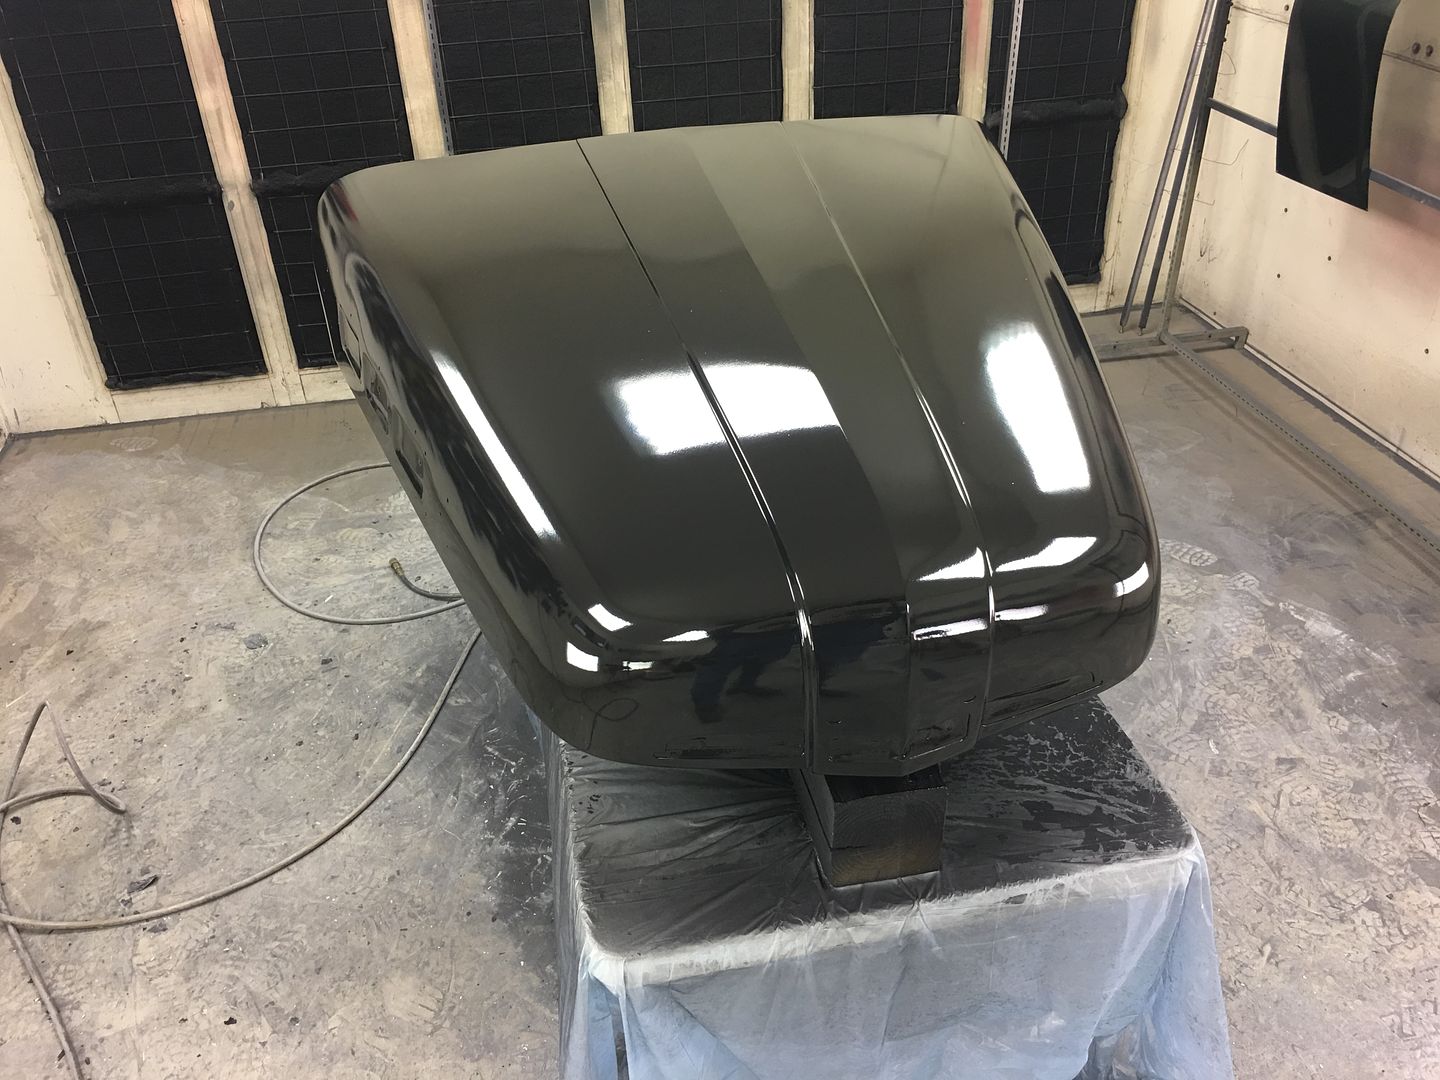
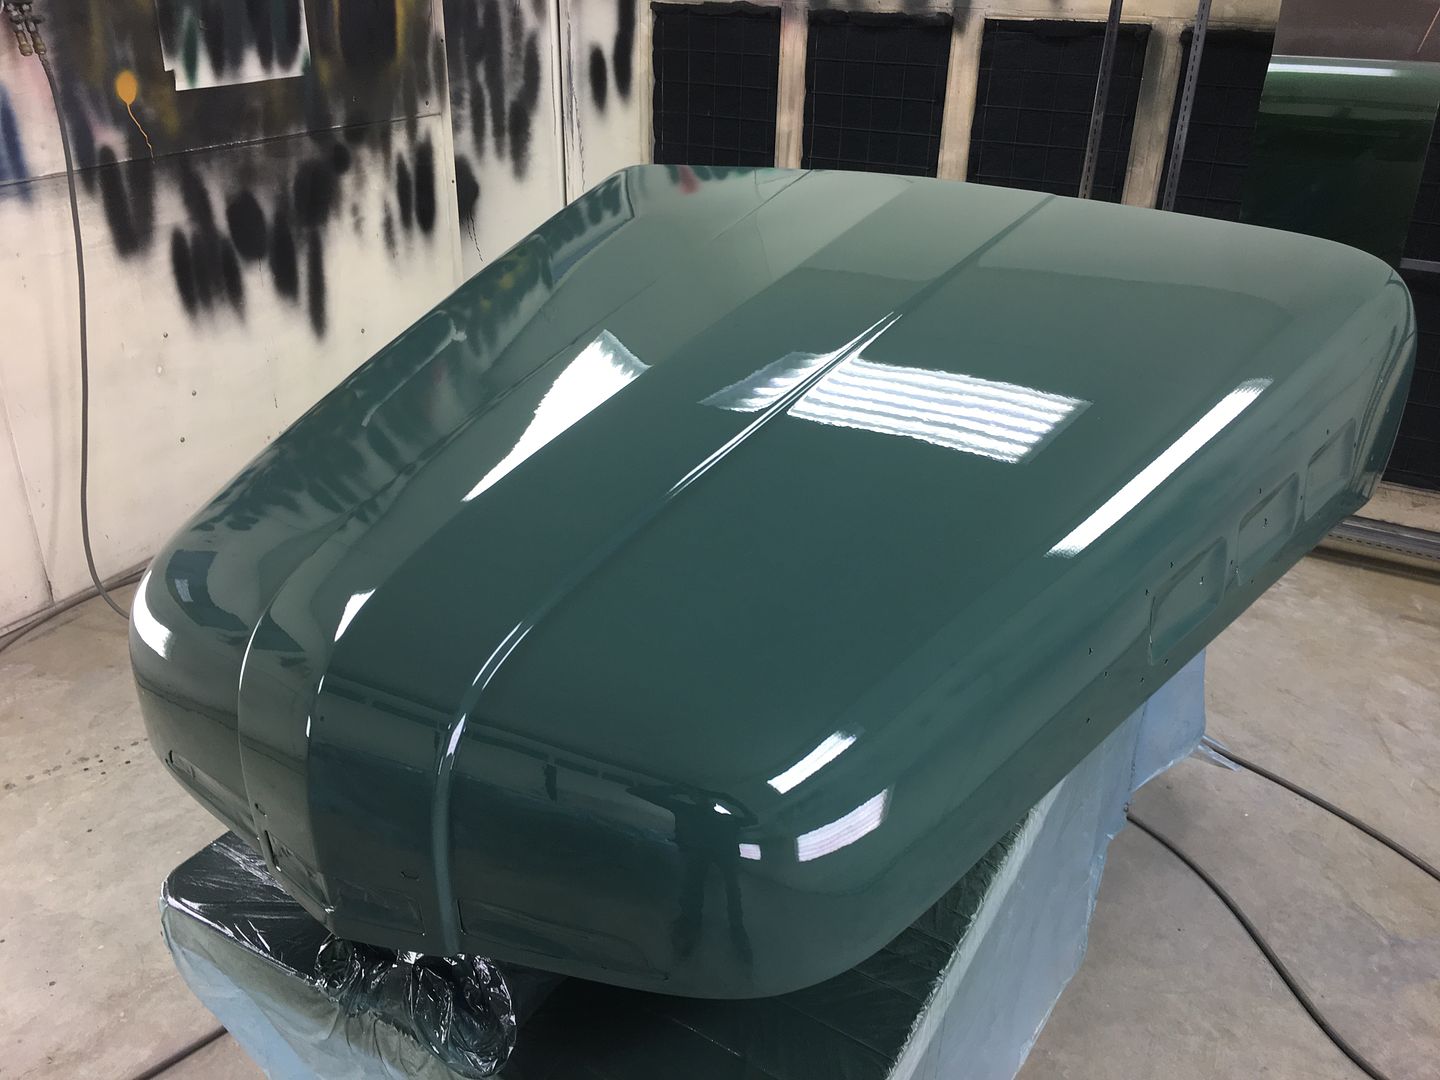
With the touch ups blocked, we're ready for some Epoxy/sealer, some PPG ESSS base, and my first time spraying SPI Universal... WooHoo! love this clear!!
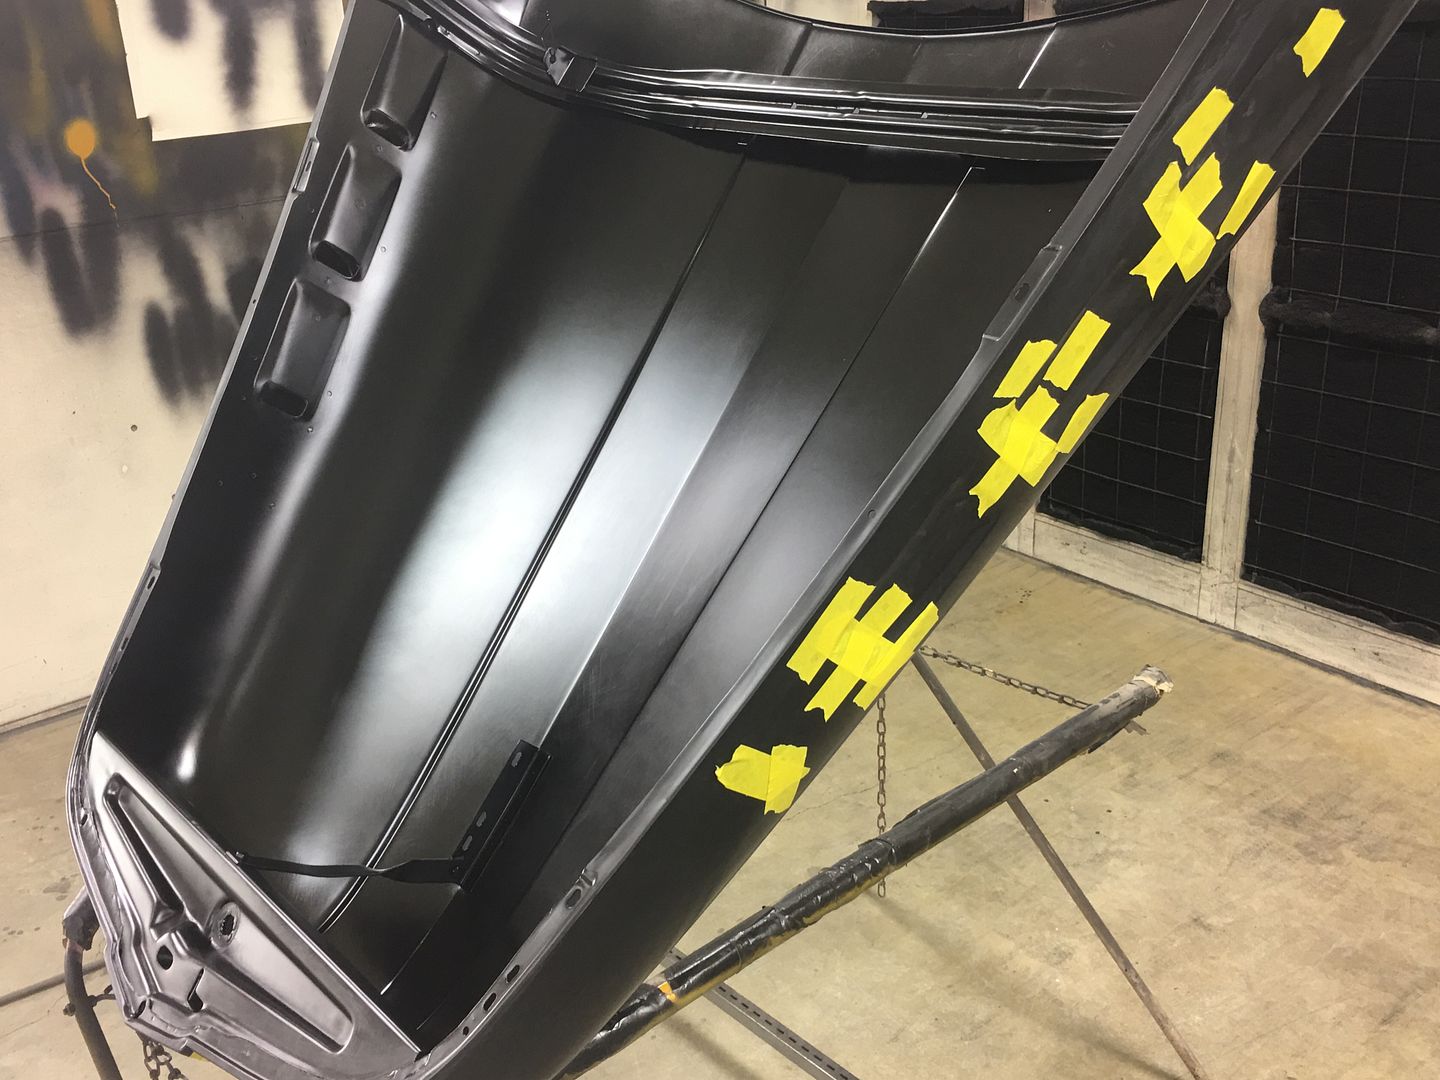
These Ford truck hoods can be a pain to get good paint coverage inside the nose.. So a couple pieces of TIG wire from our rack to the hood brackets hold it up in the air so we can get into the nose with the spray gun..
With the touch ups blocked, we're ready for some Epoxy/sealer, some PPG ESSS base, and my first time spraying SPI Universal... WooHoo! love this clear!!
These Ford truck hoods can be a pain to get good paint coverage inside the nose.. So a couple pieces of TIG wire from our rack to the hood brackets hold it up in the air so we can get into the nose with the spray gun..
More Turbo


Joined: Jan 2016
Posts: 535
Likes: 42
From: Scotland
Spraying the inside of a panel is a right PITA but most shops would never even know that because they don't bother to do it. Amazing attention to detail.
Tried spraying the inside of front fenders yesterday and there really must be a better way of getting into places the gun can't reach like a right angled nozzle?
Tried spraying the inside of front fenders yesterday and there really must be a better way of getting into places the gun can't reach like a right angled nozzle?
Thread Starter
|
Tuned
Joined: Aug 2007
Posts: 459
Likes: 123
From: Maryland
Thanks gents!
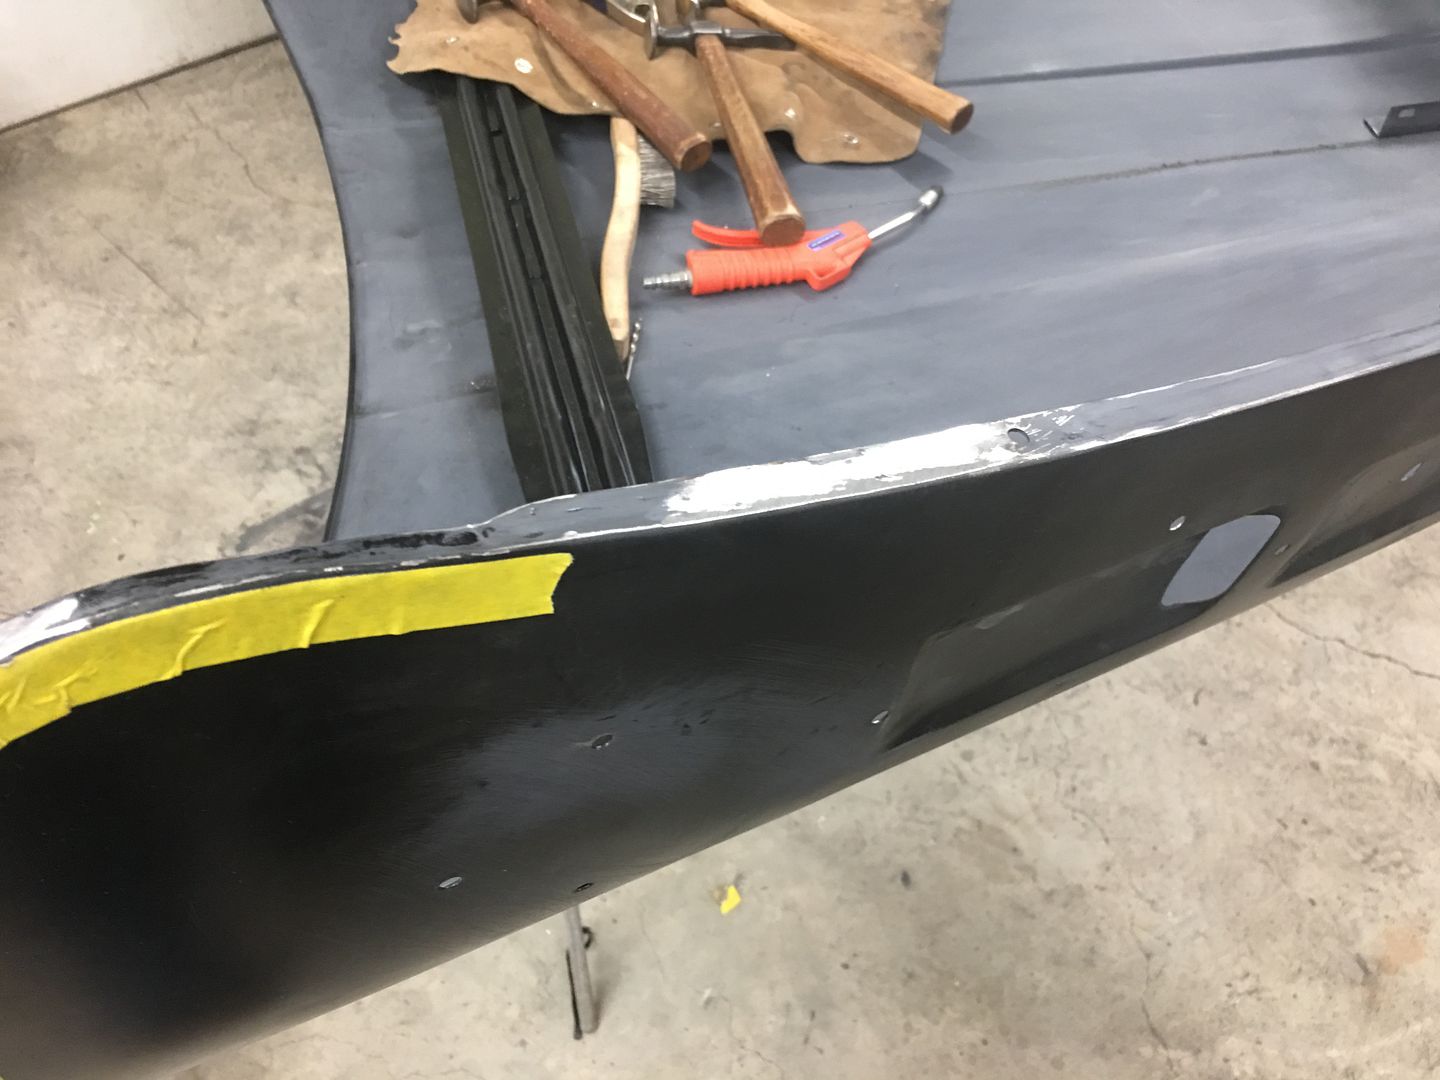
Thought I'd do a progression of pictures to show the carnage we started with on the hood brace to where it was painted this past weekend....
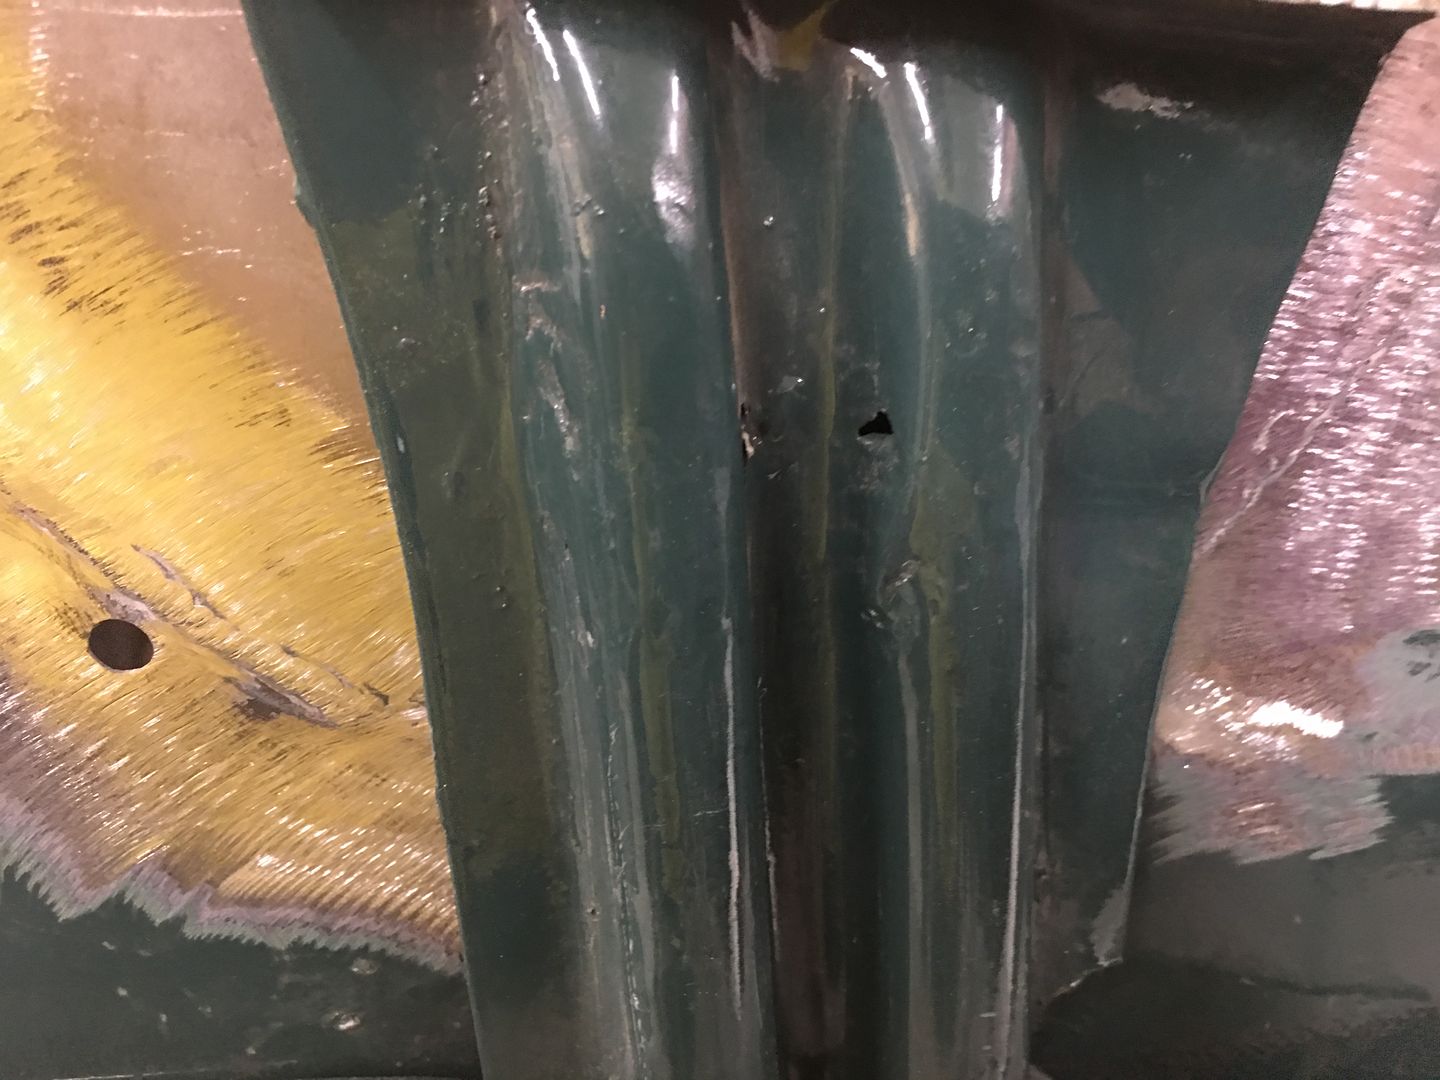
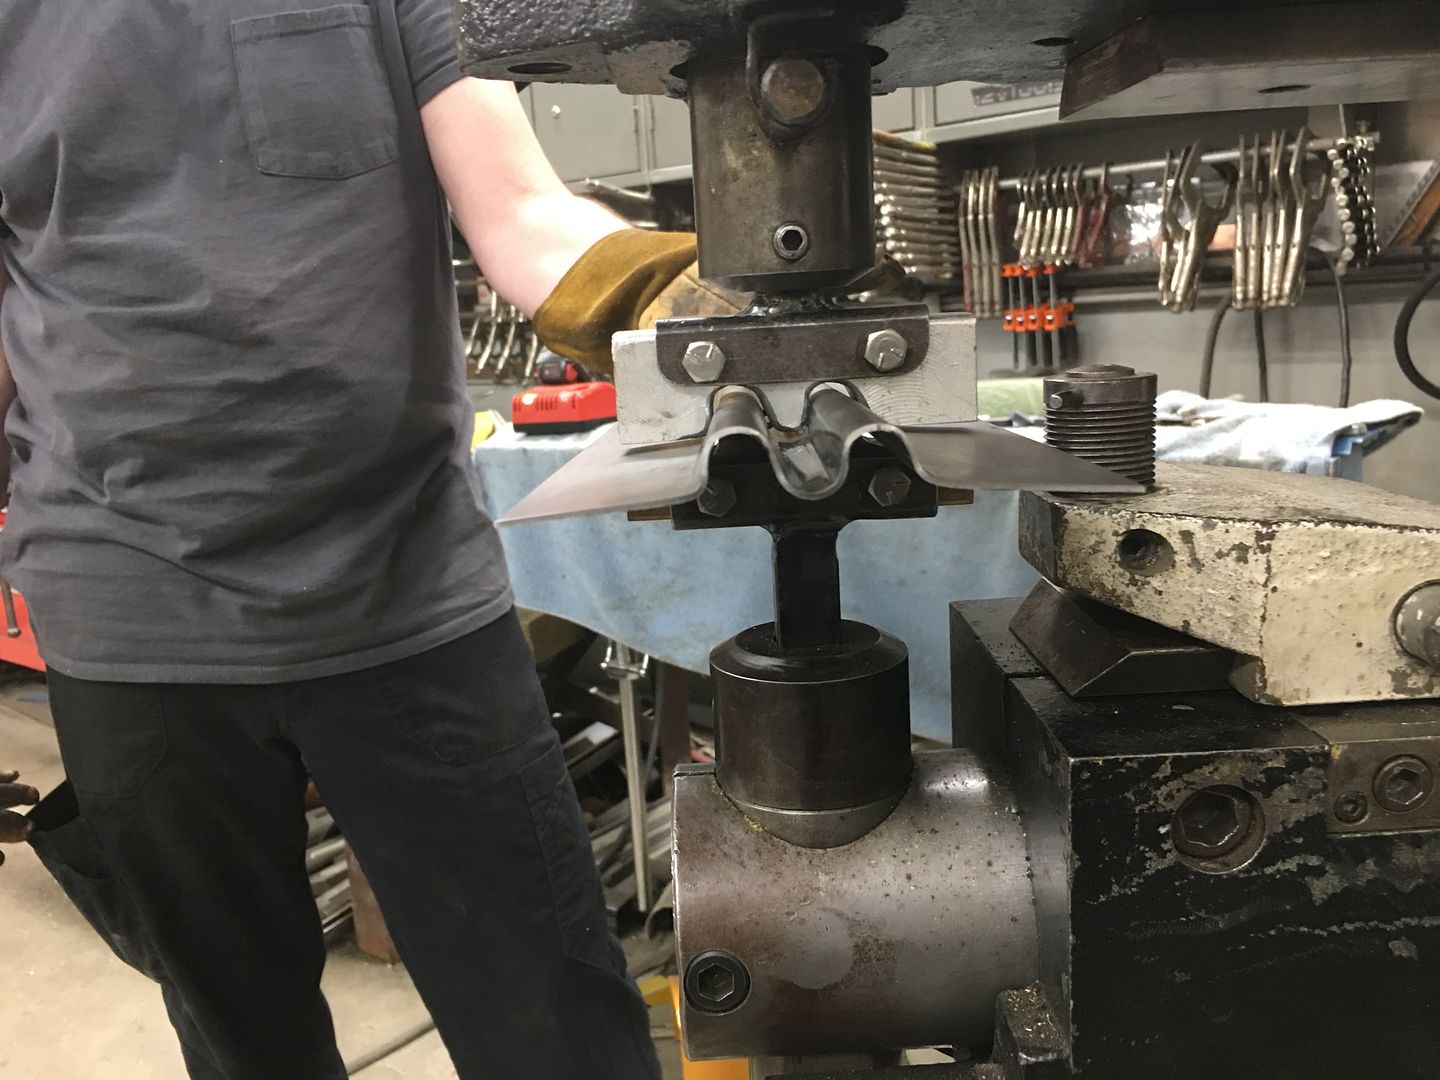
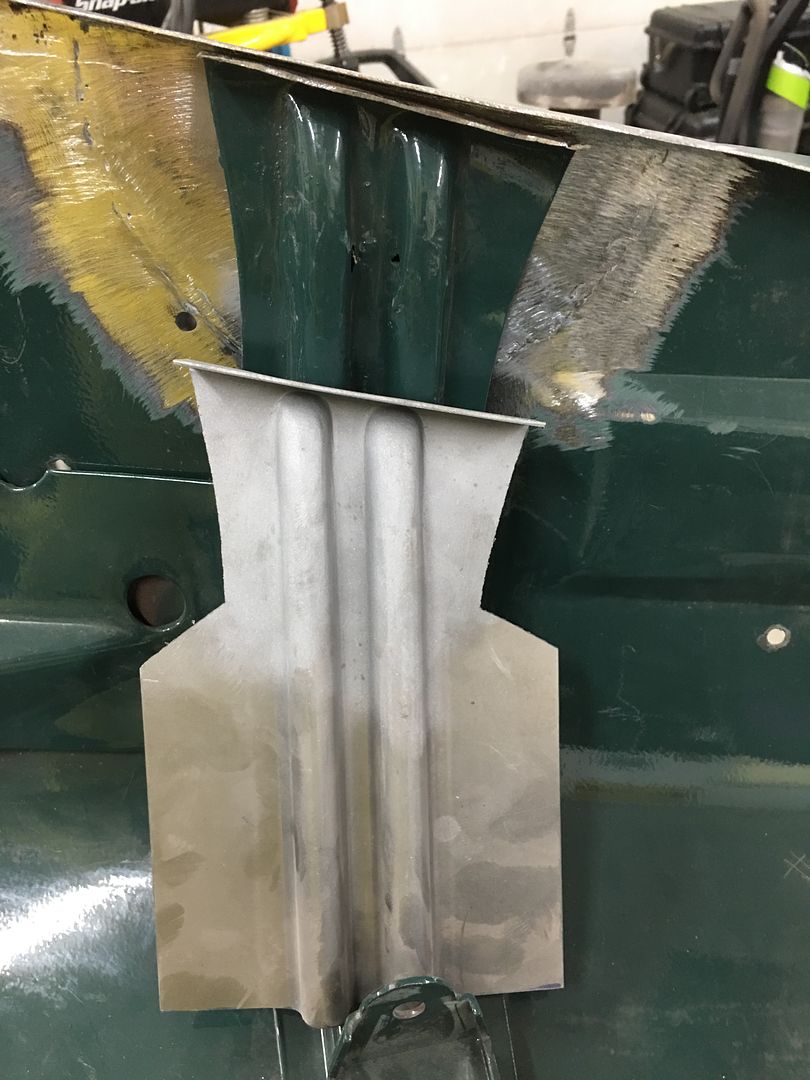
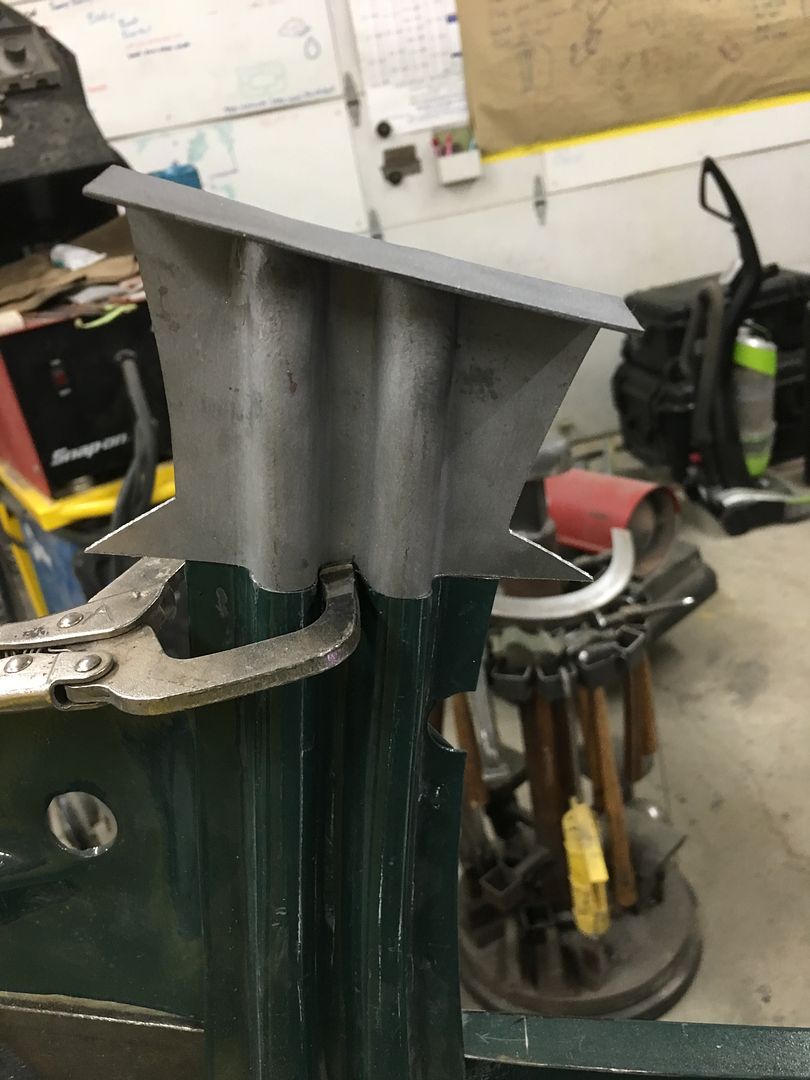
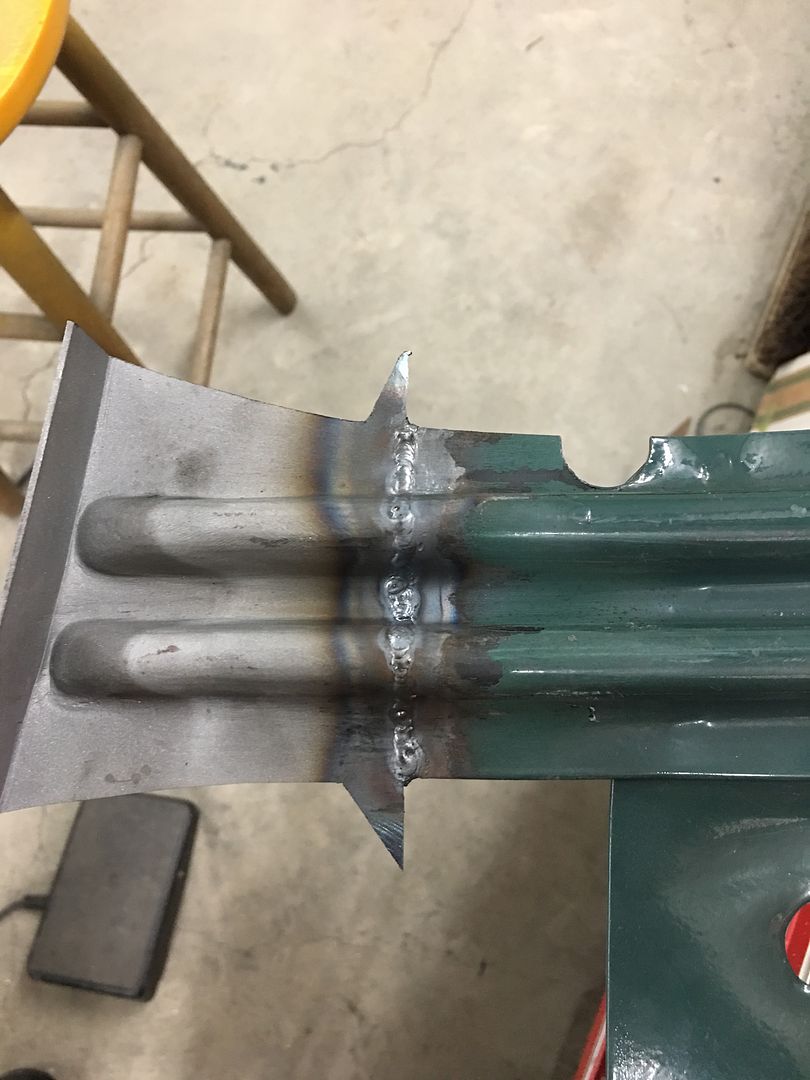
Note the wings left adjacent to the weld to act as heat sinks and prevent the edge from burning back...
.JPG)
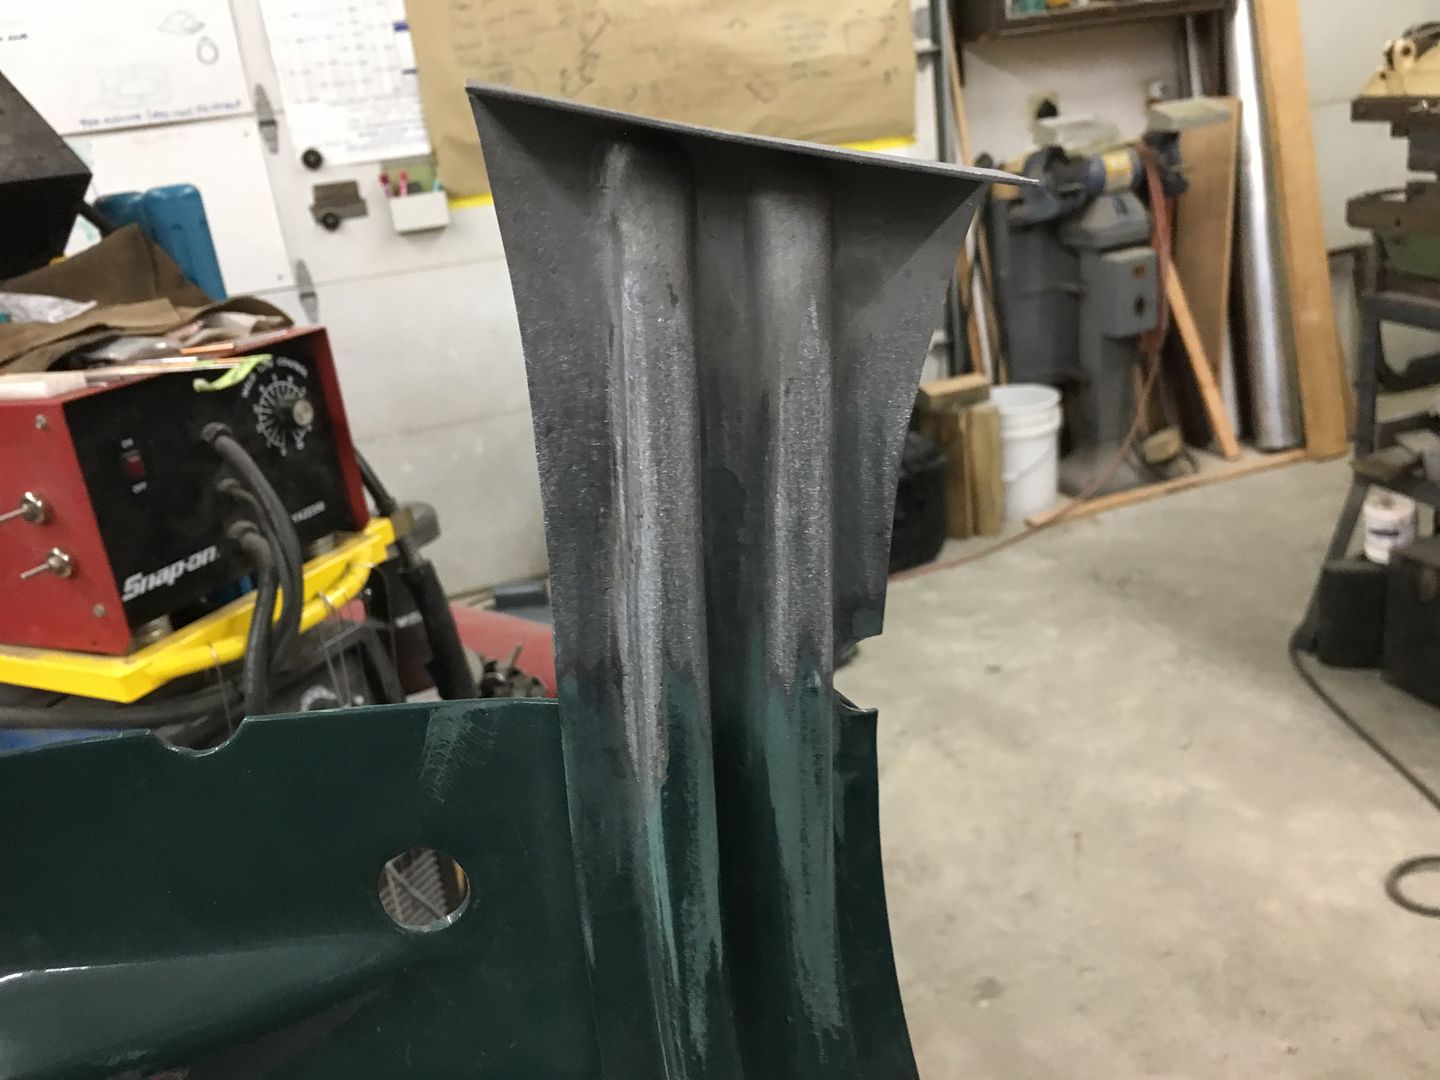
No Body filler, just epoxy primer, basecoat, and clearcoat. Looks almost factory!!
Thought I'd do a progression of pictures to show the carnage we started with on the hood brace to where it was painted this past weekend....
Note the wings left adjacent to the weld to act as heat sinks and prevent the edge from burning back...
No Body filler, just epoxy primer, basecoat, and clearcoat. Looks almost factory!!
Thread Starter
|
Tuned
Joined: Aug 2007
Posts: 459
Likes: 123
From: Maryland
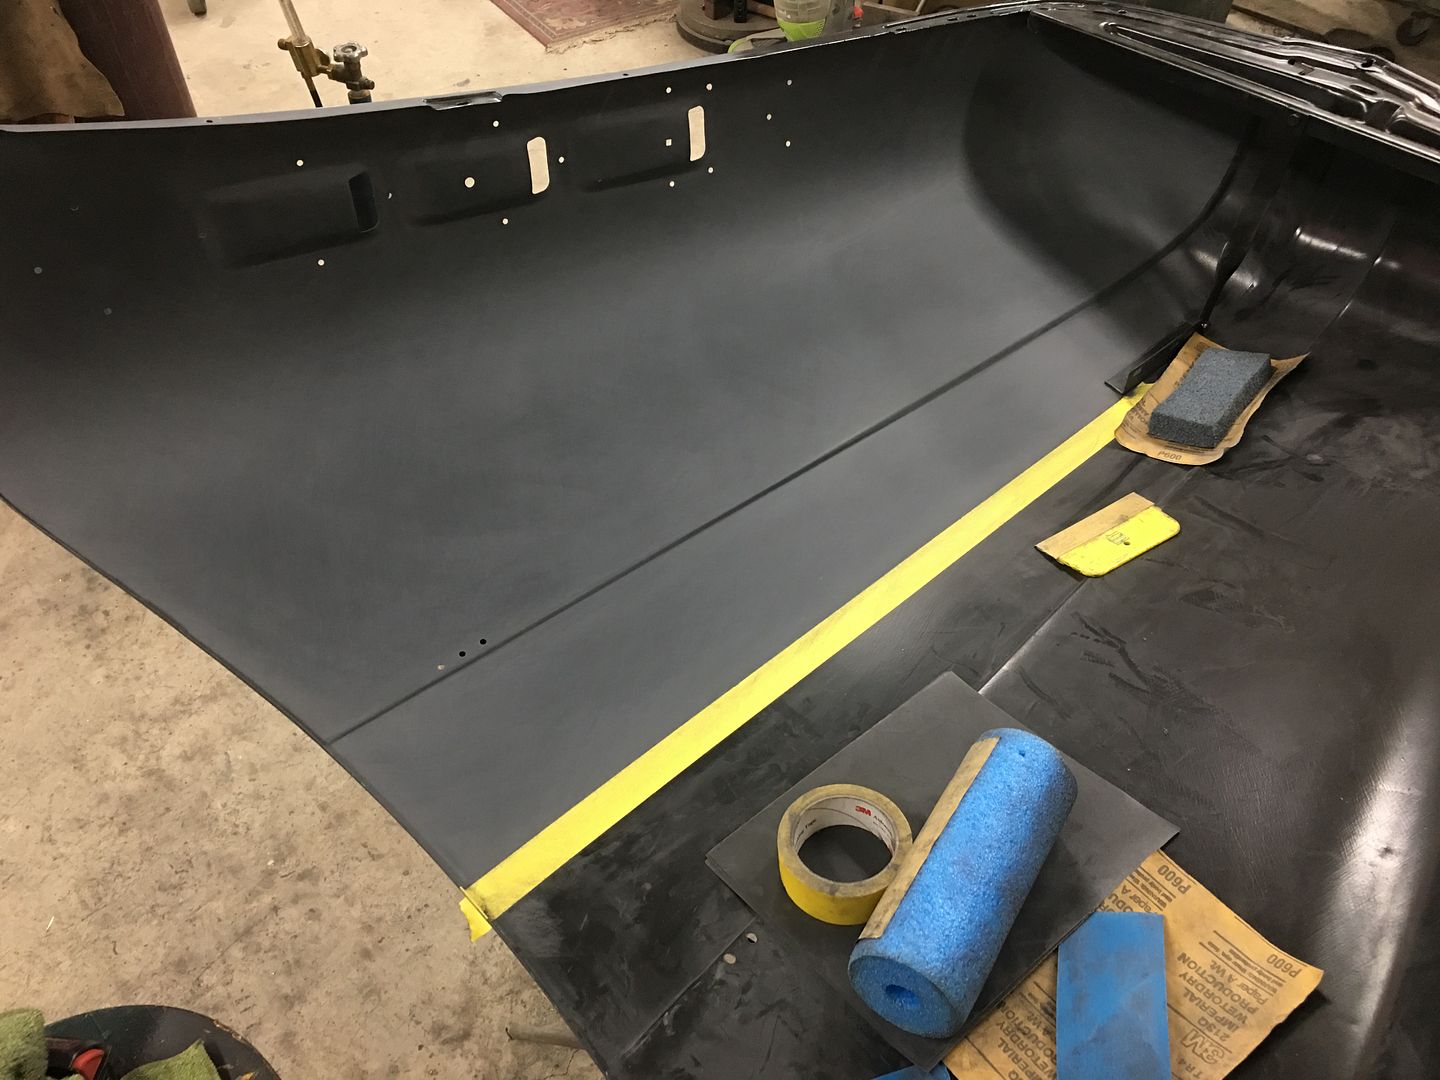
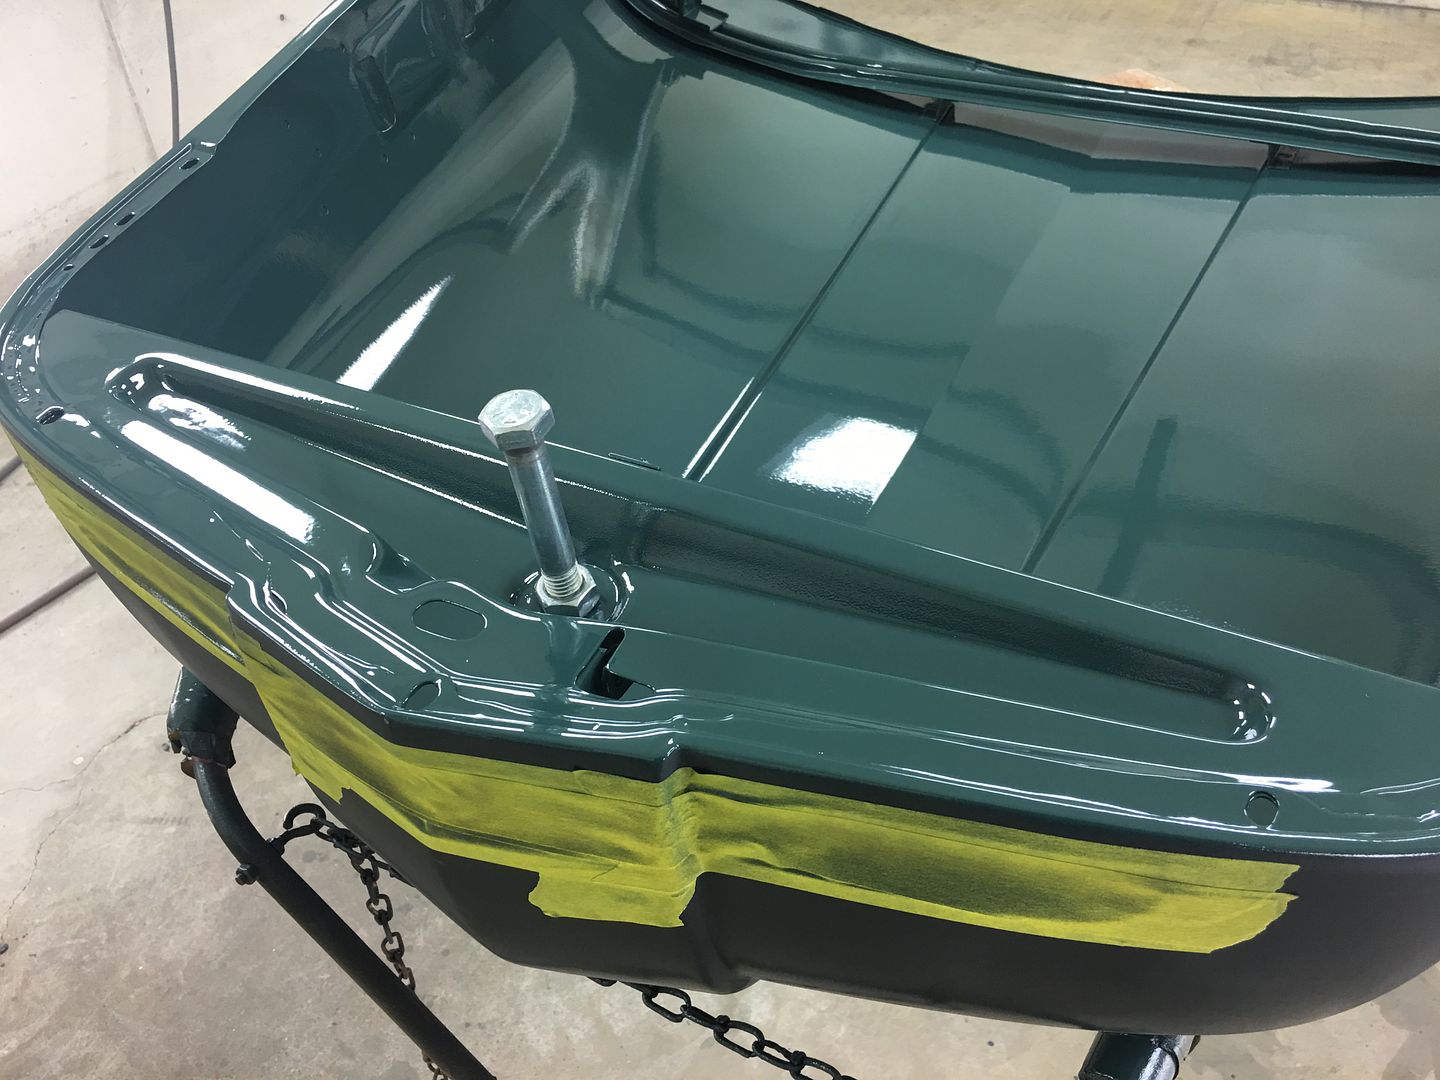
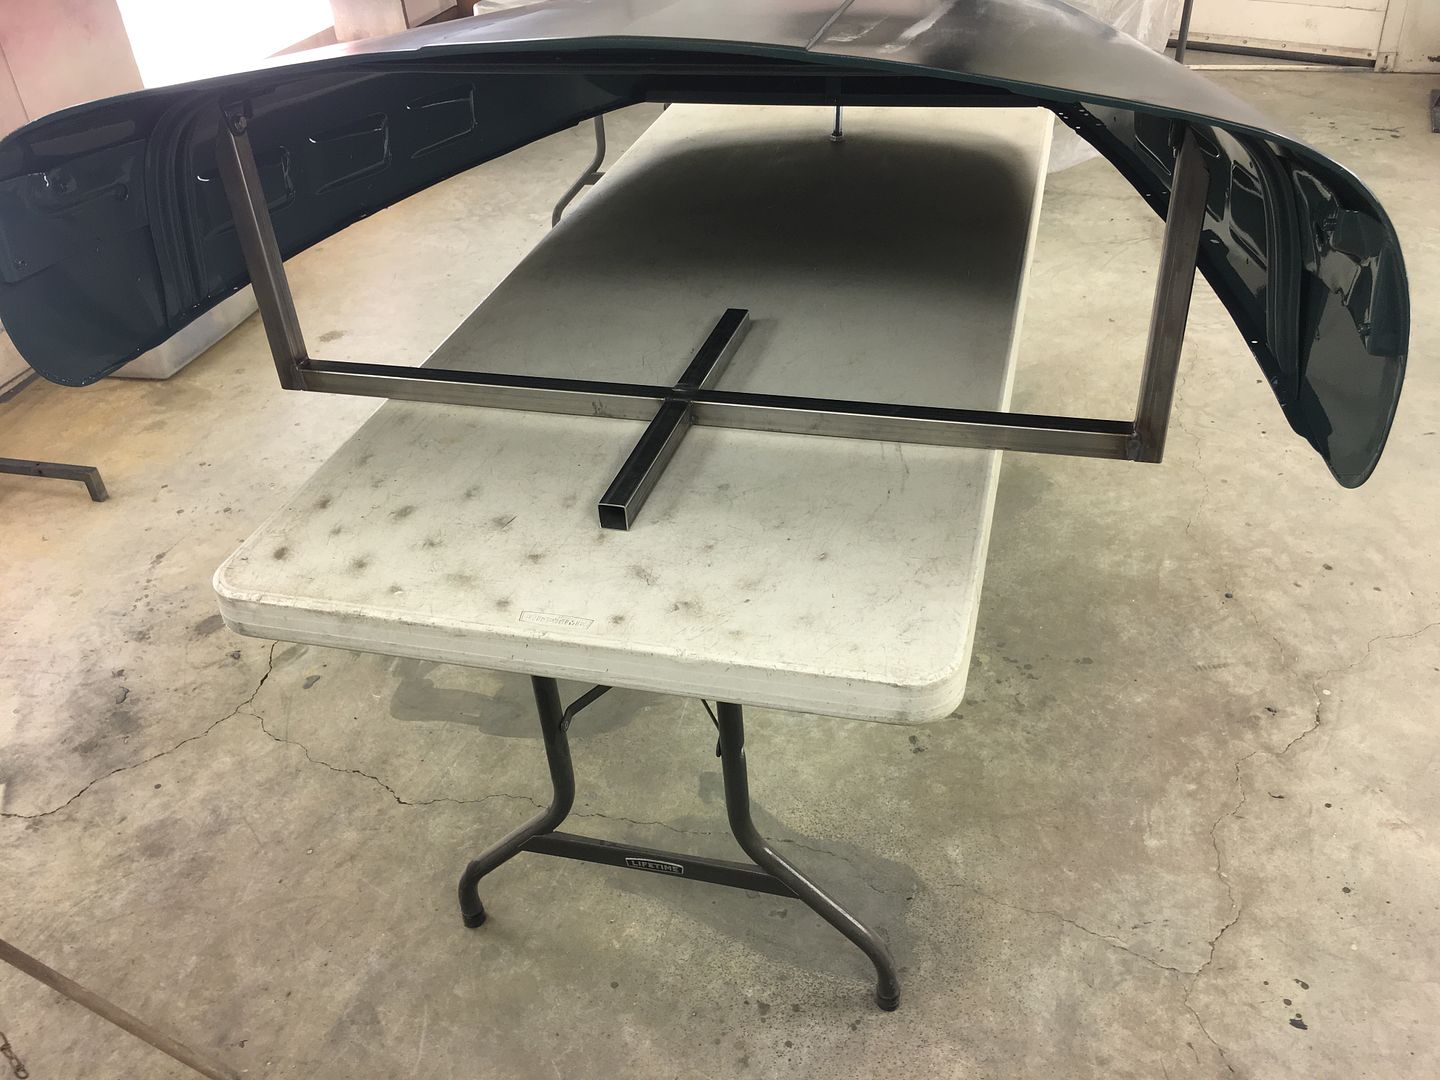
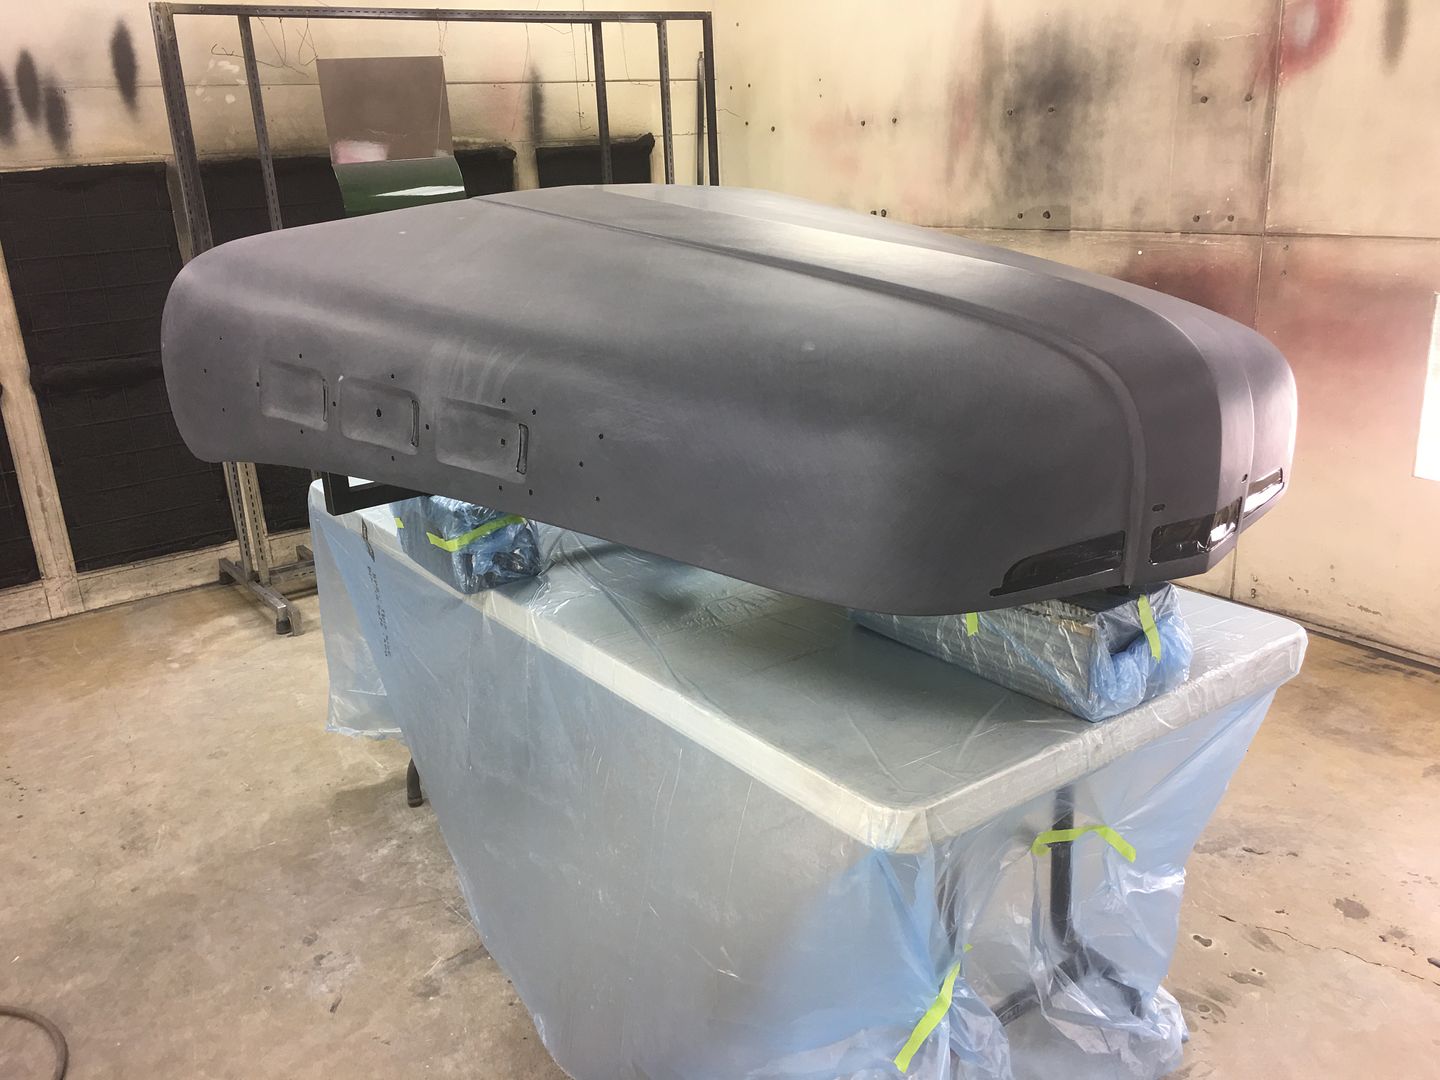
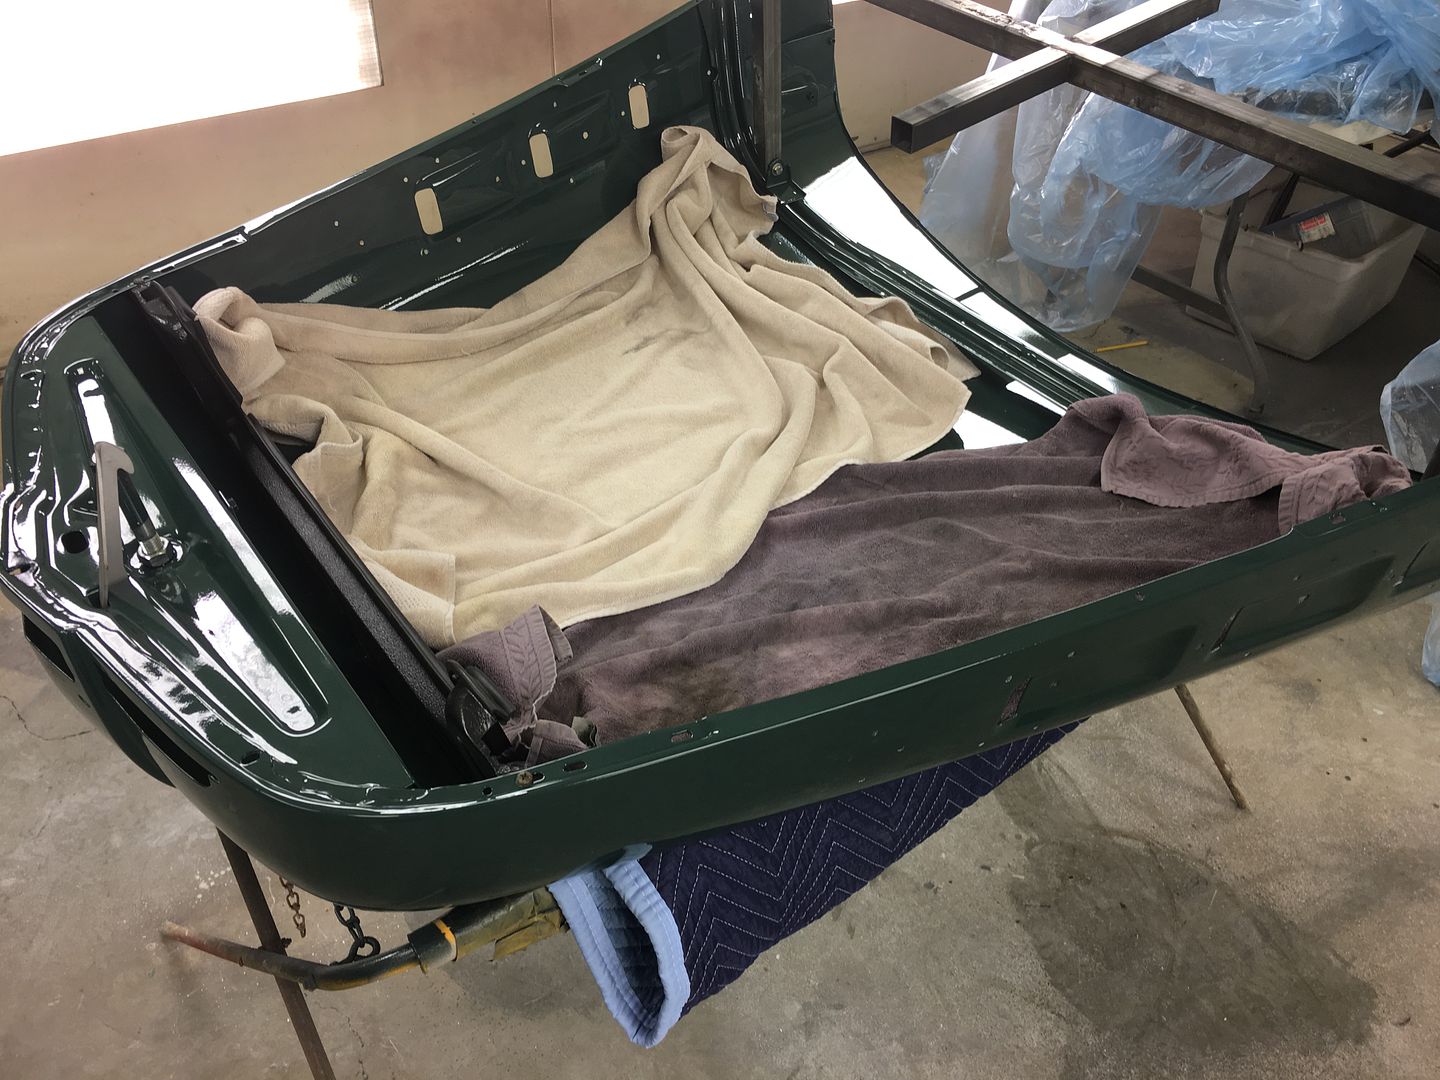
So every time we place the hood on my folding stand, the hood skin deflects upward at those pressure points (corners). Which means that won't work for blocking out the hood. So lets' use the same supports that the hood uses and make a blocking "stand".
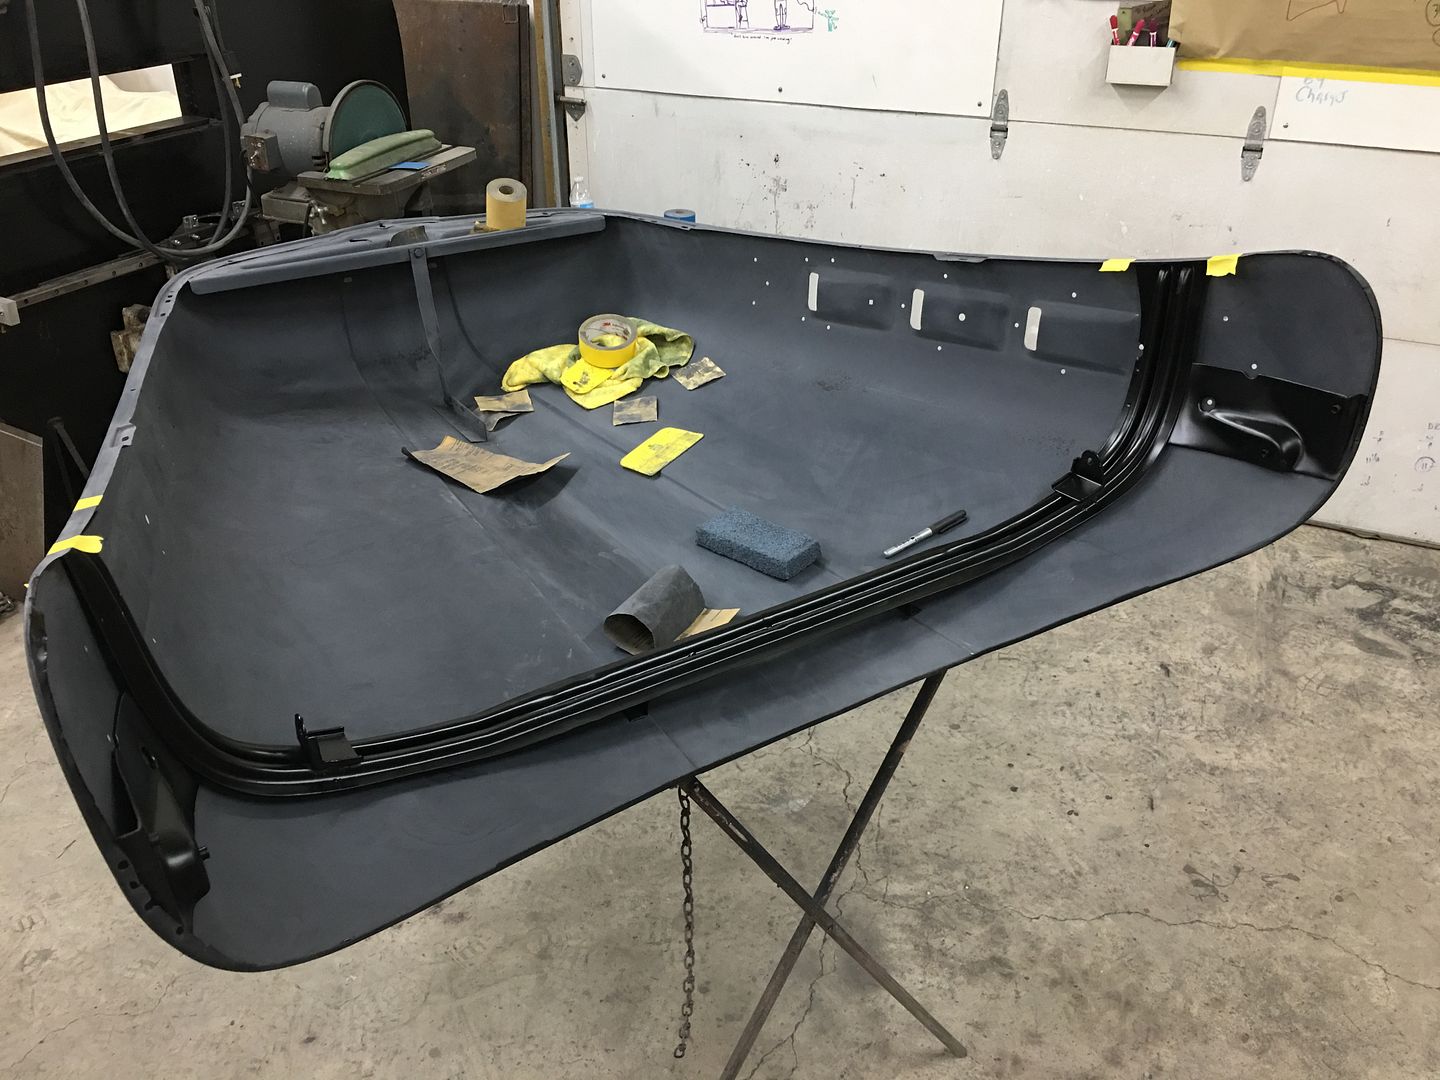
Large 5/8" bolt through the hood latch hole for supporting the nose...
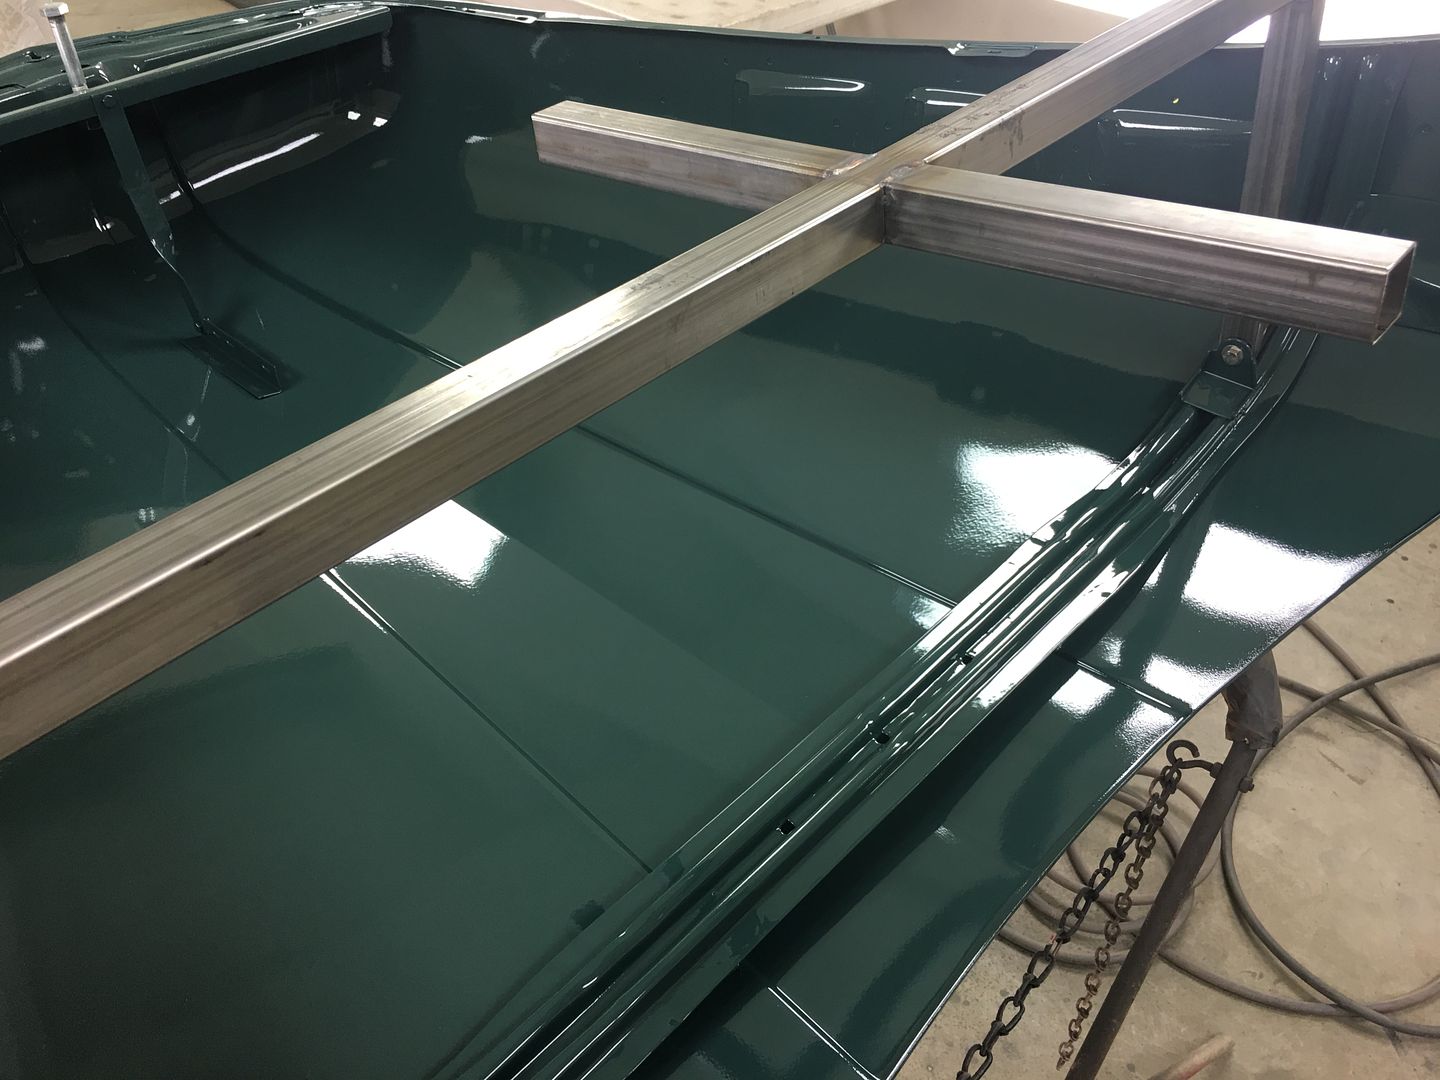
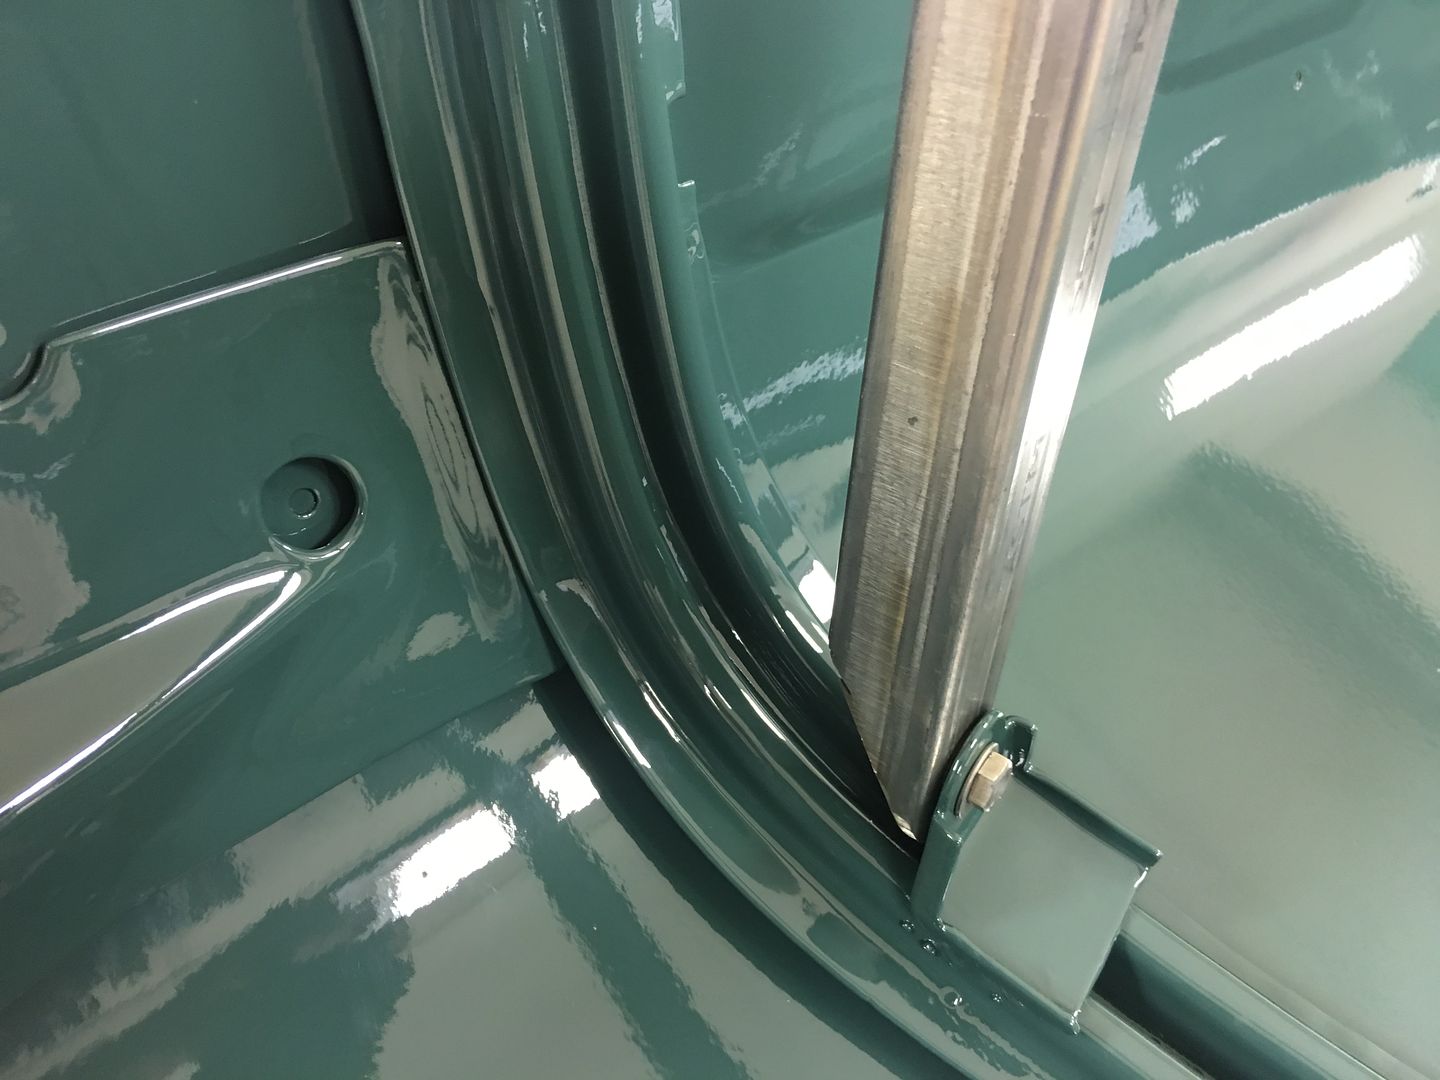
And going through our scrap inventory, here's some tubing we used for the back end, bolted into the hinge support. The extra "feet" help to stabilize it so the sanding effort won't try and flop it over...
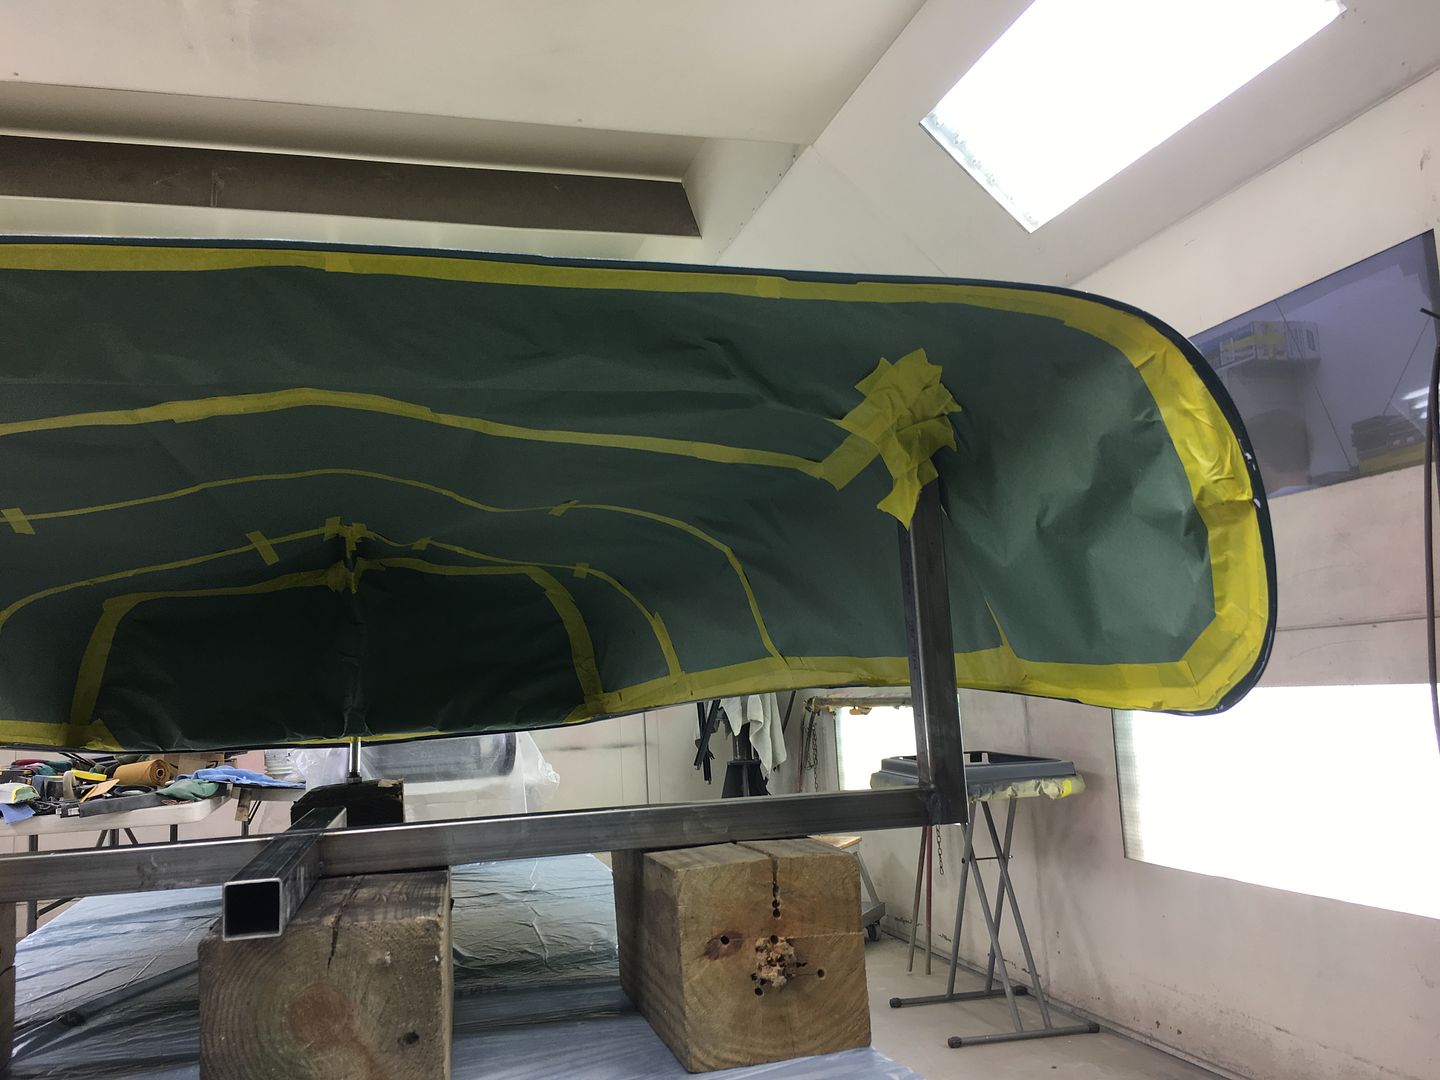
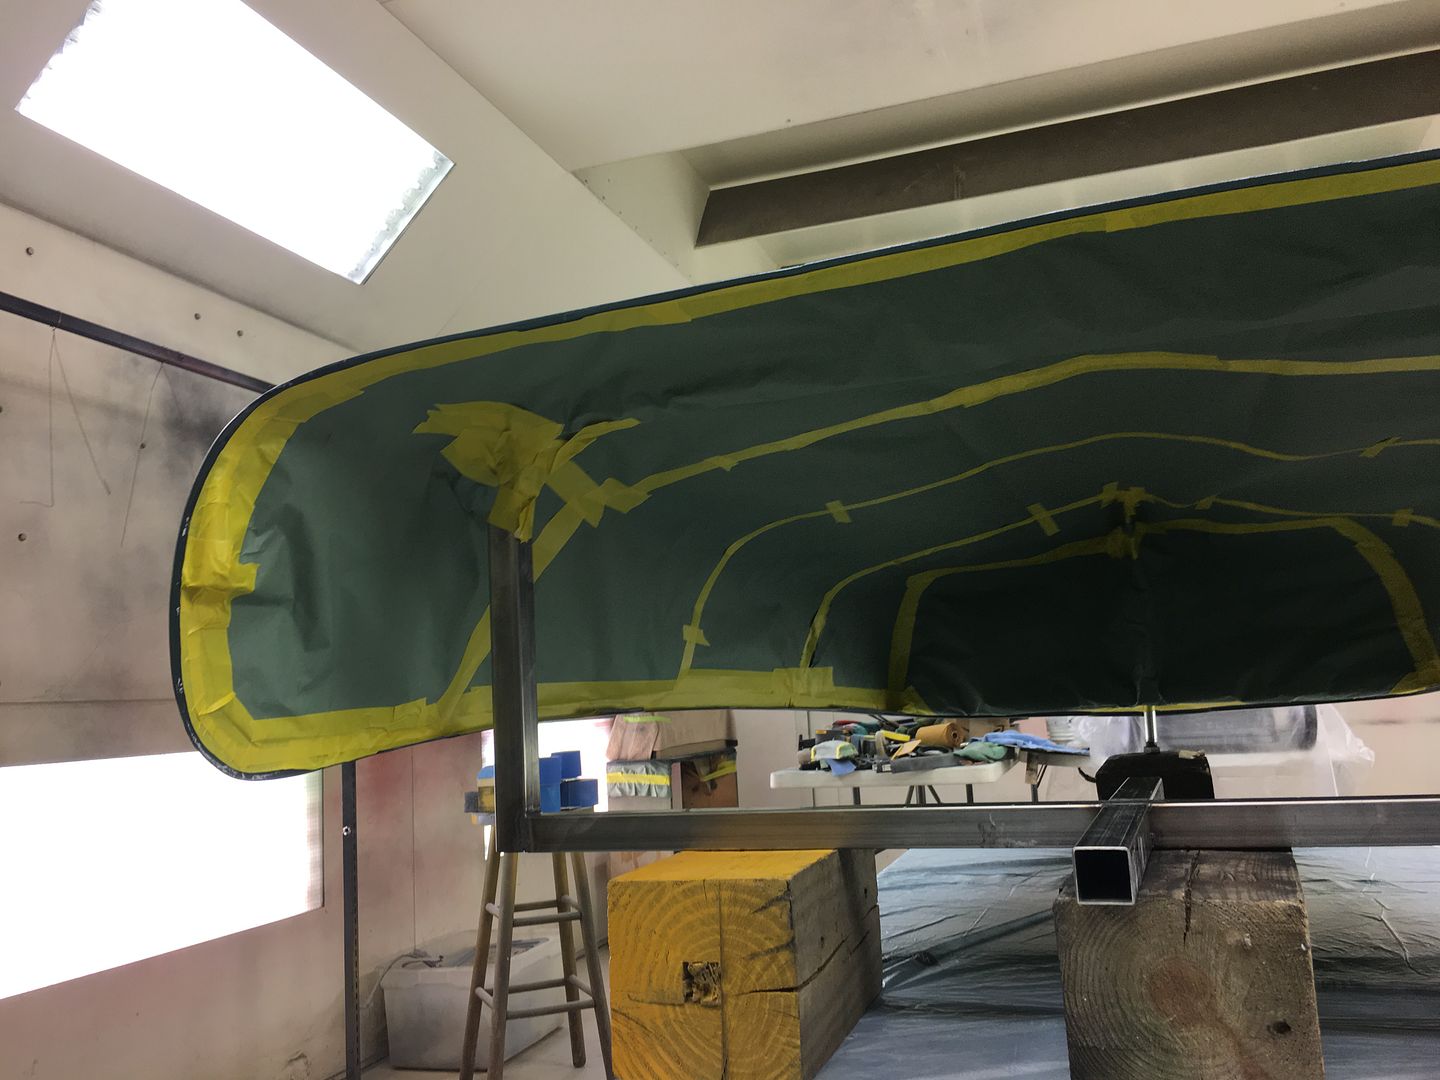
With that done, all our open holes are taped over and the entire bottom side masked off to protect the inside finish..
A bit of Evercoat 416 to address some lows, and 3 coats of SPI epoxy for the next round of blocking on the outside.
Blocking...
Some booth clean up and fresh masking on the table, hood pre-cleaned and tacked.....
Sealed with SPI Epoxy thinned about 10%
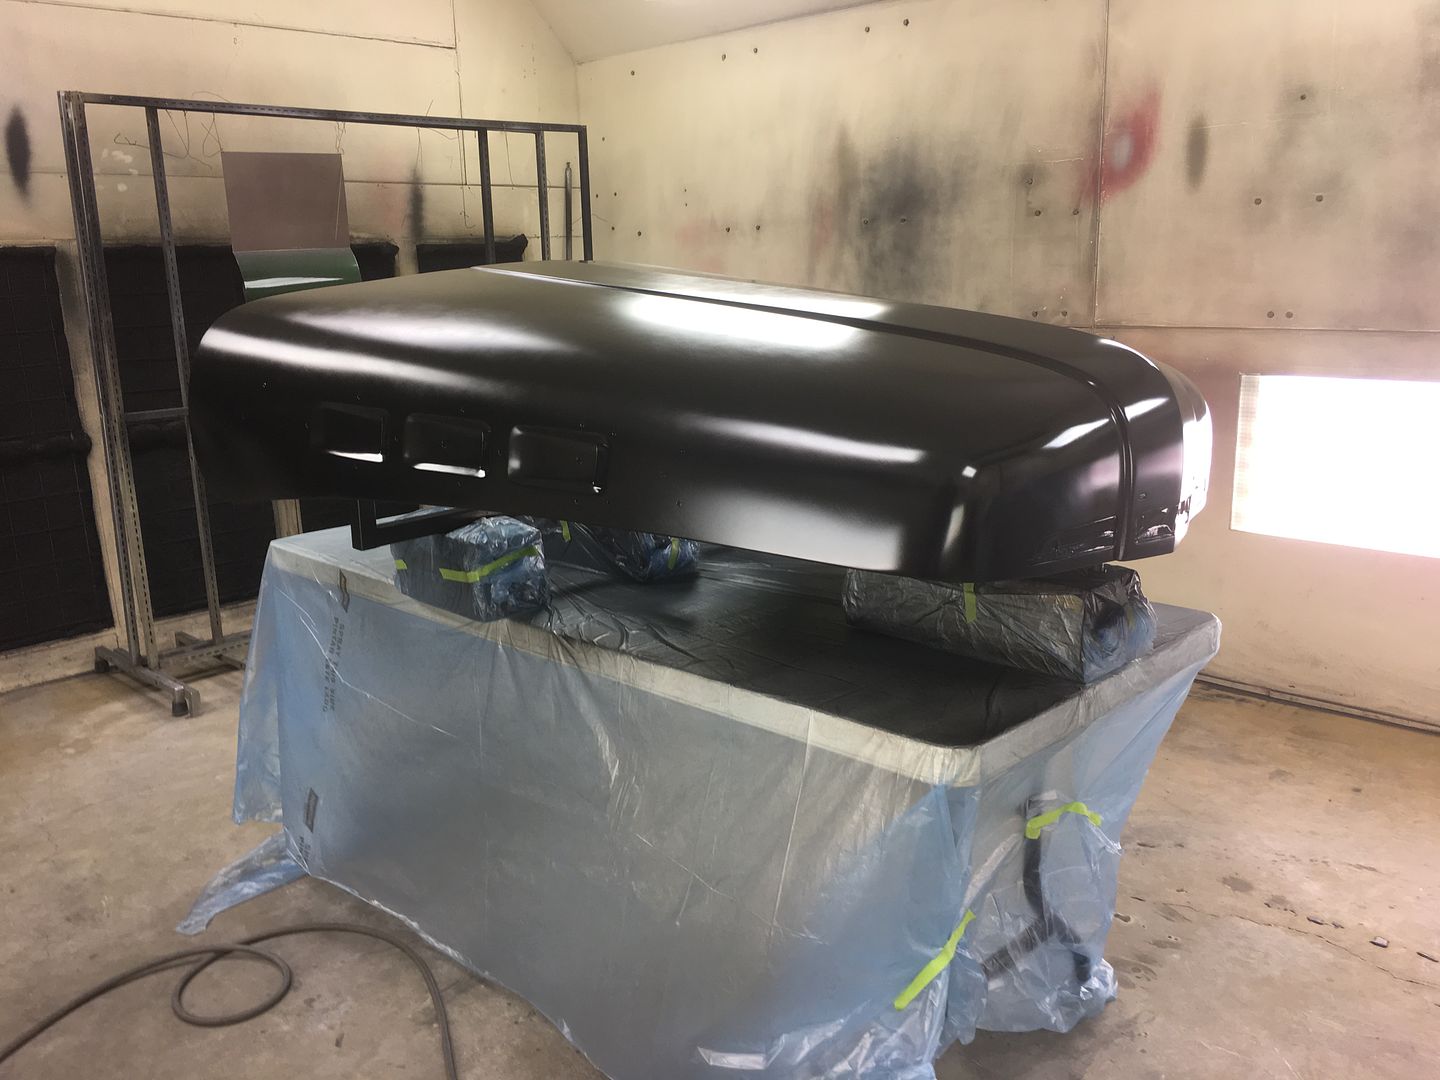
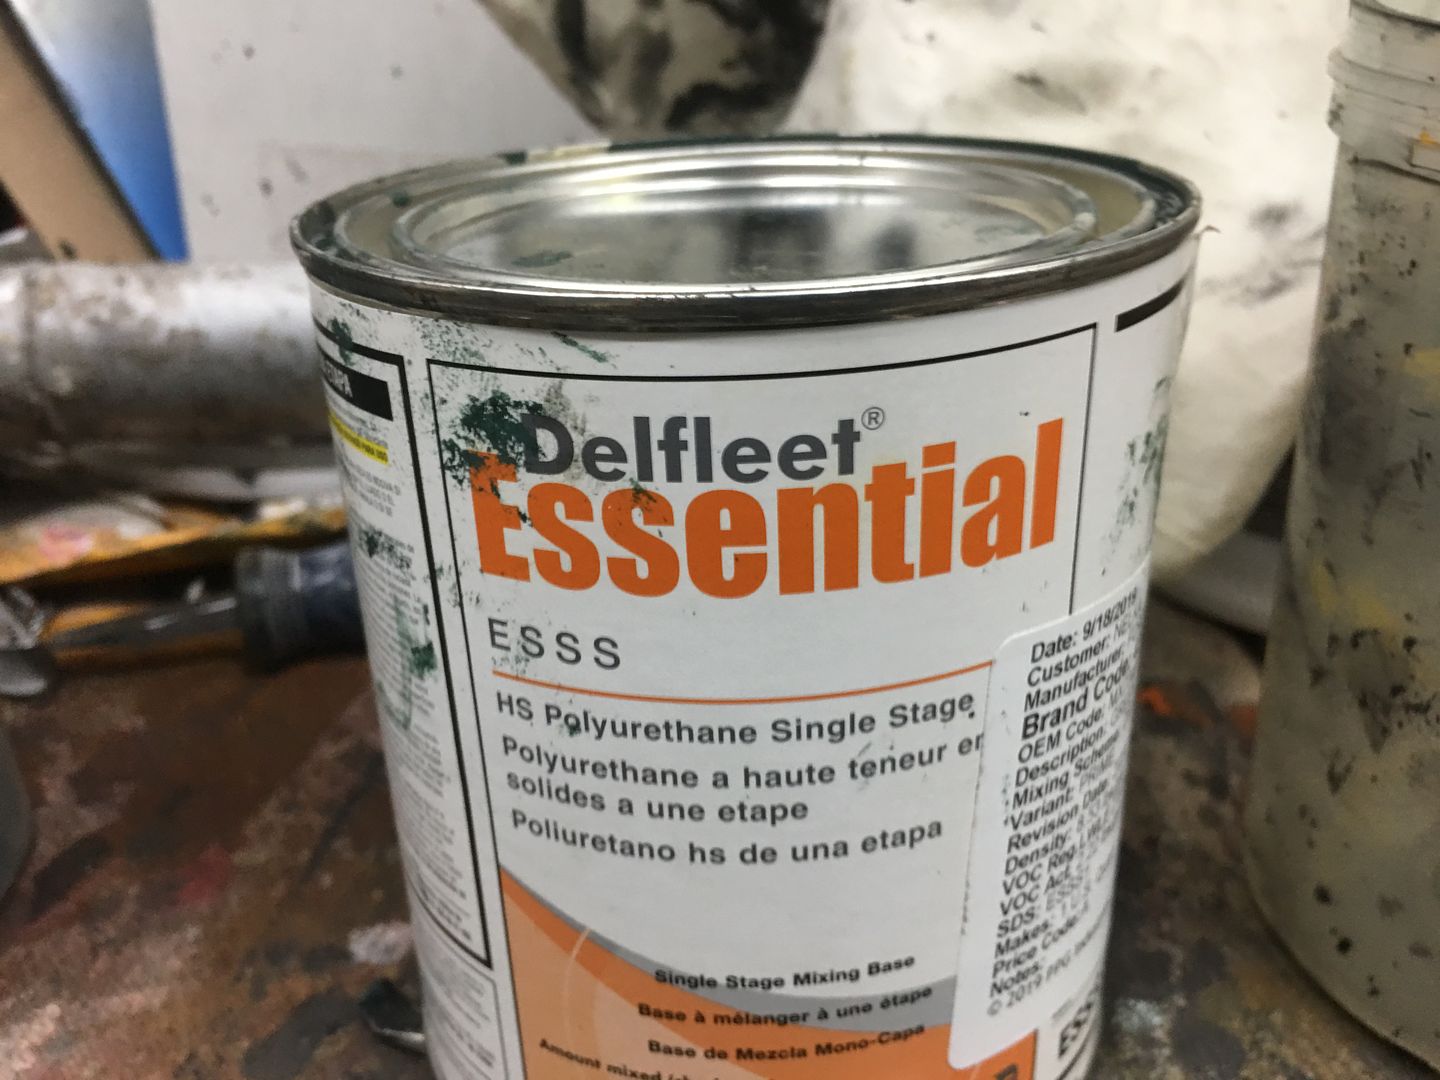
Fleet paint that was used originally on the truck, supplied by owner. Orange peel in a can..
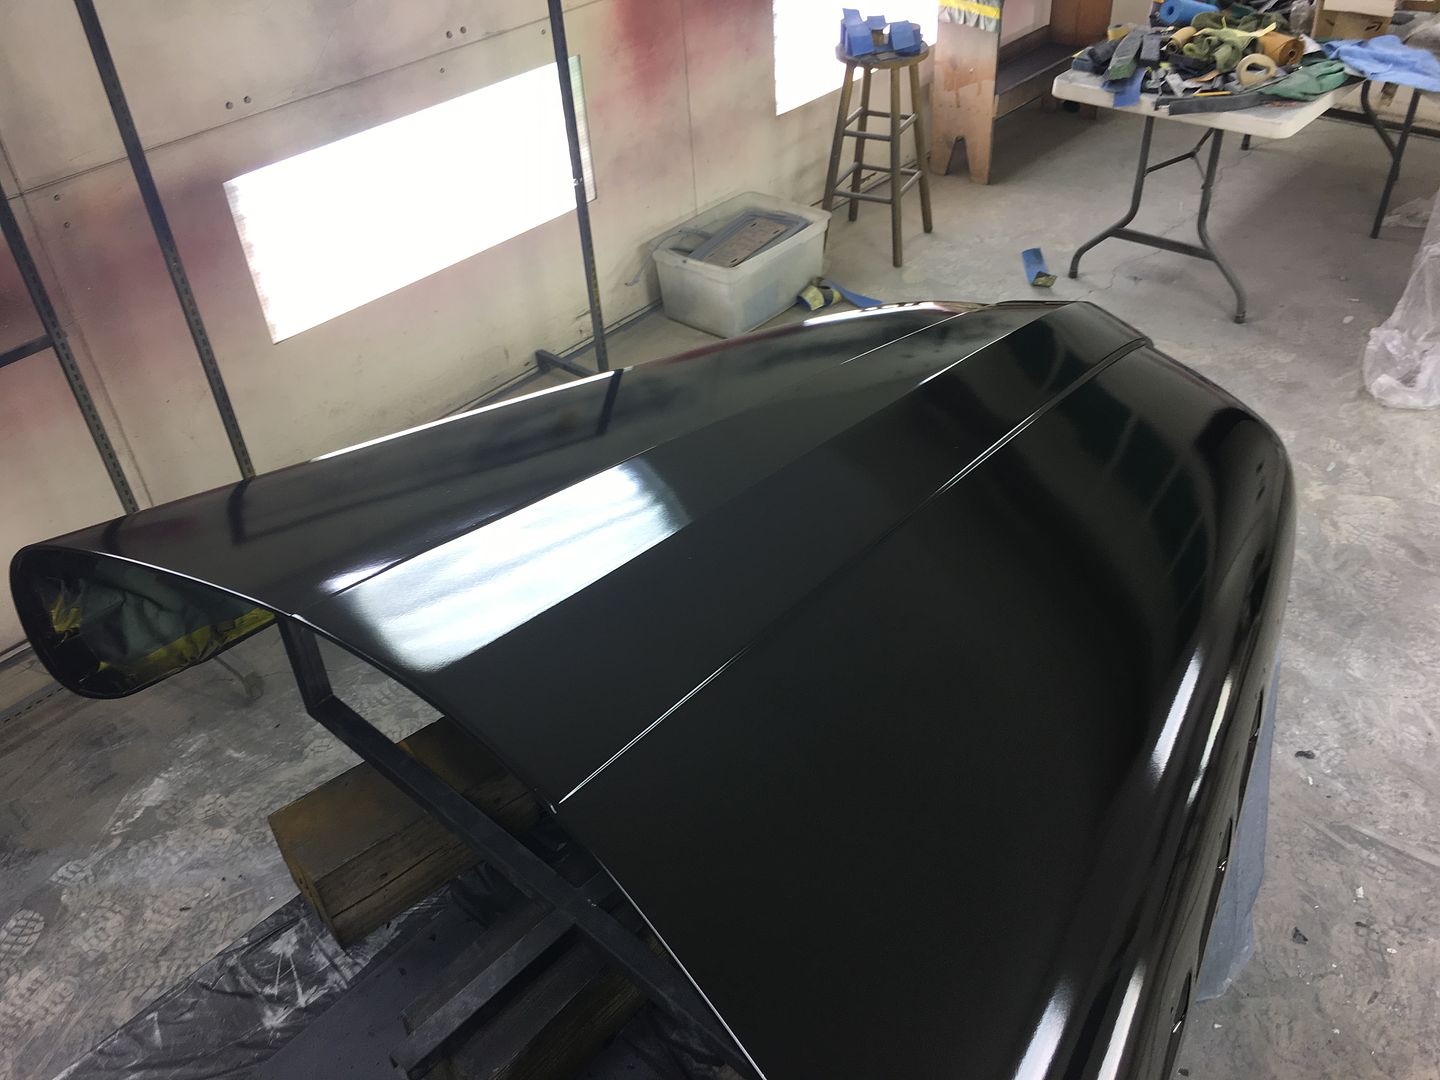
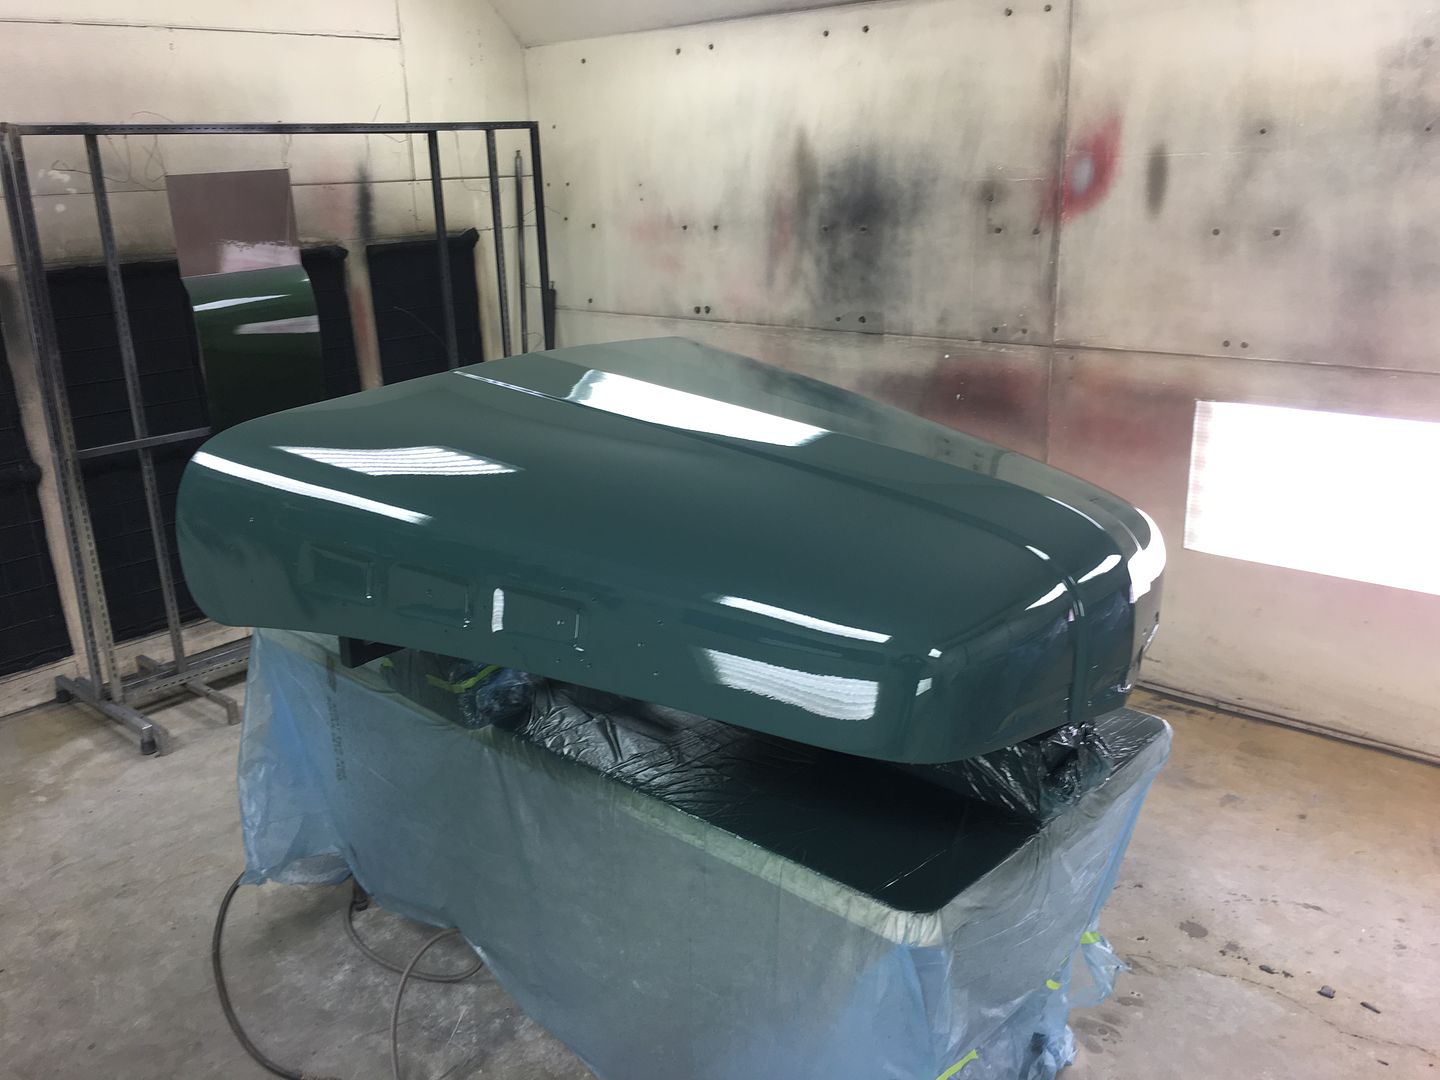
2 coats of color, 2 coats of SPI Universal Clear...
Large 5/8" bolt through the hood latch hole for supporting the nose...
And going through our scrap inventory, here's some tubing we used for the back end, bolted into the hinge support. The extra "feet" help to stabilize it so the sanding effort won't try and flop it over...
With that done, all our open holes are taped over and the entire bottom side masked off to protect the inside finish..
A bit of Evercoat 416 to address some lows, and 3 coats of SPI epoxy for the next round of blocking on the outside.
Blocking...
Some booth clean up and fresh masking on the table, hood pre-cleaned and tacked.....
Sealed with SPI Epoxy thinned about 10%
Fleet paint that was used originally on the truck, supplied by owner. Orange peel in a can..
2 coats of color, 2 coats of SPI Universal Clear...
Hotshot


Joined: Oct 2009
Posts: 16,192
Likes: 4,805
From: Burbank, WA
 I really enjoy following this build.
FTE Stories
Ford Trucks for Ford Truck Enthusiasts

Top 10 Fords at 2026 Carlisle Ford Nationals
Joe Kucinski
3 Best / 3 Worst Parts of Modern Ford Ownership
Brett Foote
10 Amazing Upgrades That Solve Common Ford Truck Owner Headaches
Pouria Savadkouei
Every 2026 Ford Engine Explained
Brett Foote
10 Ugly Ford Trucks That We Still Kinda Love
Joe Kucinski
10 Things Every Truck Owner NEEDS (2026 Edition)
Michael S. Palmer
Rezvani's Latest Post-Apocalyptic Monster Is a Ford F-150 Raptor Underneath
Verdad Gallardo
Top 10 Most Expensive Ford Trucks Ever Sold on Bring a Trailer
Joe Kucinski
2027 Ford Super Duty Buyer's Guide (Every Model, Engine, & Package)
Brett Foote
Thread Starter
|
Tuned
Joined: Aug 2007
Posts: 459
Likes: 123
From: Maryland
Thanks for the comments and for checking out our work!!
With the one "pivot point" it may tend to want to fold over, hence the fore and aft feet welded on... Helps to keep things stable during the sanding effort...
With the one "pivot point" it may tend to want to fold over, hence the fore and aft feet welded on... Helps to keep things stable during the sanding effort...

Thread Starter
|
Tuned
Joined: Aug 2007
Posts: 459
Likes: 123
From: Maryland
Well done on your stand!!
This past Friday night we cut and buffed the F7 hood to get rid of some dust nibs, and Saturday morning Jared and I started to reassemble the hood. The horn wiring had some dry and cracking insulation sleeving, so it was replaced as well.
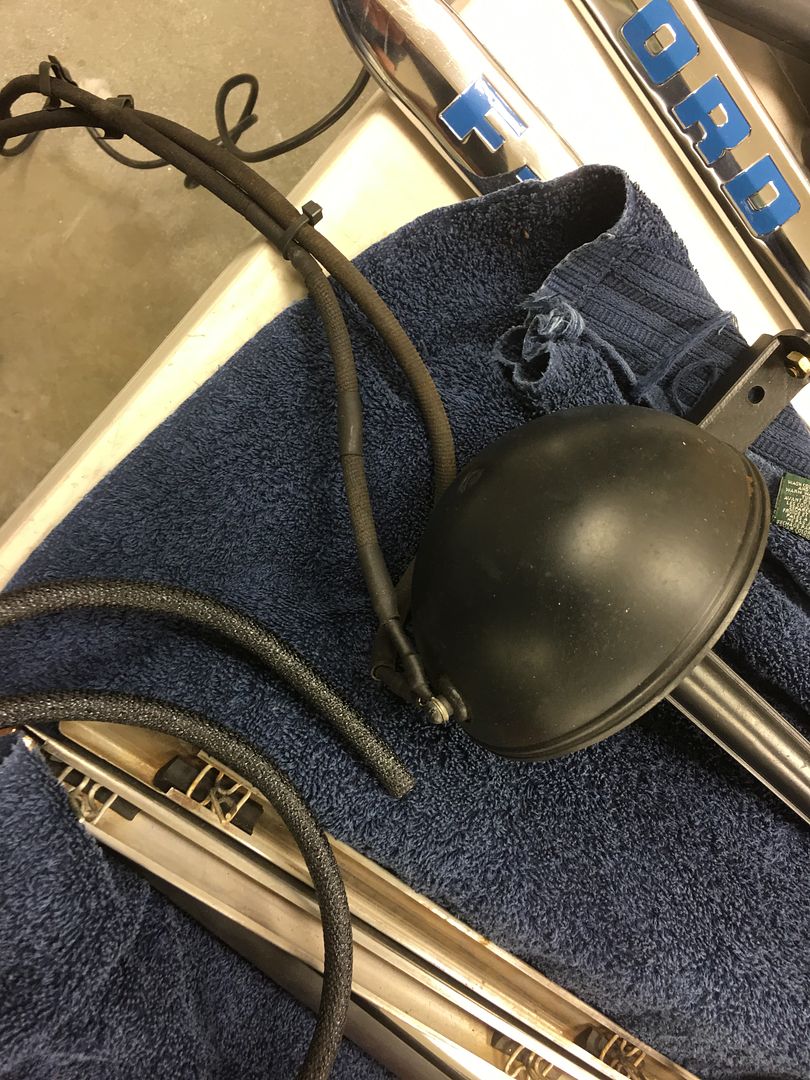
John stopped by mid morning and we got all the parts put back together and adjusted. Looks much better with the hood back on, John has been driving without one for a couple months.
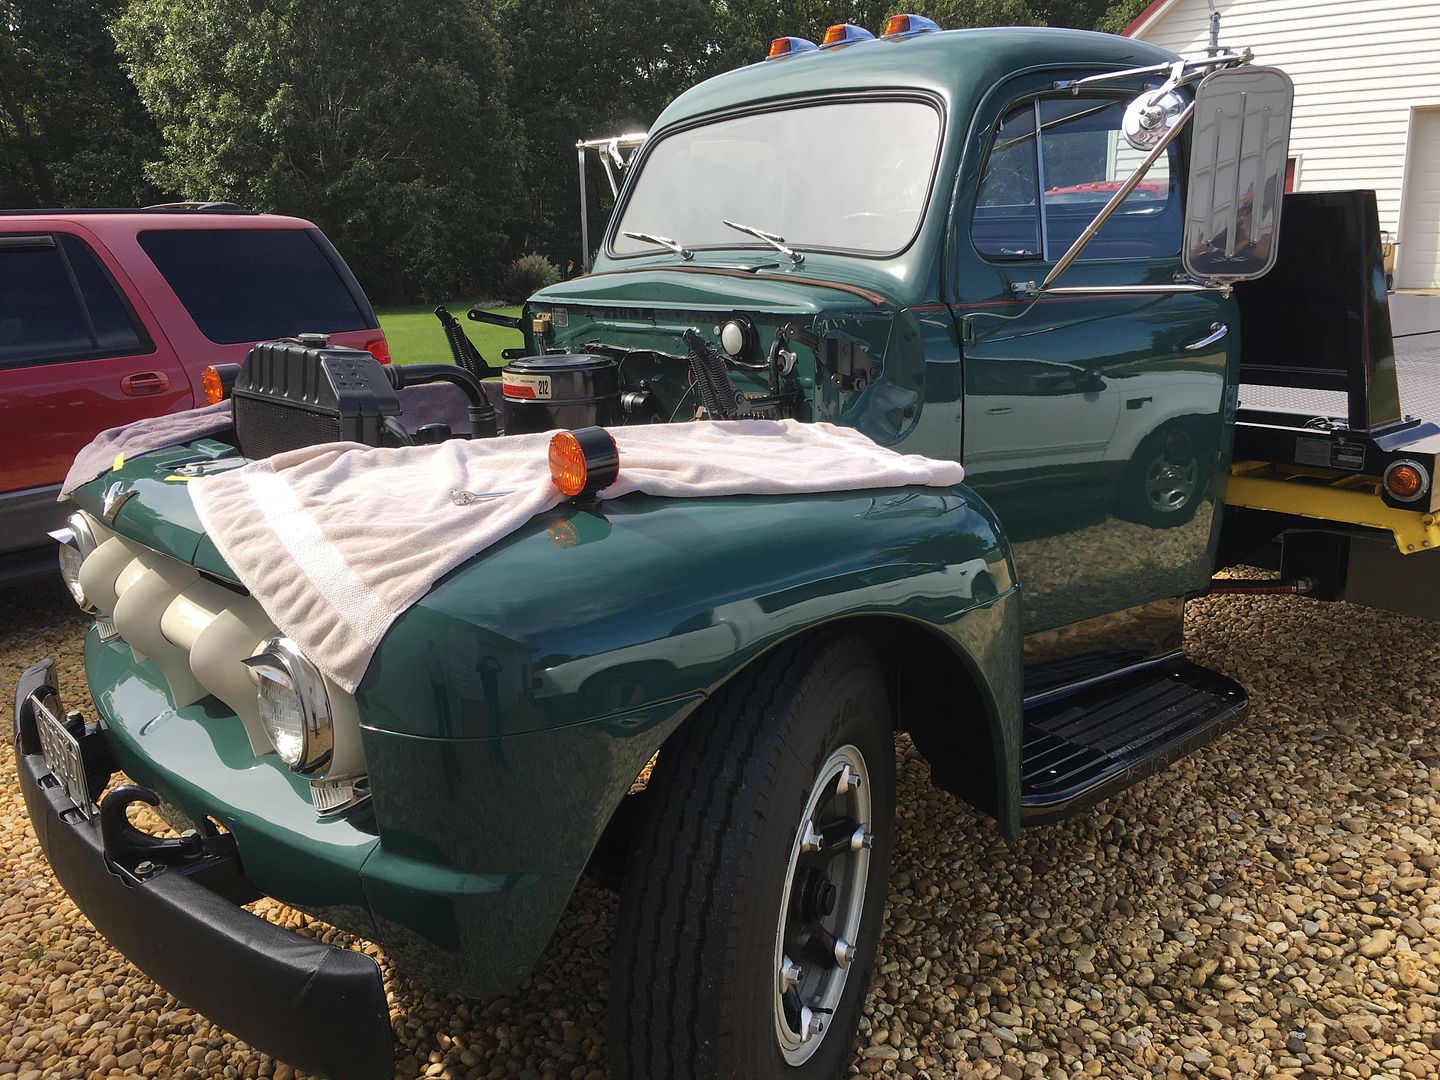
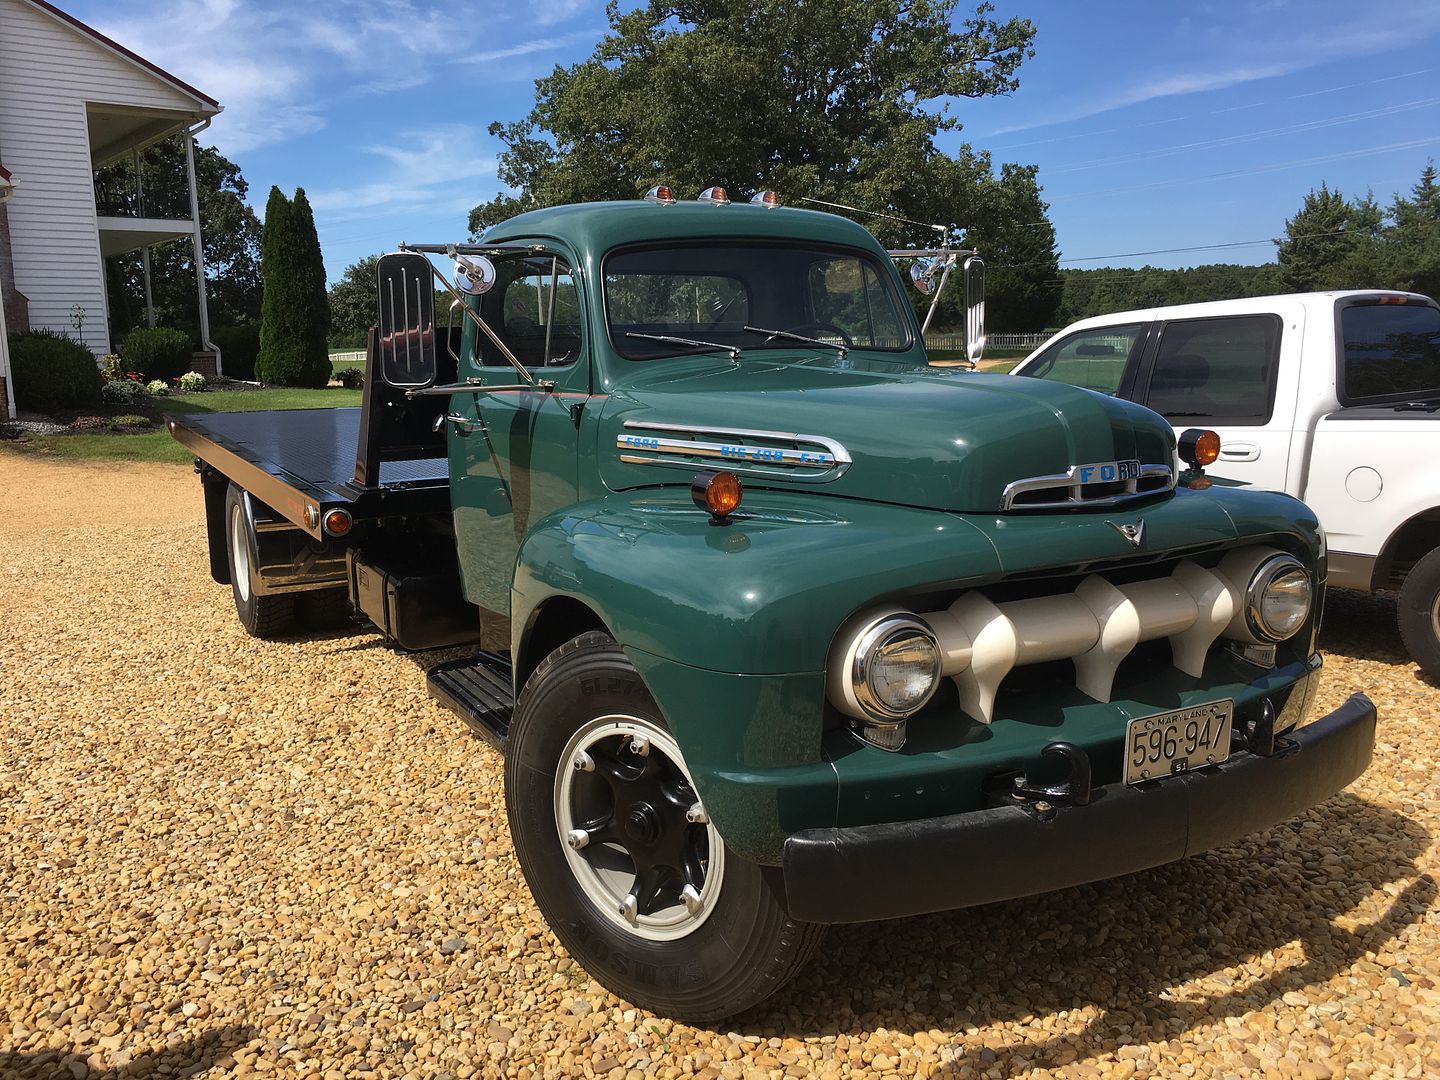
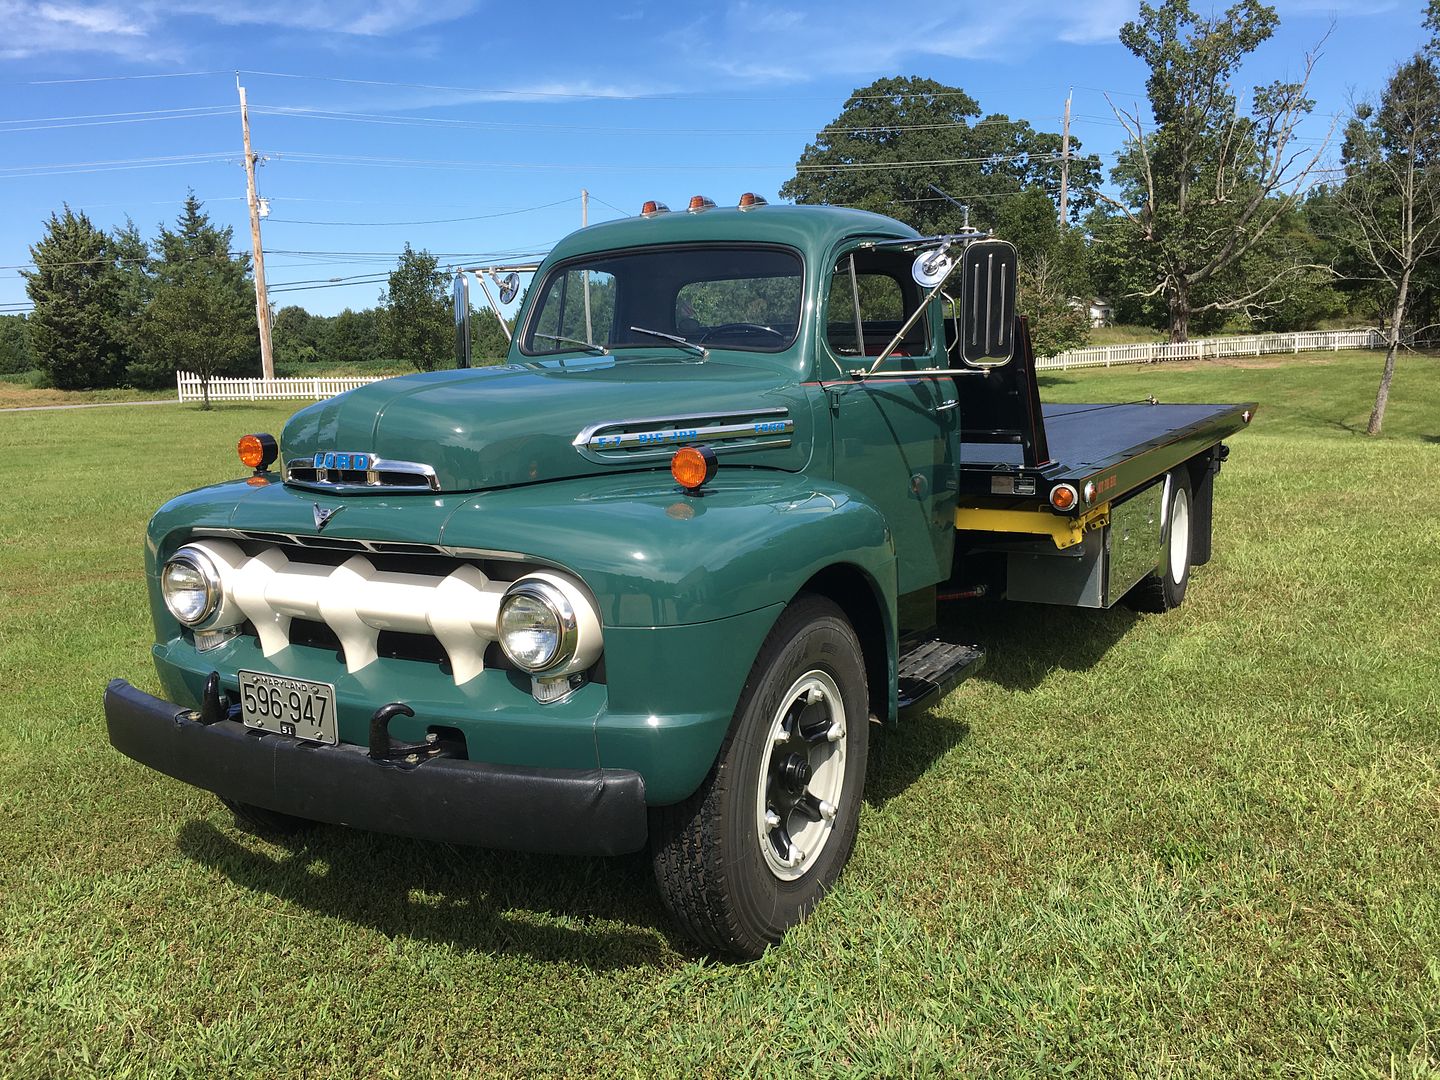
All ready for the Tri-state Antique Truck Show this week in Clear Brook VA..
This past Friday night we cut and buffed the F7 hood to get rid of some dust nibs, and Saturday morning Jared and I started to reassemble the hood. The horn wiring had some dry and cracking insulation sleeving, so it was replaced as well.
John stopped by mid morning and we got all the parts put back together and adjusted. Looks much better with the hood back on, John has been driving without one for a couple months.
All ready for the Tri-state Antique Truck Show this week in Clear Brook VA..
Thread Starter
|
Tuned
Joined: Aug 2007
Posts: 459
Likes: 123
From: Maryland
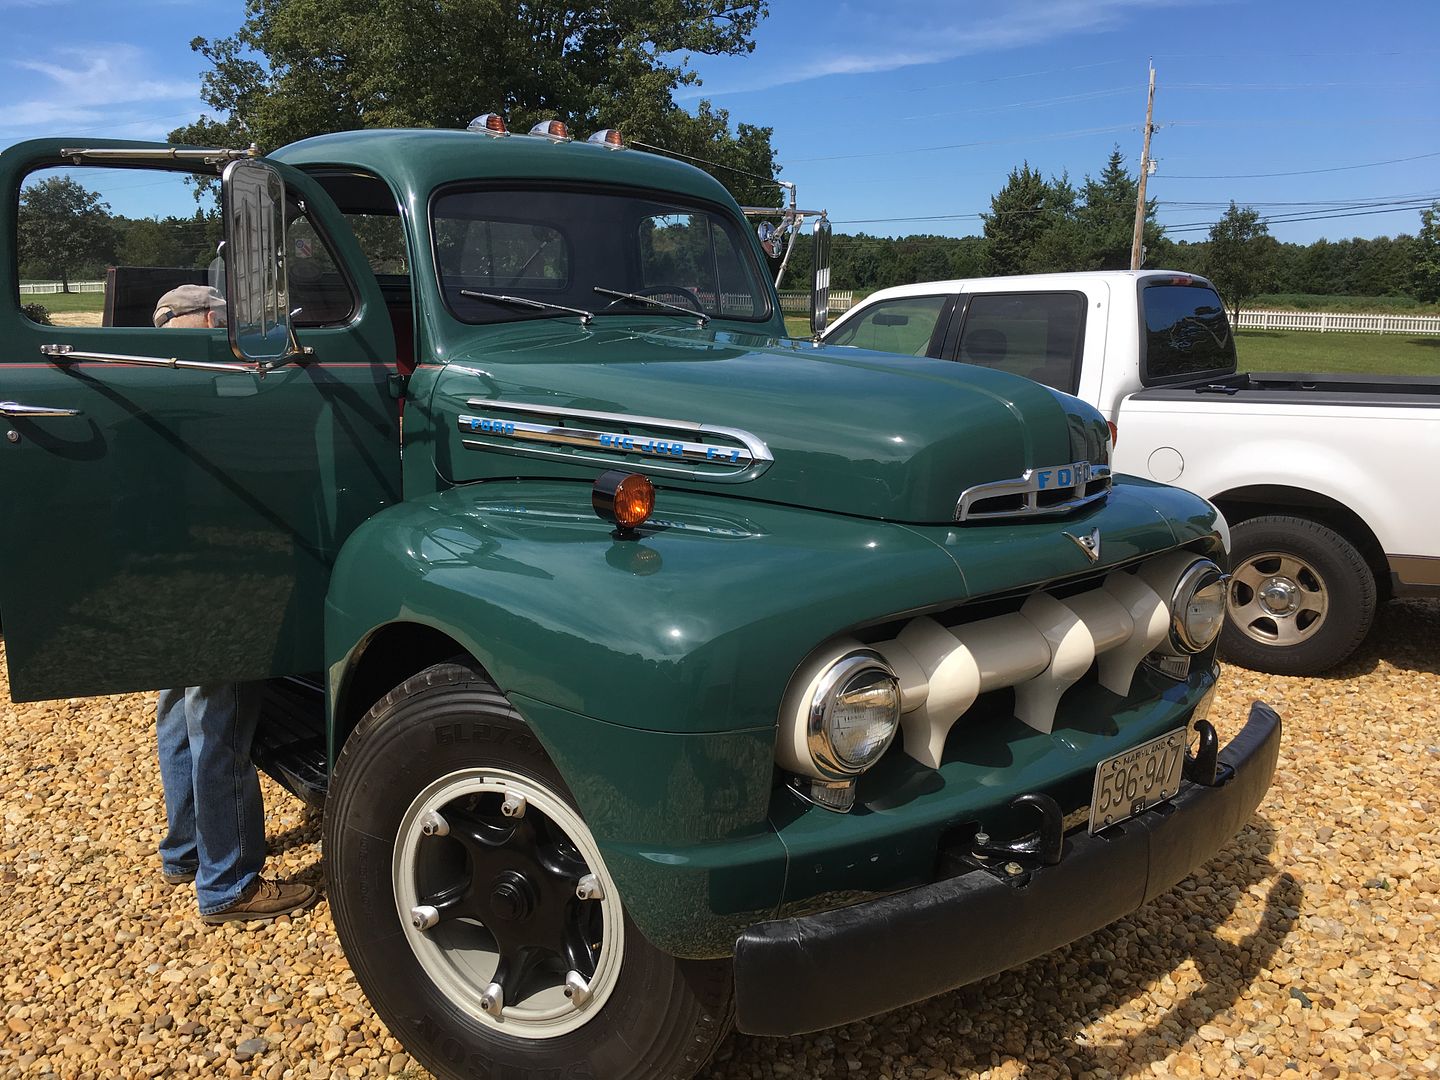
John got the truck loaded up today, ready for departing tomorrow for the Tri-state Antique Truck Show at the Frederick County Fairgrounds in Clear Brook, VA. Hopefully if any of you guys see this at the show you won't be able to tell what I've done.. I may have to take a ride on Friday myself and check out the show......
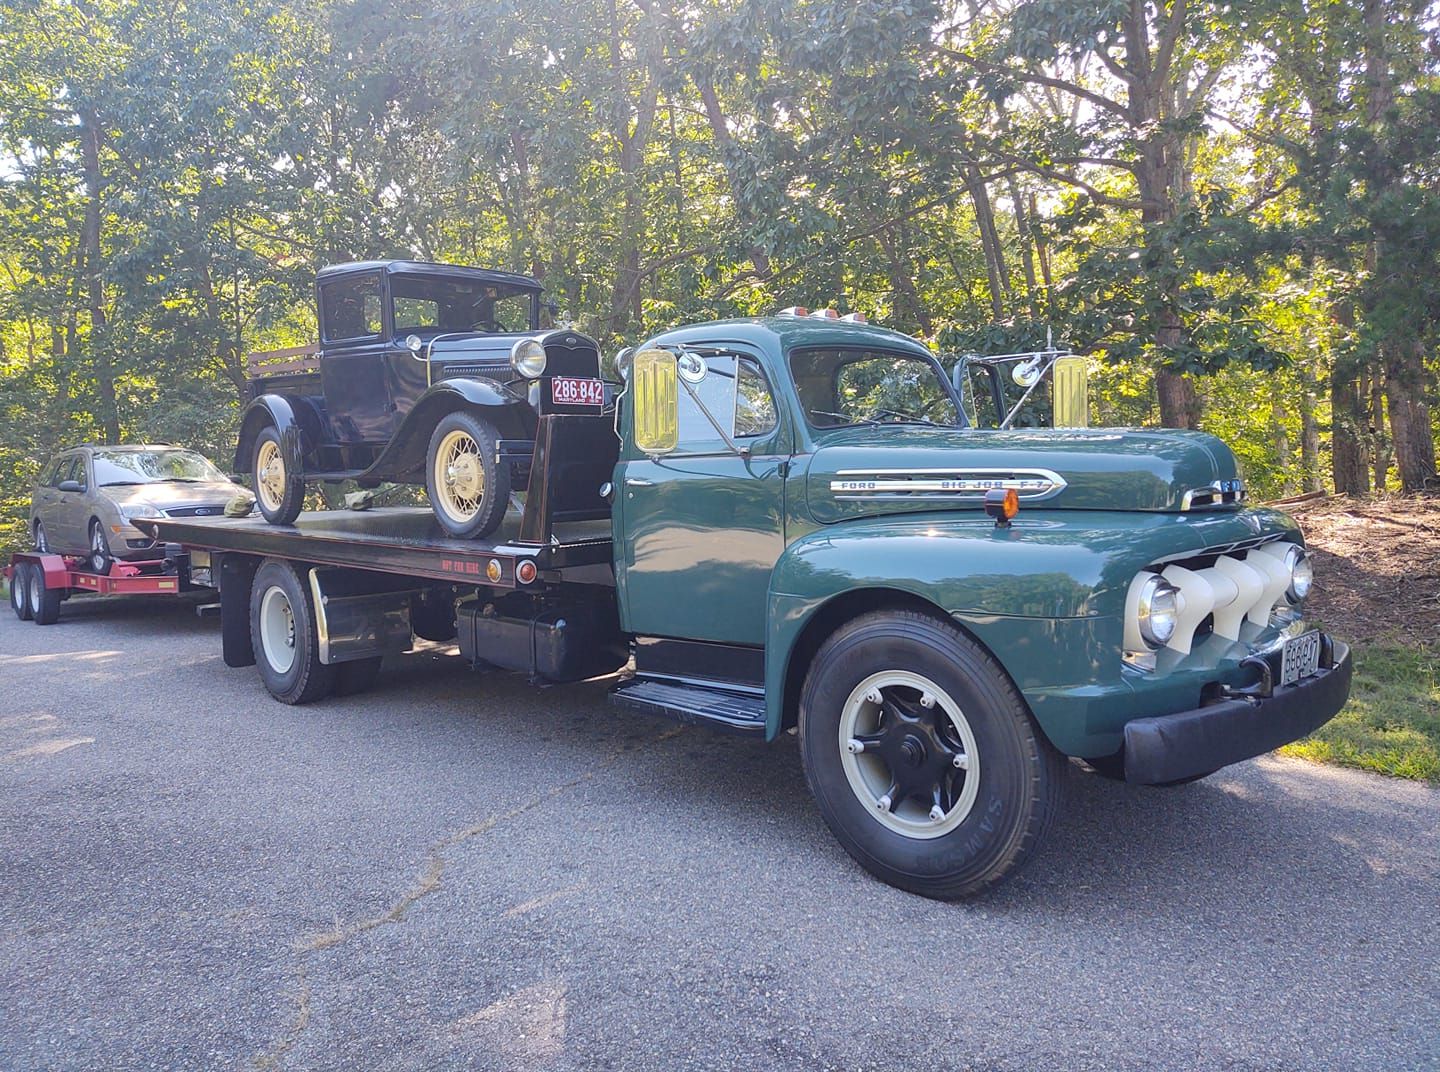
I may have to take a ride on Friday myself and check out the show......
