When you click on links to various merchants on this site and make a purchase, this can result in this site earning a commission. Affiliate programs and affiliations include, but are not limited to, the eBay Partner Network.
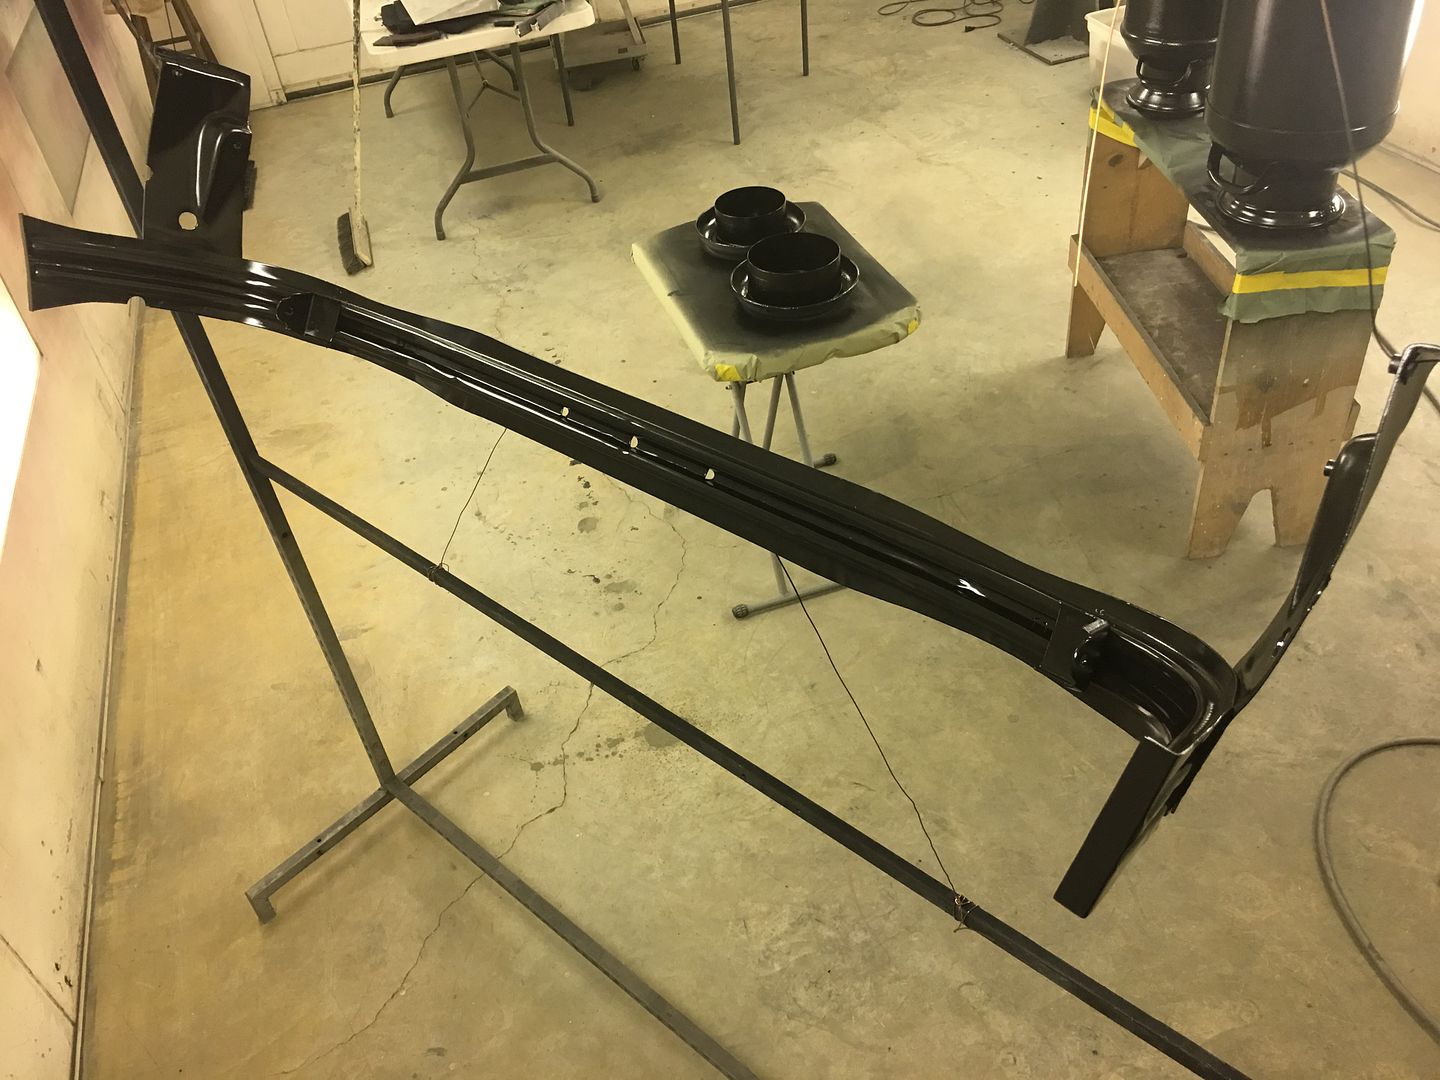
More progress on the hood, here is the other end of the hood brace..
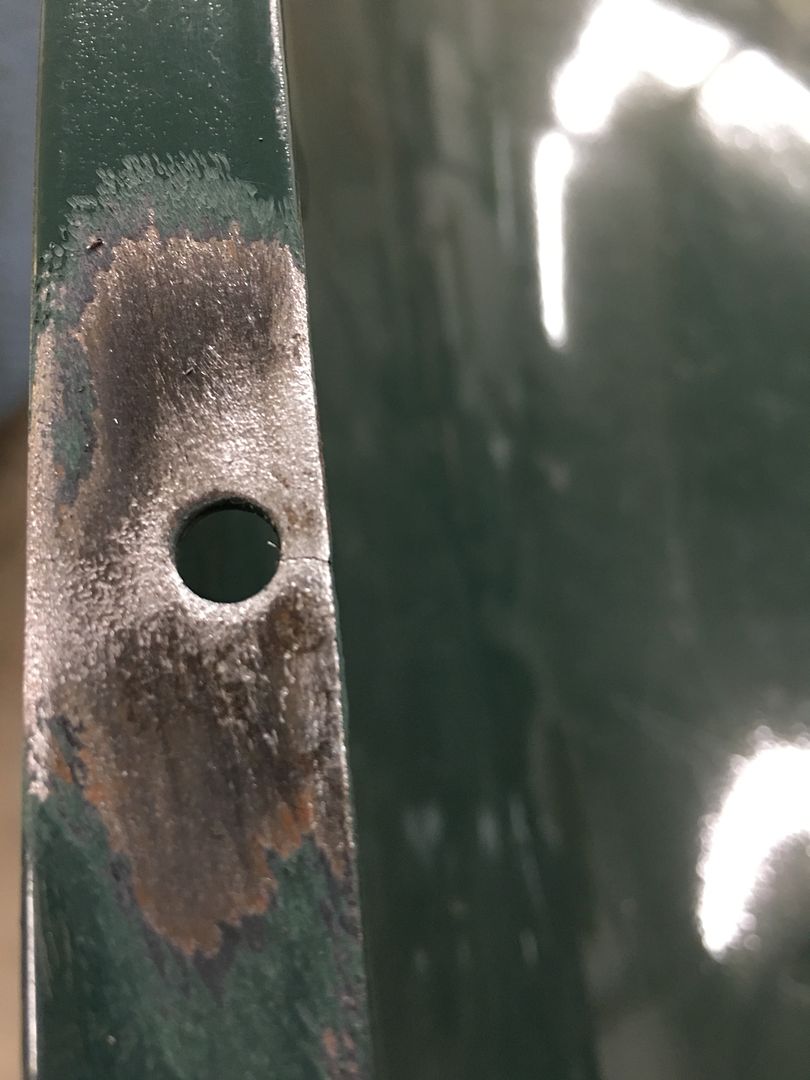
Looking at thee back side, you can see where a few holes were welded closed the last time it was painted, and the severe pitting and new holes that we have. Although better than the passenger side, this definitely it one of those "while we are here" things. Do it right, do it once.
(grinding marks were mine) With our new replacement all one piece, the next step is to bend the flange that spot welds to the hood skin. A tipping wheel in the Fasti-werks bead roller makes quick work of it. The bend line was transposed from the original and an initial pass under the tipping die marks the crease line a bit better, Then successive passes are made, lifting slightly with each pass. This is done until the beads interfere with the tipping die.
Then the partial bent flange is clamped in the magnetic brake for the remainder of the fold. This brake allows us to use a die on either side of the bead details, where a full die may inadvertently push in on the beads.
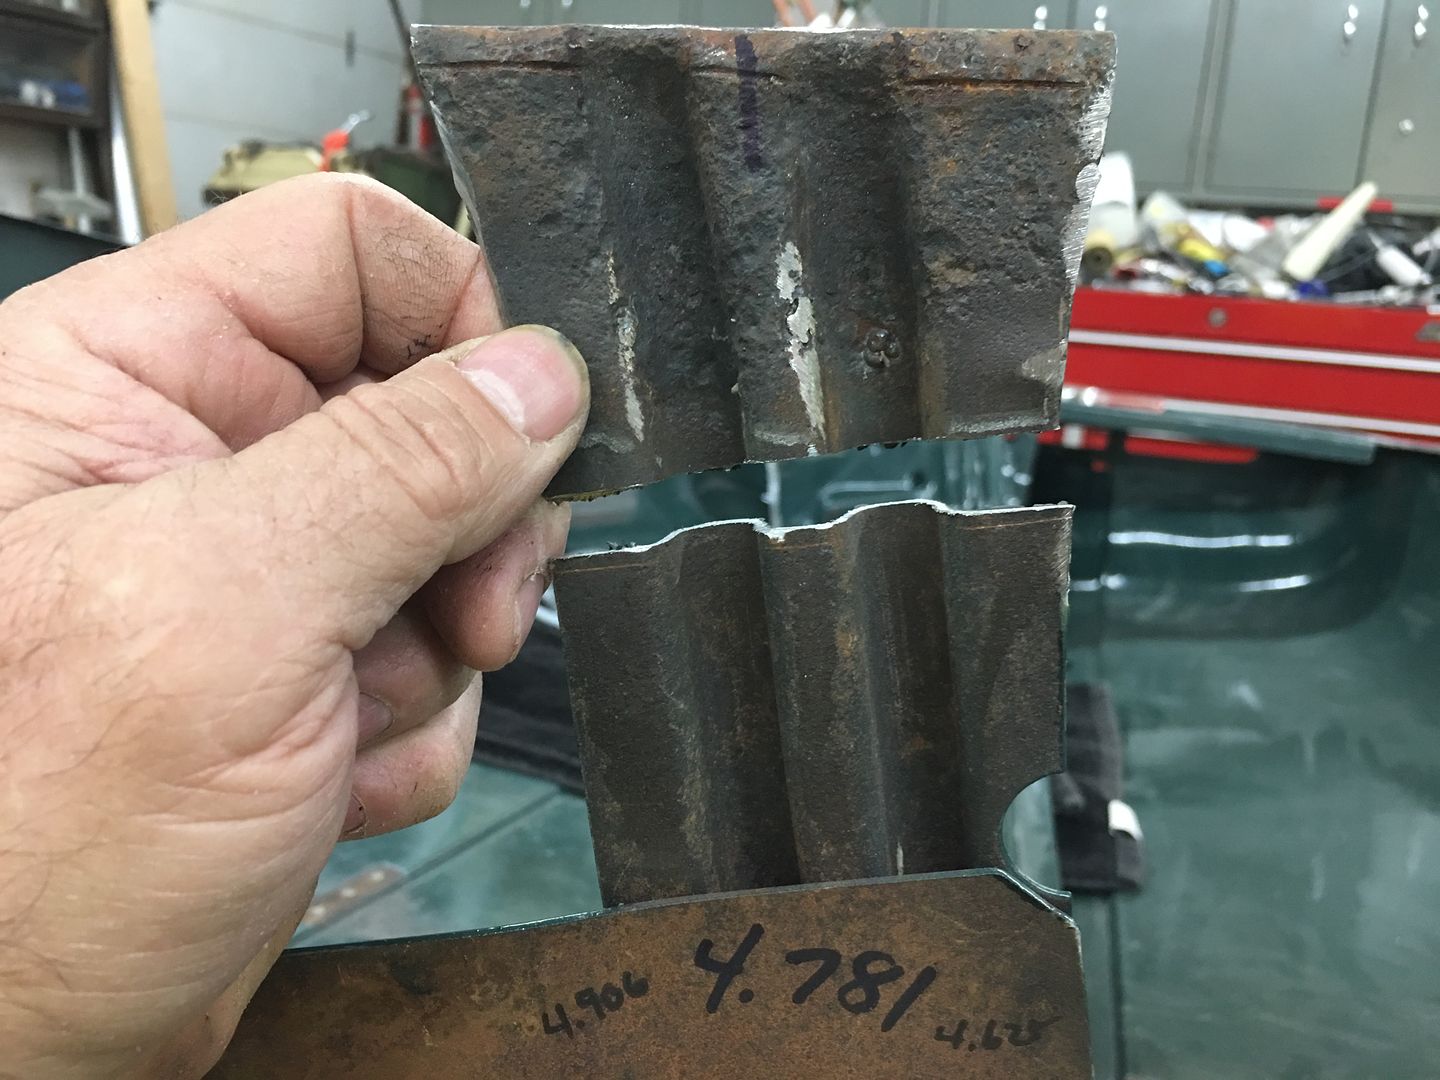
End gets cut to length and marked for initial trimming
Looks like we may have enough bead stock left for another couple of ends.
That's where we left off yesterday, we'll see about welding the new end on today..
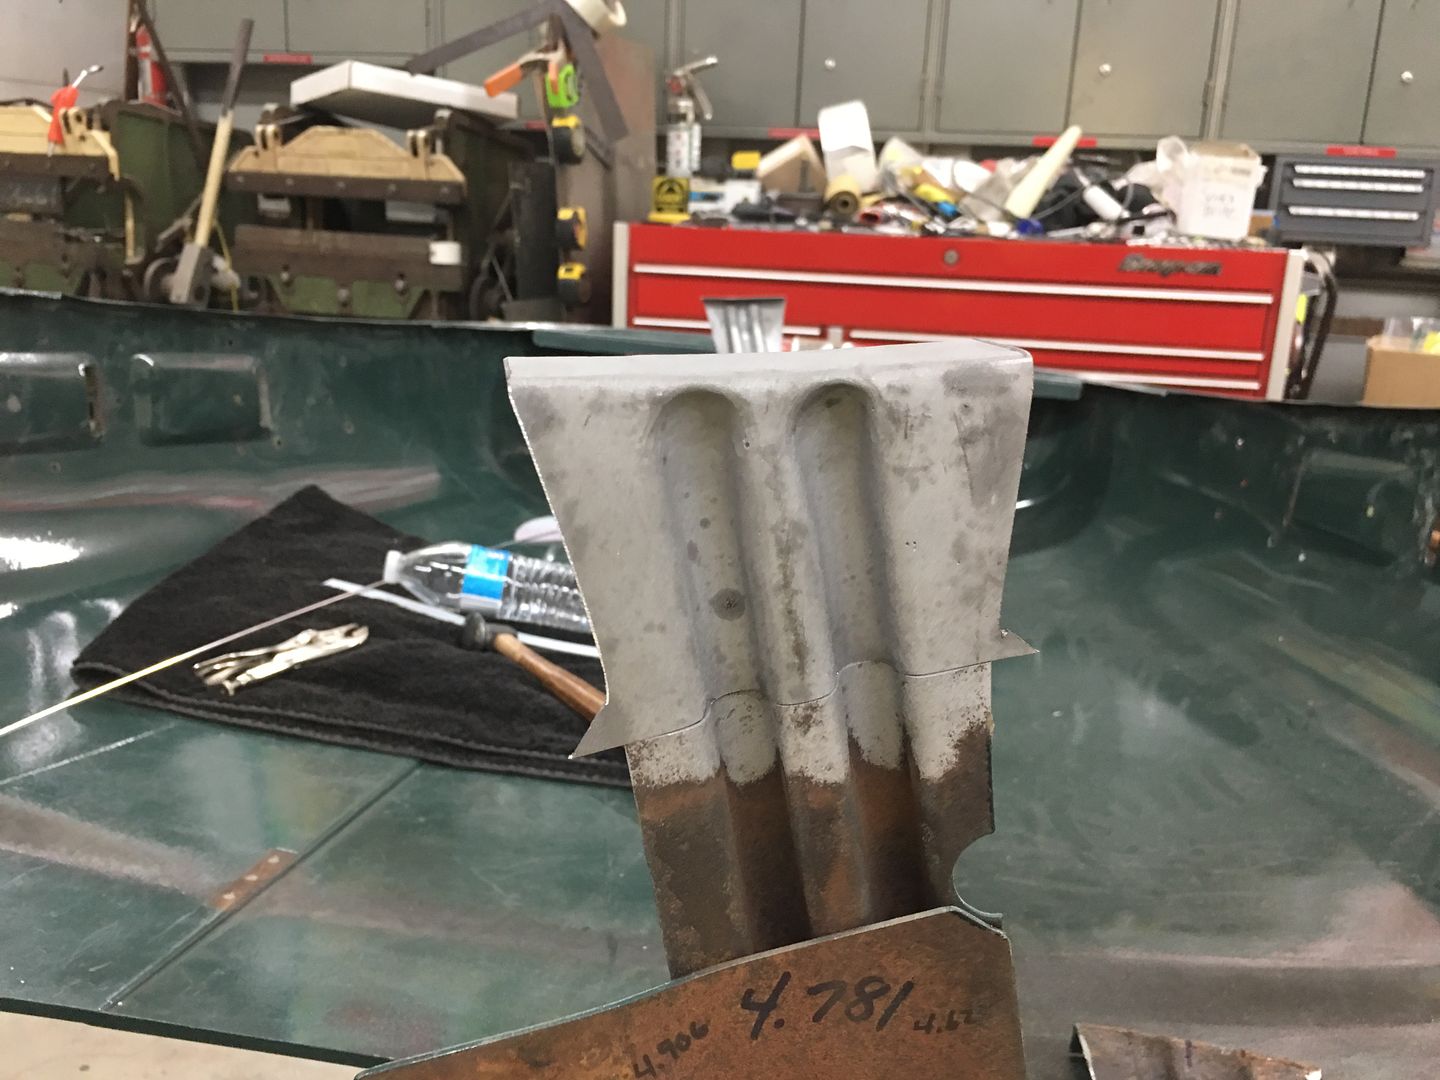
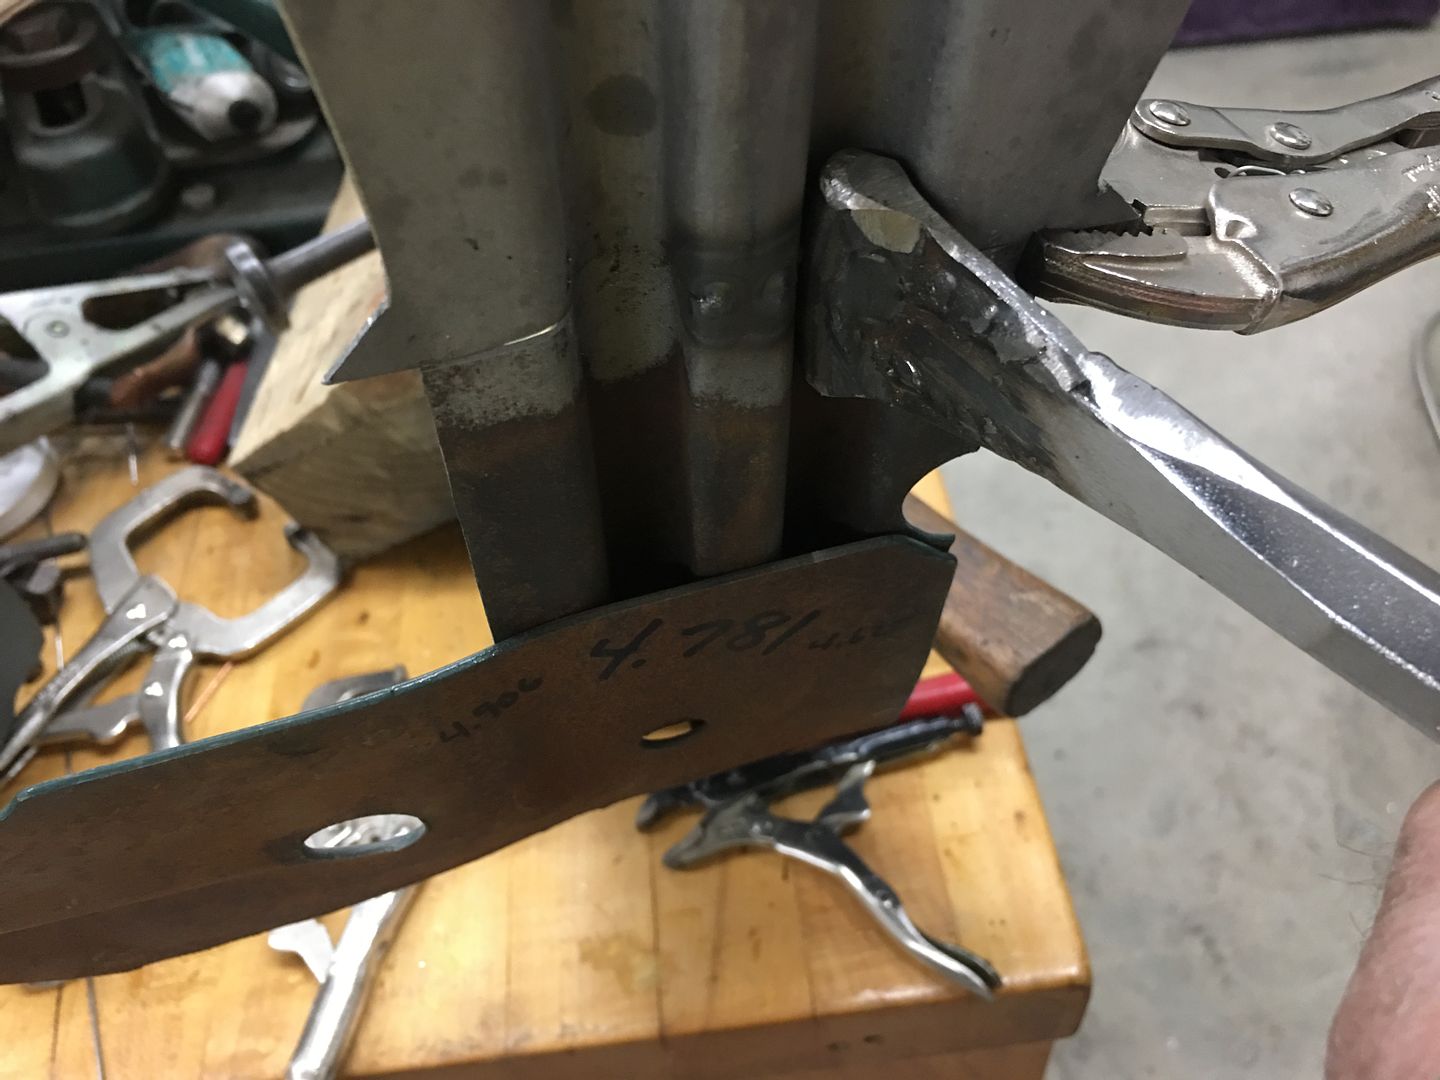
Our last end for the hood brace. Off with the old.....
Then it gets trimmed to our scribe line and the end media blasted in prep for welding. Our new end is test fit and trimmed until we get the right distance to our reference marks. The "batwings" give us a heat sink at the edge for less chance of burning back the edge at the weld.
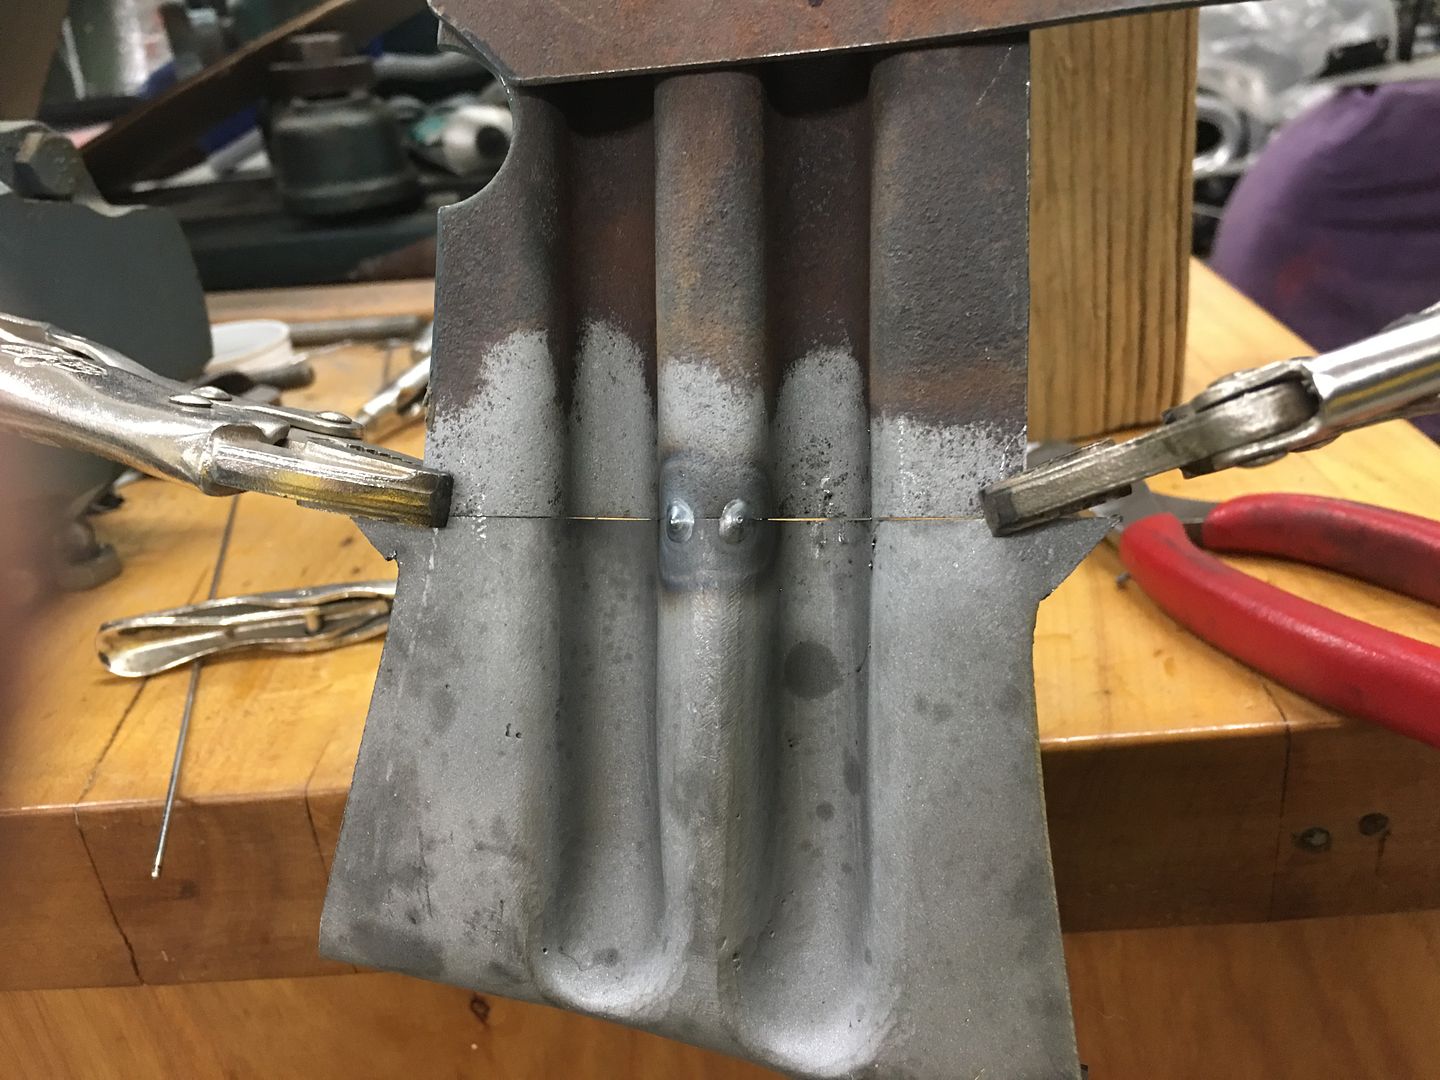
The center rib is aligned both on the sides and the face, and tacked in position using the TIG.
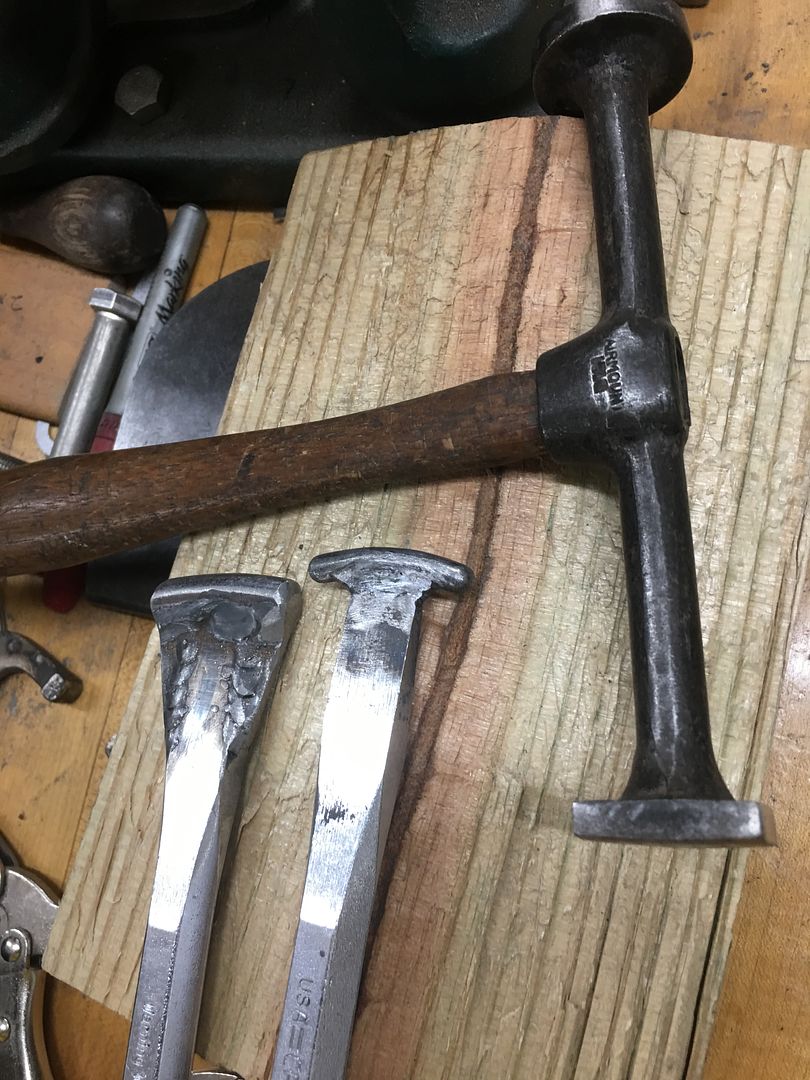
The pieces are aligned as we work outward, tacking as we go. A "corking tool" is used as a dolly where any bumping may be needed for alignment.
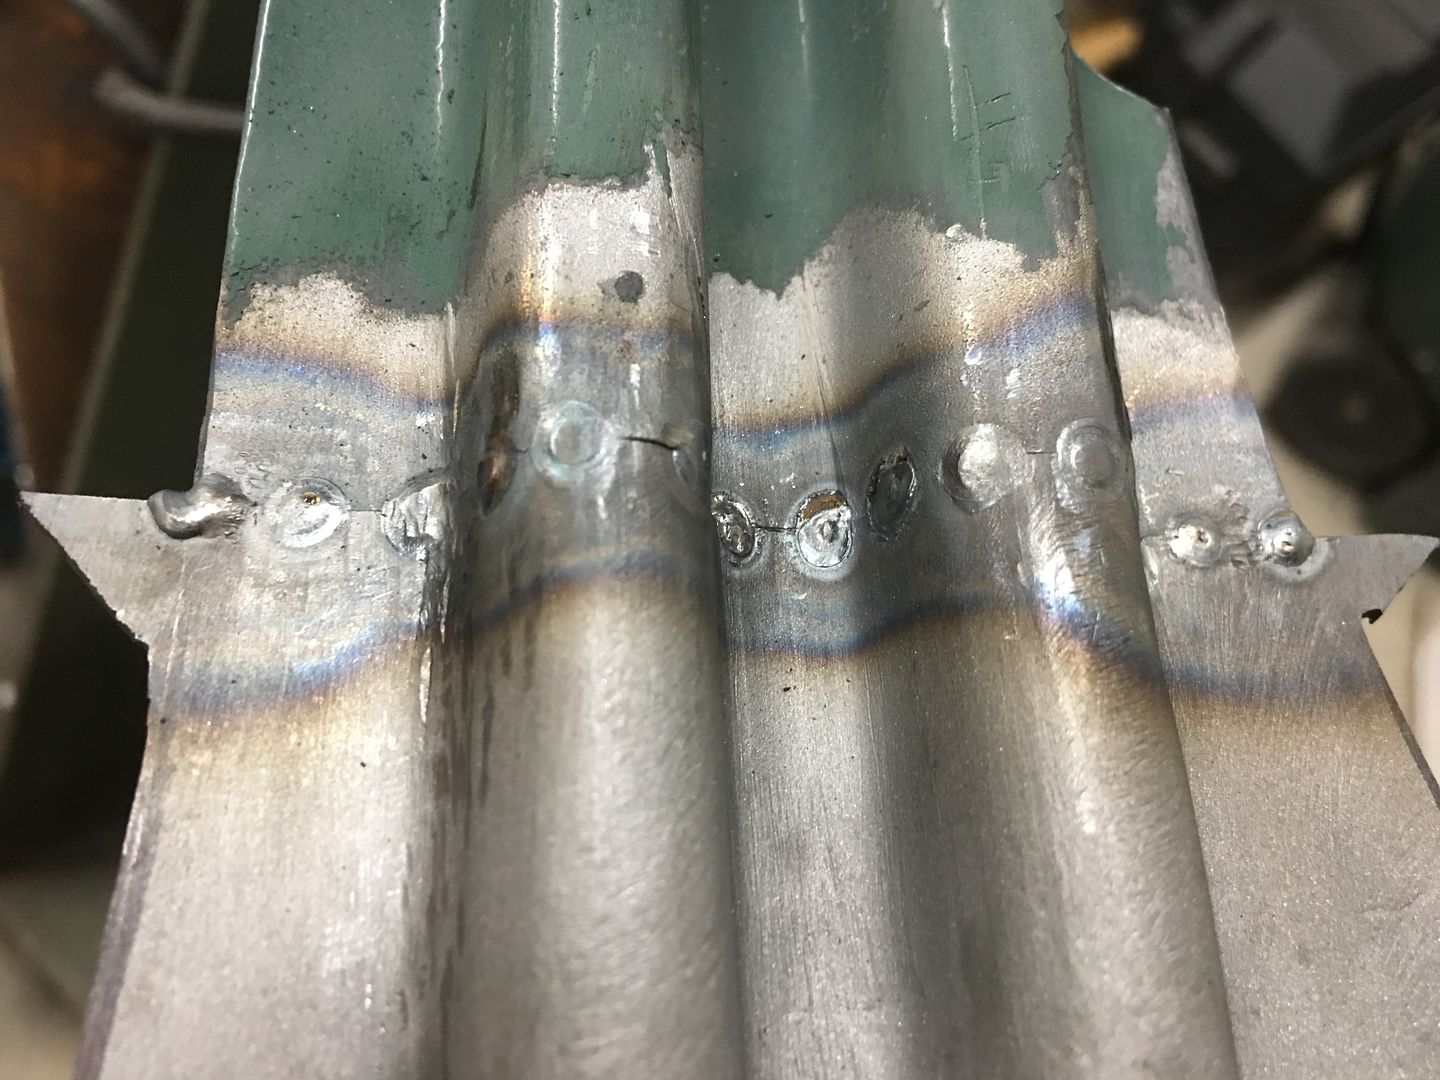
Tacked...
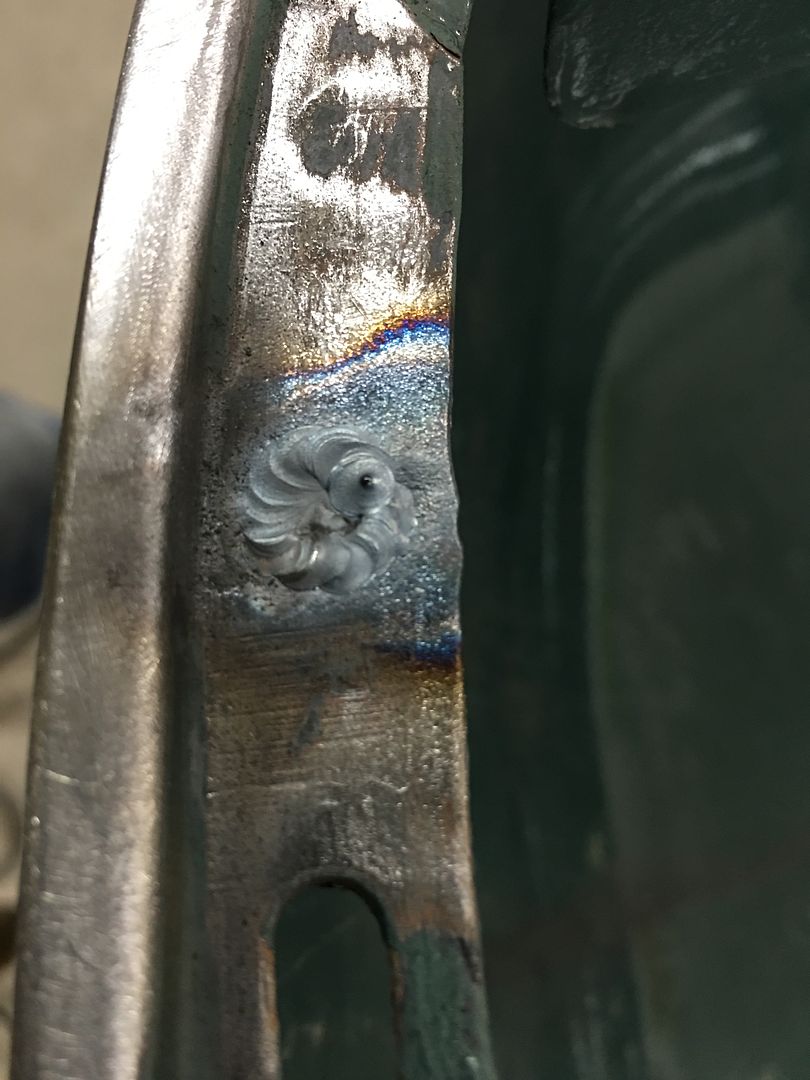
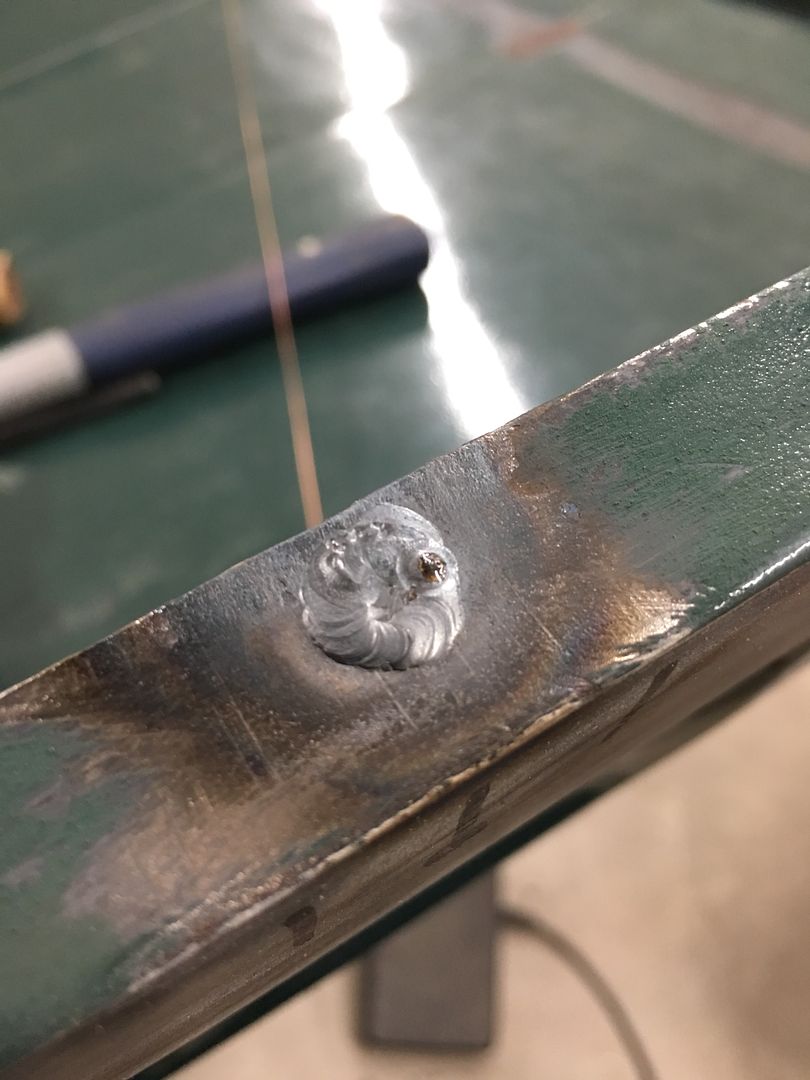
Welded....
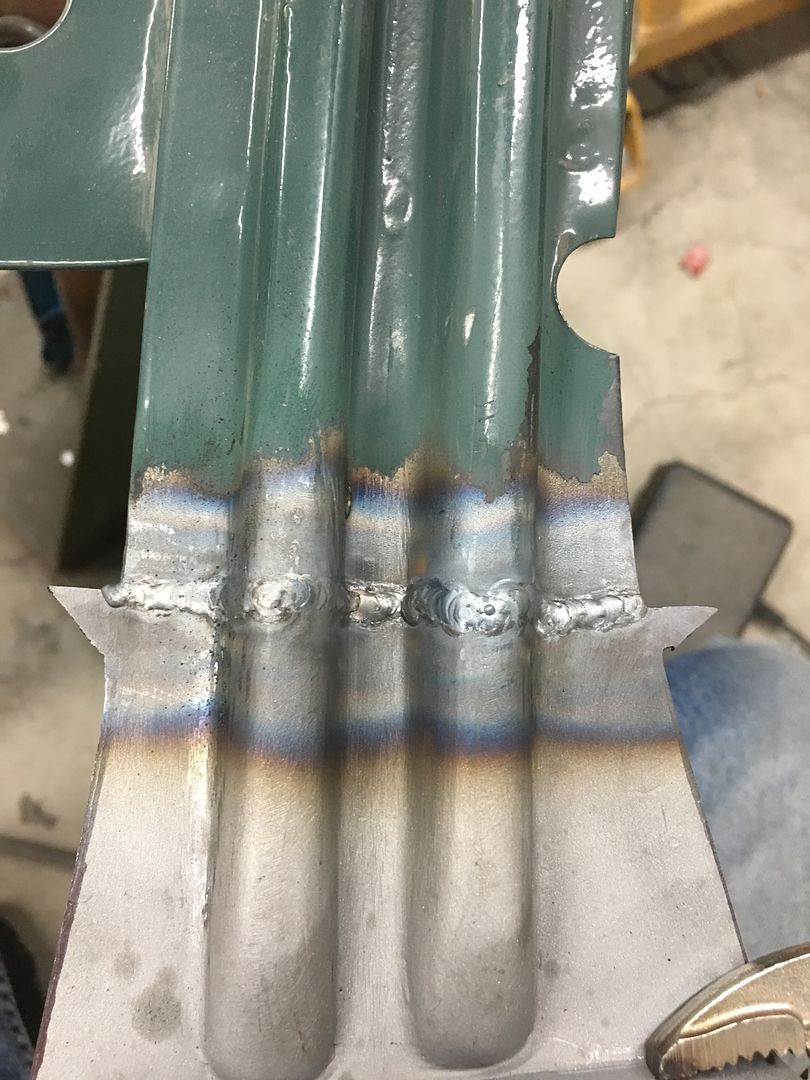
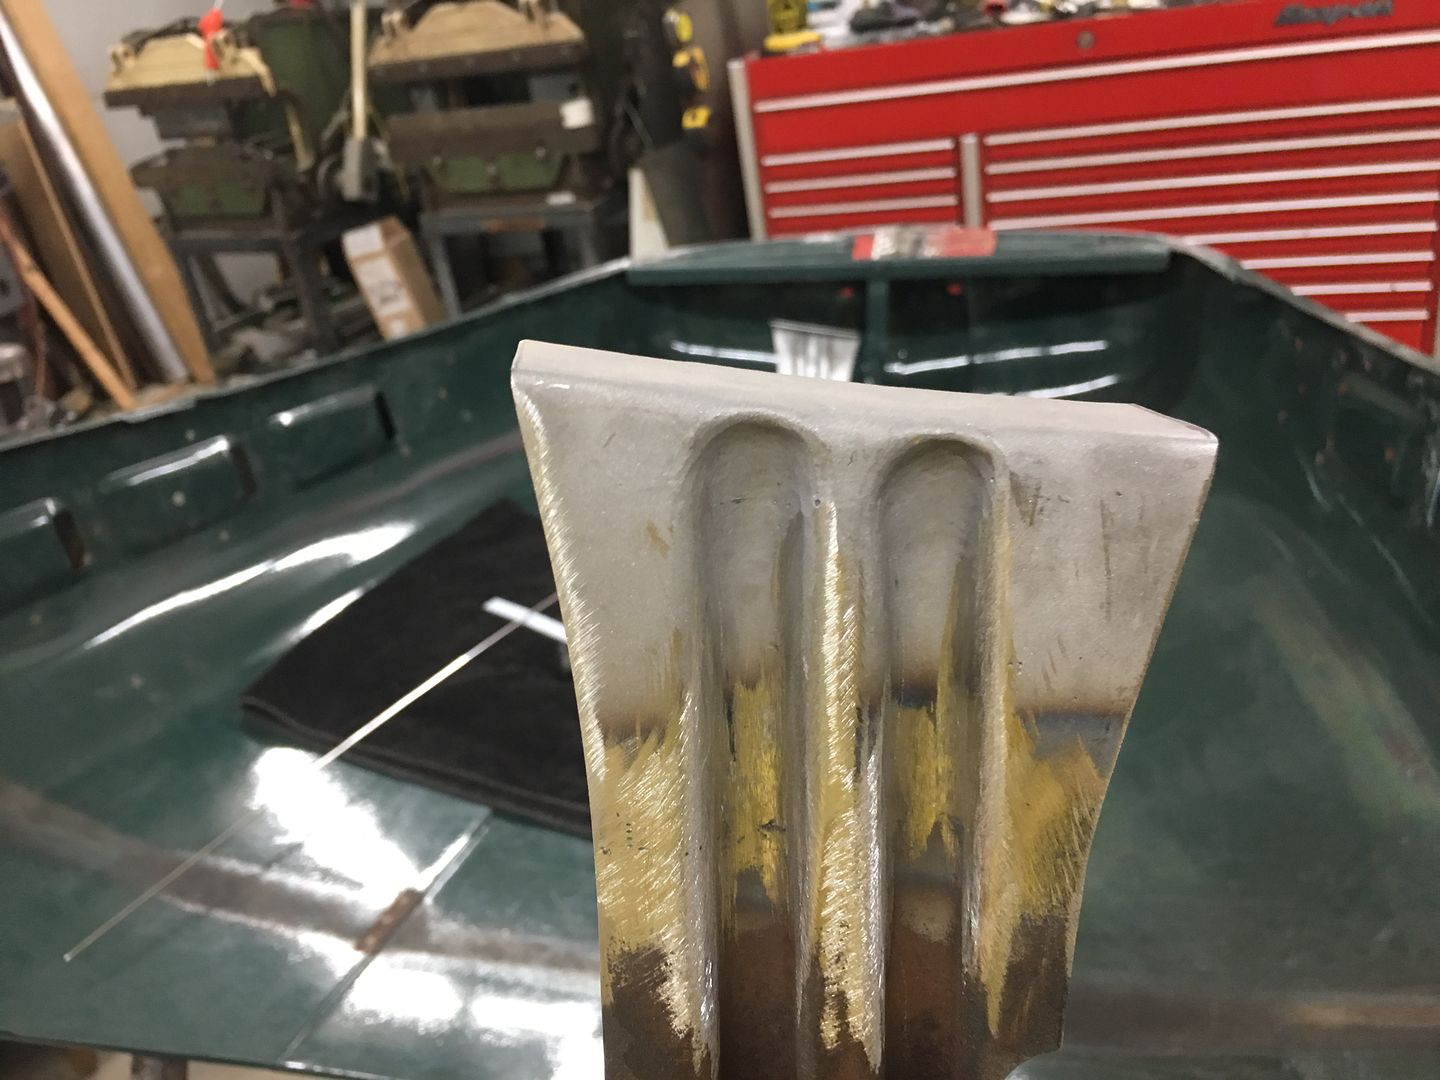
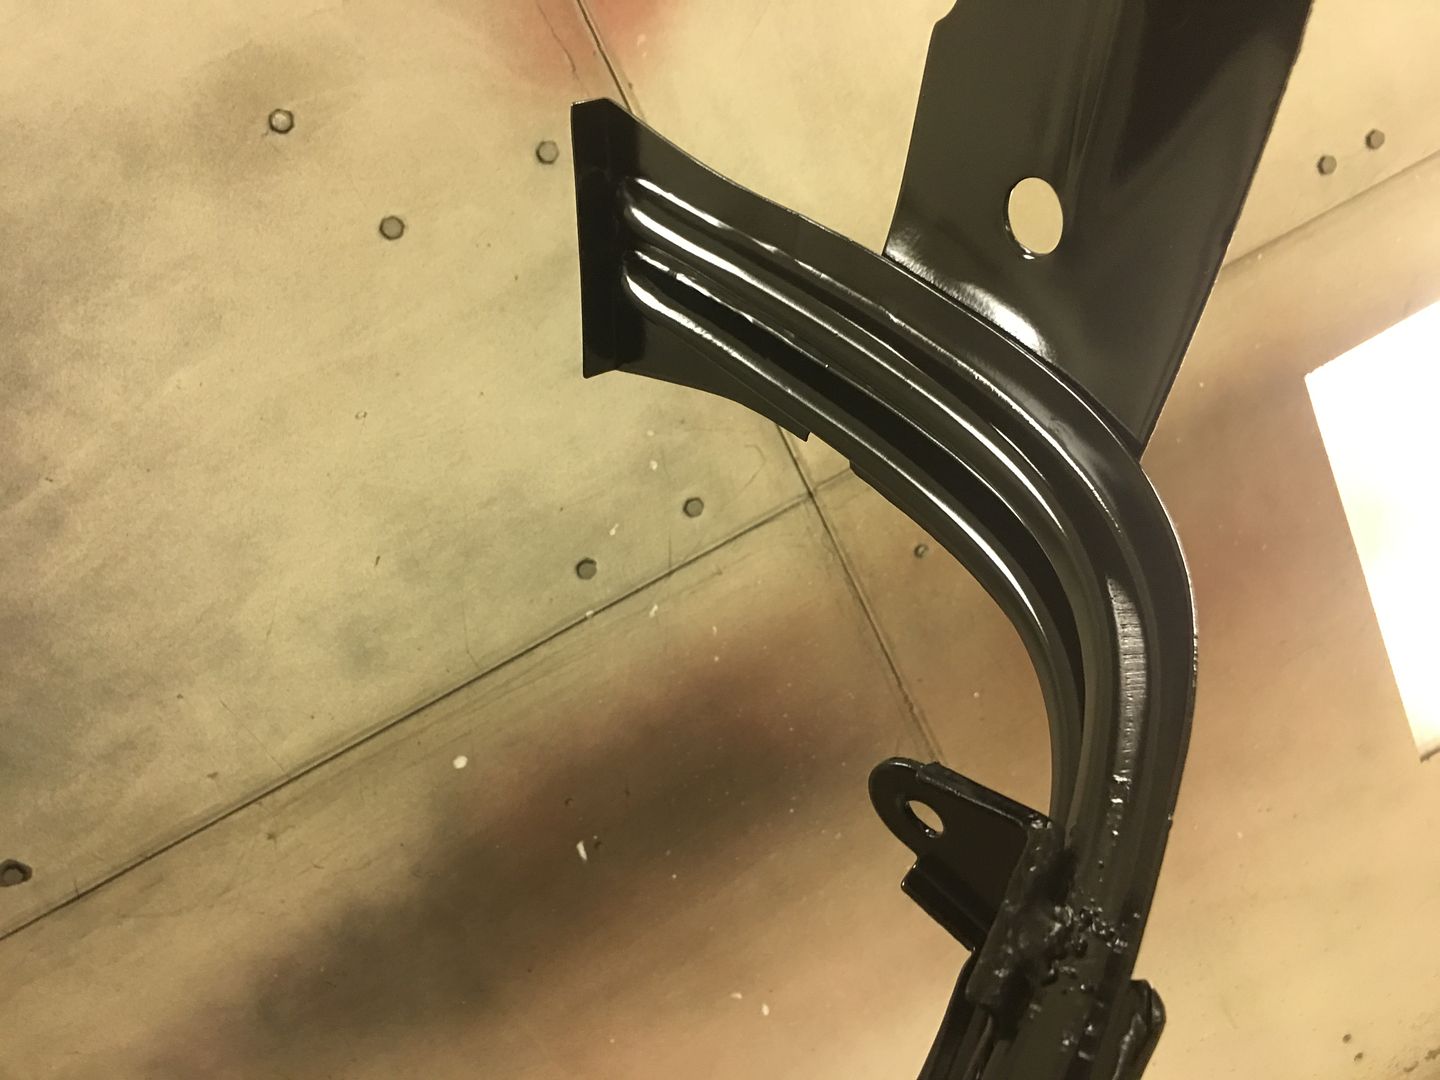
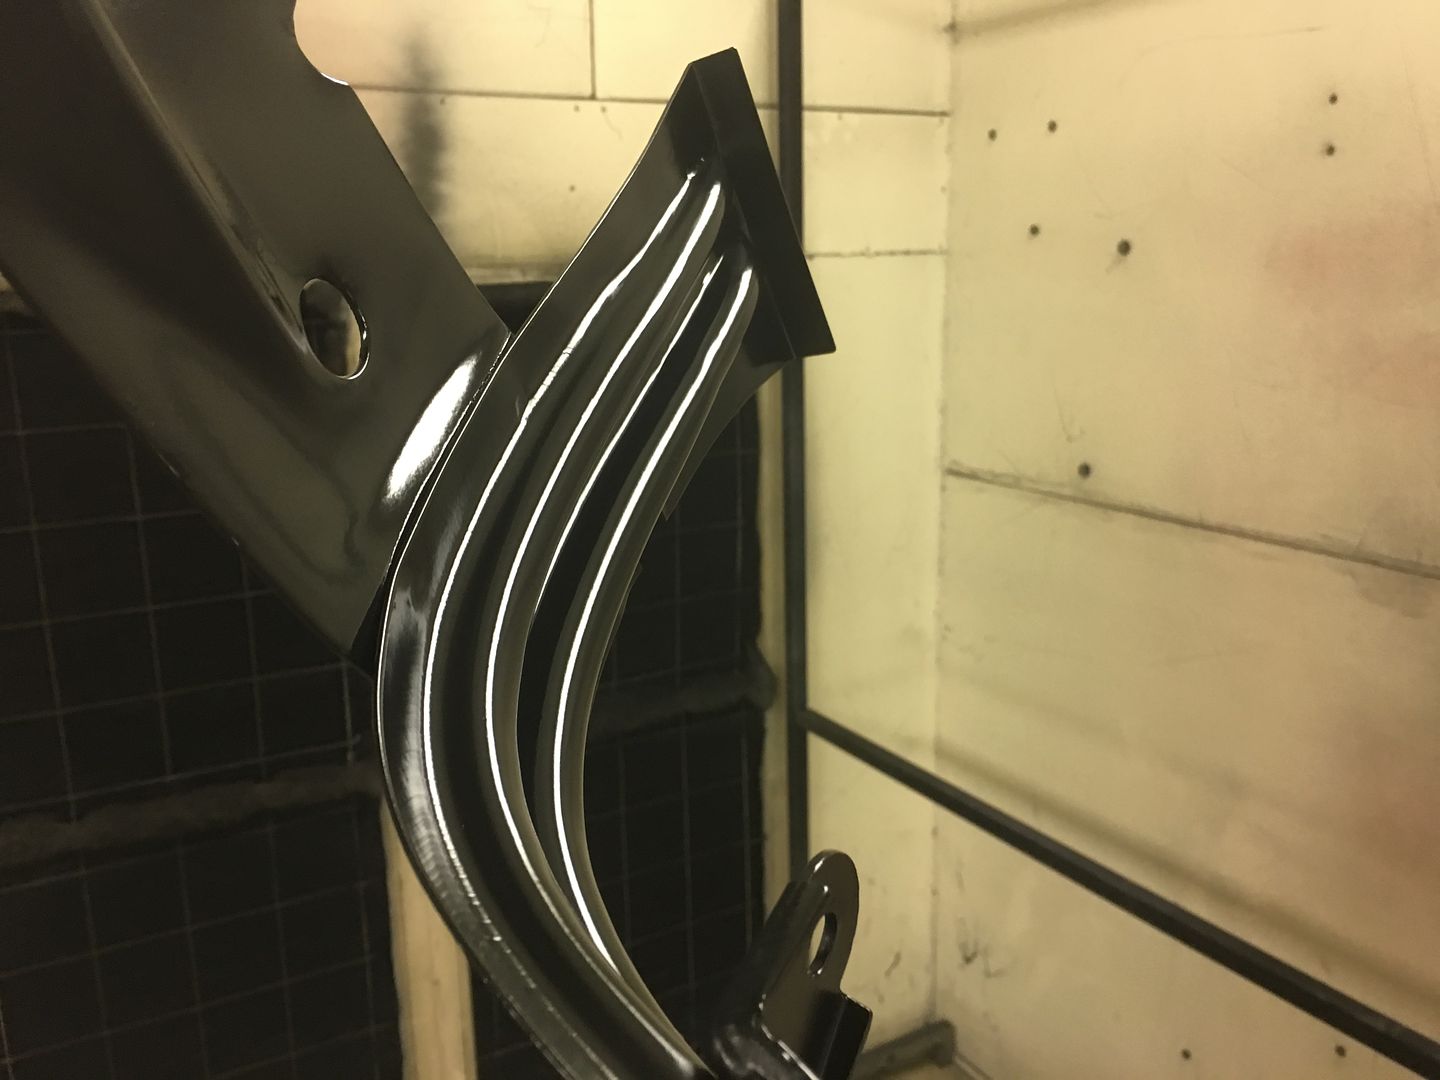
Welds cleaned up and end angles compared..
Now we can get back to straightening sheet metal..
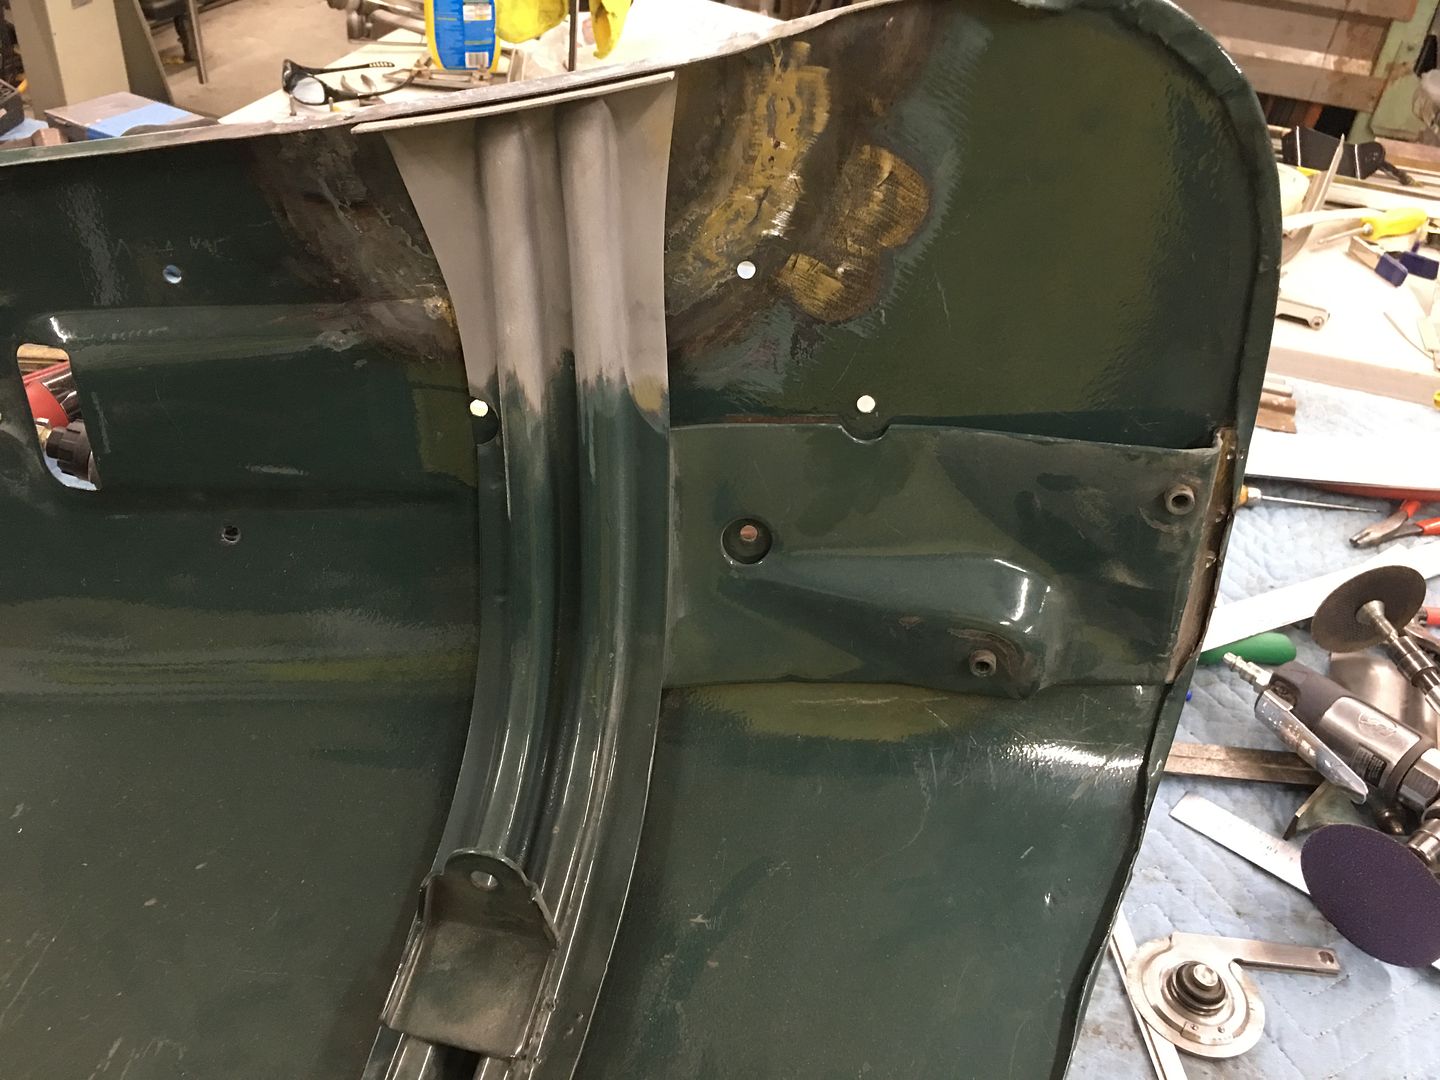
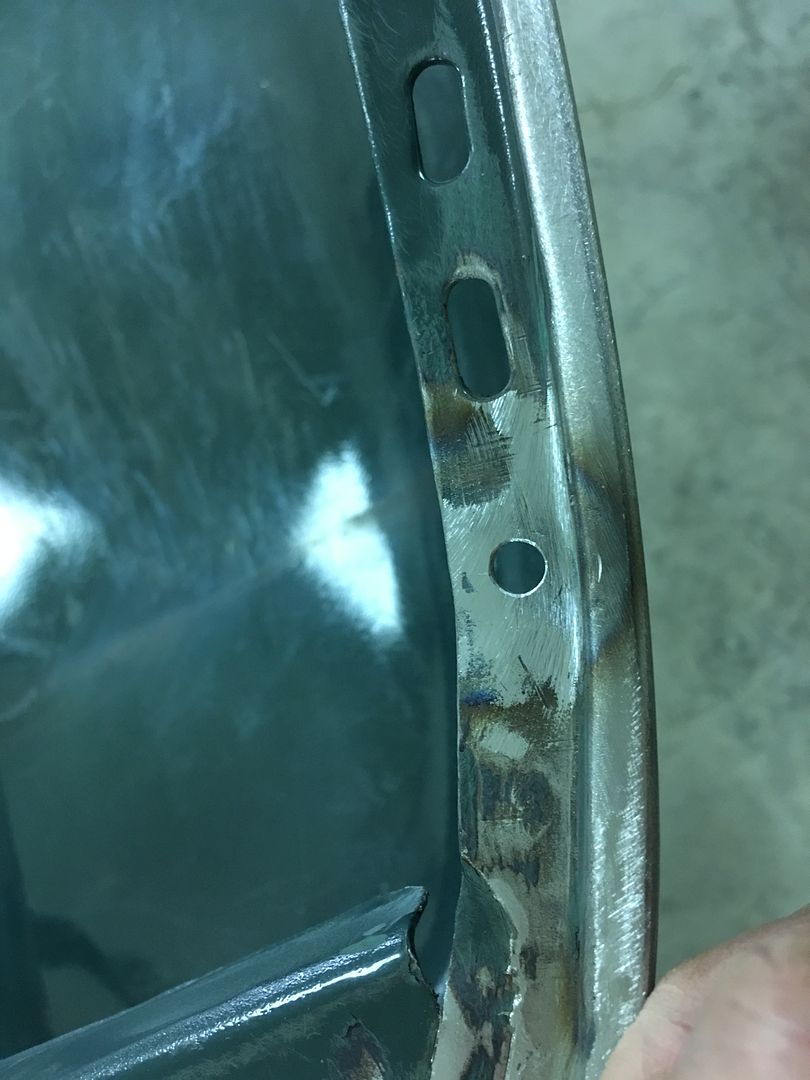
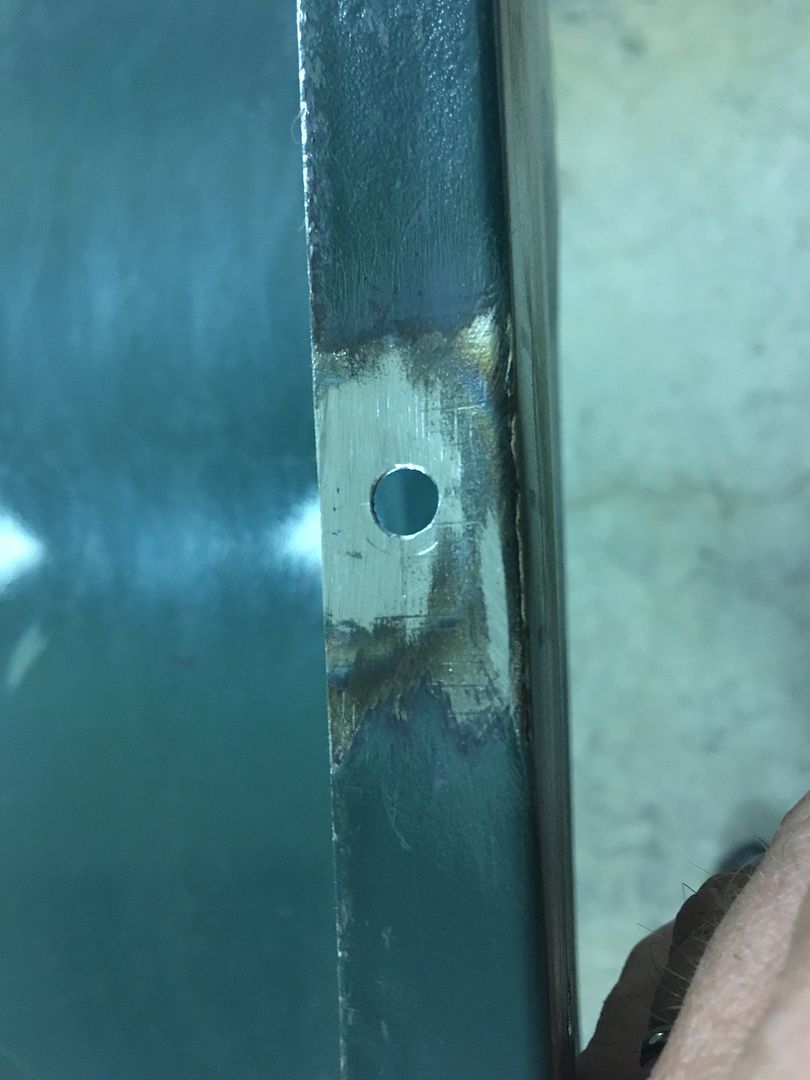
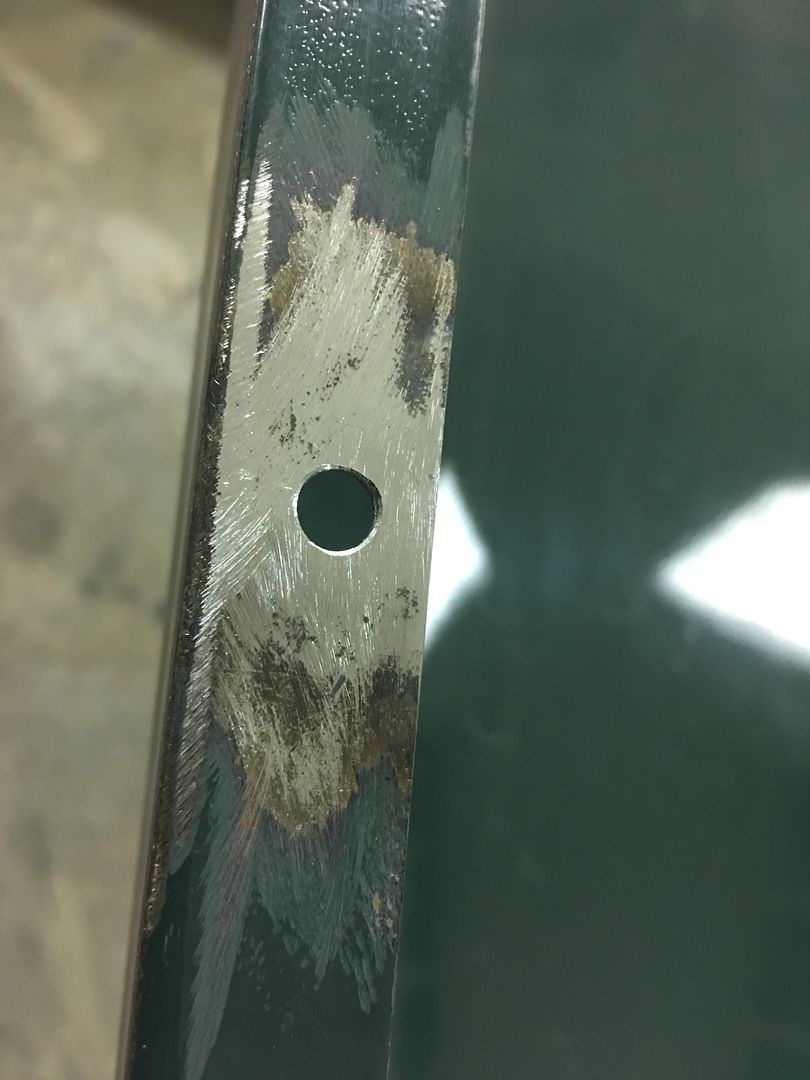
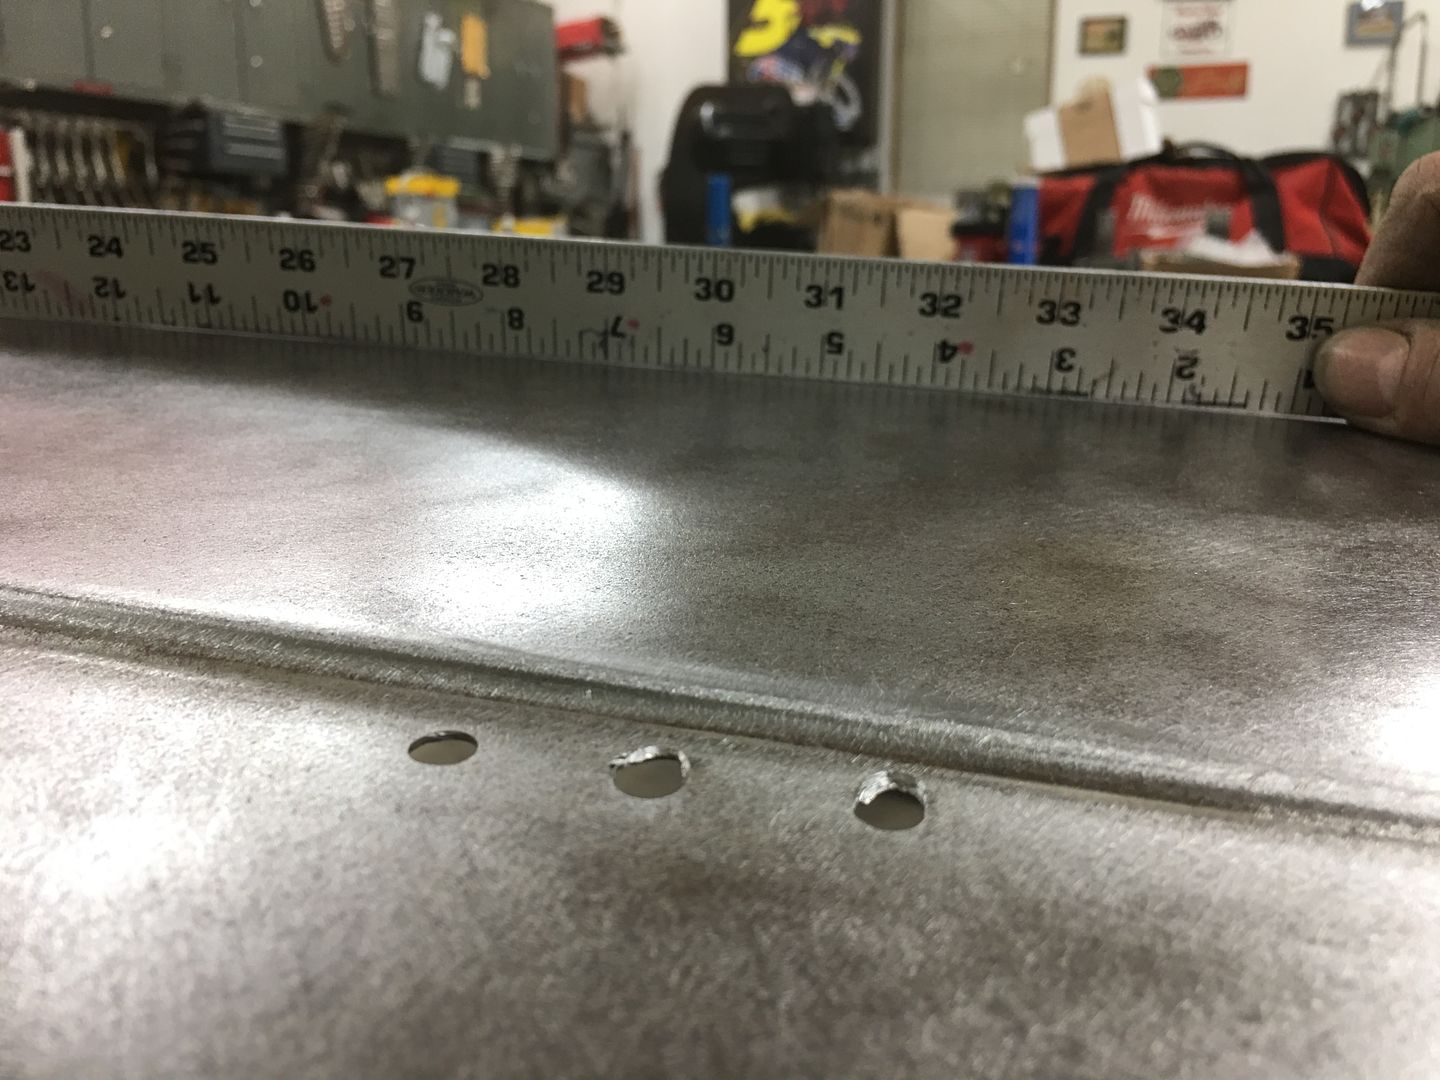
We have a few more spots to fix from cracking and fatigue, namely the holes on the underside for the rubber hood bumpers. We've already repaired three, and from the looks of it, need to take care of the remaining three..
18 Gauge x 1/4" plugs were TIG welded in to fill the existing holes, and a copper backer gives us a bit of a heat sink so the cracks/fatigued areas don't blow a big hole on us..
Welds were dressed on both sides of the sheet metal, and new holes drilled slightly in farther from the edge to help slow down the reappearance of cracks.
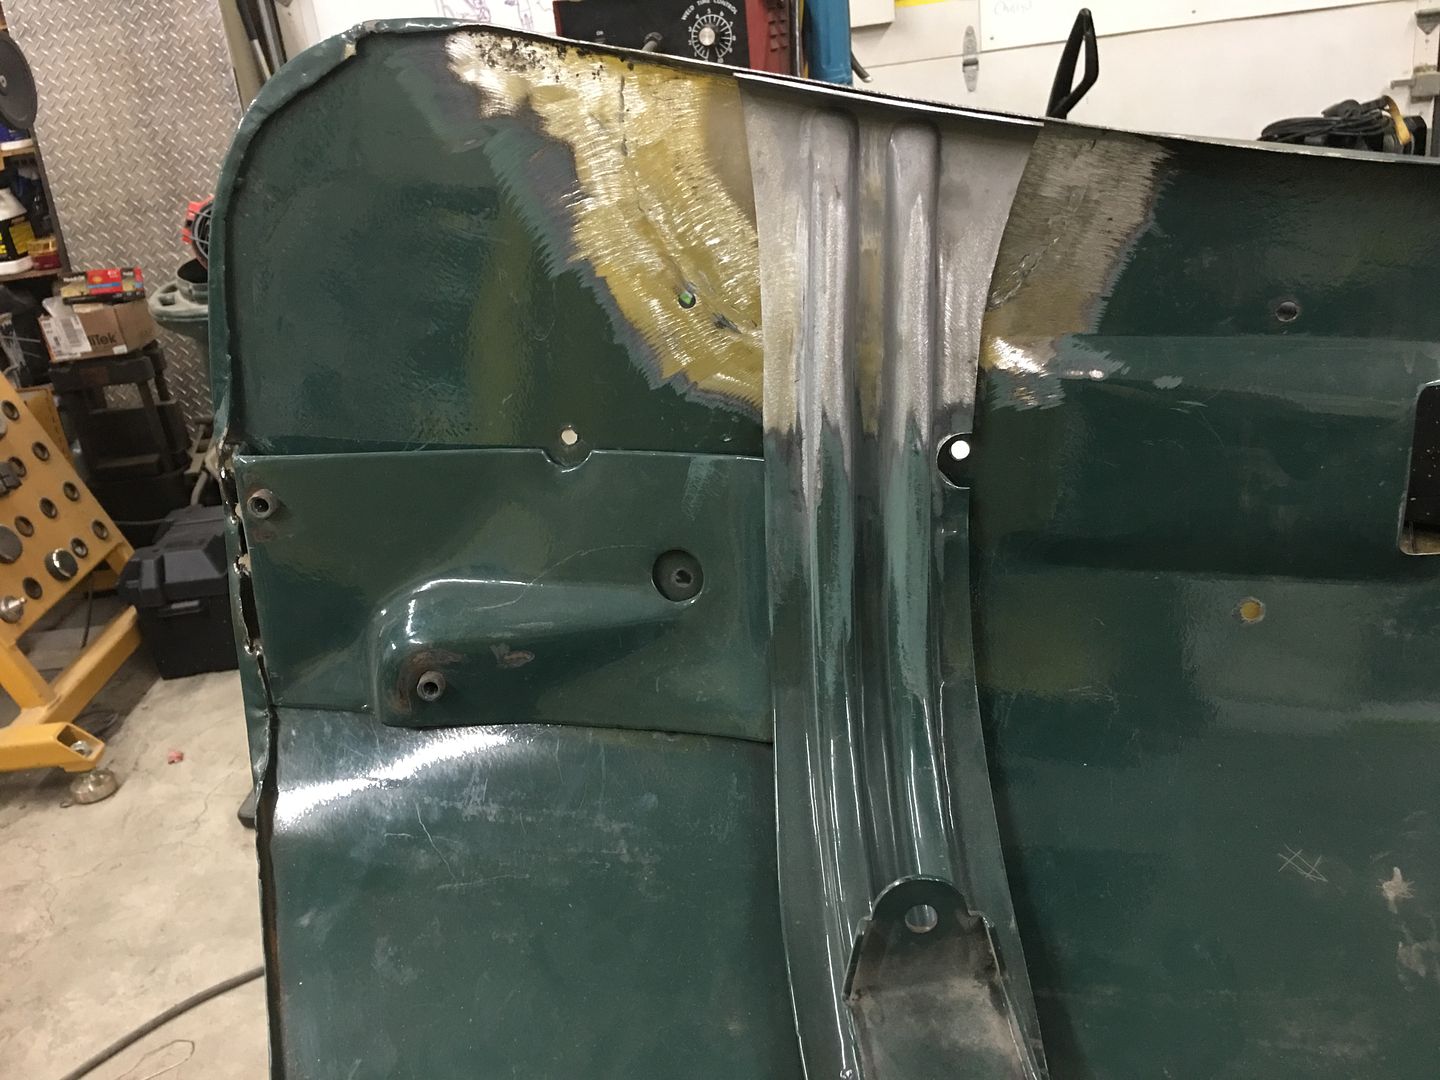
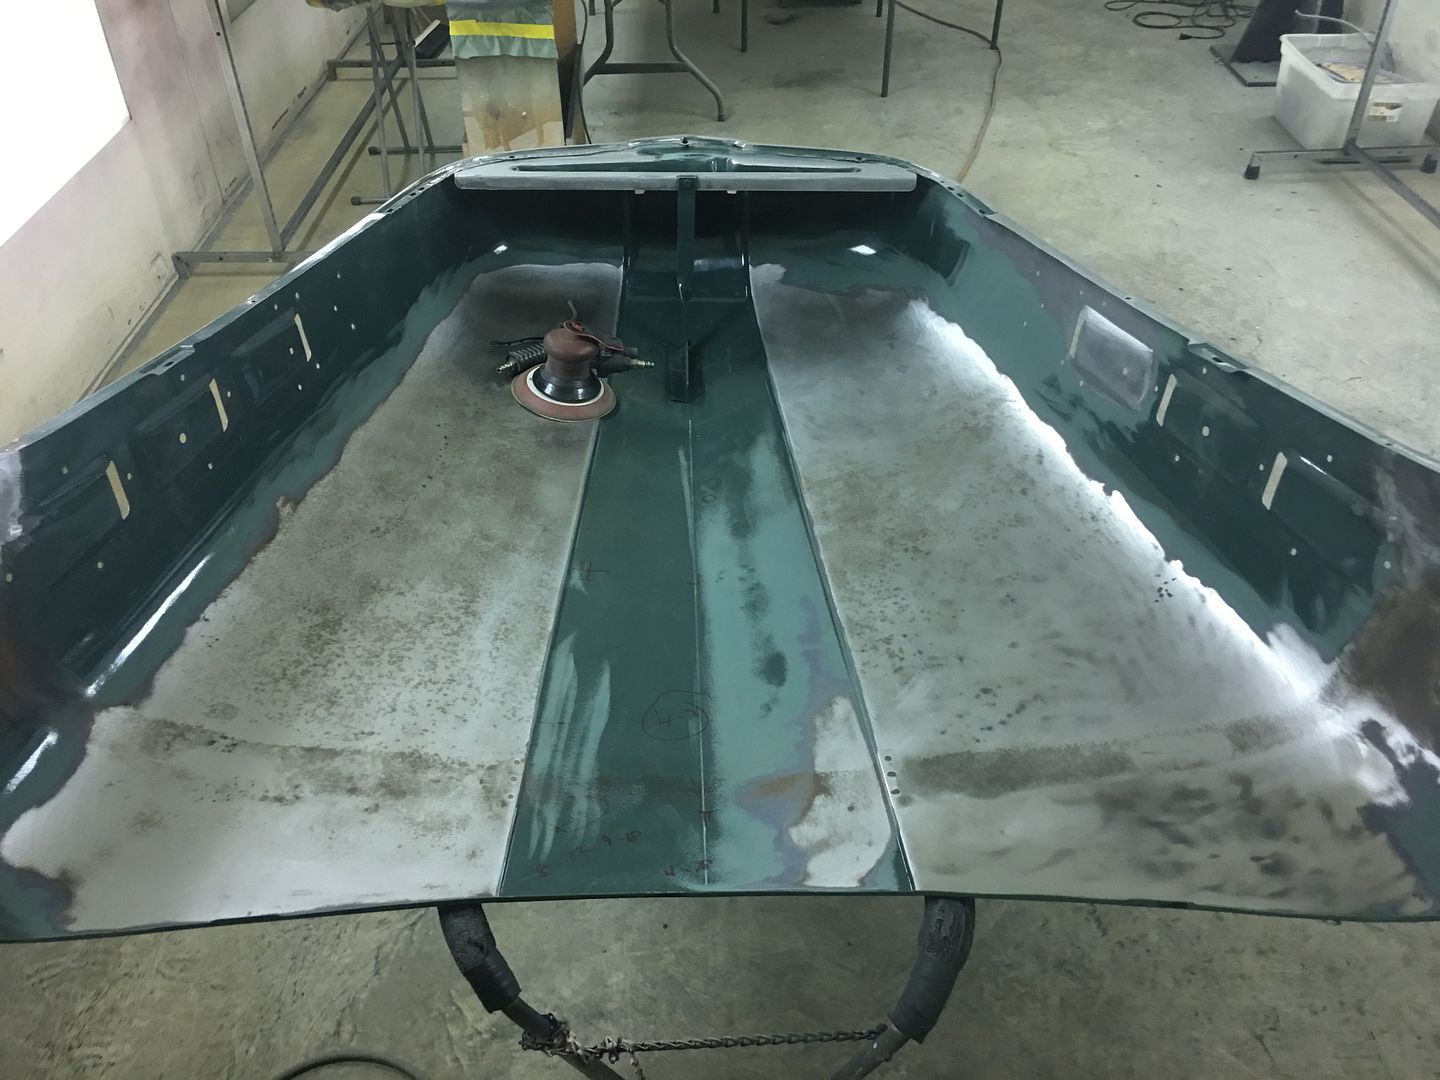
Next, I'm sure everyone has seen how these hoods can oil can, show low spots, and try to flop around while driving down the road. Part of that is abuse over the years, fatigue, etc. Any low spots invariably result in a loss of support of the hood and will show oil cans or loose areas.
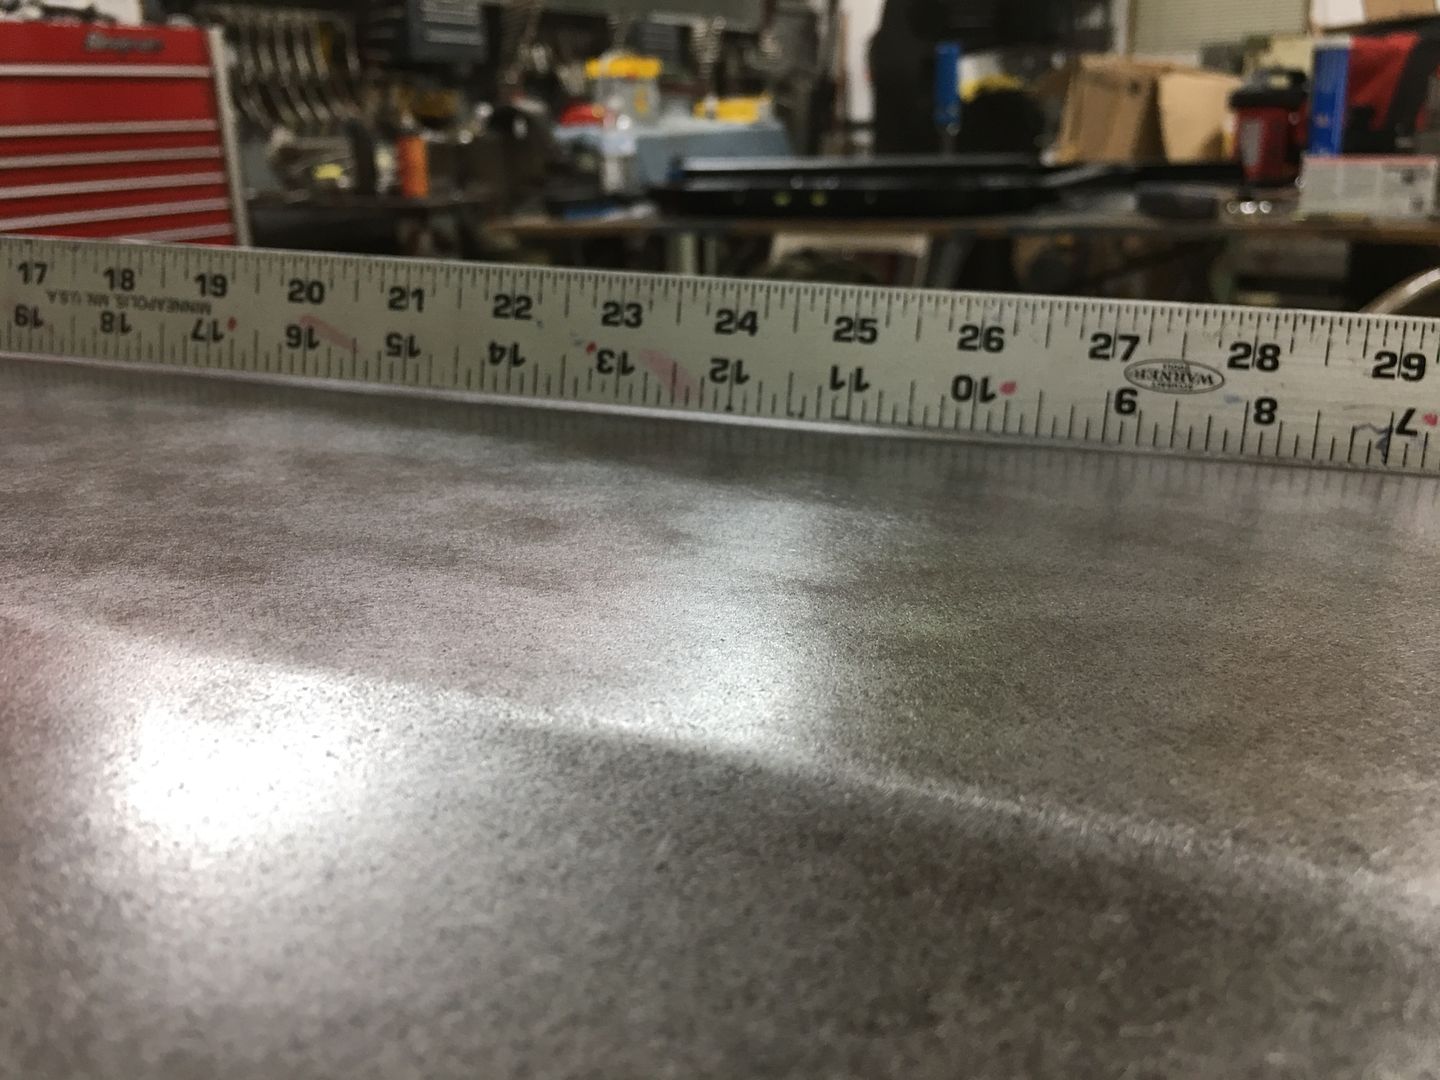
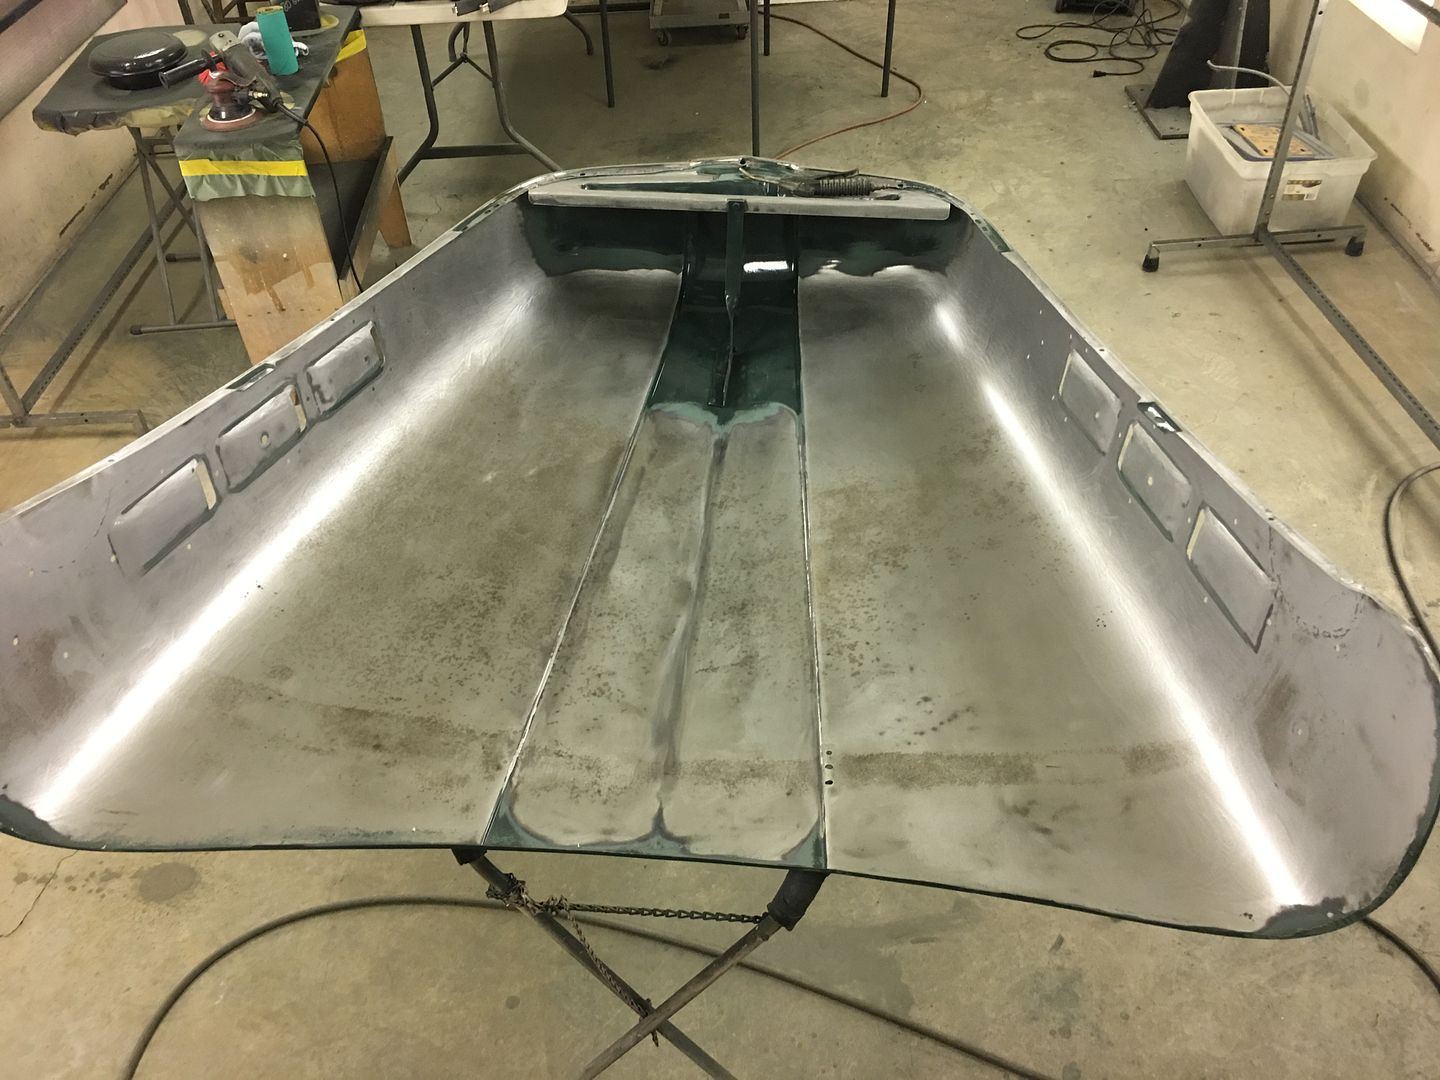
A good tool to check the crown of the hood is a long straight edge in the form of a 36" rule. If you don't have one, most hardware stores sell aluminum flat bar for a few dollars that will make a good profile template. For this style hood, lows are bad, straight is better, and a slight crown in the center crease along the entire length of the "flat" area of the hood is optimal.. This gives the support to help eliminate those oil cans and floppy hoods.
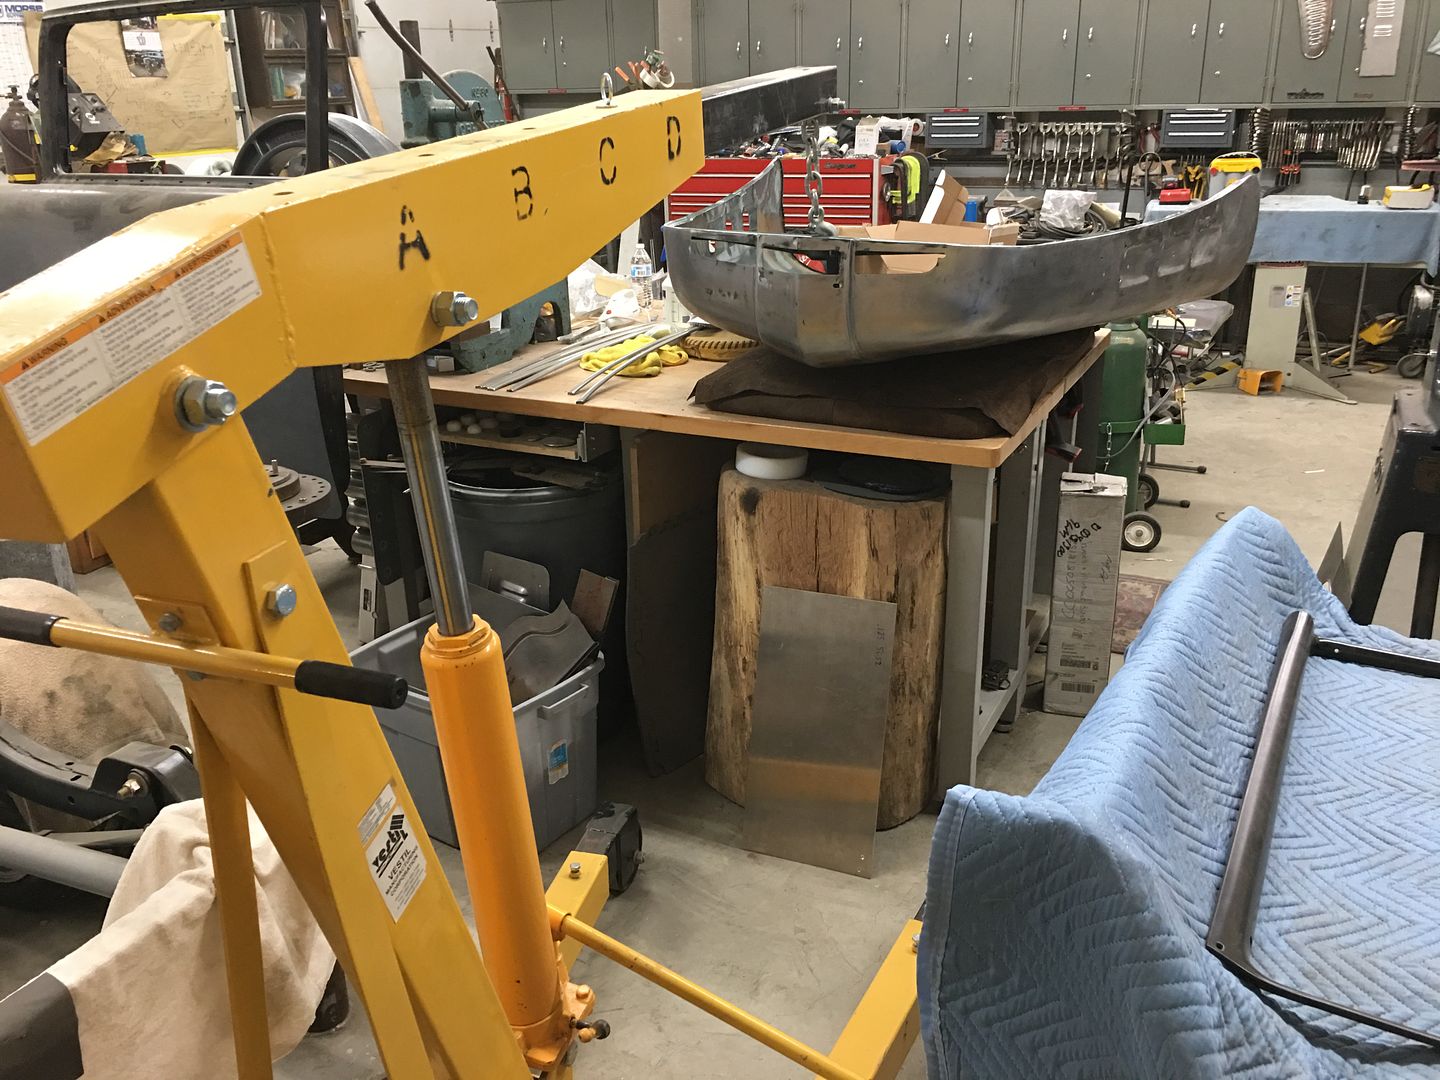
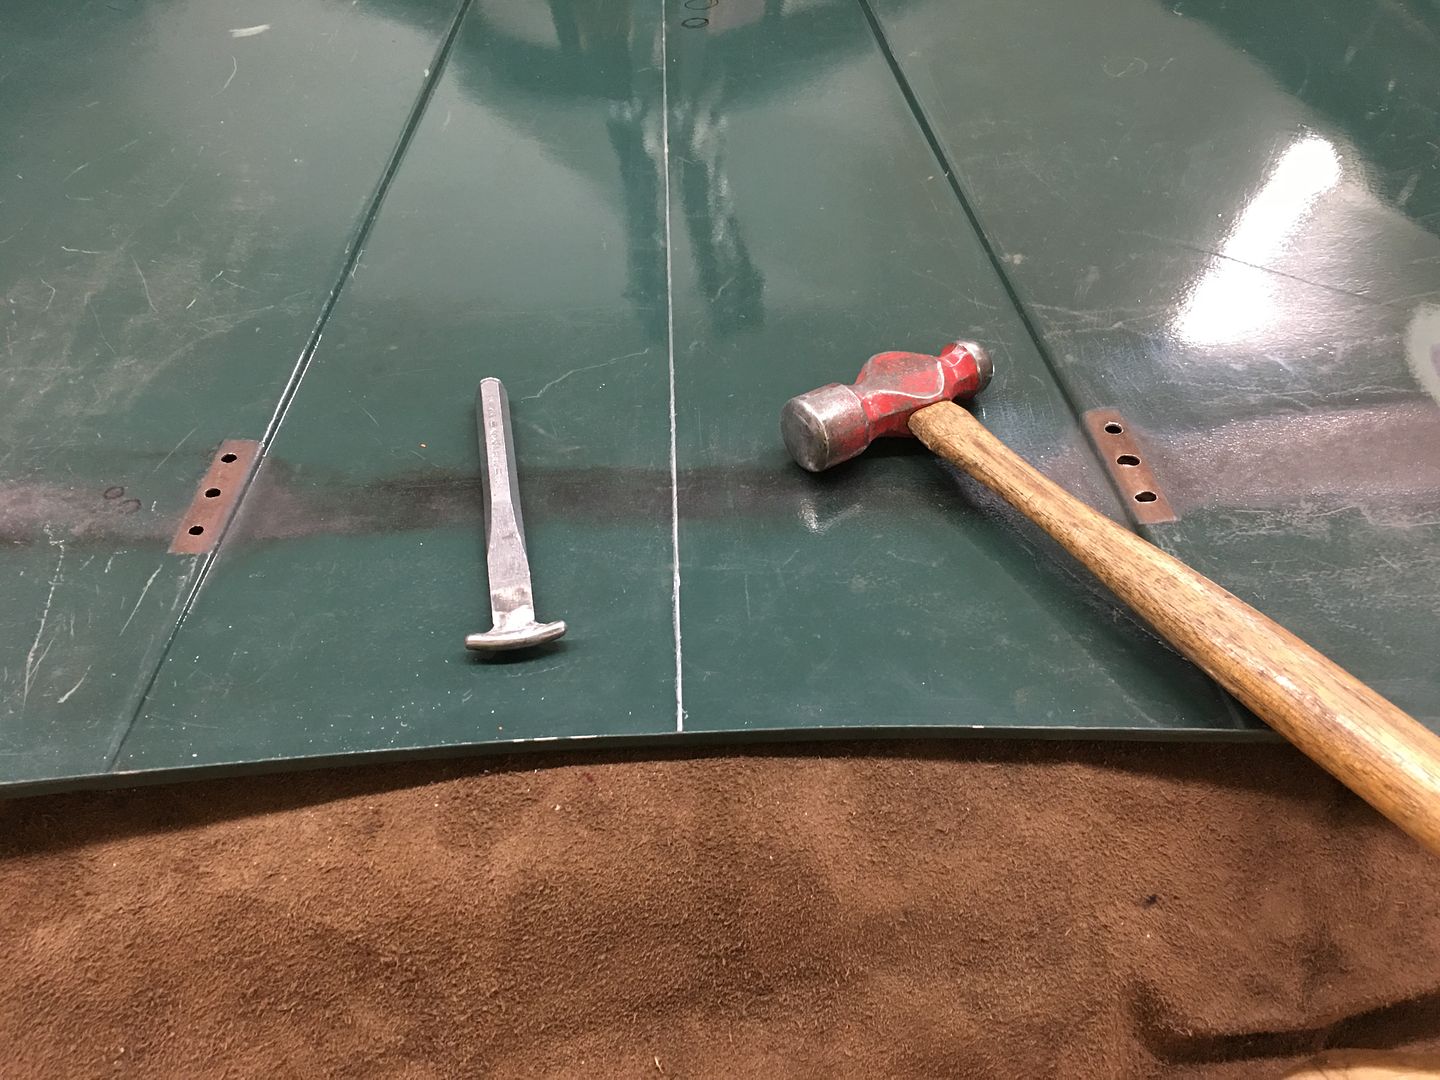
When we started there was an obvious area about 12" forward of the rear edge, dead center, that appears low, and was easily pushed downward. In order to better define the center crease and provide the support needed, we will use a sand bag (a rather large one) and lightly hammer from the bottom side into said bag with a purpose built "punch".
In order to keep the back portion of the hood down against the bag for support, we used our latest "metalshaping" tool to hold the front of the hood up, an engine hoist..
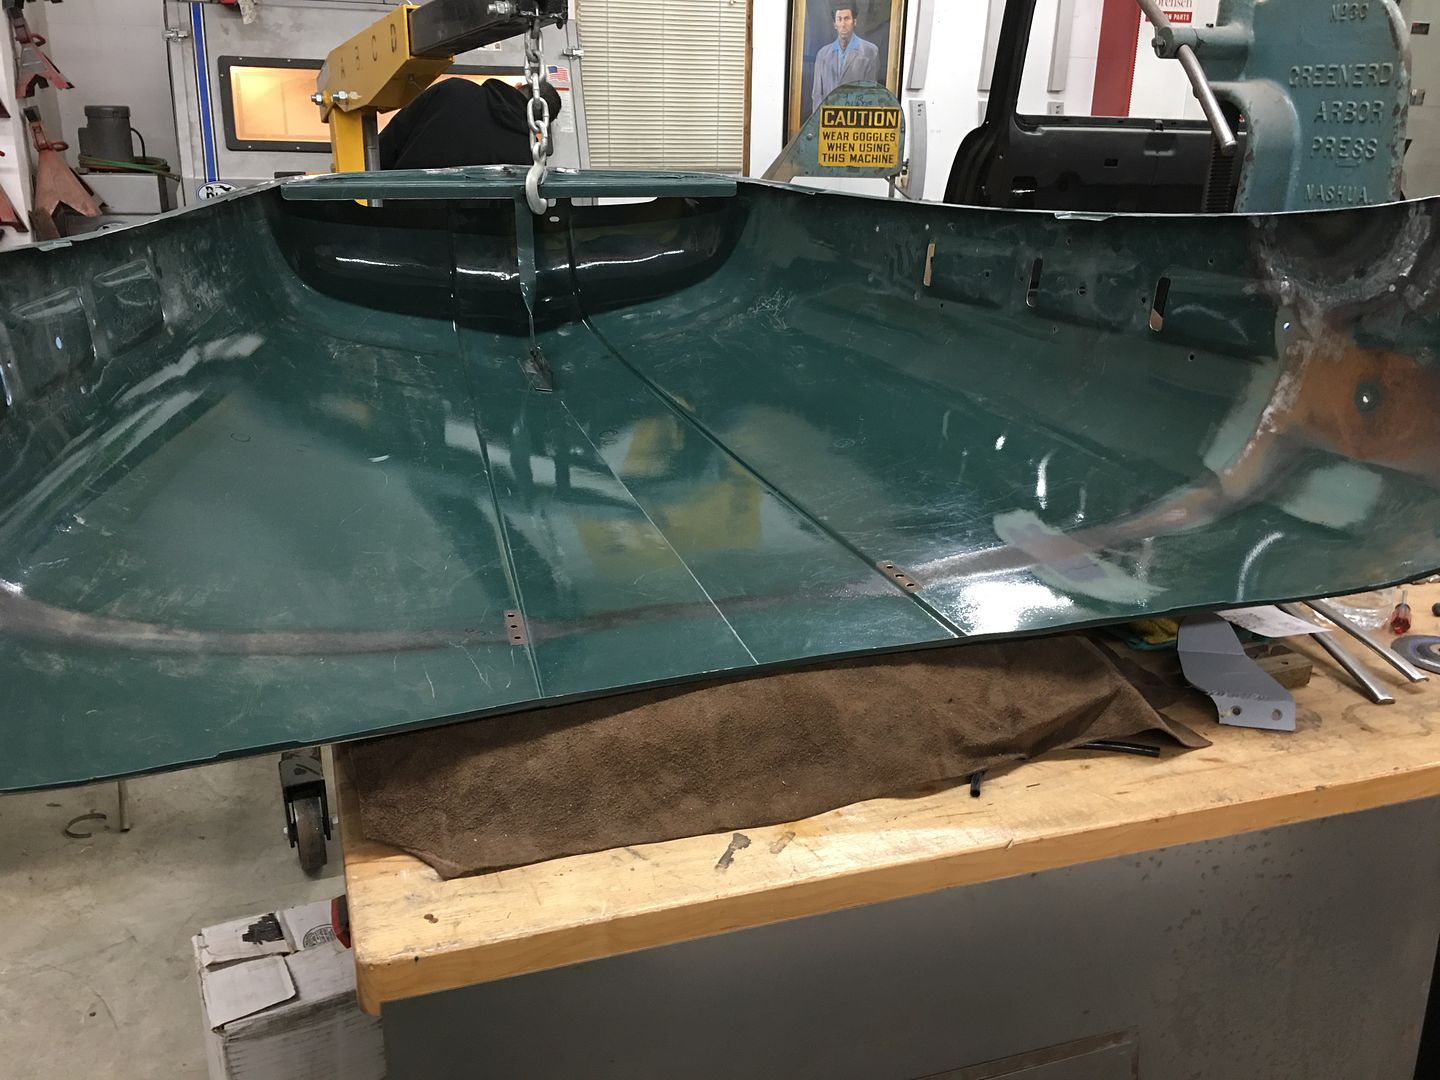
A reference mark is used on the inside, measured and centered...
The crease was checked for low spots prior, and the bottom marked. The "punch" is dragged along the centerline and tapped as you go. Flip the hood over, check crown, remark as needed, repeat. We got to a good straight/slight crown and the oil can disappeared. Pushing along the entire center crease was a nice tight support now..
So if you are having issue with your hood, I would suggest first checking your center crease.
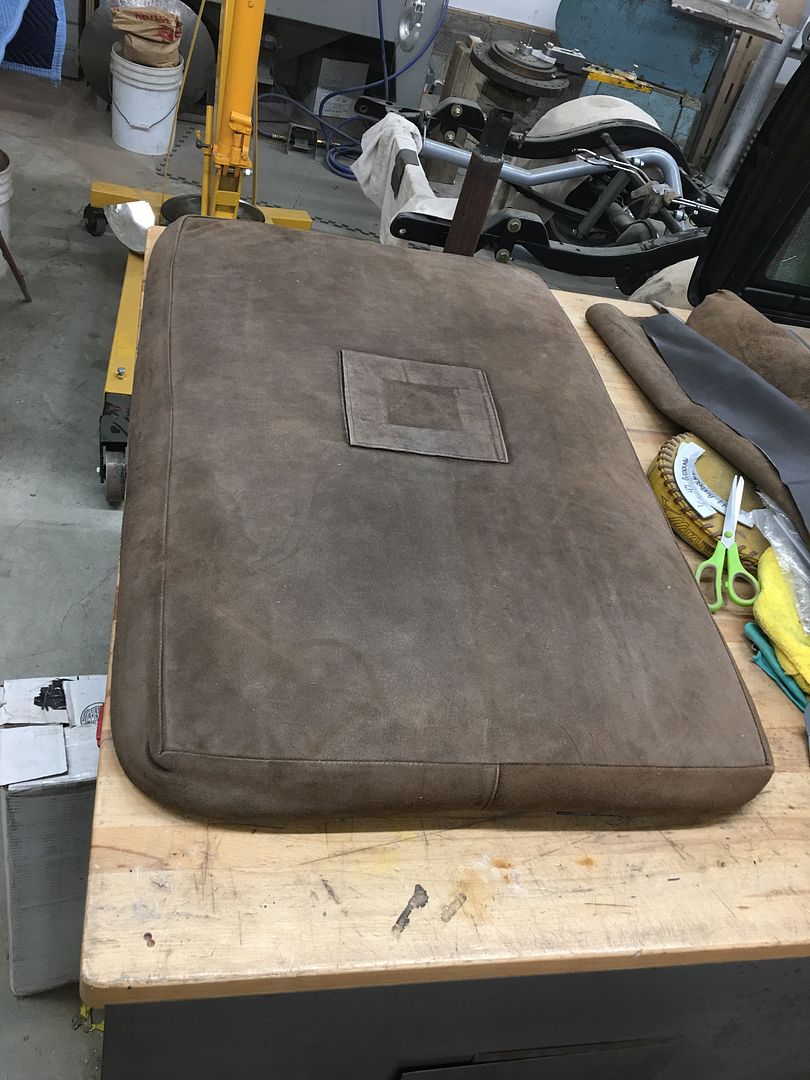
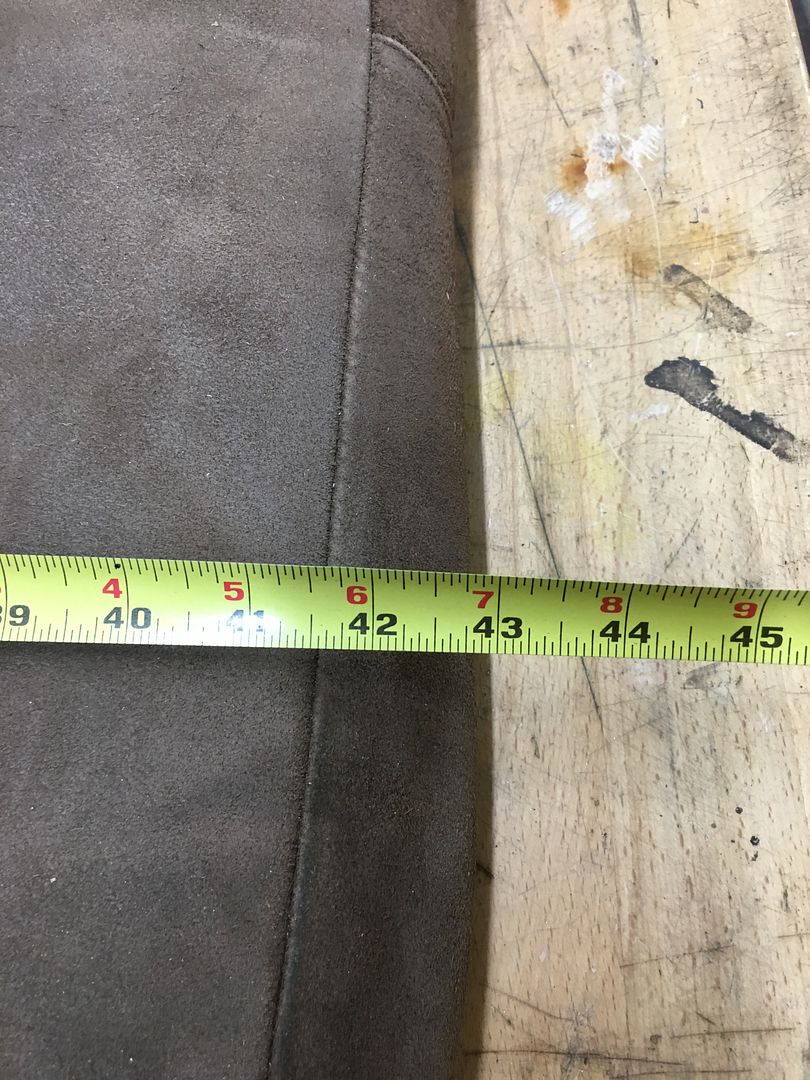
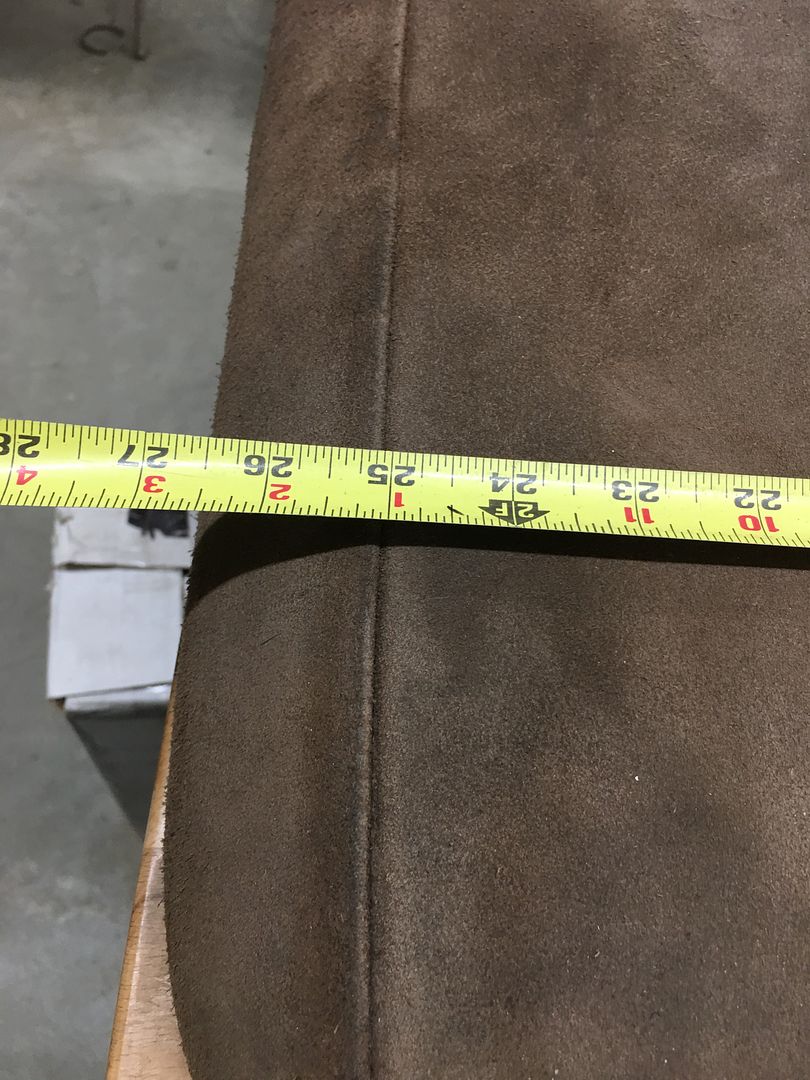
Bought a cow hide at the local Amish saddlery place and had upholsterer take it from there. Flap cover is attached with 2" wide Velcro. It held 5 ea 5 gallon buckets of used media from my blast cabinet. Didn't want to take out a loan for the #8 lead shot....
Bought a cow hide at the local Amish saddlery place and had upholsterer take it from there. Flap cover is attached with 2" wide Velcro. It held 5 ea 5 gallon buckets of used media from my blast cabinet. Didn't want to take out a loan for the #8 lead shot....
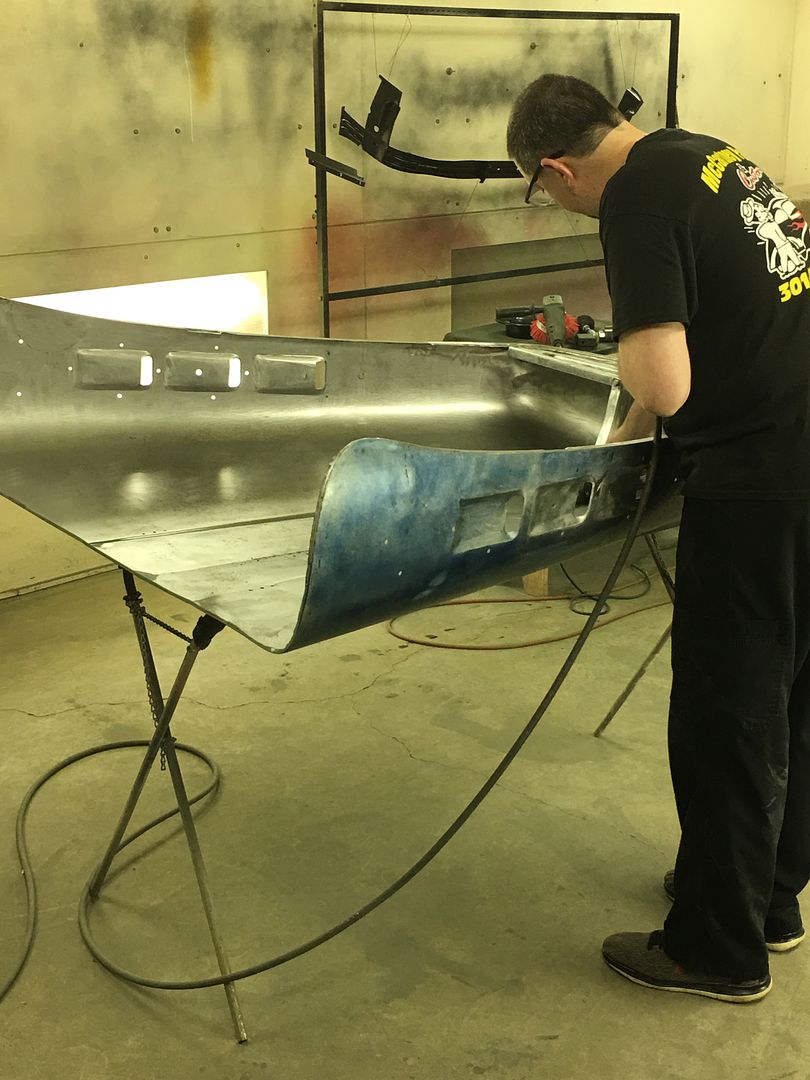
The 51 F7 hood is closer to reuniting with the brace with the newly repaired ends.. Epoxy primer will be under the brace this time around to help prevent the new side patches from rusting again..
Wow. How I missed this thread in March and April, I'll never know. Saved so I can follow. Excellent detail. I was going to ask what rod you used but I found you reference to it.
Thanks for teaching us novices so much, especially the detail.
Rezvani's Latest Post-Apocalyptic Monster Is a Ford F-150 Raptor Underneath
Slideshow: Called the Fortress, the 850-horsepower pickup combines Raptor underpinnings with military-inspired features, survival equipment, and a starting price of $285,000.


.JPG)
.JPG)
.JPG)