When you click on links to various merchants on this site and make a purchase, this can result in this site earning a commission. Affiliate programs and affiliations include, but are not limited to, the eBay Partner Network.
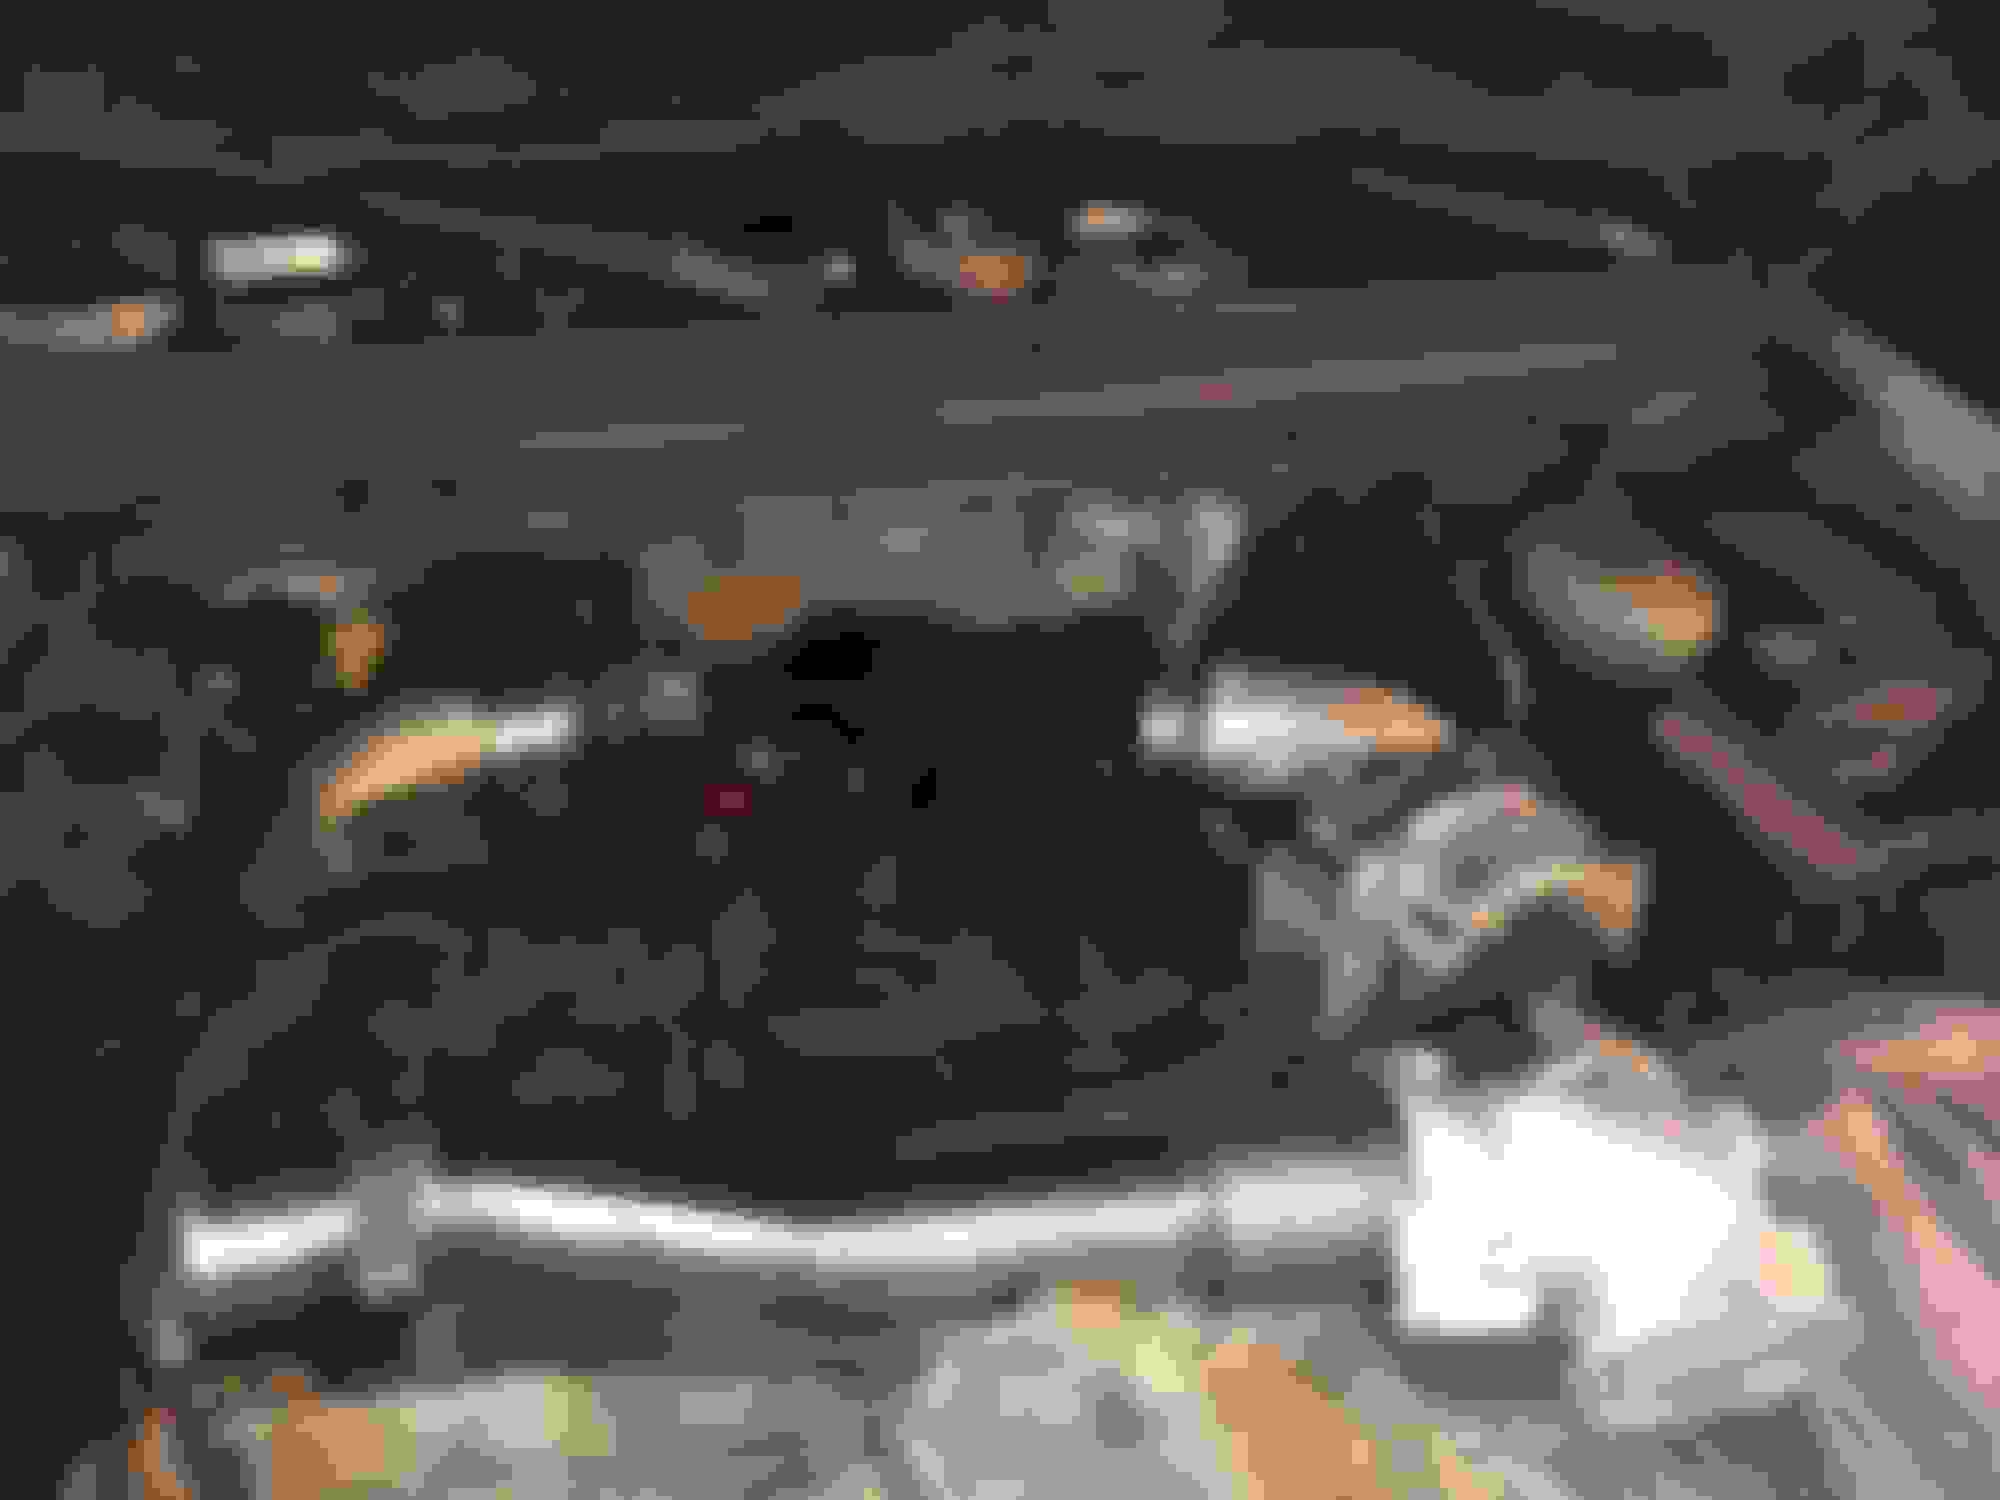
Before. These up-pipes are so bad the front driveshaft is covered in soot!!
First, remove the bolts from manifolds to up-pipes. Do the �upper� bolts first. It�s much harder to hold them if they are loose from removing lower bolts first.
I like to use a wrench on the 10mm bolt head and a 6pt socket on the 13mm nut. If you�re lucky, these bolts will break and ya won�t have to fight them all the way off like I did on (3) of these.
The 4rth one did not cooperate...
Now you can remove thd turbo. I use an air chisel to gently smack the clamp on the collector/�babies butt�. You�ll be tapping the slits on the clamp to get it to let go. This is by far the easiest way to do this job.
The collector lifted tight off the up-pipes. You can see the soot on the firewall here!
This is 20 minutes in!!
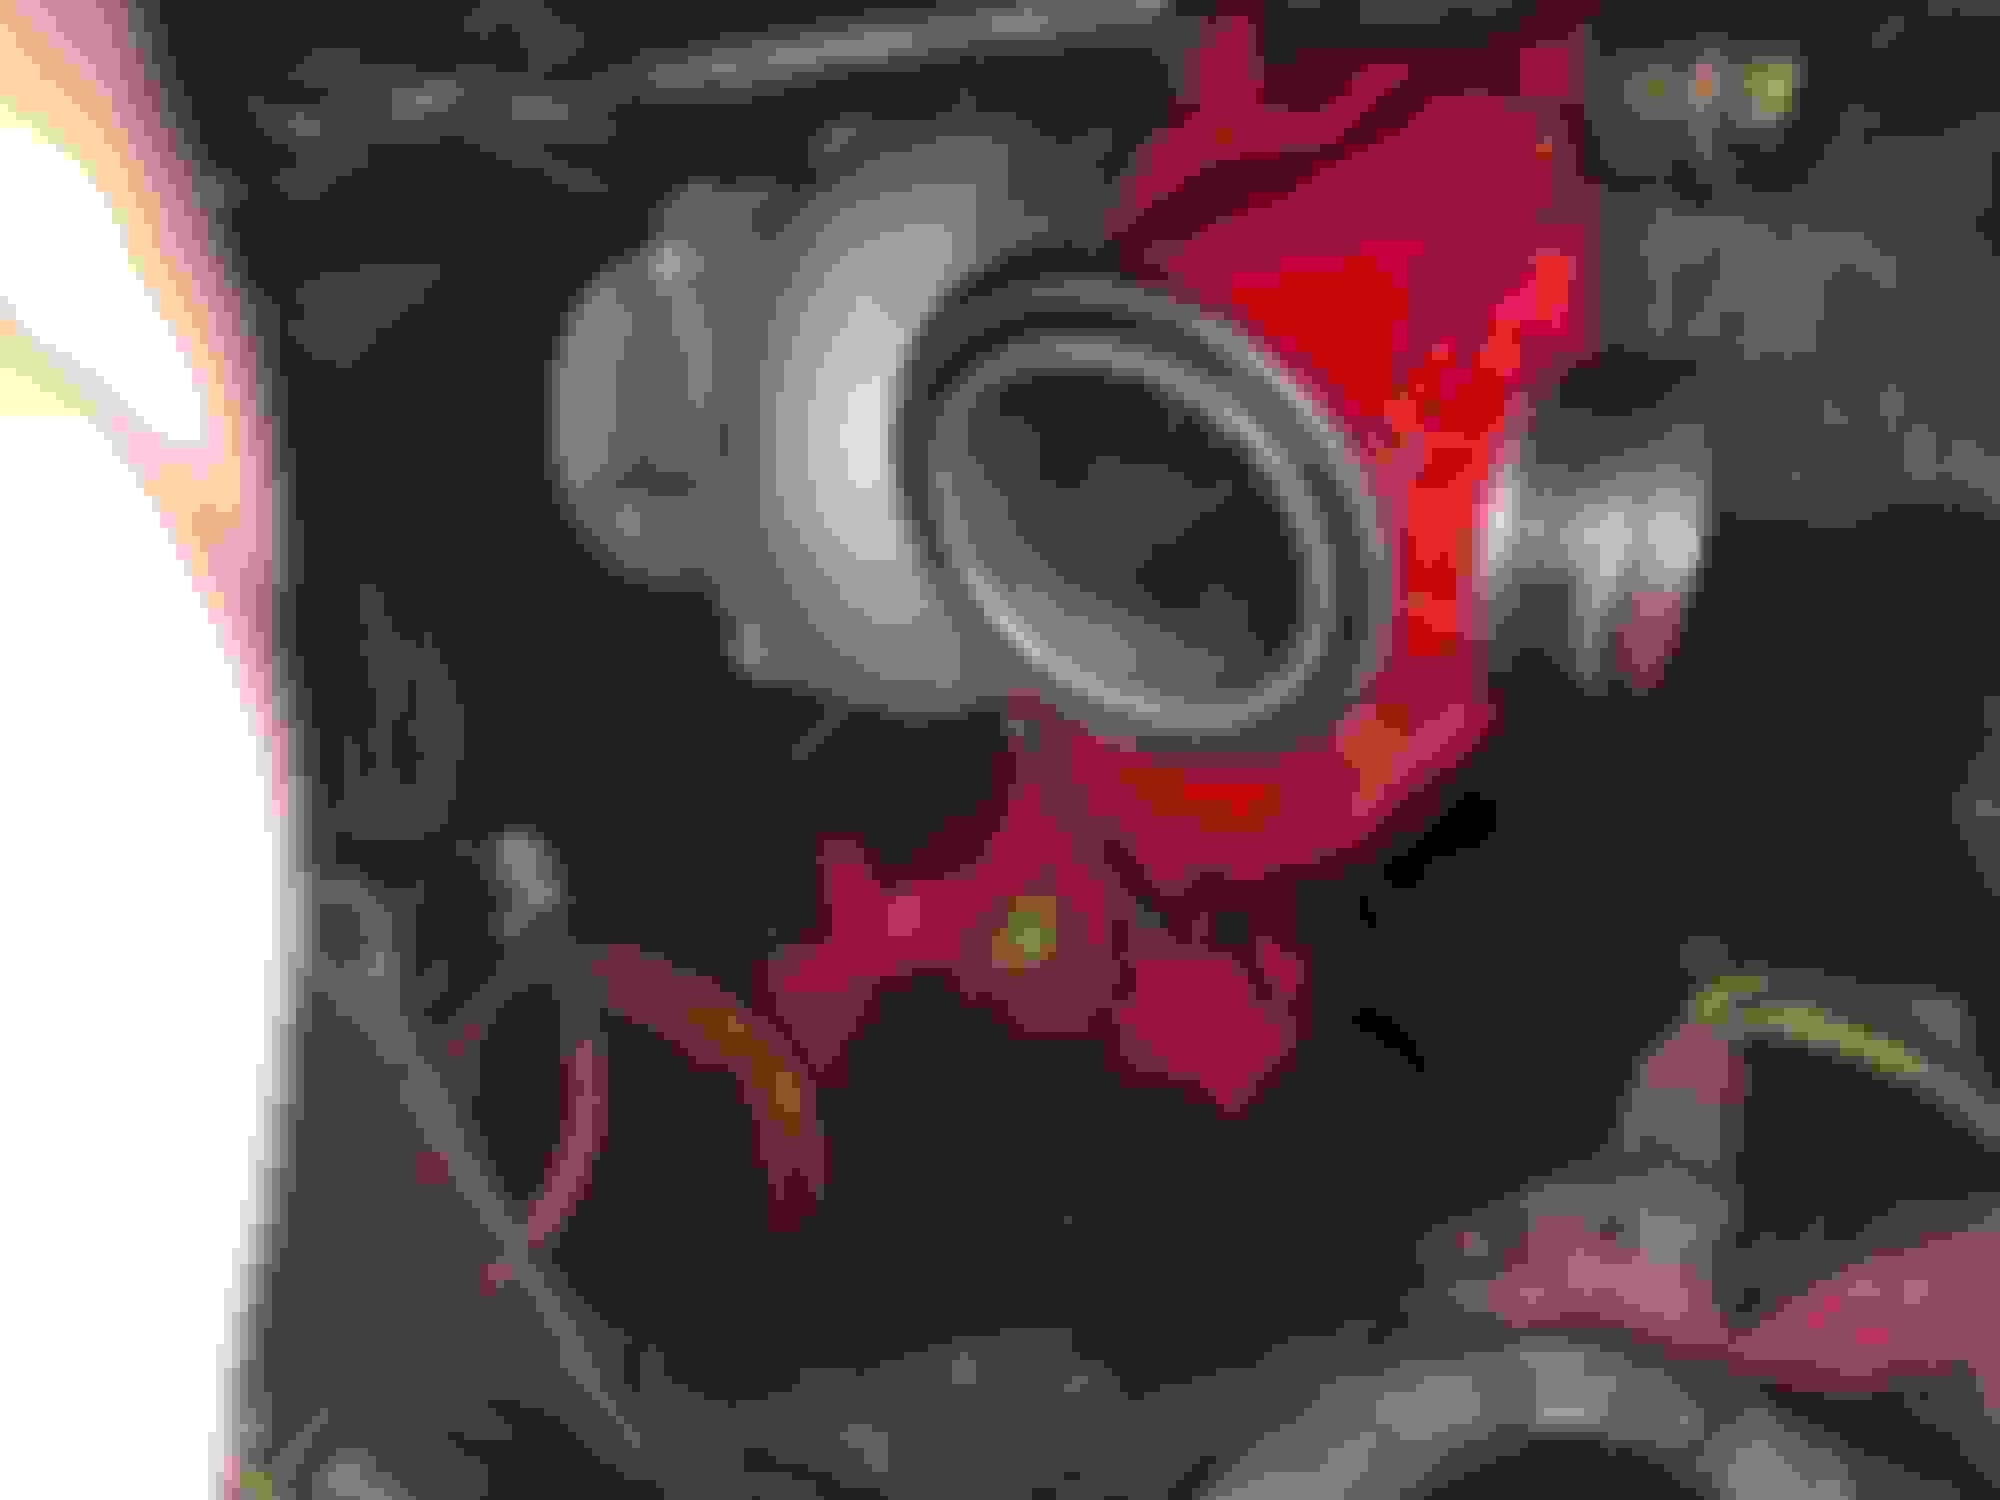
Now, let�s delete the EBPV. First, remove the end off the EBPV actuator rod.
Then, remove the big snap ring and tap the actuator rod to remove the cap from the back of the pedestal.
Now, you can drill and tap the hole for actuator rod. You�ll be installing a 1/4� pipe plug. Be careful not to over-tap the hole. You want the plug to go all the way in, but get tight without going all the way through. Remove all metal shavings with brake cleaner and compressed air before putting it back together.
Next, remove the outlet adapter from turbo. I like to use a quality box end wrench (12pt) and smack it with a hammer to get these bolts out.
You will grind the rivets flush so the flapper and rod can be removed from the outlet adapter.
The hole can be welded up or drill/tap/plug if you don�t have access to a welder.
I stopped here last night and painted stuff. Anyone wanna guess what color I used this time??
That�s old overspray, but it�s kind of a joke. A friend on here once said I painted everything blue. To which I responded �Not true! Sometimes I use RED!� Lol.
Red is an International color and obviously blue is a Ford color. Even though I don�t limit myself to the official hues of either color.
I dont care for black. I want to more easily identify leaks, cracks, etc.
Mostly, I don�t like the color of RUST or tarnished aluminum
Tailspin!!!! I dropped the nut for the clamp on babies butt. After looking for an hour, I gave up and found another nut...
Here you can see where I welded up the hole after removing flapper and rod in the exhaust outlet adapter. This was with stick welder. 6013 rod? I just start inside the hole and run a bead in a circle to fill it up.
You can also drill/tap/plug but that insert is hardened steel and makes for a bit of work.
You�ll want to put the passenger side up-pipe on the collector. Remember the gasket! It doesn�t hurt to put some high-temp anti-seize on these bolts.
Place the pass-side up-pipe and collector in the engine bay. Go underneath and make sure the up-pipe is resting on the manifold. (Verify proper location/routing)
Then, attach the drivers-side up-pipe to the collector. Leave these bolts loose for now (as pictured).
Install the pedestal (replace o-rings if needed). Place the clamp on the collector out of the way of mating surface.
This is the last known location of that nut. The search has been called. I hope the little sucker rusts to death wherever it landed after what it put me through!! Lol.
Now, install the turbo. I place the floor jack under the downpipe to push it up where it�s supposed to be - getting it out of the way of turbo. Turbo bolts only require like 35-40ft lbs of torque. Don�t get crazy here. These were like 150ft lbs coming out. Don�t be that guy...
After turbo is bolted down, you can use both hands and fingertips to mate the collector to the turbo and then slide the clamp up into position. Just close your eyes. You cannot touch this and see it at the same time. Take a deep breath and channel some Stevie Wonder for this.
Our friend the rouge nut went missing between these steps....
After the clamp is tightened down on the collector, you can go underneath the truck and install the bolts from up-pipe to drivers-side manifold. Tighten them down evenly, paying attention to the flange so it covers the opening in the manifold correctly.
When the up-pipe to manifold bolts are tight, you�ll use some long extensions and tighten the up-pipe to collector bolts from under the truck. (Remember we left these loose earlier)
Finally, you can install the passenger-side up-pipe to manifold bolts. Again, tighten evenly to get a good seal.
You can fire it up now and check for oil and exhaust leaks!!
I�ve got to clean up some CAC boots and cut up the broken factory air filter box to make a cleeeeeaaaaan 6637 filter install.
Looks like that cast iron didn't mind 6013 after all. A rosette weld is pretty forgiving.
Its cast steel if I�m not mistaken. And definitely a steel insert for the rod. I often use MIG for this, but that machine was in the other room. My old AC/DC tombstone is always plugged in and ready for me to booger weld stuff!
Wow here I was ordering everything to do this tomorrow from RiffRaff and was thinking of going with the Blue CAC boot kit until I just saw everything painted in red. This looks great! Now I am torn on what to do.
Just a little surface rust on these manifolds. The bells for the up-pipe flange are minty nice. The up-pipe to manifold bolts could be re-used!!
That is a good point though. Pitting in the bell area is a no-go.
At the heads I mean. Once that happens there probably will be diesel fumes in the cab with the HVAC blower on with the truck sitting still. That is what was happening with mine before I replaced them both.

 02-21-2020, 08:15 AM


 nut for the clamp on babies butt. After looking for an hour, I gave up and found another nut...