


Halogen Head Lights

Lead Driver


Joined: Jul 2017
Posts: 9,619
Likes: 1,186
From: San Jose, CA
Let us see a pic of your current 6-cylinder alternator brackets old28. That will tell us for sure.
I've done the same thing as the others, where first a large-case 1G, then a large case 3G bolted right up to the existing "standard" brackets. Mostly on 302's and 351's though, so I don't remember all the combinations that the sixes had.
But if your brackets are the triangle and crescent moon variety that looks just like, or at least similar to these: Alternator Brackets Then there is a very good chance yours will too.
If yours is a different version, such as the heavy cast steel or aluminum variety that was often used as a combo bracket for Thermactor (air) pumps and such, then you have some more work to do.
Paul
Thread Starter
|
Fleet Mechanic
Joined: May 2017
Posts: 1,295
Likes: 29
From: Southern CA
Jon Richards & 1TonBasecamp --- Thanks for the additional information on the 3G 130 amp. I have another 300 motor that I am building in my garage. It has a 240 1G alternator bracket that I can check the 7" C to C mounting bolt holes. Both of my 1G aternarors fit the 240 & 300 bracket, but I will check in the AM. Picture is of my 1G 60 amp with a 300 bracket.

Lead Driver
Joined: Jul 2017
Posts: 9,619
Likes: 1,186
From: San Jose, CA
I'd agree.
Your upper bracket is a slight variation on the theme, but from here it sure looks like it'll work.
The extra work is more for the dual-sheave (groove) pulley addition. Like was said, it's not an absolute requirement, but it sure adds a level of sophistication to the install.
Dual belts means more traction, so less chance of slippage and losing some of it's potential for a much needed charge, reduces the chance of belt squeal for the same reasons, and I did dual belts because if one breaks (not like that would ever happen!) you still have one to get home on.
Which actually happened to me in Death Valley one year. Lost a belt, but had the second one doing all the work until I could get to where I could put the second one back in. I carried a spare, so was covered there, but it allowed me to get to a comfortable spot to work on the truck before having to drag out all the tools.
Good thing too, since a new belt was like $40 bucks at the only spot in town to get a belt. And that was when a normal price was still under 10 bucks elsewhere. Glad they were there, but no thanks this time.
Paul
Thread Starter
|
Fleet Mechanic
Joined: May 2017
Posts: 1,295
Likes: 29
From: Southern CA
I checked the 240 alternator bracket on my shop 1994 EFI motor and the one on my 1971 F250 300 and the two alternator mounting holes are the same at 6.95" (call it 7"). I think the 240 & 300 carb motor used the same bracket.
On my 300 EFI shop motor I had to grind some clearance on the 240 bracket so my EFI exhaust manifold would fit. The block mounting threads for the alternator bracket are the same on both the 300 carb & EFI.
I am sure the 3G will fit right in to my 1971 300 bracket.
On my 300 EFI shop motor I had to grind some clearance on the 240 bracket so my EFI exhaust manifold would fit. The block mounting threads for the alternator bracket are the same on both the 300 carb & EFI.
I am sure the 3G will fit right in to my 1971 300 bracket.
Logistics Pro


Joined: Oct 2007
Posts: 4,865
Likes: 497
Thread Starter
|
Fleet Mechanic
Joined: May 2017
Posts: 1,295
Likes: 29
From: Southern CA
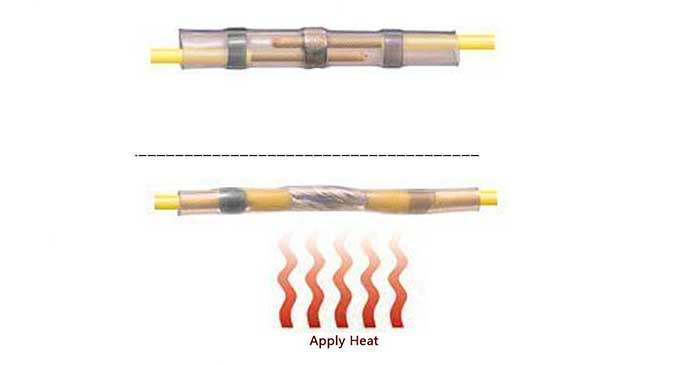
Fifty150 -- That is a nice looking connector. I have never seen that type before. As I have not worked on OEM wiring modifications much I am not up on some of the tricks of the trade.
1TonBasecamp -- As the truck is setup for a 1 belt system currently and I stay within 50 miles of my home base ( Death Valley -- done that / been there ) I think I will stay with what's on it. I do carry a spare belt. Single belt slippage is not much of a problem in Southern CA, unlike the cold weather States, but I do agree with you, for best operation the two belt system is the preferred choice.
1TonBasecamp -- As the truck is setup for a 1 belt system currently and I stay within 50 miles of my home base ( Death Valley -- done that / been there ) I think I will stay with what's on it. I do carry a spare belt. Single belt slippage is not much of a problem in Southern CA, unlike the cold weather States, but I do agree with you, for best operation the two belt system is the preferred choice.
Logistics Pro
Joined: Oct 2007
Posts: 4,865
Likes: 497
FTE Stories
Ford Trucks for Ford Truck Enthusiasts

Top 6 Best Deals Available on New Fords & Lincolns Right Now
Brett Foote
This Hennessey Takes the Expedition Tremor's Off-Roading Capability to the Next Level
Verdad Gallardo
Top 10 Fords at 2026 Carlisle Ford Nationals
Joe Kucinski
3 Best / 3 Worst Parts of Modern Ford Ownership
Brett Foote
10 Amazing Upgrades That Solve Common Ford Truck Owner Headaches
Pouria Savadkouei
Every 2026 Ford Engine Explained
Brett Foote
10 Ugly Ford Trucks That We Still Kinda Love
Joe Kucinski
10 Things Every Truck Owner NEEDS (2026 Edition)
Michael S. Palmer
Rezvani's Latest Post-Apocalyptic Monster Is a Ford F-150 Raptor Underneath
Verdad Gallardo
Lead Driver
Joined: Jul 2017
Posts: 9,619
Likes: 1,186
From: San Jose, CA
I agree! I've heard the name used, but never used one myself. Think I'm gonna have to try some eventually.
It's what I usually do at first too. If there's no need, then you didn't go through unnecessary trouble. And if there is a need, well you can always do it later.
But we're not talking about "normal" usages here. This is an alternator that was never available with a v-belt configuration. If it's going to slip and squeal, it will do it anywhere.
I agree that a warm dry climate is less conducive to slippage, but this is a big unit with heavier rotating internals that puts an even larger load on things when it's charging. At idle under load it's like having your stock alternator at half-again it's full charge! Some v-belts sometimes just have a hard time keeping up.
That said, plenty of people have installed them and not had any issues. Pretty sure I could do it on my single belt F350 too, because it's got a larger diameter, deeper groove pulley on it already. But on my Bronco, I could not even keep the large 1G 70a alternator quiet. Which is one reason I swapped to dual belts in the first place.
Paul
Thread Starter
|
Fleet Mechanic
Joined: May 2017
Posts: 1,295
Likes: 29
From: Southern CA
1TonBasecamp -- All good stuff. We will see what is needed after I do all the tests on the Halogen light system. I want to make sure I have full voltage at the relay harness plugs and that I have good clean/solid ground connection in place. My new meter will test for amperage output so I can check my 1G alternator at idle and 4500 rpm. If my 1G is keeping battery voltage near 13.5 - 14.0 and all power & ground connections are as they should be I will more than likely just stay with my 1G setup for now and save the money for some halogen Hella Vision Plus lens & bulbs to replace the junk ones I have in the truck.
FTE Legend

Joined: Nov 2015
Posts: 30,986
Likes: 4,136
From: Angier, NC

Ok you guys thinking of the 3G ALT swap and the 1 belt or 2 belt deal and belt squeal.
Yes 2 belts are better than 1 for just this reason, belt squeal.
Most of the time this belt squeal happens just after start up when the demand is highest on the ALT to recharge the battery.
After the battery is charged back up the squeal stops if the belt is in good shape and tight.
Now even with a good belt and tight it can still squeal after start up but there is a fix.
Look into a soft start regulator for the 3G ALT.
It lets the motor get up to speed, battery recover a little bit but mostly brings the ALT on a little at a time "the soft start".
http://www.ebay.com/itm/FORD-3G-ALTE...-/180428864212
Dave ----
Logistics Pro
Joined: Oct 2007
Posts: 4,865
Likes: 497
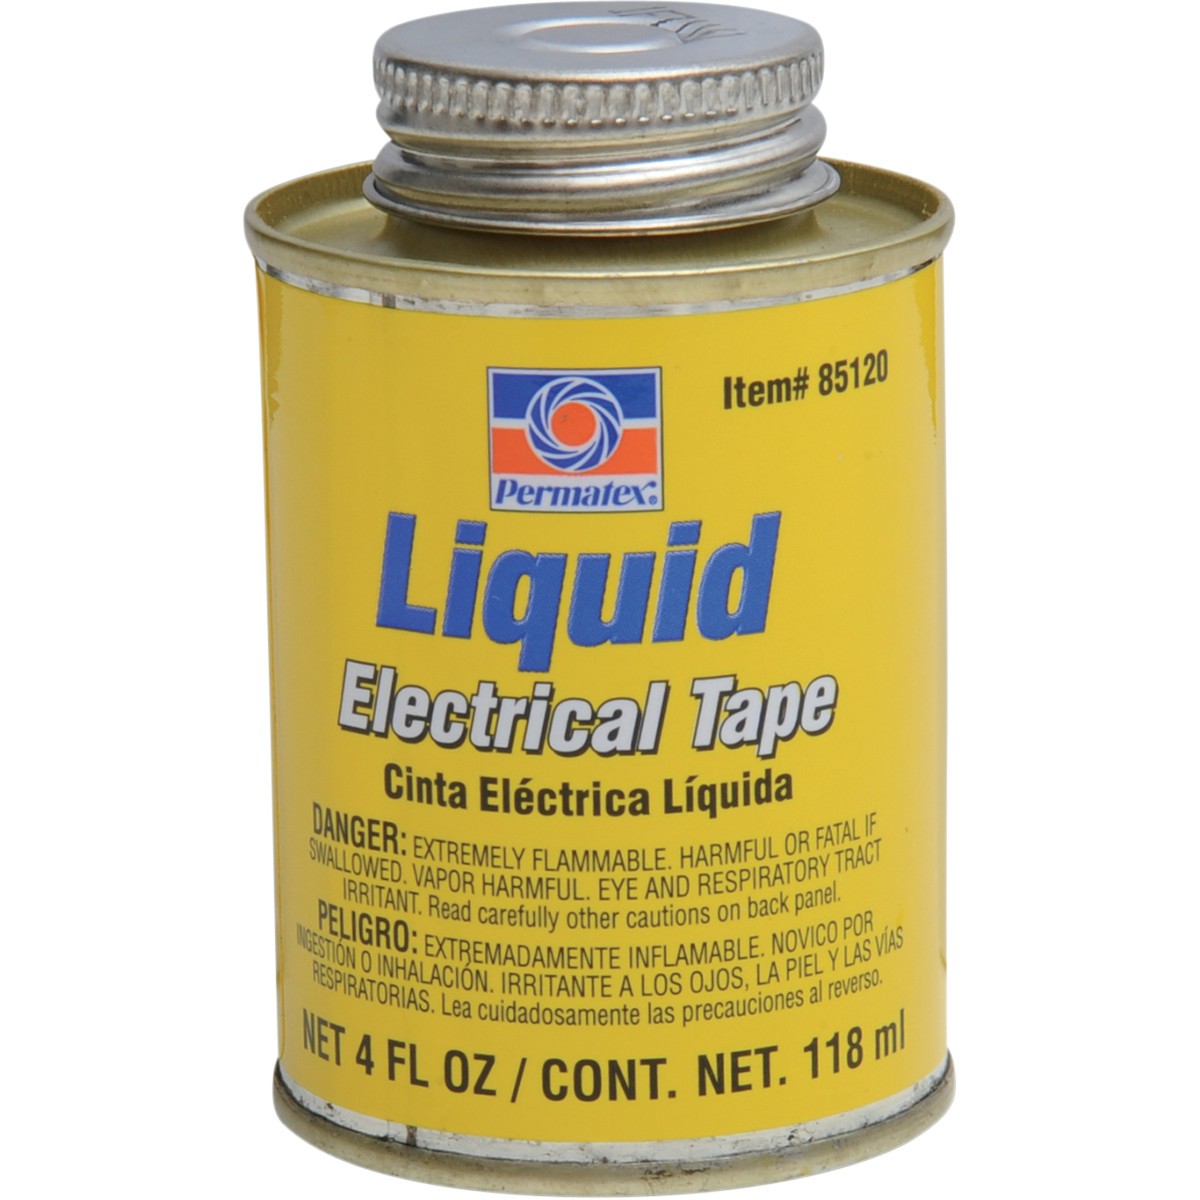
Guys, it's actually a "rookie move". Makes the job easy for someone who does not have the skills of soldering & applying heat shrink. And since we are talking about cheating: I use those connectors with a cigarette lighter. I just wave the lighter around it. And I also cheat with Liquid Electrical Tape. Brush it on over every cigarette lighter connection.
Thread Starter
|
Fleet Mechanic
Joined: May 2017
Posts: 1,295
Likes: 29
From: Southern CA
I am going to dig into the headlight relay harness I installed on Wednesday. First I will remove all ground connection, sand off any paint and reinstall so I can check that item off my list. Then I will get a battery volt reading with motor off & running. Next I will remove halogen lamps & bulbs and test the plug sockets to see if they match the battery readings. As I understand they should read 12.5-14.5 volts.
When I installed the new relay harness to the OEM headlight harness I checked it over and it looked in good shape. The battery is grounded to the engine block with a newly installed cable (nice clean connection).
Anything else I should test or take readings on?
When I installed the new relay harness to the OEM headlight harness I checked it over and it looked in good shape. The battery is grounded to the engine block with a newly installed cable (nice clean connection).
Anything else I should test or take readings on?
Post Fiend
Joined: Apr 2002
Posts: 19,311
Likes: 97
From: Waterloo, Iowa
Turn the headlights on, and set the voltmeter on its lowest scale. Put one probe on the negative battery post. Put the other on the negative terminal of the headlight itself.
The voltmeter will then display the voltage drop for the entire negative side of the house. Ideally it would be Zero of course, but whatever voltage drop there is, will be displayed as a positive voltage on account of the fact that electricity is lazy, and the voltmeter is an easier path around than the resistance in ground or connectors.
The spec is no more than 0.2 volts for the ground side. If it's more than that, can start moving one probe back to zero in on where the problem is. Say between the neg batt terminal and the engine block. If a battery terminal was corroded, you could even see this by placing one probe on the post, and the other on the terminal. The positive side is going to be a bit higher, the spec is 0.3 volts. A 1/2 volt doesn't sound like much, but it makes a big difference.