Reviving an old 300
#46
Yes, that is a good way to do the job.
A couple of comments: There is a hand-cranked machine that looks like an eggbeater that does the job quicker and better than the wooden spool. It not only spins the valve back and forth but also turns it slightly every few spins so the valve slowly rotates around the seat, ensuring more conformity around the seat. There are also different grades of lapping compound (like different grades of sandpaper). Maybe an ebay search can find this stuff cheap.
A couple of comments: There is a hand-cranked machine that looks like an eggbeater that does the job quicker and better than the wooden spool. It not only spins the valve back and forth but also turns it slightly every few spins so the valve slowly rotates around the seat, ensuring more conformity around the seat. There are also different grades of lapping compound (like different grades of sandpaper). Maybe an ebay search can find this stuff cheap.
#47
Clover was the brand name I remember. Came in a two part green tin. Coarse and fine probably.
Had an old Clinton engine ( made Maquoketa, Iowa) that came off an irrigation pump or something for my school project. The plan was to put it in a gocart. Mr Meins was my junior high shop instructor, he helped me get it running. I was just about ready to put it together and fire it, remember vividly him explaining what I needed to do to lap valves. He produced a small green container of lapping compound and what looked like a rubber suction dart. I'd never even heard of lapping valves. Do what?? Funny how that stuff stays. It started right up at the end of the course. Boy was I excited!
Had an old Clinton engine ( made Maquoketa, Iowa) that came off an irrigation pump or something for my school project. The plan was to put it in a gocart. Mr Meins was my junior high shop instructor, he helped me get it running. I was just about ready to put it together and fire it, remember vividly him explaining what I needed to do to lap valves. He produced a small green container of lapping compound and what looked like a rubber suction dart. I'd never even heard of lapping valves. Do what?? Funny how that stuff stays. It started right up at the end of the course. Boy was I excited!
#48
Clover was the brand name I remember. Came in a two part green tin. Coarse and fine probably.
Had an old Clinton engine ( made Maquoketa, Iowa) that came off an irrigation pump or something for my school project. The plan was to put it in a gocart. Mr Meins was my junior high shop instructor, he helped me get it running. I was just about ready to put it together and fire it, remember vividly him explaining what I needed to do to lap valves. He produced a small green container of lapping compound and what looked like a rubber suction dart. I'd never even heard of lapping valves. Do what?? Funny how that stuff stays. It started right up at the end of the course. Boy was I excited!
Had an old Clinton engine ( made Maquoketa, Iowa) that came off an irrigation pump or something for my school project. The plan was to put it in a gocart. Mr Meins was my junior high shop instructor, he helped me get it running. I was just about ready to put it together and fire it, remember vividly him explaining what I needed to do to lap valves. He produced a small green container of lapping compound and what looked like a rubber suction dart. I'd never even heard of lapping valves. Do what?? Funny how that stuff stays. It started right up at the end of the course. Boy was I excited!
#49
#50
In an assembled engine you can stuff a wet paper towel in the #1 spark plug hole and turn the engine over by hand. When the towel blows out you are on the compression stroke.
You can get a real close indication of TDC - close enough to install the distributor and set the valves - by watching for the rocker arm movement in the overlap cycle. When the closing exhaust rocker and the opening intake rocker pass each other and are in side-by-side alignment the cylinder 360 degrees away is at TDC. So
1-6
5-2
3-4
are the paired cylinders to check.
#54
#55
I'd also suggest putting a small mark on the block/flywheel when the two timing marks are facing each other, so that you easily find TDC again after the timing cover is installed. Granted, this is on the crank, so it won't tell you if it's on the compression stroke or not like the camshaft to crank mark, but it does make it easier getting it lined up just right.
With the distributor, I never mark it when I pull one, and always just find TDC and line up the distributor from scratch.
With a DuraSpark II distributor:
1. Put the engine at TDC on compression stroke. Then, rotate the engine slightly more to set the timing. If the timing cover is on, rotate the engine until the timing mark is pointed at your desired timing (such as 10°). You don't have to do the second part, but it's easy and actually puts your timing where it should be, instead of at 0.
2. Install distributor with rotor pointed at the #1 spark plug post. It does not matter what direction the distributor is facing, or which post is the #1. Although, using the post on the cap that has a 1 on it helps keep it simple. I like to install it so that the vacuum advance canister is perpendicular to the engine so it's easy to access.
3. Fully seat distributor. You might need to rock the crank slightly, or try a few different directions of the distributor to get the teeth to line up.
4. Recheck or rotate the distributor so that you're sure the rotor is pointed toward #1.
5. Pull the rotor and fine tune twist the distributor until the closest arm on the 6 arm stator is lined up perfectly between the two lines on the magnetic pickup.
6. Tighten it down and reinstall the cap and rotor.
All said and done, this usually takes me about 5 minutes.
#56
I'd also suggest putting a small mark on the block/flywheel when the two timing marks are facing each other, so that you easily find TDC again after the timing cover is installed. Granted, this is on the crank, so it won't tell you if it's on the compression stroke or not like the camshaft to crank mark, but it does make it easier getting it lined up just right.
I also noticed this, after installing the timing cover and new harmonic balancer. This was taken at TDC.

If I understand correctly, that's the timing tab and it's set to 6°. Looks good?
#57
A little nick with a permanent marker won't hurt anything. The flywheel is exposed and dry, so it's not going to contaminate anything. Some use chalk, or (as my machinist did), an actual scratch with a little pick.
The timing mark you have it lined up with there is 6° ATDC (retarded timing), you want to go the other direction to 6° BTDC (advanced timing). Otherwise, looks good!
The timing mark you have it lined up with there is 6° ATDC (retarded timing), you want to go the other direction to 6° BTDC (advanced timing). Otherwise, looks good!
#60
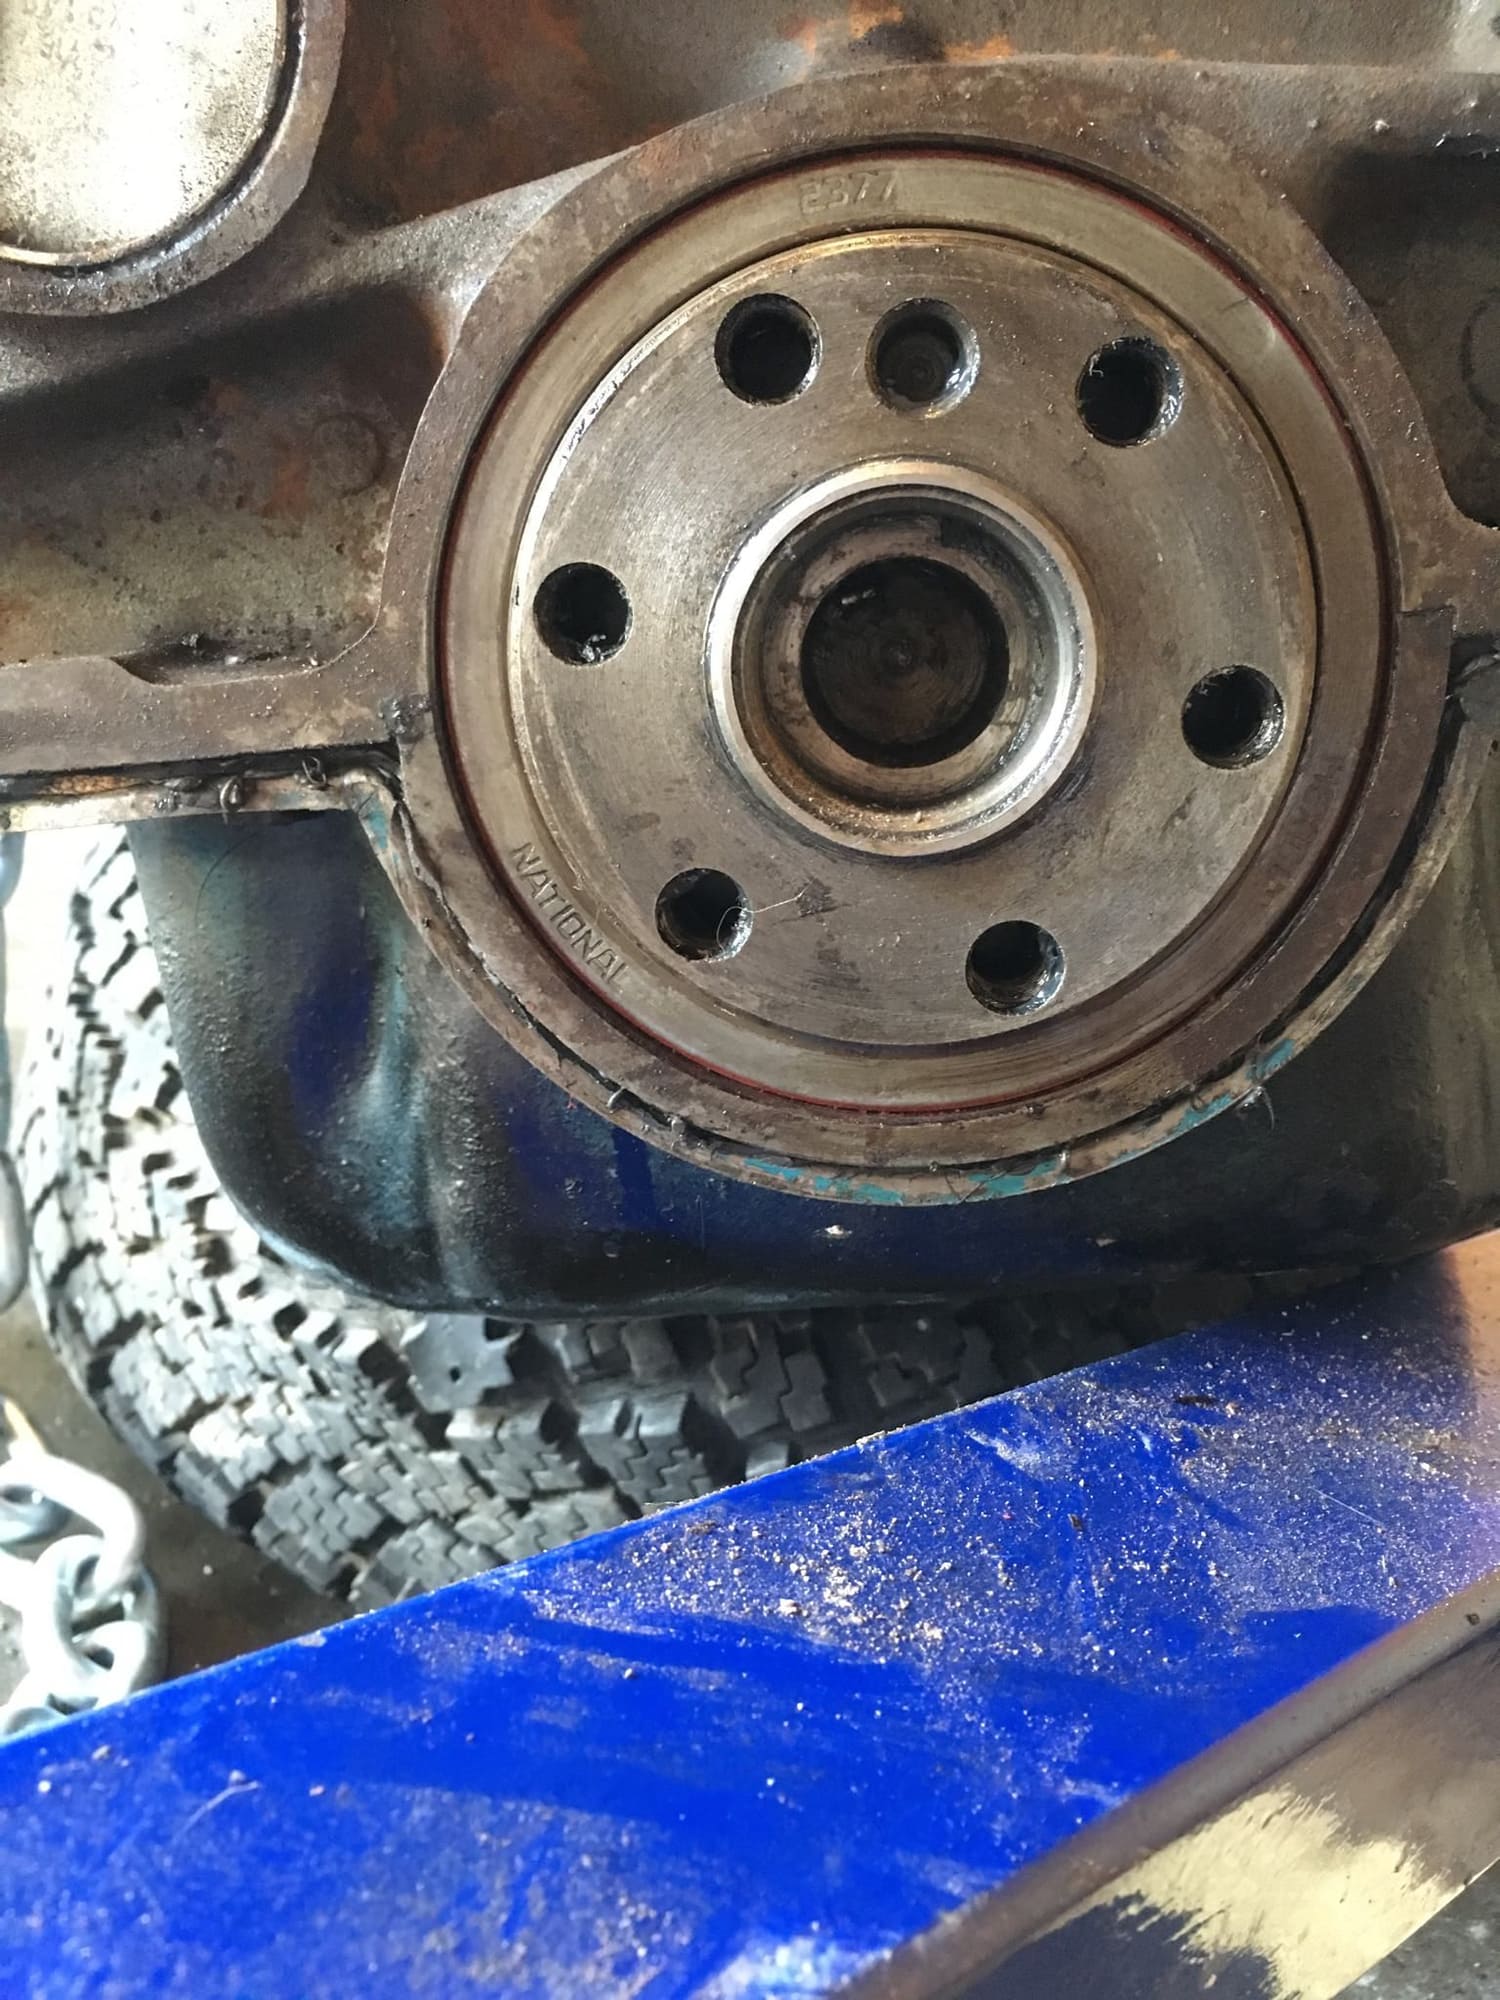
That little dent at 2 o'clock / NE corner is nothing to worry about? It looks a little like there's a bigger gap around the crank there than on the opposite side. Not sure how paranoid I'm being. It's pretty tight around the perimeter and I can run a little bead of RTV, if that's acceptable.


