


The Official Candy Cane's Project Thread
Fleet Mechanic
Joined: Jun 2011
Posts: 1,804
Likes: 5
From: Southern California
I love those LED's! I just did a set of green ones in my friends 73 highboy. They help alot. Im personaly doing Blue. Keep up the great work Steve! I also missed that whole gas tank project. Glad i read through the whole thread 
Thread Starter
|
Fleet Mechanic
Joined: Jan 2010
Posts: 1,287
Likes: 17
From: San Carlos, CA

Thanks guys! The lights look great at night, they give the interior a real nice added detail. I have lots of the LED's left, I'll probably use them under the kitchen cabinets and my wife's vanity.
Happy wife, Happy life.
Happy wife, Happy life.
Elder User
Joined: Sep 2012
Posts: 654
Likes: 2
From: The Lone Star State
Great... something else I'll need to do! :-)
I noticed in one of your under-dash shots that you seem to have an upgraded fuse block. Do you have a posting on that mod or did you get the truck like that? My add-a-circuits don't look to pretty on the antique glass fuses and I wouldn't mind modernizing if its not a major pain!
I noticed in one of your under-dash shots that you seem to have an upgraded fuse block. Do you have a posting on that mod or did you get the truck like that? My add-a-circuits don't look to pretty on the antique glass fuses and I wouldn't mind modernizing if its not a major pain!
Thread Starter
|
Fleet Mechanic
Joined: Jan 2010
Posts: 1,287
Likes: 17
From: San Carlos, CA
I noticed in one of your under-dash shots that you seem to have an upgraded fuse block. Do you have a posting on that mod or did you get the truck like that? My add-a-circuits don't look to pretty on the antique glass fuses and I wouldn't mind modernizing if its not a major pain!
https://www.ford-trucks.com/forums/1...-projects.html
Later today I'll finish the post on THIS thread. It was pretty easy and painless. Things to remember is document (Label) the wires and have the factory wiring diagram because there are a couple of HVAC circuits that are not part of the fuse block B+ distribution system.
I 2nd the fuse block question! And is that a CB i see in there? 
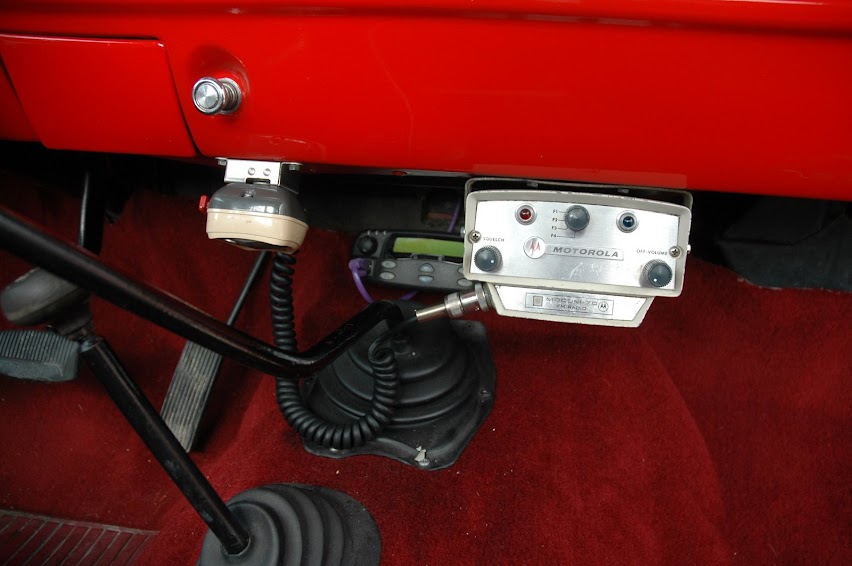
I might be getting a brand new company radio so I'm not sure if this set up will stay. The new radio would be installed in a semi disguised fashion so not to detract from the overall look of the interior.
FTE Stories
Ford Trucks for Ford Truck Enthusiasts

10 Things Every Truck Owner NEEDS (2026 Edition)
Michael S. Palmer
Rezvani's Latest Post-Apocalyptic Monster Is a Ford F-150 Raptor Underneath
Verdad Gallardo
Top 10 Most Expensive Ford Trucks Ever Sold on Bring a Trailer
Joe Kucinski
2027 Ford Super Duty Buyer's Guide (Every Model, Engine, & Package)
Brett Foote
Top 10 Ford Truck Tragedies
Joe Kucinski
AEV FXL Super Duty - the Super Duty Raptor Ford Doesn't Make
Brett Foote
Lobo Vs Lobo: Proof the F-150 Lobo Should Be Even Lower!
Michael S. Palmer
Ford's 2001 Explorer Sportsman Concept Looks For a New Home
Verdad Gallardo
10 Best Ford Truck Engines We Miss the Most!
Joe Kucinski
Thread Starter
|
Fleet Mechanic
Joined: Jan 2010
Posts: 1,287
Likes: 17
From: San Carlos, CA
Thanks guys for your kind posts. 
Here's my promised update on the painless wiring fuse block install. It was pretty painless (As they advertise) it just takes a little bit of time and don't drink a beer while doing this because you will actually have to think a little bit to do this job successfully. I didn't have any beer and I managed to make one goof and I have a engineering background.
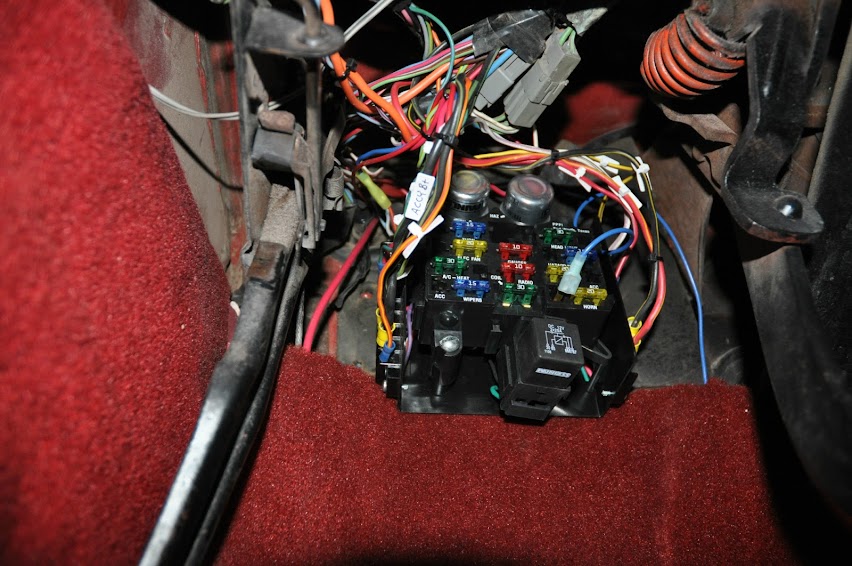
Anyway this was my old fuse block. I'm sure it looks like most other fuse blocks that are 34+ years old and have PO hack jobs, mine was no exception.
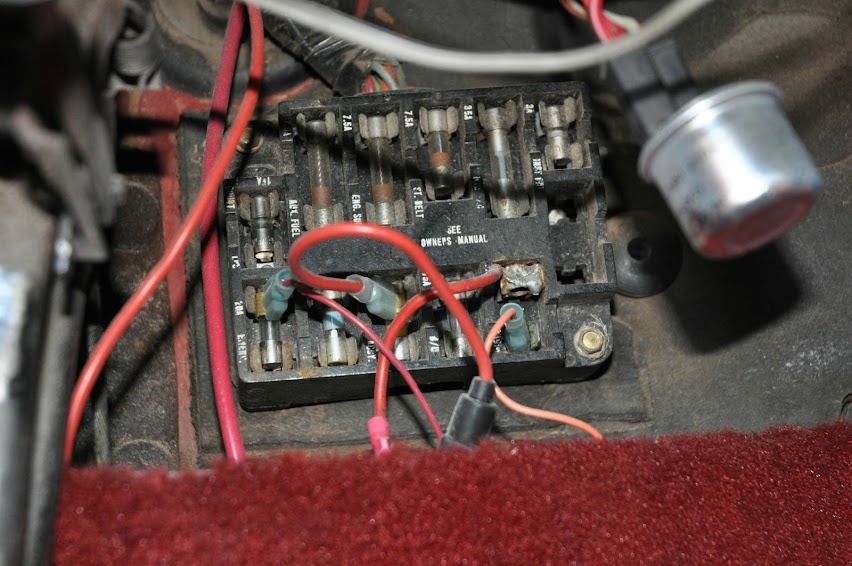
I could have ordered a replica but I wanted some more capacity and modern fuses. I removed the fuse block and made notes on the wire as to what it was for. I used a test light to check for volts.
I did not disconnect the battery because I wanted to test the circuits as I went along. I wouldn't recommend you do this unless you are really careful and tape the ends of the wires so they wont short to ground and fry your harness. Remember you are removing the fuses.

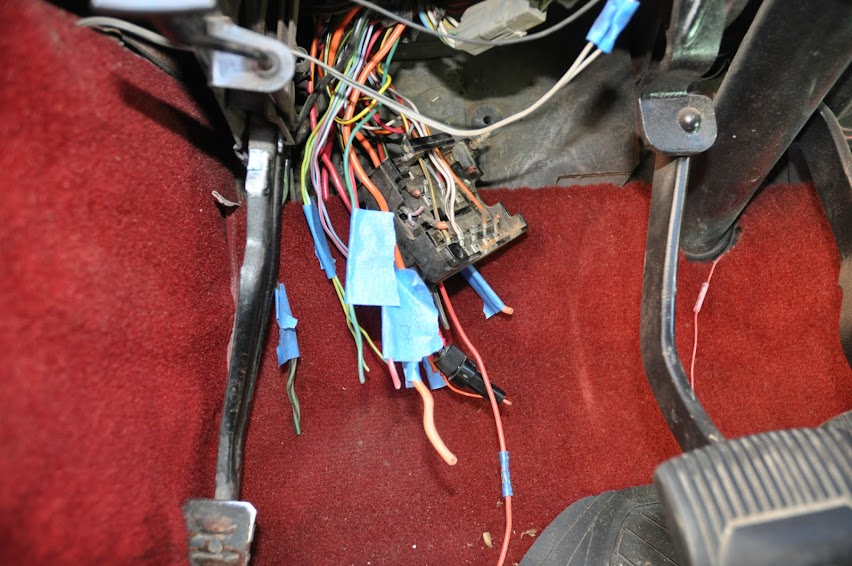
Old and new side by side. Just came to me at this point, How is this going to fit!?!?! Wait! I've seen crsweet78 build so I know it can be done.

With the old block out I started on the installation of the new fuse block. I printed out the official Ford schematic as a guild.
1973-1979 Ford Truck Wiring Diagrams & Schematics - FORDification.net

There are Two HVAC B+ leads that do not get battery from the fuse block but they pass through the old block for fuse placement. I couldn't re engineer the new block so I had to use an inline blade fuse and tie it up to the harness.
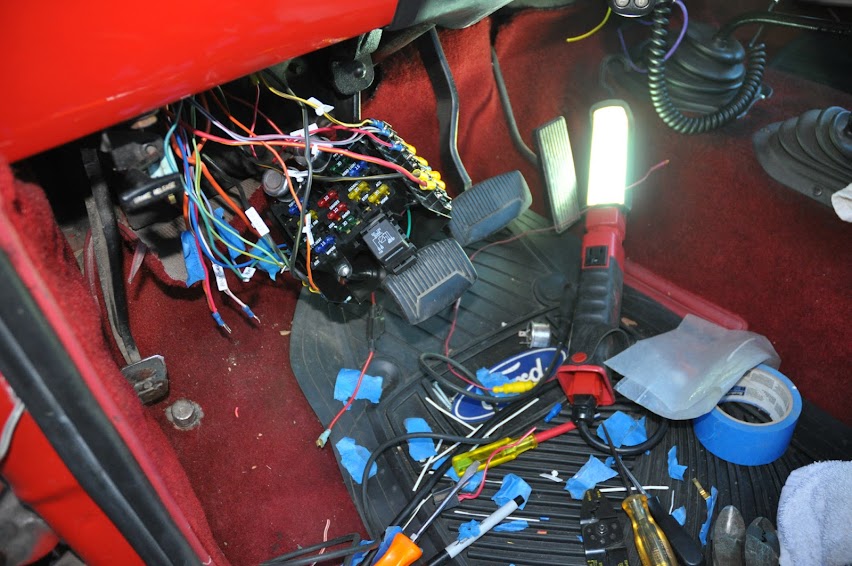
This shot was my preliminary final install before I took it out and cable tied everything up neatly.
Here's my promised update on the painless wiring fuse block install. It was pretty painless (As they advertise) it just takes a little bit of time and don't drink a beer while doing this because you will actually have to think a little bit to do this job successfully. I didn't have any beer and I managed to make one goof and I have a engineering background.
Anyway this was my old fuse block. I'm sure it looks like most other fuse blocks that are 34+ years old and have PO hack jobs, mine was no exception.
I could have ordered a replica but I wanted some more capacity and modern fuses. I removed the fuse block and made notes on the wire as to what it was for. I used a test light to check for volts.
I did not disconnect the battery because I wanted to test the circuits as I went along. I wouldn't recommend you do this unless you are really careful and tape the ends of the wires so they wont short to ground and fry your harness. Remember you are removing the fuses.
Old and new side by side. Just came to me at this point, How is this going to fit!?!?! Wait! I've seen crsweet78 build so I know it can be done.
With the old block out I started on the installation of the new fuse block. I printed out the official Ford schematic as a guild.
1973-1979 Ford Truck Wiring Diagrams & Schematics - FORDification.net
There are Two HVAC B+ leads that do not get battery from the fuse block but they pass through the old block for fuse placement. I couldn't re engineer the new block so I had to use an inline blade fuse and tie it up to the harness.
This shot was my preliminary final install before I took it out and cable tied everything up neatly.
Hotshot


Joined: Apr 2009
Posts: 14,333
Likes: 247
From: Stanley, VA
Looks really good Steve.
From the factory, it looks like Candy Cane has twice as many fused circuits as the Pumpkin.
Sometimes an engineering background an a bucket load of patience comes in handy.
From the factory, it looks like Candy Cane has twice as many fused circuits as the Pumpkin.
Sometimes an engineering background an a bucket load of patience comes in handy.
Thread Starter
|
Fleet Mechanic
Joined: Jan 2010
Posts: 1,287
Likes: 17
From: San Carlos, CA
Thanks guys!
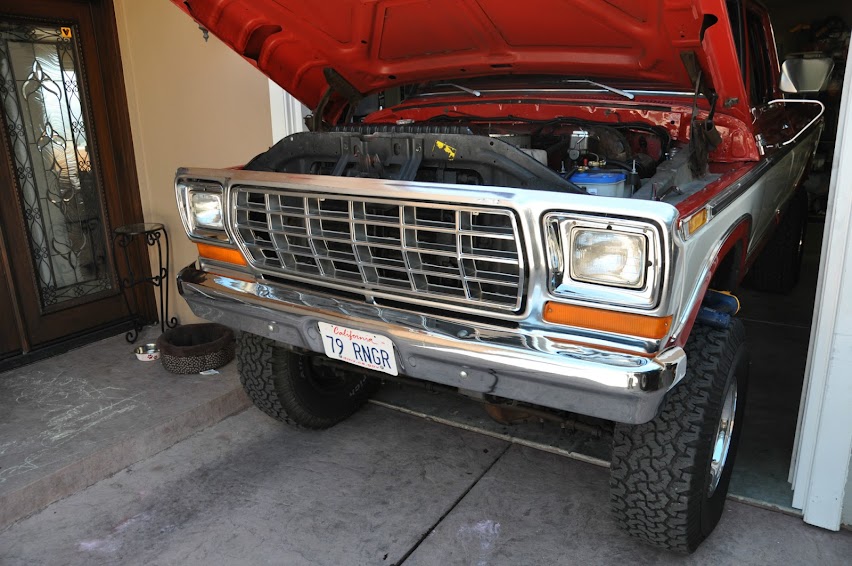
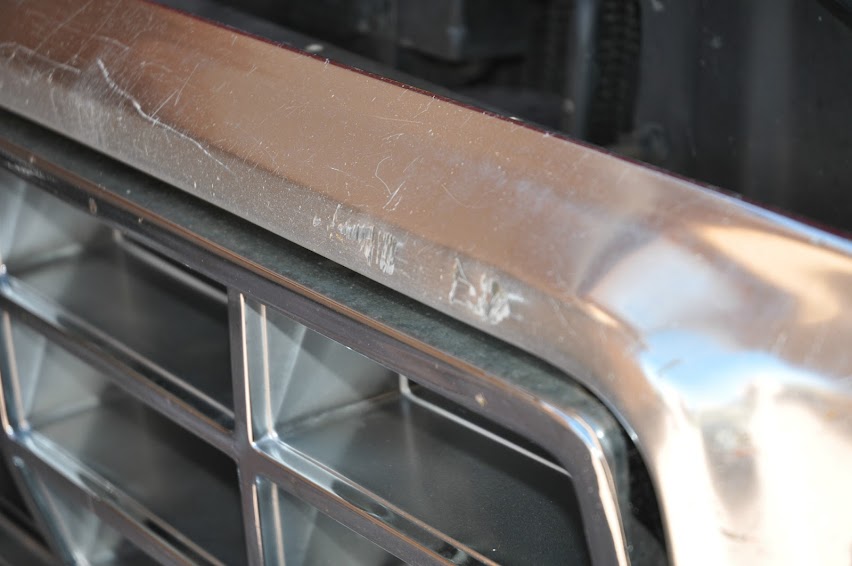
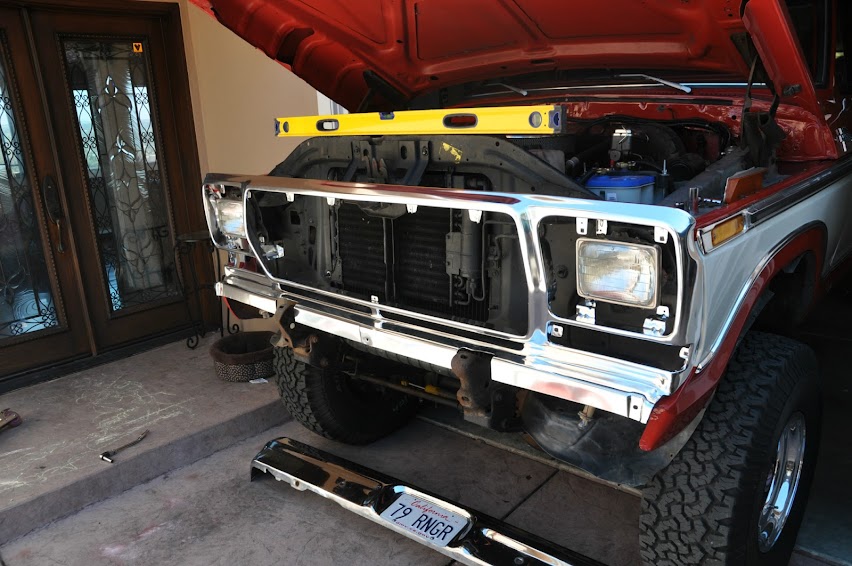
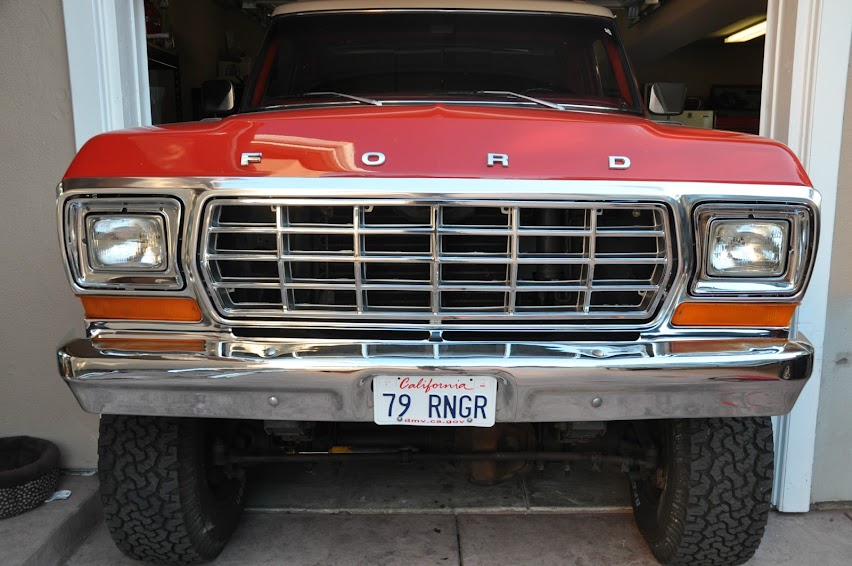
Here's the latest project for the day, I replaced my grill shell with a DC grill shell. Pretty straight forward although I had to do some tweaking to get it to settle in just right but that's to be expected. The photos don't show the detail but what a differance! Now my front end looks as good as my a$$ end.
Here's the before.
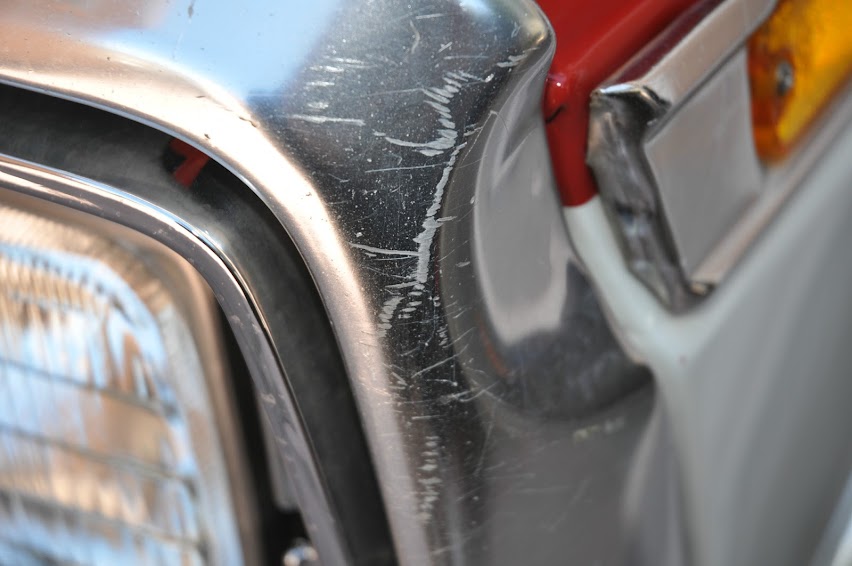

And during....
And after. Cachow!!!


Here's the latest project for the day, I replaced my grill shell with a DC grill shell. Pretty straight forward although I had to do some tweaking to get it to settle in just right but that's to be expected. The photos don't show the detail but what a differance! Now my front end looks as good as my a$$ end.
Here's the before.
And during....
And after. Cachow!!!