When you click on links to various merchants on this site and make a purchase, this can result in this site earning a commission. Affiliate programs and affiliations include, but are not limited to, the eBay Partner Network.
To help eliminate some of the clutter at the top of the forum, I have decided to have one sticky that links to important tips, tricks and how to's that have accumulated over the years. Just click on the topic below.....all of the info is still there!
When I made plans to build my 1956 Ford F-100 I immediately knew that I wanted to have it roll on a combination of 18-inch front wheels and 20-inch billet wheels for the rear. I wasn�t targeting the pro-street look, but wanted a minimum of a 20 x 10 inch rim for the rear, which a couple of buddies told me was impossible to do on an F-100. (Read More)
While trying to piece my ebrake system back together (yes, I forgot to take pictures before disassembly) I used pictures from many different posts from many of you posted over quite a few years to get the answers that I needed for the entire system. My thanks to all of you who have posted. I couldn't have done this without you.
This post is an attempt to put it all together into one post. I hope that it helps not only those of you restoring F2s but F1s, F3s, etc. as I believe that most use variations of this same basic design.
Many of these parts are very hard to find. Ford cars 1939-1948 use the same parts under a different number.
Ford Car cross reference - same parts as 1948-1951 Ford F2 Truck
So I bought an altmans easy latch kit for my 56'. They have done a good job with the latch for sure. But its not clean enough for MY liking.
I didn't want to cap my door with another piece of sheet metal, that they supply, to hold the latch in place.
I plan on filling the factory holes and cutting my own holes etc in it afterwords.
I wanted to counter sink the bolts in my door like they came with the easy latch/plate. Tried searching for a punch or die locally, but no luck.
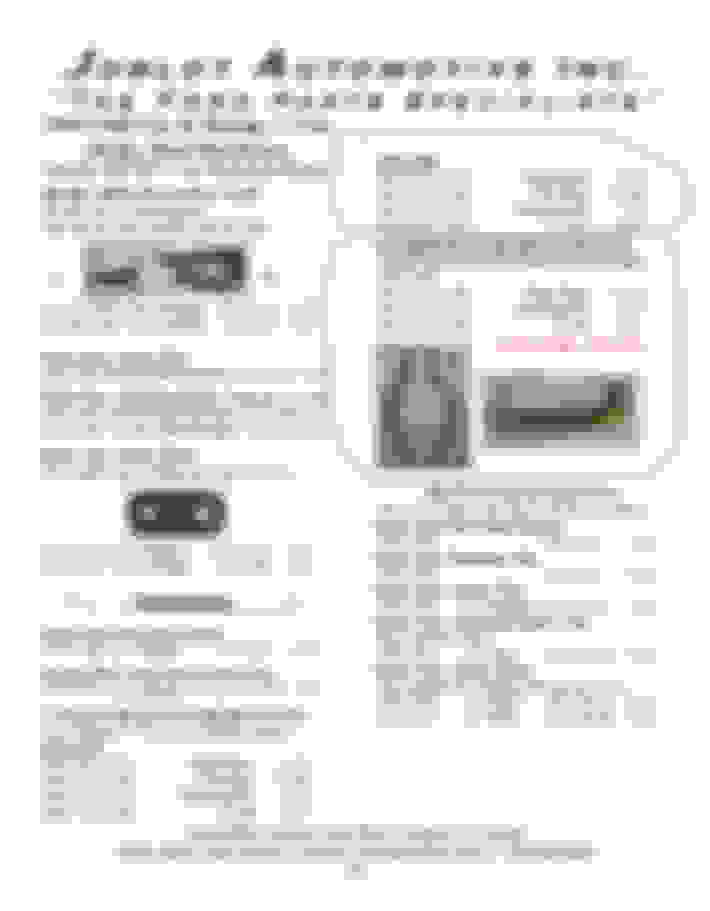
So I made one. Cost me nothing to make really. I have attached a picture. It's just a countersunk bolt with a big nut, a washer, and a nut that threads onto the bolt. The nut, washer, and big nut are welded together to keep the bolt centered in the hole when tightened.
Took a couple trial runs before I got an even punch, but it works great!
Lying upside down on my back my dyslexia got me on the third picture on this post. The labels for the cables should be reversed (L-R). It should look like this. Sorry if I lead anyone astray.
Does anyone know if i need to run the sprung anti tortion bolt things on the core support?
I have half of one coach bolt left on my truck, which was torch cut at some point and bent way the hell out of shape. Someone got impatient with it, there doesn't appear to be any repro stuff for it, and i'm not sure i could replace it easily. And given that i don't intend to go rock crawling with it, i'm figuring this whole thing is kinda excessive to weed out however much torsion could possibly arise across 2 inches of crossmember during regular use on reasonable roads.
Not sure what you mean by coach bolt but cab bolt mount kits are available from Mac’s and others.
Absolutely you need the springs on the bottom of the radiator support mount. The entire front structure of the truck is mounted to that. Without it you will develop cracks in the fender. The weakest spot is just above the wheel where the fender brace is attached to the fender. This absorbs body flex.
Oh yeah, i see. I thought it was to absorb frame twist and isolate the front sheet metal
Guess i'll have to get creative since nobody carries those things. Valvesprings, super heavy washers, off the shelf coach bolts, drill press and castle nuts it is.