
Winter Project
#1
 01-01-2013, 09:25 PM

Winter Project
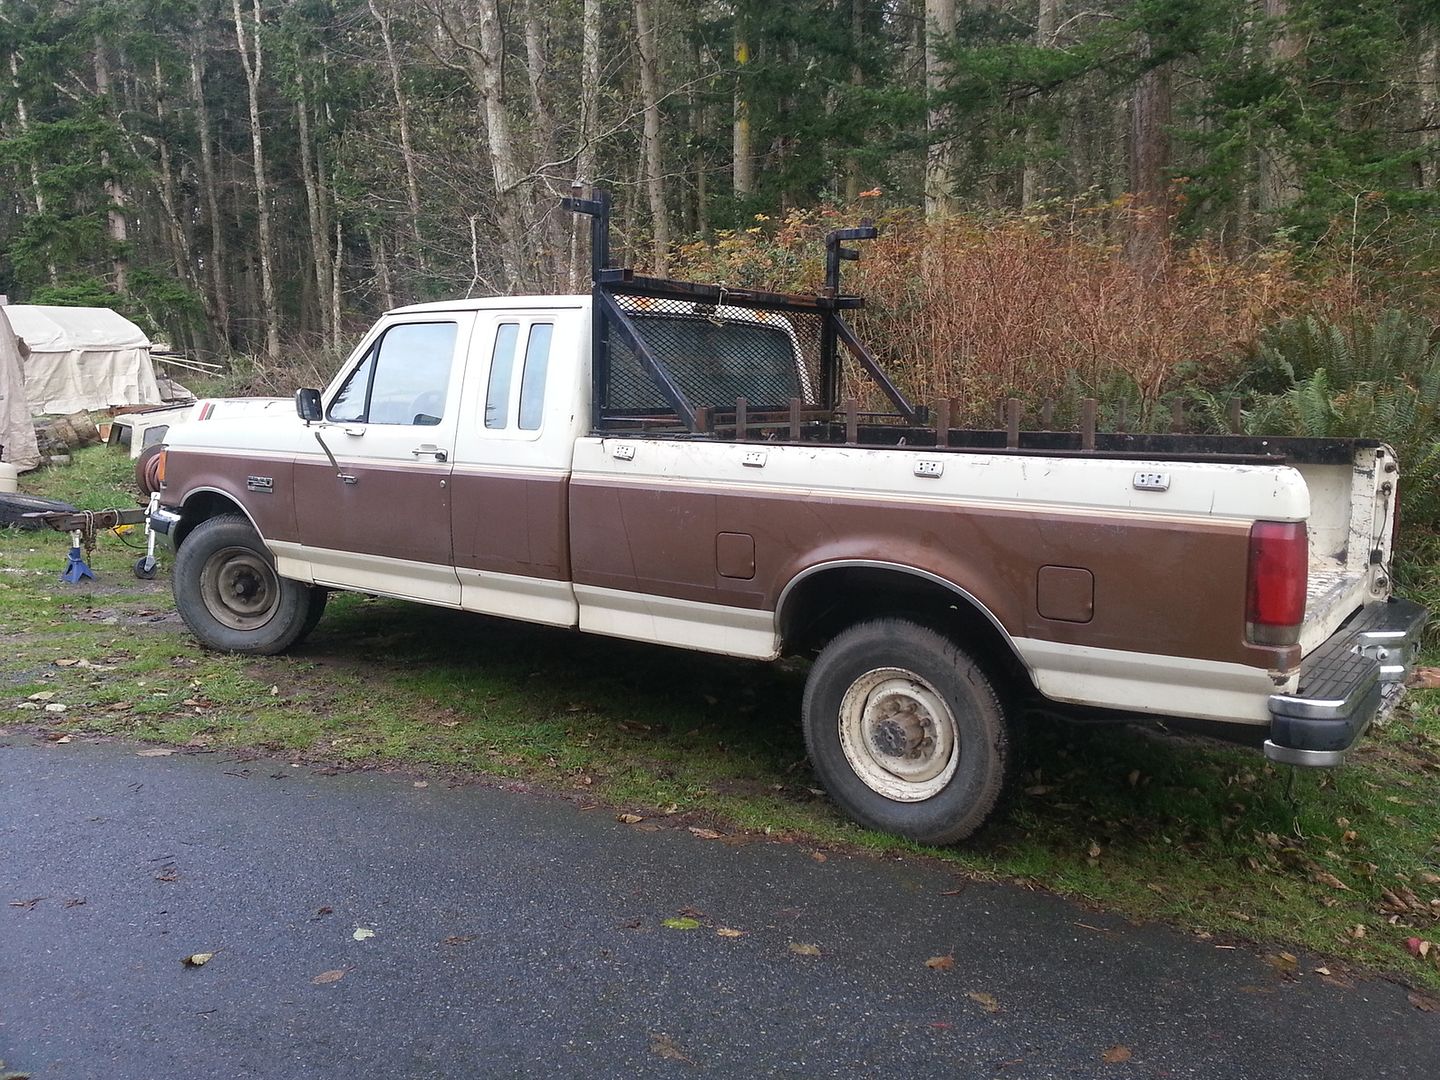
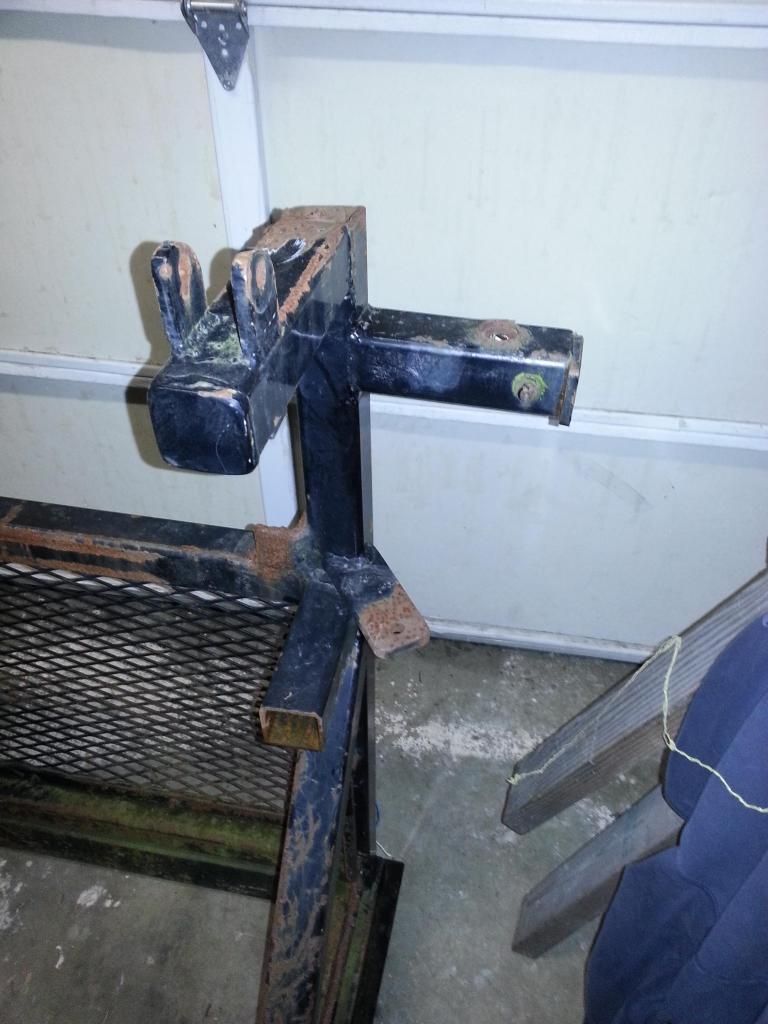
The 87 I bought a month or so ago came with a really beefy headache rack (all made out of 1/4, 3/8, and 1/2 inch steel). As you can see, it's tall, and has funky rails that go the length of the bed. I like the look of the rack, but took it off after it slid about halfway off while driving up a hill 
With winter break approaching, I decided I would take advantage of the two weeks off from school and clean up the rack a little bit. I've already done a lot of the cutting, so here's what I've done..
I didn't want the bed rail parts, because they were all bent out of shape and had those 1x1 steel stakes welded to it, and with them on it wouldn't fit too well in the garage. I made a rough cut between the first stake and the main rack, and wrestled it into the garage.
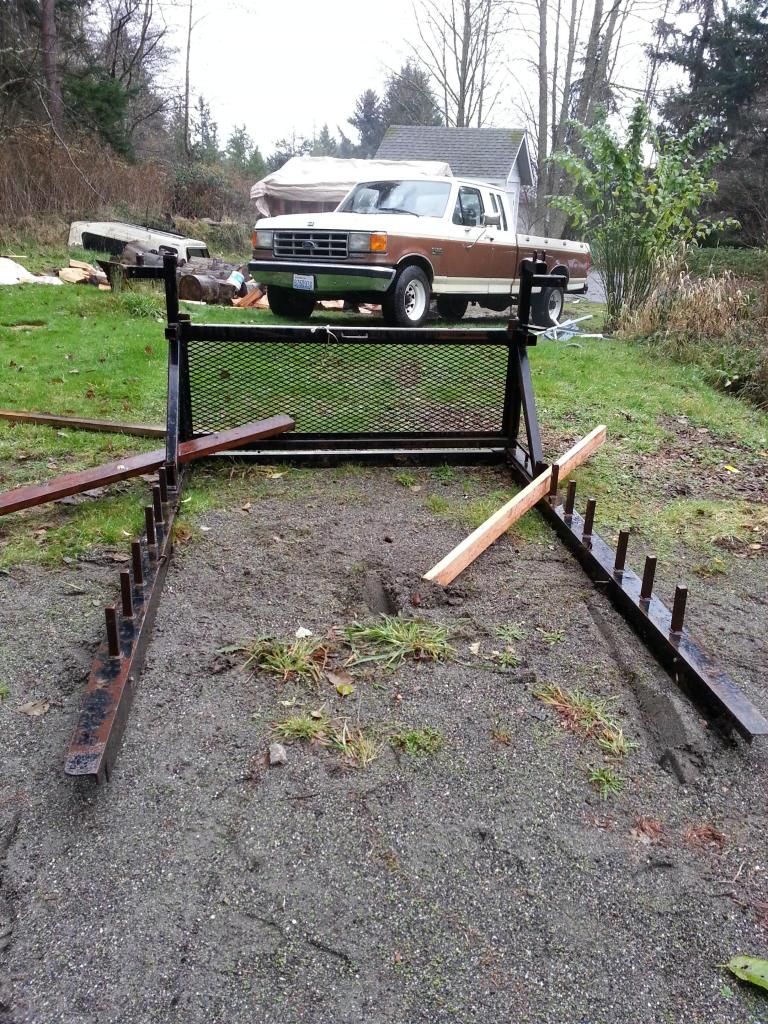
Once safe in the garage, I planned out what I wanted to come off. I am aiming for both sides to be symmetrical, and I'm not too concerned about how clean my cuts and grinds are, because its a work truck
Drivers side start
Passenger side start
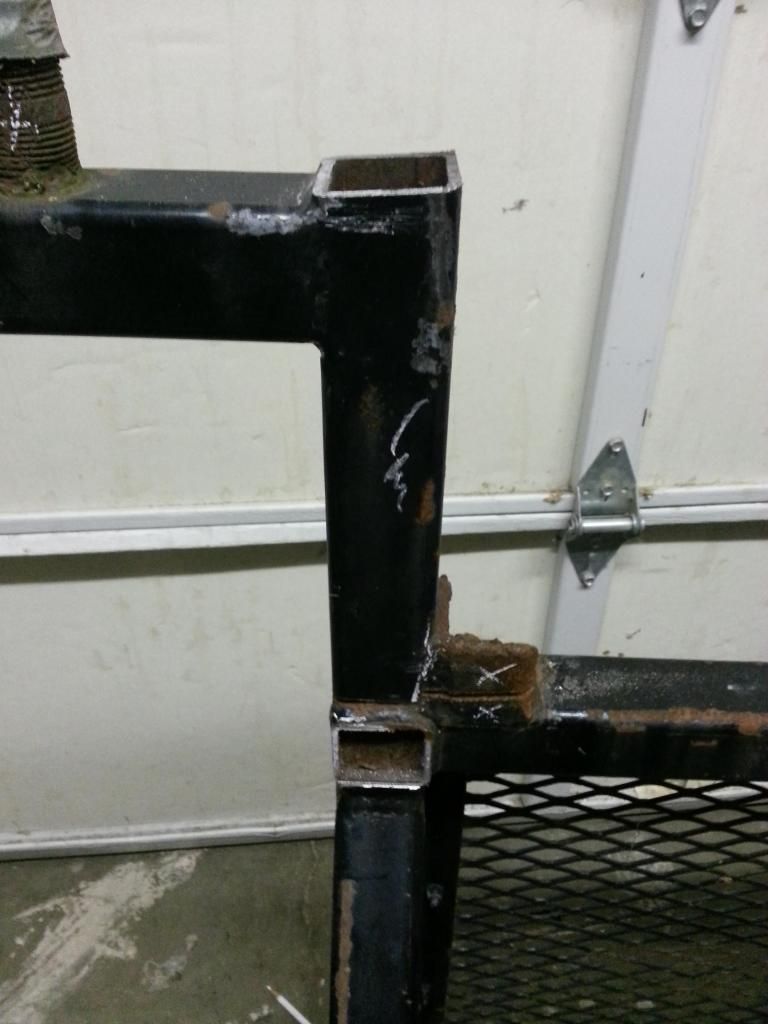
Drivers side marked for cuts (and two of them already done). Everything with a "x" on it is getting cut off
Passenger side marked for cuts
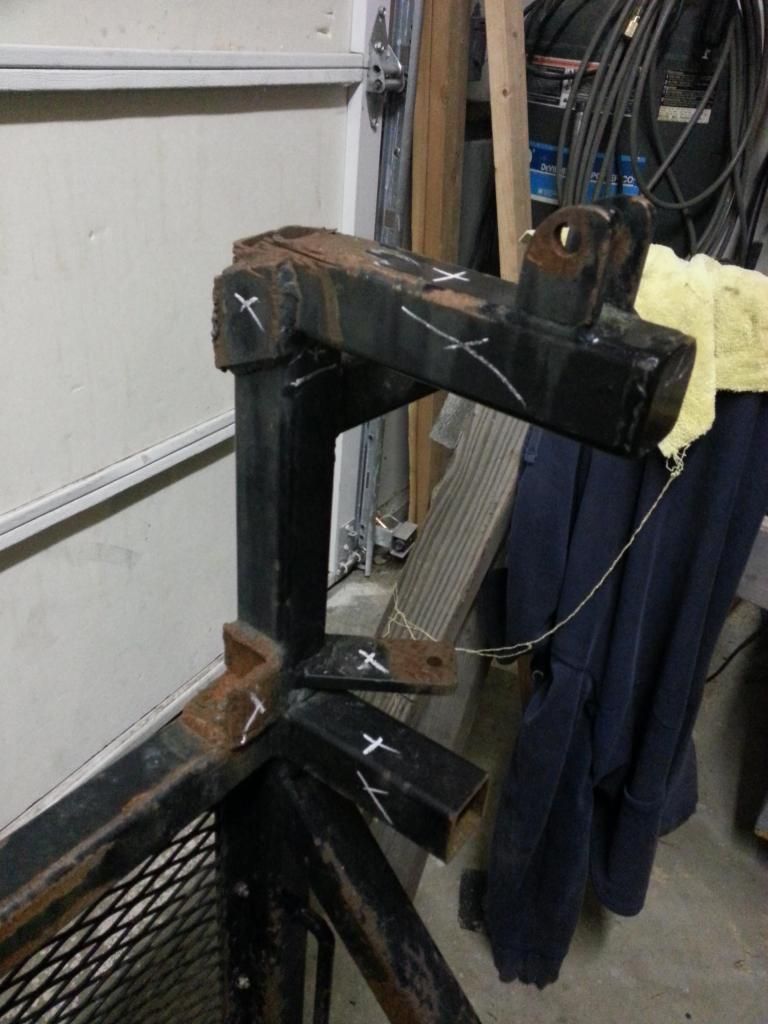
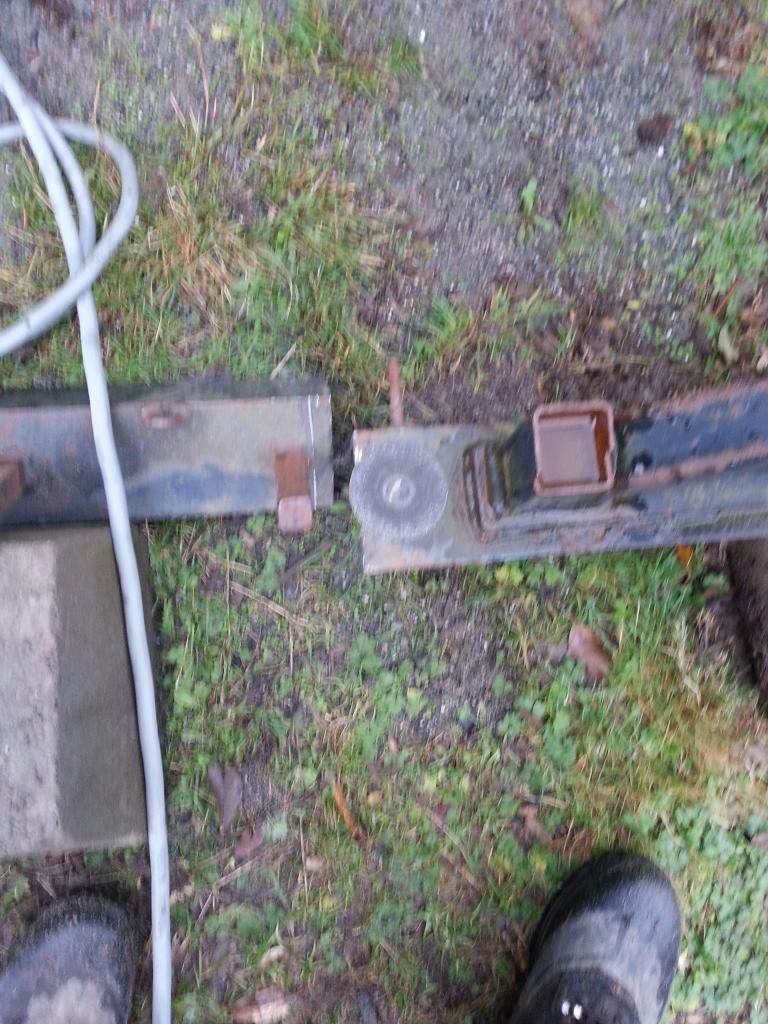
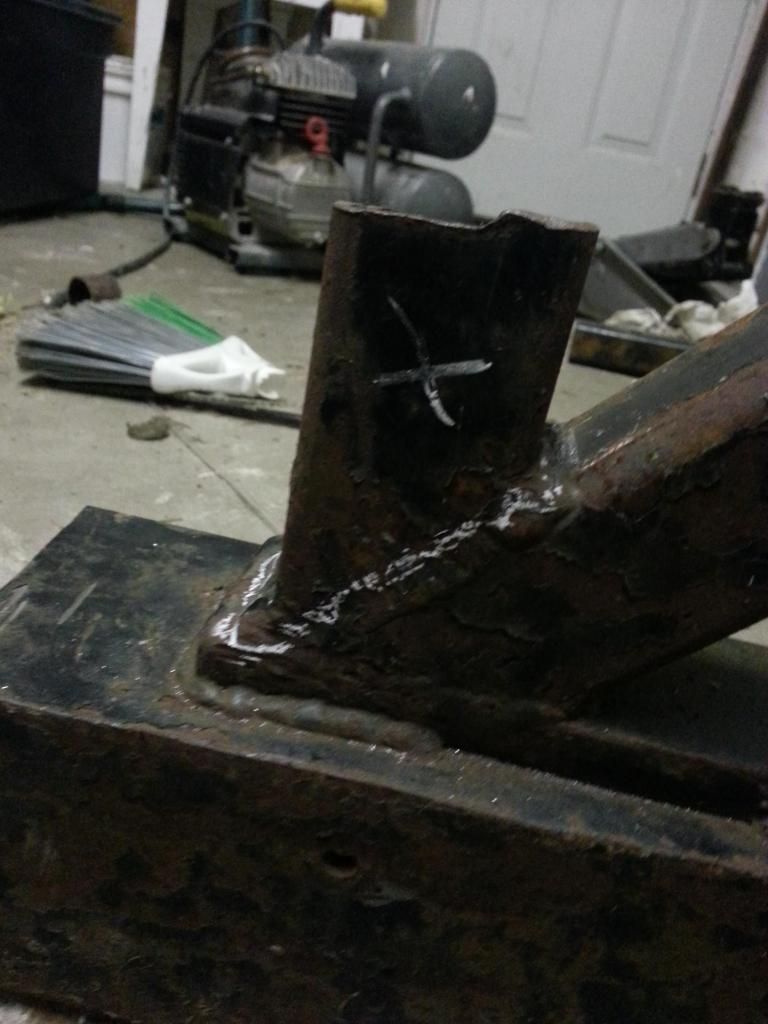
Plus these down on either side
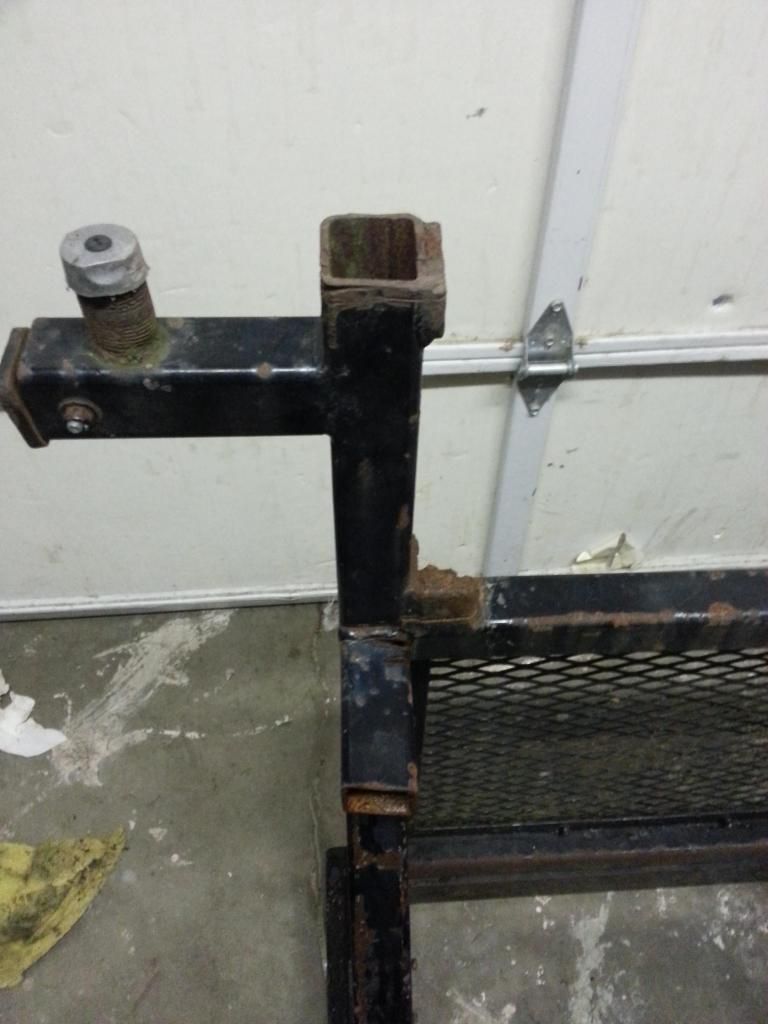
After a few hours spent cutting and grinding, I have most of the major stuff cut off (only took 3 sawzall blades, 4 cut off wheels, and so far, 1 grinding disk). I really wish I had a full cutting torch set...
Passenger side upper
Middle (not as bad as it looks. There are some huge welds to take care of)
Lower (still a really rough cut)
Drivers upper
Drivers lower (Almost done!)
Once I'm all done with the metalwork, I'll sandblast the whole thing. I'd ideally like to get it powder coated, but there isn't anyone locally who does it, and I don't know how expensive it is. In the end it'll most likely get painted a few times
The rack will be getting lights, both front driving and rear work/backup lights. The original plan was to put the fronts at the very top off to the sides, but I'll have to go either on the front of the tube or underneath to stay under 7'6". Either way, I'm expecting it to look pretty mean once I'm done.
I'll keep you guys posted as I go
Jameson
With winter break approaching, I decided I would take advantage of the two weeks off from school and clean up the rack a little bit. I've already done a lot of the cutting, so here's what I've done..
I didn't want the bed rail parts, because they were all bent out of shape and had those 1x1 steel stakes welded to it, and with them on it wouldn't fit too well in the garage. I made a rough cut between the first stake and the main rack, and wrestled it into the garage.
Once safe in the garage, I planned out what I wanted to come off. I am aiming for both sides to be symmetrical, and I'm not too concerned about how clean my cuts and grinds are, because its a work truck
Drivers side start
Passenger side start
Drivers side marked for cuts (and two of them already done). Everything with a "x" on it is getting cut off
Passenger side marked for cuts
Plus these down on either side
After a few hours spent cutting and grinding, I have most of the major stuff cut off (only took 3 sawzall blades, 4 cut off wheels, and so far, 1 grinding disk). I really wish I had a full cutting torch set...
Passenger side upper
Middle (not as bad as it looks. There are some huge welds to take care of)
Lower (still a really rough cut)
Drivers upper
Drivers lower (Almost done!)
Once I'm all done with the metalwork, I'll sandblast the whole thing. I'd ideally like to get it powder coated, but there isn't anyone locally who does it, and I don't know how expensive it is. In the end it'll most likely get painted a few times
The rack will be getting lights, both front driving and rear work/backup lights. The original plan was to put the fronts at the very top off to the sides, but I'll have to go either on the front of the tube or underneath to stay under 7'6". Either way, I'm expecting it to look pretty mean once I'm done.
I'll keep you guys posted as I go
Jameson
#2
01-13-2013, 11:31 PM
Update time
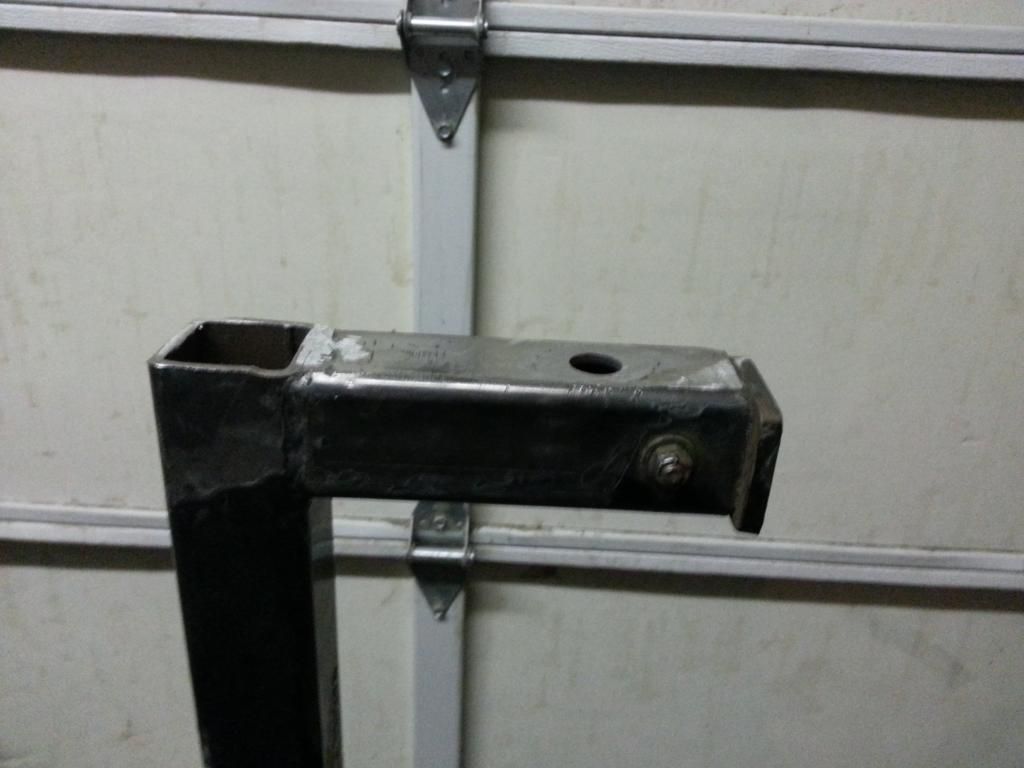
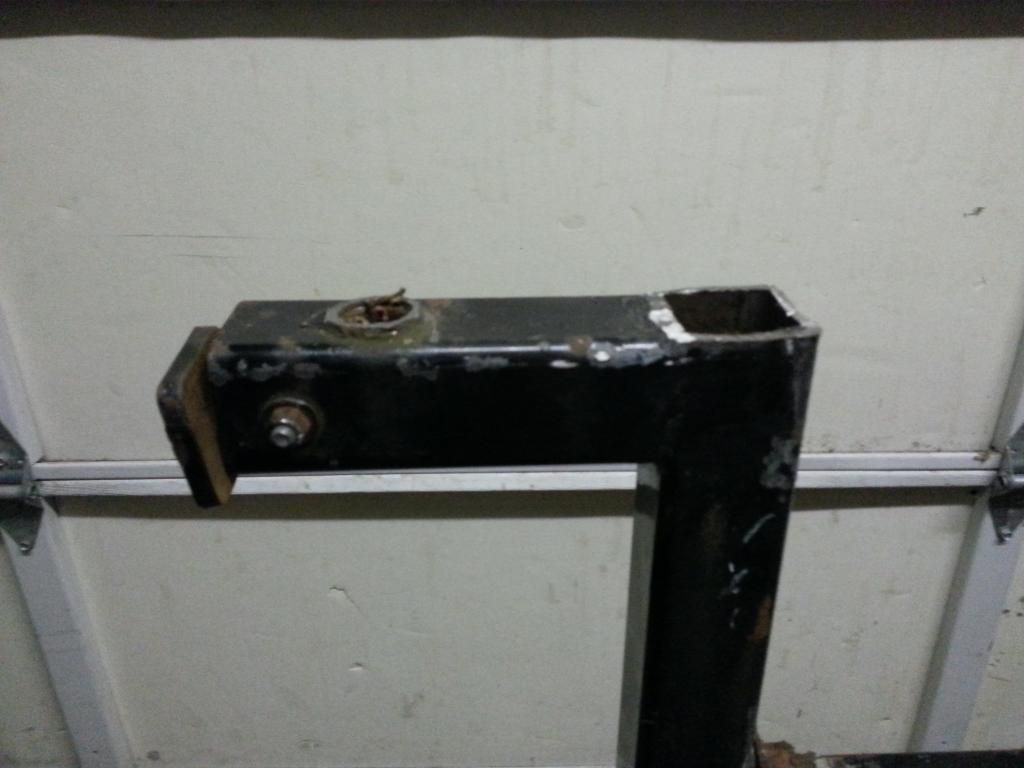
I have finished running new wires for the lights, and have welded caps onto the horizontal pieces and the tops of the pipes. Pics to come...
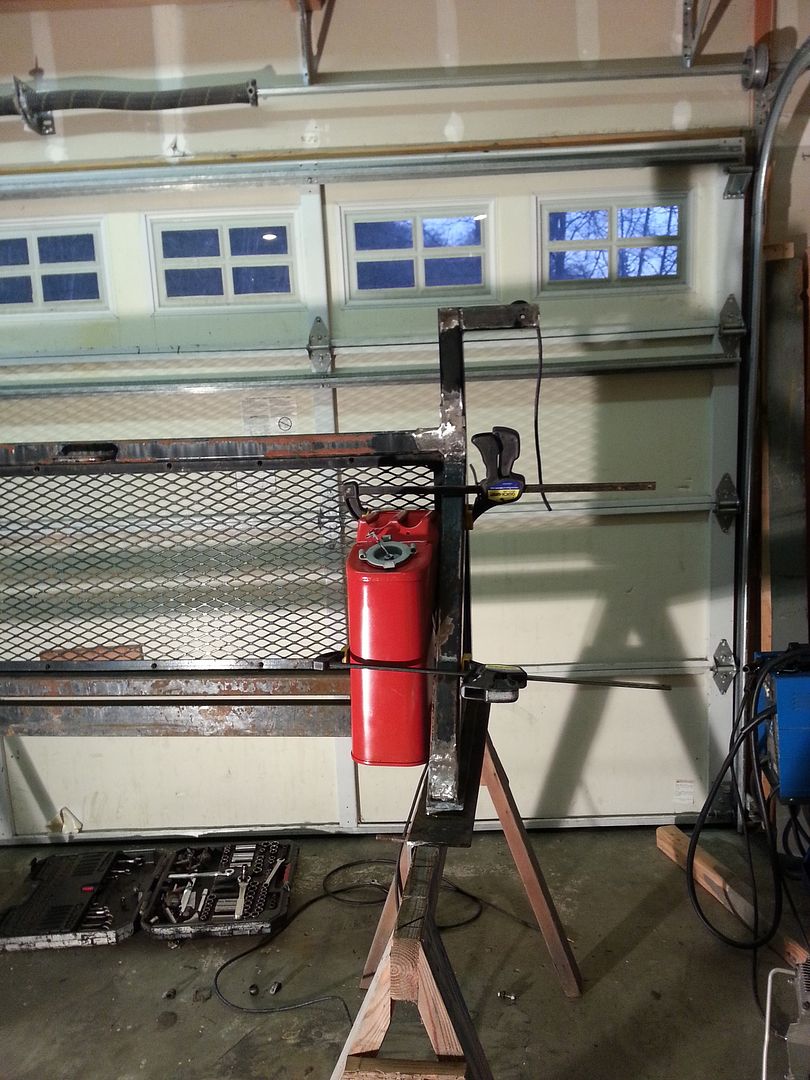
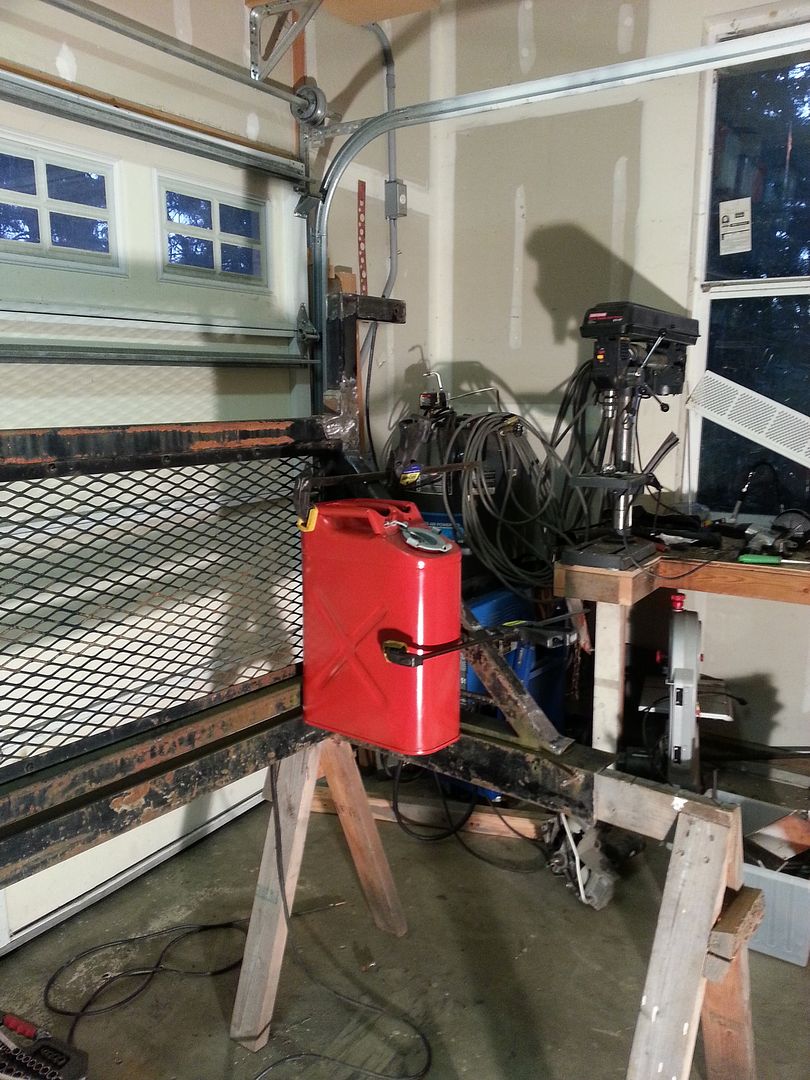
I also forgot about a Jerry can that I had repainted over the summer laying around. It isn't functional, because I accidently sandblasted a few holes in the bottom It's also red, which is generally the color for gas, not diesel. Regardless, I'll be making a simple mount to go on the passenger side.
The drivers side will be getting a spare tire mount, because I really don't like the under-tank stock placement. I'm hoping to add a hi-lift jack and a small tool box at some point. Box won't be attached though.
As far as work lights, I found this writeup on making your own LED light bars. I briefly entertained the idea of buying some from Rigid Industries, but they cost an arm and a leg.
DIY Hight Powered LED Light Bar - Pirate4x4.Com : 4x4 and Off-Road Forum
I have finished running new wires for the lights, and have welded caps onto the horizontal pieces and the tops of the pipes. Pics to come...
I also forgot about a Jerry can that I had repainted over the summer laying around. It isn't functional, because I accidently sandblasted a few holes in the bottom
It's also red, which is generally the color for gas, not diesel. Regardless, I'll be making a simple mount to go on the passenger side. The drivers side will be getting a spare tire mount, because I really don't like the under-tank stock placement. I'm hoping to add a hi-lift jack and a small tool box at some point. Box won't be attached though.
As far as work lights, I found this writeup on making your own LED light bars. I briefly entertained the idea of buying some from Rigid Industries, but they cost an arm and a leg.
DIY Hight Powered LED Light Bar - Pirate4x4.Com : 4x4 and Off-Road Forum
#3
01-21-2013, 11:08 AM

#4
01-21-2013, 01:37 PM
#5
01-21-2013, 02:02 PM
#6
01-21-2013, 02:37 PM
Looks good Jameson. If you and I have a time worked out, and you can bring down your things that need welded. I could even just knock it out for ya. You are more than welcome to borrow my welder still. But possibly I could weld up your Jerry can as well. I wouldn't recommend you doing that, but I'd be more than happy too.I'd have to see it first before I knew for sure.
Joe
Joe
#7
01-21-2013, 03:17 PM
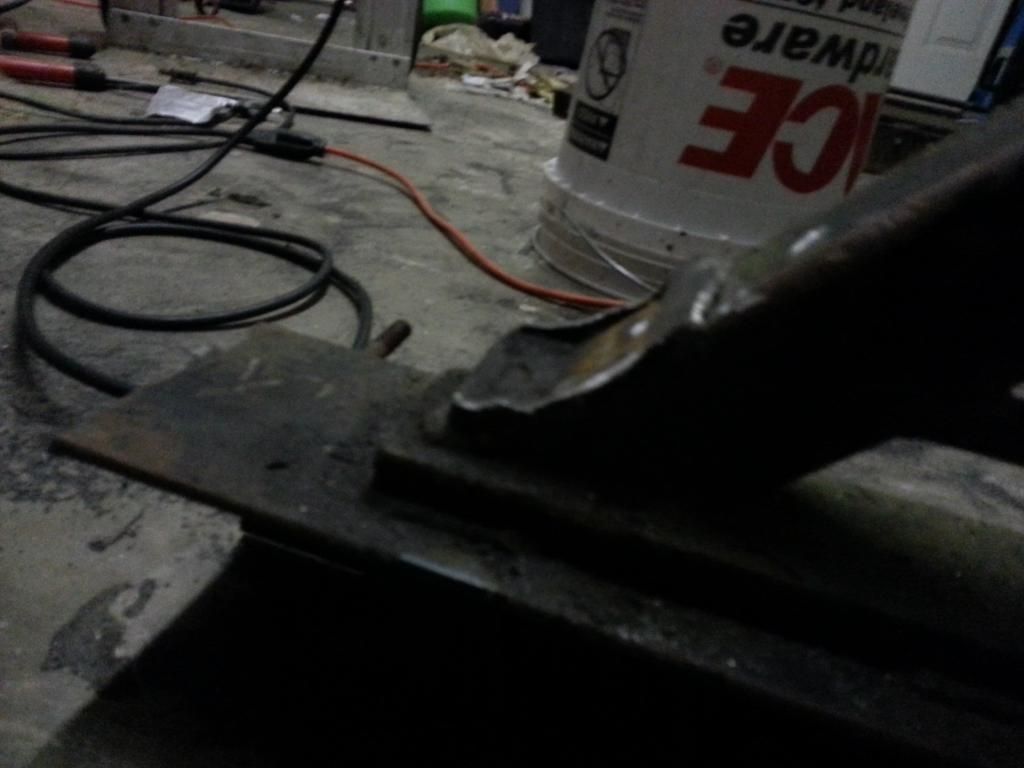
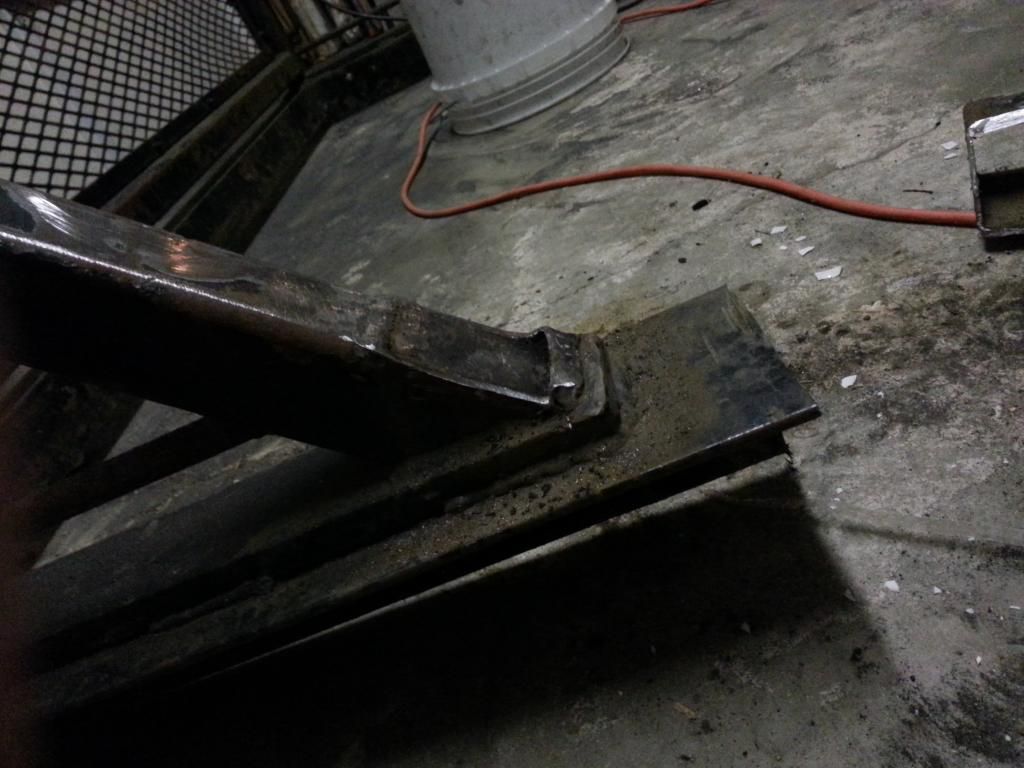
Joe: i might take you up on that offer. I just tried welding it up, and to put it gently, it looks like ****. Holds fine. I beat on it with a hammer for a while with no movement.
.033 flux core
105 amps
Wire speed 7 (out of 10)
I don't know if it's my welder, my lack of gas, or just my lack of experience...
I already tried my hand at sheet metal welding. You can probably guess the results 
.033 flux core
105 amps
Wire speed 7 (out of 10)
I don't know if it's my welder, my lack of gas, or just my lack of experience...
Trending Topics
#10
01-21-2013, 04:23 PM
Next question
So when you are welding does the wire come out of the gun freely? Like does it just seem to flow into the weld puddle? Or does it come out and kinda push into the puddle? And how far away is the nozzle during welding? That is called wire "stick out" that should be about 1/4 to 3/8 of an inch.
An other thing you could try Is place the cup( nozzle cup) on its side so the wire can come out of the gun and be about 1/4" to 3/8" away from the work. And adjust the wire speed till it sounds nice and smooth. See if that helps. Should sound like eggs cooking in bacon grease. MMMmm Bacon.
An other thing you could try Is place the cup( nozzle cup) on its side so the wire can come out of the gun and be about 1/4" to 3/8" away from the work. And adjust the wire speed till it sounds nice and smooth. See if that helps. Should sound like eggs cooking in bacon grease. MMMmm Bacon.
#11
01-21-2013, 04:42 PM
#12
01-22-2013, 11:43 PM
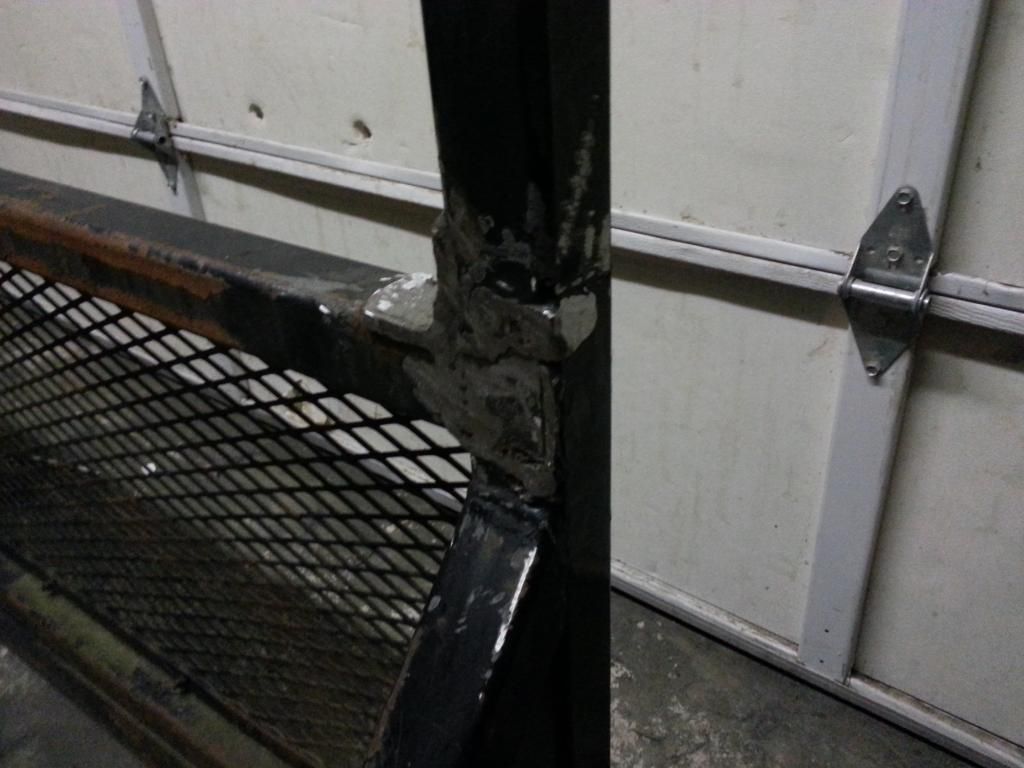
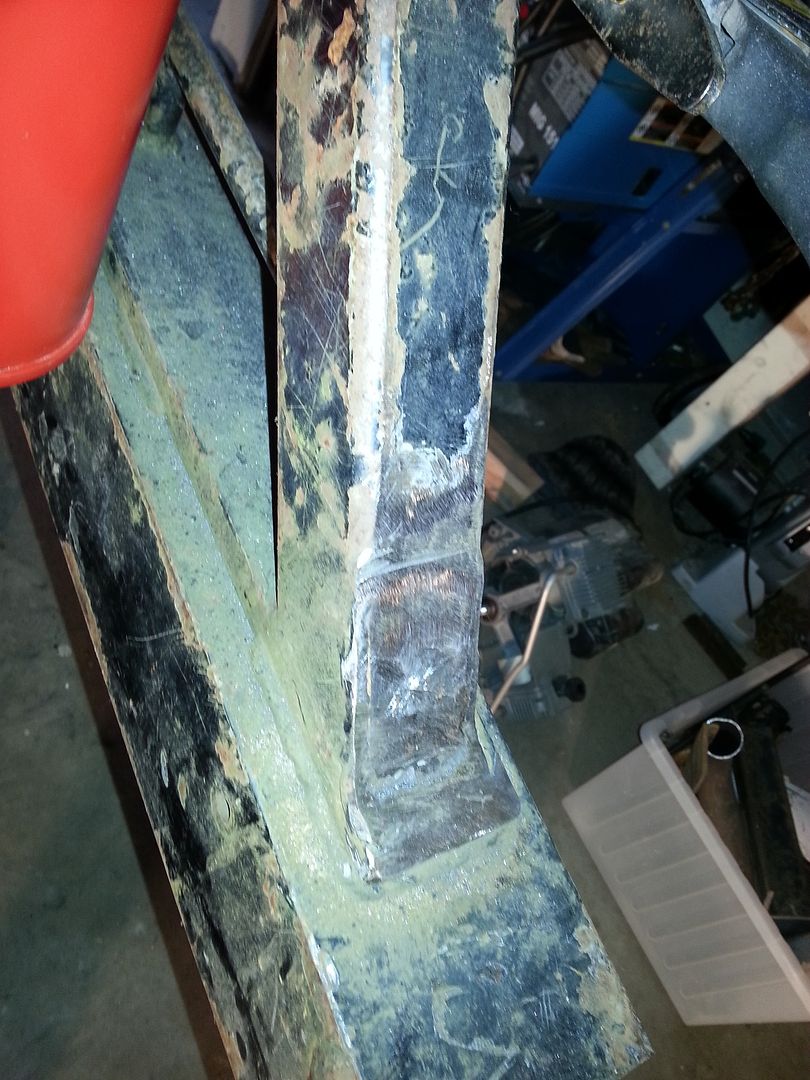
My second attempt went much better. I started off by flipping the rack over, so that I was welding upright instead of upside down like I had been before. Got myself a better ground connection, and a better angle on the work surface. Turned out much better. Still looks bad, but it hold no problem

Thread
Thread Starter
Forum
Replies
Last Post
Dan F-6
1948 - 1956 F1, F100 & Larger F-Series Trucks
78
10-09-2019 09:24 AM