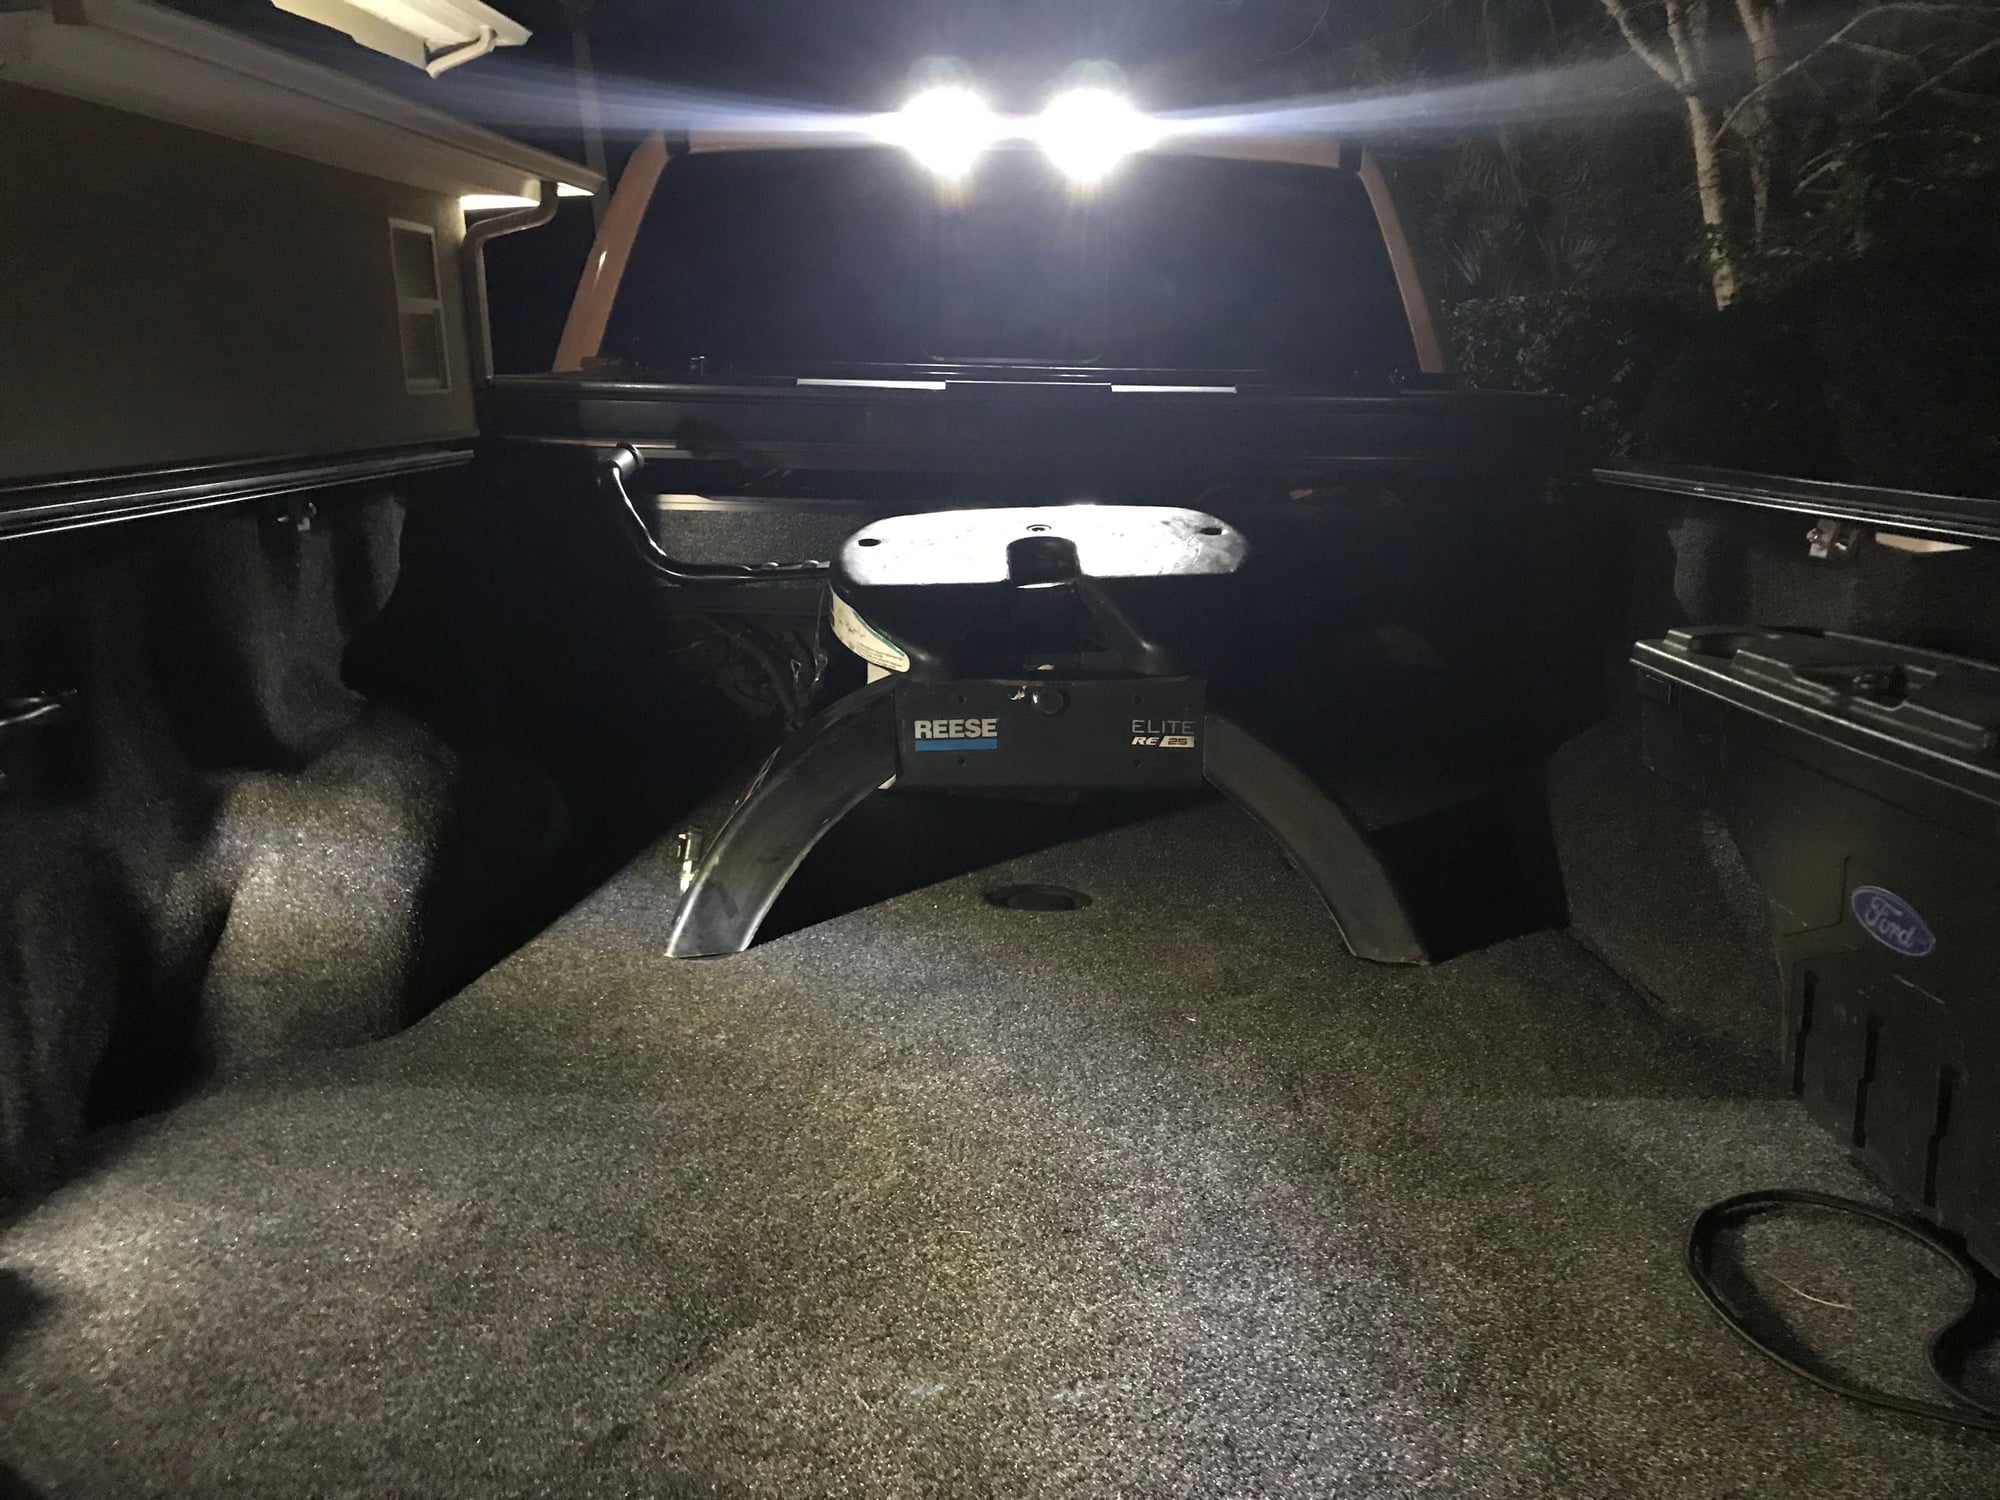
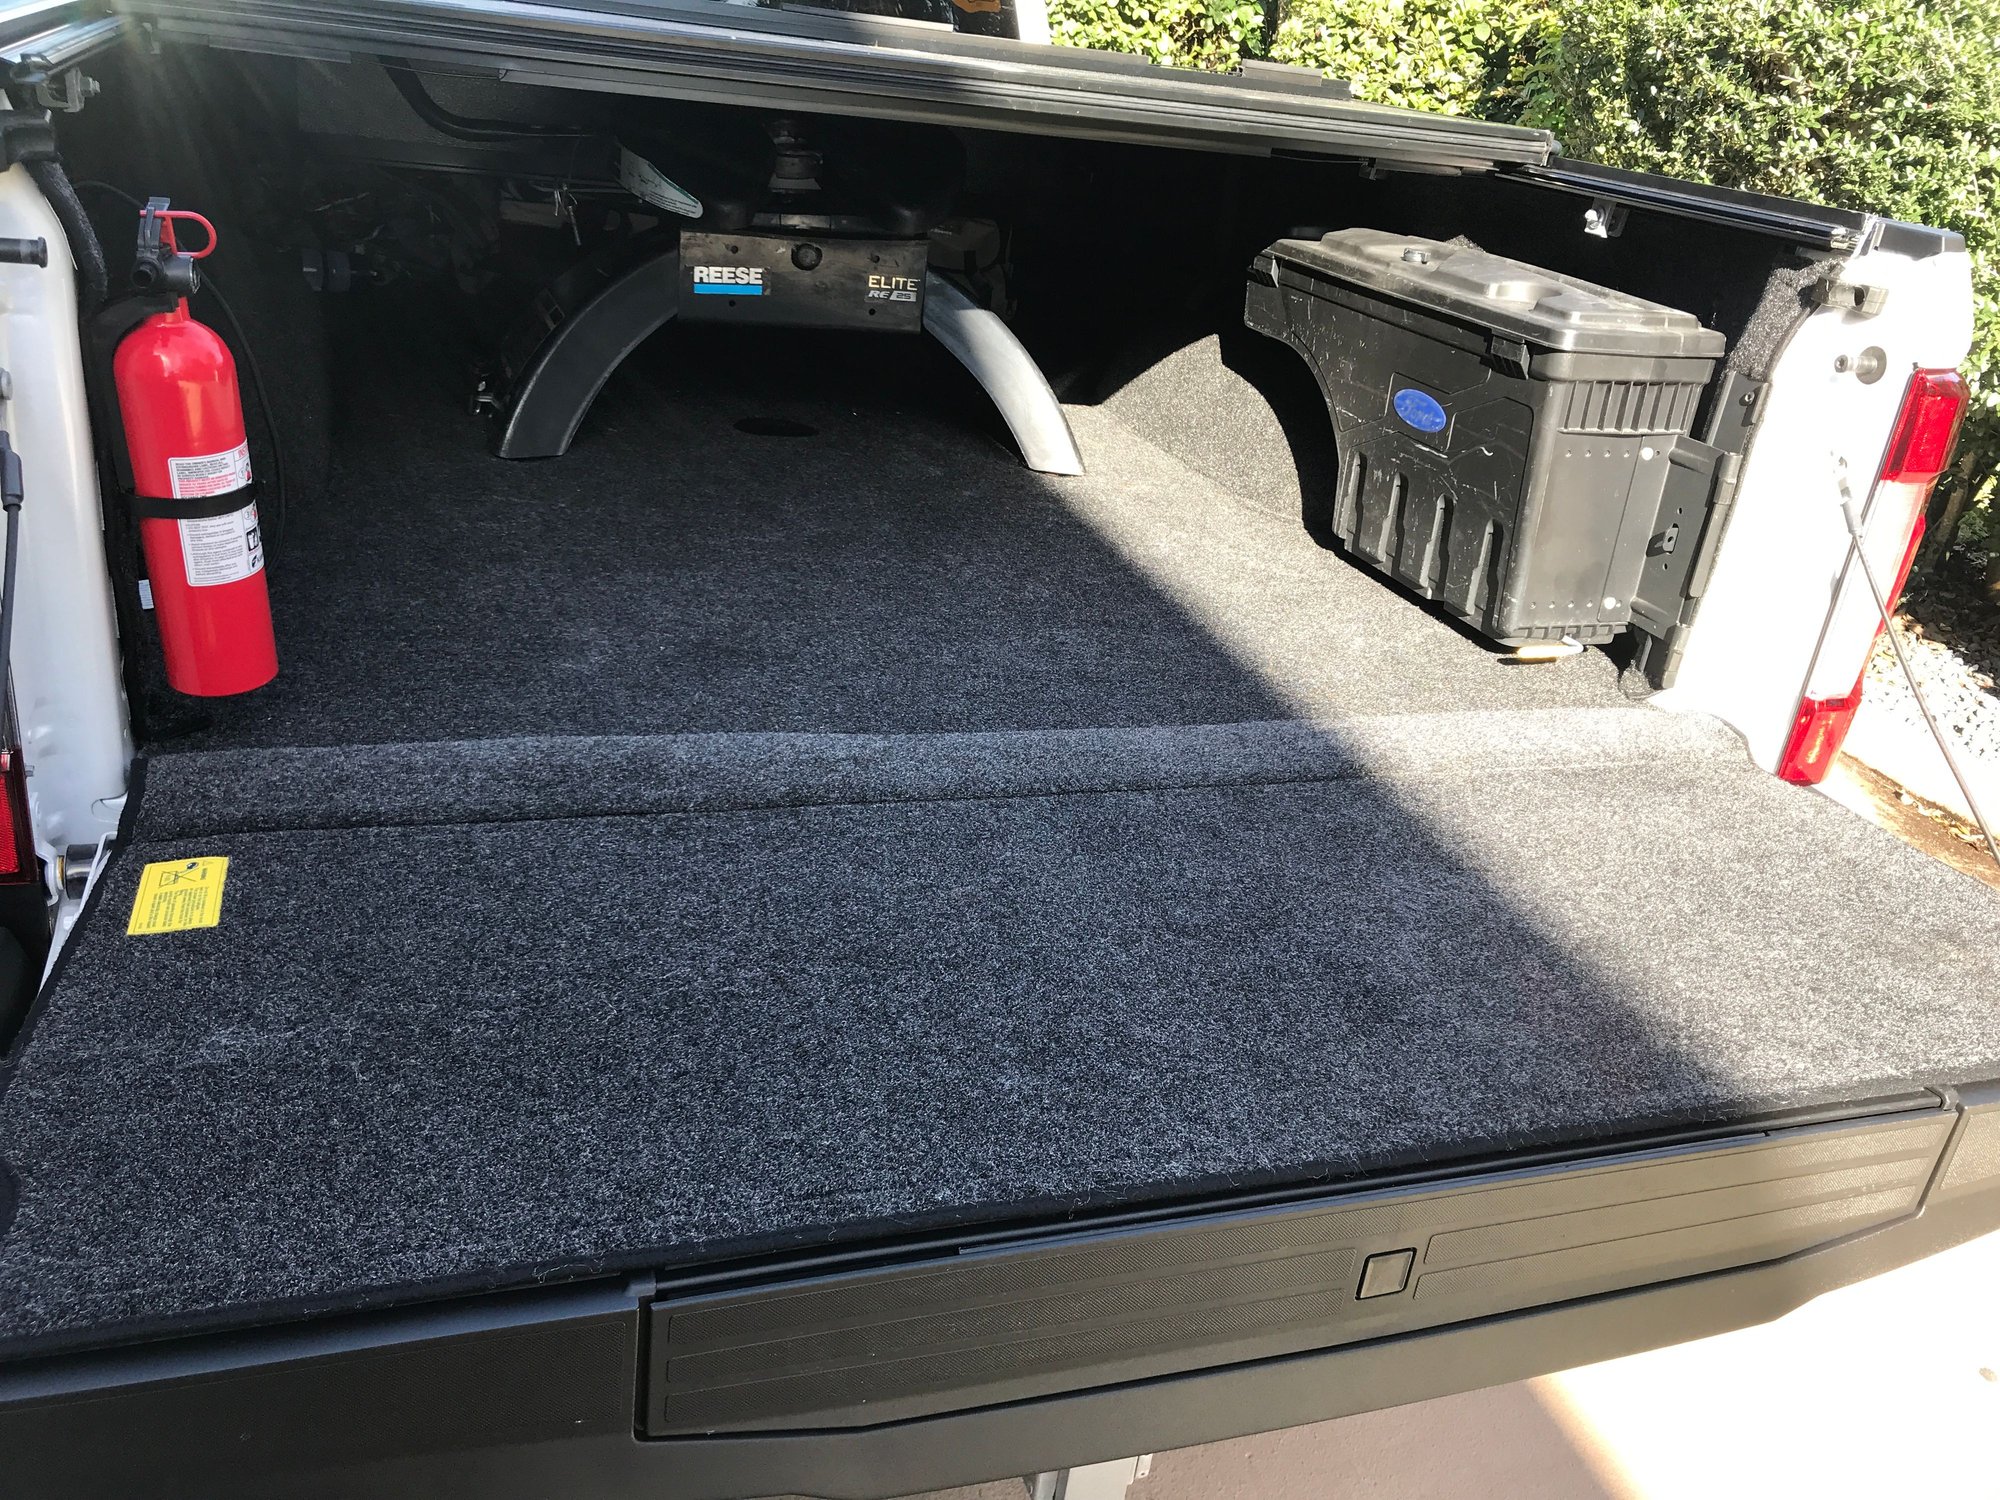
5th wheel w/BedRug
#1
#2

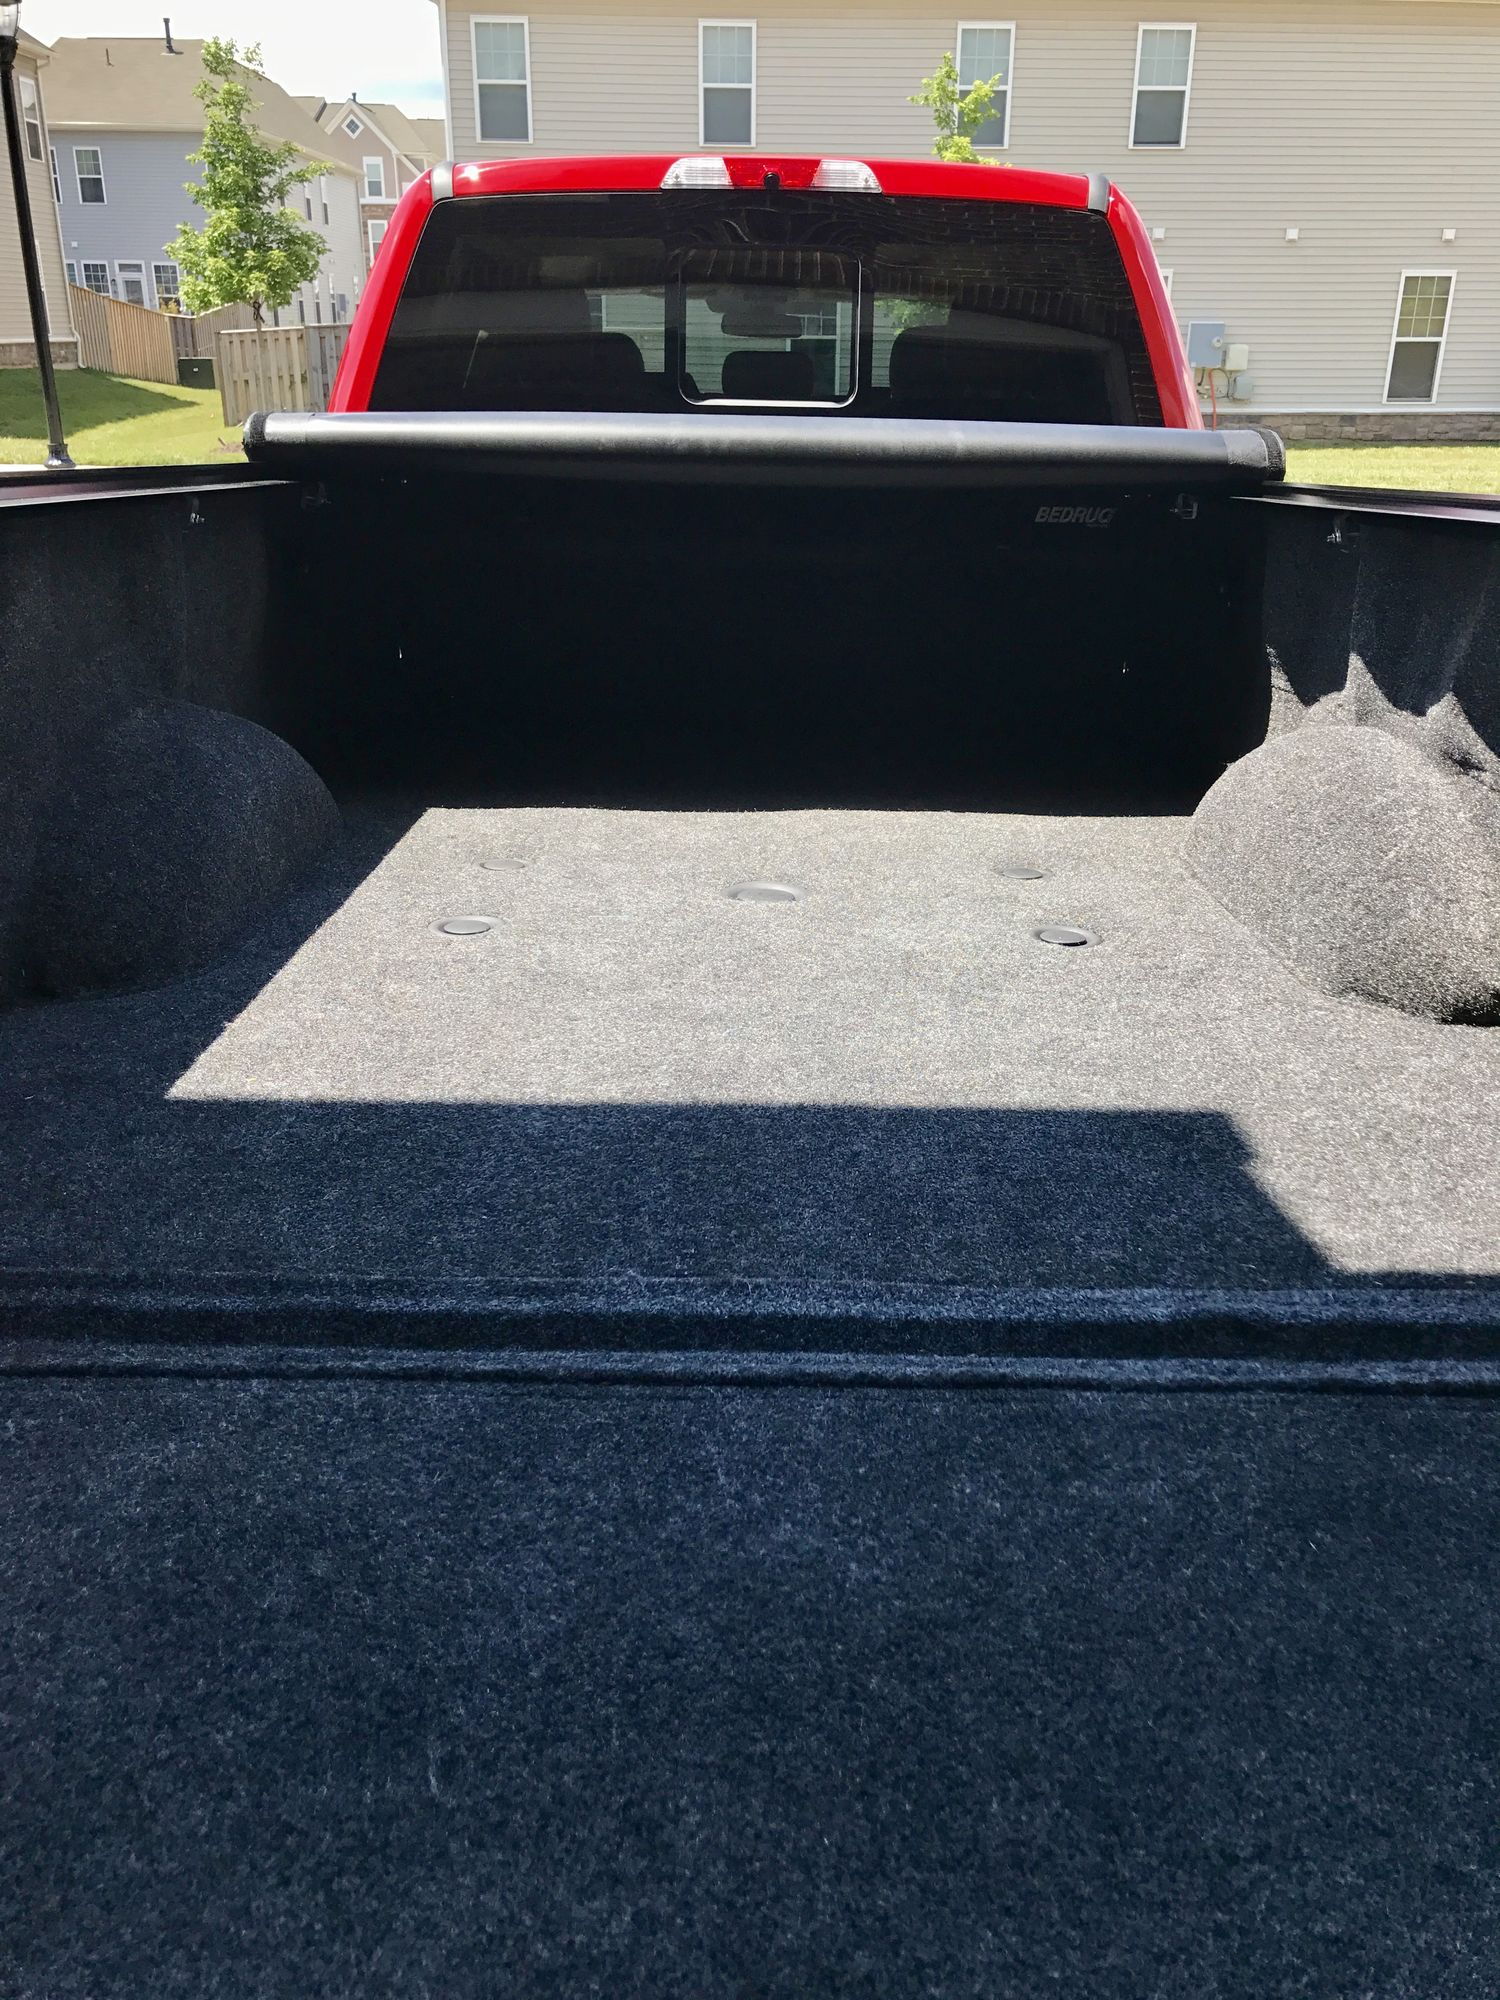
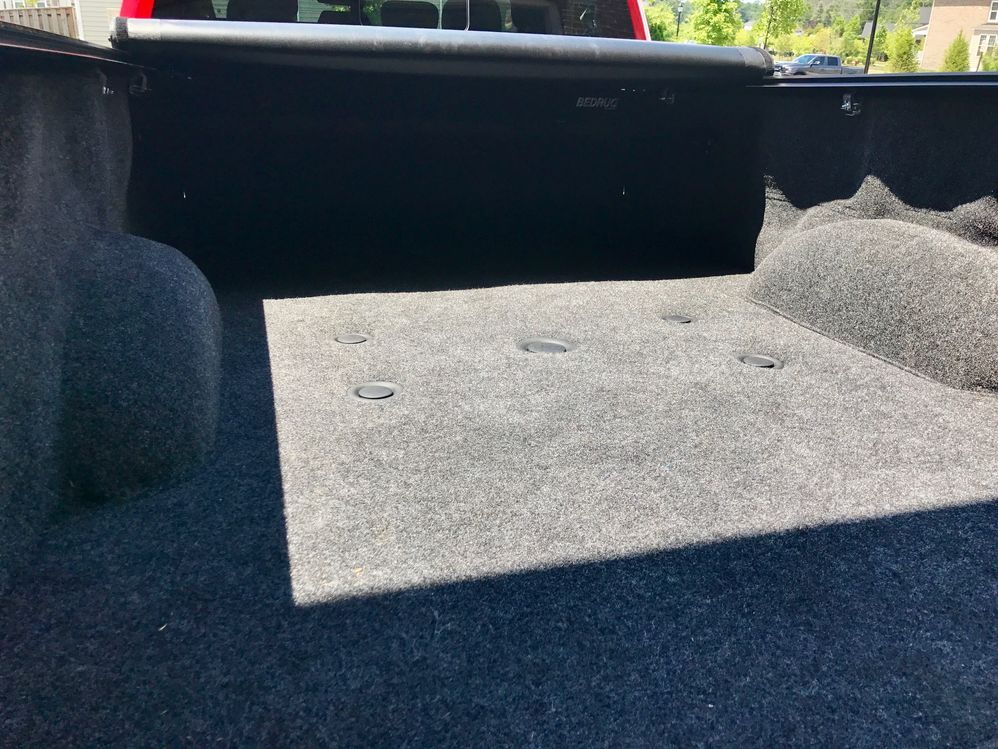
Do you mean like this? It took a little time to trim around the pucks and mold the trim rings so that they seated the way I wanted. I do recommend you let them sit in the sun for a while and get warm and flexible, Trying make to them fit around puck and above the bedrug isnít what they were originally molded for but is doable. Mine have been like this for about year now on my 2017 without any problems.

#4
#5
Nothing super special to doing it except taking your time. The trim rings fill the gap between the puck system and truck bed on our trucks. Before you put in the bed rug remove the trim rings. Install the bed rug per the instructions. Then get a nice sharp cutting tool. I used a xacto knife to cut out the holes for puck system. You want the keep the hole really small much closer to the puck size. Try not get too wide you definitely don’t want the holes as big as the hole in the truck bed. If you go too big the trim rings won’t stay over the bed rug, you will be redirecting the shape of trim rings and that means they won’t cover as much circumference.
The trick with trim rings is to warm them up in the sun till they are very are to very flexible. They naturally have a cup shape that cups down to seal up against the bed floor. Now we want them to be flat or even cup upward a bit so they can still fit the groove on the outside of each puck and up over the over the bed rug. If you don’t warm up the ring to reshape it you never be able to get the inner part of trim ring to go down far enough to meet up with groove on the pucks and stay in the groove. Take your time or you could rip the trim rings. Once you get them seated I would leave the bed in full sun and Install your 5th wheel hitch and/or gooseneck ball. I left my hitch and ball in the truck for couple of days to apply pressure to ensure the trim rings stay the way you want them. Anyways that is what worked for me it’s been trouble free for close to a year and never had problem since I did it.
The trick with trim rings is to warm them up in the sun till they are very are to very flexible. They naturally have a cup shape that cups down to seal up against the bed floor. Now we want them to be flat or even cup upward a bit so they can still fit the groove on the outside of each puck and up over the over the bed rug. If you don’t warm up the ring to reshape it you never be able to get the inner part of trim ring to go down far enough to meet up with groove on the pucks and stay in the groove. Take your time or you could rip the trim rings. Once you get them seated I would leave the bed in full sun and Install your 5th wheel hitch and/or gooseneck ball. I left my hitch and ball in the truck for couple of days to apply pressure to ensure the trim rings stay the way you want them. Anyways that is what worked for me it’s been trouble free for close to a year and never had problem since I did it.
#6
I placed just the rug down and centered it then folded it back to locate a puck, I then placed it back down and used a rubber mallet to hit on top of the puck to mark the foam underneath so I knew exactly where to cut. once you cut the hole, also remove some of the thicker foam underneath that runs in the vanes of the bed to help the rug lay closer to the bed, this helps the trim rings fit easier so the rug is not too thick, about 2-3 inches each direction, flush with the other foam that sits on top of the ridges.
Last edited by Skikrazee; 09-24-2018 at 09:36 PM. Reason: *
#7
I have had my truck a couple weeks with the bedrug in. I did the install just like you guys did, but I am getting water in the bed from the pucks. It has been raining constantly since I picked the truck up, and have been noticing the cardboard boxes I have had in the bed have been getting wet around the pucks. I think the water is coming up through the gap between the bed metal and the pucks. Normally the trim ring would cover that hole, but being on top of the rug, it lets water in. Anybody else having that problem? Iím also getting water in around the tailgate, so Iím going to have to put on a tailgate seal.
Trending Topics
#9
#10
Sorry for re-raising an older article however the search lead me to it. I just finished the puck system and trim rings on my Bedrug for my F250 and even with letting the rings set in 86 degree temps it was difficult, this old man's hands are sore. Just some background as I did things a little different. I set the Bedrug in place on the truck bed and placed a thick piece of plywood large enough to cover all pucks. I then put some weights on the board, about 75 pounds give or take and let it sit all afternoon in 86 degree temperature and over night. Next morning I removed the Bedrug and turned it over and using the Bedrug box as a table located the indentations made by the pucks. Using a 2 1/2" holesaw for the small pucks and covering the arbor bit with duct tape to within 1/4" of the tip to reduce fiber matting I aligned the holesaw just within the indentation and then pressed down hard. I then started the drill which immediately hung but it did make a nice circle on the bottom of the Bedrug. Using an Exacto knife I scored around the circle and then put the holesaw back in place and starting it slowly it drilled the hole. Don't run it to much or you will pull a lot of fibers from the Bedrug. I used a 3 1/2" for the gooseball hole only because I couldn't locate a 3 3/8" one. I also as mentioned before trimmed the thick rug material to the same level as the thinner material about 1/4" around the hole. Put on the bottom strips of Velcro, threw it back it the truck bed and the alignment while not quite perfect worked to get the trim rings on. Looks just like Manos's bed above.
Now I'm back at the end of the truck bed and my question is, while there are a lot of videos around on the installs none really cover how to trim the sidewalls so the lights, trailer plug cover and push button all snap back to the metal. Most videos only show the lights pushed into the Bedrug and I haven't seen anything on the trailer plug or light button. If someone can offer advice or links I would greatly appreciate it.
BTW, this is my second Bedrug as the first install I used the mallet method and it didn't turn out to well but most of the issue with the first rug was with the wheel well mold on the passenger side. It just wanted to lay flat which added wrinkles. It was unacceptable and as has mentioned here by Flyct, Bedrug said send it back. A true customer oriented company who stands by their product. I am just now getting around to the second install because of weather and other job related items (possible retirement).
Thanks,
Rich
Last edited by StormRyder; 08-05-2019 at 05:32 PM. Reason: change wording
The following users liked this post:
Thread
Thread Starter
Forum
Replies
Last Post
Howard5091
1980 - 1986 Bullnose F100, F150 & Larger F-Series Trucks
17
03-03-2021 09:57 PM
coreyallan01
1994.5 - 1997 7.3L Power Stroke Diesel
11
10-25-2015 12:51 PM


