When you click on links to various merchants on this site and make a purchase, this can result in this site earning a commission. Affiliate programs and affiliations include, but are not limited to, the eBay Partner Network.
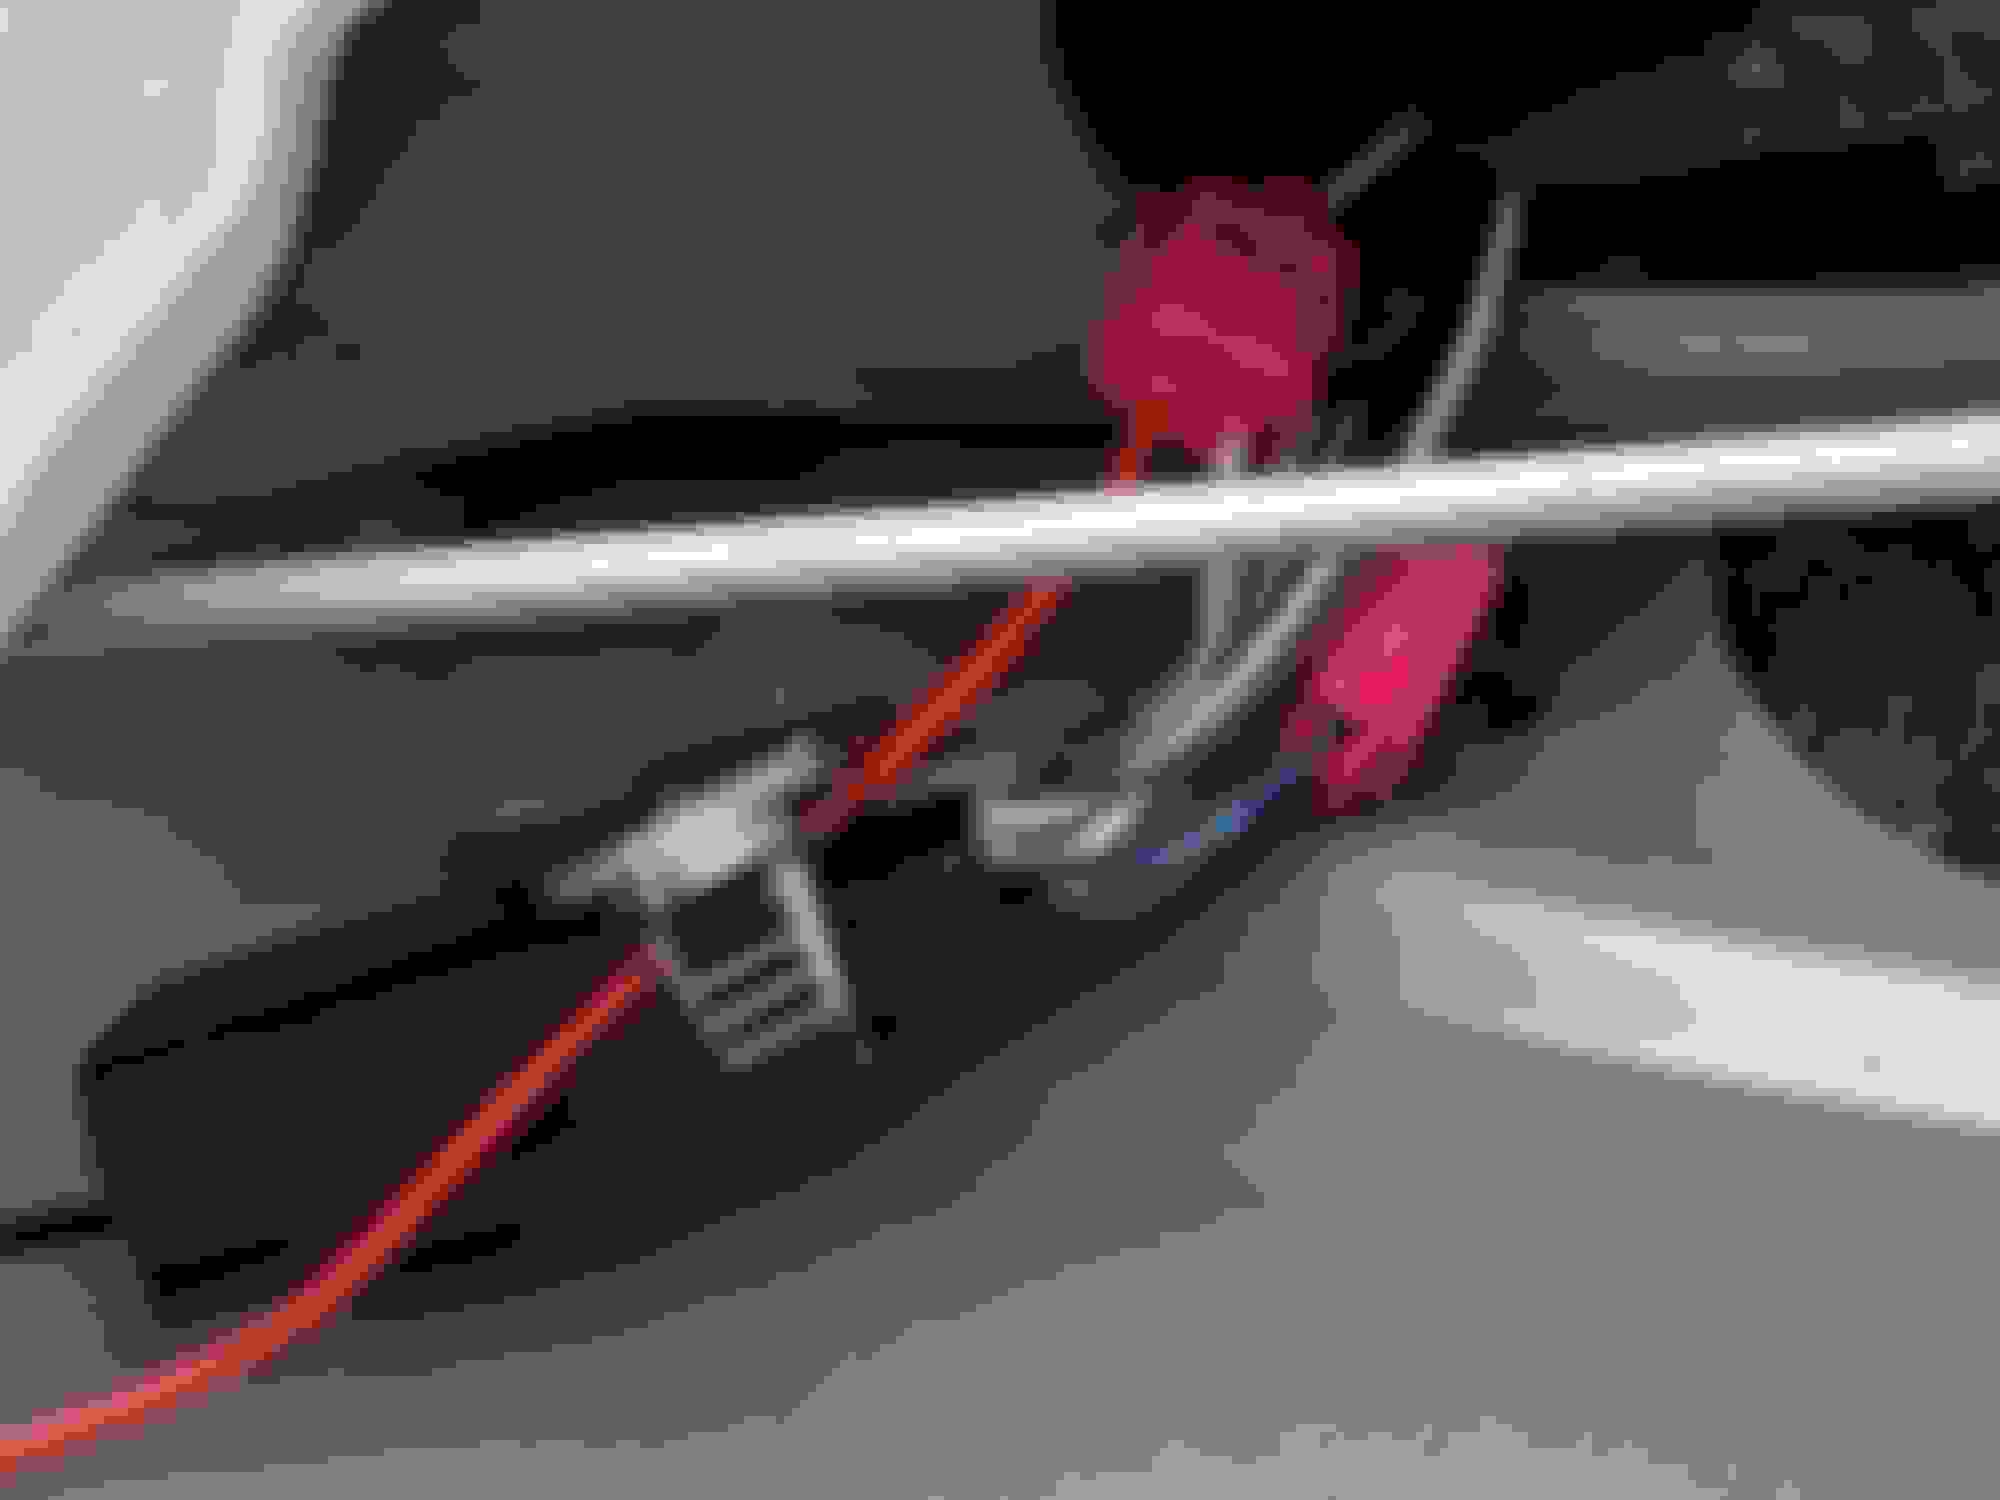
I learned that the necessary wires in the 12 pin connector are the blue/grey and white wires on the incoming side of the connector, which are blank spots on the outgoing side of the connector. I took off the cover plate on the inside of the tailgate (8 torx screws, size T25), which exposes the inside of the tailgate. I disconnected the 12 pin connector, and the 2 pin connector that goes to the power lock mechanism. I then disconnected the plastic tabs that hold the wire harness to the tailgate, and then pulled the wire harness down through the bottom of the tailgate, giving me ample room to work on the wire harness. I stripped back the wire loom on the incoming side, exposing the blue/grey and white wires. I used a volt meter to determine that the white wire is positive, and the blue/grey wire is negative. I then tapped into them with small red wire taps (see pics).
I then removed the tailgate latch/handle assembly, which included 4 10mm nuts, green plastic thingy from outside latch to inside mechanism (not in pic), and depressing two white plastic tabs. I took the assembly to the work bench. I had purchased this set of 23mm running/marker lights from Amazon:
I had already bench tested the lights to make sure they work. I then drilled two holes on the bottom side of the latch/handle assembly (see pics) for the lights. I wanted two, so I did two, one on each side of the bottom of the assembly.
After mounting the lights, I put the assembly back in the tailgate. I then ran the wires so that none of them would interfere with any of the lock and handle mechanisms, and zip tied them out of the way. I connected the new wires to the wires I tapped on the 12 pin connector. Re-connected everything and tested it out...works like a champ! They even dim off like the puddle lights. Then just put everything back together in the reverse order (4 10mm nuts, green plastic thingy from outside latch to inside mechanism, 8 torx screws). Here's some after pictures, I'll take some more tonight when I can see how they shine on the ground/bumper. You can't hardly tell they're there since they're mounted on the bottom side.
Total cost was about $15.00. Set of 10 lights was $12.69 from Amazon (I only used 2). I already had the wire taps, extra wire, and wire connectors, but I figure a couple bucks for that stuff. I took me a couple of hours, but mainly because I was looking for a cleaner way to connect to the blue/grey and white wires at the 12 pin connector, without using wire taps. I just gave up and used the wire taps, as they are well protected inside the tailgate anyway.
You could use any type of light you want, just get creative and see what fits, there is a lot of room behind the handle assembly. This could be a cheap mod, especially if you have some of these items already. With the remaining 8 lights, I'm thinking of putting them in the bed for extra cargo lights, or maybe putting some around the front grill as front puddle lights. Hopefully someone finds this information useful.
Awesome execution. I identified those two wires early on but never got around to adding the light. Was planning on going factory but I love what you did with the dual lights. I think I'll borrow that idea! Can't wait to see night pictures.
I'm glad I used two lights instead of one. They are bright, but I like the brightness and look of two. The lights I used have a more bluish tint than the factory cargo and puddle lights, but I can live with it. The two lights aren't quite as bright as the factory puddle lights, but plenty bright. I think the two lights combined are brighter than the Ford trailer hook-up light (have one on my work truck). Here's some night pics, taken with a Google Pixel 3 XL, on night site function.
Looks very nice, you did a good job. I did this last summer on mine too, only mine is mounted on the angled part looking down at a 45* angle, then powered by an upfitter switch.
Thanks for all the kind comments. Hopefully someone can copy the idea or use some of this information.
Originally Posted by landman873
You did so well till you used scotchlocks. Worst invention ever and i can't believe they still use them.
Yeah, I know. I don't like using them either, but I didn't have the appropriate crimp-on connector thingies to add two terminals to the 12 pin connector, and I figured since those wires terminate at that 12 pin connector I would just go ahead and use the scotchlocks to test it out. I had spent an hour or so taking the 12 pin connector apart and trying to add terminals to it, I just wanted to get it over with and go on to the next honey-do. It worked, so I'll leave it. If they fail in the future, I'll go back and do it different. I agree though, it's not the best solution.
This post finally motivated me to get some parts of my own on order. I've got some Molex pins coming in so I can pin out the tailgate side connector for the light wires and then a pair each of warm white and neutral white LED Bolt lights, that way I can see which color temp is closest to the OEM color. I'm excited!
Rezvani's Latest Post-Apocalyptic Monster Is a Ford F-150 Raptor Underneath
Slideshow: Called the Fortress, the 850-horsepower pickup combines Raptor underpinnings with military-inspired features, survival equipment, and a starting price of $285,000.


 but my truck came with the light.


 Then just put everything back together in the reverse order (4 10mm nuts, green plastic thingy from outside latch to inside mechanism, 8 torx screws). Here's some after pictures, I'll take some more tonight when I can see how they shine on the ground/bumper. You can't hardly tell they're there since they're mounted on the bottom side.


