When you click on links to various merchants on this site and make a purchase, this can result in this site earning a commission. Affiliate programs and affiliations include, but are not limited to, the eBay Partner Network.
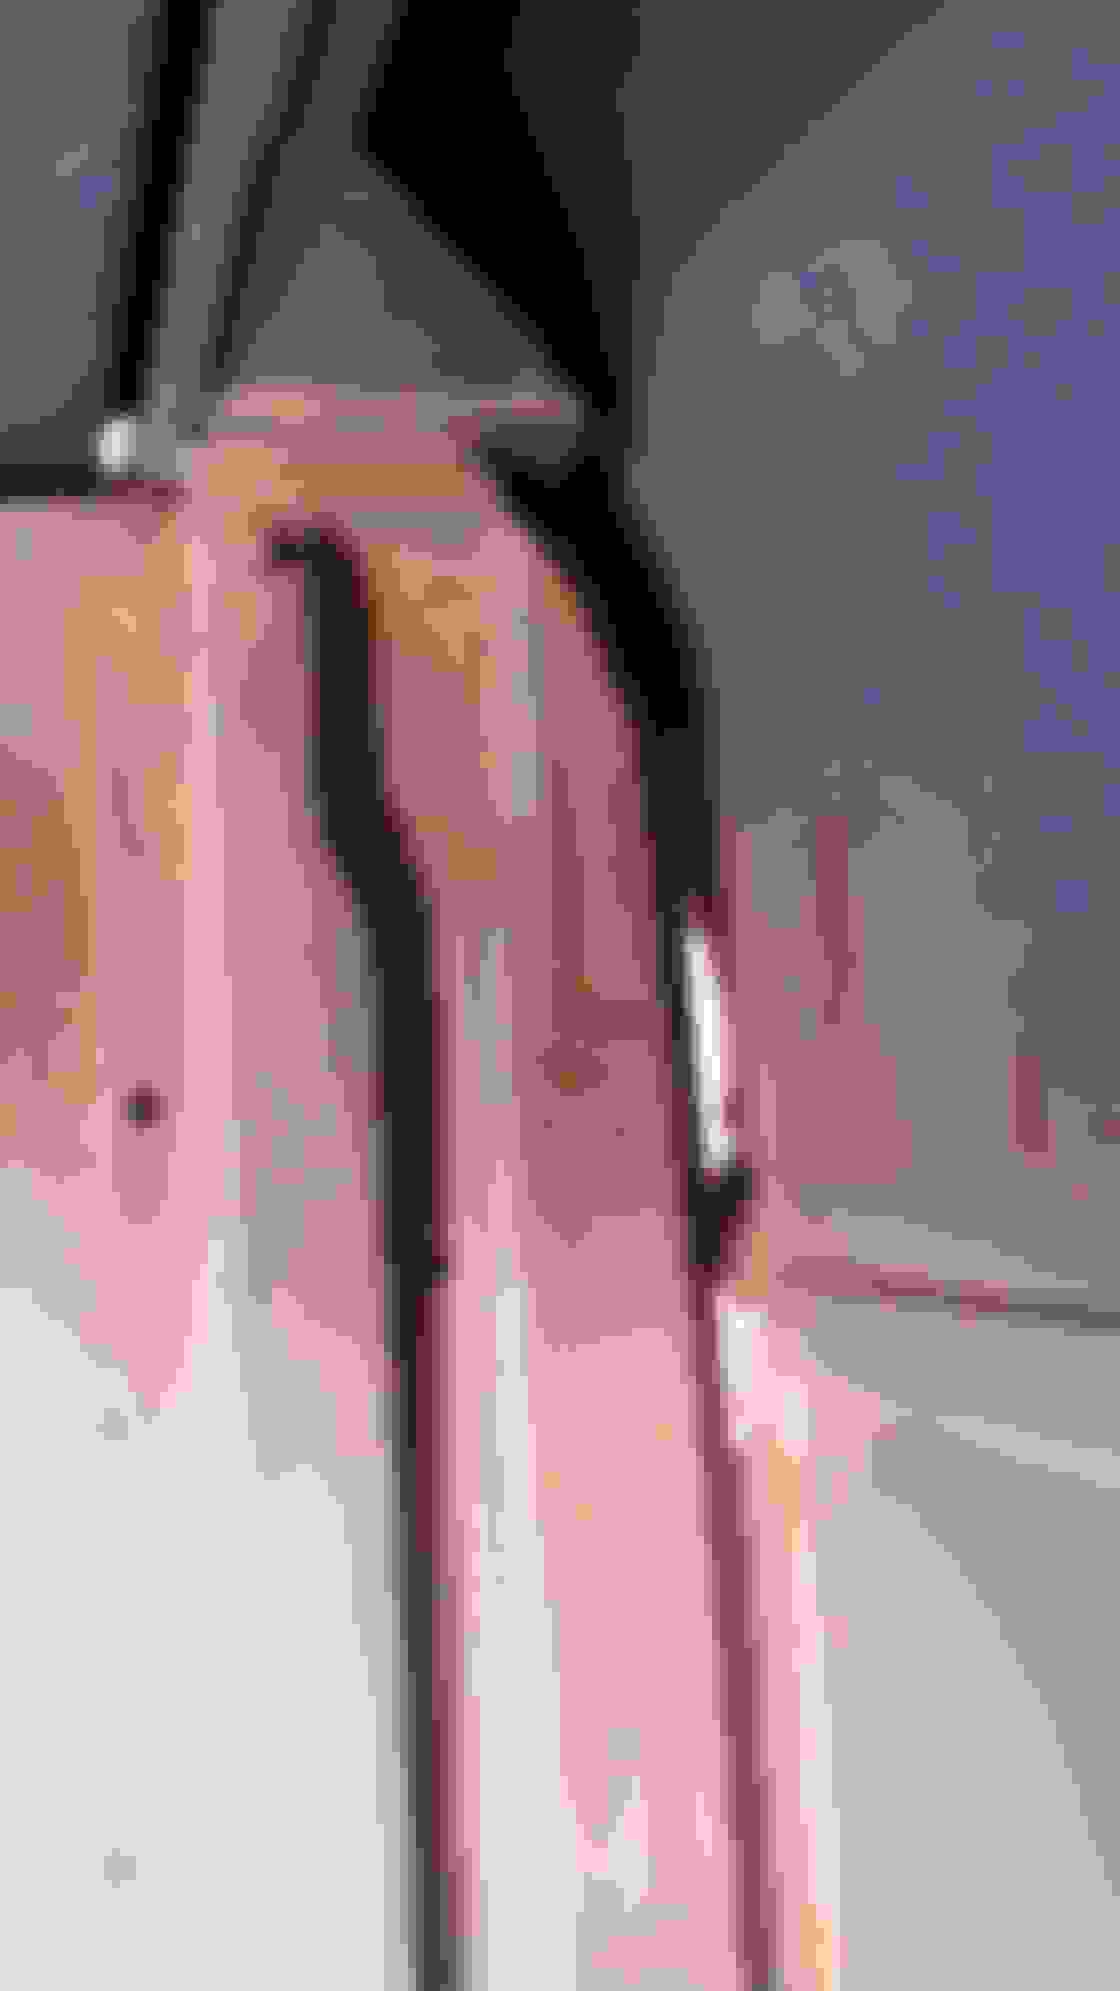
Has anyone taken car of rust in the lower center section of the rear of the cab? I have some issues there and dont think anyone has patch panels for that area.
The wall at the back of the cab. I just noticed mine has issues there last night. I am disassembling everything right now getting ready to blast and epoxy primer before I begin the metal repair. I can take a picture tonight and post it after I get home.
Thanks!
Jeff
Last edited by jmartin99; Sep 6, 2017 at 02:48 PM.
Reason: rewording
I hand formed a replacement out of 18 gage steel, forming it using homehade forms and body hammers. I have a few pictures of the process, and will try to post them.
The process was pretty straightforward. I laid out reference lines on the cab before I cut anything, and placed these lines about 4" to 6" away from where I would be cutting. I laid out cut lines, then cut it open and removed the rotted section,m saving it to use as a pattern for the new part. As my floor was shot as well, I used the old section of floor as a pattern for the new section.
Basically, it just took time, a lot of measuring, some layout, more measuring, more time, some cutting, some hammering, a little more time, and some welding before it was complete. Did I mention that it took a bit of time?
Although these pictures don't cover every detail, I think they are enough to give you the idea.
As you said-you can buy pretty much all of the sheet metal except for the bottom back of the cab, so that will save you a lot of time. Of course, doing it yourself saves money (if you value your time at, say, $1.00 per hour).
LMC Front Floor Installed
Old Floor with Support Removed, New Cut and Formed Floor in Background
Back of Cab from Inside.
Cut Line and Reference Line at Cab Corner.
Close Up of Reference Lines and Notes at Cab Bottom.
Cut Line and Reference Line at Cab Lower Back.
Back of Cab Opened Up.
Close Up of Reference Lines and Notes at Cab Bottom.
Transferring Layout Lines from Original Floor to New Sheet Metal.
Thanks Hulley! Pics would be awesome! That is something I am also going to do during this build is take my time!! I need to as I am going to slowly put money towards the build! I really want to be slow and meticulous so I can be very proud of the outcome! I am my own worst critic in everything I make or repair. I always know where the screw-ups are! LOL
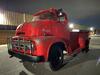
Here are pics of what I am talking about. The pics were taken after dark but you can still see the rust. I am sure it will be worse after it is blasted!
Jeff
Last edited by jmartin99; Sep 6, 2017 at 08:50 PM.
Reason: added pics
Hulley! That is awesome work! Thanks for sharing! I think the hardest part is going to be matching the ribs that extend down the cab.
Jeff
I formed those second; first I formed the 90* bend. There was too much sheet metal when I formed the ribs, so I laid them out, cut a slit through the steel at the bottom of where the ribs would end and a cross slit so the excess steel would have somewhere to go, them hammered the recesses in a form. This left 2 "ears" and an opening where the recess meets the bottom. I cut the "ears" off, welded the opening, and ground it all smooth. Then I finished forming and shaping the section of patch.
The description sounds a bit confusing, but it should make sense once you have your patch panel and the rotted section in front of you.
Hulley! That is awesome work! Thanks for sharing! I think the hardest part is going to be matching the ribs that extend down the cab.
Jeff
You don't see that area of the cab so if you are not that particular no one will ever see it once the box is on, but it can be done if you take your time...