When you click on links to various merchants on this site and make a purchase, this can result in this site earning a commission. Affiliate programs and affiliations include, but are not limited to, the eBay Partner Network.
First time setting the engine this past weekend and got the rest of the interior out.
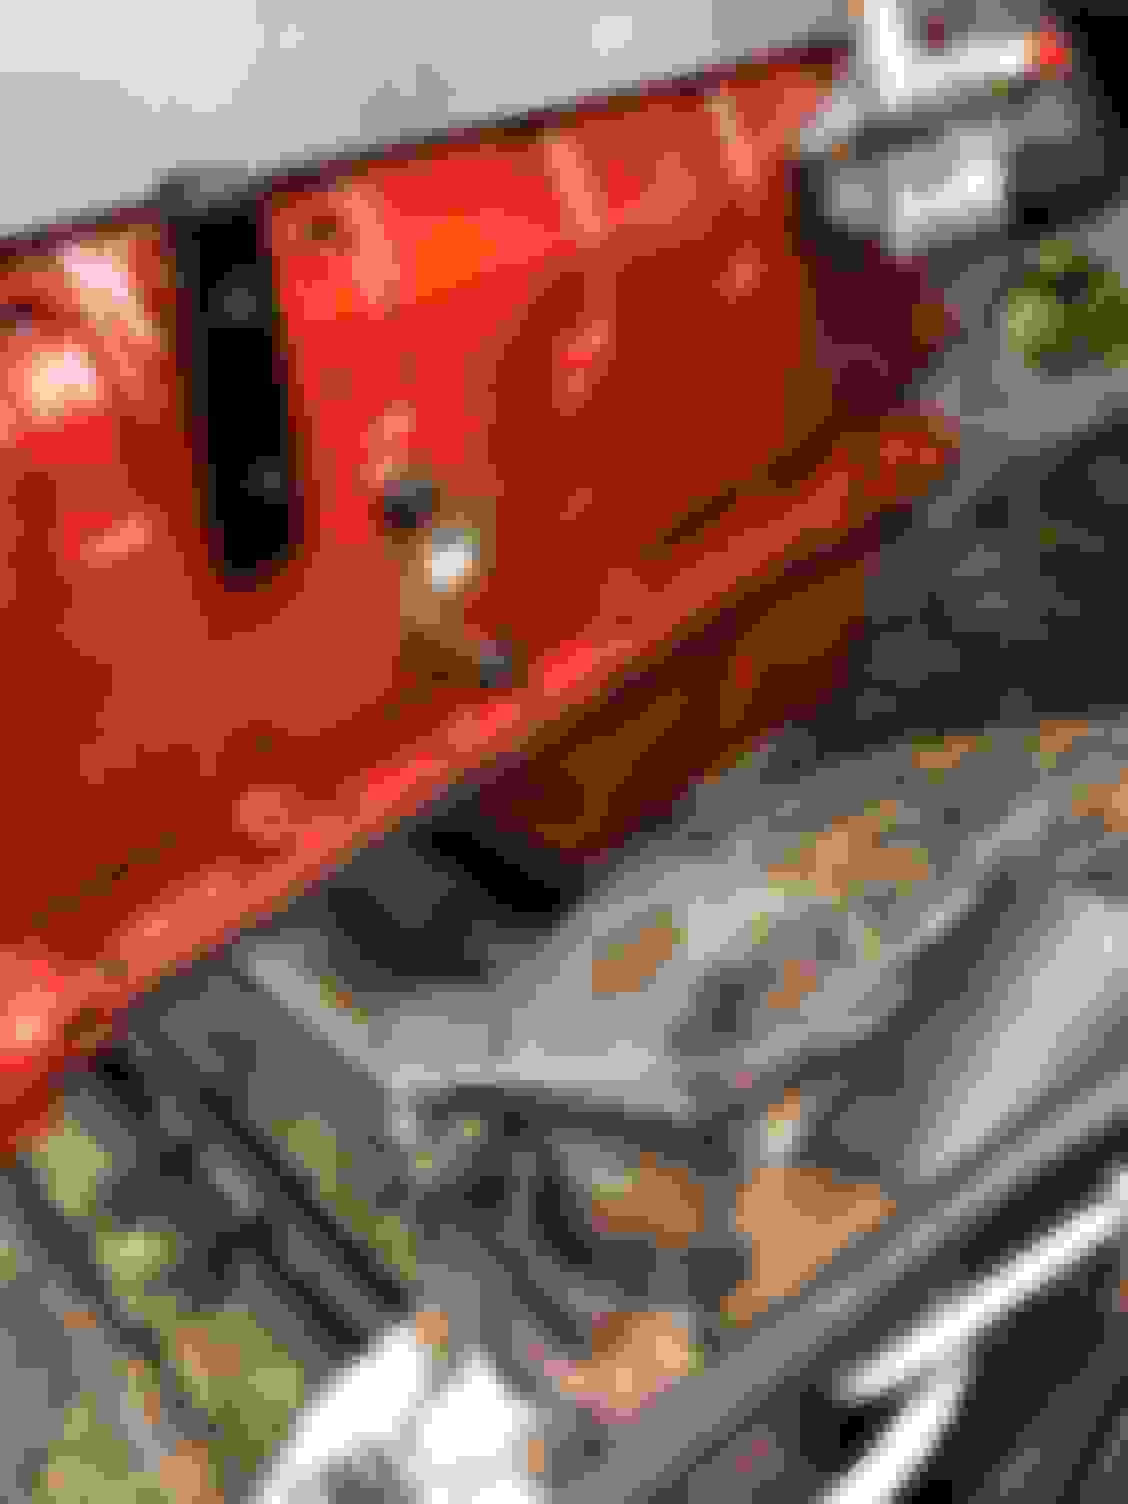
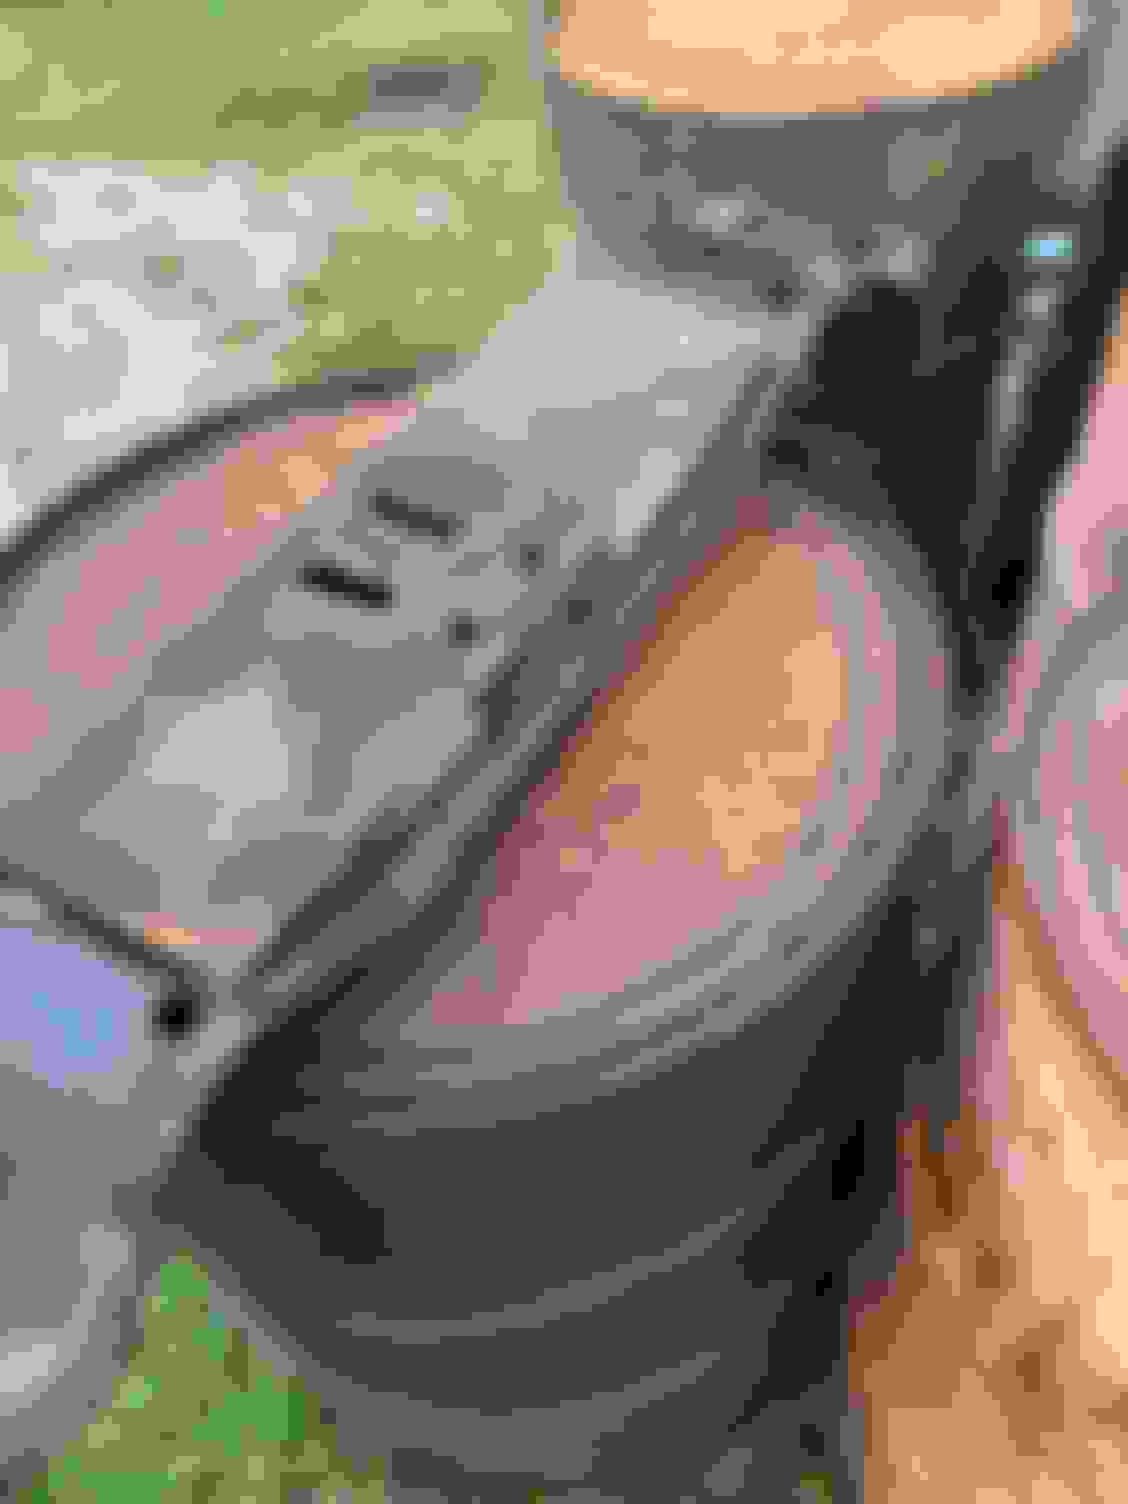
The 6BT has several different oil pans. The one I have is from an RV, so the sump is shallower and longer than the Dodge version. I could have gotten a Dodge style pan, but decided to use what I had. Thant meant, I had to do some crossmember work. Not ideal, but after looking at it, shouldn't be an issue (other than the fact that I cut it, which I don't particularly care for). If, after it all goes back together I still don't like it, I'll fab up a piece that goes under or in front of the oil pan. The crossmember is super stout and is made of at lease 1/4" material. I don't think I'll have issues. I know, I know. Why hack up your X?!?!?! I'm a firm believer in using what you got and making it work. This is one way to make it work with what you have. If I thought for a second that I'd have structural issues, I don't think I would have done it, even with the thought that I can put something back if I feel the need. Hopefully that makes a lick of sense.
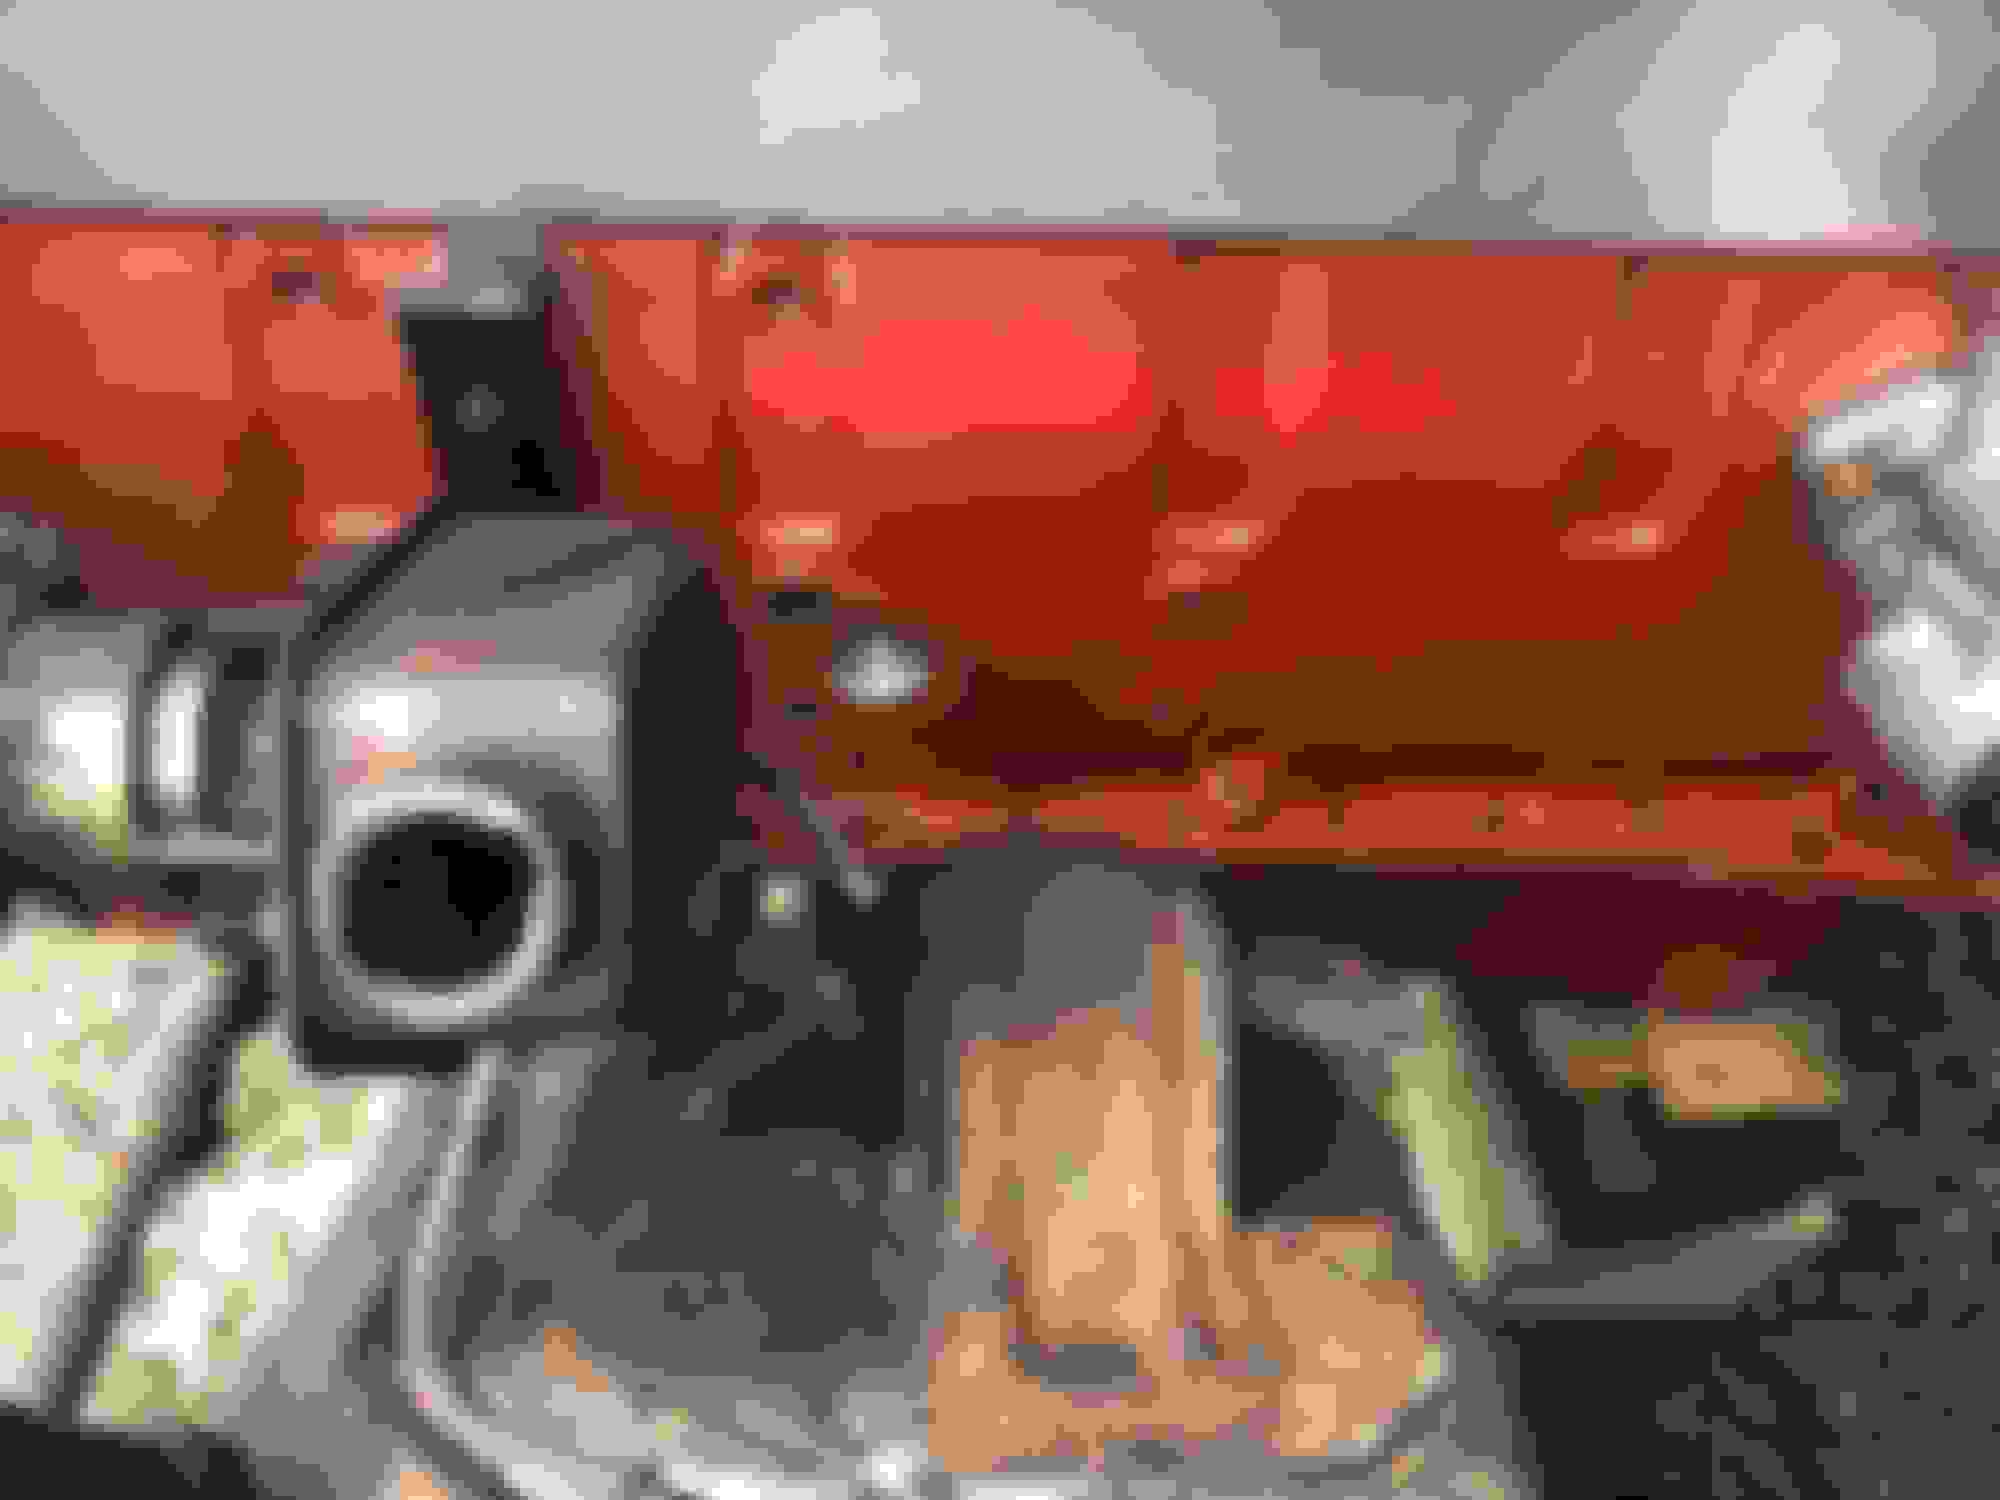
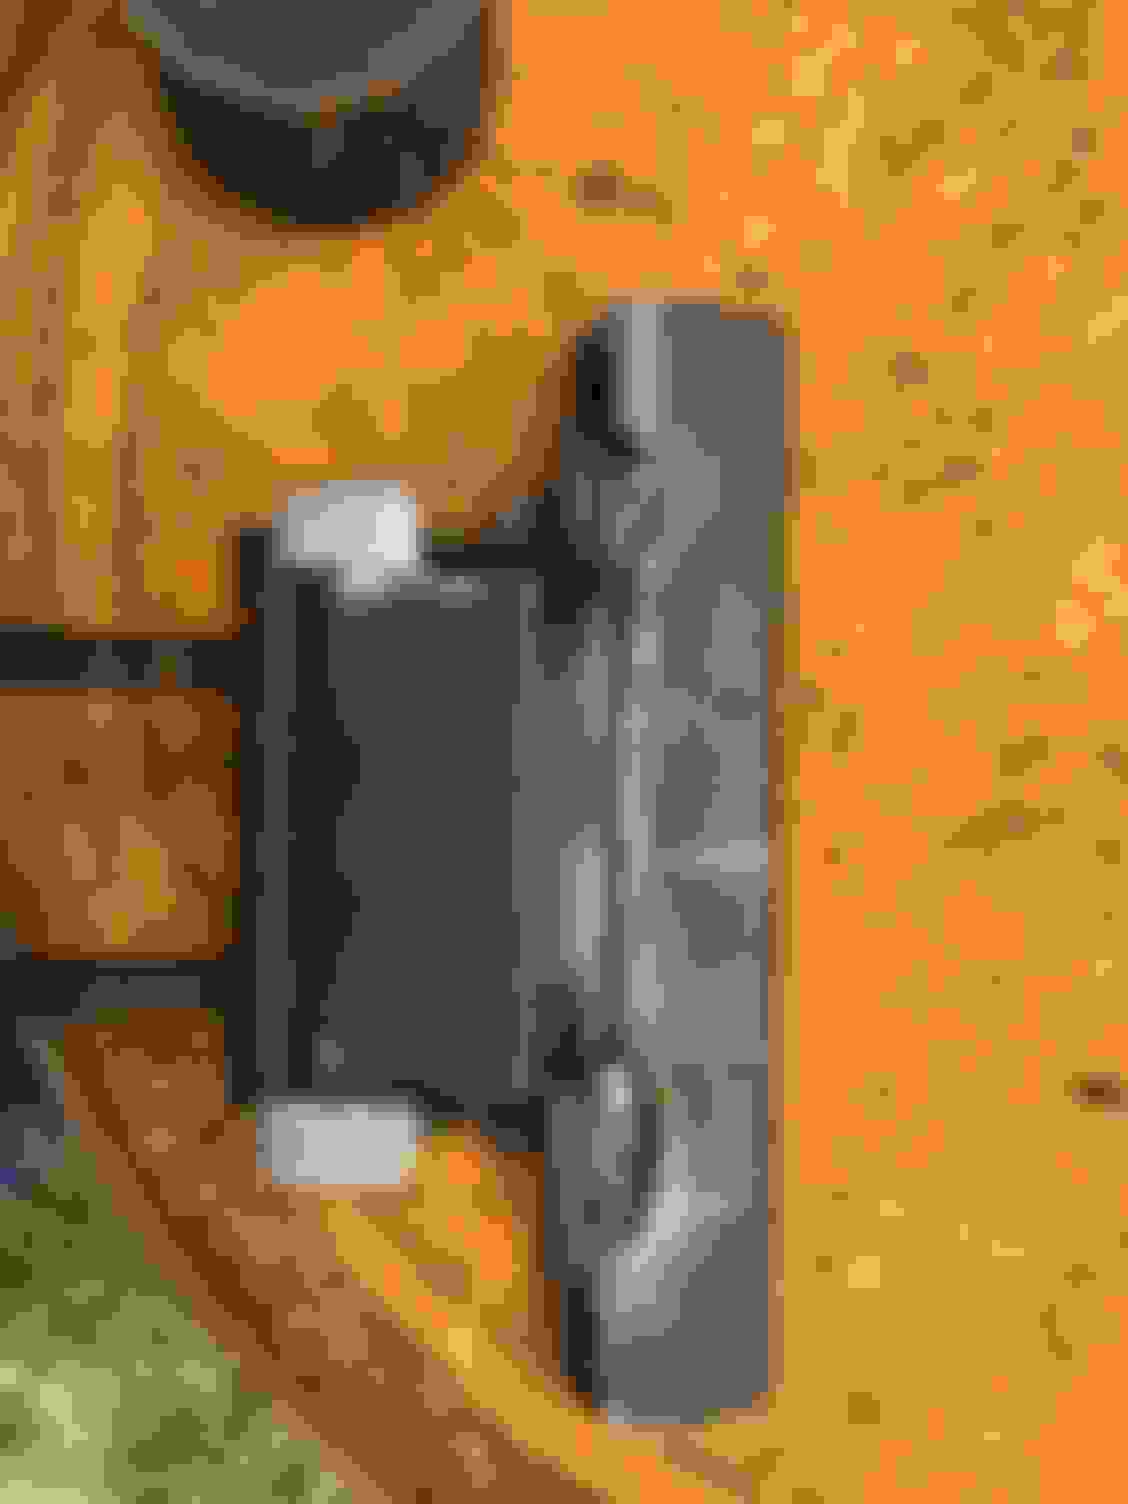
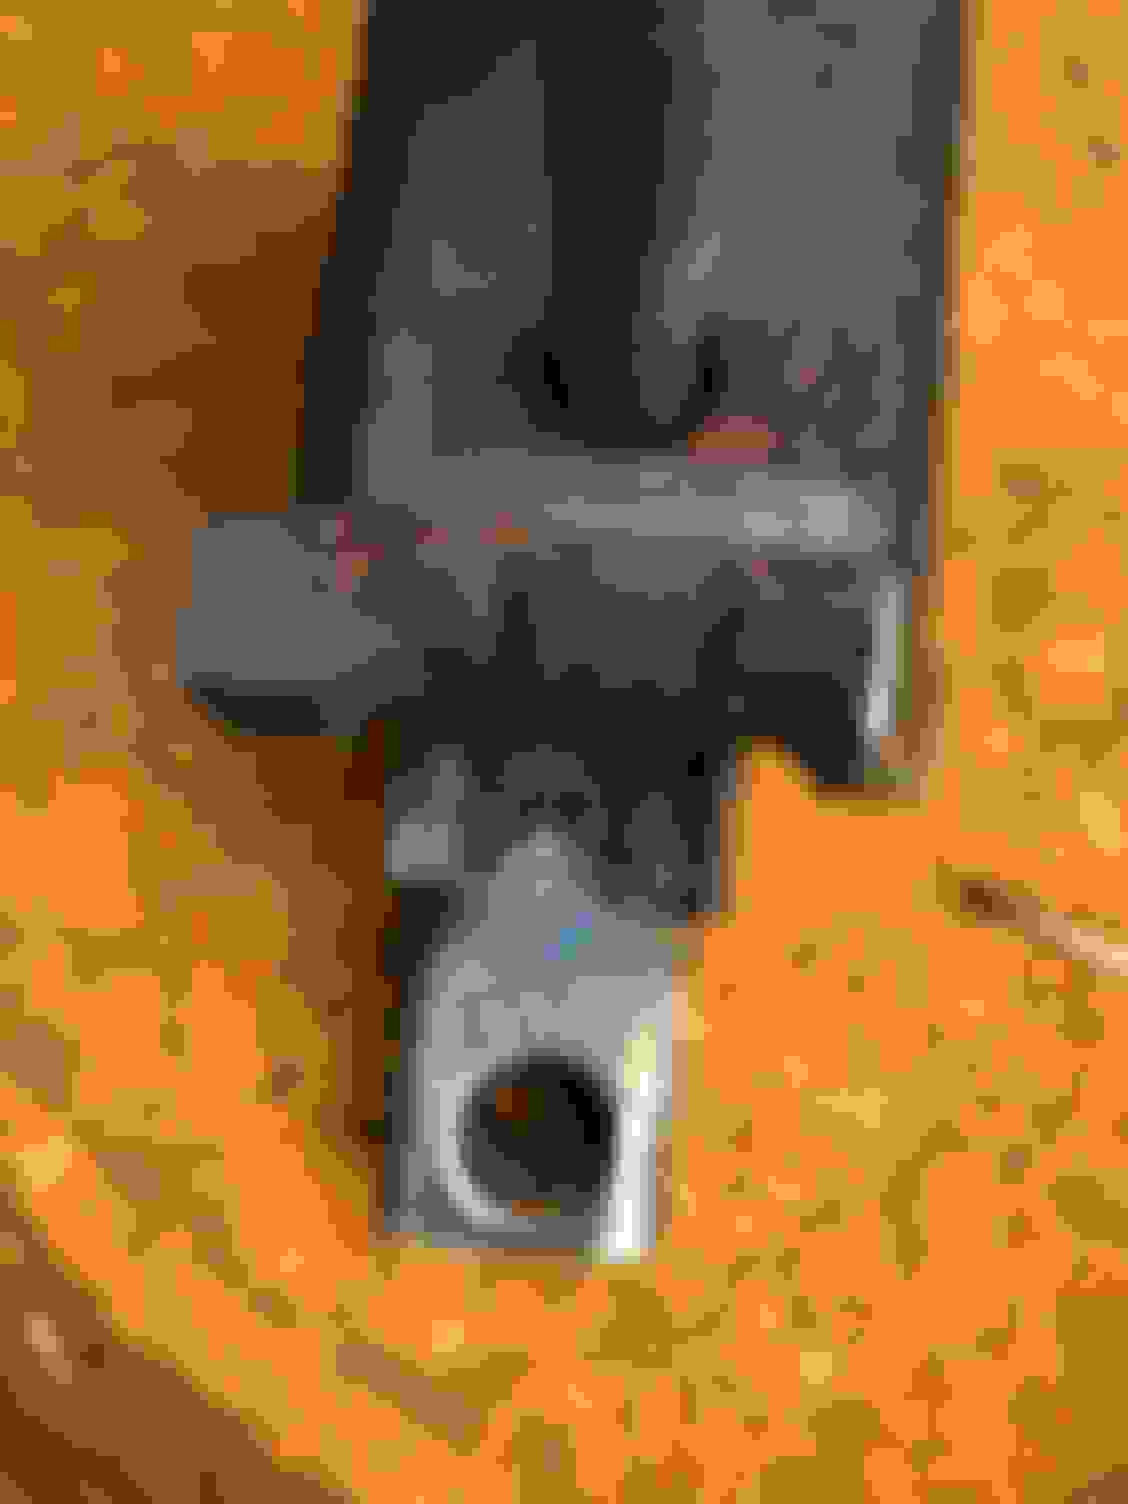
At any rate, cut the crossmember, cut the heater pipe along the firewall as I won't be using the 6.0 degas bottle and removed the bracket for the degas bottle. Also temporarily removed the insulation along the top most portion of the firewall to keep from destroying it during the many install and removals of the engine. Along the lines of "use what you have", and after looking heavily at the 6.0 motor mounts, I'm not super sure why folks don't use them. The bases bolt to the crossmember nicely (removable!!) and the cast pieces that bolt to the engine come off of the base mount as well. I originally wanted to use the whole mount, but clearance issues preclude me from doing that with the Dodge PS/Vac pump lines that come off the back. I ended up removing part of the flange and will weld in a piece. Essentially, I'll end up with a plate on the side of the block (4 bolts), to an angled piece connected to another plate, that bolts to the Ford mounts. The parts of the mount should be removable, and therefore serviceable. Especially the rubber portion of the From mount, if that ever happens.
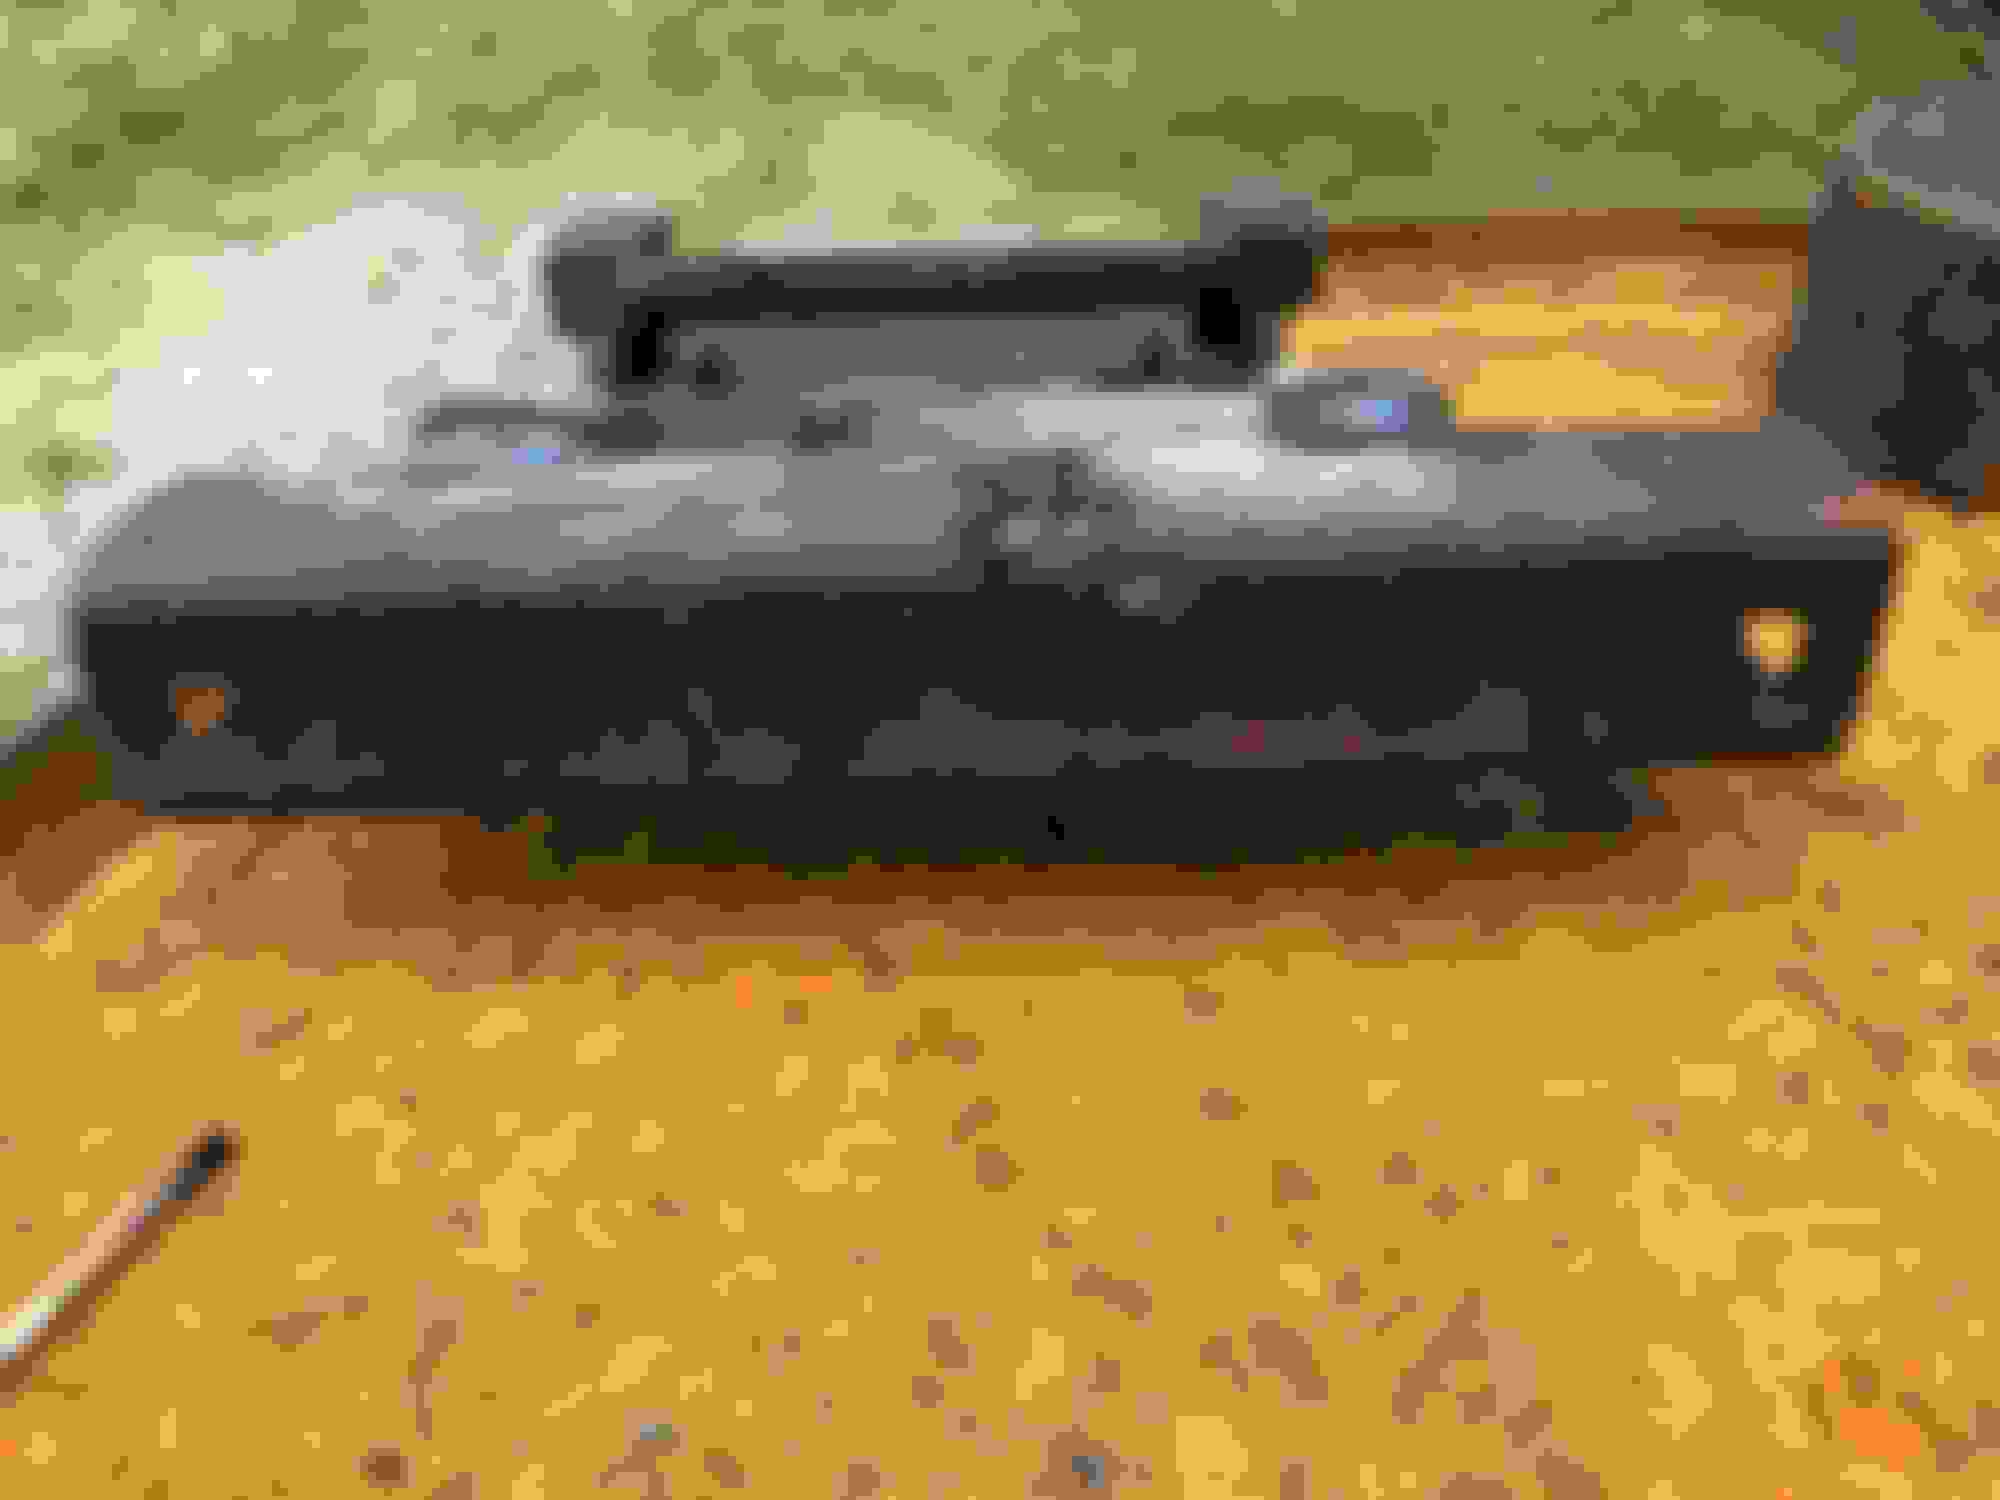
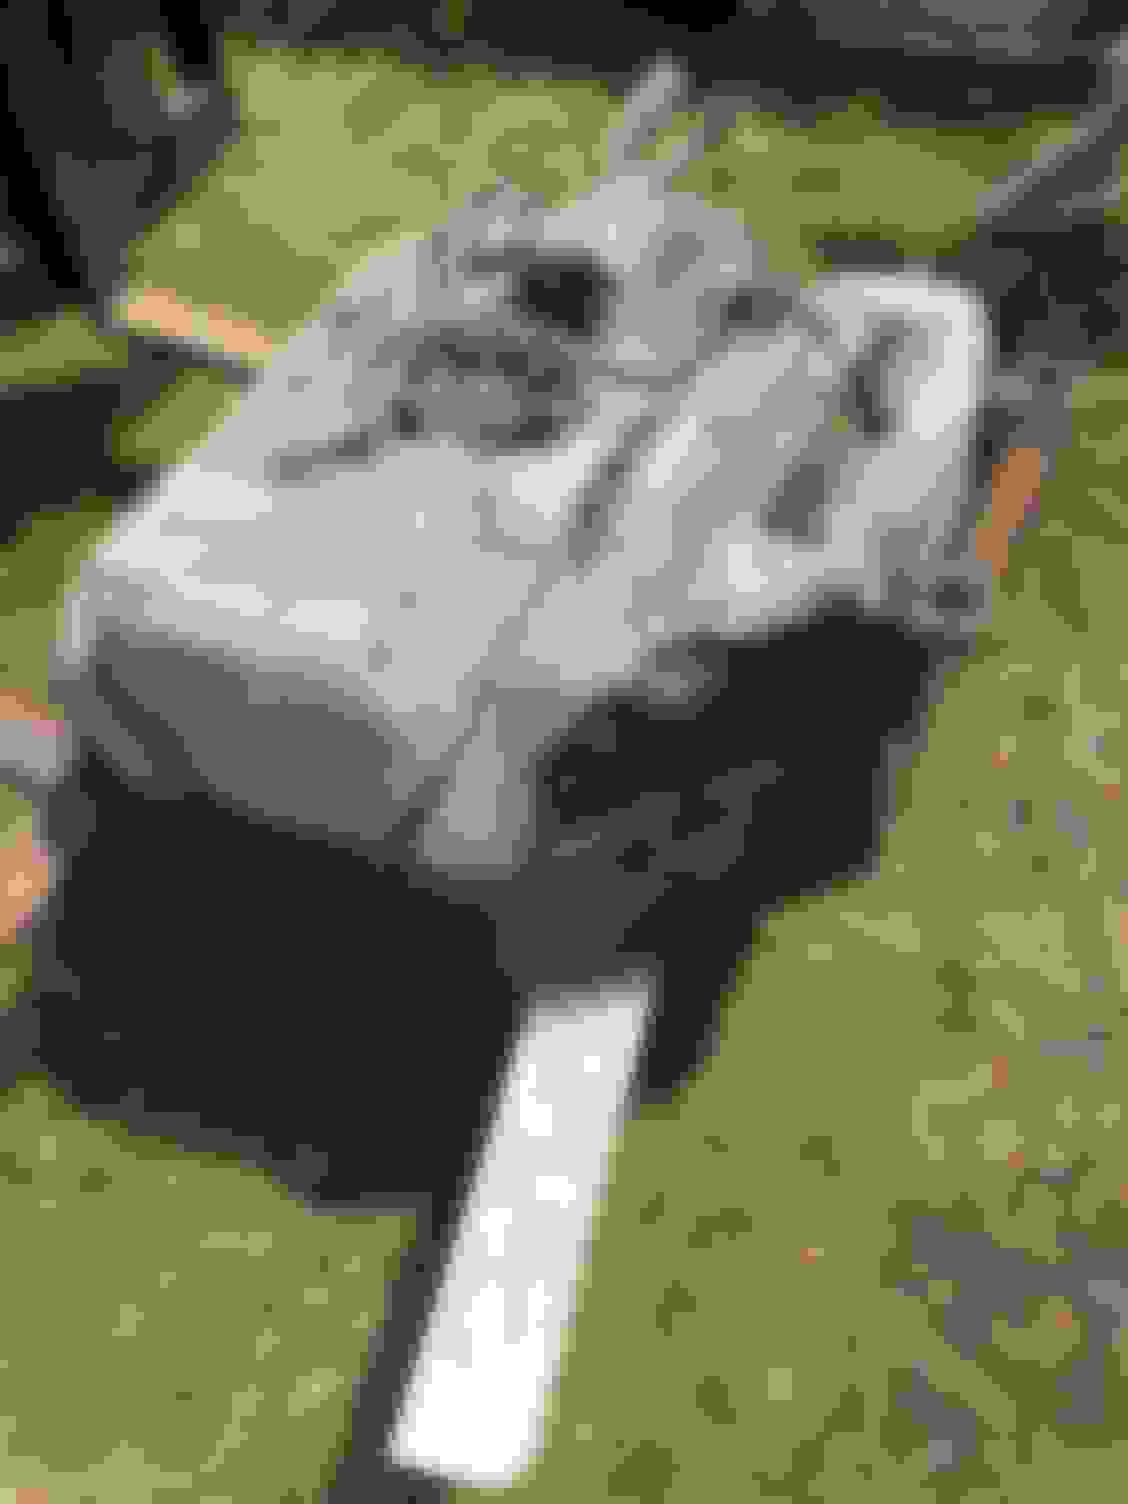
Still LOTS of work to do, but I left Clifford with a new motor sitting in place (on blocks) until next weekend. Next up is actually fabricating the mounts, but I want to hang the trans on the back of the motor to make SURE that I have everything in place, centered, level, and positioned correctly for the fan and radiator. Suffice it to say, compared to the 6.0, there's soooo much more room for activities!! Had to route the chain around the back due to clearance issues. One of the first sets. It was super tight until I got the crossmember cut. Not quite enough room back there
Battled the rain this past weekend, and my mouth. Apparently I'm not holding it right.
Got the input shaft changed on the NP273 to fit the G56. Picked up a couple seals for the transfer case assembly as well. Had to destroy them in order to take parts out of the transfer case. More on that later. I'm going to try and do a "how to" on it. Went to put it all back together and couldn't because the shift fork kept cocking sideways and everything has a tight enough tolerance to keep it from going all the way together. Not very much fun.
Also, got the G56 hung on the back of the motor and swung it in the X. Previously, I had the motor sitting pretty, very centered, level, and spaced properly for the fan, shroud, and radiator. Putting another ~250 pounds on the back of it did NOT help with getting it set properly again. At least I knew where it needed to sit. But, of course, I took the vac/PS pump out of the beater and didn't have it to check for clearance. Next Weekend. I did go ahead and cut the hole in the floorboard for the shifter and basically have everything set the way I want it pending movement for tunnel clearance, vac/PS pump clearance, and AC pump clearance. All in all, not as far as I wanted to get this weekend, but it is what it is. This week I should be able to finish rebuilding my turbo, get the transfer case bolted back together, and tack up motor mounts. Pictures to come!
Last edited by EXSwap; May 6, 2019 at 04:11 PM.
Reason: Spelling errors
After struggling with the transfer case this past week, I was able to get back out to the X and get going on the mounts and final placement for the engine and transmission combination. More on the transfer case woes once I get all the parts in and get it all back together for the final time.
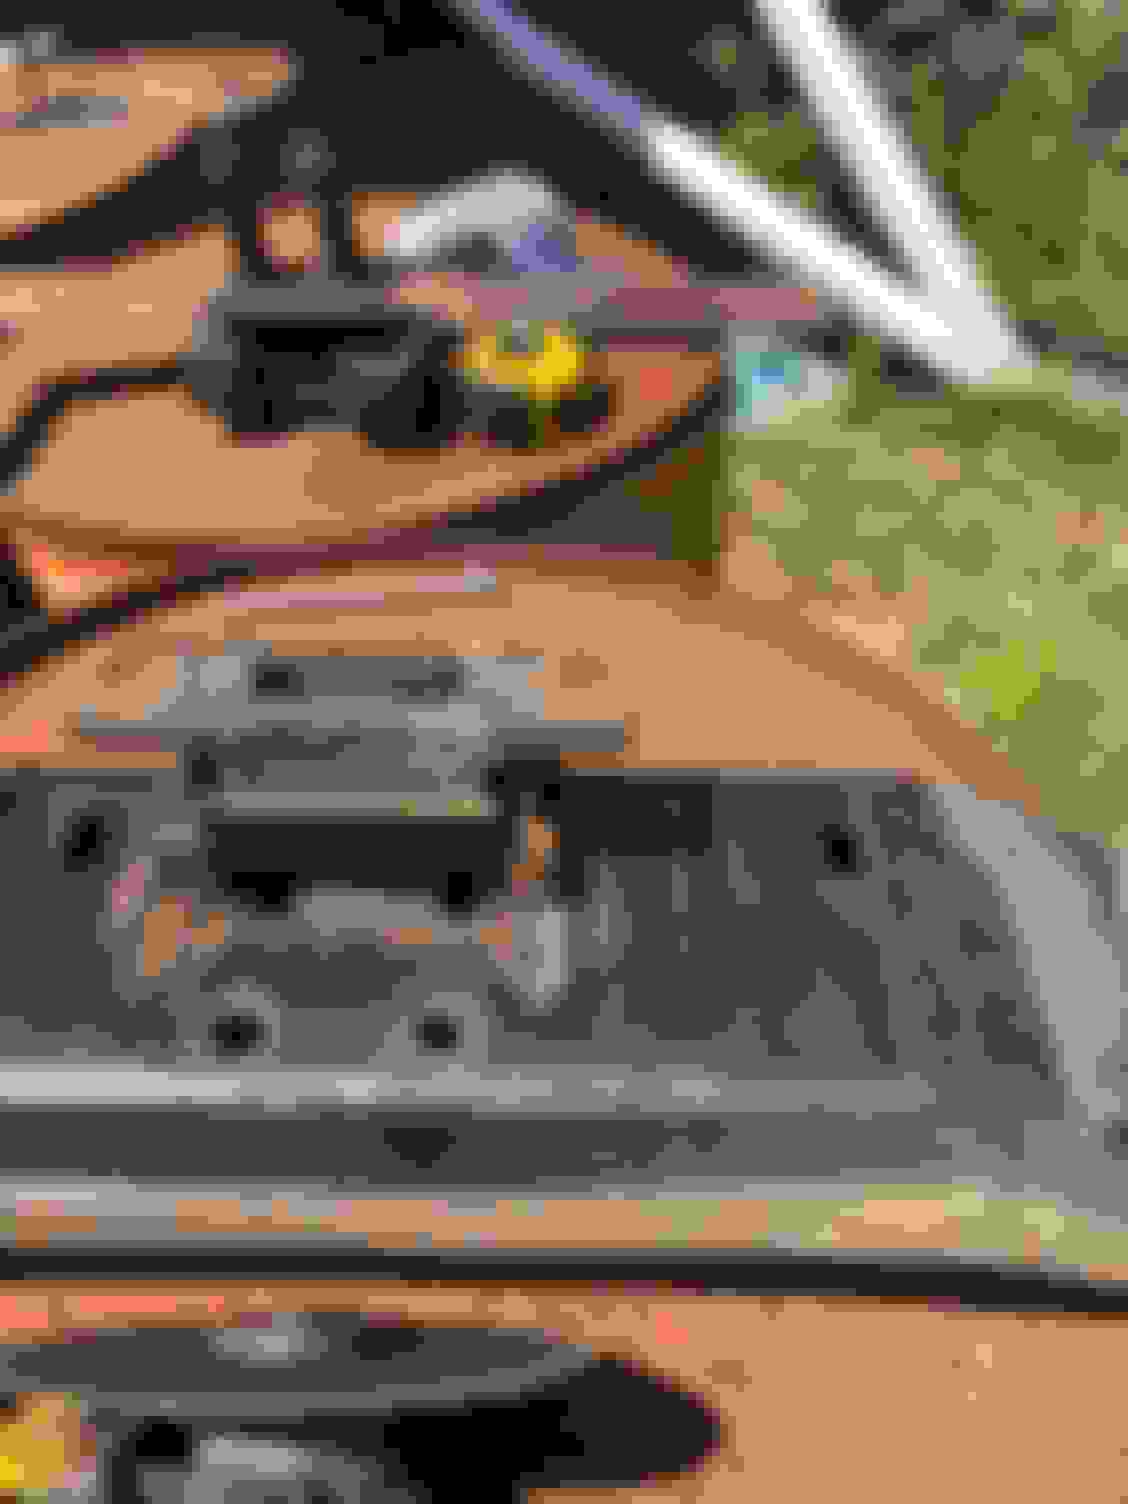
So, measurements for this swap are key and I want to modify things as little as possible. Things like cutting the trans tunnel out. I didn't want to change it up any more than absolutely necessary, and I certainly don't like the idea of cutting a giant hole in the floor. Coupled with the fact that if at all possible, I'd like to keep the rear air floor plenum and I don't want to move my center console or anything really weird, and I want to be able to use my pull out cup holders in the dash when running around in 5th gear and not have issues when the X is loaded up with family for camping trips. So, measure, measure again, eyeball it, eat some lunch, compare with a dodge setup for fan clearance, measure again, measure the rear end pinion nut to the frame, measure again, hang a plumb bob off the frame so you make sure you have the measurement right, Budweiser, measure again. You get the idea. Lots of up and down, crawling around under the truck, radiator in and out, core support in and out, jacking the trans, raising and lowering the engine of the chainfall, pushing here, pulling there. The engine and trans combo want's to slide around a bit, specifically towards the rear, and it didn't want to sit to the passenger side where I wanted it. So, best I could measure, the center of the pinion nut is 16.5" to the inside of the frame. Since I need the driveline in a straight line, that's where the center of the output shaft needed to be on the trans. From there, I cut a hole in the approximate location of the shift tower at 4 3/4" in diameter and then squared it up with the sawzall. I'll have to take a bit more as the trans ended up about 3/4" to the passenger side vs where I initially had it. The height of the trans mount was also a problem with bolting the corssmember back with the OEM bolts and location. The front to back seems to be close enough that the slots in the crossmember line up well enough. The problem was the height. I needed right at 4" more top to bottom. So, measured some more and figured out that if I pushed the rear of the trans up another inch, and cut the crossmember top out and welded it back to the bottom, I could get another 1.5" of height, totaling 2.5" of the 4" I needed. Went and had some lunch to think on it some more, came back and cut the piece, moved it over to get the side to side, and welded it up. Totally forgot about the other 1.5" I needed. CRAP!!! Budweiser, and two cutoff wheels later, I had a hole again I could work with. So, got a piece of 6" channel, marked the vibration dampener holes and holes for the mount slots, drilled and cut them out. Rechecked the height requirement, modified the mount a bit so I could slide it around better (clear welds) tacked it up real good, and welded it out. Essentially, what I have is a sunken mount now. From here, I'll have to make a plate to mount the trans to and then weld that to the mount as it's not wide enough to bolt to the transmission. And, I can make up any height I need to fine tune by the thickness of the plate. Once I have it bolted solid, I can tackle the motor mounts. On the dodge example I have sitting there, it has 9.5" of clearance from the inside of the radiator to the front of the first valve cover. I ended up with a fat 9" with everything centered up. I may have to make small adjustments once I have the trans mounted in the rear, but I should have a small amount of wiggle room. But, it's not much. I have about 3/8" of clearance from the top of the trans to the underside of the body. The only downside is that I took out the factory insulation before the install. It's about 3/8" thick, so I may decide to either crush it, cut a small piece out where the trans is close, or lower the entire assembly more. Right now, I have 3/4" between the oil pan and the crossmember up front. Not ideal but I can add some spacers to the bottom of the motor mounts if I have clearance issues down the road.
So, to recap: Measure, eat, weld, Budweiser, cut, measure, weld. Those are the things you need to G56 your X. Sheesh!
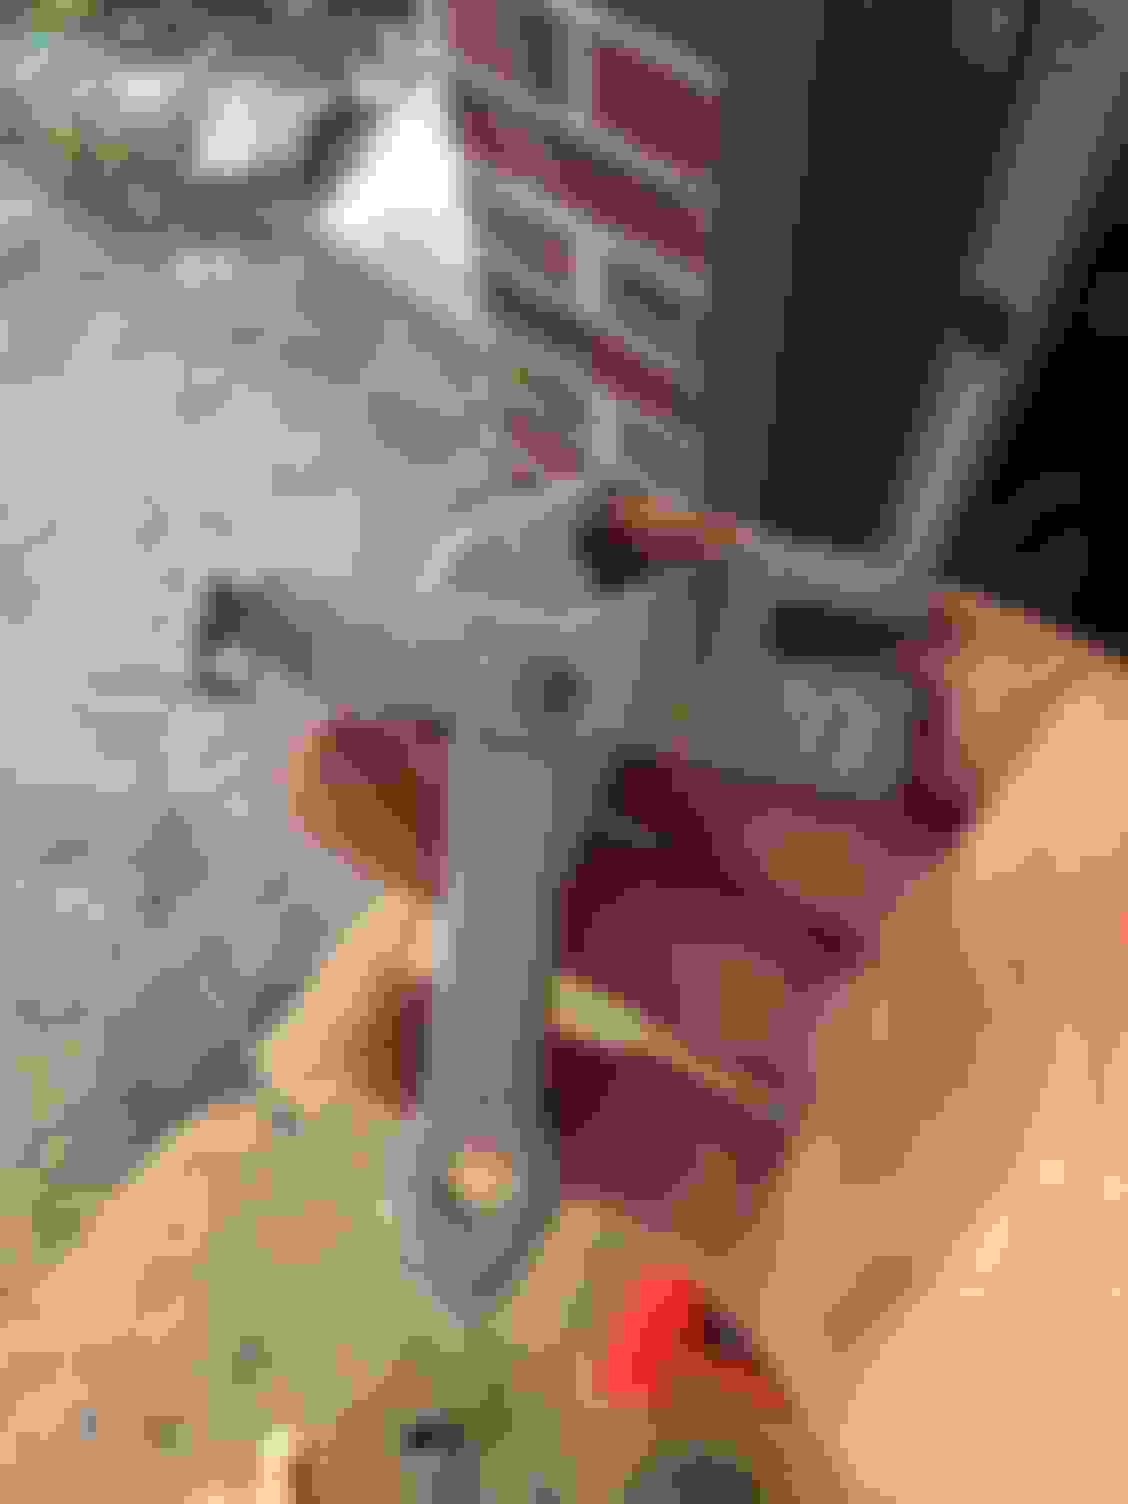
Mount in factory position (but lower). Need to move to the passenger side and up. Front to back location is almost perfect! Needed to move the center of the mount to the right 1.5" Cut out from the top, and placed on the bottom to weld it up. Looking from top down, welded inside and out. this is NOT the proper location. Cut it back out. Ugh. 6" channel located and plate located. Ended up making my own holes in the channel instead of re-welding the cut out piece. Slots/holes cut and channel welded in. I'm not a great welder, but that channel will make the crossmember SUPER rigid.
Well, a little late in the week posting from last weekend. Got quite a bit done, but still don't feel like it's moving as fast as I want. Between the weather and only getting weekends, it's slow. And that's irritating.
This past weekend, I was able to fully finish the transmission crossmember and get the motor mounts made and tacked up. It appears that everything is still sitting where I want it, and where it looks pretty darn straight and level. I will have a bit of a challenge in the area of the power steering pump with the hydroboost line as it comes essentially straight out of the back of the pump, which is right at the motor mount. I may have to drill a hole in the mount and run the line through unless I can find a short 90 that fits the threads that I need. I'd prefer that as I don't want to drill holes in mounts unless absolutely necessary. The transmission mount will need a little work as the slots aren't long enough by about 1/2" for the whole assembly to sit where it needs to front to back. I need 9.5" from the #1 valve cover to the inside of the radiator. That, and the 16.5" from the frame to the center of the transmission output shaft are what determined everything else. I will have to clearance the engine crossmember a bit more once everything is welded up. The mounts will be welded with 6011 rod and possibly capped with 7018. I can hardly weld 7018, so I'll have to practice up on some material before I try that. Probably not super necessary, and I don't want to get the mounts so hot that I start melting the rubber in the mount. I'll find out this weekend for sure, provided it doesn't rain. Lost a bit of paint in the welding process, but I have to clean up and shoot the engine again anyway because I've scraped it up pretty good moving it in and out of the engine bay a million times.
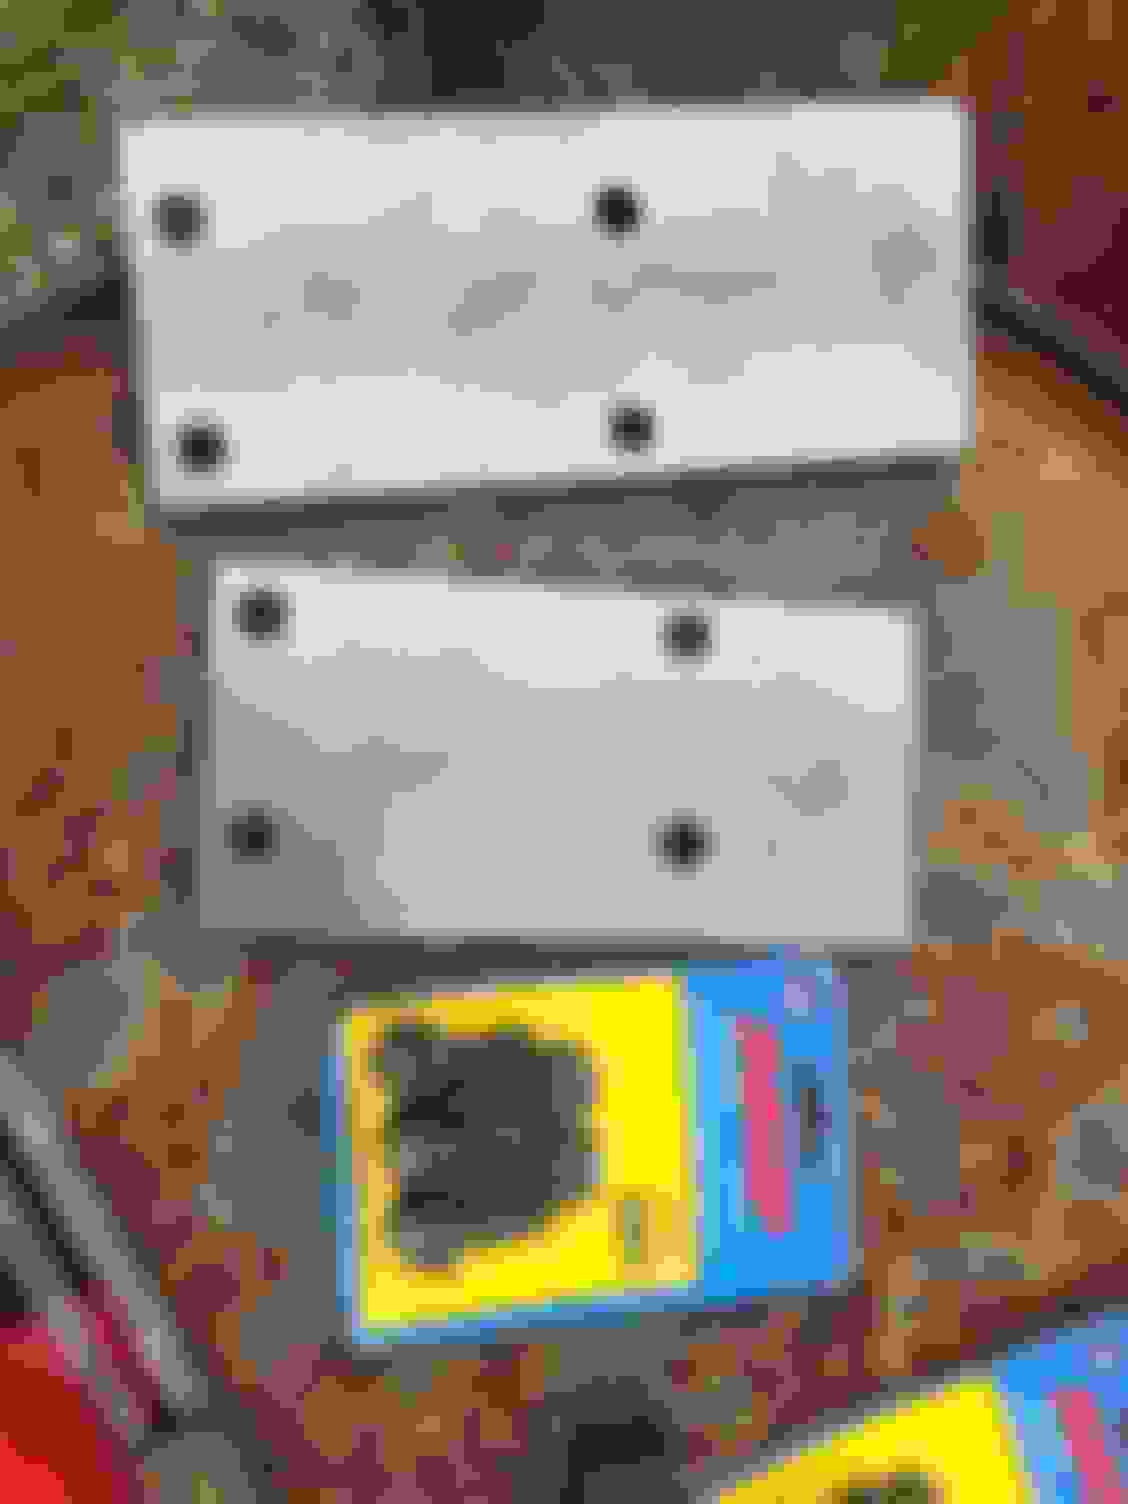
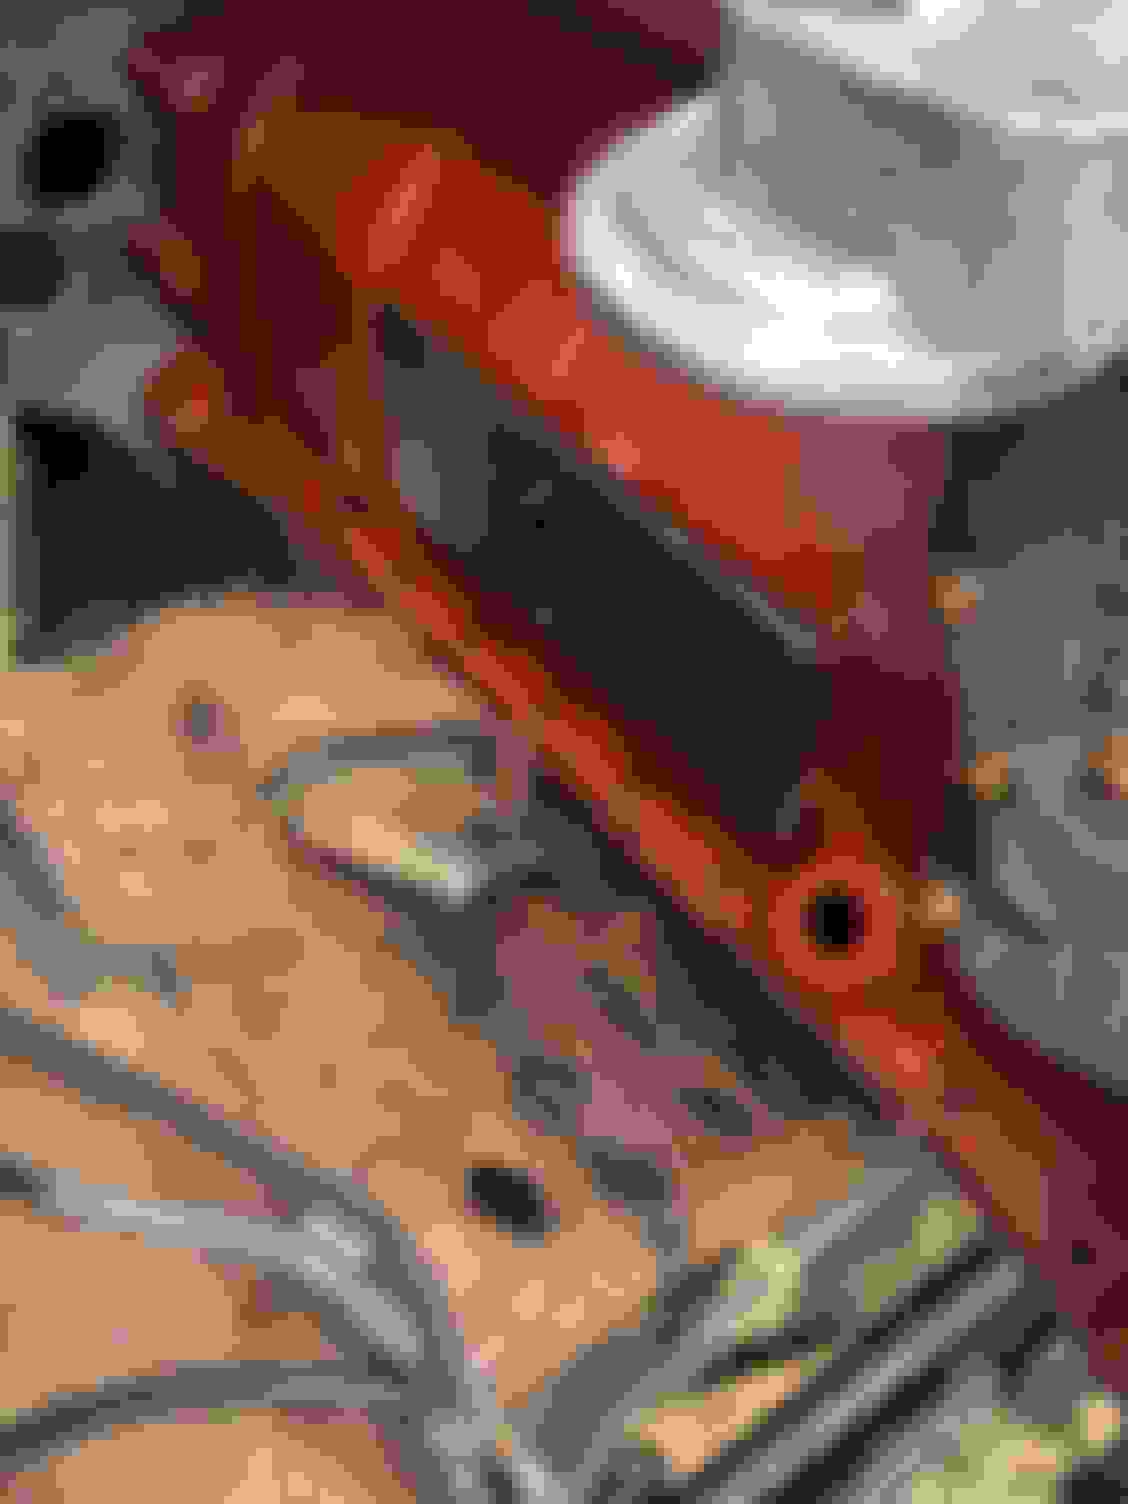
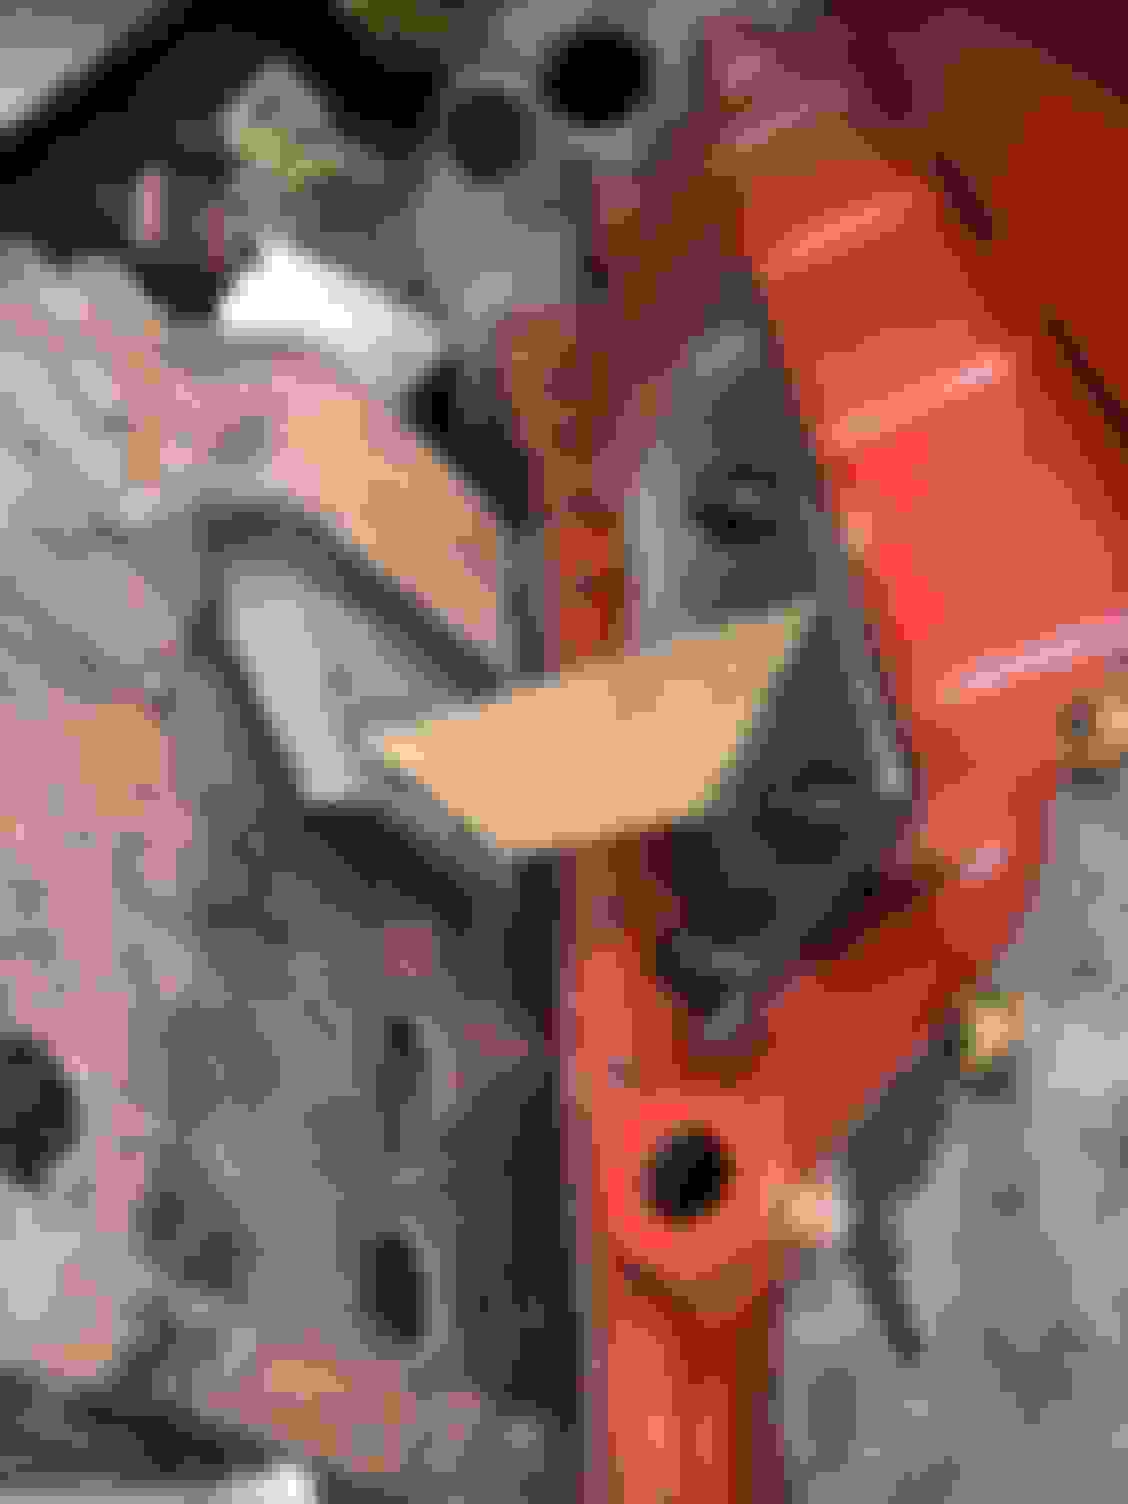
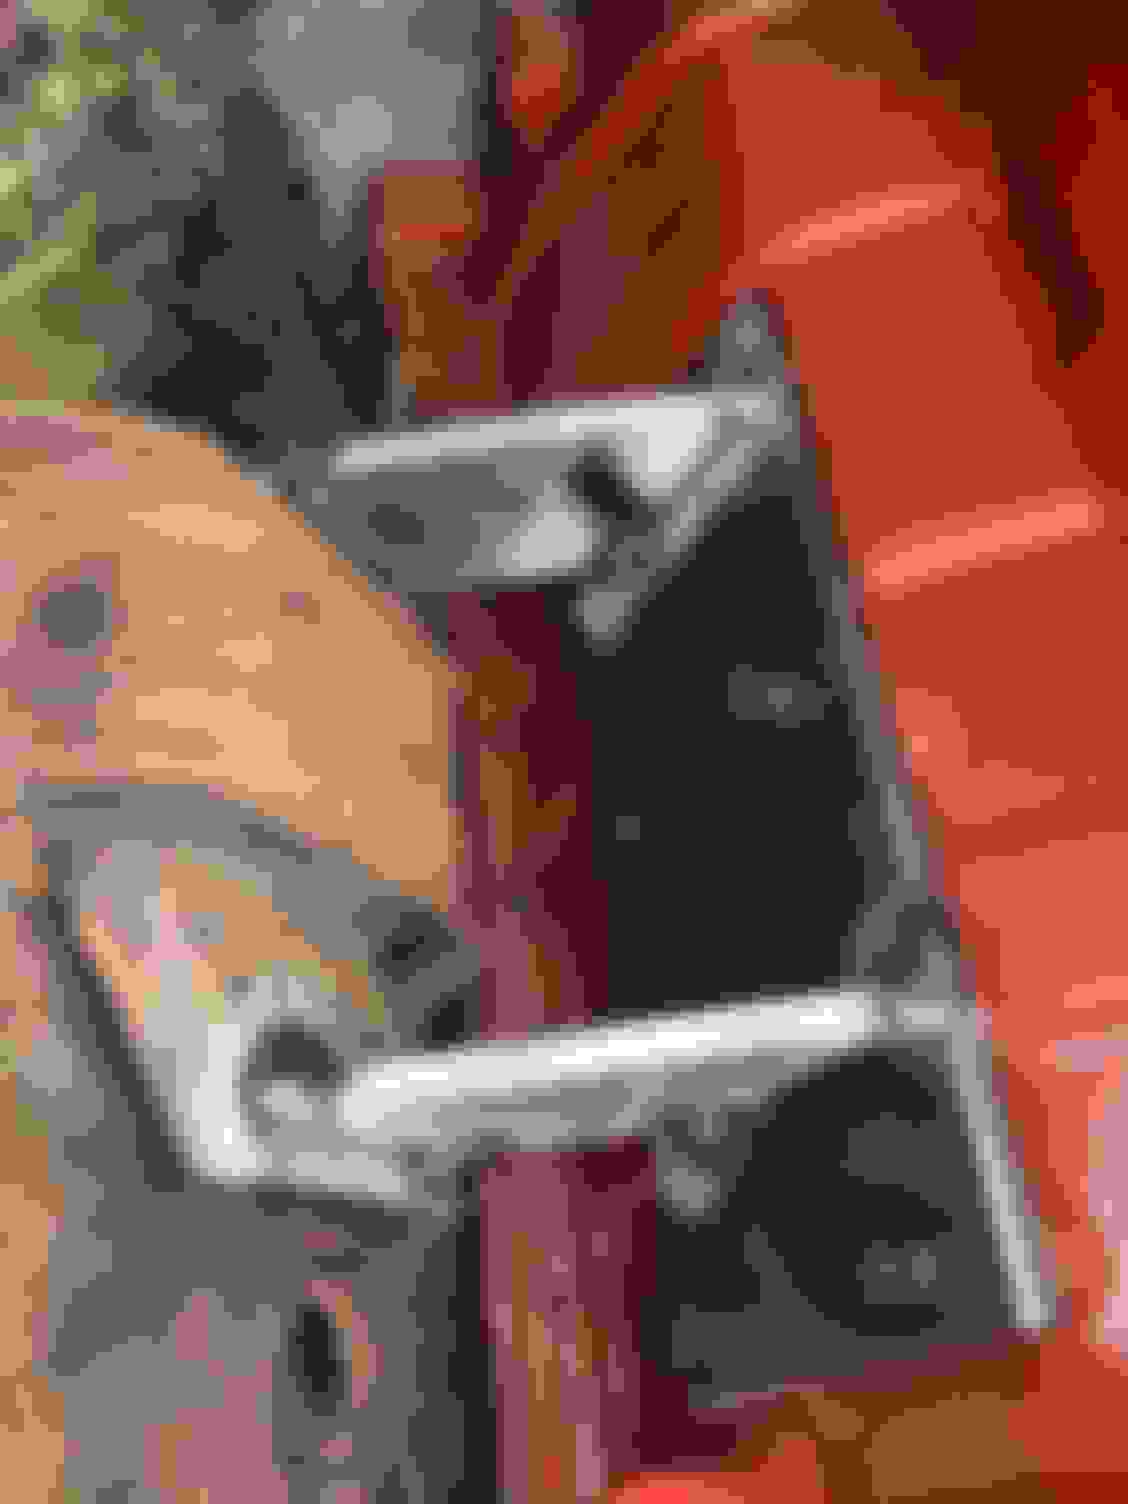
Further decisions on the build, and I'll probably kick myself for this later. I was originally going to pull the body off and paint everything under there, which is a TON of work. It would also make the leaf spring change, brake work, axle seals, ball joints, etc MUCH easier. I think I've made the choice to not pull the body just yet, if nothing else, to prove my better half wrong and take the X on a trip second week of July. I don't have much time. At least this weekend I get 3 days to work on it instead of 2. This week at home, I was able to button up my transfer case and get my turbo rebuilt and put together. Last night I tore down 2 vac/PS pumps with the intention of getting one good one. More on that later. Picture time!! Used a piece of square stock to make up the difference I needed in the trans mount. Drilled holes for access to the mounting bolts. Had to clearance it a bit to fit properly inside Tacked up and ready for final fitment Plate for engine side of mount. the Cummins bolt size is M12x1.75. ARP comes through for fasteners. Drivers mount. you can see the clearance issues with the PS Pump. Passenger plate. Cardboard template. I used an adjustable square to find the angles. Passenger tacked in. Drivers tacked in. You'll notice that I had to clock the front plate a bit to make sure I had the clearance. Also lost some paint.
Whoa man this thread has my head spinning! You're killing it!! This rig is going to be freaking amazing. Possibly one of a kind?
Thanks! I think it'll be pretty amazing too! Not sure it's one of a kind though. There aren't many G56 Excursions for sure. I know of maybe 2 that have been done, and they were done a while ago. The G56 isn't a really popular swap because it's fairly noisy and considered to be weak as compared to the ZF6 (there's no center support in the G56 like the ZF6). That, coupled with the fact that everyone doing a 12V or P-Pumped 24V swap is trying to get massive power of them, which doesn't bode well for transmissions (generally speaking). If you want to see one of the best conversions I've EVER seen, here it is:
Thanks! I think it'll be pretty amazing too! Not sure it's one of a kind though. There aren't many G56 Excursions for sure. I know of maybe 2 that have been done, and they were done a while ago. The G56 isn't a really popular swap because it's fairly noisy and considered to be weak as compared to the ZF6 (there's no center support in the G56 like the ZF6). That, coupled with the fact that everyone doing a 12V or P-Pumped 24V swap is trying to get massive power of them, which doesn't bode well for transmissions (generally speaking). If you want to see one of the best conversions I've EVER seen, here it is:
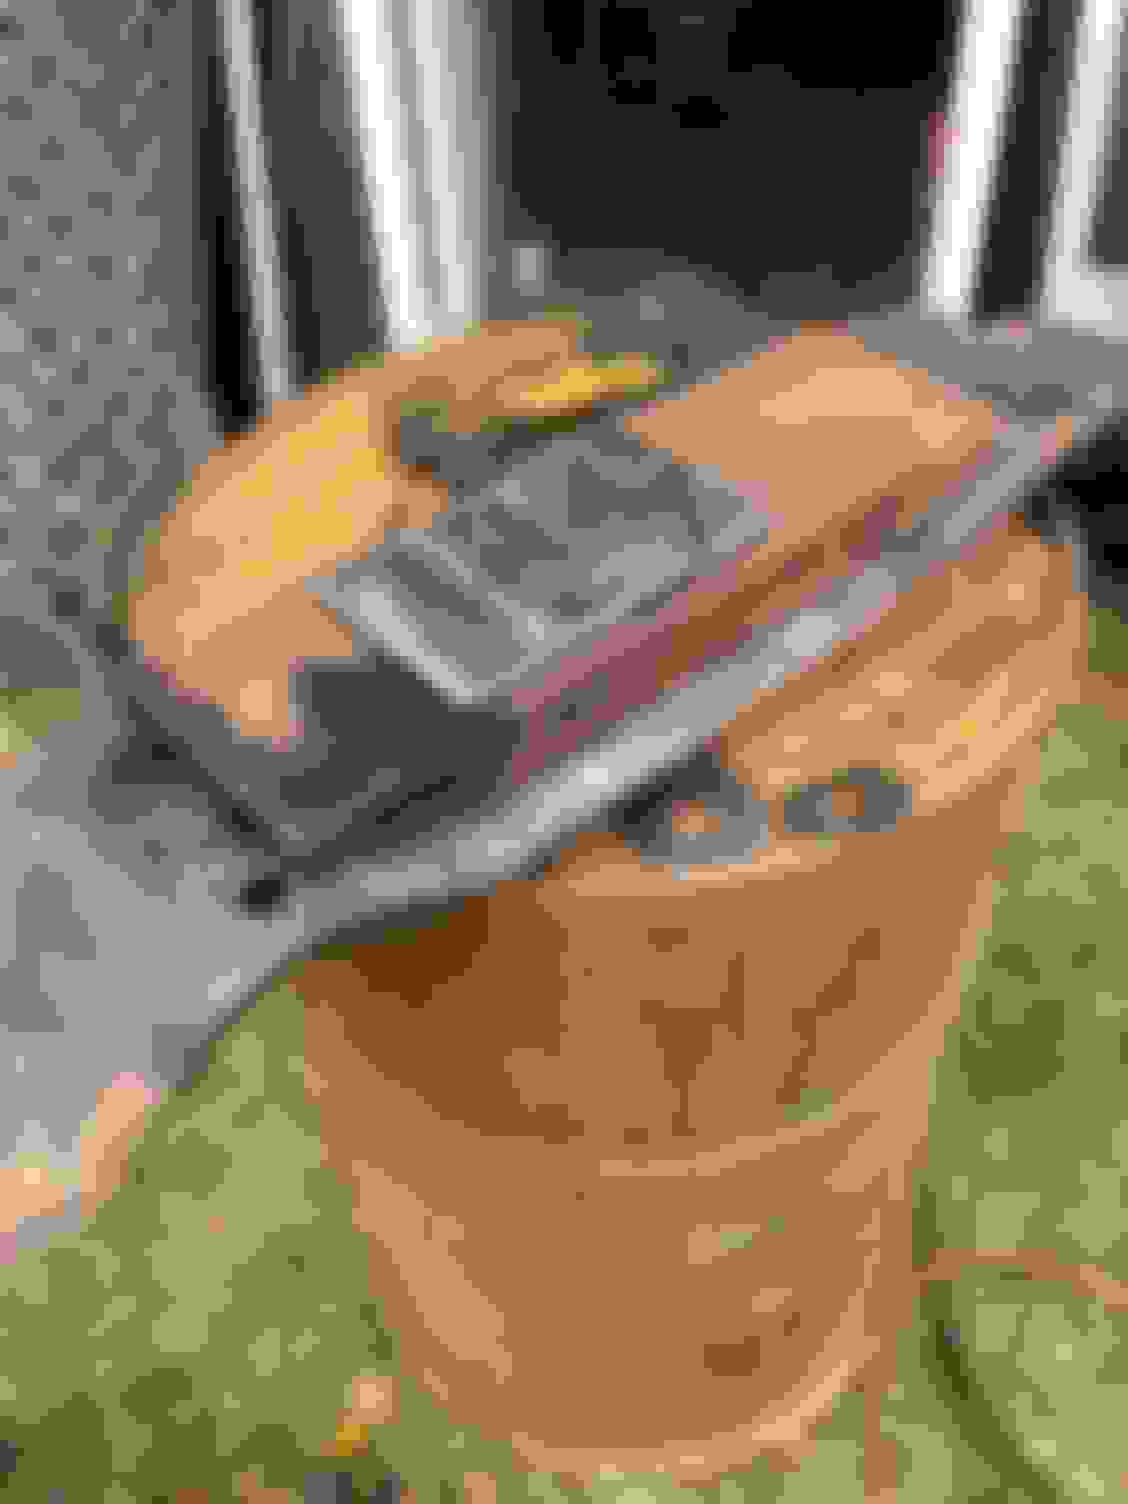
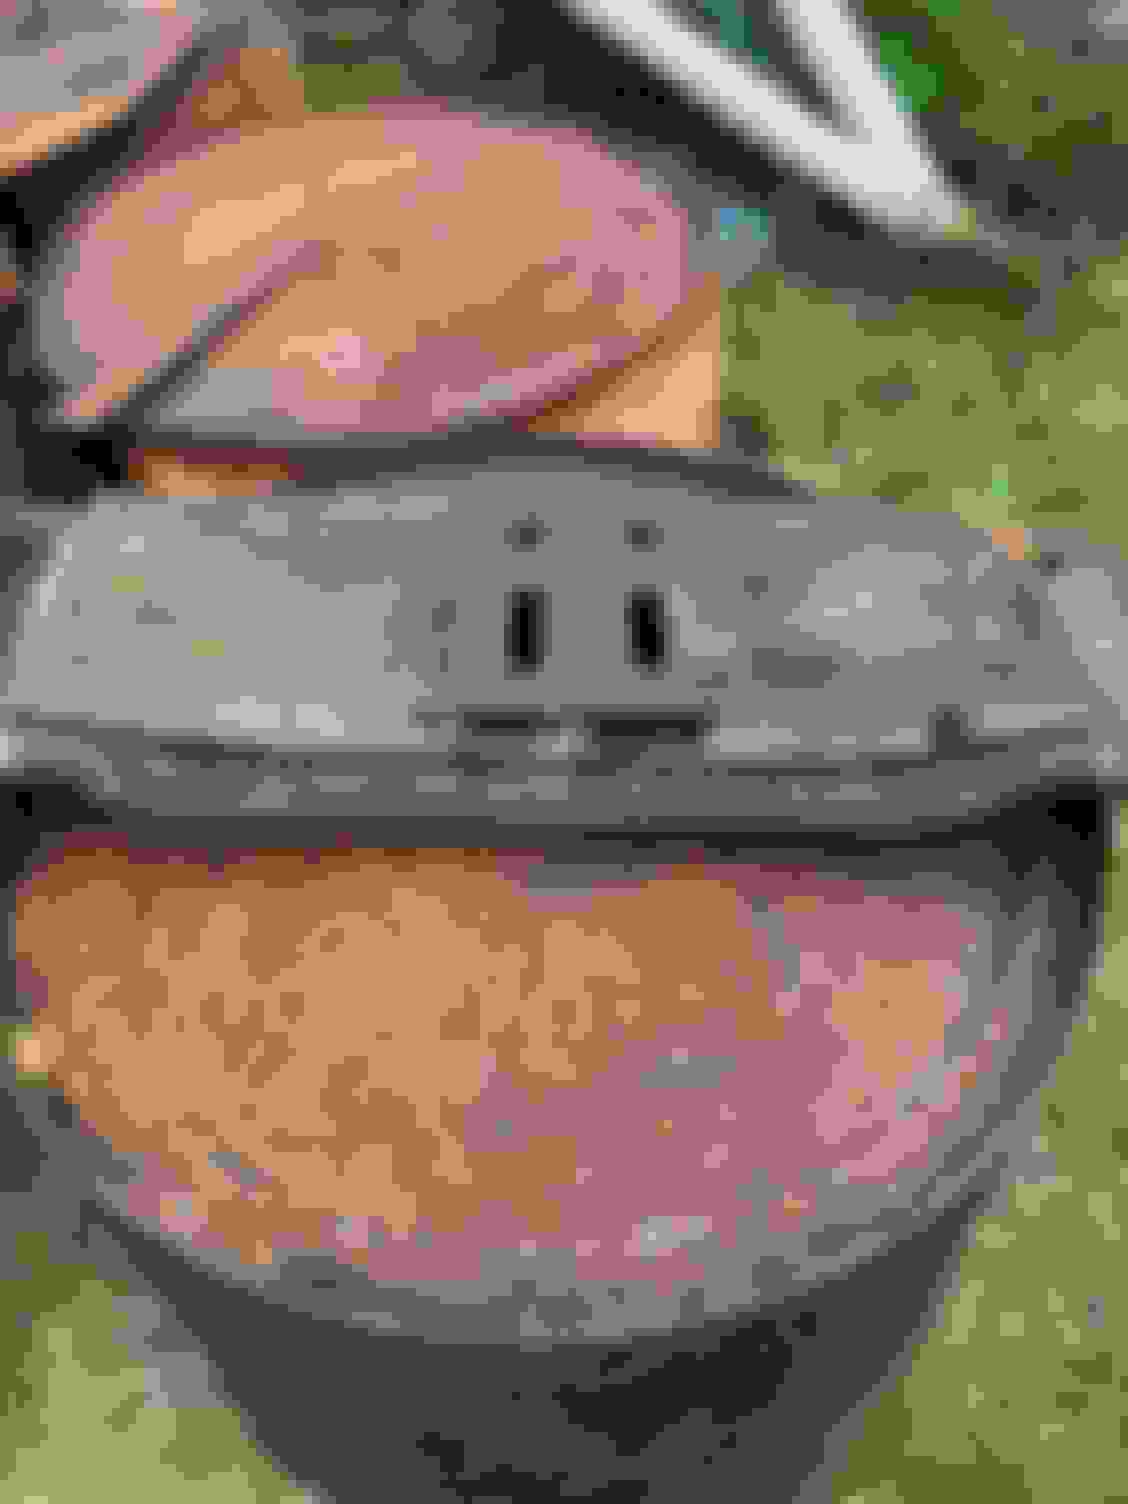
Well, time for a bit of an update. Got the rear leaf springs out this weekend, and man was that a chore. Aside from the fact that the bolts were super tight, the shackle bolt (lower) was next to impossible. They had seized in the bushing and once I was able to get them to turn, they just wouldn't come out. Kept getting tighter, then loose, then tight. Lots of oil, WD40, cursing, air compressor run time, breaker bar with a 2' pipe, ratchet with a 2' pipe, Budweiser, more cursing. Was able to finally use my trust harbor freight 24" crescent wrench that I bought for the 6.0 fan hub and pry under the bolt head while hitting it with the impact to get them out. What's weird is, the bolts weren't worn, bent, or otherwise destroyed. The bushings seemed to be stuck to them and while they would turn freely (almost by hand), they just wouldn't come out. Super weird. Also, the front bolt on the passenger side was a bit of a chore due to the AC lines in the way. Took the two nearest brackets off and was able to jiggle everything around and get it out finally. Was gonna buy new bushings and replace mine, but the time for heating and pressing the old ones out, cleaning up and painting the shackles, and then pressing new bushings in didn't line up with the cost of new assemblies. Rock Auto to the rescue, again. Got a set of Moog shackles and while I was at it a set front and rear bump stops.
Also got the tank out so I can go through that, though aside from painting the tub, not work needed there. I was under the impression that I'd have a mess in the tank, but everything is in good shape, clean, and should go right back together. A welcome piece of good news. So, next weekend, I'll remove the rear bumper, pressure wash the entire area with one of those sand attachments, and paint it all up under the rear. Also will paint the rear axle following a fluid change.
Also got the rear parking brakes rebuilt with new backing plates and all new parts. Along with that, I replaced the bearings and races in the rear end and put that all back together. Got some new brake lines, which I'll need to bend and install as mine were pretty crusty. And, in keeping with the "I'm sorry, you bought red paint, but SURPRISE, it's orange!!" theme to my build, I used VHT header paint on all the brake parts. We'll see how it holds up. This week I still need to clean up my rear calipers and paint/rebuild those so I can hopefully put the rear back next weekend. Lot's of that plan depends on weather and I'll need to wash, let dry completely, and then paint, all in one day. With the way things are going, not likely.
I'll do a separate writeup on the parking brake rebuild, with it's own pictures. Nice to have the tractor with forks available. Made the tank removal a breeze. This guy. Total PITA. These bolts weren't in horrific shape, but they sure acted like it. The bushing is a little warped around the outside and not serviceable, but again, not the worst in the world. Tank pickup. All clean and serviceable! Woo!
Went ahead and did the park brake rebuild, even though I've not once heard anyone say they're great. In the scheme of things, it was a cheap addition to the budget and not terribly hard to do, so I gave it a shot. I am wondering though if there's a "seating" procedure like with the regular disk brake pads. I will certainly adjust them properly as I'm pretty familiar with drum brakes having to deal with (and rebuild) the ones on the boat and camper (one electric, one hydraulic).
Back in April of 2018, I had redone the disk brakes on the X as they were in tough shape. At that time, I didn't want to take the axles out to get the parking brakes off, so I cut the springs and essentially ripped them off. I never used them anyway. BUT, going to a manual transmission, I'll want something functional. Backing plates were completely toast, as was most of the parking brake hardware. I used this thread to get an idea of what I was into as I didn't take many pictures prior to ripping them off. https://www.ford-trucks.com/forums/1...-pictures.html
Special thanks to @GUNNERDOG for the great writeup way back when.
Overall, this project is super easy. I will recommend that if you're gonna do this, get all the parts necessary and have them on hand. You'll need backing plate, rebuild kit for the parking brakes, brake shoes, rotors if yours are in great shape, and the rear axle seals at a minimum. Other parts I replaced were the rear bearings and races and the parking brake actuators with the rubber boots. Those were included in the rebuild kit, but I had purchased a set as well (not knowing they were included). I had recently replaced the rotors and pads for the disk brakes, so those were in great shape. I'm also rebuilding the calipers while I'm at it, complete with new pistons, seals, rubber boots, slide pins. Also, you might want to spring for the special socket used to take the hub off. It certainly makes life easier but a person could use a smallish drift punch and a hammer to rotate the retaining nut. Note that the drivers side is left handed threads.
Assuming you already have the wheel and disk brakes off, remove the axle by removing the 8 bolts. Slide the axle out of the housing. I used a hammer and punch to break it loose. Remove the retaining nut inside the wheel hub and remove the hub, taking care not to let the bearing fall out. The inner bearing is held on by the rear seal, but the outer is loose. My seals were pretty stuck on the axle housing, so to get the hubs off, I used a screwdriver to separate the seal from the hub, leaving the seal on the axle. I believe mine were factory as the seals had some sort of adhesive gluing them into the hub. From there, I smacked the seals off of the axle housing. Remove the 4 nuts holding the backing plate on. A few taps of a heavy hammer and the whole assembly pops right off. From there, remove the studs in order to get the old dust shields off by again tapping with a heavy hammer.
After all that, I cleaned everything up with lots of wire wheel time and painted with VHT header paint. I used the header paint as I'm hoping that it will withstand any braking temperatures (that was my initial thought anyway). Now I'm thinking that may have been a mistake as I'm not sure it'll withstand the salt and brine we have here in the midwest. At any rate, I'm sure I'll find out. Putting it all back together...
If you're changing wheel bearings, remove and replace the races in the hub, Keeping everything clean. I also packed a bit of wheel bearing grease in my new bearings. There's conflicting opinions on this process as the bearings are oil bath from the differential. Mine will sit for a while and I'm also gonna change the differential fluid, so it'll take a bit for it to get out to the bearings and I don't want to burn up a new set. Place the dust cover on the backing plate. They only go on one way. If they're on backwards, the holes don't line up. Insert the studs back in through the dust cover into the backing plate, lining them up. I used a large socket as a backer to drive the stud back in. My dust covers didn't fit inside the backing plate exactly, I think because of the paint, so it was a tight fit. Using the socket as a backer, on a concrete floor, drive the stud home with a small sledge. Then I realized they weren't completely seated. So, I spun all 4 nuts on with an impact to seat them fully. Place the parking brake actuator rubber boot into the slot and make sure it's seated properly. Insert the parking brake actuator into the dust cover and backing plate through the rubber boot. Insert the large spring from the kit into the rear of the two brake shoes. Rotate one brake show such that it sits on top of the other at a 90 degree angle. Place the brake show (not rotated), into the assembly making sure the show is fully seated at the top where the actuator is. On the other end of the actuator is a flat piece. Take the rotated shoe and pull it such that the end of the shoe rests on the flat of the actuator. From there, just grab it a rotate it around. Fairly easily done once I figured it out. First one took me several tries, second one I got first time around. Insert the adjustment screw. Place the lower small spring into the holes next to the adjustment screw. Insert the top small spring on the outside of the assembly in the same slots as the large spring. This one took me a bit of work, but I ended up using a pair of vice grips to grab the end of the spring to stretch it into the hole. Place the assembly back onto the axle, tighten the nuts on the back side. I don't know what the torque setting is, but I put mine pretty tight. Insert the inner bearing (if you haven't already) into the hub and install the rear seal. I gently drove it in, making sure it's fully seated into the back of the hub. Make sure the axle housing is cleaned up, and install the hub onto the axle, making sure it's fully seated. I didn't drive mine on as I didn't want it to put it on too far ruining the seal. Insert the outer bearing and spin on the retaining nut. I found it easier to spin the nut on by using the special socket. Tighten to 60 foot pounds and back off 5 clicks for new bearings. I also spun the hub as I tightened it up. I usually do that just so if it starts to bind I can feel it. All went well. Insert the axles and bolts. Not sure on the torque of those either. Tight and blue loctite.
And there you have it...picture time!! Studs and dust cover installed in backing plate Actuator boot installed I actually used an impact to spin the nuts on to fully seat the studs New actuator. Note the flat part on the left. Actuator installed This is how I set up the shoes to get them on easily
Further install pictures....I also forgot to mention that the shoe retainers need to be installed. It's just a rod with a spring on the end. Not difficult to install. Once you get the shoe to this point, it's easily rotated Adjuster installed Other outer springs installed
Really enjoying this build. Lots of Budweiser would be my go-to for sure LOL! Hopefully you'll keep this for some time. The last one I read about was amazing and the guy sold it about 6 months later.
Really enjoying this build. Lots of Budweiser would be my go-to for sure LOL! Hopefully you'll keep this for some time. The last one I read about was amazing and the guy sold it about 6 months later.
Thanks! I�m enjoying it too! And the Budweiser helps....
Didn�t enjoy today. Found a giant hole in my trailer hitch on the back, right in the middle. Time for a new hitch. I really like the idea of a super hitch, but they�re pricey for my taste at this point. I�ll look at the 12K curt hitch instead.
If if this is the last vehicle I ever own, I�d be perfectly fine with that! I�ve said from the beginning that I�d never sell it, and I don�t plan on it. And I figure I have 35+ years of driving left in me at least. As long as I can keep the body rust away, should be doable.
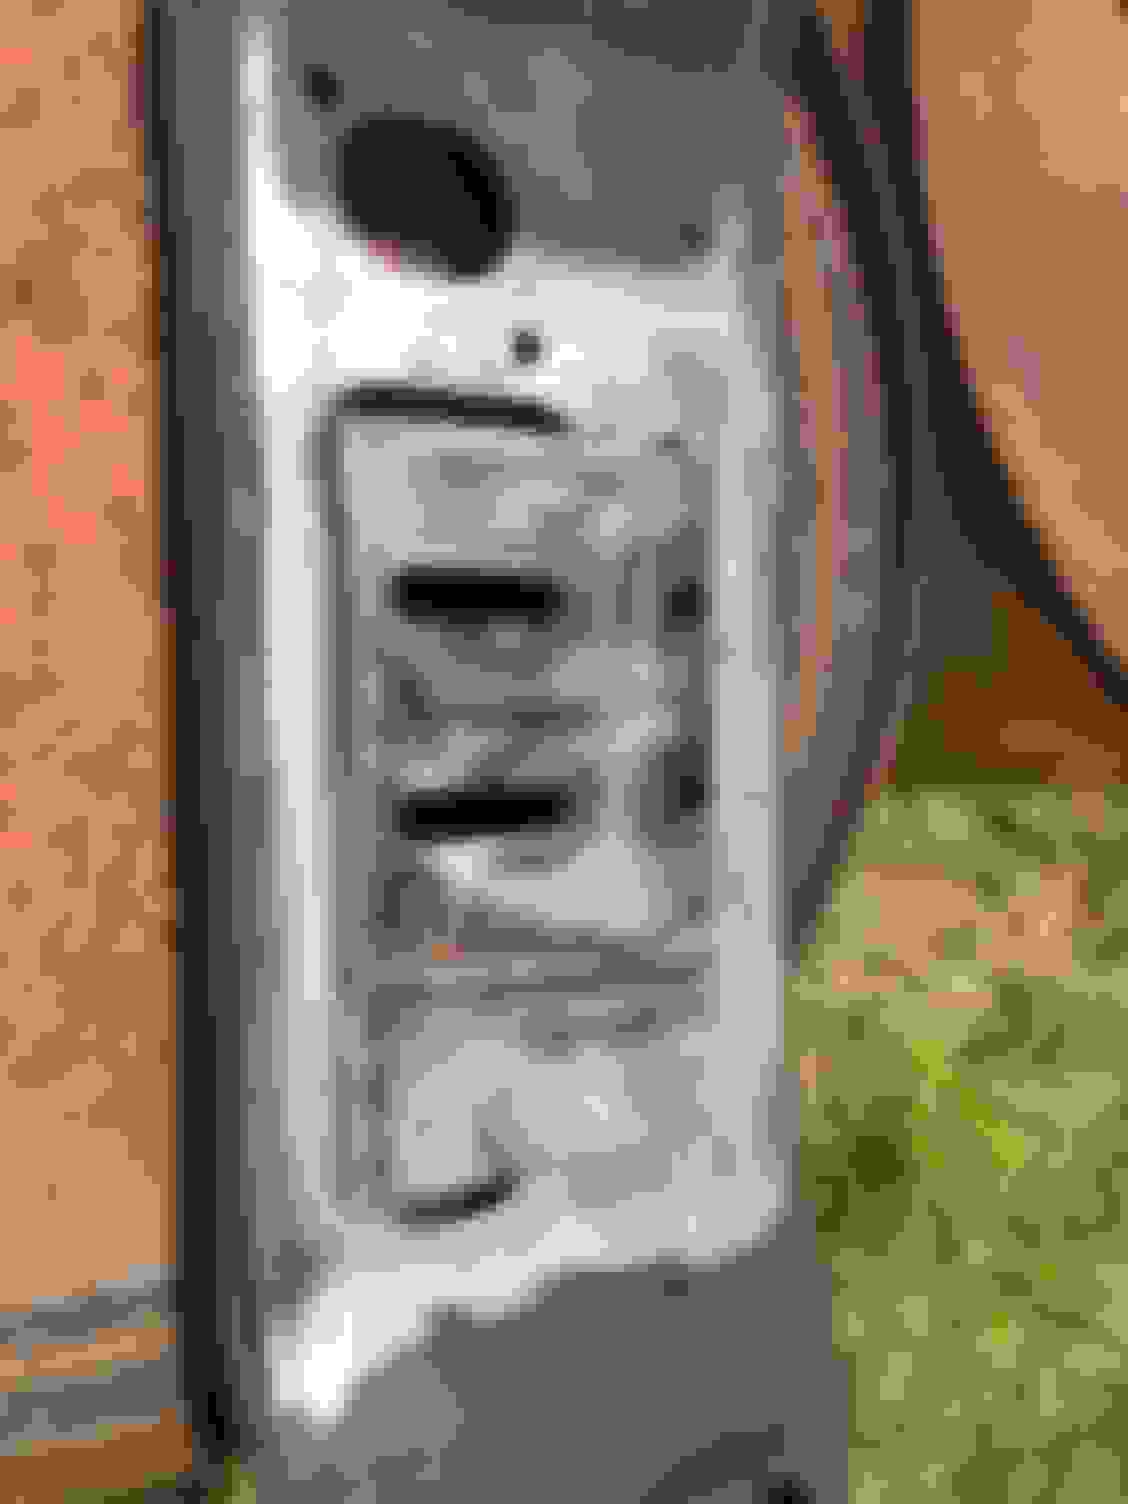
Only got to work one day this weekend due to rain and it was a short one. The plan was to clean up the rear half first day and then paint the next day with chassis saver. That quickly went out the window once I found the hole in my trailer hitch. I removed the rear bumper (which needs some attention as well), started on the rear of the hitch and the frame area above, moving inboard from there. Once under there, I realized that there's some leftover fluid film of some sort. Not sure if it's factory or not, but it's a tar like substance about 1/6" thick on the frame in some areas. I peeled the areas that were flaking, and left the rest. I'll clean it up best I can and paint over it. Not ideal, but should be ok. I toyed with the idea of using one of those pressure washer sand blasters on the undercarriage. Watch a few videos on it and determined that A. the whole apparatus is too long to be effective under there with the body on; and B. it would take an exorbitant amount of time, energy, and sand to get it all under there. So that idea got axed. I'll wire wheel, scrape, and clean as best I can and go with the chassis saver. Seems to be a good product and I think it'll work well for me. Aside from the rockers and a few other areas on the body, it's mostly just surface rust anyway. Trailer hitch removal was relatively easily accomplished once the torch came out. My initial thought was to cut the rear out of my hitch and weld a piece of steel in the back and call it good. The more I stood there and looked at it, the more I realized that I don't want to take the chance on it. The metal was super thin as far in there as I could get my fingers in. So, decided to order up the Curt Class IV hitch from Amazon. Free shipping and it was competitively priced (within $10) of every other place (plus free shipping). So, out came the torch to heat the blue loctite of the hitch bolts and I just cut the safety bolts. So, once my new hitch arrives this week, and I hopefully get some decent weather next weekend, it'll be finish cleanup under there and shoot most of the frame and underside of the body. I also changed the differential fluid and put a new gasket on under the cover and removed the old brake lines in preparation for new hard lines and the Russel SS braided lines. And removed the rear sway bar. I'll paint up the rear axle while I'm at it. Come to think of it, I better order up another quart of that stuff and their reducer for this weekend. I'd hate to run out of paint in the middle of it and have to wain a whole other week.
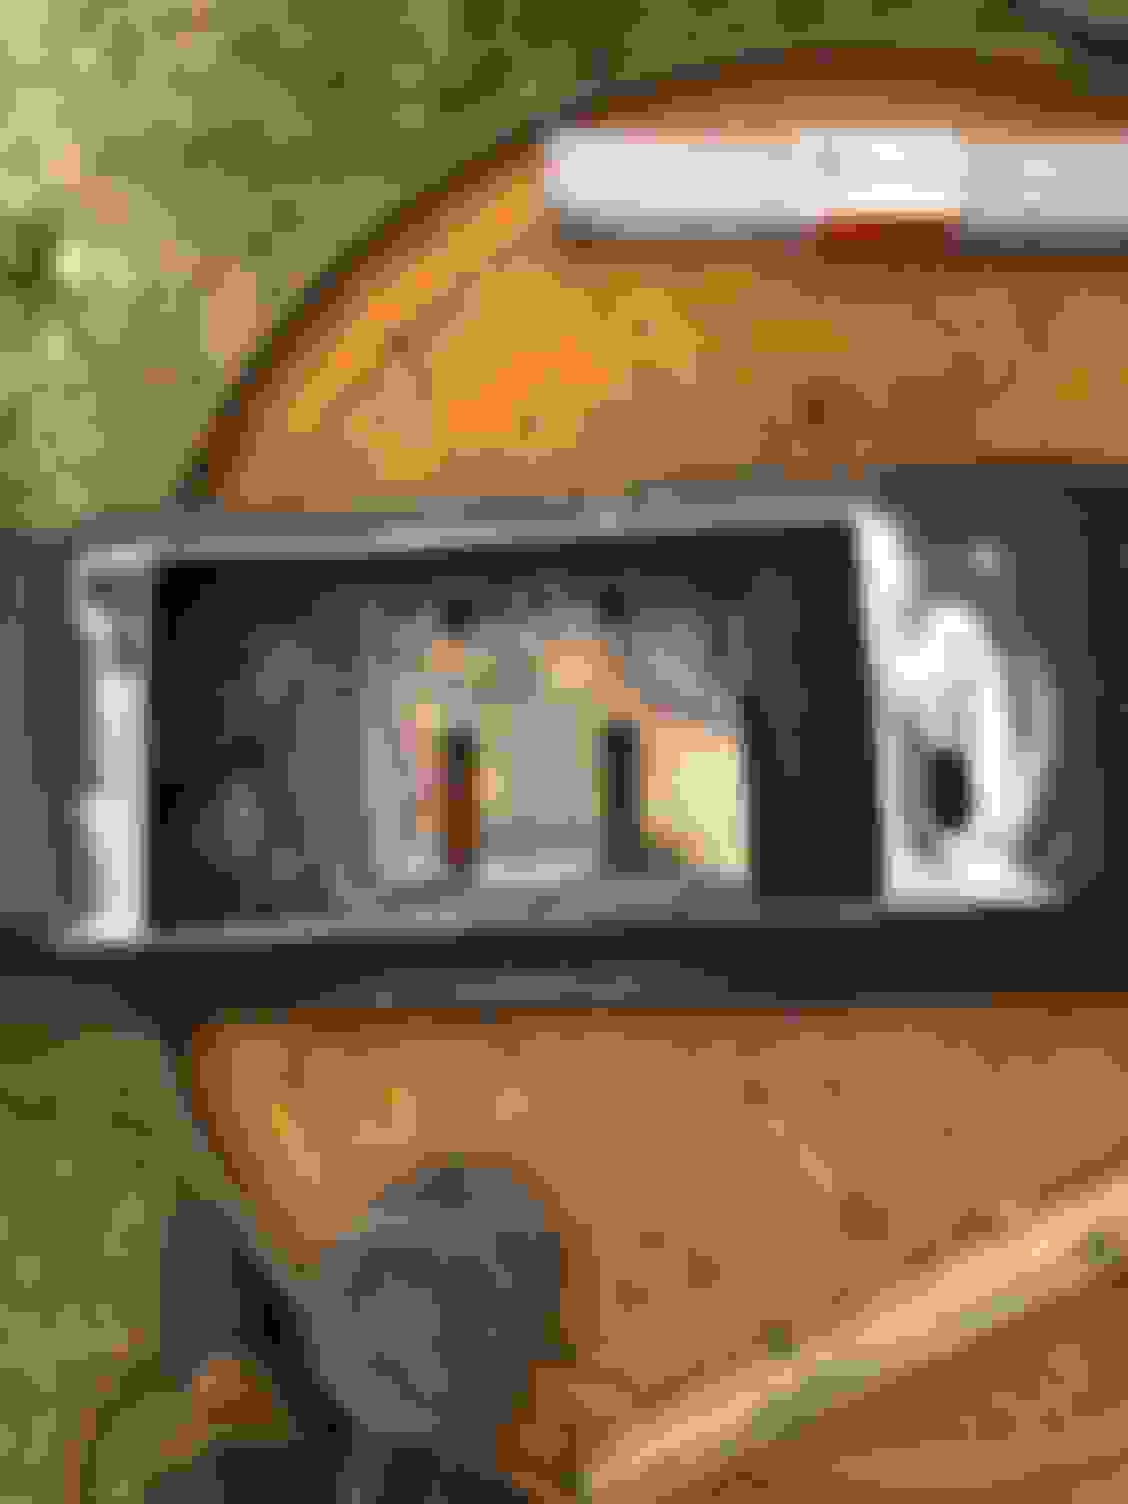
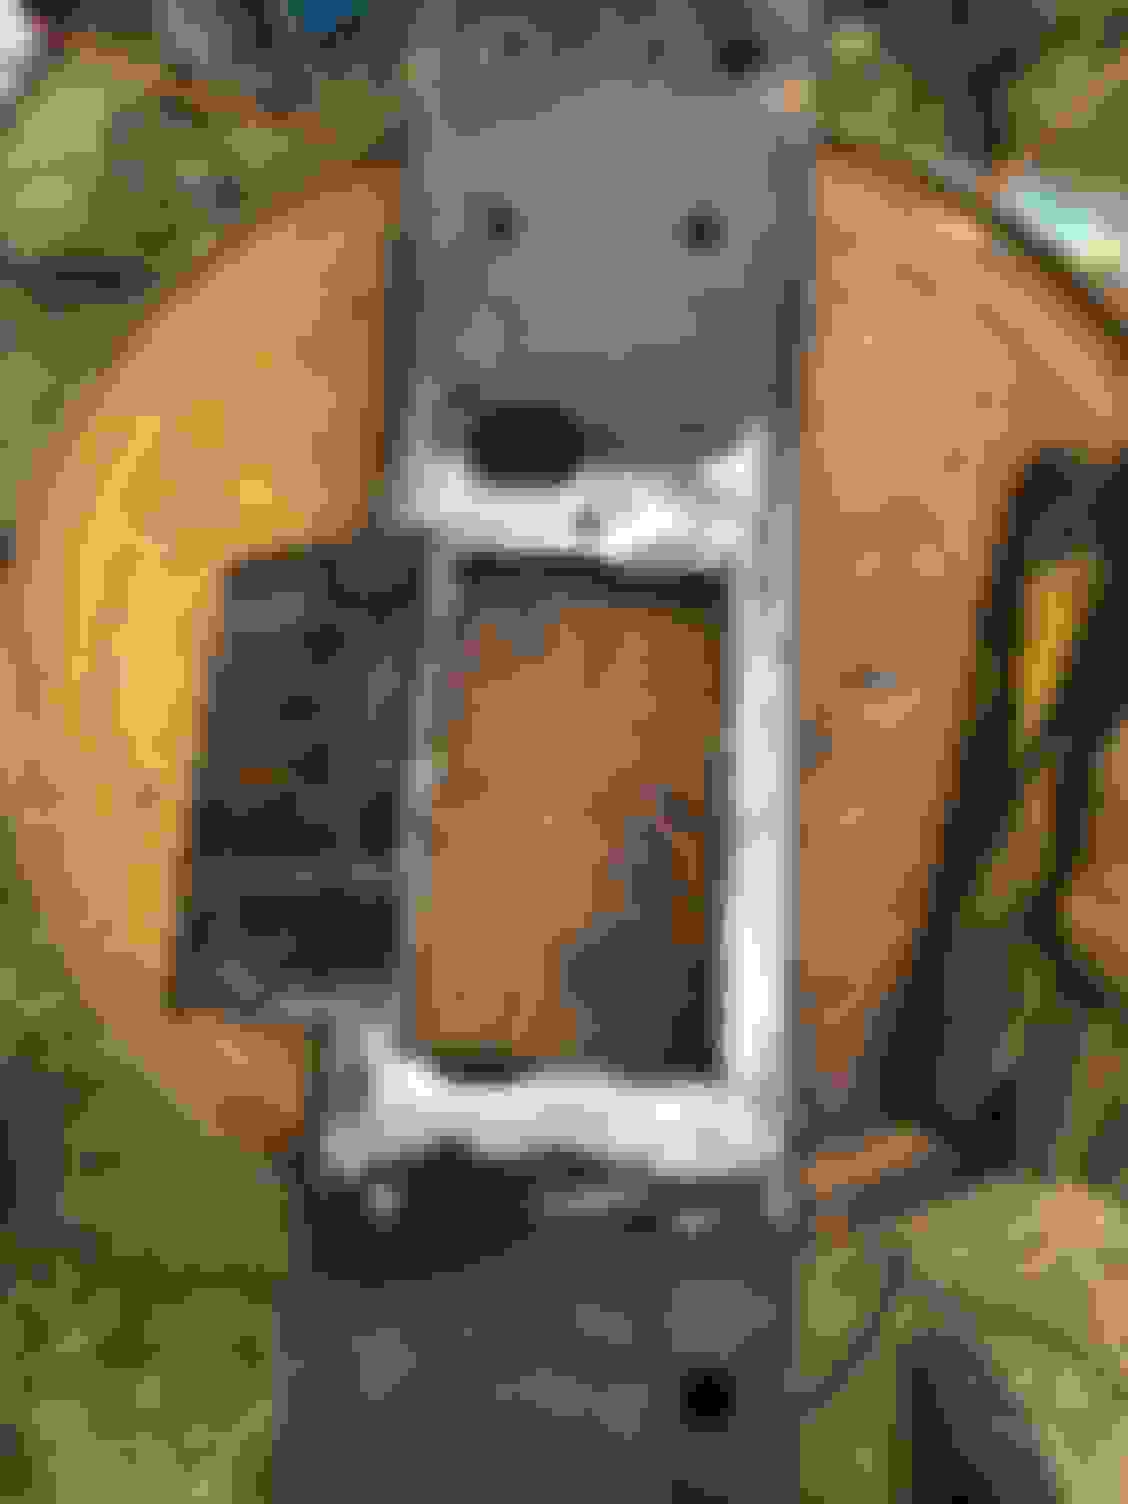
While the rain was hitting on Sunday, I sand blasted my rear calipers in my HF blasting cabinet. I had been using glass bead in there for other items that seemed to work pretty well. About halfway through my first caliper, the gun kept clogging up. From what I can tell, with the humidity and rain on Sunday, the drier just couldn't keep up and I was getting moisture in the blasting gun. So, broke all that down and went to some black oxide media after draining out the compressor and cleaning up the drier. Seemed to work fairly well, though I didn't clean up the second one as well as the first (As you'll see from the pictures). I spent some time trying to figure out how the tape the inside of the piston bores so I wouldn't get paint in there. Then it dawned on me, the pistons with the old boots are the perfect size! Score! I'll throw a couple more coats on them this week so I have them ready this weekend.
On to the pics (not many this time)!
Bumper needs some work. Prior to removal Ugh. Prior to cleanup Pretty nasty on the inside This is the "Dirty" one after cleanup Overall, the sand blaster worked pretty well.
I realized that there's some leftover fluid film of some sort. Not sure if it's factory or not, but it's a tar like substance about 1/6" thick on the frame in some areas.
If it is kinda of a black rubbery substance it is the same factory stuff I had on the frame I cleaned up. A single edge razor worked the best for getting it off, if you want to remove more of it. But I agree that painting over it is probably OK. If it is still on there after all of these Ohio winters, it probably isn't going anywhere.
Last edited by msuser92; Jun 11, 2019 at 05:31 AM.
Reason: fix quote
This Hennessey Takes the Expedition Tremor's Off-Roading Capability to the Next Level
Slideshow: The VelociRaptor Expedition gains a lift, upgraded suspension, Brembo brakes, and trail-ready equipment while retaining the stock 440-horsepower EcoBoost V6.
Rezvani's Latest Post-Apocalyptic Monster Is a Ford F-150 Raptor Underneath
Slideshow: Called the Fortress, the 850-horsepower pickup combines Raptor underpinnings with military-inspired features, survival equipment, and a starting price of $285,000.