When you click on links to various merchants on this site and make a purchase, this can result in this site earning a commission. Affiliate programs and affiliations include, but are not limited to, the eBay Partner Network.
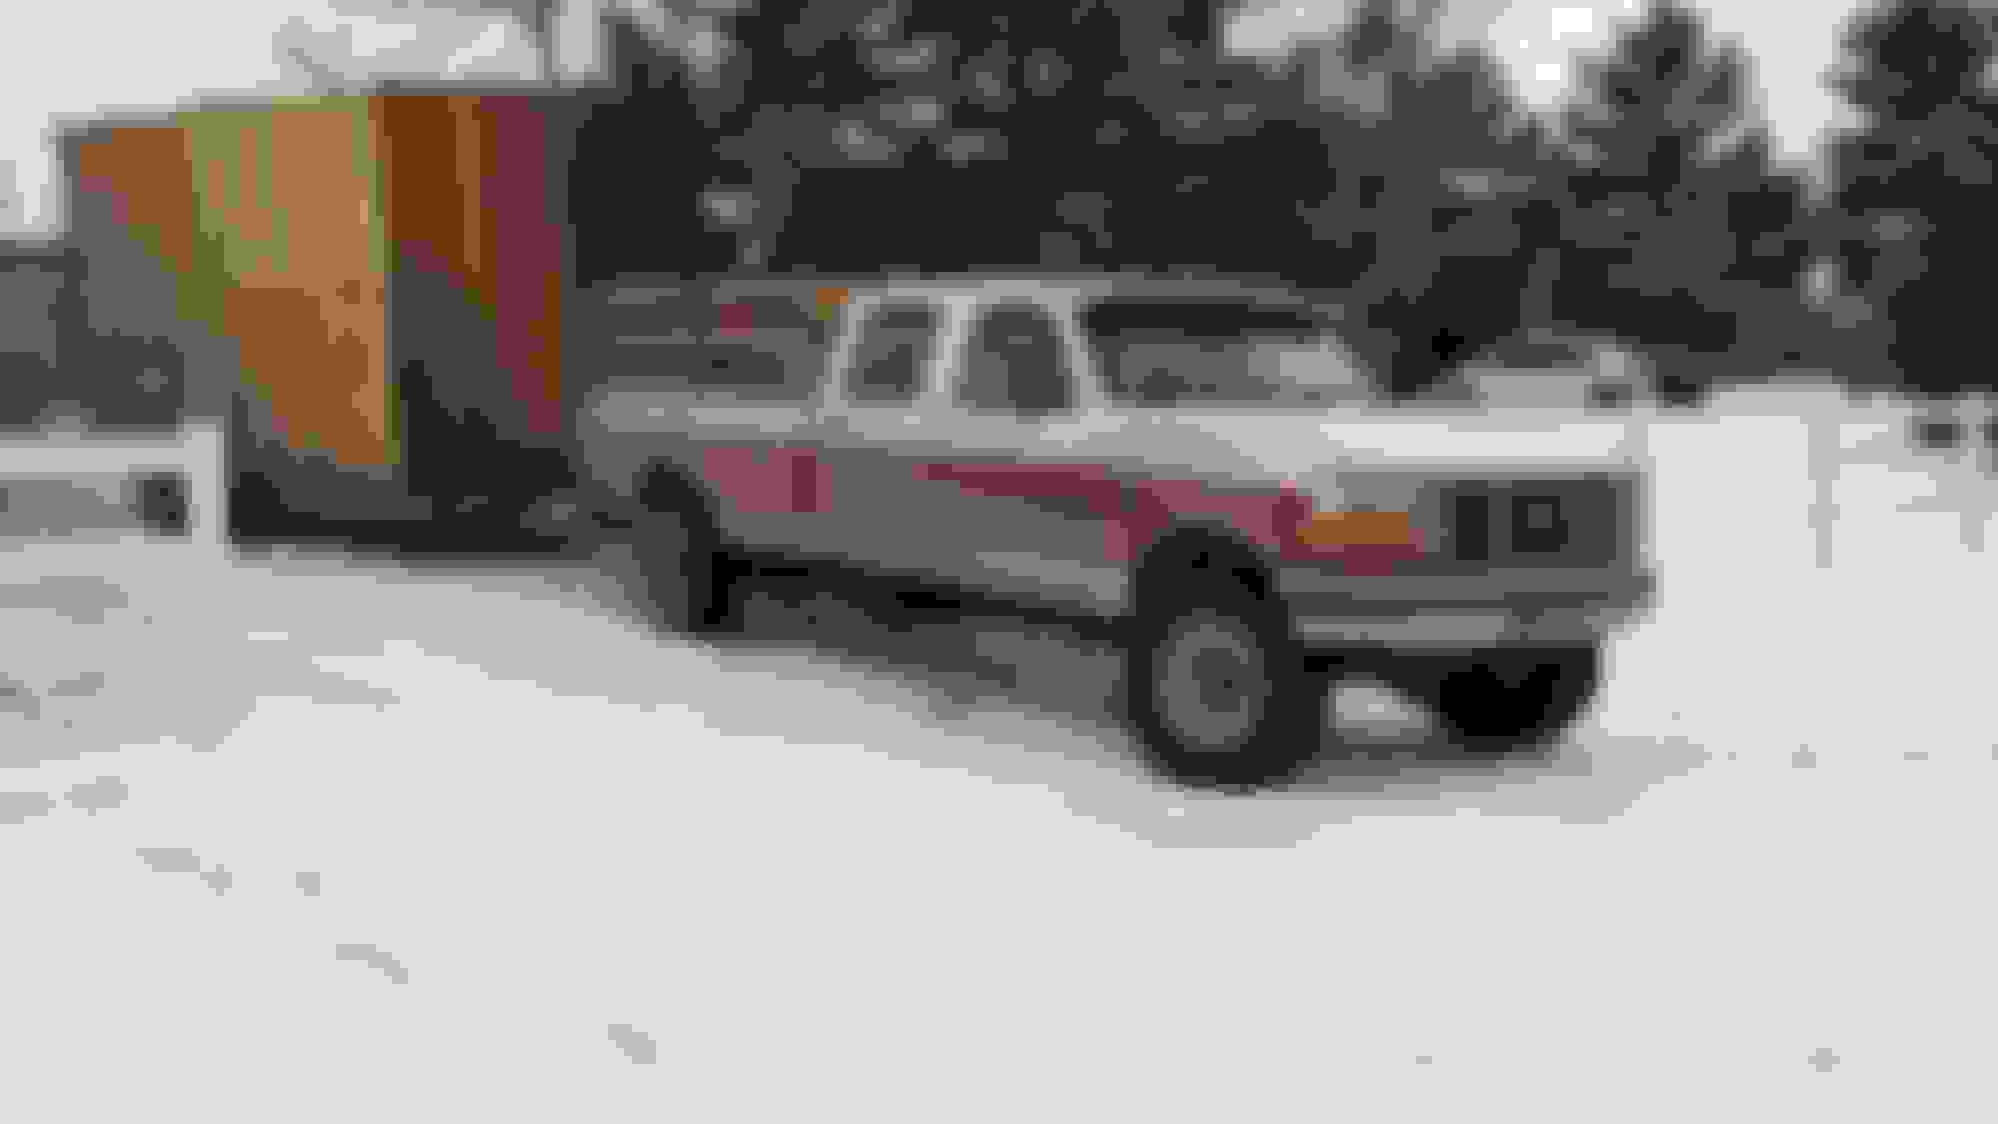
Hey everybody, this is my build thread. So back in August of 2016 I bought my 1992 f350, cclb, 4x4, zf5, 7.3 idi, 300,000 miles when I bought it. I've put about 4,000 miles on it since then. So the e-brake locked up on me one day when it was cold, so I took everything apart and found out that my hub seals were leaking bad. I put it back together. I took it back apart to do the seals a couple weeks later, and found out that my hub bearings were on their way out and that there was water in the axle. I put it back together. So now I'm here today with the rear axle out completely rebuilding it, doing an arb locker, and doing a shackle flip, which will give me 2" of lift in the back. When I'm done with the rear I'm moving to the front and doing a 3"ish rsk. I say 3"ish because I don't know exactly how much I'm gonna end up with with the springs that I'm using. After that is the cummins swap. The truck is also gonna get a zf6 with the cummins. Many other little mods are in line in middle of all this, but I'll list those as they come. At least y'all know the basic plan for the truck. I only have a couple hours a day to work on it, so it's gonna be awhile before I'm done. I'm hoping to be done by Thanksgiving. Edit: I didn't mean to only insert pics of the passenger side, it just worked out that way.
At the ski slopes. Hauling scrap. Removing the rear axle. It's out! This is what the fluid looked like. And the parts that are now retired.
Here's the slow progress!
The new parts, ready to go in. The clean housing. I know, I know, it looks brown. That's from the aforementioned water in the diff. The new girdle diff cover.
And today's progess....
Got all the guts in, adjusted the pinion depth once and carrier a couple times, and checked the pattern. It still needs some adjustments, but it's in the neighborhood now.
This morning I finished setting up the gears. Now I'm ready to poke a hole in the housing for the air line for the arb. I'm also gonna be running a weld around each axle tube because of humphrey169's experience.
Alright, it's been awhile, so here's an update. Got the hole poked in housing for the air line, got the springs dropped. Now I'm waiting for some o-rings for the arb and new bushings for the springs. Very slow progress for sure, but better than no progress. I'll try to post some pics a little later.
Been planning the same swap for my 86, glad you made a thread
That sounds like an awesome project!😉👍 I'm glad it's helpful to someone! I hope you have good patience as I'm moving along VERY SLOWLY.lol Hope you enjoy it! The parts that I was waiting for came in today, so progress will continue Sunday.
This morning I primed and painted my new rear spring mounts. And I also figured out that I ended up with some new bushings that don't fit. Not cool. I ordered energy suspension kit 4.2114g, the bushings that go in the spring eyes fit great. The ones that go in the shackles on the other hand are 100 thousandths too big. The kit was supposed to fit my truck. So I found out that they have 2 different kits that could fit my truck. Thankfully my dad had ordered the other kit for one of his vehicles. So I checked his kit (kit# 4.2140g) to see if it was right. The ones in his kit are an 125 thousandths (1/8") too small. So it looks like I'm stuck putting mine on the lathe and turning them down.
I welded my axle tubes to my axle housing to prevent rotating the housing on the tubes. Got the axle all cleaned up and painted. There's the springs with the new bushings in em, and my new to me overloads. By the time the truck hits those overloads I should be able to really haul.
That's the progress of late.
Nice build thread; I enjoy following these rebuilds. Looking forward to more!
Thanks! Well at this point the truck is gonna be down for a few months anyway, and I'm pulling the bed to do the paint. So while it's that far apart I've decided to go ahead pull the cab and clean, paint, and glove the frame. So I'm almost doing a cab off resto. Thankfully the truck has NO rust at all.
There's the air locker permanently installed. That air line was quite the little booger to deal with. And the axle, 100% assembled(less drums) and ready to go in.
And that's what's happening, almost done with the rear, FINALLY.
Rezvani's Latest Post-Apocalyptic Monster Is a Ford F-150 Raptor Underneath
Slideshow: Called the Fortress, the 850-horsepower pickup combines Raptor underpinnings with military-inspired features, survival equipment, and a starting price of $285,000.