When you click on links to various merchants on this site and make a purchase, this can result in this site earning a commission. Affiliate programs and affiliations include, but are not limited to, the eBay Partner Network.
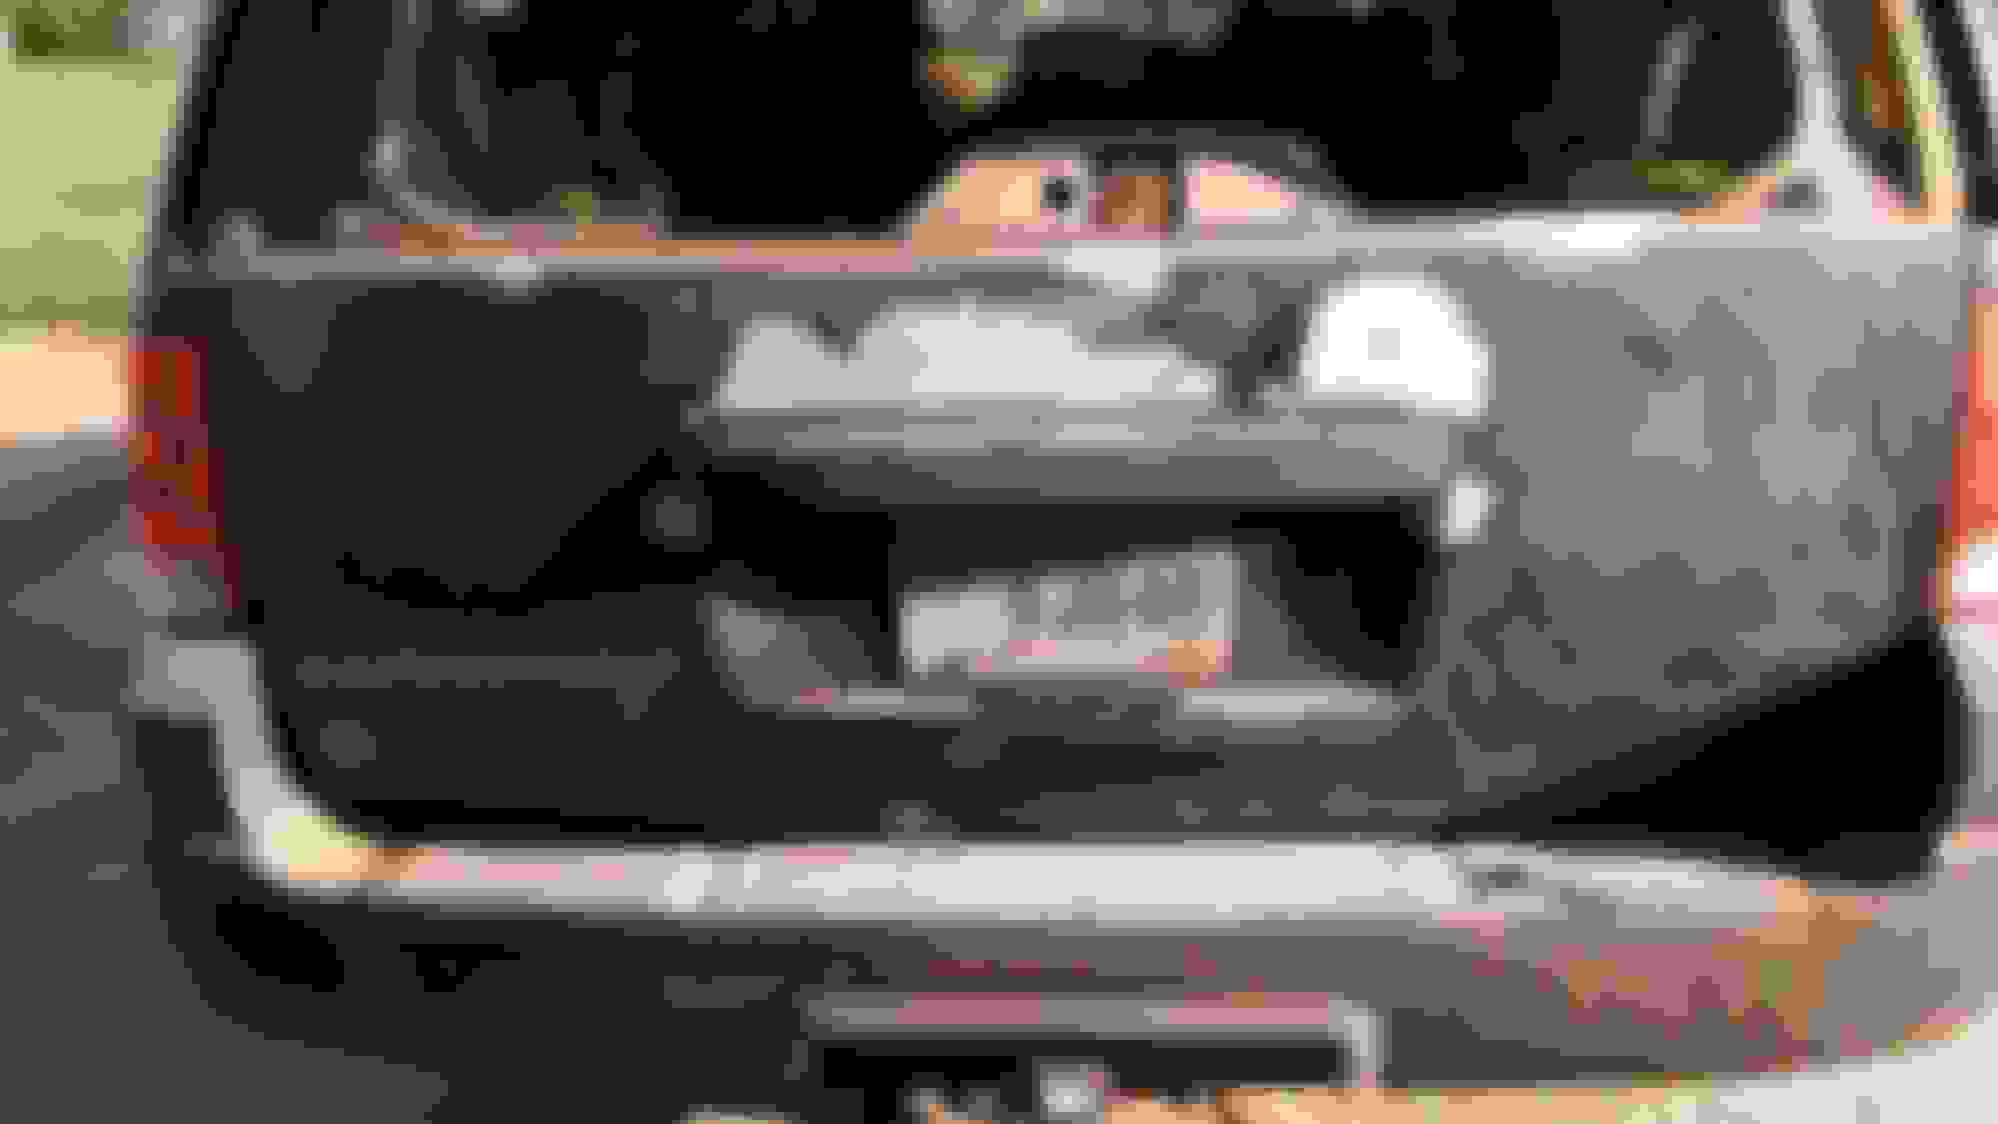
My rear hatch is peeling badly and I'm tired of looking at it. So tonight I peeled off the ford emblem and bubbling paint and started sanding.
It is going to be a slow process because I'm lucky to have a few hours a week to work on it. But I got some high build primer and some single stage paint (catalyzed) from the paint supply store and I'm going to hope for the best.
Here is what it looks like after scraping off all the bubbling paint. Gotta look worse before it looks better, I guess.
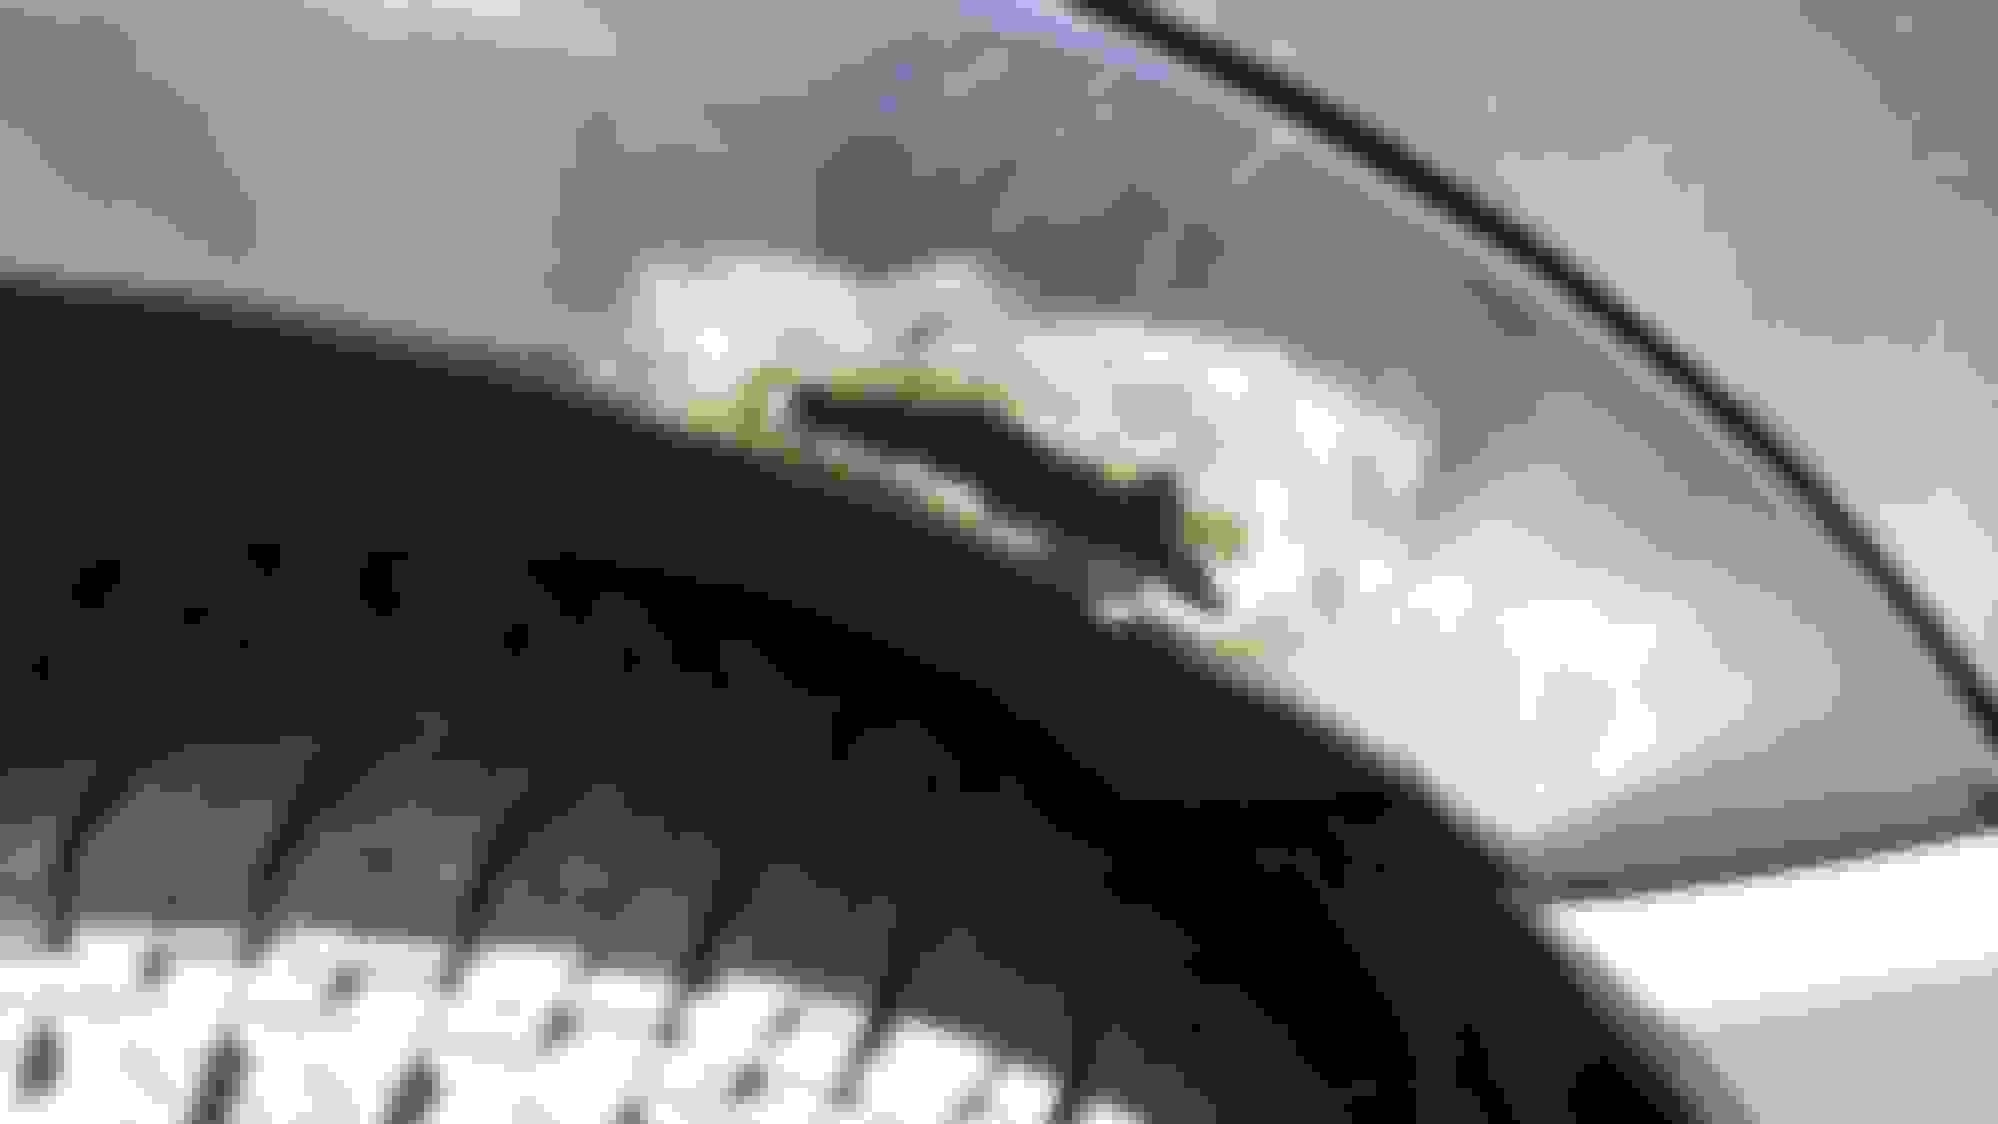
After feather edging the paint with 320. Not worrying about under the gasket. It will get sprayed but I dont care how that looks.
more feather edging.
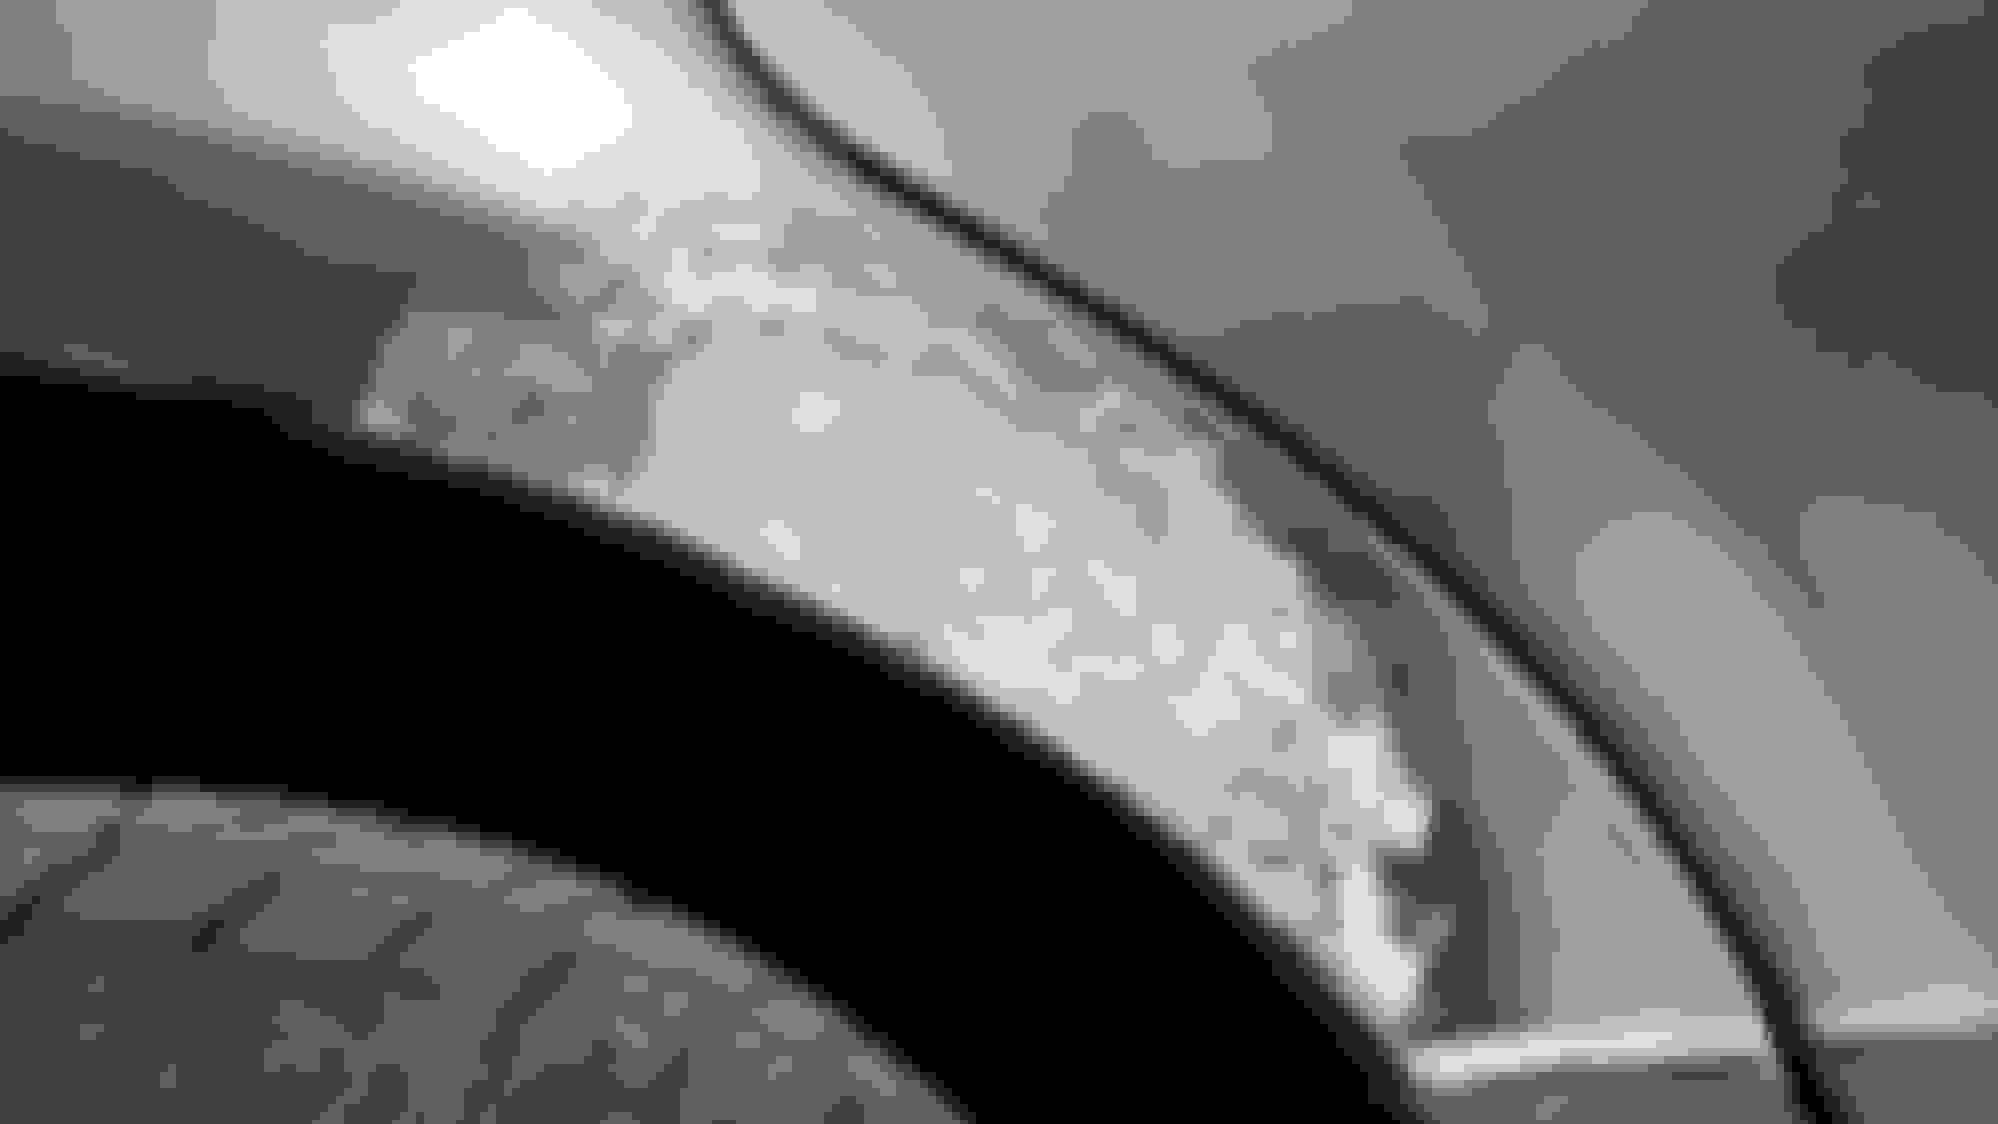
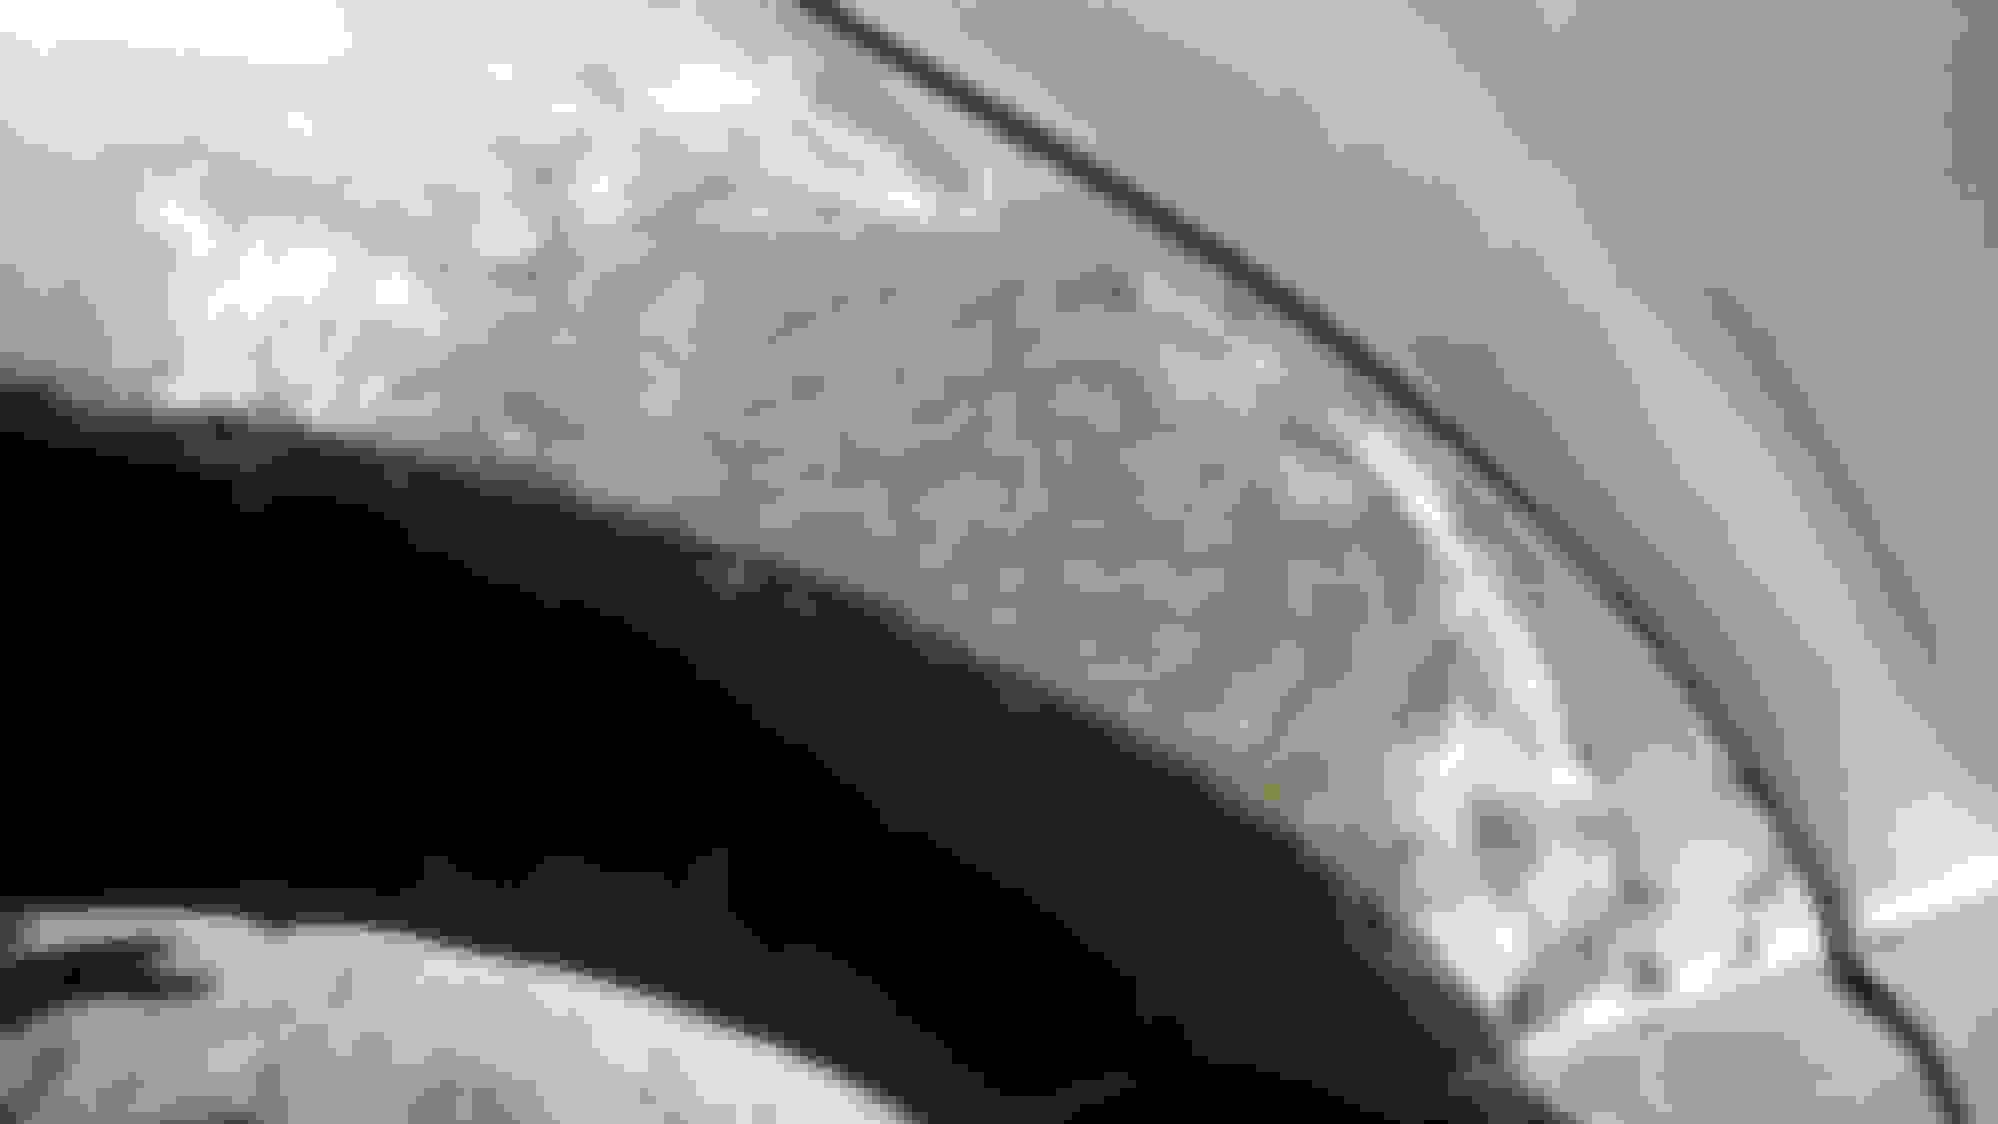
first coat of high build
same coat different angle
Thats the end of day one. Might have time to sand the first primer coat on Friday.
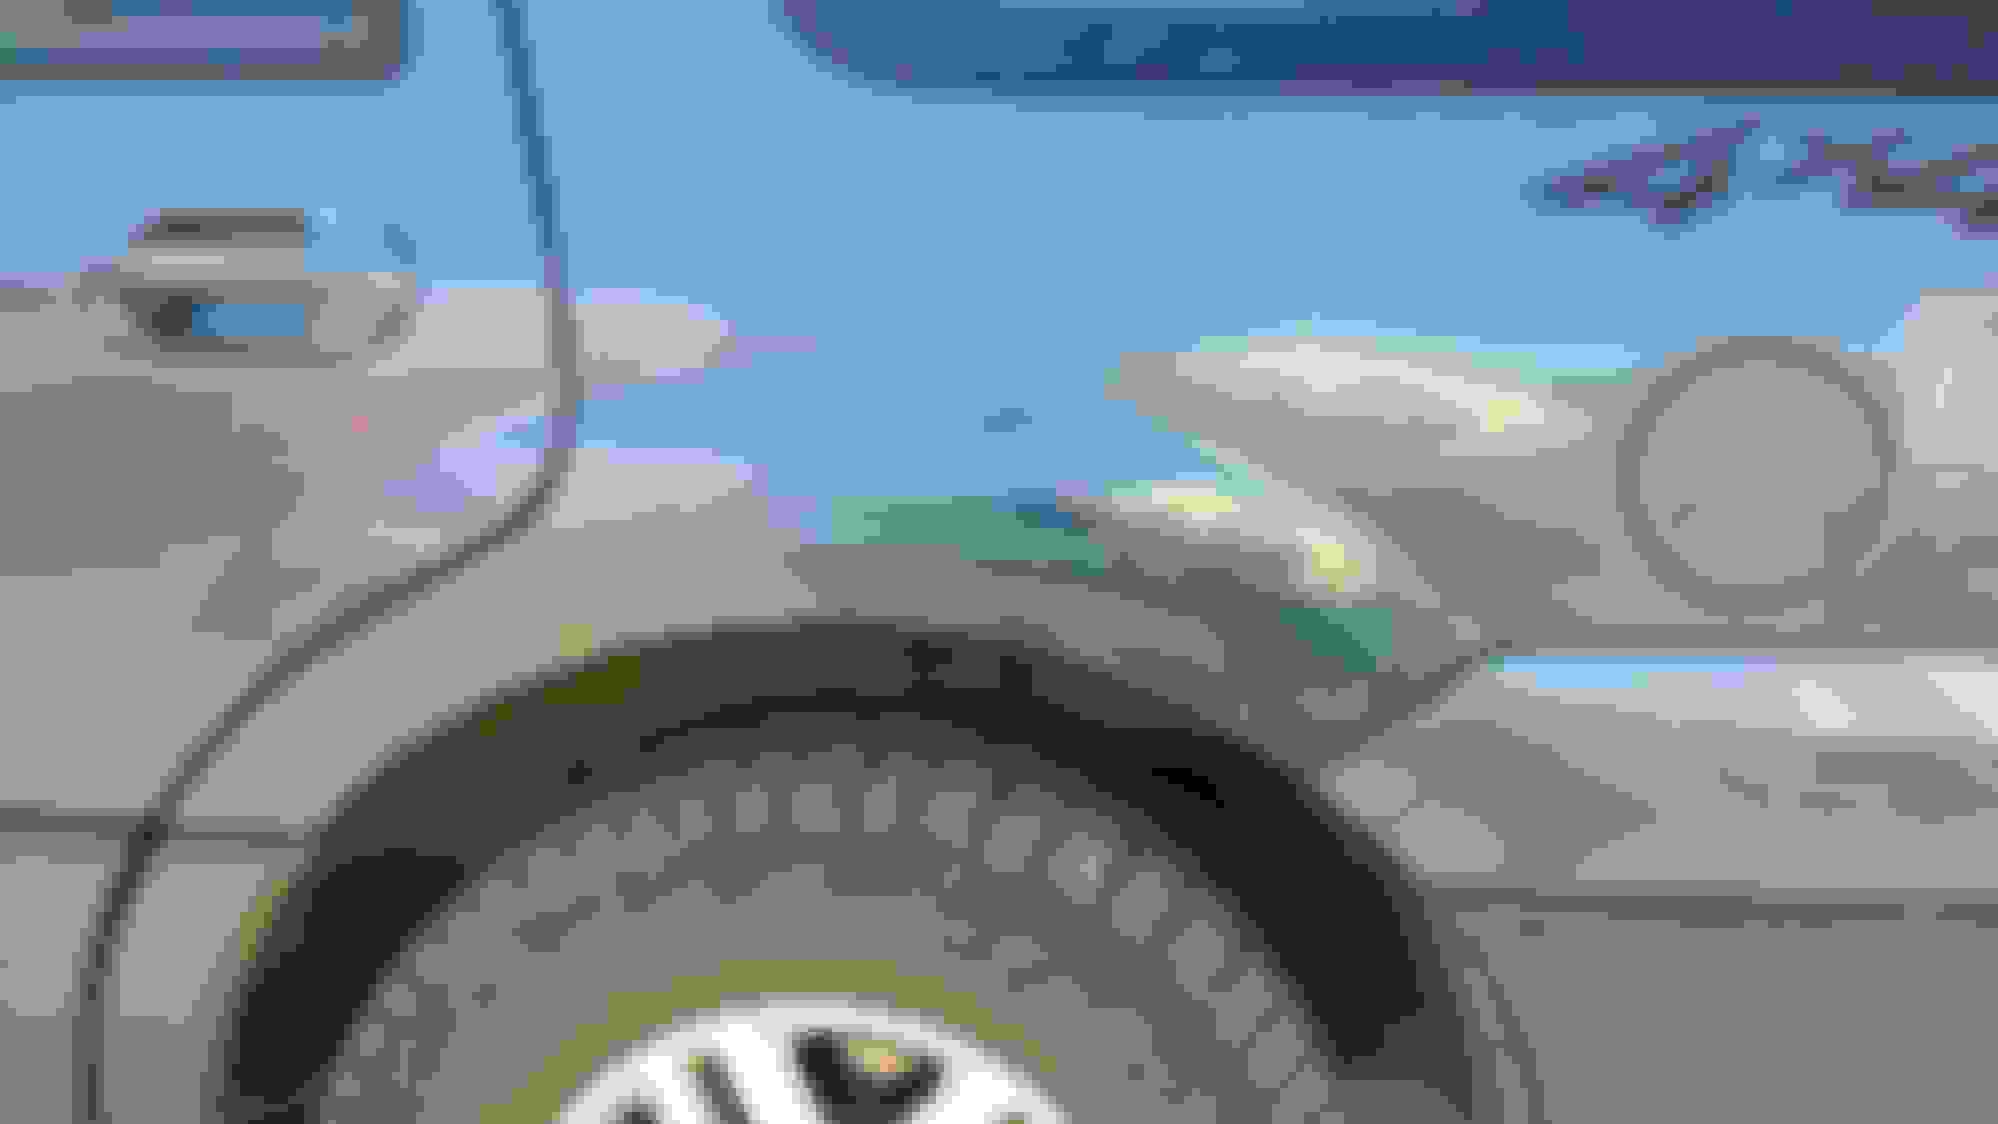
Here it is, day two, and I'm up to the ford emblem with prep and some primer. This is definitely not the way to do it, but it will work I suppose. Can't be worse than it was.
So I pulled the license plate light off and got after what was peeling under there. It was quite a bit so I'm glad I did. The pitting on the aluminum is pretty bad, so I'm not sure of the high build is going to get it or not. I've got two heavy coats on and it is still pretty visible. It says to put on 3 medium coats, so I'm thinking with 3 coats, and block sanding, and 3 more coats it might be ok. If not ill have to use some filler, but I really dont want to do that if I don't have to.
Normally id get the whole thing ready first then prime all at once, but aluminum oxidizes so quickly I want to get it covered while it is clean. If I loose some primer in the process from overlap, so be it.
Here's a spot on the drivers side rear fender I sanded, primed, and coated with some cheap color match paint. This is just one heavy coat. You can see where the primer was vs the paint. I didn't use a sealer on this because I was in a hurry. The sealer is supposed to prevent this from showing up.
I've done better, but I've done worse...
In the end it doesn't matter what this paint looks like, it is going to get sanded off, sealed, and spayed with the catalyzed single stage I had mixed. This is just to seal the primer. I figure if I got to spray it with something to seal the primer, it might as well be close to the right color. (it was black right before this picture)
This will get block sanded down so the primer shows, then sealed and sprayed for real.
Better than the bare metal I was staring at for the last year, though.
The passengers side is going to be the real buggar.
For the pitted areas instead of the high build primer you may want to check out Nitrostan putty. It is like Bondo, except it is premixed and super smooth. It will drop into those holes and you'll never see them again.
Thanks for the tip. If this doesn't work ill look for some of that filler. It appears, though that this high build is going to work. I was able to get the primer flat without going through anywhere, or at least I think it is flat.
Seems like pretty decent stuff for a rattle can.
Looks like the pits sanded out.
Different angle
here is what I'm using.
So middle of day three and to me it already looks better. I'd rather have primer than bare pitted metal....
In progress
Still kinda looks like poop, though ... Lol
Let it dry for a few hours and see if I can block sand the rest flat. Then I could get the sealer on it and maybe even some cheap top coat. Seems unlikely ill get all of that done today, though.
Still working at it. Got all the high build sprayed and knocked down. It has some micro bubbles or porous spots in it that are going to show, so I'm not quite sure what to so there. The sealer didn't help any with that. And I found another spot down by the handle I missed. Grrrr! So I have to back track and fix that one too. Really should be stripping the whole door down and redoing all of it as bad as it is. But I don't have time for that, so this will have to do.
I got started on the fender rust while I was waiting for the primer to cure.
Well, I sprayed the porous spots with some more high build, hopefully those will fill in when I sand them down. Might be because I'm putting it on too heavy ... Or not heavy enough. I noticed the bubbles start and fill in as I sprayed, then come back as it started to cure. Hoping for the best.
But the down time while it dries gave me time to start working on the fender. That kitty hair is some hard stuff! I worked it down with the grinder and found some holes. So i skimmed it over with some more kitty hair. The second coat goes on way easier than the first. You can actually work with it some on the second coat. Enough where I think I can just sand it rather than use the grinder. We will see though.
Going back to wet sand the high build....
Check out the holes and the mesh behind the kitty hair.
Second coat of filler. Should just be regular filler from here on out.
Your bad paint job is still better than my good paint job. I can tear down and rebuild an engine blindfolded and with one hand tied behind my back. But give me some body filler and paint and I will always make it look bad.
I fought those pin holes as long as I was willing, and had some success using the sealer getting them to fill the pinholes and then sanding them back. I got it better than OK and quit there. The bottom line was that this is still a home jobs done outside with a cheap gun and even if the prep is perfect, the top coat wont be, so I called it good enough.
Wasted the only hour of the day with no wind mowing the grass while the sealer cured then threw caution to the wind and sprayed the good stuff. I was going to just use the rattle can blue, but decided to just go for jt. I'm glad I did because now it is done, except for the passengers' side that is still in bondo. I wanted to do it all at one time, but the day was right weather wise so I got 3/4 of it done. Supposedly the hardener I'm using only lasts two weeks before it starts to go bad, so hopefully I can get rear fender ready in that amount of time. We will see.
Wasn't very flat...
Pinholes
Pinholes
Pinholes
Pinholes
Pinholes
Pinholes
Pinholes
Passengers fender in bondo
Bondo
Same as first pic after sealer
Stuff I used to paint
1st coat of paint
Say something about this photo
First coat on fender
Can you see the primer poking through? I could so I had to respray it again.
Little bit of orange peel. To be expected given the type of gun.
Your bad paint job is still better than my good paint job. I can tear down and rebuild an engine blindfolded and with one hand tied behind my back. But give me some body filler and paint and I will always make it look bad.
I'll paint something for you if you come change my spark plugs.
I talked to the guys at the paint supply house and that is what they recommended to help blend it in. Since I wasn't brave enough to thin it down and I feathered it out (I've just never done that before and didn't know what that gun would do with it thinned out) my only option to make it look its best is to wet sand the areas where I tried to blend it and hope for the best. I could color sand the whole thing and really make my prep work show up but a little bit of orange peel helps hide some flaws underneath. It has actually flattened out a bit more today baking in the sun.
I've done a fair bit of wet sanding before and that doesn't bother me, other than the time spent. So the plan is to start with 1000 or 1500, then 2000, then 3000 grit paper and follow it up by hand rubbing it and that's as good as it is going to get. It's not a great color match, but far better looking than it was. But again, I'm just going to do where the two paints meet, I'm not doing everything.
To be honest, I'm not sure the truck is worth all the effort, but at least I can hold my head high and say I did what i could to keep it nice. Not that the next guy will care.
I doubt ill get anywhere on it in the next couple days but who knows.
Got to thinking about it and I did the 1000-3000 and hand rub on my explorer when my father in law backed into it. Its amazing what some sanding and rubbing can do.
This Hennessey Takes the Expedition Tremor's Off-Roading Capability to the Next Level
Slideshow: The VelociRaptor Expedition gains a lift, upgraded suspension, Brembo brakes, and trail-ready equipment while retaining the stock 440-horsepower EcoBoost V6.
Rezvani's Latest Post-Apocalyptic Monster Is a Ford F-150 Raptor Underneath
Slideshow: Called the Fortress, the 850-horsepower pickup combines Raptor underpinnings with military-inspired features, survival equipment, and a starting price of $285,000.