When you click on links to various merchants on this site and make a purchase, this can result in this site earning a commission. Affiliate programs and affiliations include, but are not limited to, the eBay Partner Network.
Jim, From an older post of how I was successful. Note that I broke one trying. It turns out that the one that I broke was not sized correctly. Correct size/shape is critical to be successful for the windshield with the stainless trim . I think that you can get away with some variation of
size/shape for a standard windshield.
"My final post on an older thread about my experiences on getting a proper windshield fit. Note that my windshield has the SS trim which makes the windshield installation more challenging and I believe the correct size and shape much more critical. I had my windshield made at a local glass shop and with a correct pattern (from Josh) and would recommend doing it that way."
Quote:
<table width="100%" border="0" cellspacing="0" cellpadding="6"><tbody><tr><td class="alt2" style="border: 1px inset currentColor; border-image: none;"> Originally Posted by 49willard First, thanks to Josh for sending me a pattern that he traced from an original Ford script windshield. It revealed as I thought that my old windshield and the windshield that I used to make the now broken new/old windshield was too small by about 1/4 inch in both height and width. The corner shape was also a bit off. I have had a second windshield made using the pattern from Josh. I had originally bought the rubber that I have been using from Drake (back in 2005!). I called Drake today to see if they originally would have molded that rubber inhouse. The answer was maybe and maybe not. If they had run out of their own at the time, it could have been made by DC. They indicated that they have changed at least the rubber composition and with that the part number has changed. I decided to buy another one in the interest of maximizing my probability of success. More to follow!
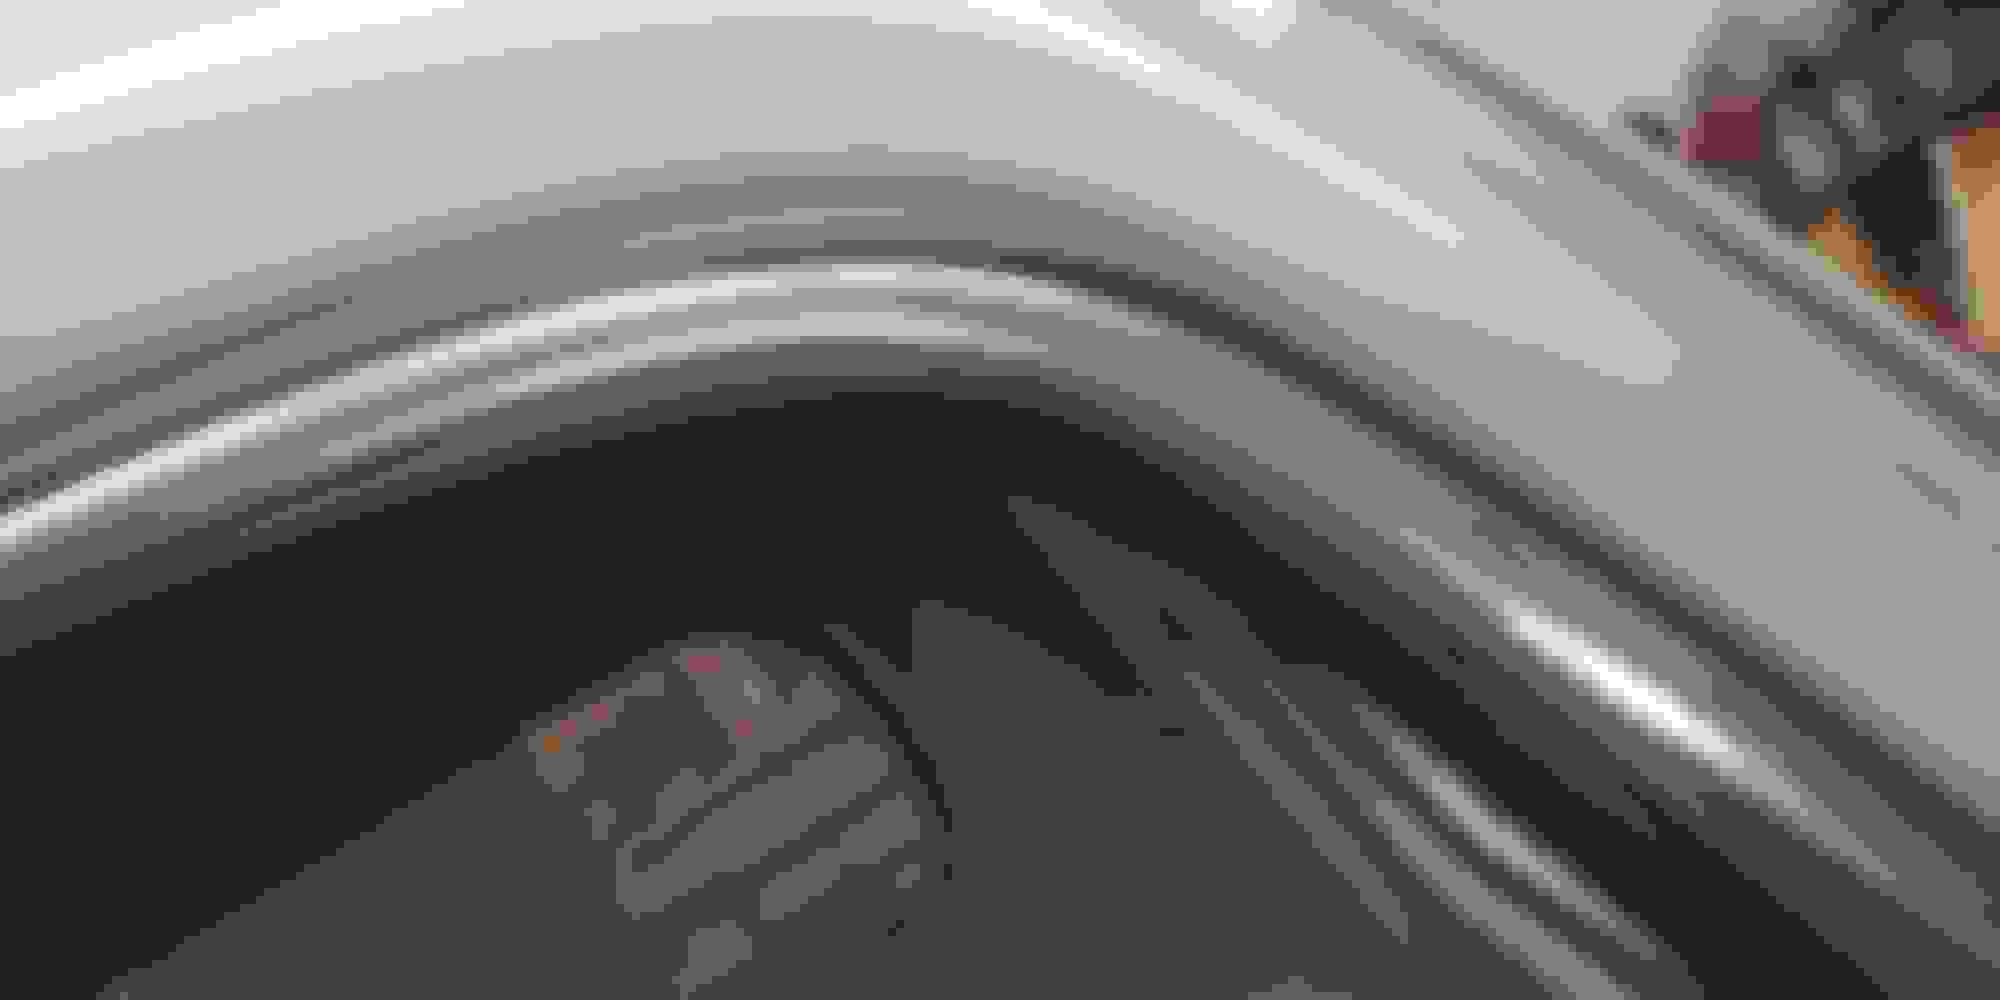
</td></tr></tbody></table>I thought that it is appropriate to update how it all worked out. The second new windshield is correctly sized thanks to Josh for the pattern from an original script windshield. Note that correct size/shape IS really important, particularly for the ss trimmed windshield. Also the difference trying to use the new/old (2005) rubber verses a brand new rubber from Bob Drake which is supposed to have a change in the compound was significant. There was a significant difference in the process of fitting the ss trim into the new drake rubber. Note that my process was rubber on glass first then ss into rubber groove (all but the bottom center and clip). I made a plywood "strongback" and used spring clamps to hold the ss in position as I worked the ss into the rubber groove around the windshield. The strongback which was about 1" larger all the way around the windshield gave me something to clamp to. I had done that when Tom and I had the initial attempt however the plywood was not adaquately flat and that is why I broke the first windshield, the new one that was too small. With the right size/shape windshield and the new rubber gasket, it was very reasonable to get it together. I finally installed the windshield into the cab last week. The corners are not perfect but something that I can live with. One other hint that I would offer is that I used duct tape in multiple locations to help hold rubber to glass and the trim in the groove while installing the assembled windshield, rubber and ss trim in the cab.
Thanks Bill I took my windshield out 2 months ago to paint the truck now I'm ready to put it back in with new rubber. It's a bear to get the trim back in.
Jim,
Is the windshield that you have an original or do you know that it was correctly sized and shaped? I think that you will find that to be critical.
It was in the truck with the ss trim before I took it out to paint. I had installed it years ago when I painted the truck the last time just can't remember how I did it then of course that was 25 years ago. I used a DC rubber then and that is what I am using now.
Grrr... this SS trim does not seem to be cooperating. It seems to be a different shape � I was able to make a pattern to have new glass cut from the original windshield that I removed with the trim, so that should not be the case. Any tricks for installing the trim? Seems the radius of the corners doesn't quite match, and it is reluctant to bend in that orientation.
Goldco. That is exactly what mine was doing as well, it is good to have a helper hold the trim in a corner while working the next corner. (My 12 year old had a lesson in patience that day ) ok I did too!
For the difficult corners I think the rubber seal actually pulled away somewhat from the glass to fit the sstrim. I'll take some pictures of my trim in the corners as it does not appear to be perfectly symmetrical either. (Top corners vs bottom) But its in, and I'm not messing with it again if in can help it.
Rezvani's Latest Post-Apocalyptic Monster Is a Ford F-150 Raptor Underneath
Slideshow: Called the Fortress, the 850-horsepower pickup combines Raptor underpinnings with military-inspired features, survival equipment, and a starting price of $285,000.


 ) ok I did too!