


Four Door Bronco Build Thread
Thread Starter
|
Laughing Gas
Joined: Nov 2013
Posts: 1,210
Likes: 7
From: Minnesota
Thanks guys!
A few more updates for you:
Did a little more grinding
Seat belt brackets painted
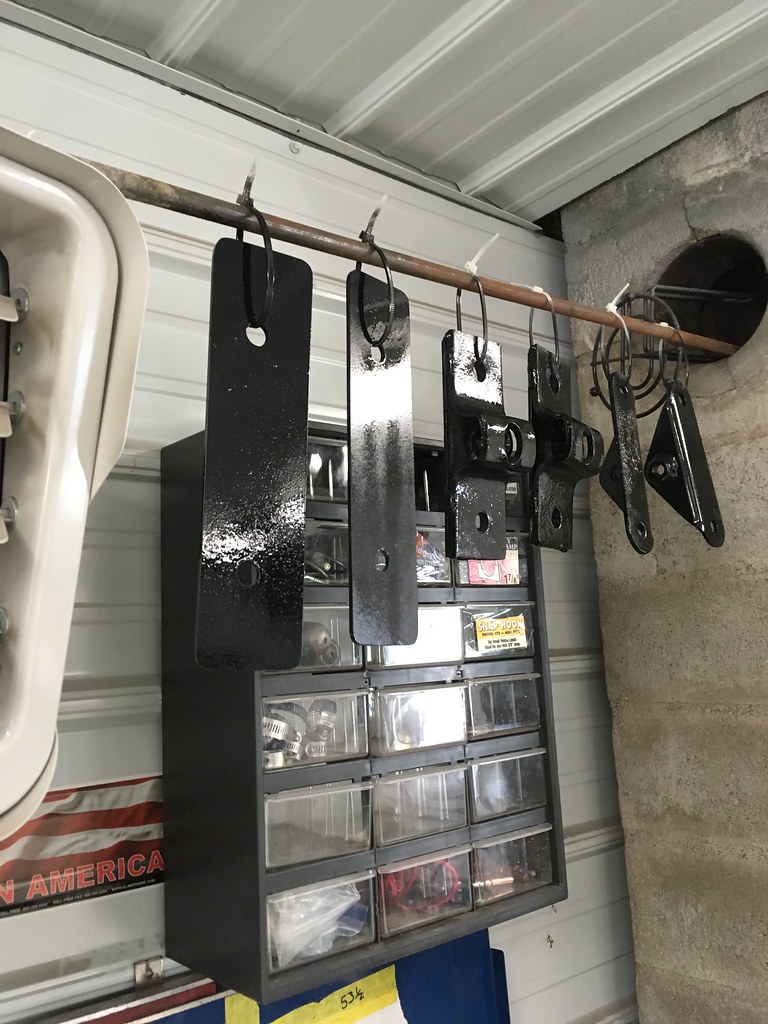
Installed

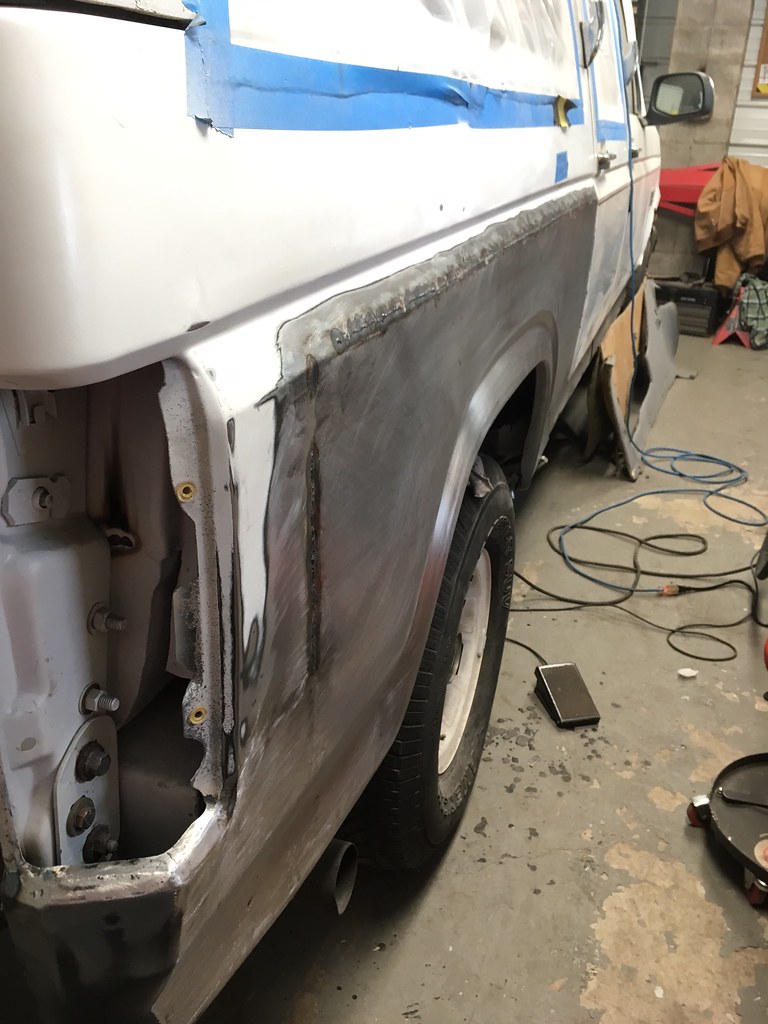
Inner wheel houses installed, and extra drain holes added. Still need to paint this side with POR15. The top was painted before they were welded in.

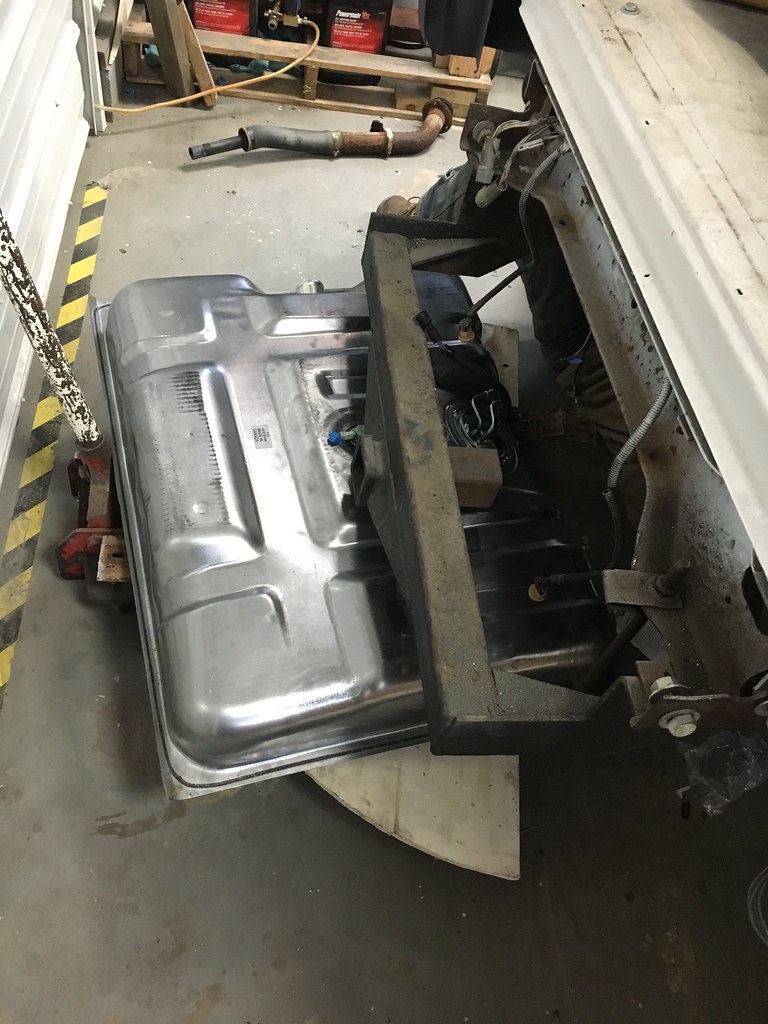
New gas tank going in. Had some fitment issues, for some reason it didn't want to go up far enough. Got it mounted good enough to drive it home. I will have to drop it again and figure out why it doesn't fit.
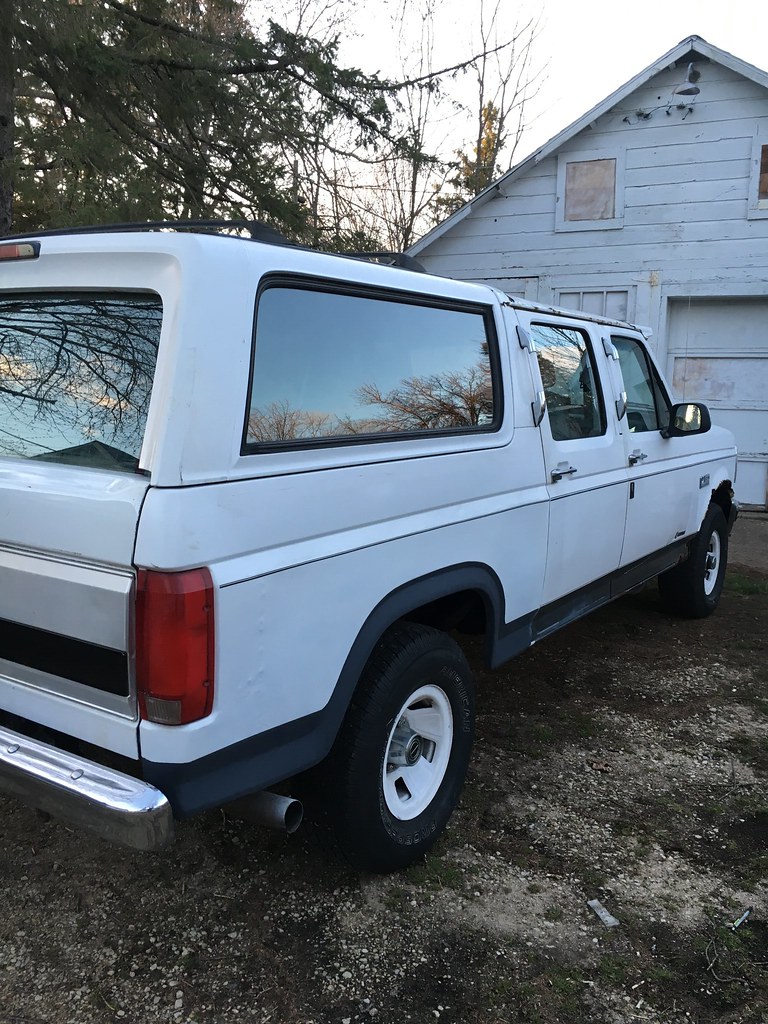
Finally home!! :rockon :rockon Used 2 colors of primer to match the existing paint job.

Before and after:
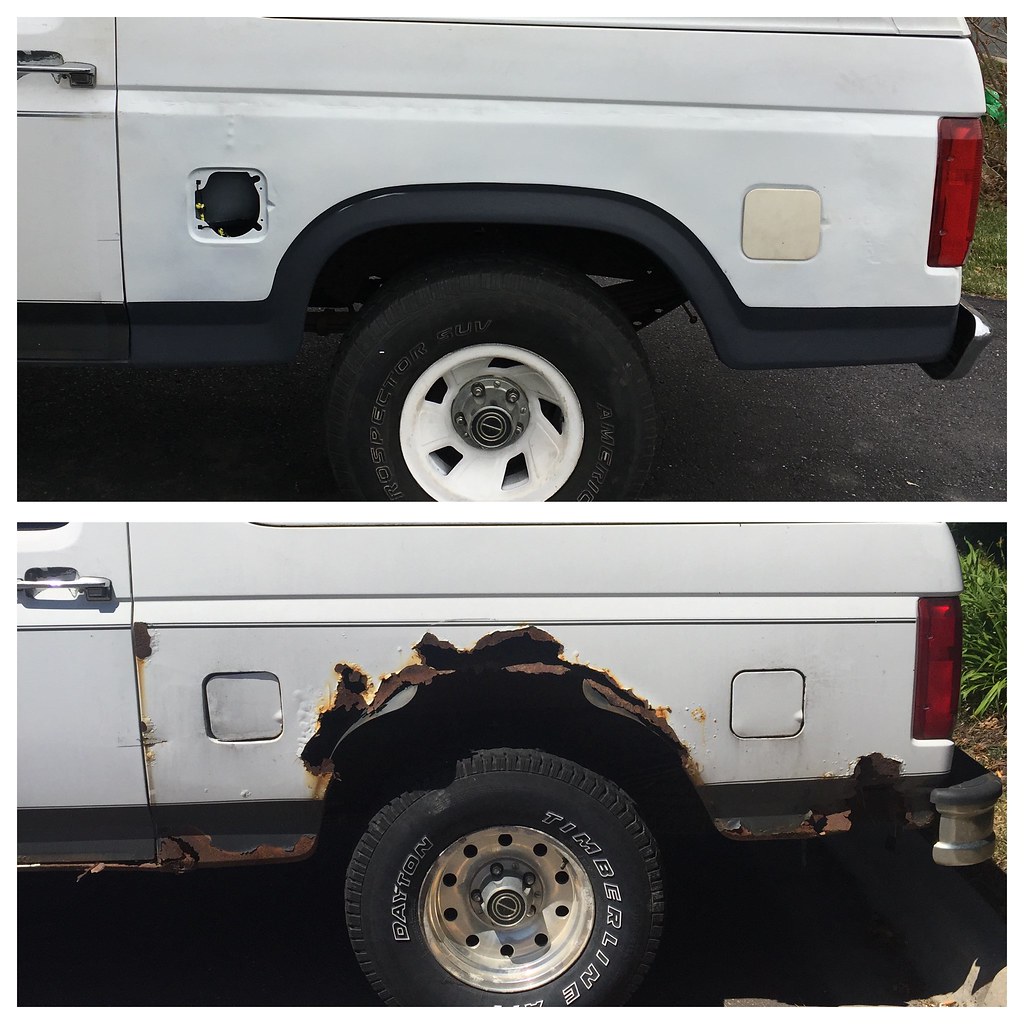
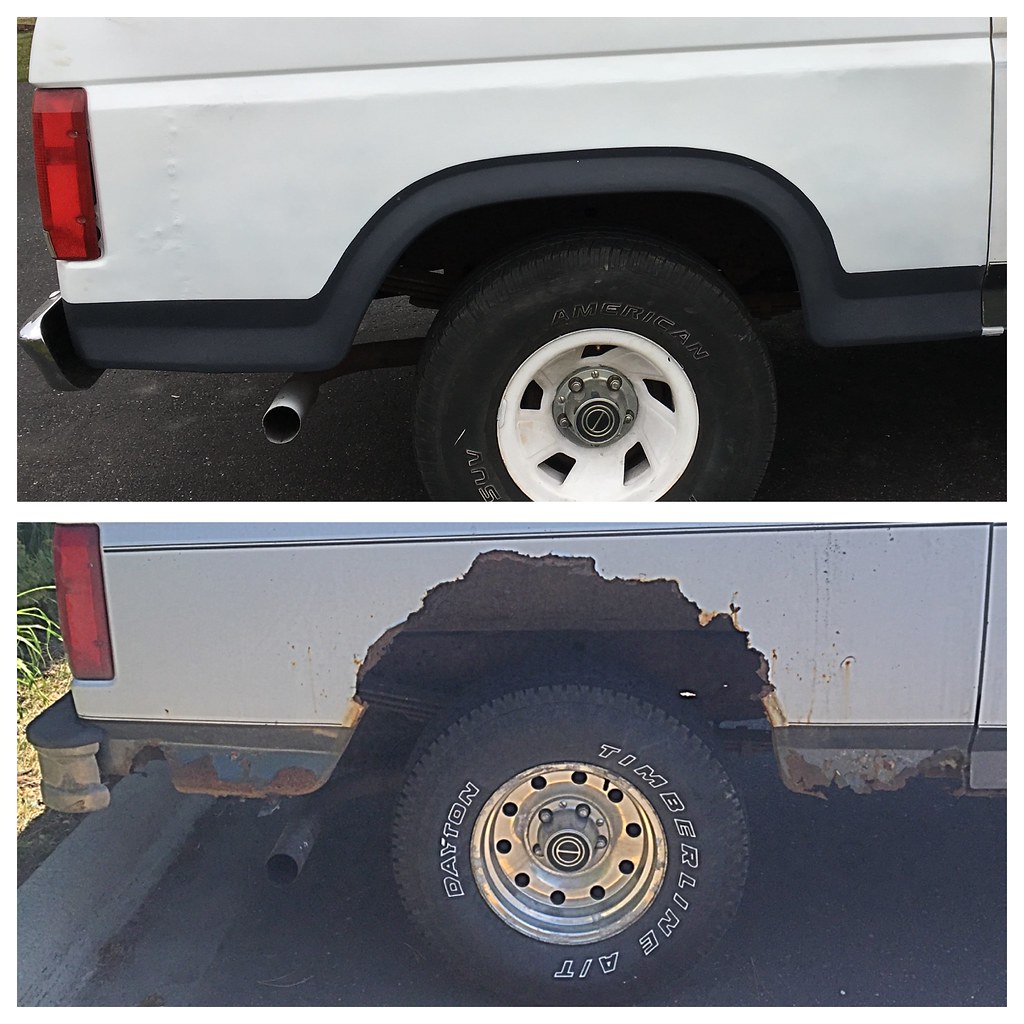
We put it in storage for the winter the Sunday, and it snowed the next day, so that was good timing. Also still need to combine an 86 fuel door with the 95 one because the 86 hinge won't work in that tight space in the front, and we never mocked up the fuel door before the panels were welded in . Front clip will be going on in the spring, and hopefully paint
A few more updates for you:
Did a little more grinding
Seat belt brackets painted
Installed
Inner wheel houses installed, and extra drain holes added. Still need to paint this side with POR15. The top was painted before they were welded in.
New gas tank going in. Had some fitment issues, for some reason it didn't want to go up far enough. Got it mounted good enough to drive it home. I will have to drop it again and figure out why it doesn't fit.
Finally home!! :rockon :rockon Used 2 colors of primer to match the existing paint job.
Before and after:
We put it in storage for the winter the Sunday, and it snowed the next day, so that was good timing. Also still need to combine an 86 fuel door with the 95 one because the 86 hinge won't work in that tight space in the front, and we never mocked up the fuel door before the panels were welded in
. Front clip will be going on in the spring, and hopefully paint
Thread Starter
|
Laughing Gas
Joined: Nov 2013
Posts: 1,210
Likes: 7
From: Minnesota
Thanks man!
Fleet Owner


Joined: May 2009
Posts: 21,437
Likes: 76
From: Gilbert, PA
They are probably something Centurion did when they built the truck. There is another plate on the bottom that sandwiches the inner wheel well and the tub, and there are two bolts that hold it together. You can kinda see it in the picture after the one you quoted. What do yours look like?

Senior User
Joined: Jul 2013
Posts: 222
Likes: 0
From: Massapequa Park, NY
i just came across this. Wow! Amazing metal work. So glad to see someone save these rare trucks. wish i could have one
FTE Stories
Ford Trucks for Ford Truck Enthusiasts

10 Things Every Truck Owner NEEDS (2026 Edition)
Michael S. Palmer
Rezvani's Latest Post-Apocalyptic Monster Is a Ford F-150 Raptor Underneath
Verdad Gallardo
Top 10 Most Expensive Ford Trucks Ever Sold on Bring a Trailer
Joe Kucinski
2027 Ford Super Duty Buyer's Guide (Every Model, Engine, & Package)
Brett Foote
Top 10 Ford Truck Tragedies
Joe Kucinski
AEV FXL Super Duty - the Super Duty Raptor Ford Doesn't Make
Brett Foote
Lobo Vs Lobo: Proof the F-150 Lobo Should Be Even Lower!
Michael S. Palmer
Ford's 2001 Explorer Sportsman Concept Looks For a New Home
Verdad Gallardo
10 Best Ford Truck Engines We Miss the Most!
Joe KucinskiThread Starter
|
Laughing Gas
Joined: Nov 2013
Posts: 1,210
Likes: 7
From: Minnesota
Thread Starter
|
Laughing Gas
Joined: Nov 2013
Posts: 1,210
Likes: 7
From: Minnesota
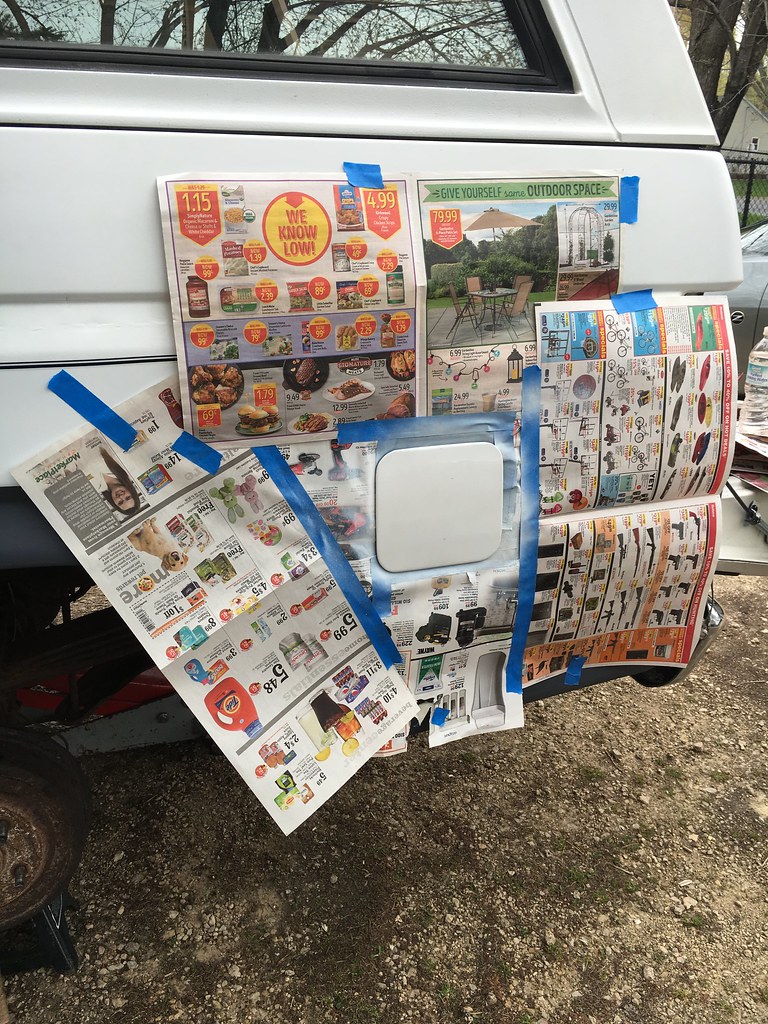
Got it out of winter storage a week ago, and drove it out to school. In the past week I have replaced the IAC, fixed some bulbs that were not working, added a temporary pinstripe to match the existing paint job better, painted the fuel door to match the quarters, replaced the drivers door hinge pin and bushings, and painted some stuff with POR15 that we didn't have time to get last year.
New IAC
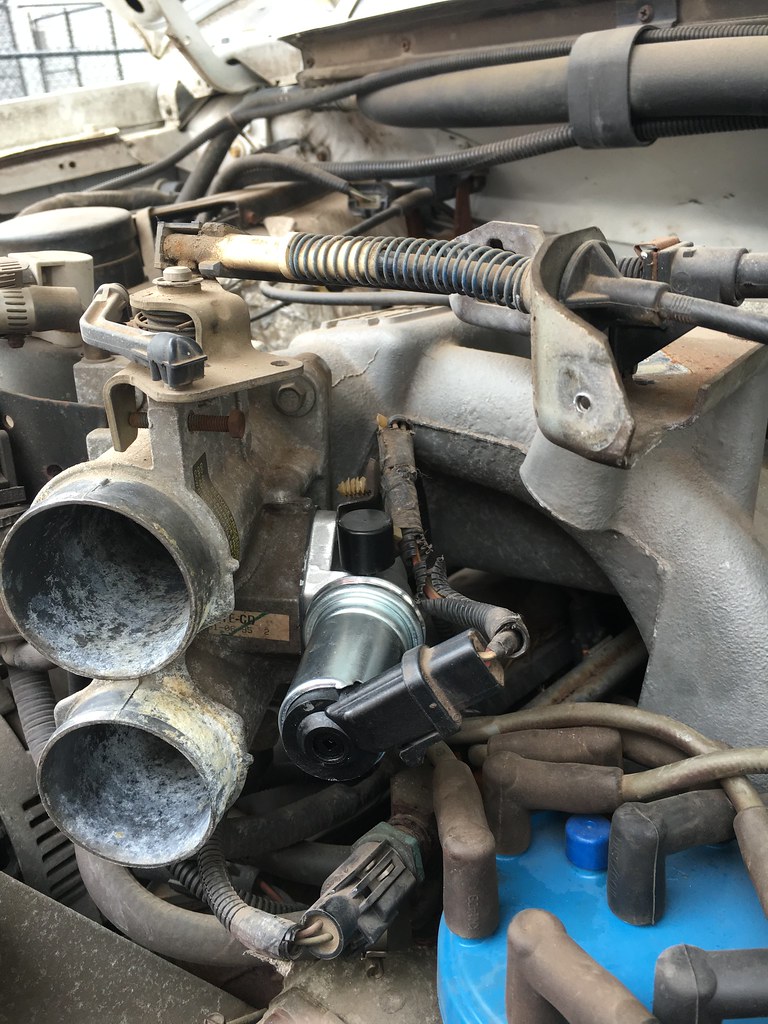
Old one sitting next to the box

Pinstripe
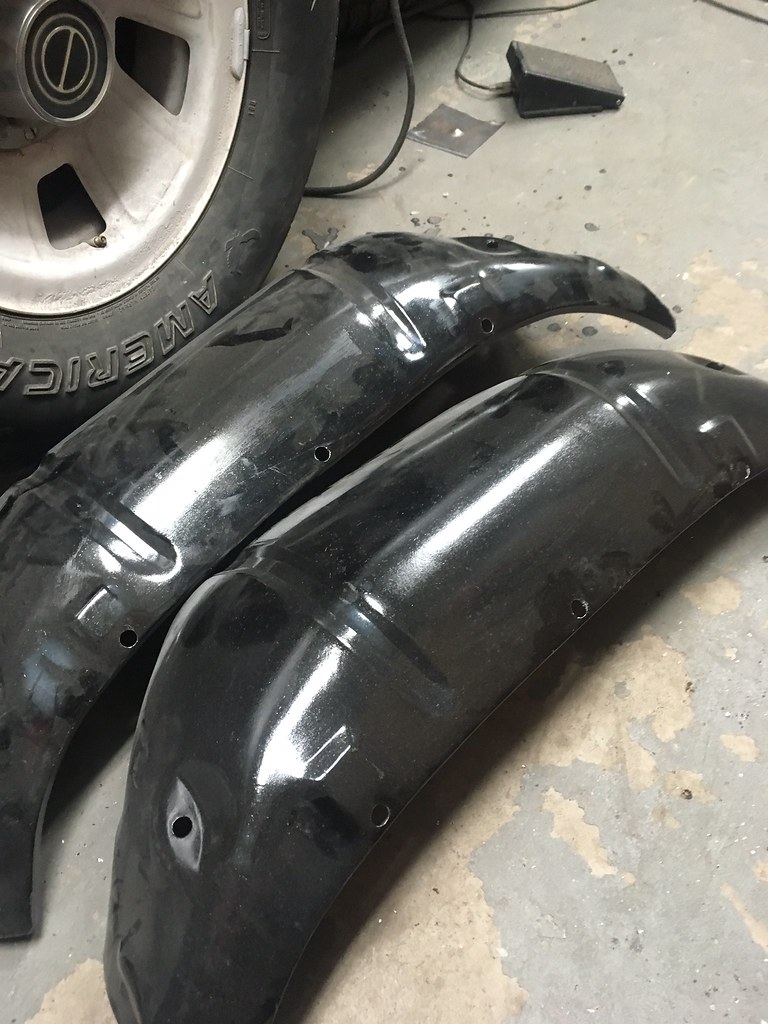
Fuel door
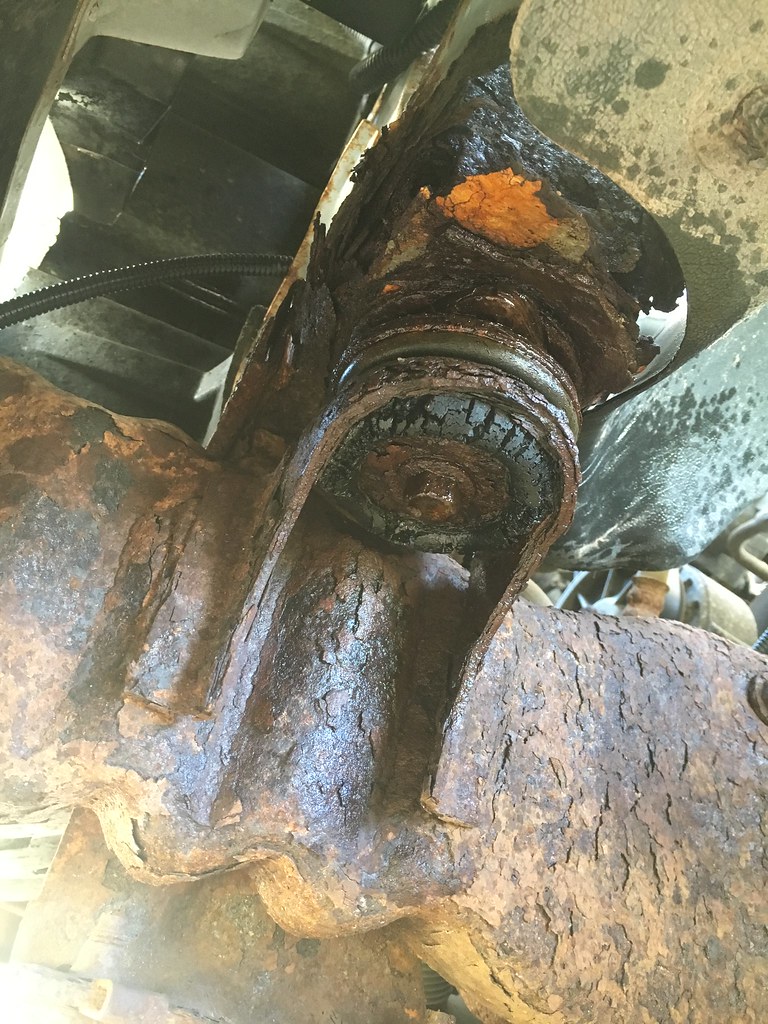
My new polyurethane body mounts showed up the other day too! Turned in 3 core batteries I got for free, and used my employee discount, and ended up only paying $35 for them! I will probably only replace the rubber radiator mounts for now, and maybe do the other ones later. I also ordered the metal mount patches from JGB the other day.

I've been spraying these crusty looking mounts everyday with PB Blaster
New IAC
Old one sitting next to the box
Pinstripe
Fuel door
My new polyurethane body mounts showed up the other day too! Turned in 3 core batteries I got for free, and used my employee discount, and ended up only paying $35 for them! I will probably only replace the rubber radiator mounts for now, and maybe do the other ones later. I also ordered the metal mount patches from JGB the other day.
I've been spraying these crusty looking mounts everyday with PB Blaster


