When you click on links to various merchants on this site and make a purchase, this can result in this site earning a commission. Affiliate programs and affiliations include, but are not limited to, the eBay Partner Network.
So I feel like an idiot... I'm not really sure what I'm getting into. I let my rear brakes wear to long and now my drums have to be replaced. Local mechanic quoted me a price of $525.00+tax to replace everything. I'm pretty confident that I can do the job myself but I've never dealt with a heavy duty before. What is involved changing the drum? The studs are on the outside of the drum, how do I swap those? Barrings? If I have to swap the barrings I will be at a loss and not know what to do next . Any advise you can give will be great.
Thank you! I watched this video last night and this is what gave me confidence in doing the job; however I'm stuck on getting the studs off the old drum and on to the new drum. Plus I'm not sure if there is a barring in the old drum that I need to take out and put in the new drum or am I wrong?
Thank you! I watched this video last night and this is what gave me confidence in doing the job; however I'm stuck on getting the studs off the old drum and on to the new drum. Plus I'm not sure if there is a barring in the old drum that I need to take out and put in the new drum or am I wrong?
After you remove the 8 bolts from the drum, you will slide the axle out. Then there are a couple of large retaining nuts that you will have to remove, as well as a retainer that you will have to straighten the tabs on, to be able to remove the retaining nuts.
After you get the two large nuts (No pun intended) removed, then you will see the bearings. It will take some good lifting, and you may even have to adjust the rear brakes in, or loosen them so you can remove the brake drum.
I hope I'm making since.
yes you're making perfect sense. In the video that was shared at the 11:48 mark he is showing the inside of the drum. In the center of that drum it looks like there is something in there that needs to be removed to be put in the new drum. Am I wrong?
To remove the studs, put a lug nut on so it's flush with the stud, then smack the stud and with a heavy hammer and they'll come out that way.
Then you can drive them in the new drum from the back side.
okay one more question (I think) the replacement drum that I will be getting from Auto Zone doesn't look like the old drum. I'm thinking when the studs are removed the top of the old drum will come off and will fit on top of the new drum once the studs are back in place? My drum looks exactly the same as it is in this video. This is what I'll be replacing it with.
......The reason not to use a chisel on the nuts is that the inner nut needs to be torqued to 90 ft lbs and then backed off a quarter turn.....besides destroying the nut. I think it's 90 ft lbs on the D60 free floater...your manual should have that info.
When you pull the axle, be careful not to wreck the metal gasket on the axle's hub. It could be re-useable if in not too bad a shape.
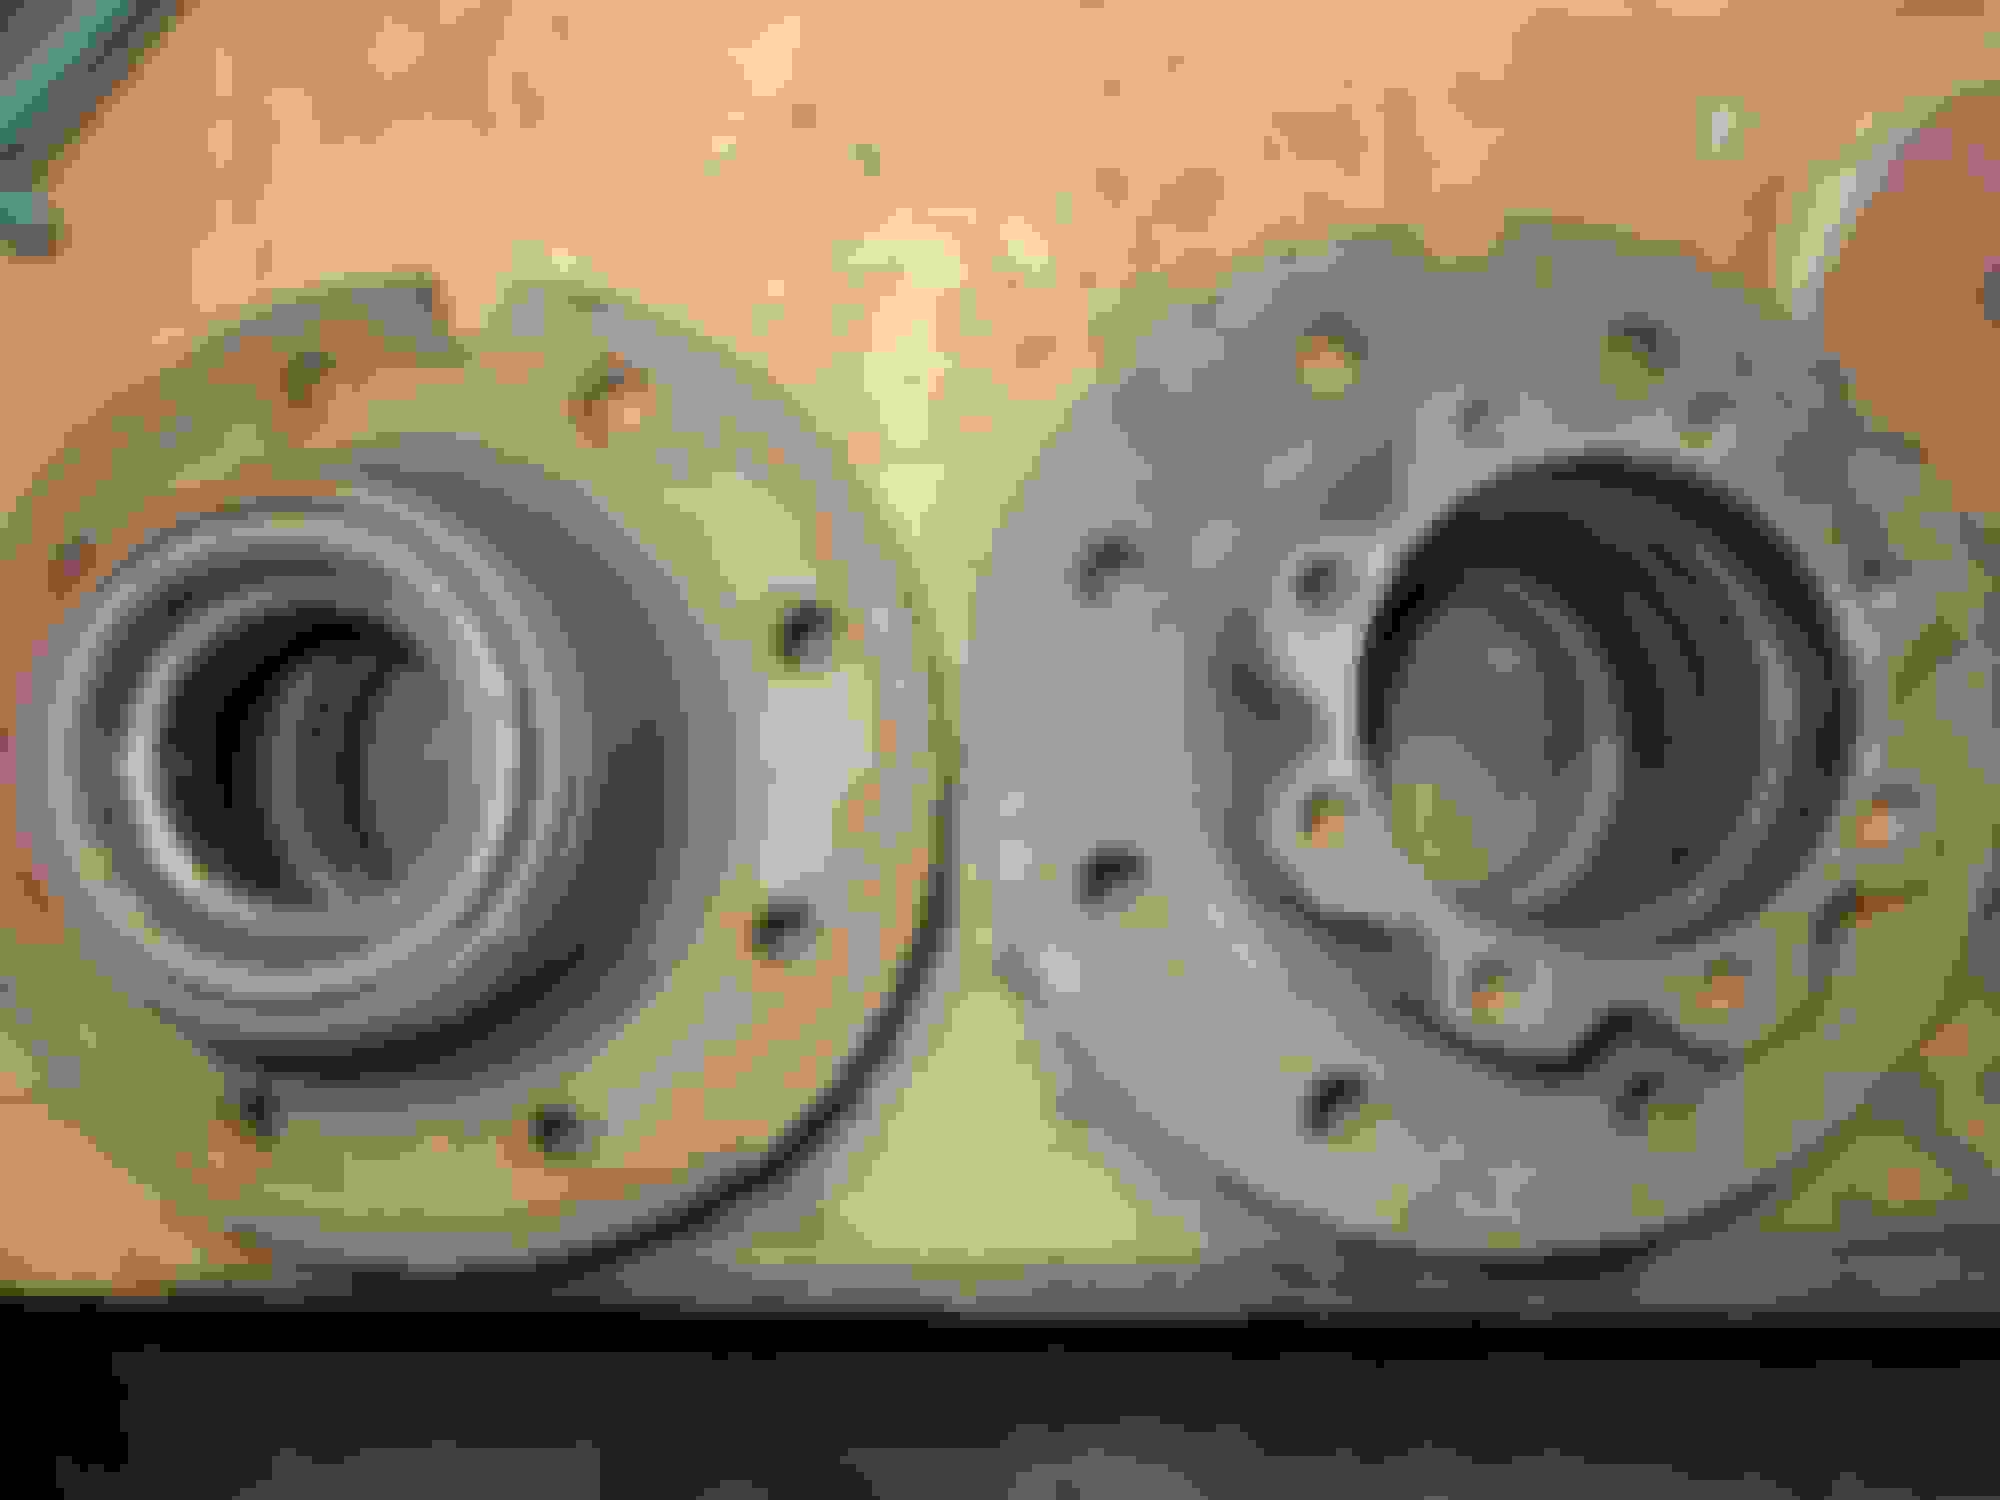
Left side - has the seal and berrin in place. Inner side of hub
Right side - seal, berrin removed...race showing. Inner side of hub.
Left side - complete seal and berrin, inner side of hub.
Right side - nekked outer side of hub, race showing.
okay one more question (I think) the replacement drum that I will be getting from Auto Zone doesn't look like the old drum. I'm thinking when the studs are removed the top of the old drum will come off and will fit on top of the new drum once the studs are back in place? My drum looks exactly the same as it is in this video. This is what I'll be replacing it with.
Yes, you'll need to put the hub onto the drum, then drive the studs into the hub to fasten it all together.
If you need more pictures of the drum, backing plate or hubs, I think I can oblige...
Be sure you're careful when setting the complete drum/hub in place....those bad boys are heavy! If you're not careful, you could nick the seal and it'll start leaking punkin blood. Now you have to do it all over again.....not fun!
I'm sure you know that the primary shoe (smaller) goes in the front....

 09-01-2016, 11:30 AM


 . Any advise you can give will be great.