When you click on links to various merchants on this site and make a purchase, this can result in this site earning a commission. Affiliate programs and affiliations include, but are not limited to, the eBay Partner Network.
Just visiting from the 57-60 F100 Forum and thought this is the best place to get some help. I have recently volunteered to help restore the first school bus our small town purchased back in the 30's. It's a 1933 1-1/2ton "BB" with a bus body from Union City Mfg.in PA. we are looking for a exploded view of the drive shaft. The center universal joint was full of brown sludge. It looked as thought we had gear lube from the tranny or the rare end, leak into the center area and mix with water. Is there a seal somewhere in the drive shaft tube? If I could locate an image of the parts involved or a source for the proper manual or catalog it would be greatly appreciated. If Numbers Dummy is reading this, thanks in advance for your help. If anyone has any pix or info on Union City Buses that would be great also.
Unfortunately I just pack up all my parts books and manuals. Typically the torque tube carried a bit of gear lube from the transmission back down the drive shaft. Hopefully someone with more literature available can help you more.
Normally a good source for schematic drawings is the Ford chassis parts catalog, generally called the "Green Bible". But looking through my copy shows no schematics for a model as old as your truck. Other sources for info would be a period Motors manual, and a Ford service manual. Stu
Do you have digital pix of your truck from digital camera or phone on your computer? If so it is easy to add them to a post (assuming the file is not too large). Find the pic on your computer and leave it open while you come here in another window. Compose a post, click where you want the pic to appear in the post. Click on the picture icon at the top of the posting box (looks like a postcard with mountains and sun) A dialog box will open asking if you want to drag a pic onto the box or browse your computer to find it. If you have the pic open, go there, right click anywhere on the pic and chose copy from the menu. Come back to your post and right click on the box. Select paste from the menu. Your picture should appear (it may take a few seconds to load) in the box. Now left click on the insert button.
If the stars all aligned your picture should now be in your post window. Select post to have it appear on the forum or repeat to add more pix. Some cameras make huge files these days that are larger than the forum limits. You may need to resize or resample the picture and save the smaller file version with whatever picture editing software came with your picture taking device before you can post it.
Another way is to just use a hosting site like photobucket. It's free, easy to use and a great place to store photos. They never care what size your pictures are. You never have to learn another forums methods again. You just cut and past the url. Easily done by just clicking the url, when it turns yellow it's cut. Then come back to your post and hit Ctrl and the v key and it's pasted. An added plus is us readers never have to click thumbnails to see your pictures.
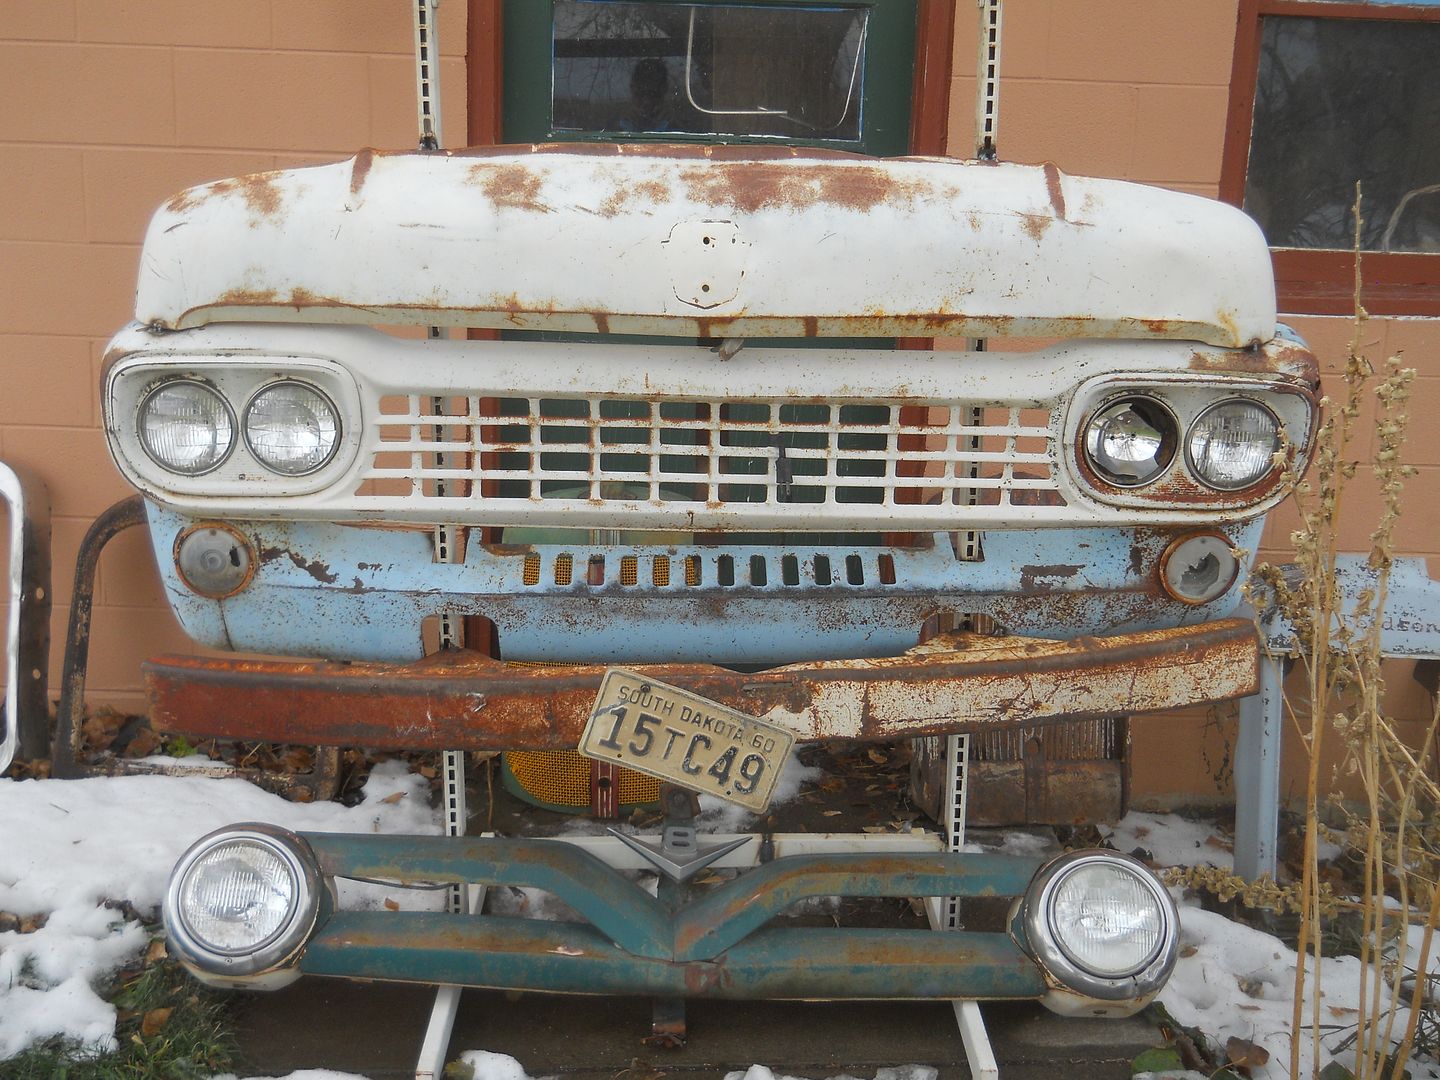
Like this
Me again. We have had the frame powder coated, working on the body, went through the rear axle/brake system and getting close to finishing front axle. This bus has an aftermarket (we think) vacuum booster assist to the mechanical brakes. I did not see the vac booster stuff in the "Green Bible". Here's a couple pix to give you an idea of what we have. The main diaphragm works fine with my shop vac but I don't understand the smaller device that has vacuum hoses going in and out. One side goes to intake vacuum the other port is open to the rear of the housing; which is vented to the outside. Maybe my shop vac is not enough to operate this type of control valve. I think it should move its own little diaphragm which would thus provide full vacuum to the main vac booster/diaphragm. I'd appreciate any input. Thanks previously for your help.
I can't believe its been 3 years since I started this thread. I didn't think some of our restoration activities were very interesting, so here are some pix of the bus as of today. It's still got a ways to go but we will be in the 4th of July Parade this year.
What are these holes around the outside edge of the cowel for?
Frank Graves, retired woodshop teacher from Hawthorn, Ca., has done a beautiful job on all of the interior.
Hood going on next week.
Ready for the windshield and School District lettering.
Yes, they even had emergency exits back in the 30's.
The holes in the firewall are for the push thru clips that hold the inner heat shield/firewall cover. It was a moulded black fiber board material....I think they may be reproduced in plastic.
The Bus looks fantastic! Congrats on the fine work!
Thanks for the compliments and info. Yes we have the seats but they are actually benches that sit parallel to the driveshaft under the windows. The bus was designed for the smaller kids; the benches could hold 6 or 8 kids per side. The drivers seat was too far gone; still no sure what we're going to do there. Yes it is a Flathead V8. It's from a 1936 truck and purrs nicely. BTW, I'm not sure what this is officially called but we may need one. It mounts under the radiator between the frame rails. We're calling it a spreader bar. It's for a 1933 1-1/2 ton truck; not a pickup. It's overall length is approx. 25-1/4" and the holes in the flanges at each end are 2-3/8" CC. You'll notice the dip in the middle for the manual crank handle. We are going to try to straighten it but in the meantime looking for a replacement.. Thanks in advance. Steve.
Rezvani's Latest Post-Apocalytic Monster Is a Ford F-150 Raptor Underneath
Slideshow: Called the Fortress, the 850-horsepower pickup combines Raptor underpinnings with military-inspired features, survival equipment, and a starting price of $285,000.