


292 Starter
Thread Starter
|
Lead Driver


Joined: Apr 2007
Posts: 5,958
Likes: 105
From: Houston
I picked the starter up today just a few mins ago on my lunch break. Was $175 after tax for the starter. I figured it also included the labor for swaping the old bendix from my old starter to this starter.
Not bad though in my book for a brand new starter. Plus I have a piece of mind cause they tested the starter twice once before the bendix was installed and once afterwards to ensure proper operation.
Not bad though in my book for a brand new starter. Plus I have a piece of mind cause they tested the starter twice once before the bendix was installed and once afterwards to ensure proper operation.
Post Fiend
Joined: Apr 2002
Posts: 19,311
Likes: 97
From: Waterloo, Iowa
Here are some pics of two rebuild candidates. One is seized up pretty good and the other was R&R'd just on general principles. Between these two, a replacement armature and rebuild kit should be able to make at least one good starter to keep on the shelf or take on long road trips.
Looks to me like the armature was dragging on the field coils and it got pretty toasty in there sometime. The commutator looks OK I guess, dunno for sure.
Looks to me like the armature was dragging on the field coils and it got pretty toasty in there sometime. The commutator looks OK I guess, dunno for sure.
Thread Starter
|
Lead Driver
Joined: Apr 2007
Posts: 5,958
Likes: 105
From: Houston
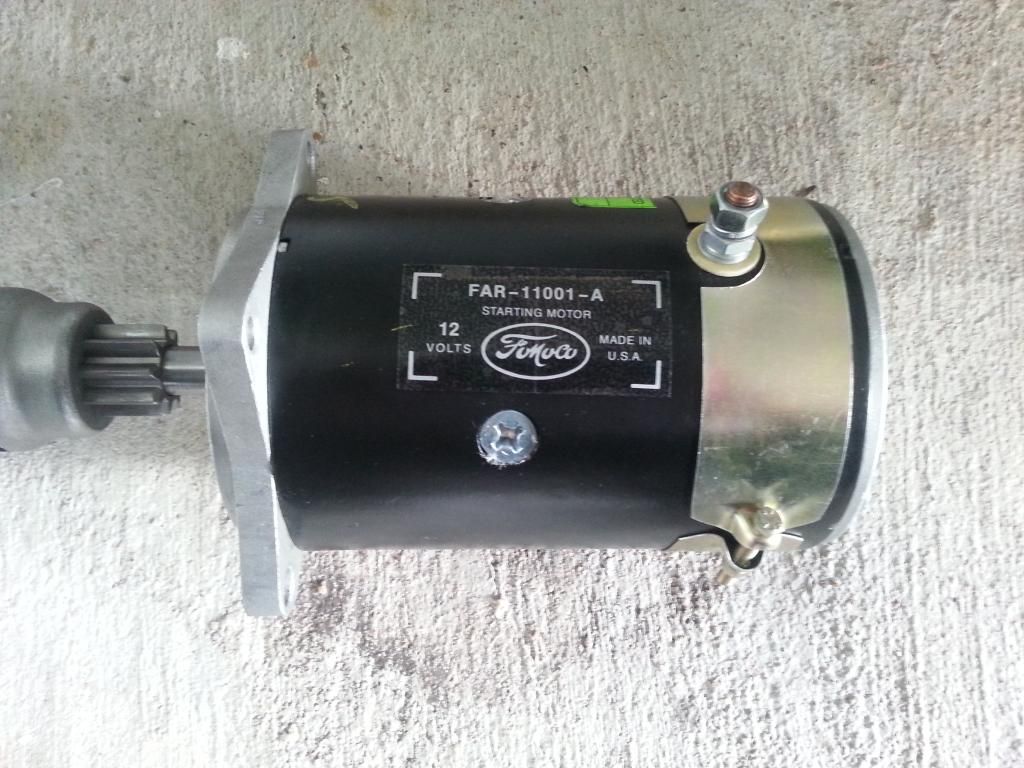
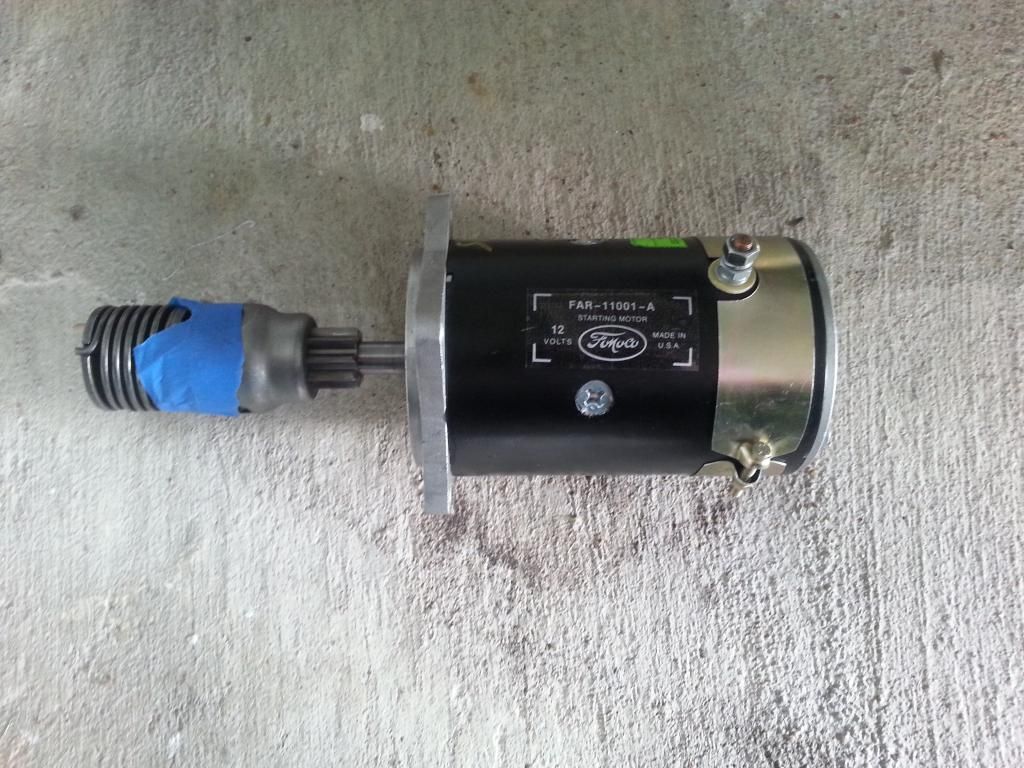
I went ahead and used some alcohol to remove the yellow paint stick markings they put on the new starter for the part number and I affixed the reproduction decal as best as I could since I could not find any information on placement or if it should be horizontal or verticle.
Hardest part was that starter to bellhousing seal. I didn't look at my shop manual so I didn't realize you have to hook the ring in the groove on the bell housing the press the cup rubber flap down into place. I was trying to place it on the starter itself and was wondering why I cant get but two of the three bolts to line up.
I got that squared away though which is a good thing. I also think its funny now that I am using a 6V starter but my decal says its a 12V starter. But boy does it spin the engine over fast though. Battery was discharged due to cold weather and sitting two weeks since I last charged it but after getting a good charge in it it worked good. Next step is the generator and I don't know if I want to just use my new pieces or just take it in and let the same guy rebuild this one but he might tell me I need a new one and it would be cheaper. I didn't mind the starter but I prefer to have the generator rebuild I don't see how it would cost more than a new generator vs rebuilding.


Thread Starter
|
Lead Driver
Joined: Apr 2007
Posts: 5,958
Likes: 105
From: Houston
Nope. There is a groove in the bell housing you take the cupped side of the seal and have it facing the block place the ring in the groove and then slide the cupped side down till it is flush in place.
I tried it fitting it on the starter and for almost half an hour cursing wondering why I couldn't get the top bolt to start. After I took it out and inspected it found this out did this it only took about 5 minutes with a shallow 1/2" socket and a 6" extension to get it started.
Thread Starter
|
Lead Driver
Joined: Apr 2007
Posts: 5,958
Likes: 105
From: Houston
Honestly all you really see once its installed is the rubber ears that wrap around the top and bottom eyes for the mounts and a little black rubber of the ring where the starter does not cover between the mounting points.
I am not sure but I believe all the Y-blocks came with this seal to keep water and dirt out of the bell housing. I cant say for sure but I think when I got mine Dennis Carpenters site listed up to 64 unless I am mistaken.
FTE Stories
Ford Trucks for Ford Truck Enthusiasts

Top 10 Fords at 2026 Carlisle Ford Nationals
Joe Kucinski
3 Best / 3 Worst Parts of Modern Ford Ownership
Brett Foote
10 Amazing Upgrades That Solve Common Ford Truck Owner Headaches
Pouria Savadkouei
Every 2026 Ford Engine Explained
Brett Foote
10 Ugly Ford Trucks That We Still Kinda Love
Joe Kucinski
10 Things Every Truck Owner NEEDS (2026 Edition)
Michael S. Palmer
Rezvani's Latest Post-Apocalyptic Monster Is a Ford F-150 Raptor Underneath
Verdad Gallardo
Top 10 Most Expensive Ford Trucks Ever Sold on Bring a Trailer
Joe Kucinski
2027 Ford Super Duty Buyer's Guide (Every Model, Engine, & Package)
Brett Foote
Thread
Thread Starter
Forum
Replies
Last Post
Tennesseepowerstroke
1983 - 2012 Ranger & B-Series
4
Apr 29, 2014 11:20 PM
freddie
1980 - 1986 Bullnose F100, F150 & Larger F-Series Trucks
2
Jan 17, 2000 09:34 AM