Future CC-SCS Prerunner Build Thread
#16
Oddford, nice thread. Were you able to maintain the port taper in the manifold opening the outlet that much? How do the ports match the intake port of the head now? Some guys leave the intake outlet port of the manifold slightly smaller then the intake opening of the head to act as a reversion barrier. Same goes for exhaust outlet ports being left slightly smaller than the inlet of the header to help prevent reversion.
BTW, you mentioned your Harley, still have it? Any pictures? Again nice work, cool save.
BTW, you mentioned your Harley, still have it? Any pictures? Again nice work, cool save.
#17
Ted, yes similar but very different, I will take credit for your Hydroboost since I had you drive my truck to feel the difference. haha. I have meant to take a picture when our trucks are next to each other but keep forgetting. How are you liking the lift so far?
Blue04.5:
Concerning port taper, I did what Wilson's Manifolds refers to as a "deep gasket match". I do not have an Anti-reversion lip, my ports are the same size as the head intake ports, I did retain some of the floor radius and smooth some of the hard radi. I prefer to do D shaped ports (on Harleys) however in order to do that on this intake I would have to ADD a lot of material, which I'm not setup to do. Mondelo did a similar port job on a factory intake in the late 70s and saw a gain of over 25HP, I am NO Mondelo concerning abilities or design but it shows the potential is there. After the intake Mondelo ported the intake side of the head and reworked the intake bowl, they saw NO gain, their experiment was to find restrictions in the intake tract and limits of the D3VE exhaust ports.
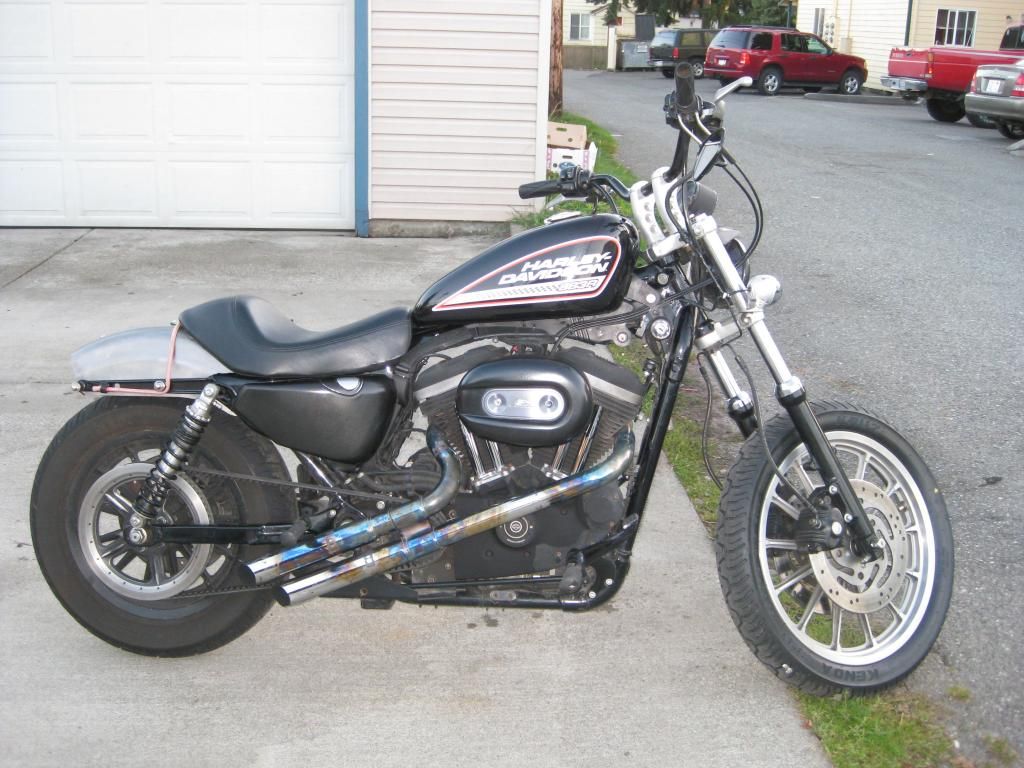
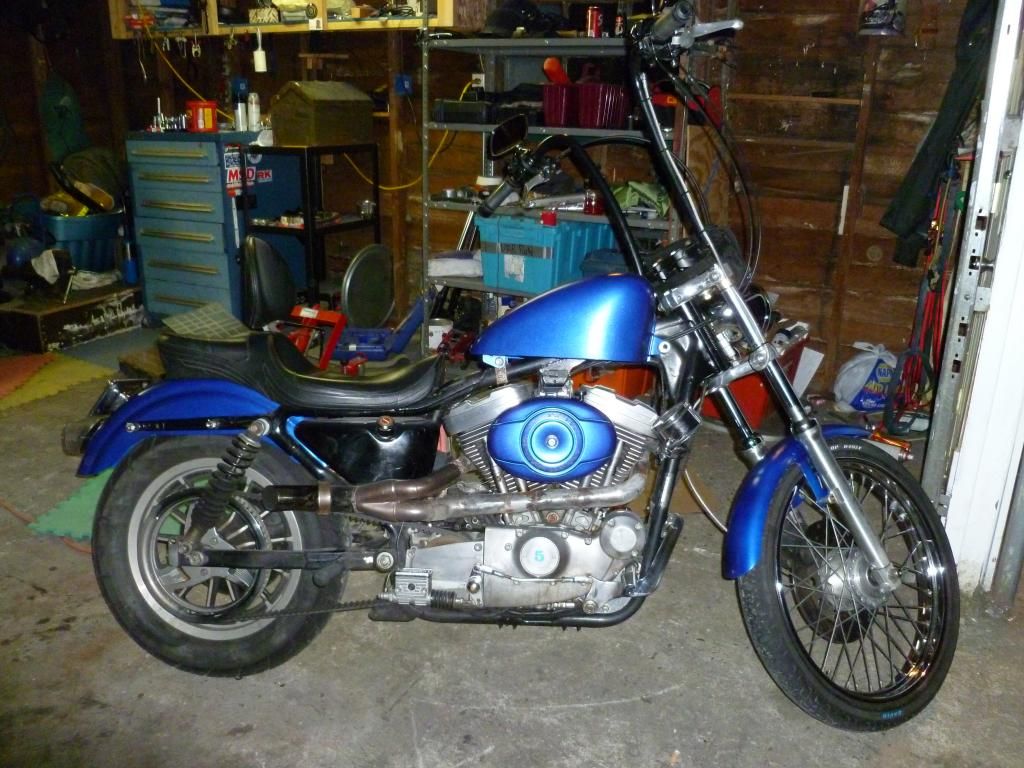
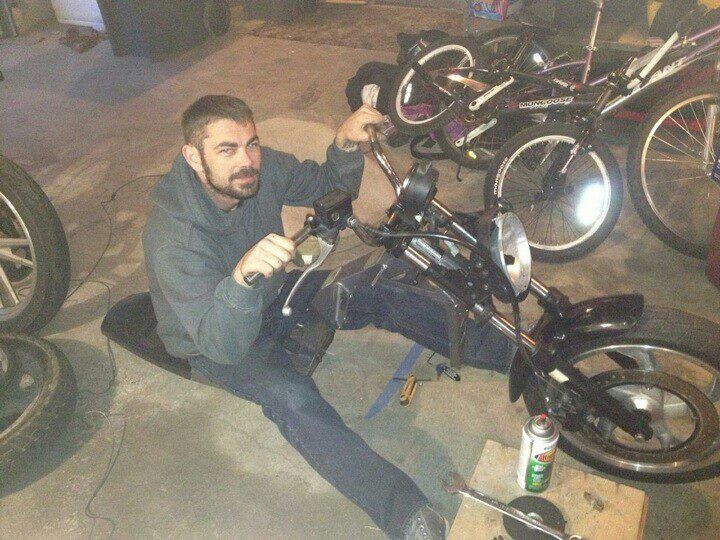
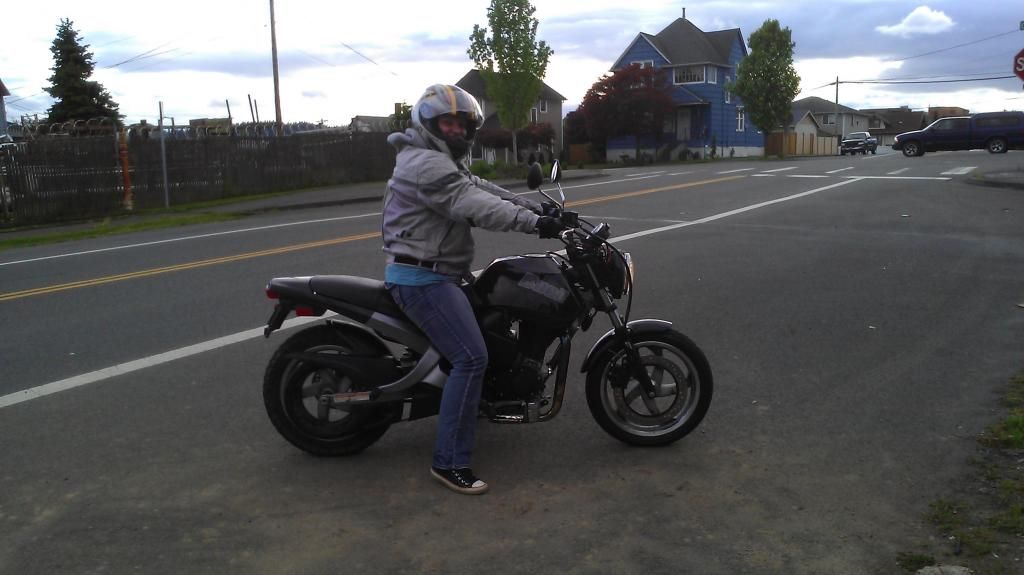
I have 100s of pictures of my Harleys. I currently don't have a road worthy one as my 07 XL883R after 54,xxx hard miles I tore the trans mainshaft in half so it's apart waiting for a full rebuild. I had a 98 XL1200C for a couple years that was my wheelie bike, had a very traumatic incident happen with a guy breaking into our home and attacking us so I got rid of that for us to move in a hurry. There's also a Buell Blast I built from a bare frame for my wife as a wedding present to her. A 87 Honda Reflex Trials bike for tinkering around. I also do a lot of work on other people's Harleys as I have a reputation of making them stand on end.
#18
My 07 XL883R
My 98 XL1200C
My wife's Blast the day I got it
10 days later after she did her first lap around the block on it.
Ok, that's it for bikes. We have a Motorcycle Chatter thread in the Wa Chapter if you want to BS bikes. haha

My 98 XL1200C

My wife's Blast the day I got it

10 days later after she did her first lap around the block on it.

Ok, that's it for bikes. We have a Motorcycle Chatter thread in the Wa Chapter if you want to BS bikes. haha
Last edited by oddfordjunkie; 09-13-2014 at 12:53 AM. Reason: Photobucket mistake, Fixed problem
#20
Being as I have a messed up back and the guy was 6'1" and VERY wired on Meth, I think I did an ok job fighting with him through the house, when he got a knife out and was trying to filet me my wife (on the phone with police in betroom and 4 months pregnant) came out and threatened him with the .38. Police got there fast and he went to prison, we moved out of the drug invested area.
And THAT is the story of how my wife met my brother. Now I carry a .45 and hope we never cross paths.
So... I focus on these beautiful body style trucks and they are far beyond a hobby, they are an obsession.
Back to the regularly scheduled program.
And THAT is the story of how my wife met my brother. Now I carry a .45 and hope we never cross paths.
So... I focus on these beautiful body style trucks and they are far beyond a hobby, they are an obsession.
Back to the regularly scheduled program.
#21
Into the Hydroboost conversion.
After doing this conversion I will NEVER run a Vacuum booster again! The amount of pedal pressure required to stop my truck is less than my wife's 2007 Honda Accord, it also only takes a toe on the pedal to hold my truck on an incline.
From what I found on this site and others the easiest booster to use is that out of an 88-97 F-Superduty (F-450).
Start by taking the booster and removing the 4 mounting studs in the plate, then remove the snap ring and large nut that secure the plate to the booster. Flip the plate 180* (top-bottom) and use a Die Grinder to put a new safety groove on the booster, this groove prevents the booster from rotating if the nut comes loose. Reinstall the plate on the booster and elongate the holes in the plate top-bottom 1/6" as there is some variance in the mounting hole heights. You will then use 3 of your original booster bracket-firewall mounting bolts and a Starter bolt, this will go in the lower driver side mounting hole as the bolt used to mount the starter is the same thread size and length but a smaller head size.
Now, there are multiple MC stud widths so compare yours to the Hydroboost MC mounting studs and elongate the holes with the Die Grinder. Should be 1/8" per hole maximum. Now mount the MC.
Plumbing is where the lines you'll use vary depending on what you have done to the truck and wether it is 2wd or 4wd. If 4wd with NON-Hydro Assist steering then you will use the F-450 Pump-Booster and Booster-Box lines. If 2wd then you will use the F-450 Pump-Booster line and Re-bend your original Pump-Box line to use for the Booster_Box line. If you have done a Saginaw PS Pump conversion you need to have lines made as the Saginaw has a different fitting at the pump and the F-450 Booster has SAE threads.
On the return line you will need roughly 3' total of PS hose and a Brass Barbed T fitting in order to plumb the Booster Return and the Box Return into the PS Pump. I also suggest using a PS cooler.
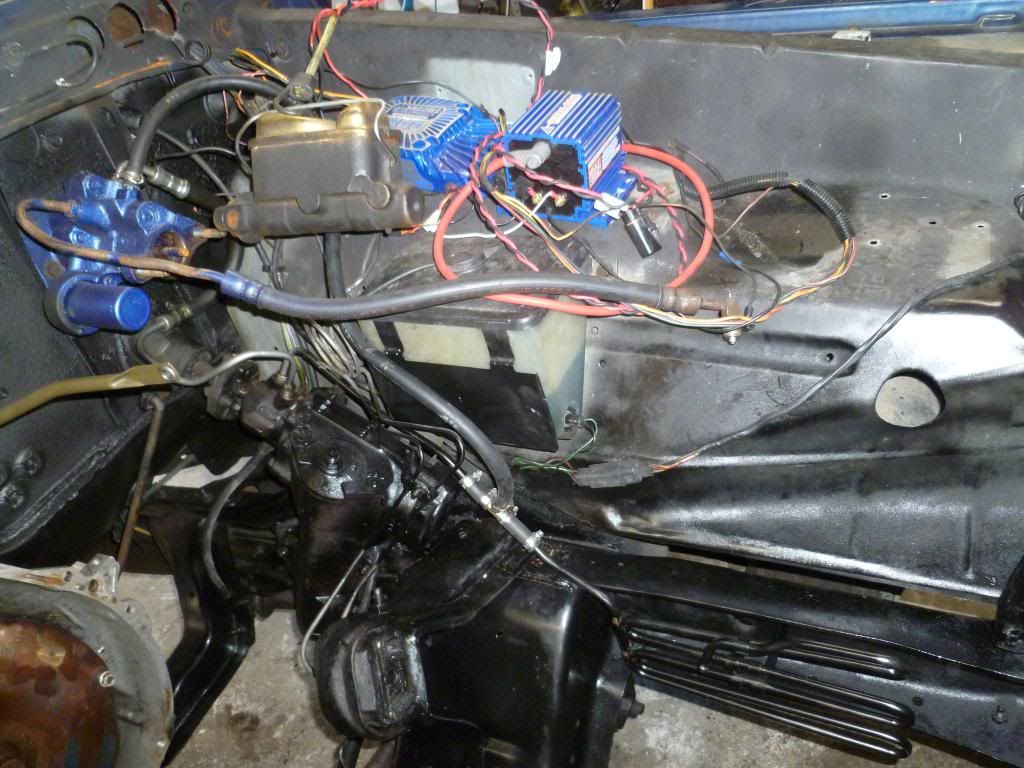
Booster mounted with Re-Bent Booster-Box line and Return plumbed.
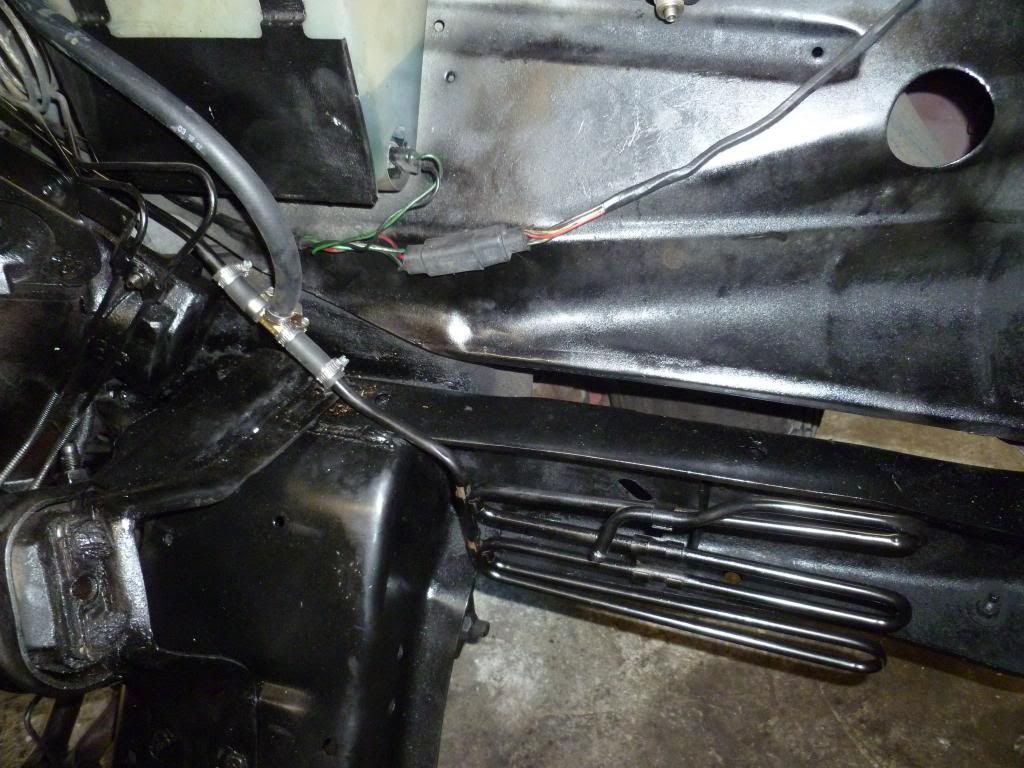
Return plumbed with PS cooler from SCS.
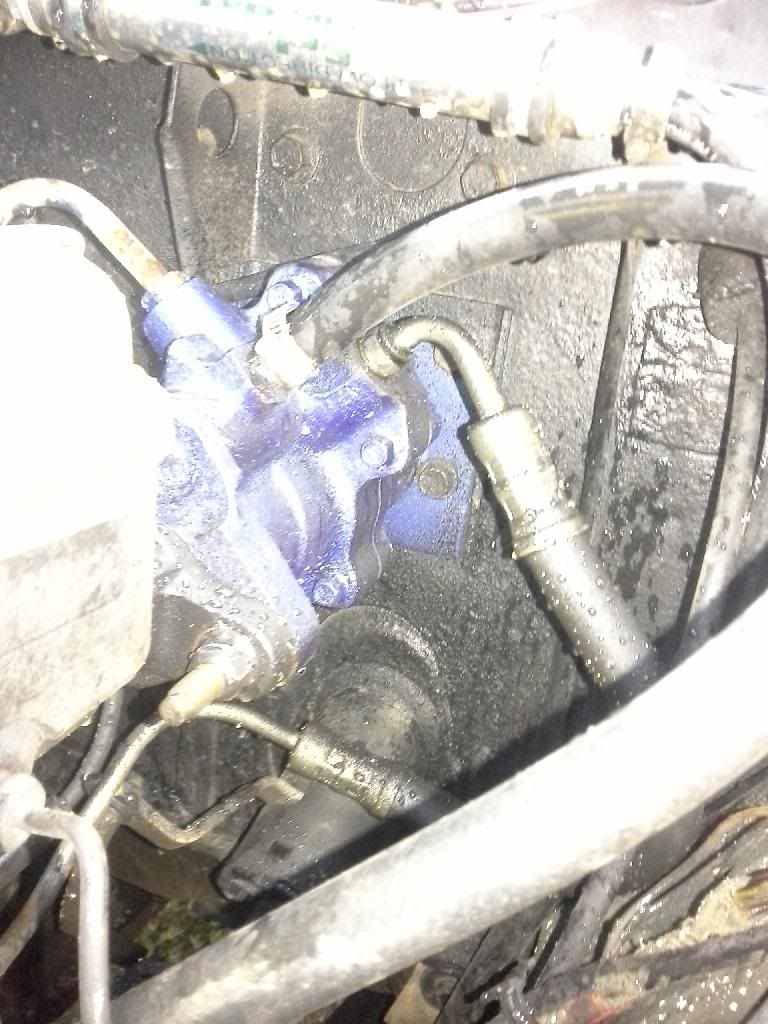
Picture showing the lower driver side hole that you use the Starter mounting bolt in.
If any more information, clarification or pictures are needed just let me know.
After doing this conversion I will NEVER run a Vacuum booster again! The amount of pedal pressure required to stop my truck is less than my wife's 2007 Honda Accord, it also only takes a toe on the pedal to hold my truck on an incline.
From what I found on this site and others the easiest booster to use is that out of an 88-97 F-Superduty (F-450).
Start by taking the booster and removing the 4 mounting studs in the plate, then remove the snap ring and large nut that secure the plate to the booster. Flip the plate 180* (top-bottom) and use a Die Grinder to put a new safety groove on the booster, this groove prevents the booster from rotating if the nut comes loose. Reinstall the plate on the booster and elongate the holes in the plate top-bottom 1/6" as there is some variance in the mounting hole heights. You will then use 3 of your original booster bracket-firewall mounting bolts and a Starter bolt, this will go in the lower driver side mounting hole as the bolt used to mount the starter is the same thread size and length but a smaller head size.
Now, there are multiple MC stud widths so compare yours to the Hydroboost MC mounting studs and elongate the holes with the Die Grinder. Should be 1/8" per hole maximum. Now mount the MC.
Plumbing is where the lines you'll use vary depending on what you have done to the truck and wether it is 2wd or 4wd. If 4wd with NON-Hydro Assist steering then you will use the F-450 Pump-Booster and Booster-Box lines. If 2wd then you will use the F-450 Pump-Booster line and Re-bend your original Pump-Box line to use for the Booster_Box line. If you have done a Saginaw PS Pump conversion you need to have lines made as the Saginaw has a different fitting at the pump and the F-450 Booster has SAE threads.
On the return line you will need roughly 3' total of PS hose and a Brass Barbed T fitting in order to plumb the Booster Return and the Box Return into the PS Pump. I also suggest using a PS cooler.
Booster mounted with Re-Bent Booster-Box line and Return plumbed.

Return plumbed with PS cooler from SCS.

Picture showing the lower driver side hole that you use the Starter mounting bolt in.

If any more information, clarification or pictures are needed just let me know.
#22
Nice build so far, I'm looking forward to seeing more progress. I'm interested in how exactly you went about the zf swap. Was there anything you had to retrofit in the clutch/flywheel to make it work or did everything just bolt together smoothly and how did you go about making the hydraulic clutch work? Did you use a factory 73-79 clutch pedal that you modified or did you fit a newer pedal that was made for a hydraulic clutch?
#24
I will try to do an in depth post on the ZF swap tonight but weekends are usually quite busy for me.
I have an earlier Internal Balance 460 so I had the later Flywheel changed to a Neutral Balance, cost me $93. Everything else bolted up.
I used 73-79 pedals and the arm that attaches the pedal pivot shaft to the clutch rod I cut it, moved it 90* and welded it back on so it's throw is now towards the firewall.
Thank you guys for the compliments!
#27
#28
That was the factory location on my parts truck, the holes were already in the frame on the Crew for it to mount.
#29
Sorry about the delay, since friday I've put 700+ miles on the little commuter truck I'm using, been to 5 junkyards and then at home goo-gaaing with the little one as much as possible.
I don't have as many pictures as I would like concerning the ZF5 swap as I don't like grabbing the camera with grease covered hands and I did this swap in I think 5 days.
I had been up at my shop playing around tuning a carb as me and my buddy who owns the shop were bored at 10pm. We took it on a test drive, taking off from a stop I floored it and it posied up, drifted sideways (I was pretty happy) the BOOM, it destroyed 1st gear in the C6. I had been trying to slowly collect the parts for the ZF swap before this happened and decided if I was going to swap a trans (have a good C6 in parts truck) then I might as well upgrade.
Tearing out the old trans and figured might as well swap to the disk rear with taller gears I have laying here at the same time.
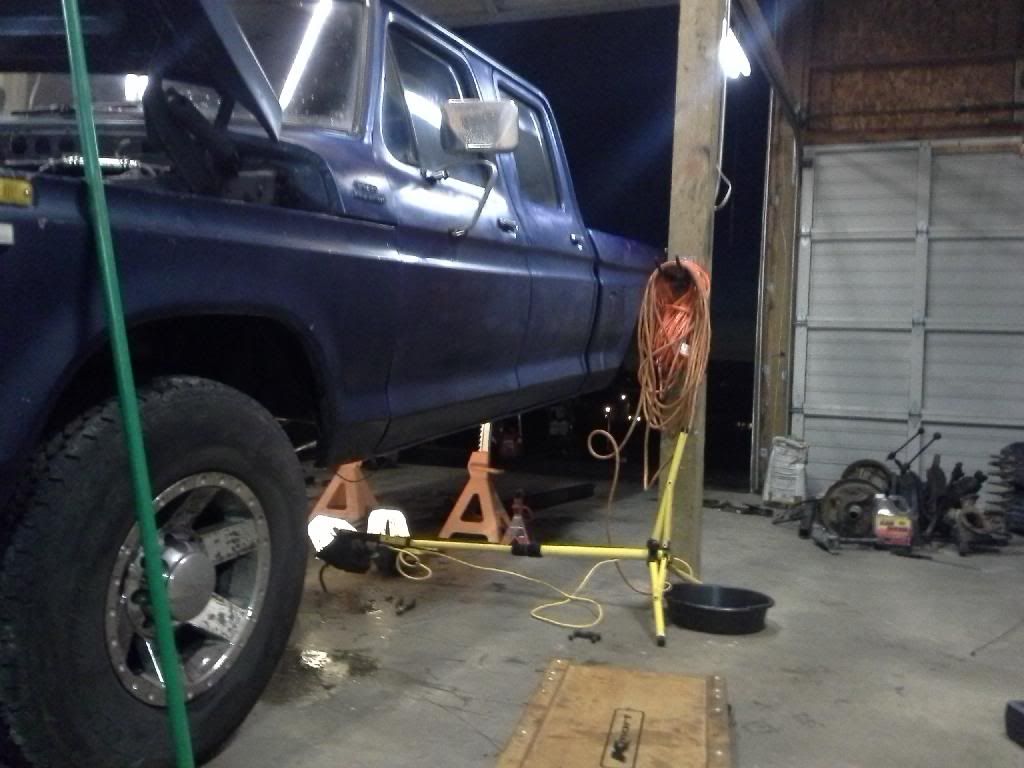
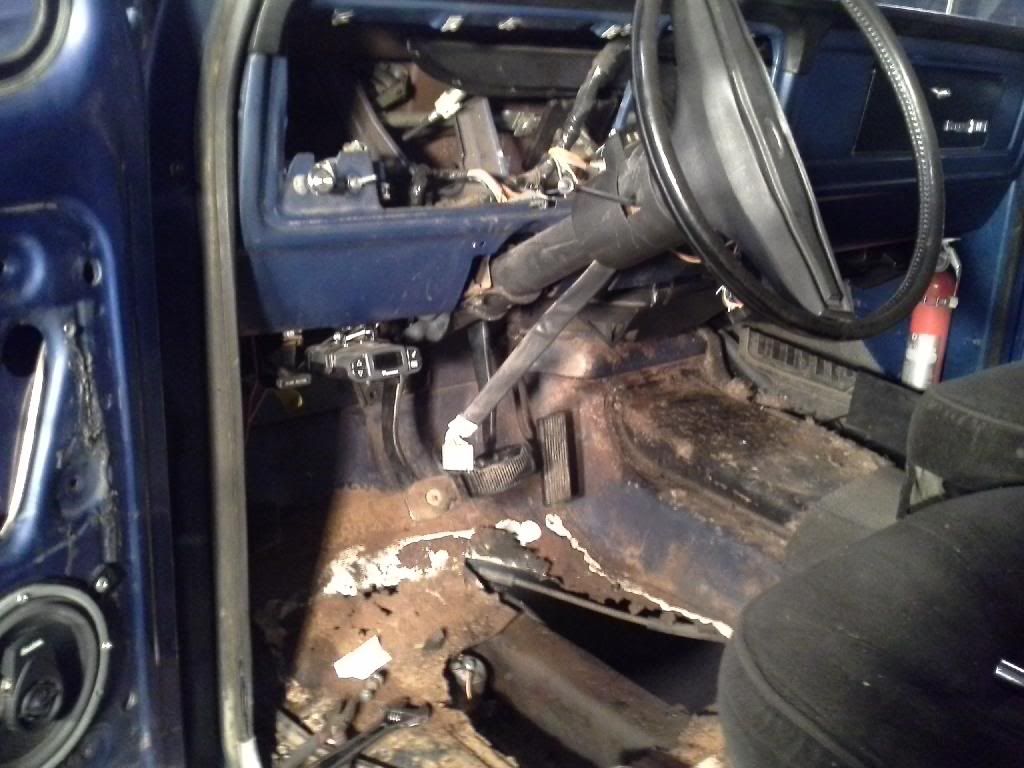
Installed a Manual pedal assemble, if memory serves this set is out of a 76, will be modifying a 79 set (has better clutch pedal spring) with custom pedals and doing the bearing upgrade (MustangSteve's Clutch Pedal Shaft Bearing Conversion for 65-73 Mustangs) later on in life. Can also see my Tekonsha Prodigy P3 brake controller, LOVE it! Can just see the top of my Holley electric pump through my "Flintstone Package" floor. And the factory option fire extinguisher out of the SCS, which is dated 1973, trying to find a place to re-charge it for $#!t$-Giggles.
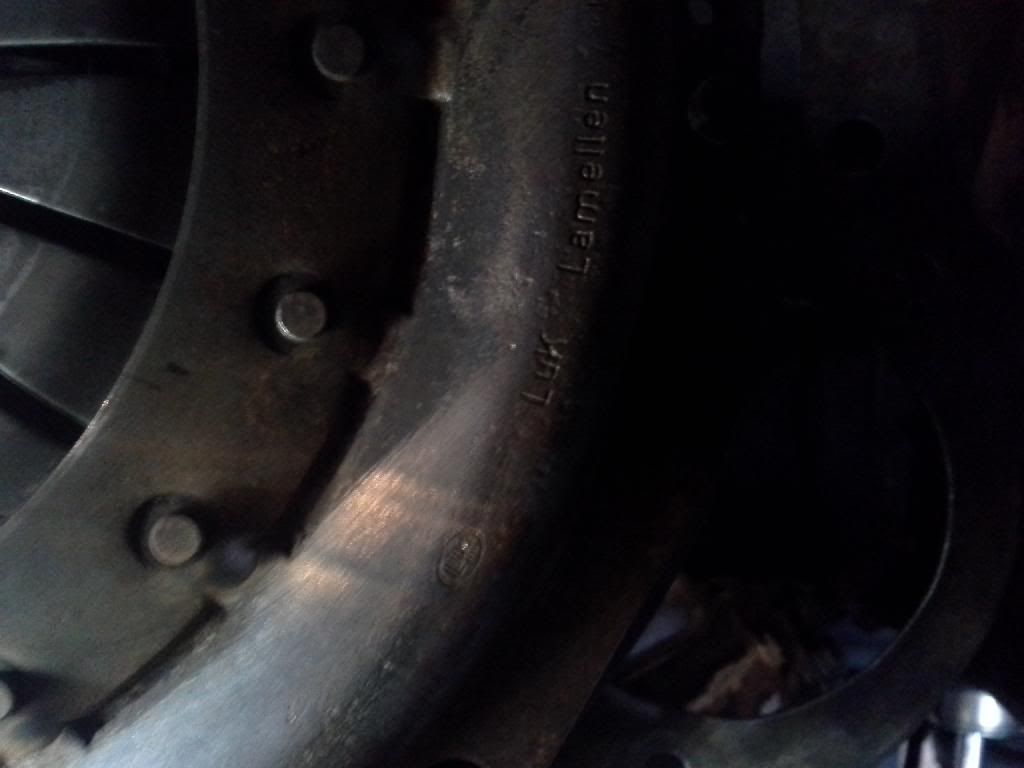
Due to funds being near non-existent I had to re-use the clutch I got with the trans, I REALLY regret this as it needs replaced already, should have swallowed my pride and borrowed the money for a new one.
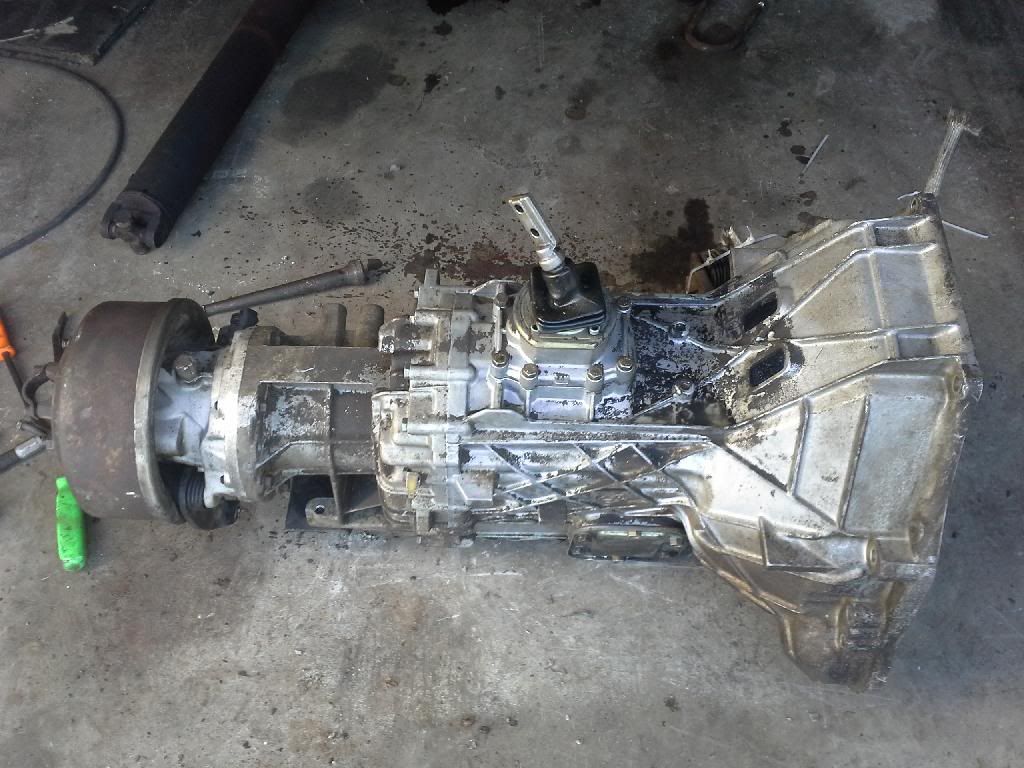
The tranny after initial pressure wash. The tail shaft drum is the main reason I went with this trans. This is actually a 4x4 case ZF5 and the drum tailshaft uses the same mounting as a transfer case would, this is out of a 1988 F-Superduty (F-450).
Uses a 1410 U-joint.
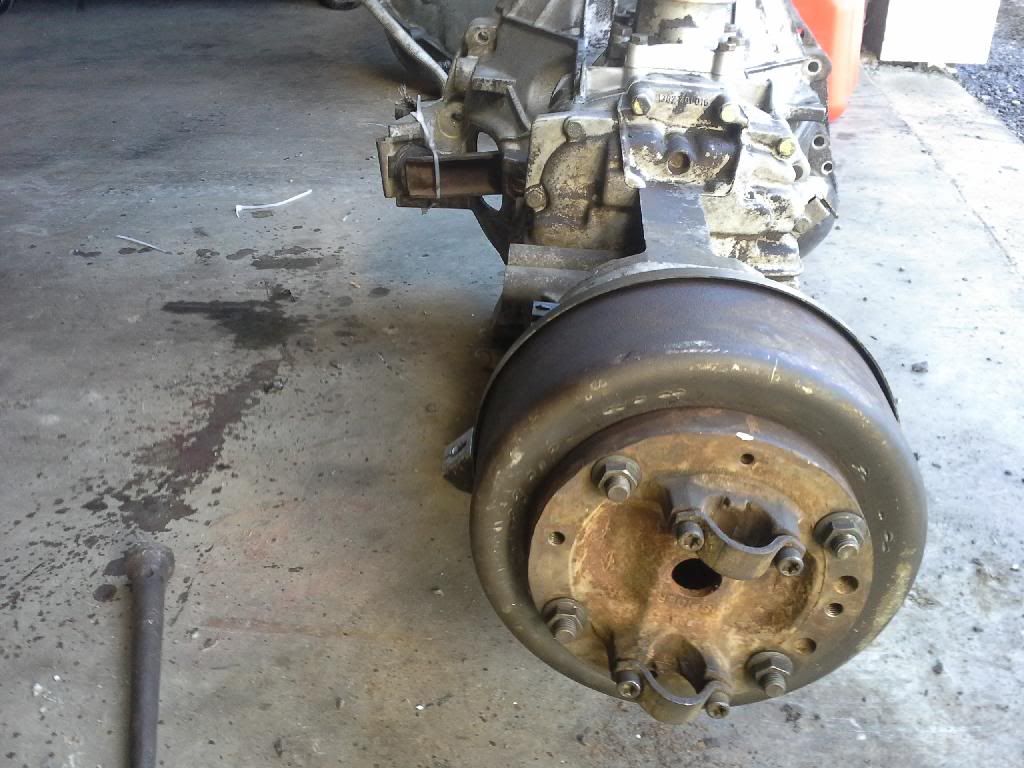
This is where the some of the headaches began, due to the wonderful drum brake my saddle tank and the brake had an interference issue of trying to use roughly 4" of the same space.
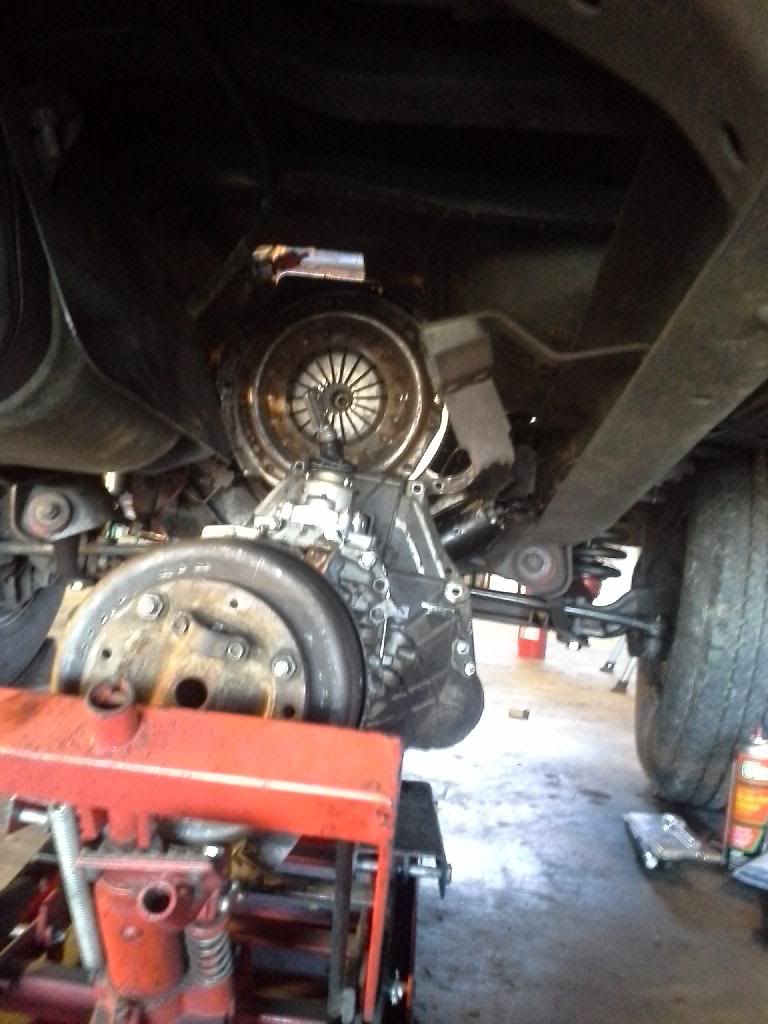
So I removed the fuel tank and am running a POS poly tank in the bed for now. Sorry for the lack of step-by-step pictures. In order to get it to fit I had to "roll" the cab seem at the bottom of firewall-floor, cut a hole for the shift tower itself to poke through the tunnel cover due to the massive height of the ZF. I also wasted an entire day attempting to get the trans-engine to mate by myself, the motor plate just floats in there and has no designated fasteners at all so I'd balance that on the dowels then wrestle-wiggle-fight the tranny to line up during which the plate would routinely fall down. The next day my buddy had a little time before work and helped me, it took 20 minutes! That's what I get for being a stubborn little guy with "Napoleon Syndrome". After the trans was mated and had a couple bolts in it it was time for the mount issue, turns out it was pretty easy. I ground the rivets and removed the brackets that the mount sits on, mid height on the frame. Using the F450-ZF5 bushing (Transmission Mount) I drilled 2 holes vertically in the crossmember for it's studs then with the crossmember setting on the lower "Lip" of the frame I drilled a hole on each side and used the original bolts that went through the crossmember and frame bracket= done.
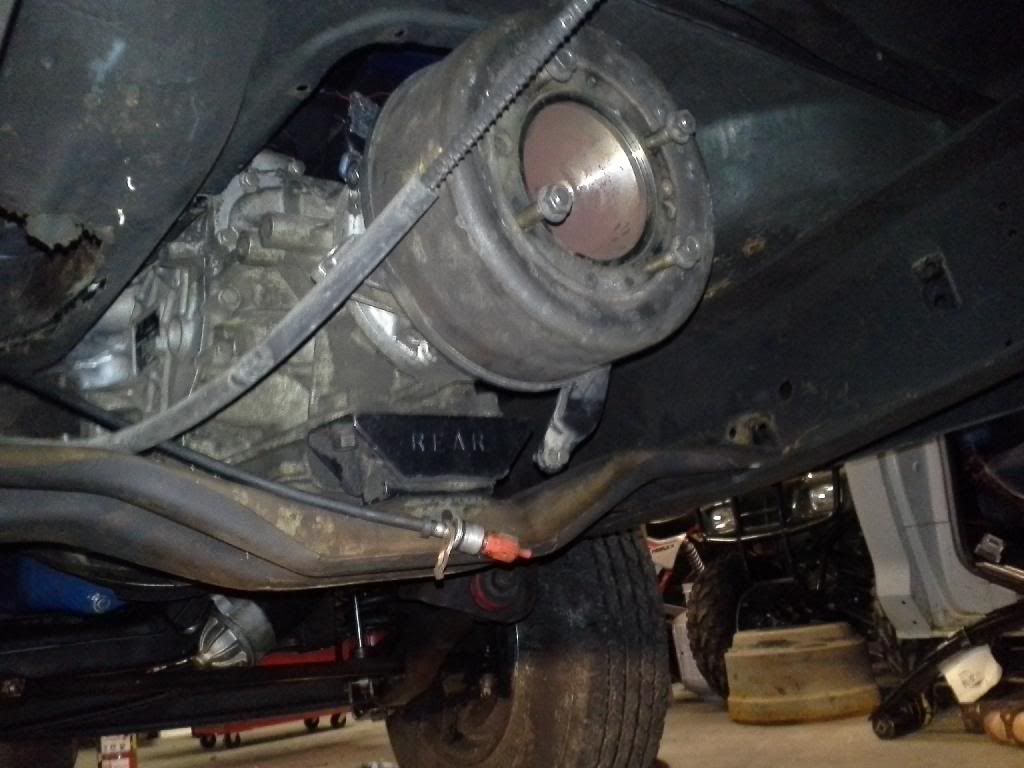
Also due to the size of the tail drum, Blessing and a Curse that thing is. It was slightly rubbing the bottom of the floor, so being the simpleton that I am, I put my floor jack under the drum and lifted it to bend the floor up slightly- this step may not have been required if my truck still had floor boards and the body wasn't sagging a bit. Luckily the speed sensor gets removed and the original cable goes right in.
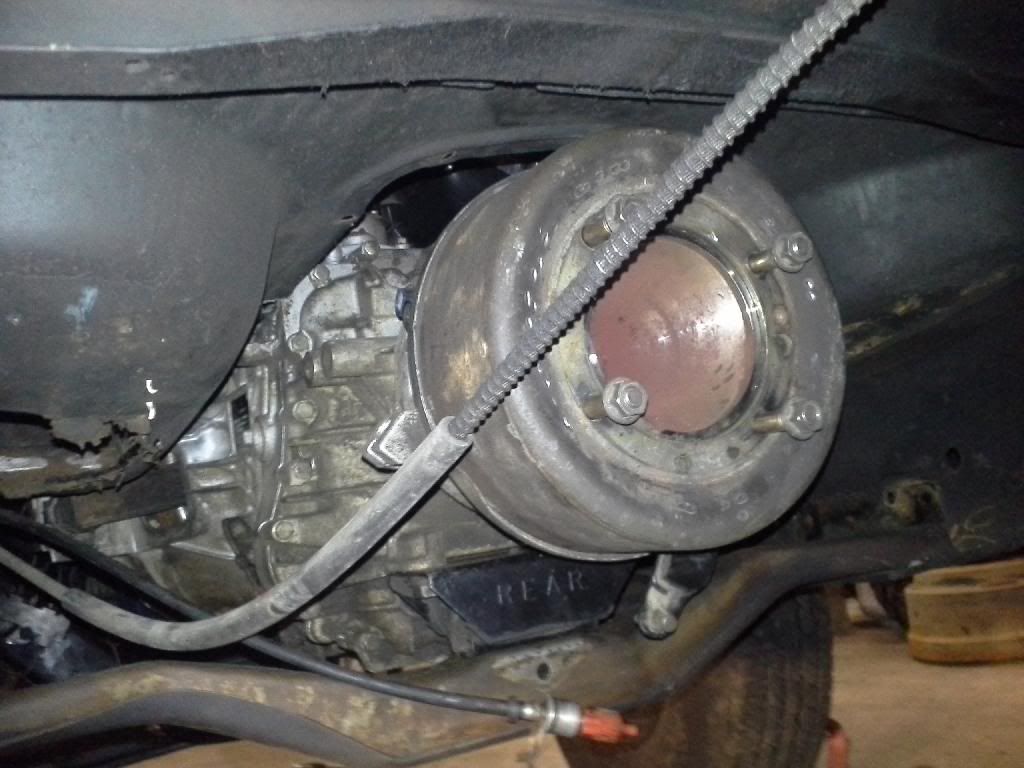
I'll get to this in another post, but a teaser.
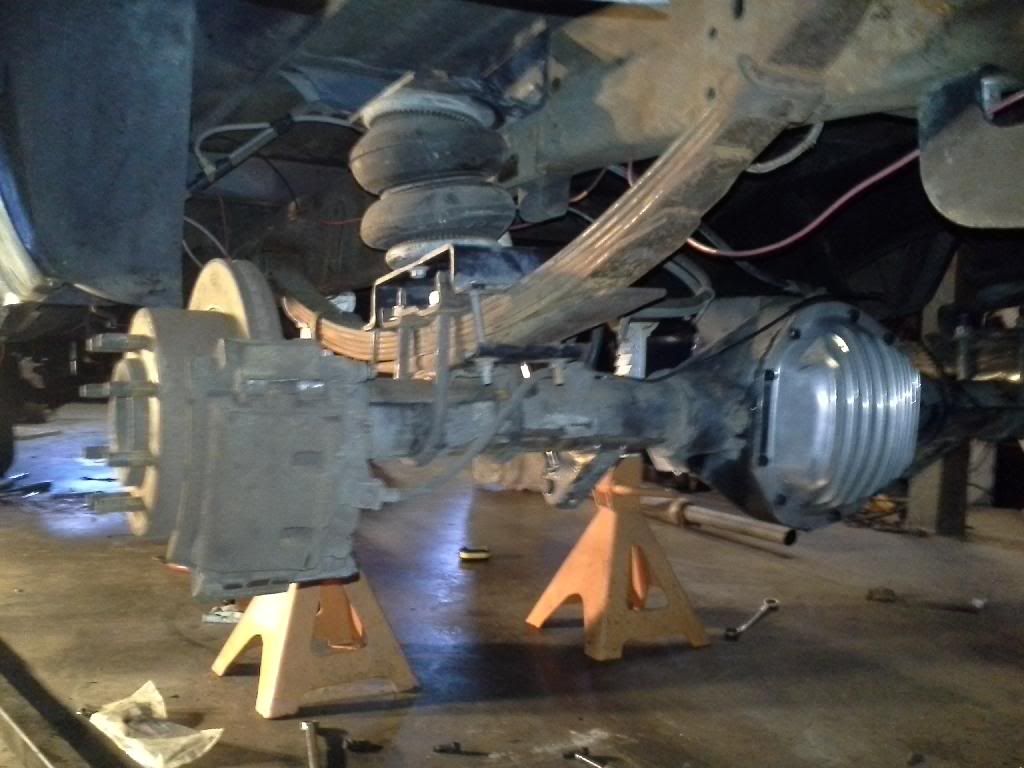
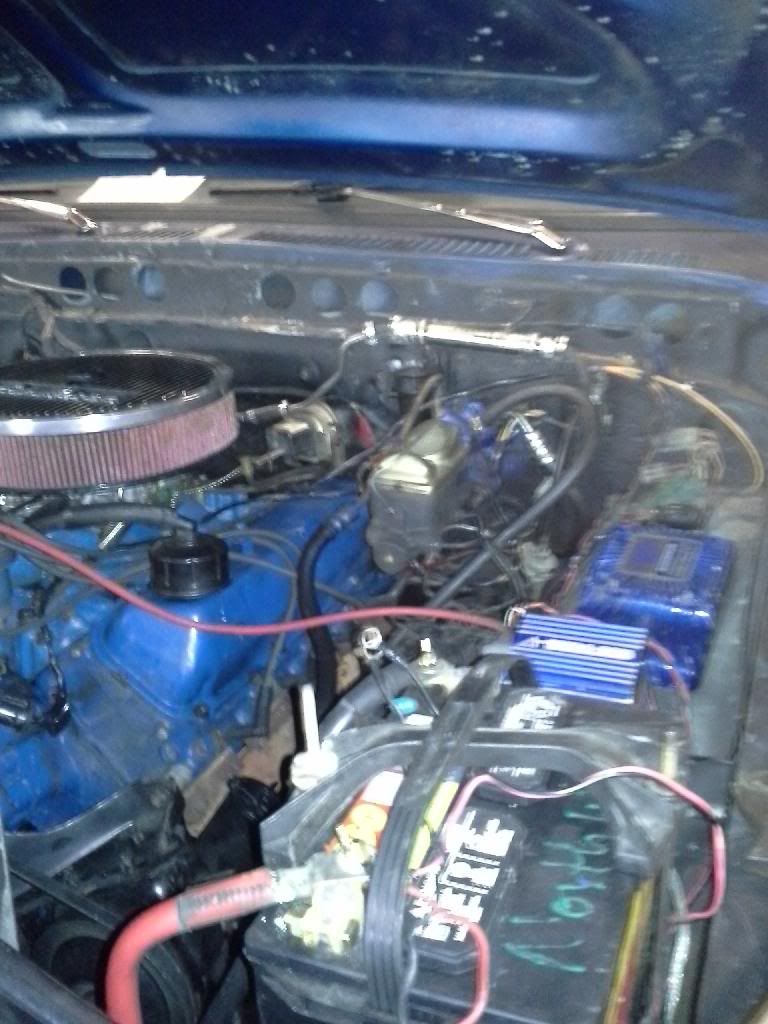
During this swap I also added dual batteries with factory tray, -00 battery cables off a Freightliner, factory Cruise Control and changed a lot of wiring around so forgive the mess going on in the picture. You can just barely make out the Clutch Master Cylinder on the far side of my Hydroboost unit.
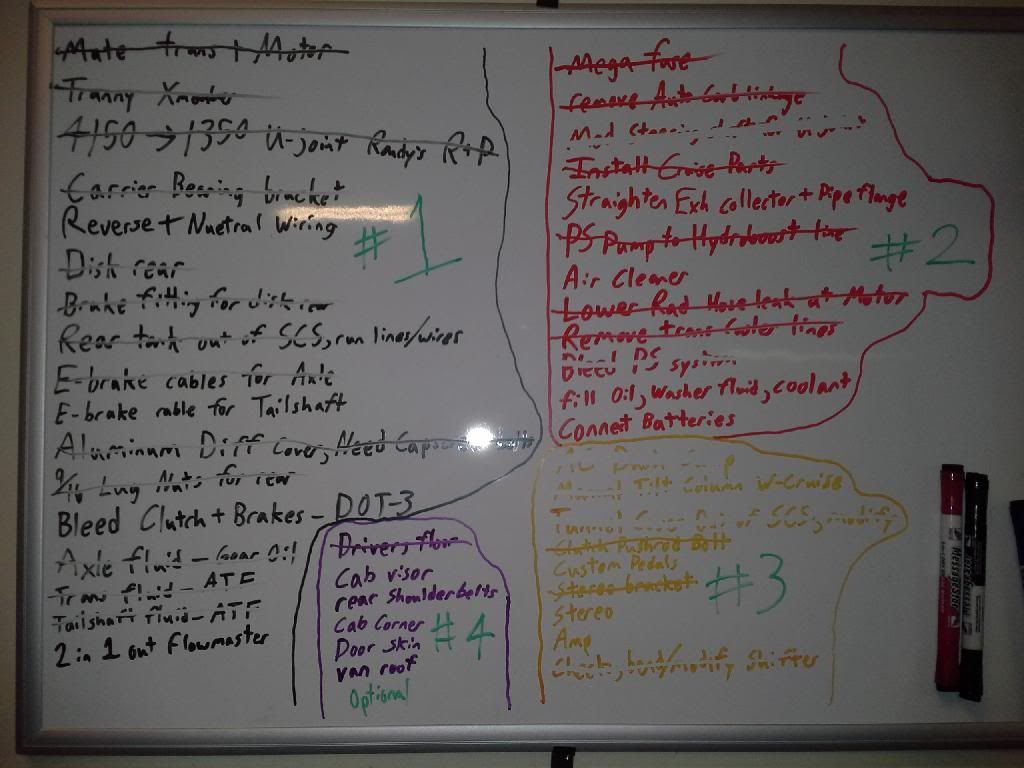
Blowing through the work list I made the night the C6 blew, I am at day 4.
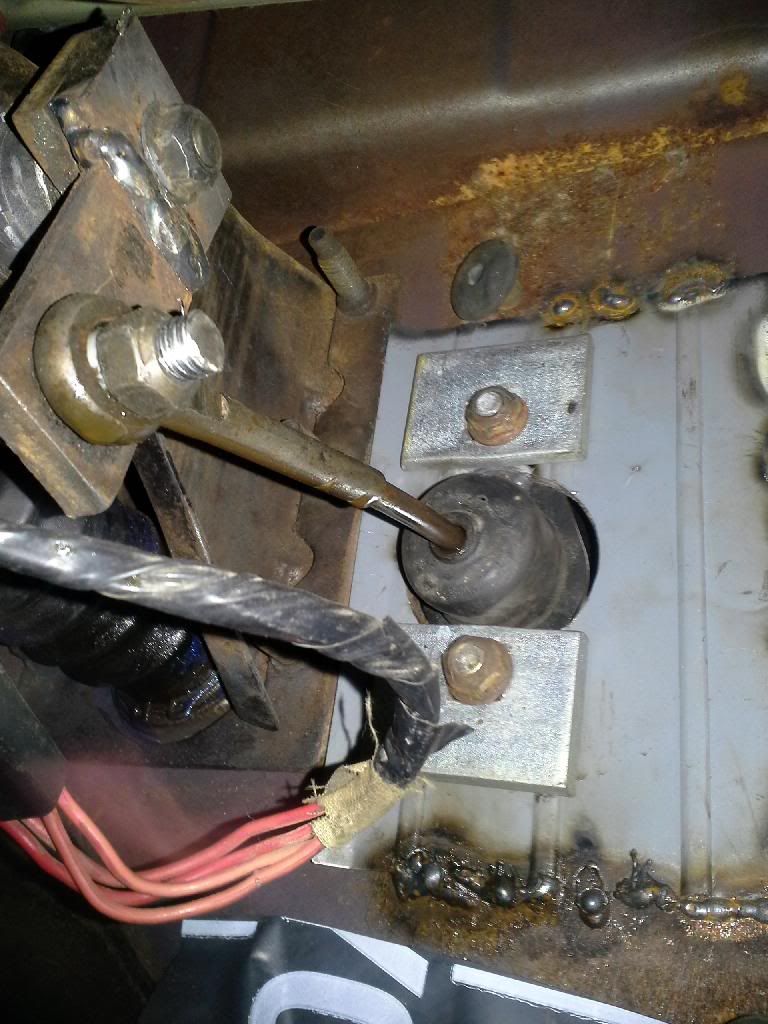
This picture shows how I cut the Pivot Arm from the pedal assembly and moved it 90* then welded it back on so the throw is now towards the firewall. I also made a temp firewall reinforcement plate out of a ribbed drawer divider from my tool box (I know redneck) you can also see from the slight bend in the MC Pushrod that I mounted the MC a little high, the pushrod broke a few months later. As a warning you CAN NOT mount the clutch MC this close to the pedal assembly if you have a Vacuum Booster.
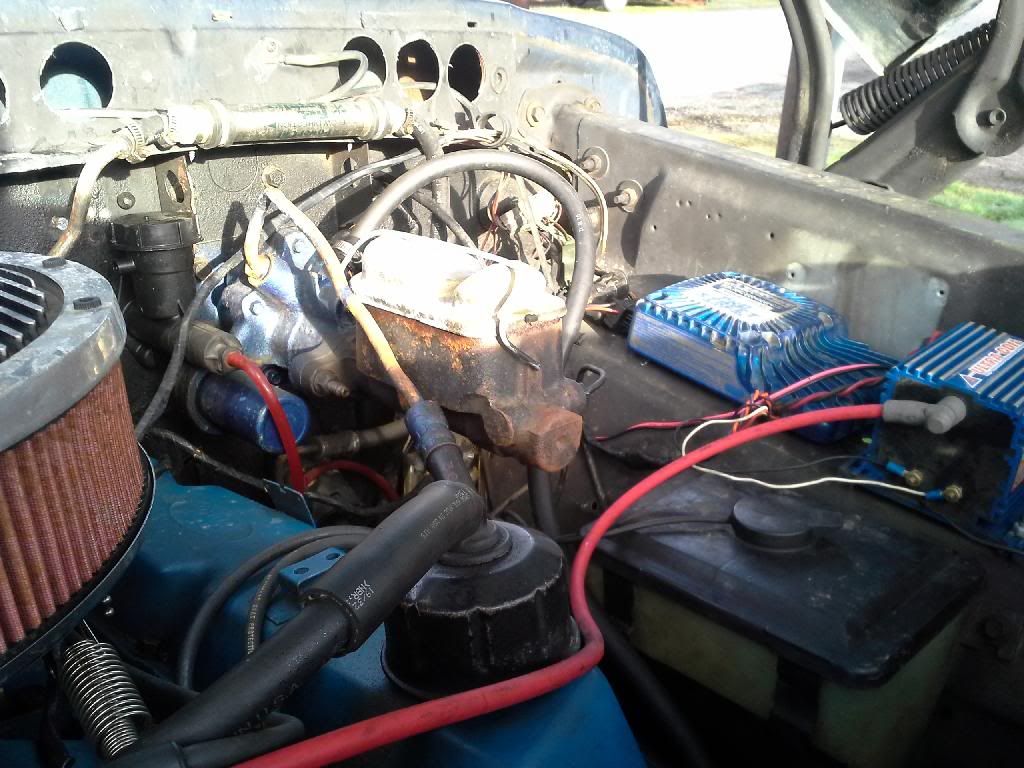
A better photo of the MC mounting.
I am currently away from my truck for a while, borrowing a little Toyota that gets 28mpg for all my driving around.
If anyone needs any more photos I will take them when I see my truck again, if you need me to clarify anything better I will do my best.
I don't have as many pictures as I would like concerning the ZF5 swap as I don't like grabbing the camera with grease covered hands and I did this swap in I think 5 days.
I had been up at my shop playing around tuning a carb as me and my buddy who owns the shop were bored at 10pm. We took it on a test drive, taking off from a stop I floored it and it posied up, drifted sideways (I was pretty happy) the BOOM, it destroyed 1st gear in the C6. I had been trying to slowly collect the parts for the ZF swap before this happened and decided if I was going to swap a trans (have a good C6 in parts truck) then I might as well upgrade.
Tearing out the old trans and figured might as well swap to the disk rear with taller gears I have laying here at the same time.

Installed a Manual pedal assemble, if memory serves this set is out of a 76, will be modifying a 79 set (has better clutch pedal spring) with custom pedals and doing the bearing upgrade (MustangSteve's Clutch Pedal Shaft Bearing Conversion for 65-73 Mustangs) later on in life. Can also see my Tekonsha Prodigy P3 brake controller, LOVE it! Can just see the top of my Holley electric pump through my "Flintstone Package" floor. And the factory option fire extinguisher out of the SCS, which is dated 1973, trying to find a place to re-charge it for $#!t$-Giggles.

Due to funds being near non-existent I had to re-use the clutch I got with the trans, I REALLY regret this as it needs replaced already, should have swallowed my pride and borrowed the money for a new one.

The tranny after initial pressure wash. The tail shaft drum is the main reason I went with this trans. This is actually a 4x4 case ZF5 and the drum tailshaft uses the same mounting as a transfer case would, this is out of a 1988 F-Superduty (F-450).

Uses a 1410 U-joint.

This is where the some of the headaches began, due to the wonderful drum brake my saddle tank and the brake had an interference issue of trying to use roughly 4" of the same space.

So I removed the fuel tank and am running a POS poly tank in the bed for now. Sorry for the lack of step-by-step pictures. In order to get it to fit I had to "roll" the cab seem at the bottom of firewall-floor, cut a hole for the shift tower itself to poke through the tunnel cover due to the massive height of the ZF. I also wasted an entire day attempting to get the trans-engine to mate by myself, the motor plate just floats in there and has no designated fasteners at all so I'd balance that on the dowels then wrestle-wiggle-fight the tranny to line up during which the plate would routinely fall down. The next day my buddy had a little time before work and helped me, it took 20 minutes! That's what I get for being a stubborn little guy with "Napoleon Syndrome". After the trans was mated and had a couple bolts in it it was time for the mount issue, turns out it was pretty easy. I ground the rivets and removed the brackets that the mount sits on, mid height on the frame. Using the F450-ZF5 bushing (Transmission Mount) I drilled 2 holes vertically in the crossmember for it's studs then with the crossmember setting on the lower "Lip" of the frame I drilled a hole on each side and used the original bolts that went through the crossmember and frame bracket= done.

Also due to the size of the tail drum, Blessing and a Curse that thing is. It was slightly rubbing the bottom of the floor, so being the simpleton that I am, I put my floor jack under the drum and lifted it to bend the floor up slightly- this step may not have been required if my truck still had floor boards and the body wasn't sagging a bit. Luckily the speed sensor gets removed and the original cable goes right in.

I'll get to this in another post, but a teaser.

During this swap I also added dual batteries with factory tray, -00 battery cables off a Freightliner, factory Cruise Control and changed a lot of wiring around so forgive the mess going on in the picture. You can just barely make out the Clutch Master Cylinder on the far side of my Hydroboost unit.

Blowing through the work list I made the night the C6 blew, I am at day 4.

This picture shows how I cut the Pivot Arm from the pedal assembly and moved it 90* then welded it back on so the throw is now towards the firewall. I also made a temp firewall reinforcement plate out of a ribbed drawer divider from my tool box (I know redneck) you can also see from the slight bend in the MC Pushrod that I mounted the MC a little high, the pushrod broke a few months later. As a warning you CAN NOT mount the clutch MC this close to the pedal assembly if you have a Vacuum Booster.

A better photo of the MC mounting.

I am currently away from my truck for a while, borrowing a little Toyota that gets 28mpg for all my driving around.
If anyone needs any more photos I will take them when I see my truck again, if you need me to clarify anything better I will do my best.

