Racor 6000 CCV Filter Project
#1
 09-16-2013, 08:30 PM

Racor 6000 CCV Filter Project
Part 1
As some here already know this project took me the better part of a year to put together.. Mainly due to budget issues..
After poking around here for awhile I learned about one of the 5 main issues that seem to plague the 6.0's.. Mainly the turbo pulling the oil vapors through the CCV from the valve cover... With help from Bismic who had alot of great advice i was hoping it was going to be an easy peazy job.. After seeing the pictures from his album I had initially hoped to improve a little of the pluming to make it more straight lined via copper tubing.. but as I later found out due to alot of clearancing issues i was forced to plumb the whole thing using just the rubber hoses.. but anyways... lets get to some pictures...
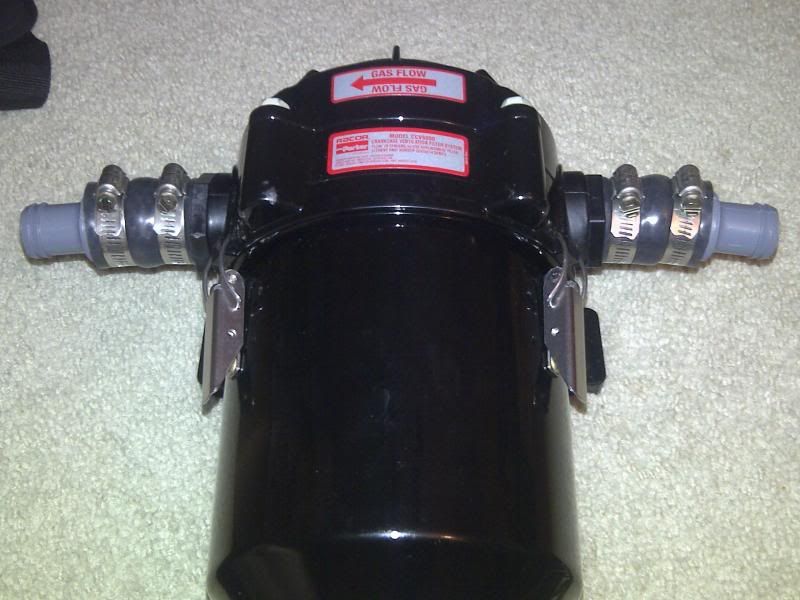
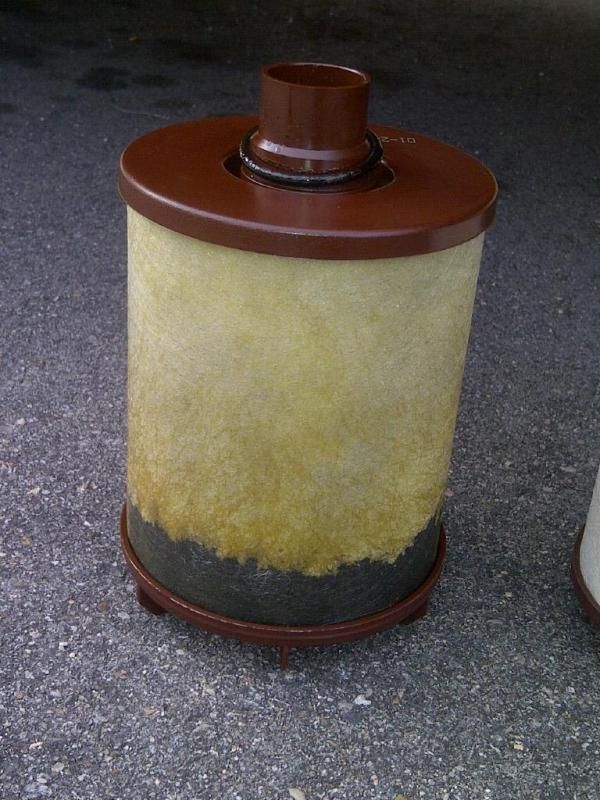
one of the first things i bought after talking with Bismic was the filter assembly...
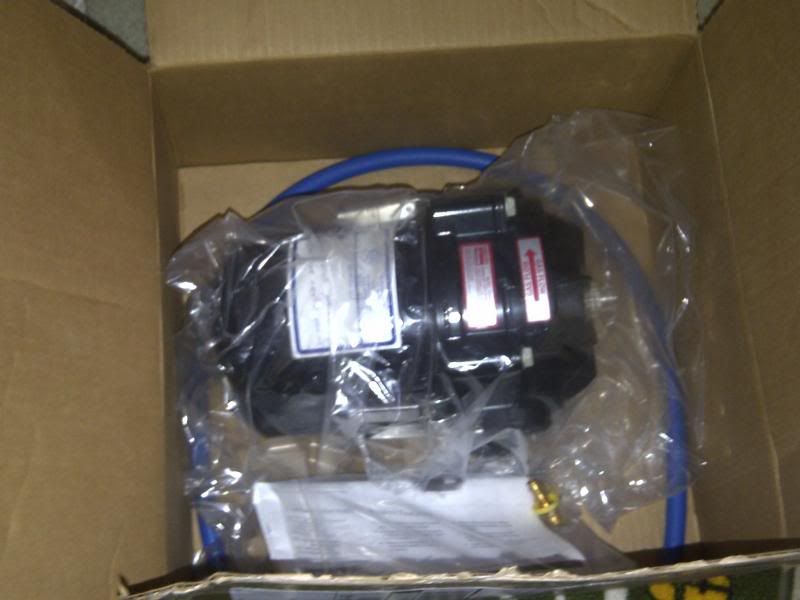
even after seeing his install pictures i still didnt realize exactly how massive this thing actually was...
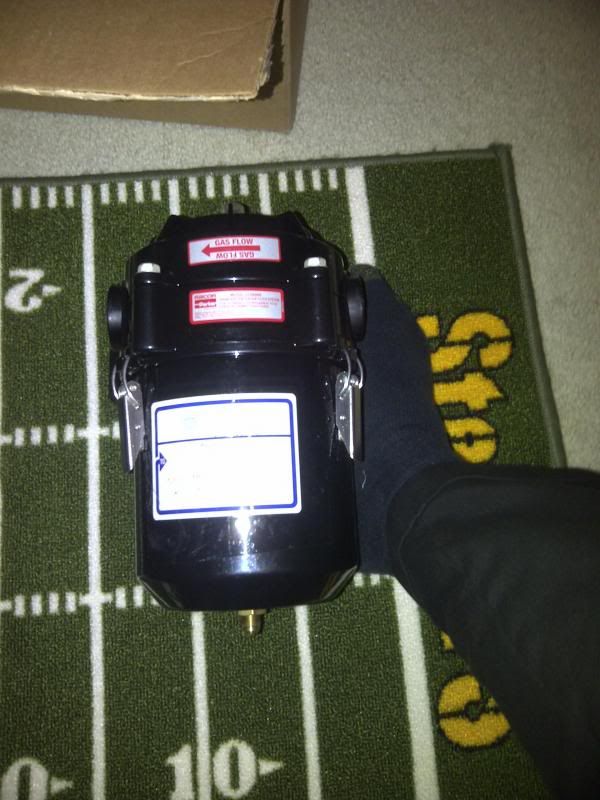
just slightly bigger than my foot...
the next task was to get the reducers needed due to the massive holes.. (sorry home depot and lowes doesnt carry these ones...

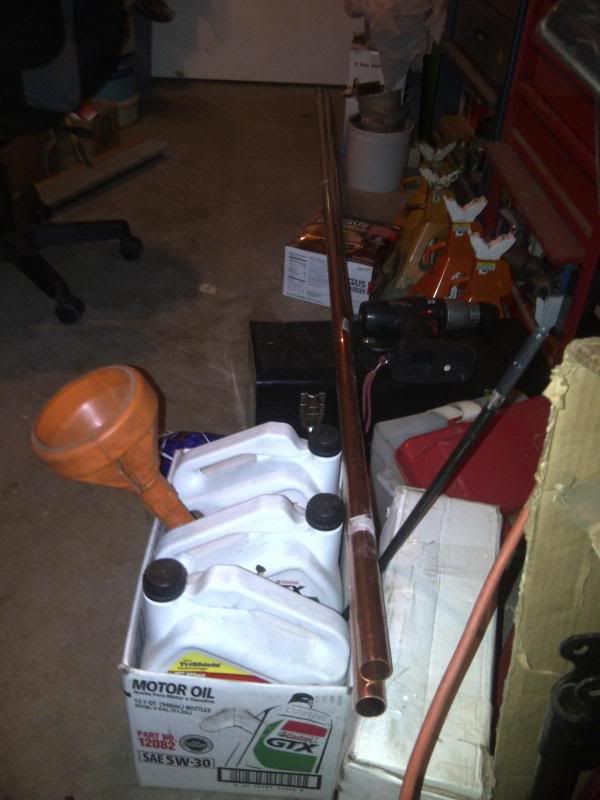
i did buy 10' of 1" copper pipe for the plumbing.. sadly it didnt get used and now is still taking up space in my garage...
next came the nuts bolts and assorted hardware i was gonna need to bolt everything into place...

little did i know later how maddening those particular nuts and bolts were gonna cause me during the "test fitting" so much for trying to think smart using stainless..
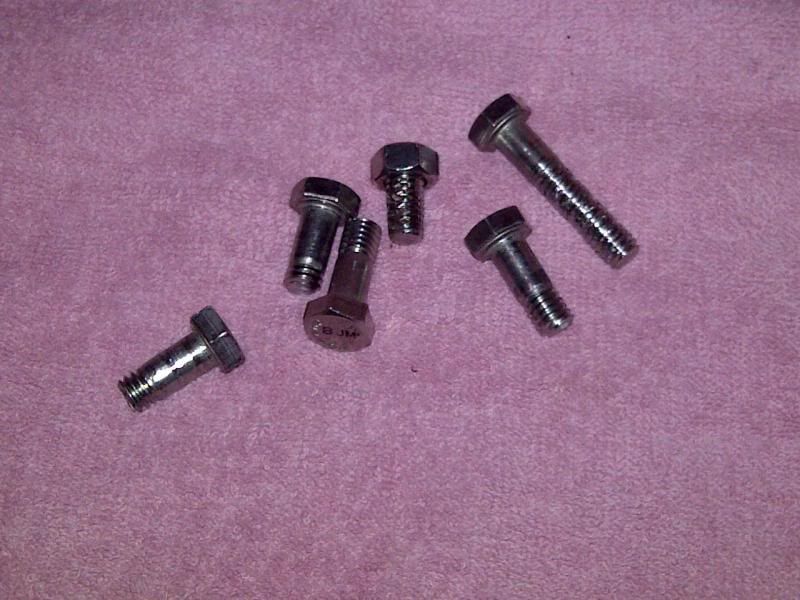
stupid nuts somehow kept freezing onto the bolts and when id go to remove them they just ended up snapping... i later replaced them with grade 8 zinc plated bolts. never a problem again...
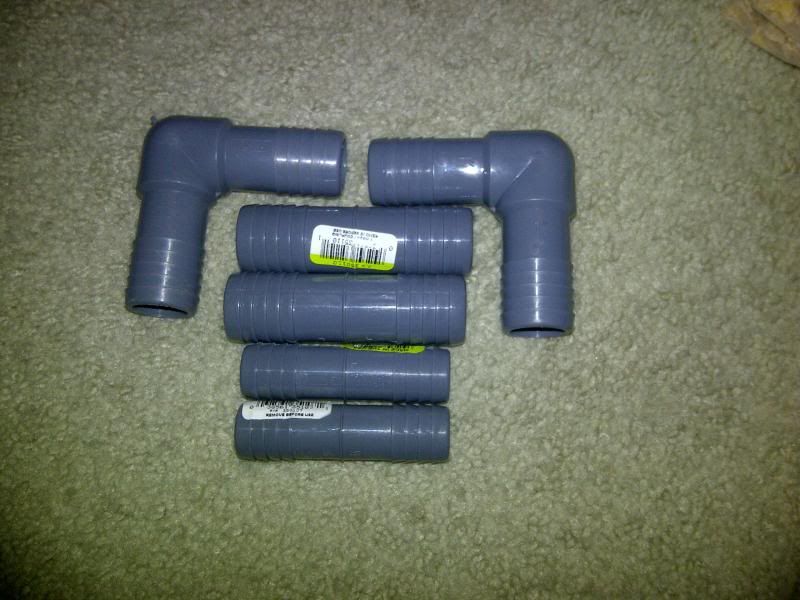
due to i wasnt exactly 100% sure what size the CCV vent tube actually was i bought both 1" and 3/4" couplers for the straight piece.. Elbows i knew would be 1"
As some here already know this project took me the better part of a year to put together.. Mainly due to budget issues..
After poking around here for awhile I learned about one of the 5 main issues that seem to plague the 6.0's.. Mainly the turbo pulling the oil vapors through the CCV from the valve cover... With help from Bismic who had alot of great advice i was hoping it was going to be an easy peazy job.. After seeing the pictures from his album I had initially hoped to improve a little of the pluming to make it more straight lined via copper tubing.. but as I later found out due to alot of clearancing issues i was forced to plumb the whole thing using just the rubber hoses.. but anyways... lets get to some pictures...
one of the first things i bought after talking with Bismic was the filter assembly...
even after seeing his install pictures i still didnt realize exactly how massive this thing actually was...
just slightly bigger than my foot...
the next task was to get the reducers needed due to the massive holes.. (sorry home depot and lowes doesnt carry these ones...
i did buy 10' of 1" copper pipe for the plumbing.. sadly it didnt get used and now is still taking up space in my garage...
next came the nuts bolts and assorted hardware i was gonna need to bolt everything into place...
little did i know later how maddening those particular nuts and bolts were gonna cause me during the "test fitting" so much for trying to think smart using stainless..
stupid nuts somehow kept freezing onto the bolts and when id go to remove them they just ended up snapping... i later replaced them with grade 8 zinc plated bolts. never a problem again...
due to i wasnt exactly 100% sure what size the CCV vent tube actually was i bought both 1" and 3/4" couplers for the straight piece.. Elbows i knew would be 1"
#2
09-16-2013, 08:41 PM
Part 2.
Then came the rubber hoses... i bought 50' of the 1" rubber heater hose jic my initial plan failed.. (good thing too)
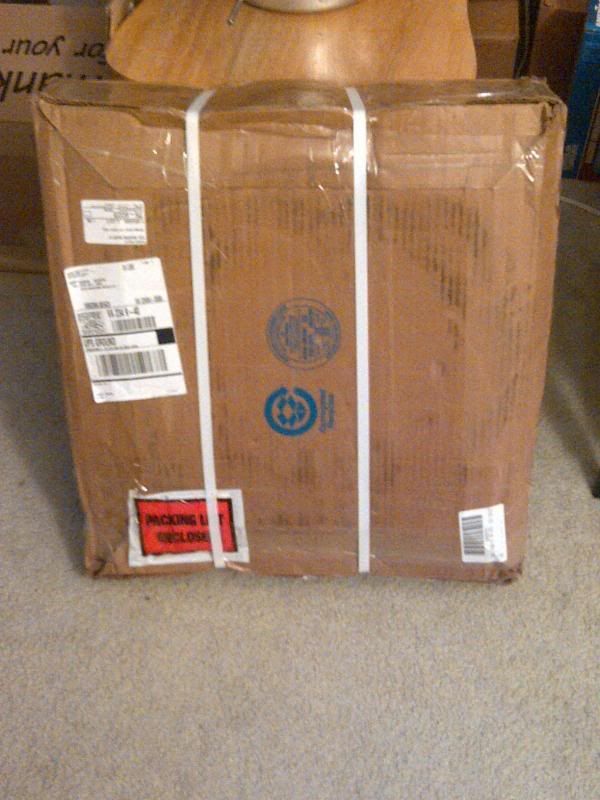
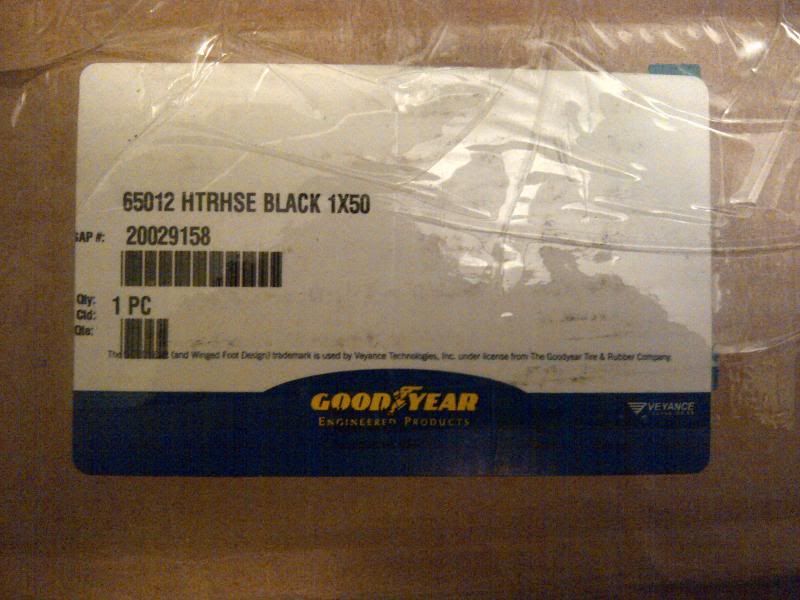
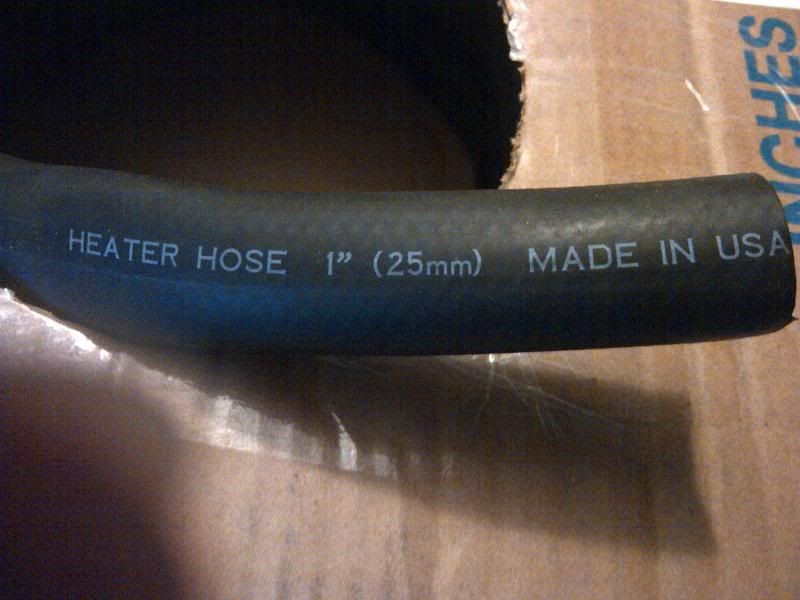
that part made me happy to see...

i actually thought those kinks in the hose was going to cause me some problems later little did i know they would straighten out nicely...
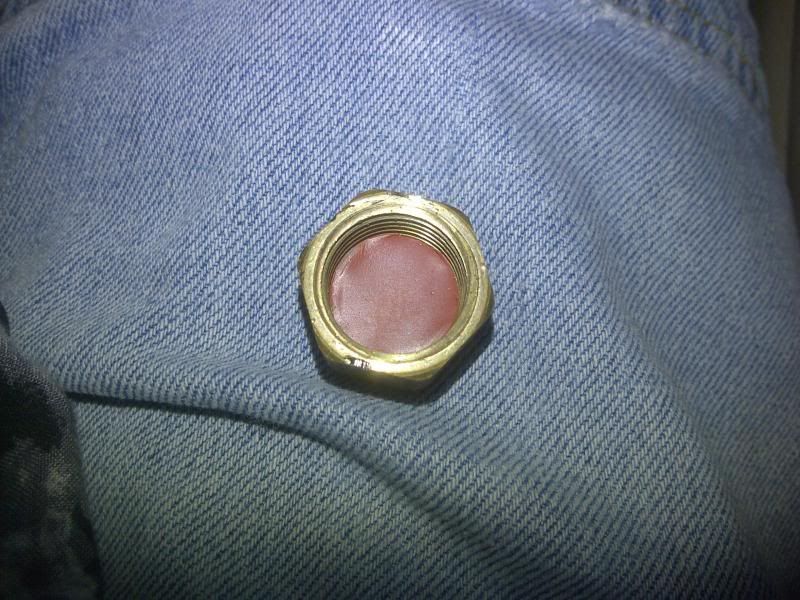
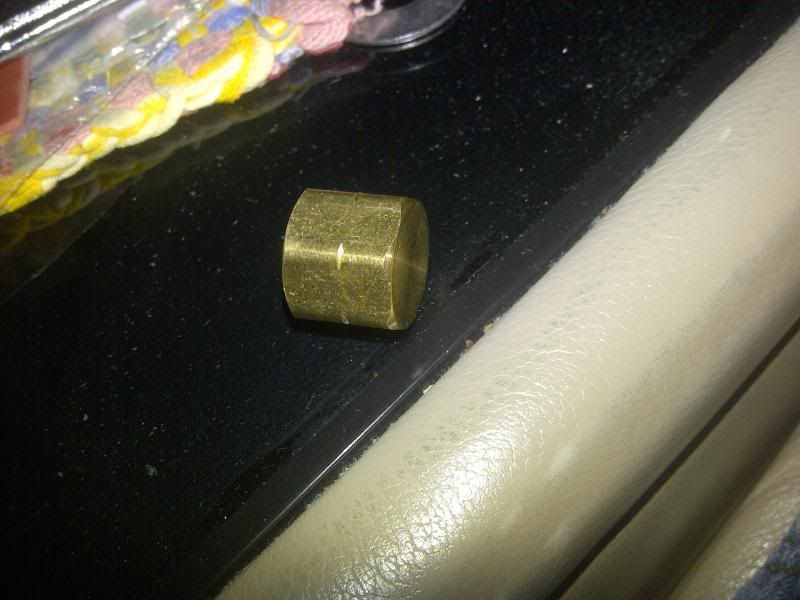
After some trouble of finding a Cap to fit the fitting that actually came on the filter housing i ended up giving up and taking a 3/8" fitting for the air compressors and modifying it.. First i bought a double male coupler and a dual Female coupler.. i cut the Female coupler off on one end and use some big washers to pinch it into place
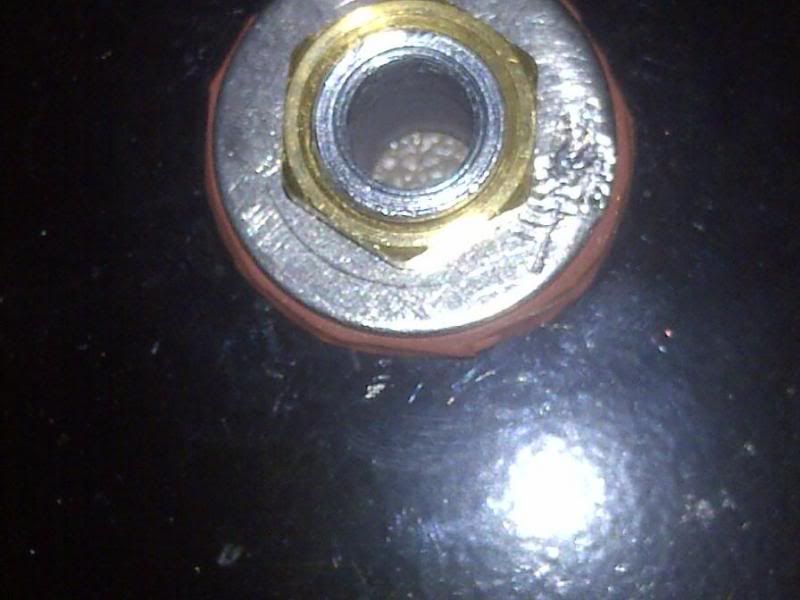
also made a rubber washer as well so if the oil ever did build up in the catch can it wouldnt be able to leak out around the couplers..
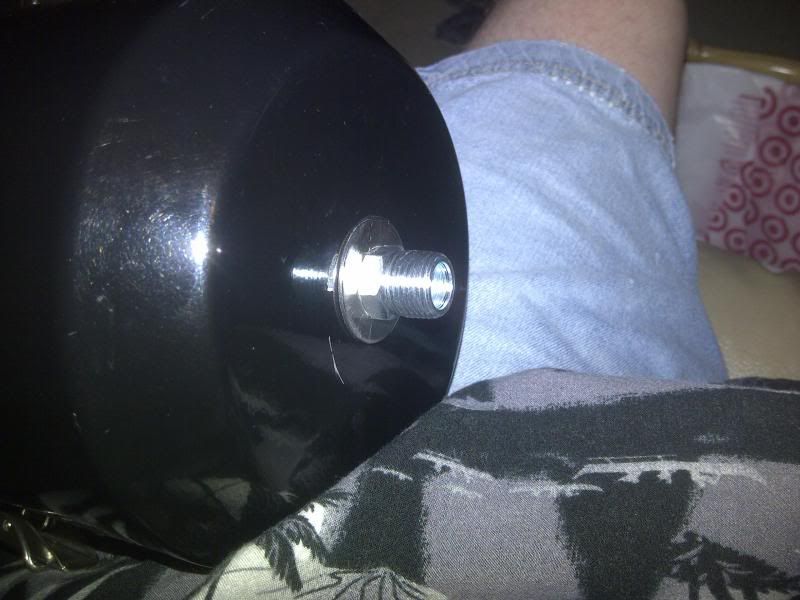
since i alreay had the center cut out from making the washer i decided to use it at a rubber stopper as well in the end cap i got for the other end...

Then came the rubber hoses... i bought 50' of the 1" rubber heater hose jic my initial plan failed.. (good thing too)
that part made me happy to see...
i actually thought those kinks in the hose was going to cause me some problems later little did i know they would straighten out nicely...
After some trouble of finding a Cap to fit the fitting that actually came on the filter housing i ended up giving up and taking a 3/8" fitting for the air compressors and modifying it.. First i bought a double male coupler and a dual Female coupler.. i cut the Female coupler off on one end and use some big washers to pinch it into place
also made a rubber washer as well so if the oil ever did build up in the catch can it wouldnt be able to leak out around the couplers..
since i alreay had the center cut out from making the washer i decided to use it at a rubber stopper as well in the end cap i got for the other end...
#3
09-16-2013, 08:51 PM
Part 3.
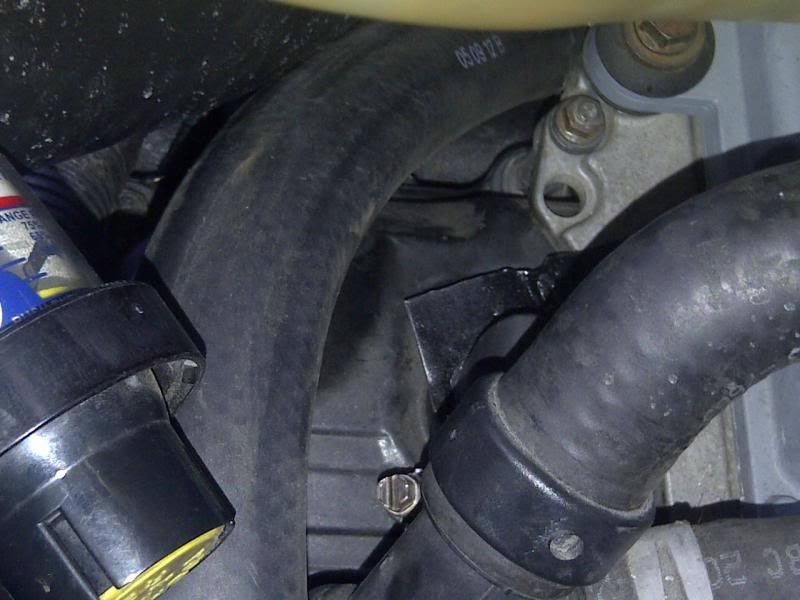
Finally the 2ft section of 1 1/4" hose finally arrived (yay for backorders.. NOT!!!) so i got to finally attach the reducers to the CCVF...
Yes you will notice they were cut shorter.. i did that to save some space..
Since the parking brake cable caused some clearance issues i decided to make a mounting bracket so i could get the filter to sit up even higher so it would be little less noticeable..

using some steel i had left over from some other projects was nice since it didnt cost me anything lol... that and my previous customers paid for it lol..

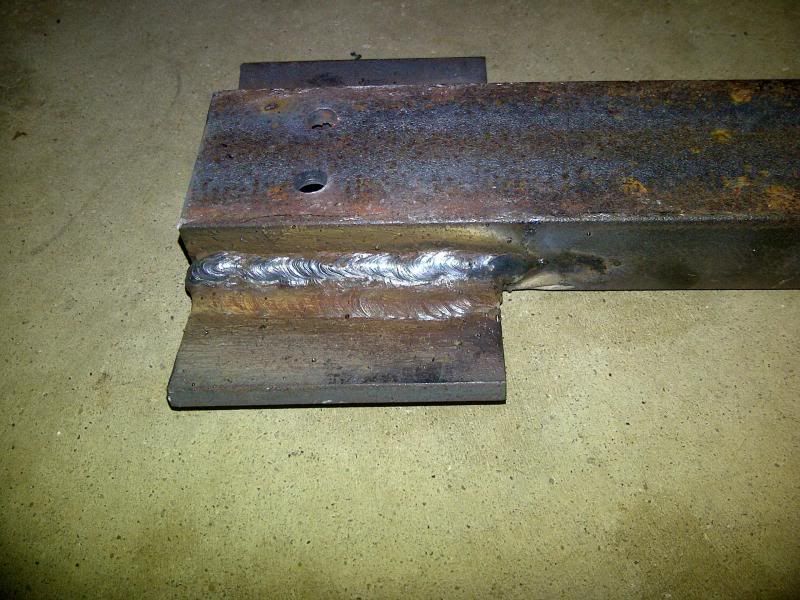
just showing off my welds now.. lol
not one of my better ones...
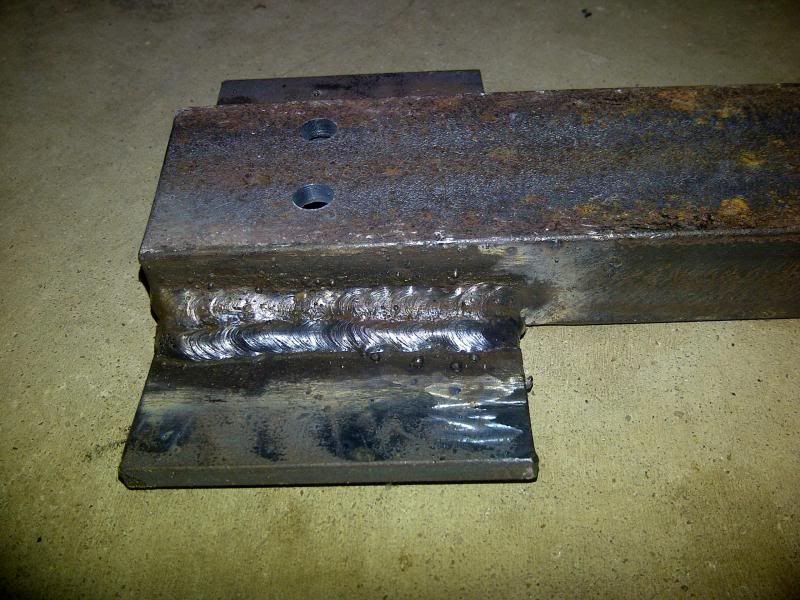
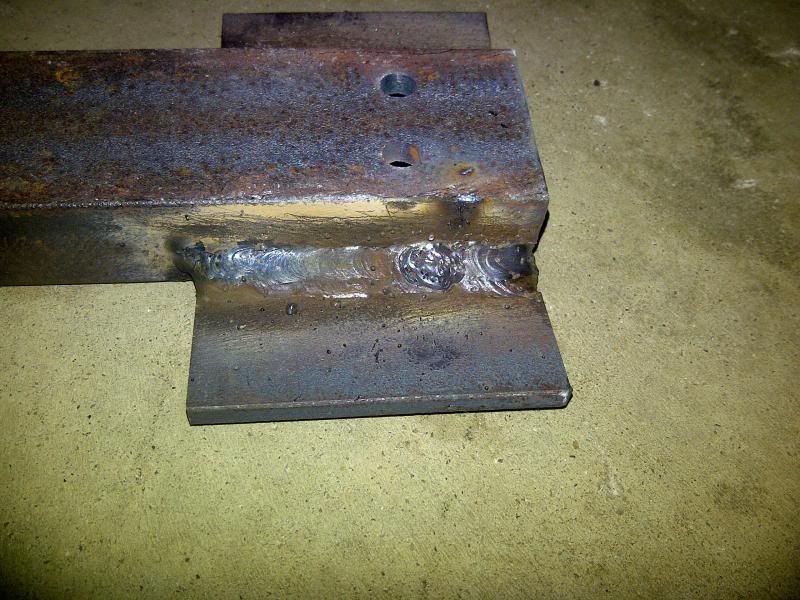

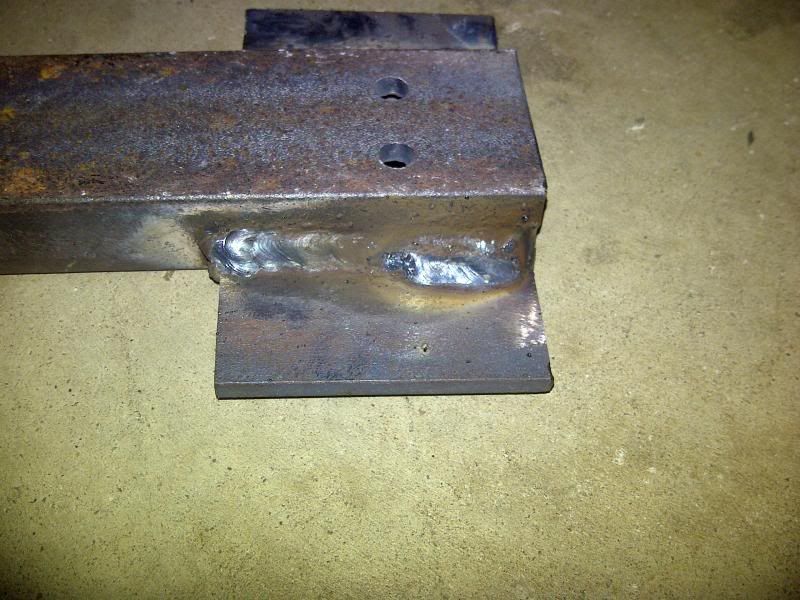
this side i did just for some added strength and to get the steel fully welded together...
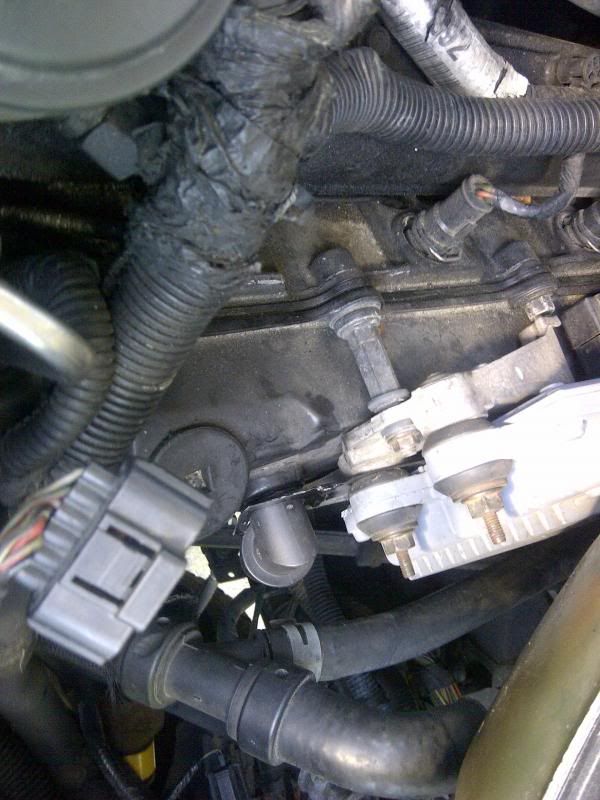
im not sure why but the valve cover side of the CCV tube never seemed to stay in the valve cover so i made a retaining plate and used the computer there to hold it in place..
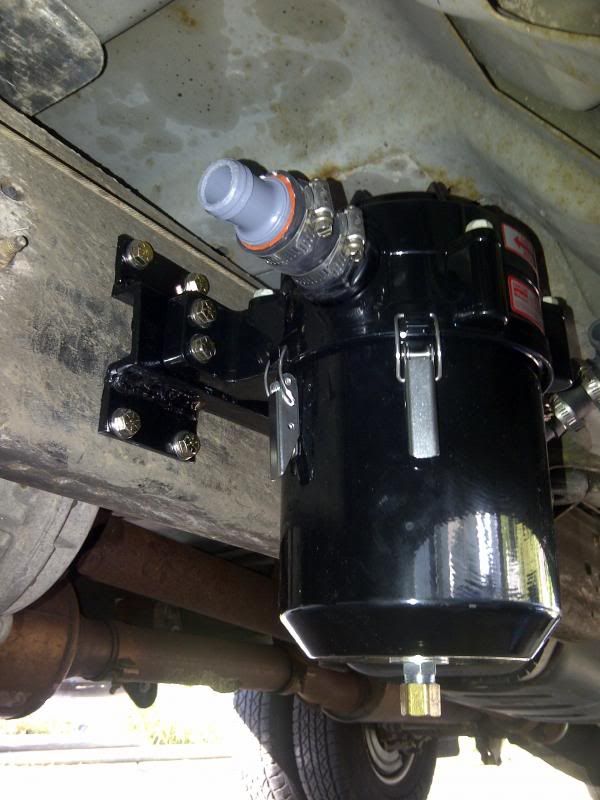
after i got the bracket all cleaned up and painted i finally got it mounted a couple weeks ago right before a trip...

i know you cant see much here.. i was mearly trying to get a picture of the retaining plate..
Finally the 2ft section of 1 1/4" hose finally arrived (yay for backorders.. NOT!!!) so i got to finally attach the reducers to the CCVF...
Yes you will notice they were cut shorter.. i did that to save some space..
Since the parking brake cable caused some clearance issues i decided to make a mounting bracket so i could get the filter to sit up even higher so it would be little less noticeable..
using some steel i had left over from some other projects was nice since it didnt cost me anything lol... that and my previous customers paid for it lol..
just showing off my welds now.. lol
not one of my better ones...
this side i did just for some added strength and to get the steel fully welded together...
im not sure why but the valve cover side of the CCV tube never seemed to stay in the valve cover so i made a retaining plate and used the computer there to hold it in place..
after i got the bracket all cleaned up and painted i finally got it mounted a couple weeks ago right before a trip...
i know you cant see much here.. i was mearly trying to get a picture of the retaining plate..
#4
09-16-2013, 08:59 PM
Part 4.

the zip ties you see in the upper corner there were mearly to hold the hoses off the steering shaft.. they kept wanting to get right up against it so theyd be rubbing constantly.. i was afraid theyd eventually cause some steering issues...
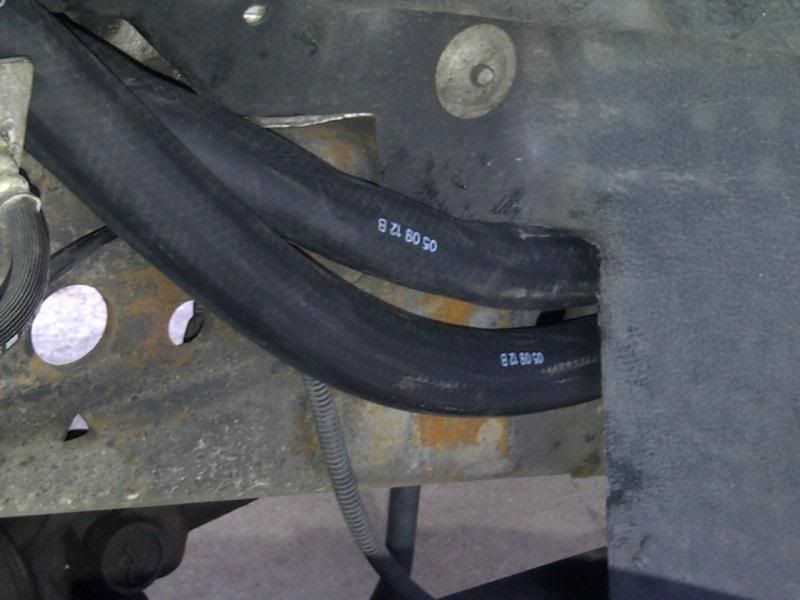
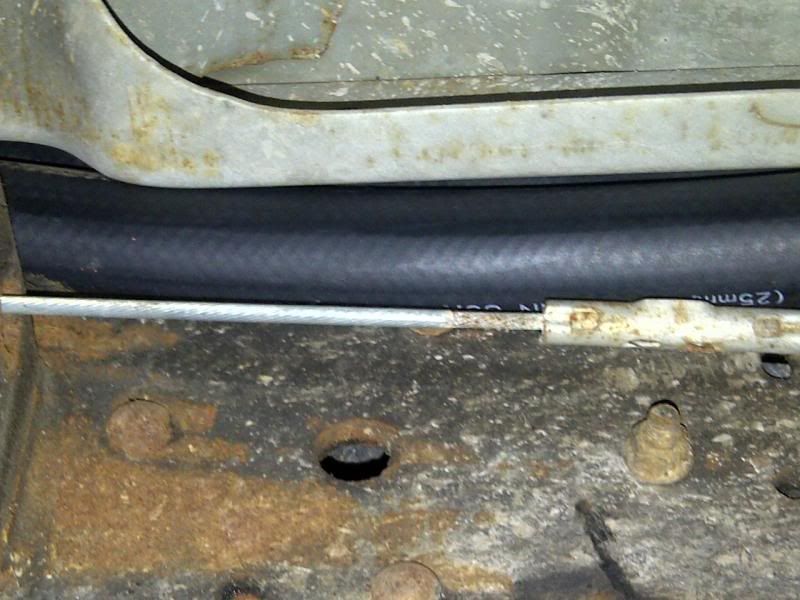
I later Ziptied those up as well.. due to their weight they kept trying to sag down onto the parking brake cable right at that connection... due to that i usually find hills to park on i was afraid of wearing a hole into one of them...
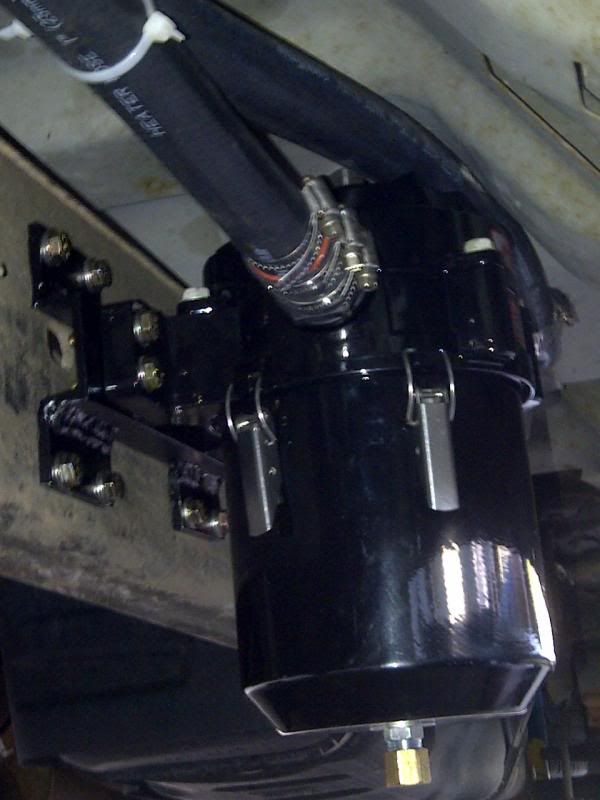
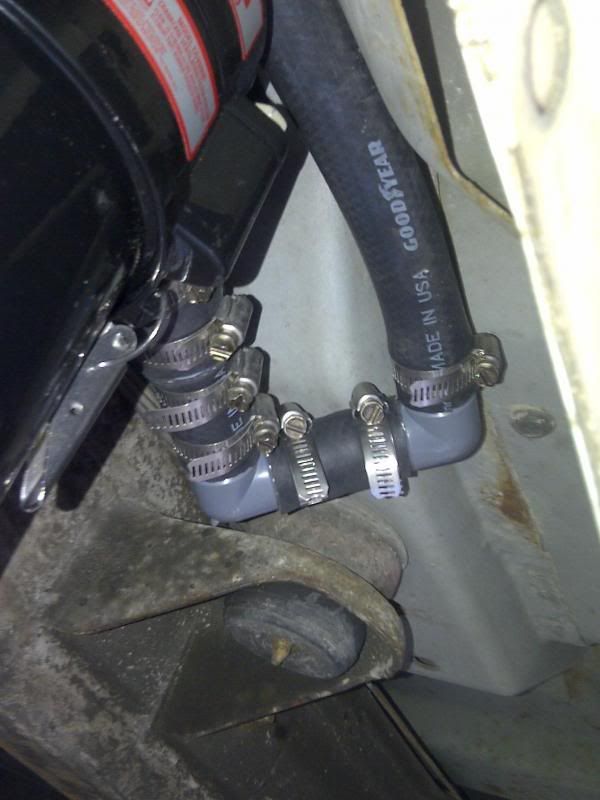
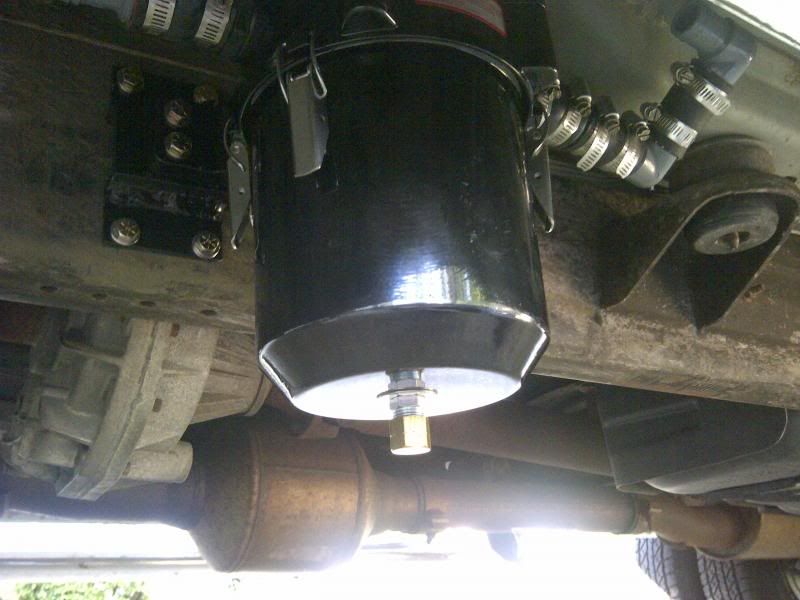
i call that side hose clamp land...
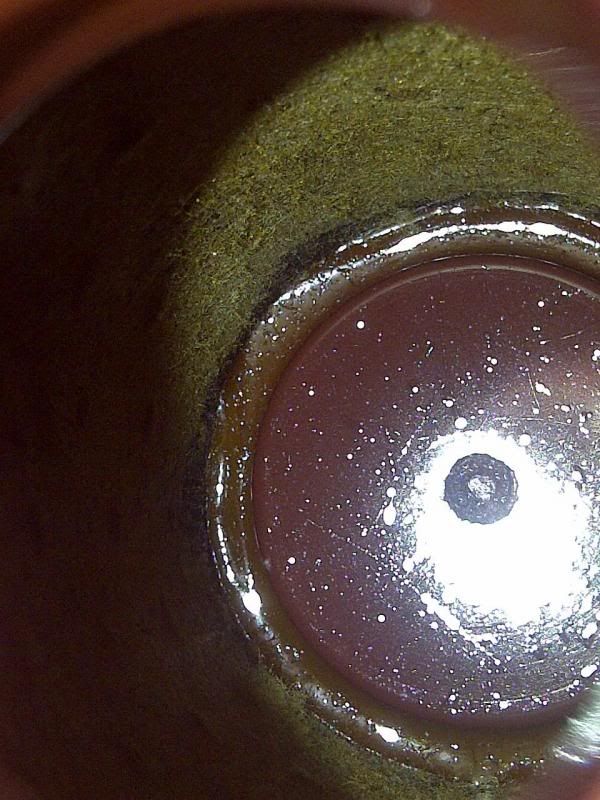
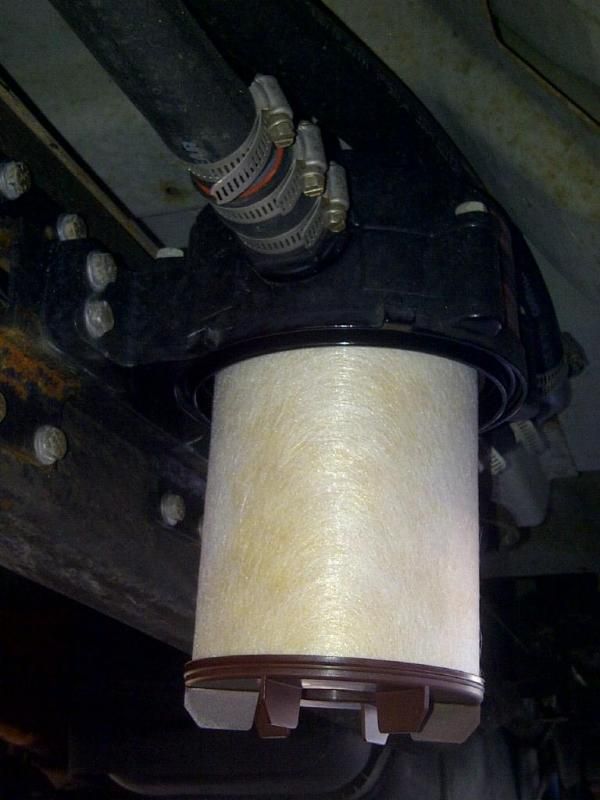
i was surprised a little.. i figured after only a 1000 miles i wouldnt see much on the filter at all.. especially since i didnt think mine was this bad at it.. but when after my trip i pulled the cover and the filter to look and this was what i found..
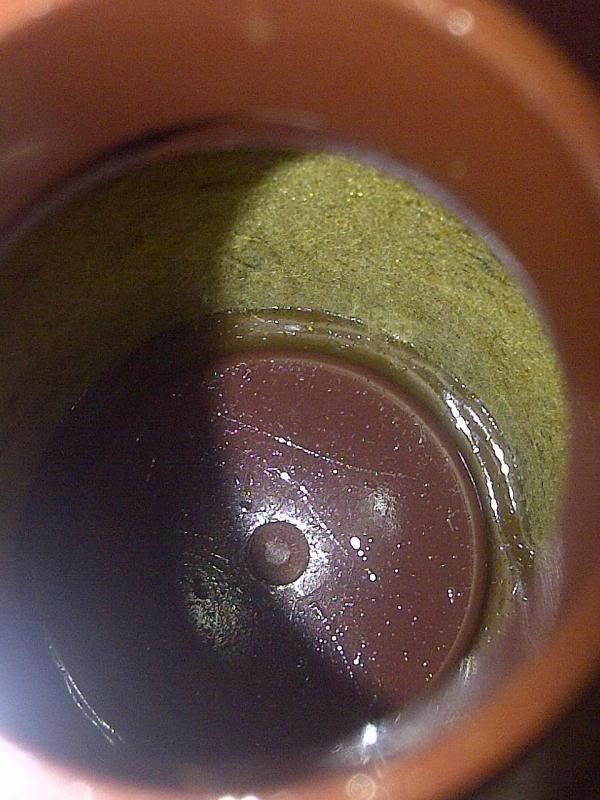
for those that dont know.. these filters just like your fuel filters are initially bright white.. outside of the filter still was but the inside sure wasnt..
hope you enjoyed the pictures... Thanks again Bismic for all your help.. really appreciated it..
the zip ties you see in the upper corner there were mearly to hold the hoses off the steering shaft.. they kept wanting to get right up against it so theyd be rubbing constantly.. i was afraid theyd eventually cause some steering issues...
I later Ziptied those up as well.. due to their weight they kept trying to sag down onto the parking brake cable right at that connection... due to that i usually find hills to park on i was afraid of wearing a hole into one of them...
i call that side hose clamp land...
i was surprised a little.. i figured after only a 1000 miles i wouldnt see much on the filter at all.. especially since i didnt think mine was this bad at it.. but when after my trip i pulled the cover and the filter to look and this was what i found..
for those that dont know.. these filters just like your fuel filters are initially bright white.. outside of the filter still was but the inside sure wasnt..
hope you enjoyed the pictures... Thanks again Bismic for all your help.. really appreciated it..
#5
09-16-2013, 09:17 PM


#6
09-16-2013, 09:26 PM
sure hope so.. i need to pull the CAC's again and clean em that way i can find out if theyre still getting saturated from something else.. course if it was just from the CCV tube they may not even need cleaned if the pressure sucked them dry lol... didnt clean them when i did that due to lack of time..
will have to see.. figured id wait to buy the replacements till it needed changed. that way i can see how many i might need and how often.. figured id check it once a month or every other to see how quickly it takes to get saturated...
will have to see.. figured id wait to buy the replacements till it needed changed. that way i can see how many i might need and how often.. figured id check it once a month or every other to see how quickly it takes to get saturated...
#7
09-17-2013, 07:30 AM

Former Vendor
Join Date: May 2012
Location: Walpole MA
Posts: 17,141
Likes: 0
Received 0 Likes
on
0 Posts

Trending Topics
#8
11-17-2013, 02:09 PM

#9
11-29-2014, 10:43 PM
so 1 year later... Did the first filter change.
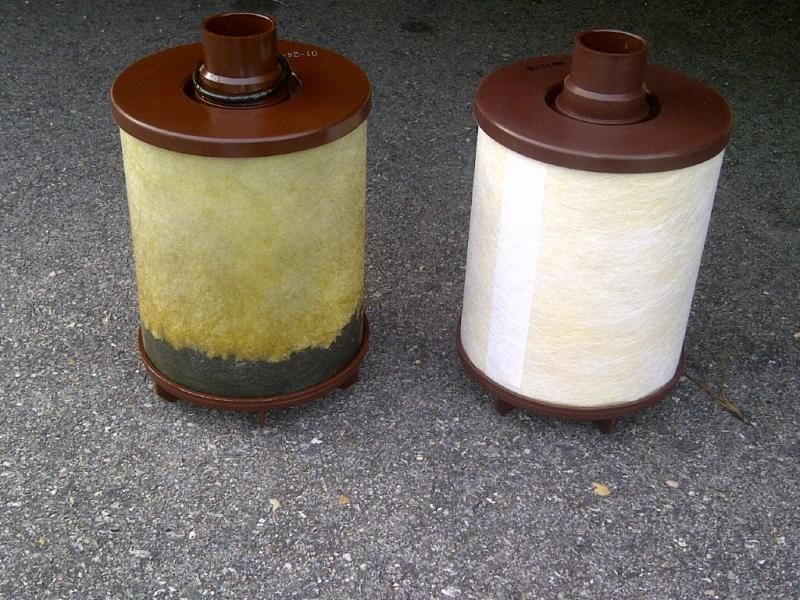
For those that cant guess the dirty ones on the left... Was actually a lot heavier compared to the new one..

clean
dirty.. not bad for being on for a yr...
new ones in place...
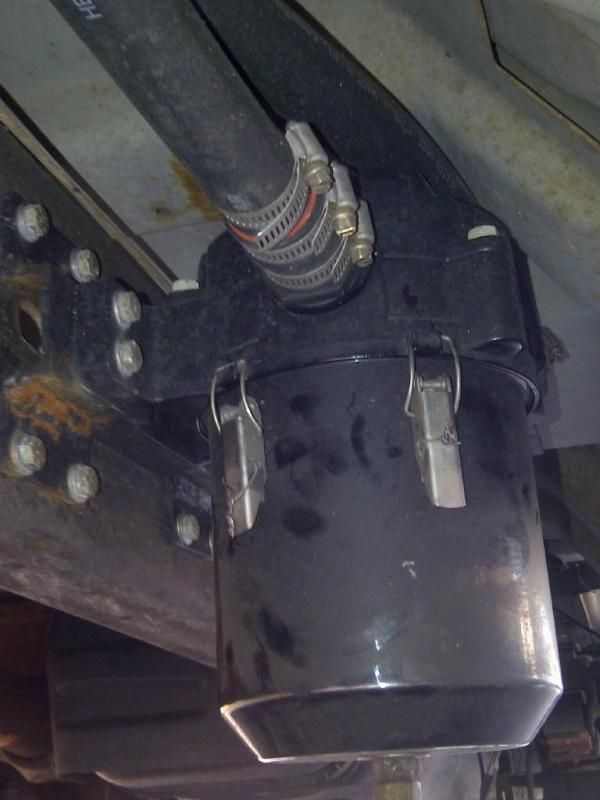
locked and secured... Safety wired too to make sure the housing cant unbuckle and fall off going down the road...
For those that cant guess the dirty ones on the left... Was actually a lot heavier compared to the new one..
clean
dirty.. not bad for being on for a yr...
new ones in place...
locked and secured... Safety wired too to make sure the housing cant unbuckle and fall off going down the road...

Thread
Thread Starter
Forum
Replies
Last Post
PinkStroker
1999 - 2003 7.3L Power Stroke Diesel
91
11-13-2008 10:51 AM