1967 F100 Disc Brake Conversion
#137
#138
#139

#140
#141
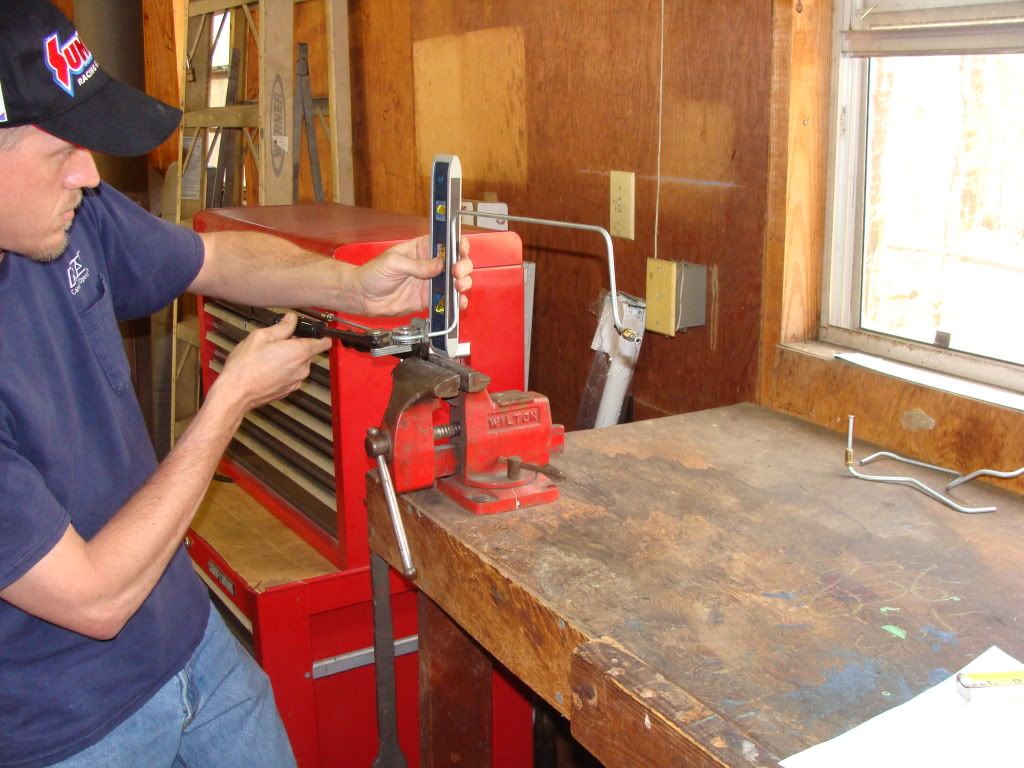
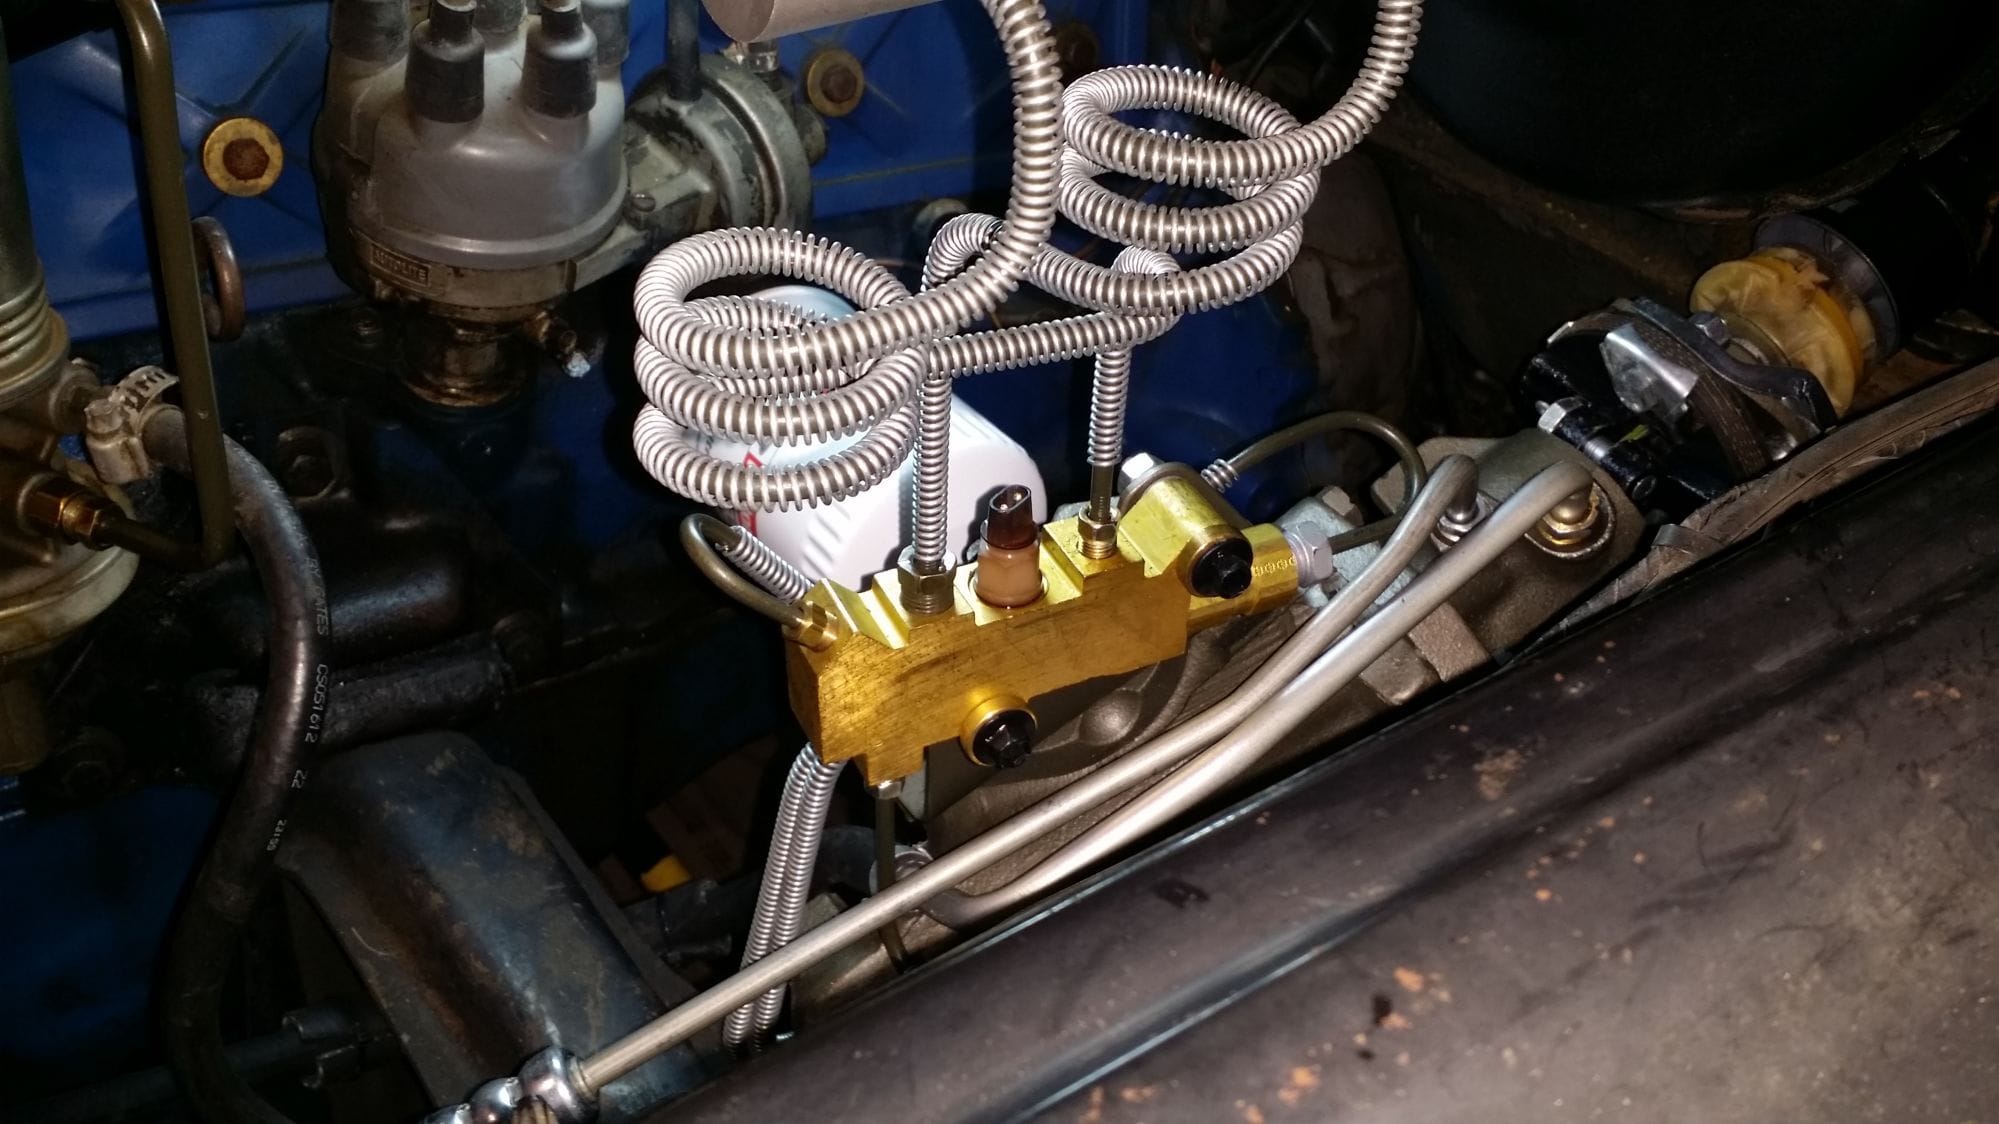
For the bends in the lines, I made them with some Rigid brand 3/16" tubing benders I have (I think I gave $45.00 bucks for them in 1996). For the loops I put in the lines, I formed the lines around a 15/16" diameter deep-well impact socket.
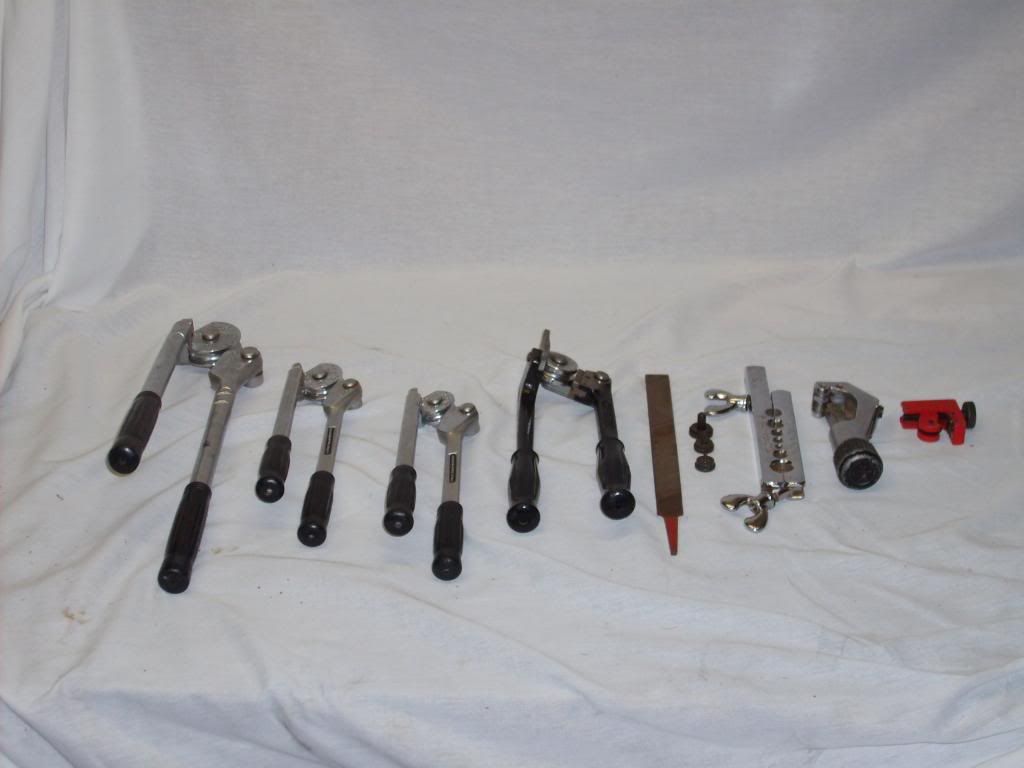
The Rigid brand 3/16" tubing benders I have are the black ones in the photo below. The other three silver tubing benders (left to right) are Imperial brand: 3/8", 5/16" and 1/4".

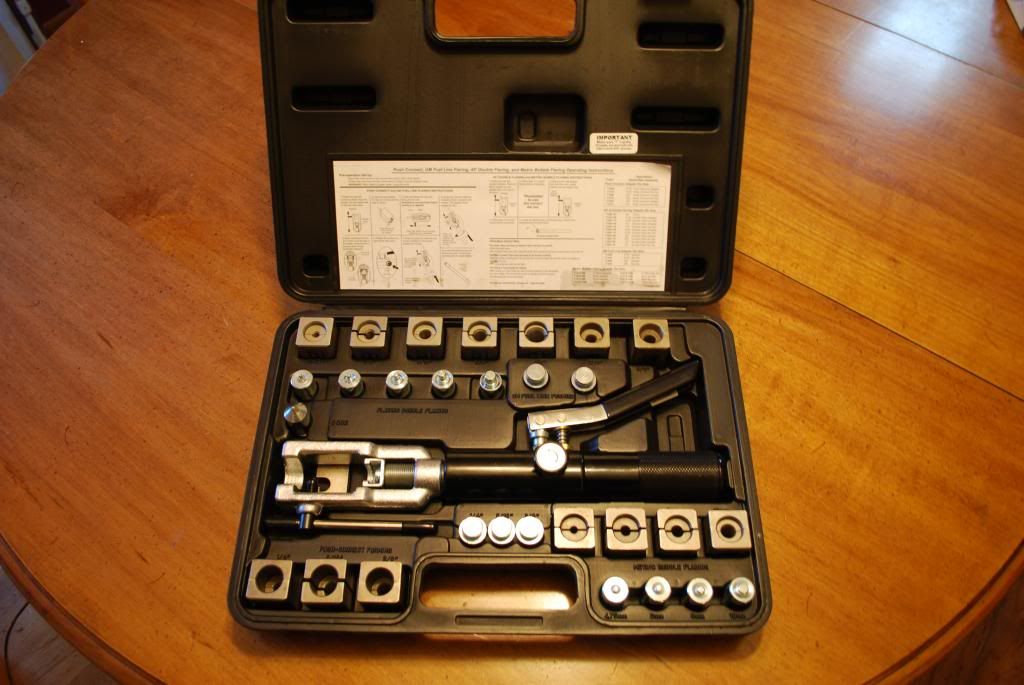
The manual flaring bar is an Imerial/Gould set. I've had it since 1984. It pretty much got retired in 2009 when I bought this Mastercool hydraulic line flaring set (part number 71475).

3/16" brake tubing is cheap. Get a 60" stick or two and play around with it and in no time you can make nice lines too.


#142
I am driving the truck and it is stopping well. I used the existing line to complete the job. Didn't get fancy like UR.
I'll drive the truck a couple more times before heading out with the wife and kid but it seems all okay.
I just need to align the steering wheel to the correct position.
Glad that this project is behind me. Thanks again guys!
I'll drive the truck a couple more times before heading out with the wife and kid but it seems all okay.
I just need to align the steering wheel to the correct position.
Glad that this project is behind me. Thanks again guys!
#143
It'll best not to go out and start making hard stops with the new brake pads. Right now, the pads are 'green' (not green as in color but green as in not seasoned or bedded in).
The resins and binders that went into the manufacturing process of making the pads has not been burned off yet. Getting the new pads really hot by immediately making hard stops with them will end up glazing over the pads as well as the friction surfaces of the rotors. This will make it very difficult to get the truck to come to a rapid stop and the only cure for glazed brake components is new pads and to have the rotors resurfaced or replace the rotors (same for drums as well).
If the brakes are green and you get them really hot and you come to a complete stop with your foot on the brake pedal, where the pads are in contact with the rotors and the rotors aren't turning, the pads can imprint the rotors (an outline of the pads will be burned/etched into the friction surface of the rotor). This often results in some of the material from the pads transferring from the pads and onto the surface of the rotors.
This will cause high spots in the rotor(s) and can be felt as pulsations through the brake pedal when you apply the brakes.
You can let the brakes season by just driving the truck normally for the next 400 hundred miles or, if you're impatient, you can speed the process up by bedding in the brakes.
Bedding in new brakes.
Brake Pad Bed-In
Stock Brake System Bed-in
#144
I have not hooked up the switch yet but I was wondering why the brake light on the dash turns on for a moment before going off (just like it did while the switch was connected)? Thoughts?
#145
#146
67 disc brake conversion
Since you saved quite a bit going to the junk yard you outta buy flexible ss braided lines. They would add a nice touch and make an improvement, since hoses expand while pressured. Steel lines dont expand and therefore add to the overall efficiency of your braking system. Lucky you, the nearest junk yard for me is 270 miles round trip!
Thread
Thread Starter
Forum
Replies
Last Post
Sieveboy65
1961 - 1966 F-100 & Larger F-Series Trucks
3
04-15-2018 09:15 PM
Nwflyonly
1961 - 1966 F-100 & Larger F-Series Trucks
4
04-17-2017 09:12 AM
sweets64f100
1961 - 1966 F-100 & Larger F-Series Trucks
4
11-26-2004 10:19 PM


