
New Gauge Cluster Built
#16
 09-14-2014, 08:55 PM

The gauges at the time were about $250 from Dolphin. The kit includes your oil, temp and fuel sensors. The tach is hooked up like normal and the speedo cable is reused. I am using a Painless wiring kit for the entire build but it has nothing to do with making a new gauge cluster like this. All the factory wiring can be used, just swap out your sensors to ensure correct readings....there is another thread I've made that has the updated version of the gauge cluster and dash included.

#17
10-30-2014, 11:24 AM
Senior User
#18
10-30-2014, 06:39 PM


I believe its a yes you can, just study it and take it part. Meaning take the center speedo section out and replace with a different one, I guess yes. Make sure the 80 versus 100 has the same high beam location.
I am guessing cause I do not want to walk to the shop and double ck my guess. lol
I am guessing cause I do not want to walk to the shop and double ck my guess. lol
#19
10-30-2014, 10:03 PM
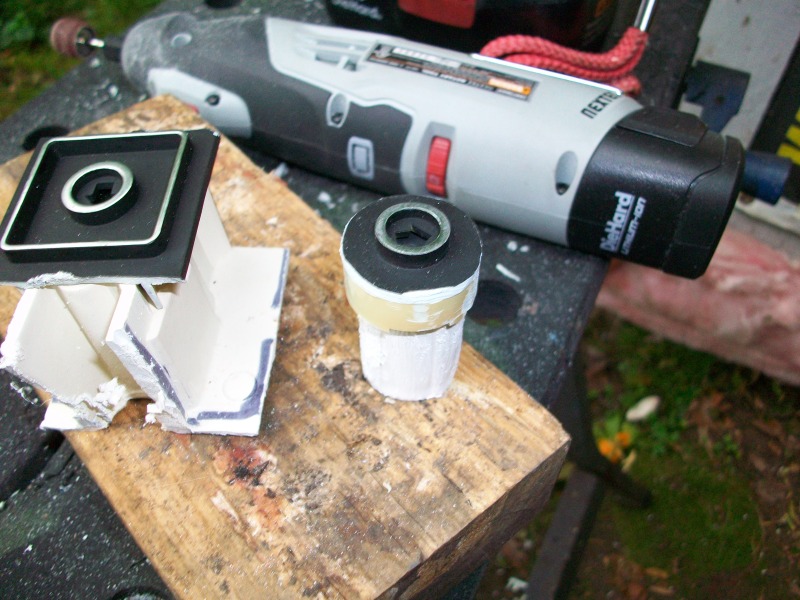
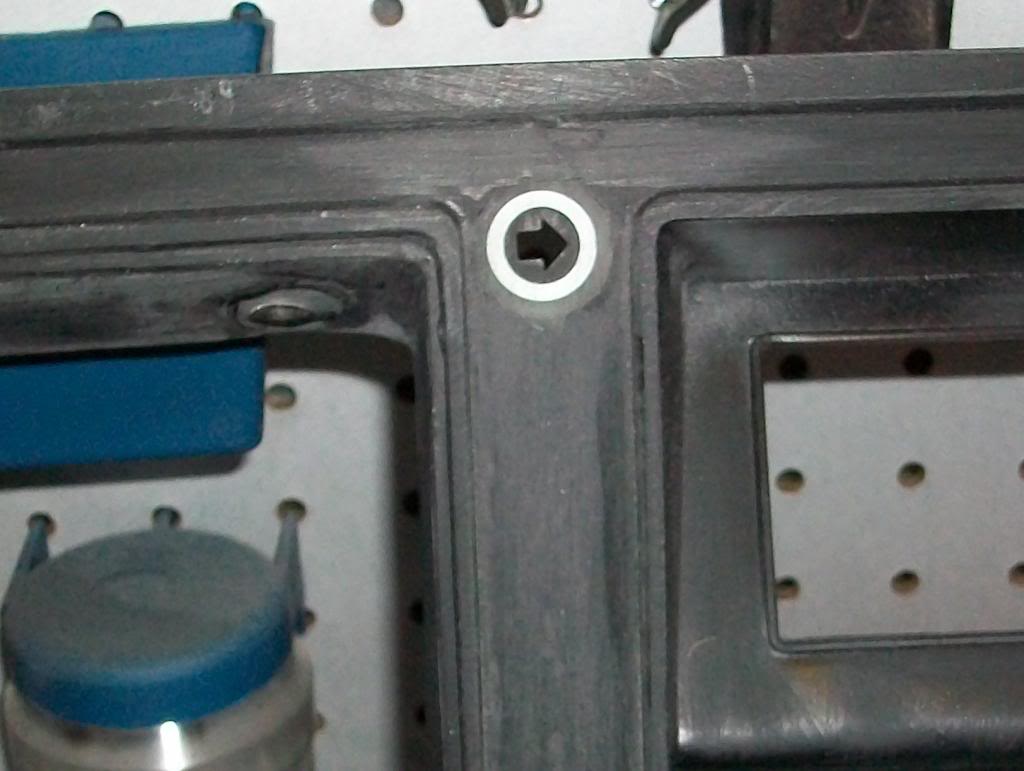
I got in a hurry due to a pending trip and just covered the holes from the removed ribs with a piece of metal tape and spayed them with flat black. I was going too fill them in with epoxy later. That has been over a year ago and they still look pretty good. I may get around to filling them some day.
#20
10-31-2014, 09:52 AM
Senior User
That looks great!
I got in a hurry due to a pending trip and just covered the holes from the removed ribs with a piece of metal tape and spayed them with flat black. I was going too fill them in with epoxy later. That has been over a year ago and they still look pretty good. I may get around to filling them some day.
Clean and simple. Nice work.

#22
09-12-2016, 10:38 AM
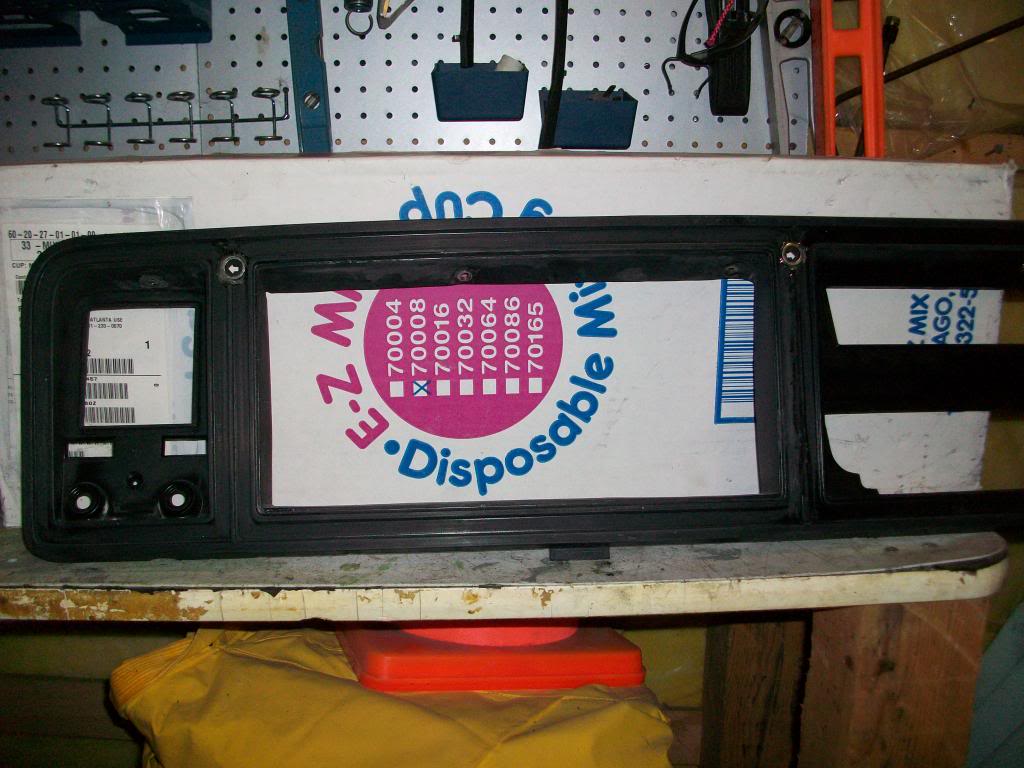
So I saw that my gauge cluster post was added to the DIY Fun section of a sticky thread so I figured I'd up date what I did with my turn signals.
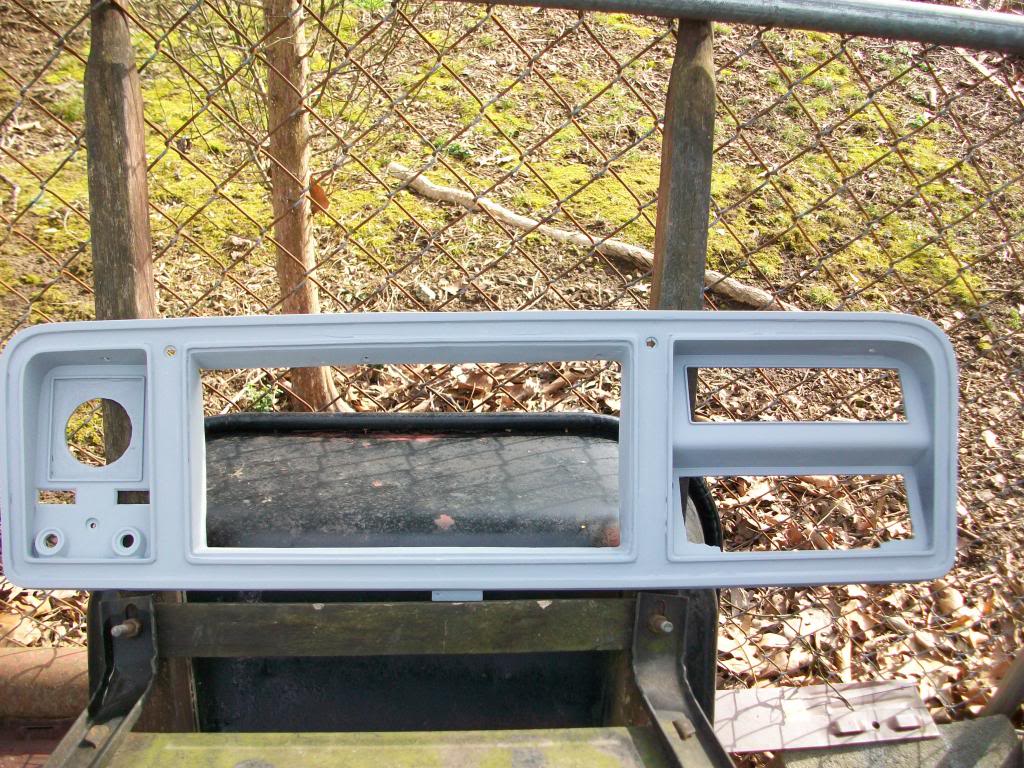
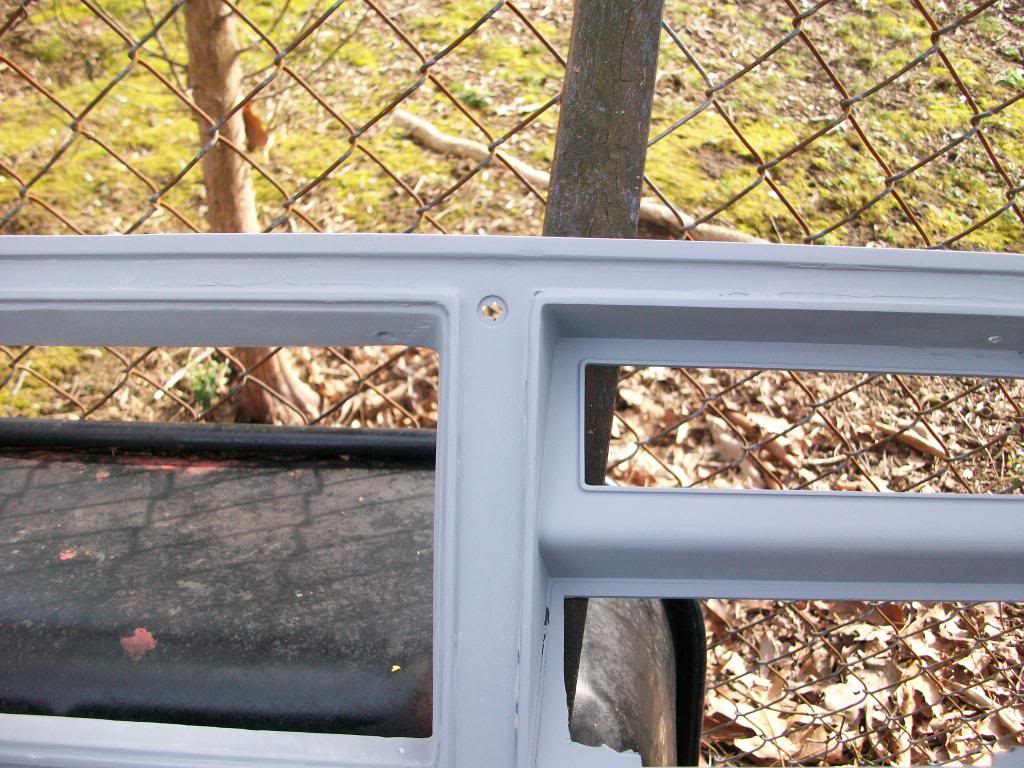
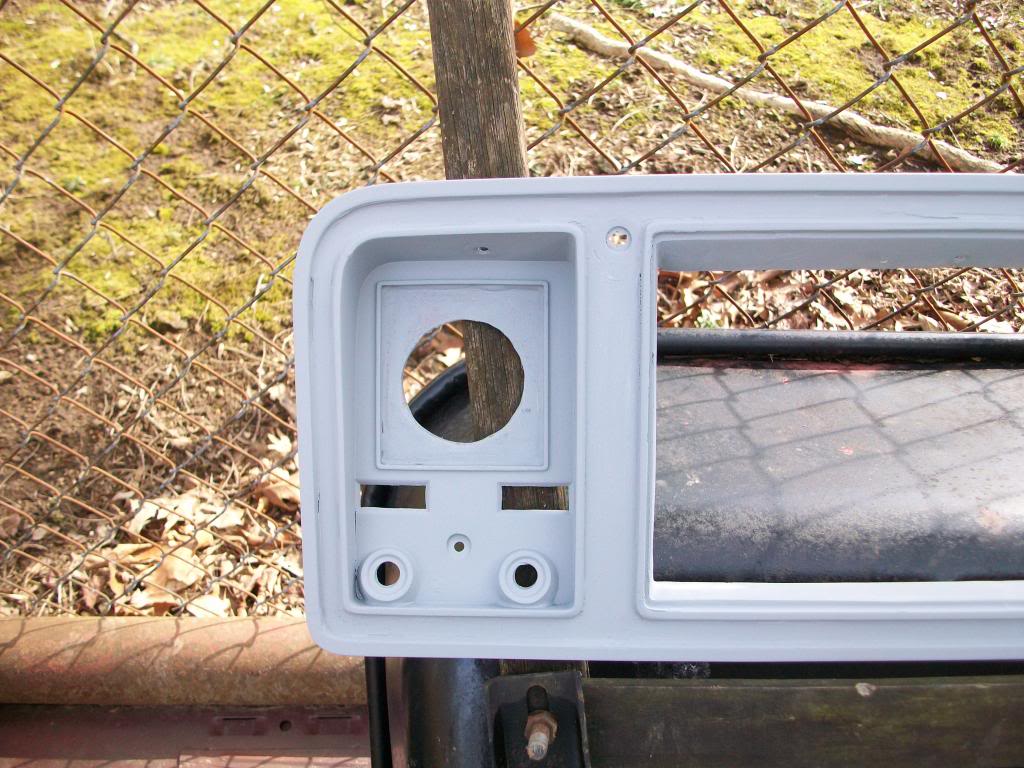
......and of course it doesn't stop there. From where I disassembled thefactory cluster, I had to do something with the turn signal towers I kept. Whatif they got inserted into the trim surround.....wouldn't that rock. Well here'sthe pics from the journey I took trying to do this.
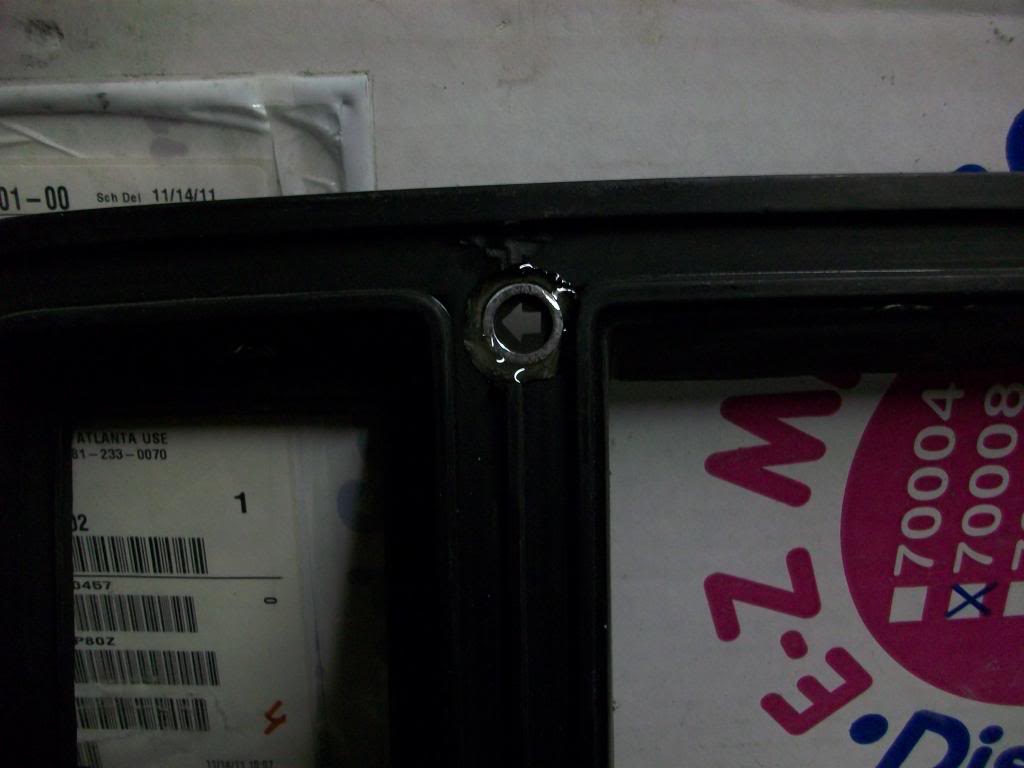
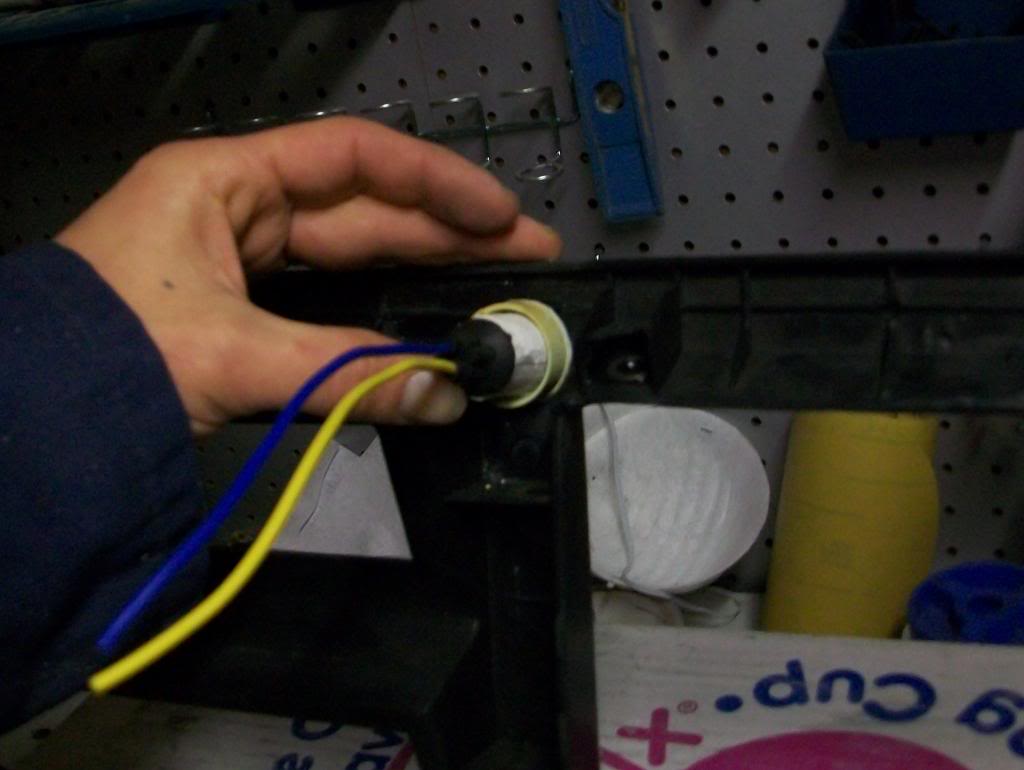
Here's the turn signal towers I took to fab into the trim surround.
Here's the jest of what I'm trying to do....front back views ect.
Here�s what it�ll look like out back:
After some fiddling with it, it started to look like something:
While I was here I went ahead and fabbed up the last factory vent to holdthe vacuum gauge I have and trimmed out the old stereo area for the new one Ibought though you cant tell it.
It�s not quite done yet, I still have hours and hours left of detail sandingbefore final paint. I�m hopin to get it all finished up and installed in the nextfew weeks. Once it�s all together I think it�ll look sweet��.
......and of course it doesn't stop there. From where I disassembled thefactory cluster, I had to do something with the turn signal towers I kept. Whatif they got inserted into the trim surround.....wouldn't that rock. Well here'sthe pics from the journey I took trying to do this.
Here's the turn signal towers I took to fab into the trim surround.
Here's the jest of what I'm trying to do....front back views ect.
Here�s what it�ll look like out back:
After some fiddling with it, it started to look like something:
While I was here I went ahead and fabbed up the last factory vent to holdthe vacuum gauge I have and trimmed out the old stereo area for the new one Ibought though you cant tell it.
It�s not quite done yet, I still have hours and hours left of detail sandingbefore final paint. I�m hopin to get it all finished up and installed in the nextfew weeks. Once it�s all together I think it�ll look sweet��.


#25
09-12-2016, 11:45 AM
I got in a hurry due to a pending trip and just covered the holes from the removed ribs with a piece of metal tape and spayed them with flat black. I was going too fill them in with epoxy later. That has been over a year ago and they still look pretty good. I may get around to filling them some day.
I finally took the tape off and filled the bezel in legit. I cut some metal pads for support and JB welded them behind the openings and filled the gap with Bondo and sanded them down and painted the bezel. It doesn�t really look any better than it did with the tape, but at least now its not Mickey Moused.
#26
09-12-2016, 11:49 AM
Laughing Gas
I dig when a good, useful thread gets a bump. I LOVE it when it comes with UPDATES.
Very nice work, super-clean.
If you're interested in rejuvenating the silver "trim" around the bezel, a paint pen and a little patience (which you seem to have in spades) does a nice job and is waaay easier and cheaper than messing with chrome foil (the stuff model builders use for chrome details).
Very nice work, super-clean.
If you're interested in rejuvenating the silver "trim" around the bezel, a paint pen and a little patience (which you seem to have in spades) does a nice job and is waaay easier and cheaper than messing with chrome foil (the stuff model builders use for chrome details).
#27
09-12-2016, 11:52 AM
I dig when a good, useful thread gets a bump. I LOVE it when it comes with UPDATES.
Very nice work, super-clean.
If you're interested in rejuvenating the silver "trim" around the bezel, a paint pen and a little patience (which you seem to have in spades) does a nice job and is waaay easier and cheaper than messing with chrome foil (the stuff model builders use for chrome details).
Very nice work, super-clean.
If you're interested in rejuvenating the silver "trim" around the bezel, a paint pen and a little patience (which you seem to have in spades) does a nice job and is waaay easier and cheaper than messing with chrome foil (the stuff model builders use for chrome details).
I found one of the pens over at Michaels!

#30
02-26-2017, 02:37 PM

I just came across this on eBay, think I'll go this route and paint it with black wrinkle paint 1973,1974,1975,1976,1977,1978,1979 ford truck f150 f100 f250 dash gauge cluster | eBay

Thread
Thread Starter
Forum
Replies
Last Post
PapaBearYuma
1973 - 1979 F-100 & Larger F-Series Trucks
10
02-26-2017 03:53 PM
John311t
1999 - 2003 7.3L Power Stroke Diesel
23
07-10-2008 10:29 AM